Home>Home Security and Surveillance>How To Install Ring Home Security System
Home Security and Surveillance
How To Install Ring Home Security System
Modified: October 21, 2024
Learn how to install the Ring Home Security System for enhanced home security and surveillance. Step-by-step guide for seamless installation and peace of mind.
(Many of the links in this article redirect to a specific reviewed product. Your purchase of these products through affiliate links helps to generate commission for Storables.com, at no extra cost. Learn more)
Introduction
Welcome to the world of home security and surveillance. With the increasing need for protecting our homes and loved ones, it has become essential to invest in a reliable home security system. One of the leading brands in this industry is Ring, known for its innovative and user-friendly products.
In this article, we’ll guide you through the process of installing a Ring home security system. Whether you’re a beginner or have some DIY experience, we’ll provide you with step-by-step instructions to help you set up your Ring devices efficiently and effectively.
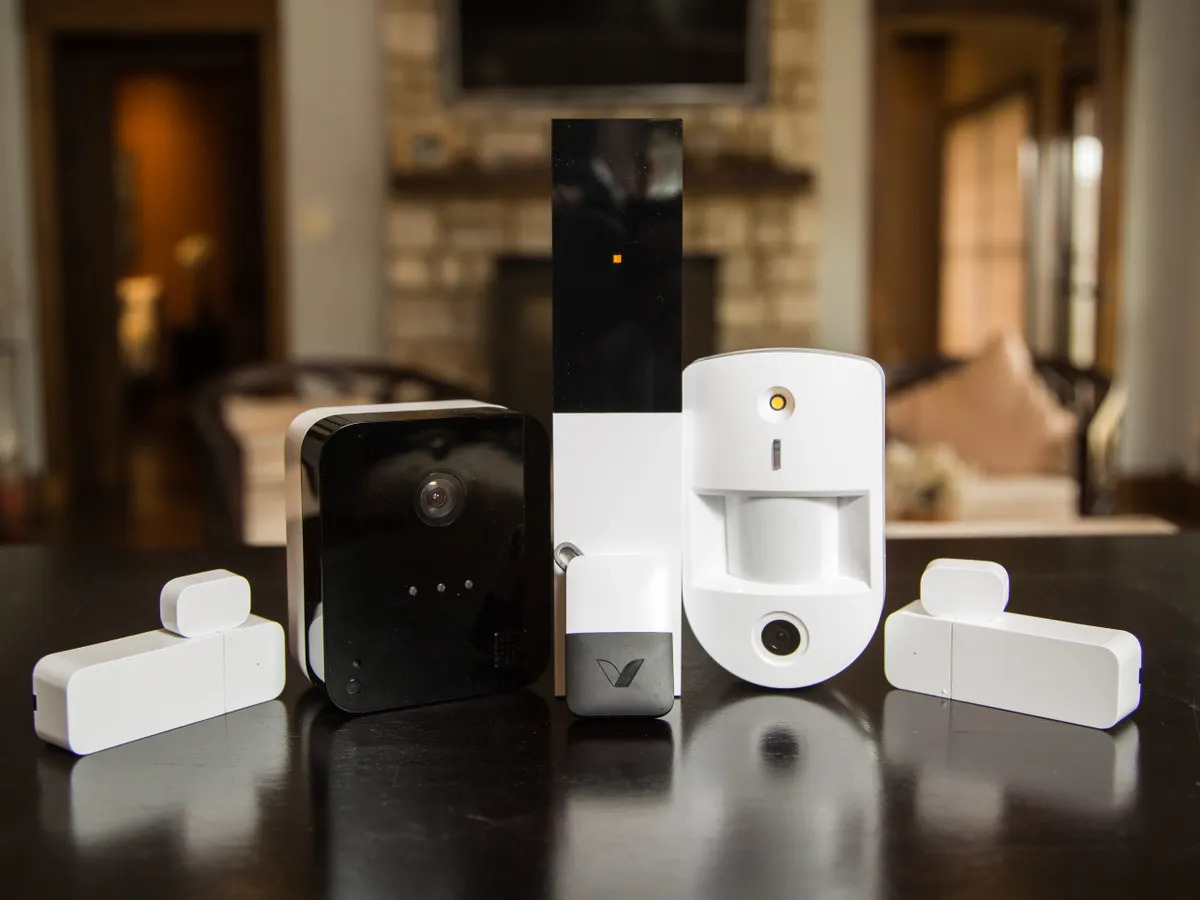
Before we dive into the installation process, it’s important to understand what makes Ring a popular choice among homeowners. Ring offers a range of products, including doorbell cameras, indoor/outdoor cameras, and security systems. These devices come equipped with advanced features like motion detection, two-way audio, and night vision, enabling you to keep a close eye on your property at all times.
Additionally, Ring provides a user-friendly app that allows you to monitor your security system remotely, receive notifications, and even communicate with visitors through your doorbell camera. With their comprehensive ecosystem, Ring aims to provide you with peace of mind and a sense of security, whether you’re at home or away.
Now, let’s get started with the installation process. Before diving in, make sure you have all the necessary tools and equipment. This will ensure a smooth installation process and minimize any hiccups along the way.
Key Takeaways:
- Installing a Ring home security system involves gathering tools, determining device placement, setting up the base station, installing the doorbell and cameras, configuring the app, and testing the system for optimal security.
- Ring’s user-friendly features and advanced technology make it a smart investment for home security. Regular testing, troubleshooting, and staying updated with firmware and software ensure a reliable and effective security solution.
Read more: How To Install A Ring Security Camera
Step 1: Gather the Required Tools and Equipment
Before you begin the installation process, it is important to gather all the necessary tools and equipment. Having these items on hand will make the installation process smoother and more efficient. Here is a list of the tools and equipment you will need:
- Screwdriver set (flathead and Phillips)
- Power drill
- Drill bits (size may vary depending on the type of surface you are mounting the devices on)
- Level
- Tape measure
- Pencil or marker
- Stud finder (if mounting on a wall)
- Mounting brackets (if necessary)
It is also important to ensure that you have a stable and reliable Wi-Fi connection in the area where you plan to install your Ring devices. A weak or spotty Wi-Fi signal can affect the performance of your security system.
Once you have gathered all the necessary tools and equipment, you’re ready to move on to the next step – determining the ideal placement for your Ring devices.
Step 2: Determine the Ideal Placement for Your Ring Devices
Choosing the right placement for your Ring devices is crucial for maximizing their effectiveness and coverage. Here are some guidelines to help you determine the ideal placement for each device:
Ring Doorbell:
- Install the doorbell at a height of 48 inches (approximately 1.2 meters) for optimal visibility and accessibility.
- Ensure that the doorbell is centered on your front door and has a clear view of your entryway.
- Avoid placing the doorbell in direct sunlight or areas with excessive glare, as it could affect the camera’s image quality.
Ring Security Cameras:
- For outdoor security cameras, choose locations that provide a wide field of view, covering all entrances and vulnerable areas of your property.
- Mount the cameras at a height of 9 to 10 feet (approximately 2.7 to 3 meters) for optimal coverage and to prevent tampering or obstruction.
- Avoid placing cameras too close to trees, bushes, or other objects that could trigger false motion alerts.
- The cameras should be positioned to minimize blind spots and maximize the detection range.
Additional Tips:
- If you are unsure about the placement, use the Ring app’s Live View feature to test different positions and angles.
- Consider the power source for each device. Some devices may require a nearby power outlet or access to electrical wiring.
- Take into account the range of your Wi-Fi signal and ensure that the devices are within range for a stable connection.
By carefully considering the placement of your Ring devices, you can ensure that they effectively monitor your property and provide you with the desired level of security. Once you have determined the ideal locations, you can move on to the next step – setting up the Ring base station.
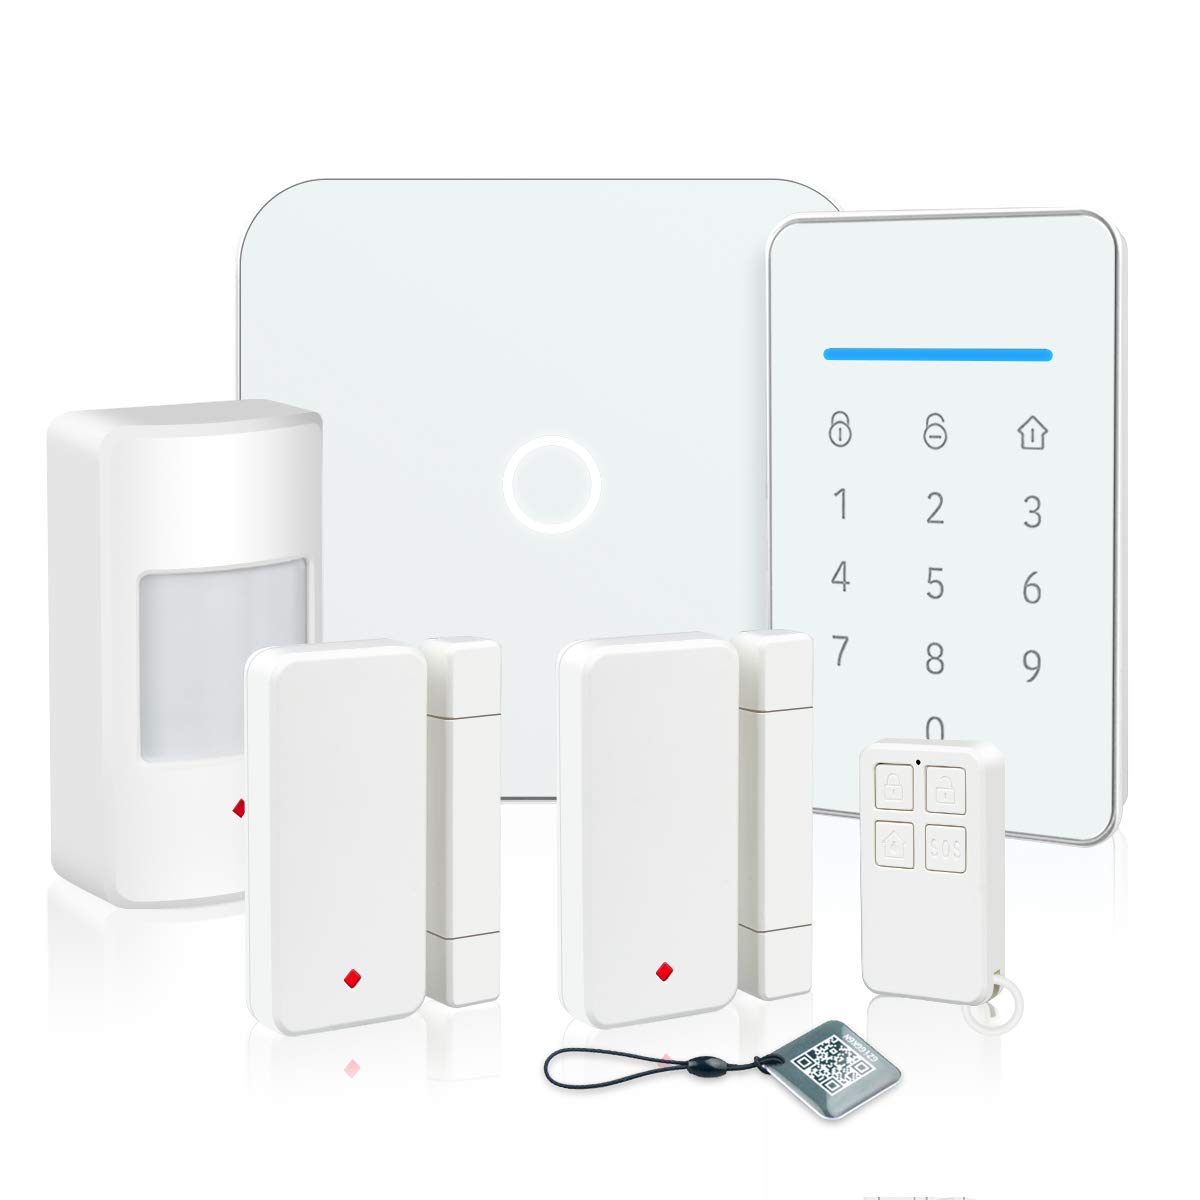
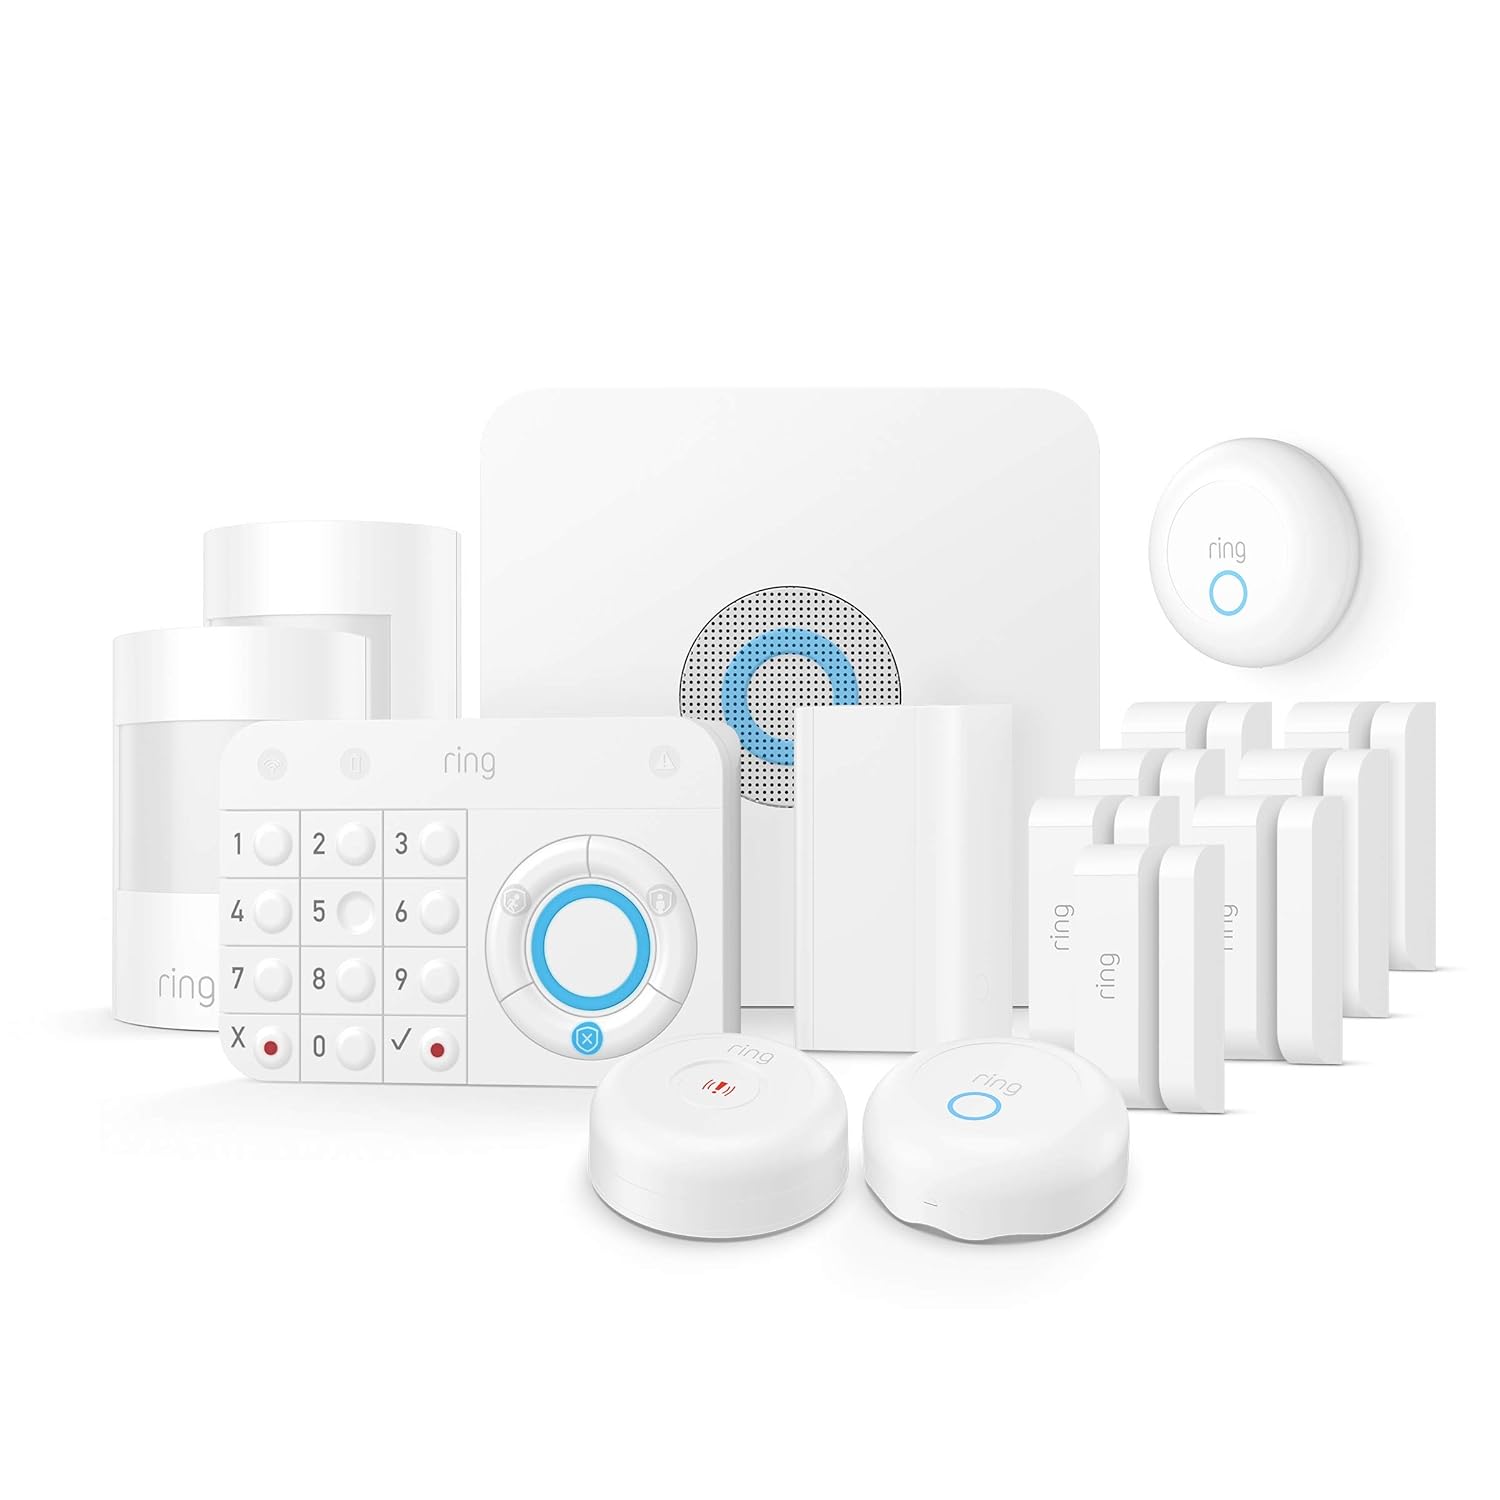
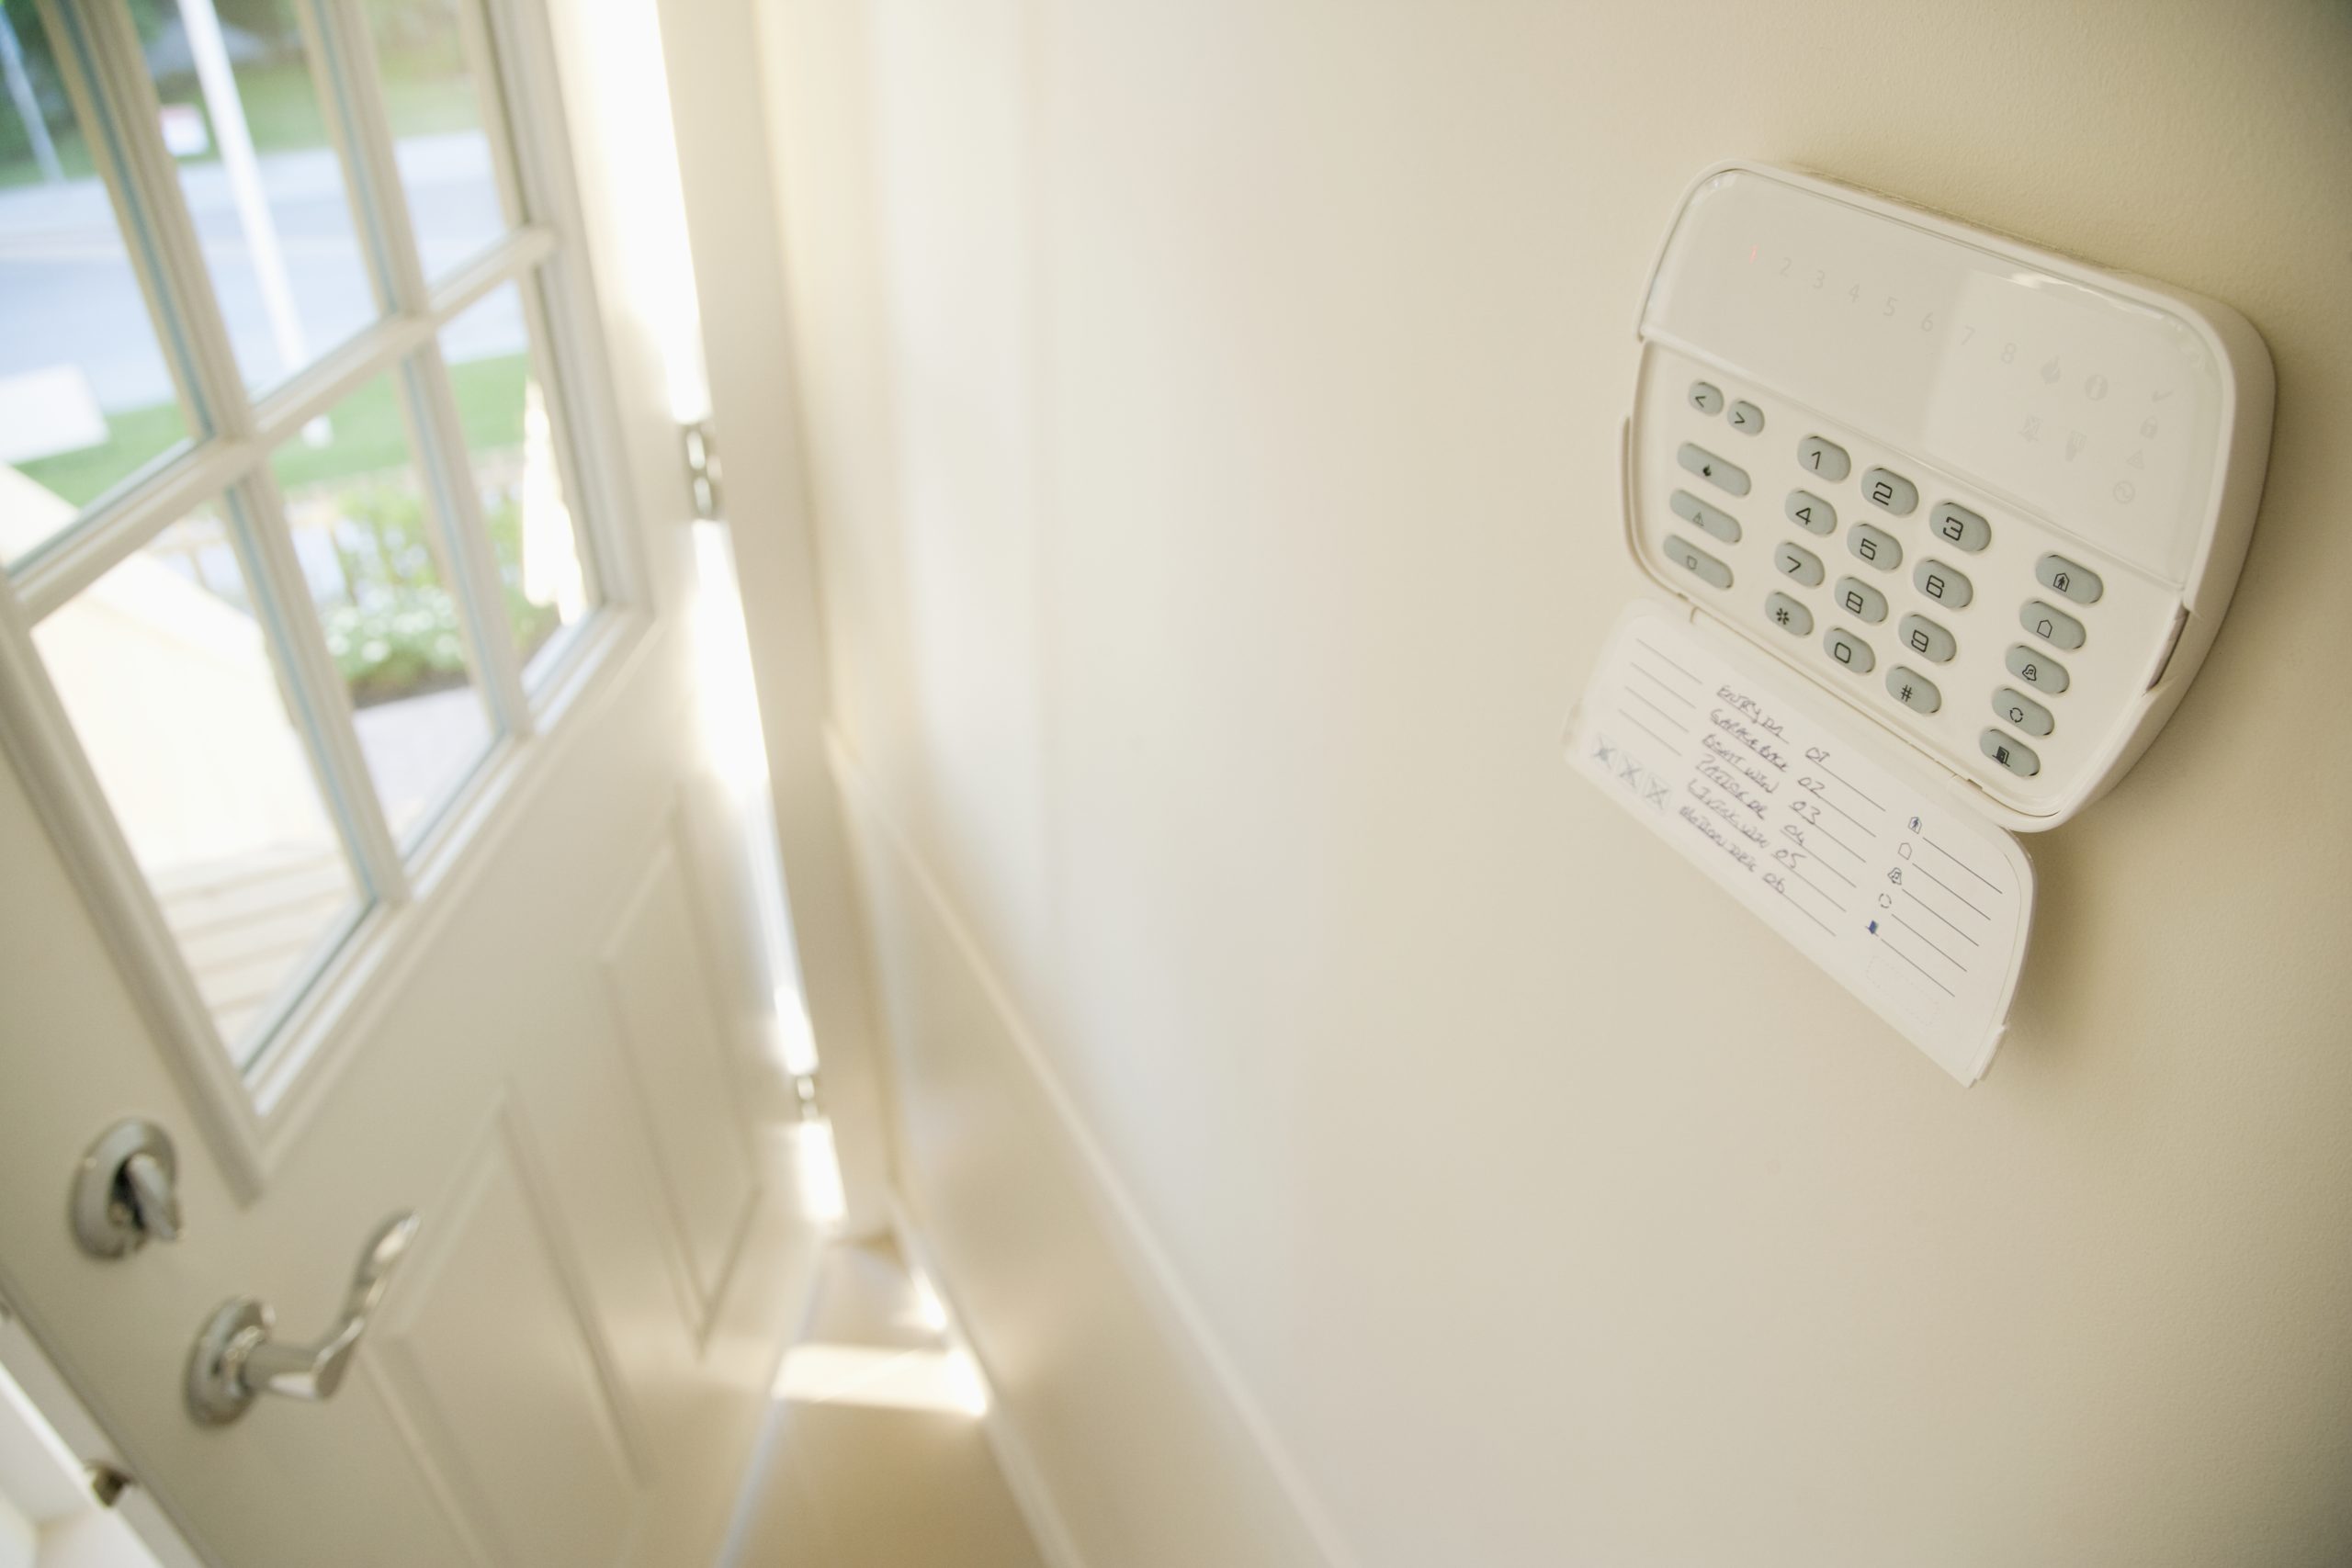
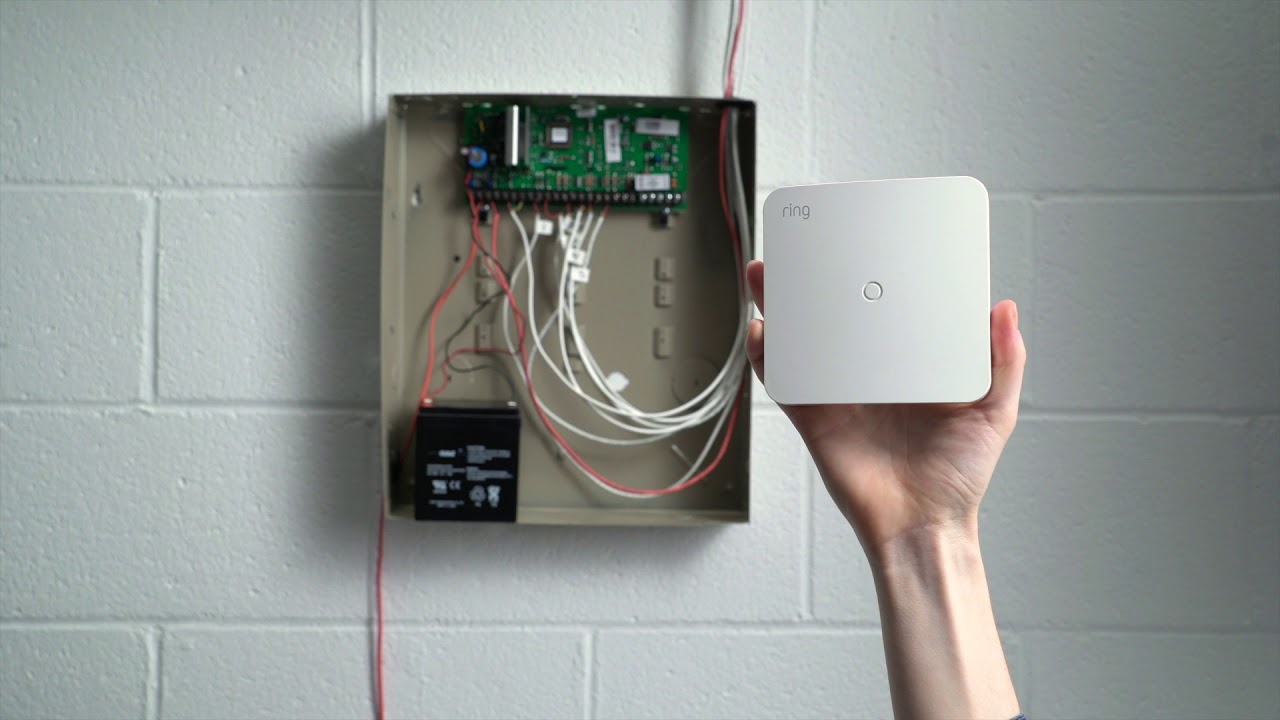
Step 3: Set Up the Ring Base Station
The Ring base station serves as the central hub for your Ring home security system. It connects all your Ring devices and allows you to control and monitor them through the Ring app. Follow these steps to set up your Ring base station:
- Find a suitable location for your base station near your Wi-Fi router. This will ensure a strong and stable internet connection.
- Connect the base station to a power outlet using the provided power adapter.
- Using an Ethernet cable, connect the base station to your Wi-Fi router.
- Wait for the LED lights on the base station to turn solid blue, indicating a successful connection.
- Download the Ring app on your smartphone and create a Ring account if you haven’t already.
- Open the Ring app and follow the on-screen instructions to add your base station to your Ring account.
- Once the base station is successfully added, you can now start adding and connecting your Ring devices to the system.
It is important to note that the setup process may vary slightly depending on the specific model of the Ring base station you have. Always refer to the manufacturer’s instructions for detailed guidance.
With the base station set up and connected, you can proceed to the next step – installing and connecting your Ring doorbell.
Step 4: Install and Connect Ring Doorbell
The Ring doorbell is a key component of your home security system, providing you with video surveillance and two-way communication at your front door. Follow these steps to install and connect your Ring doorbell:
- Select the appropriate mounting method for your specific Ring doorbell model. It can be either hardwired or battery-powered.
- If hardwired, turn off the power to your existing doorbell at the circuit breaker.
- Remove your existing doorbell and disconnect the wires. Take note of the wire color configuration.
- Install the mounting bracket provided with your Ring doorbell by securing it to the desired location with screws and a level for proper alignment.
- If using a battery-powered doorbell, insert the battery into the device.
- Connect the wires from your home’s doorbell wiring system to the designated terminals on the Ring doorbell or insert the battery as applicable.
- Align the Ring doorbell with the mounting bracket and slide it into place until it clicks and locks into position.
- Secure the doorbell with the provided screws and ensure it is level.
- Turn on the power to your doorbell at the circuit breaker if previously turned off.
- Launch the Ring app on your smartphone and follow the on-screen instructions to complete the setup process, including connecting the doorbell to your Wi-Fi network.
Once your Ring doorbell is successfully installed and connected, you can access its features through the Ring app. This includes receiving real-time alerts, viewing live video feeds, and communicating with visitors using the two-way audio feature.
Now that your Ring doorbell is up and running, it’s time to move on to the next step – mounting and connecting your Ring security cameras.
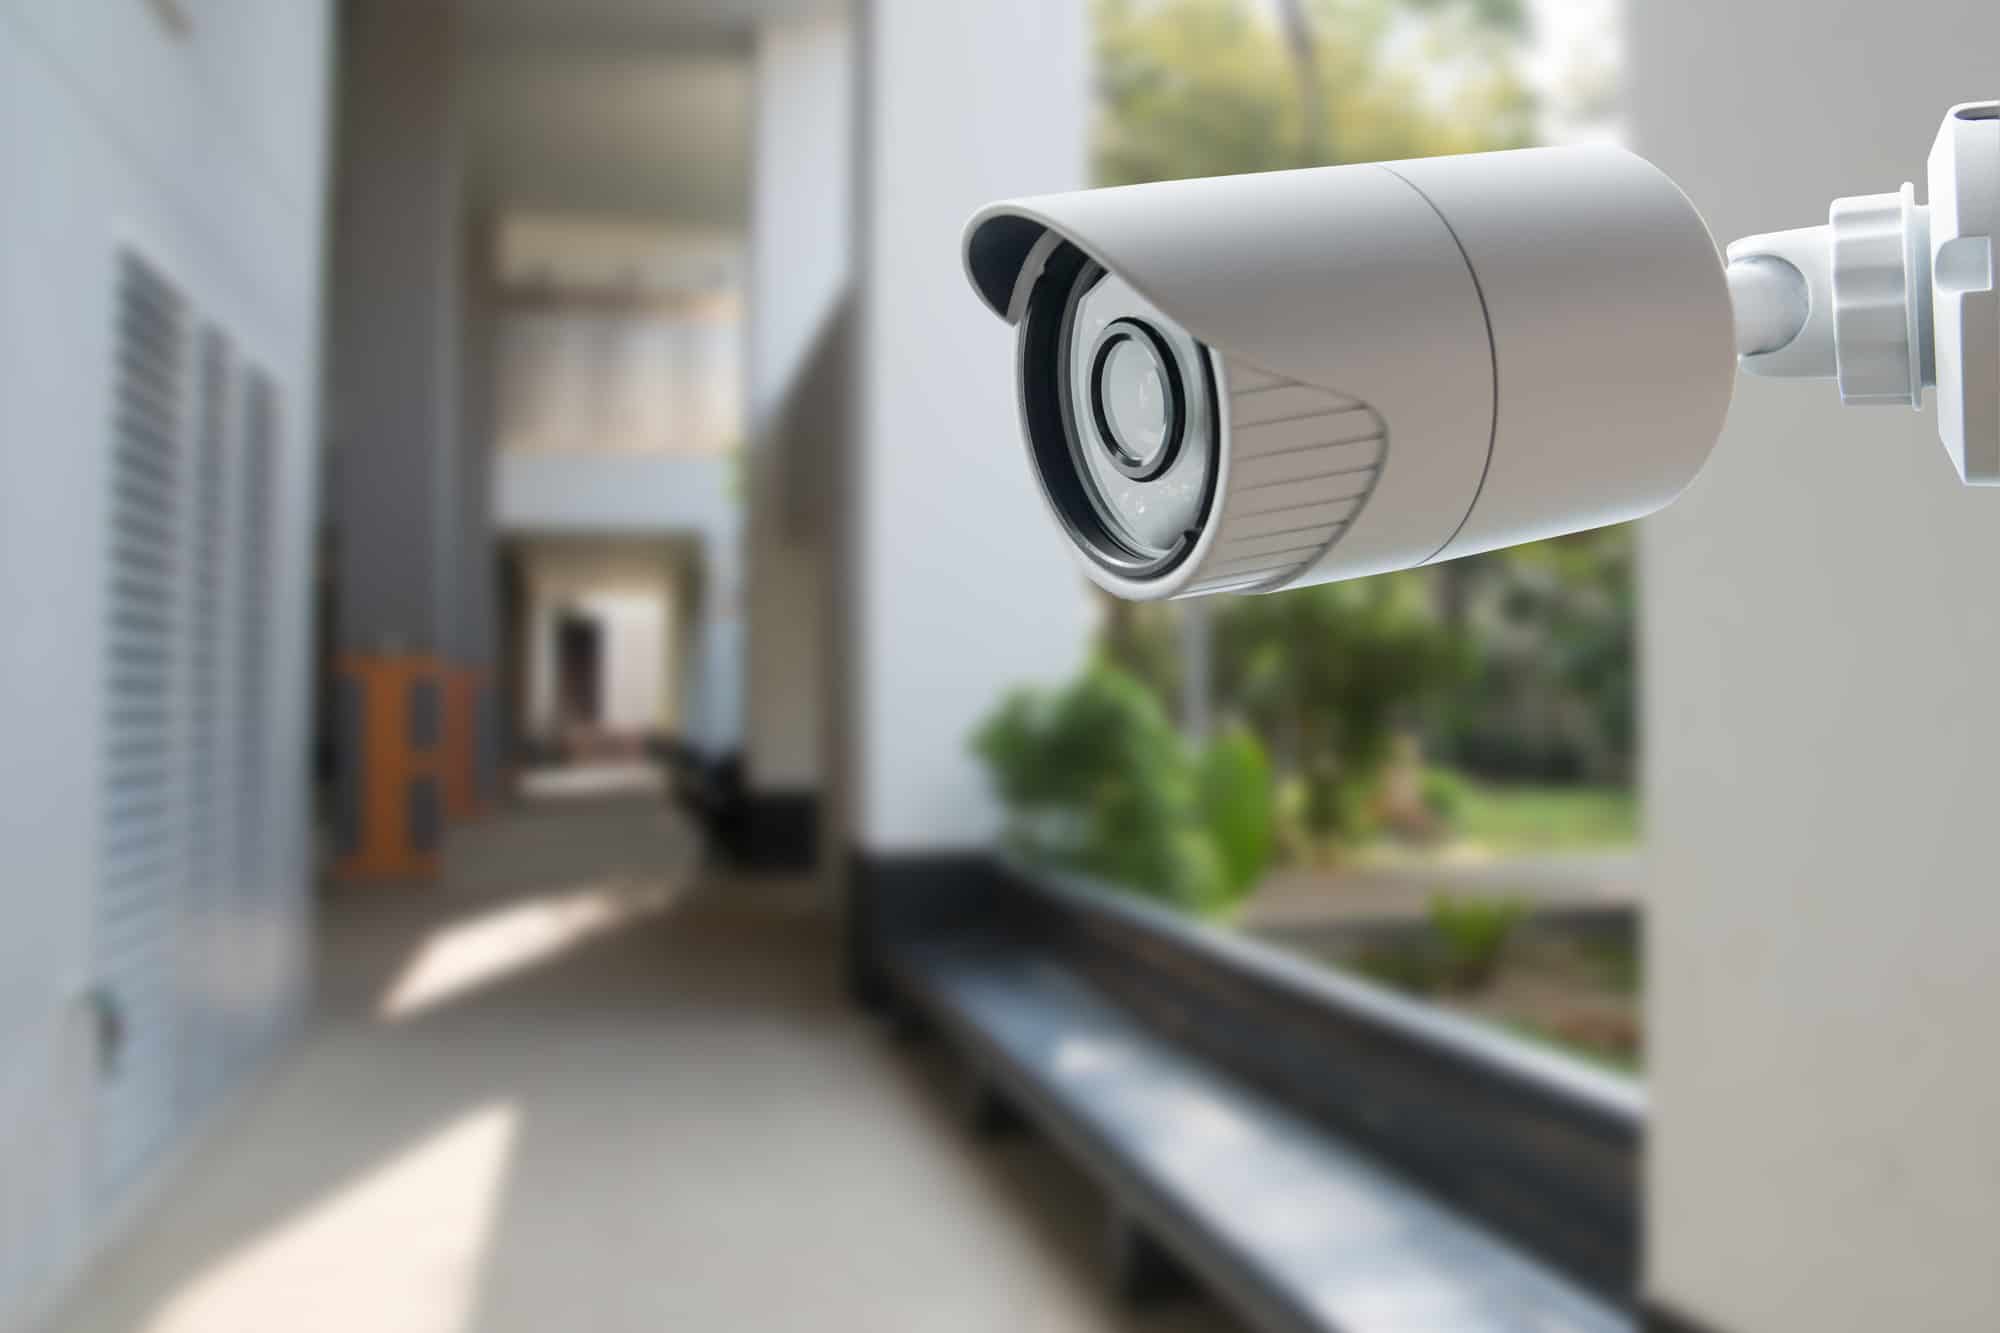
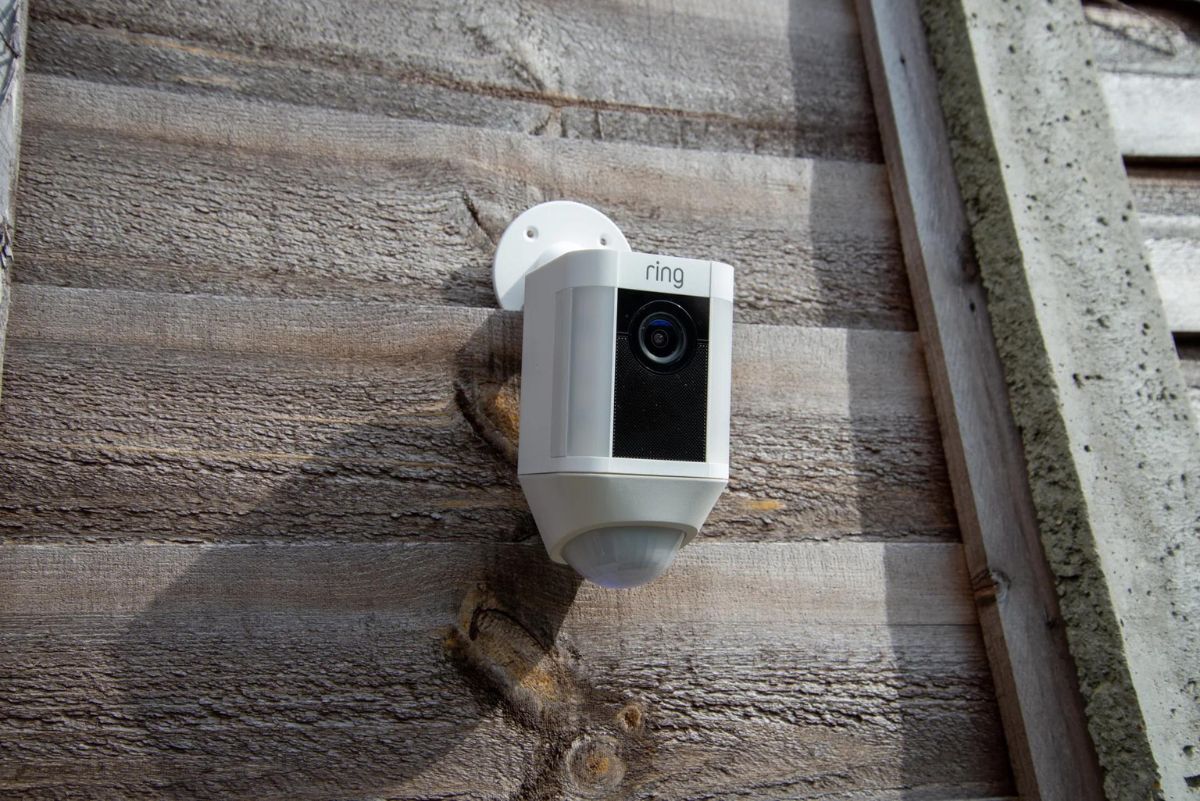
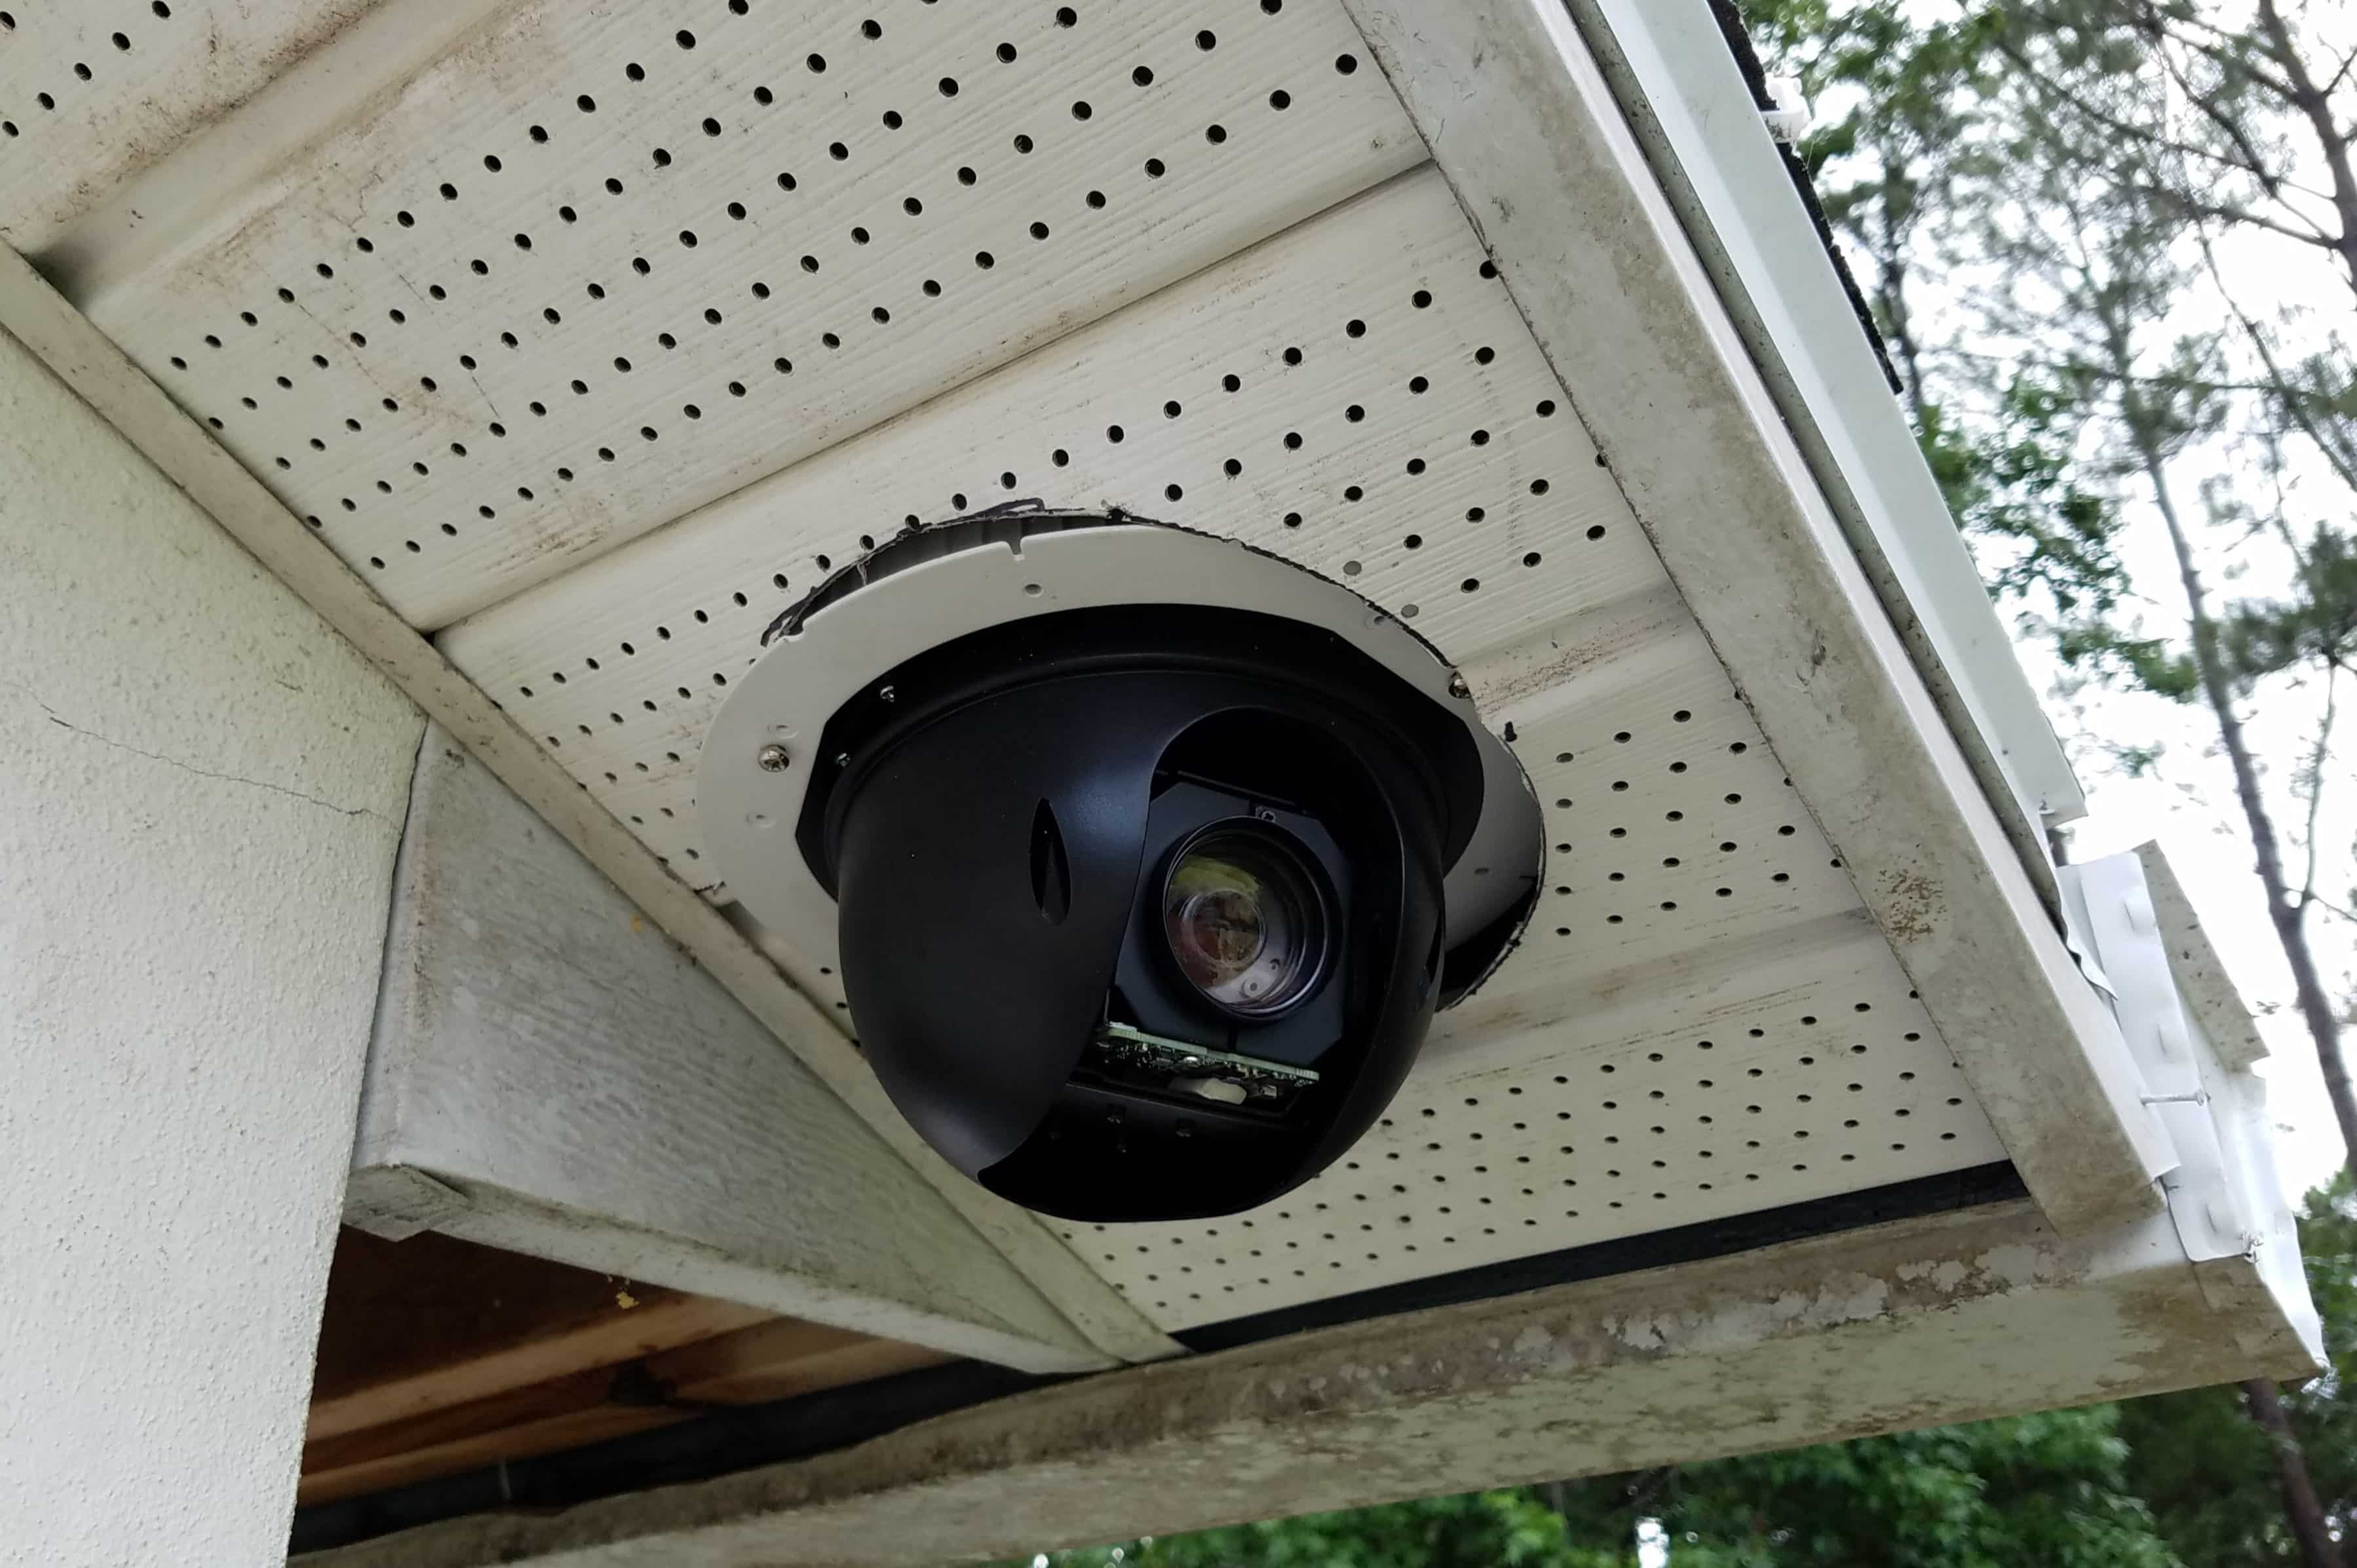
Step 5: Mount and Connect Ring Security Cameras
Ring security cameras are designed to provide you with a full view of your surroundings, allowing you to monitor and protect your property effectively. Follow these steps to mount and connect your Ring security cameras:
- Select the suitable locations for your Ring security cameras, keeping in mind the areas you want to monitor and the camera’s field of view.
- Using the provided mounting brackets, secure the cameras to the chosen locations using screws and a level to ensure they are straight and properly aligned.
- If your camera is battery-powered, insert the batteries and close the battery compartment securely. If it is a wired camera, connect it to a power source.
- Launch the Ring app and follow the provided instructions to add the cameras to your Ring system.
- Connect the cameras to your Wi-Fi network following the app’s instructions.
- Adjust the camera’s position and angle as needed to optimize the field of view and ensure adequate coverage.
- Configure the camera settings within the Ring app, such as adjusting motion detection sensitivity and setting up motion zones.
It’s worth noting that some Ring security cameras may require a separate mounting kit or accessories for specific installation scenarios, like mounting on a ceiling or on a corner. Refer to the manufacturer’s instructions for detailed guidance on these special mounting cases.
Once your Ring security cameras are successfully mounted and connected, you can start utilizing their features, such as monitoring live video feeds, receiving motion notifications, and reviewing recorded footage through the Ring app.
Now that you have your Ring security cameras in place, let’s proceed to the next step – configuring the Ring app and connecting it to your Wi-Fi.
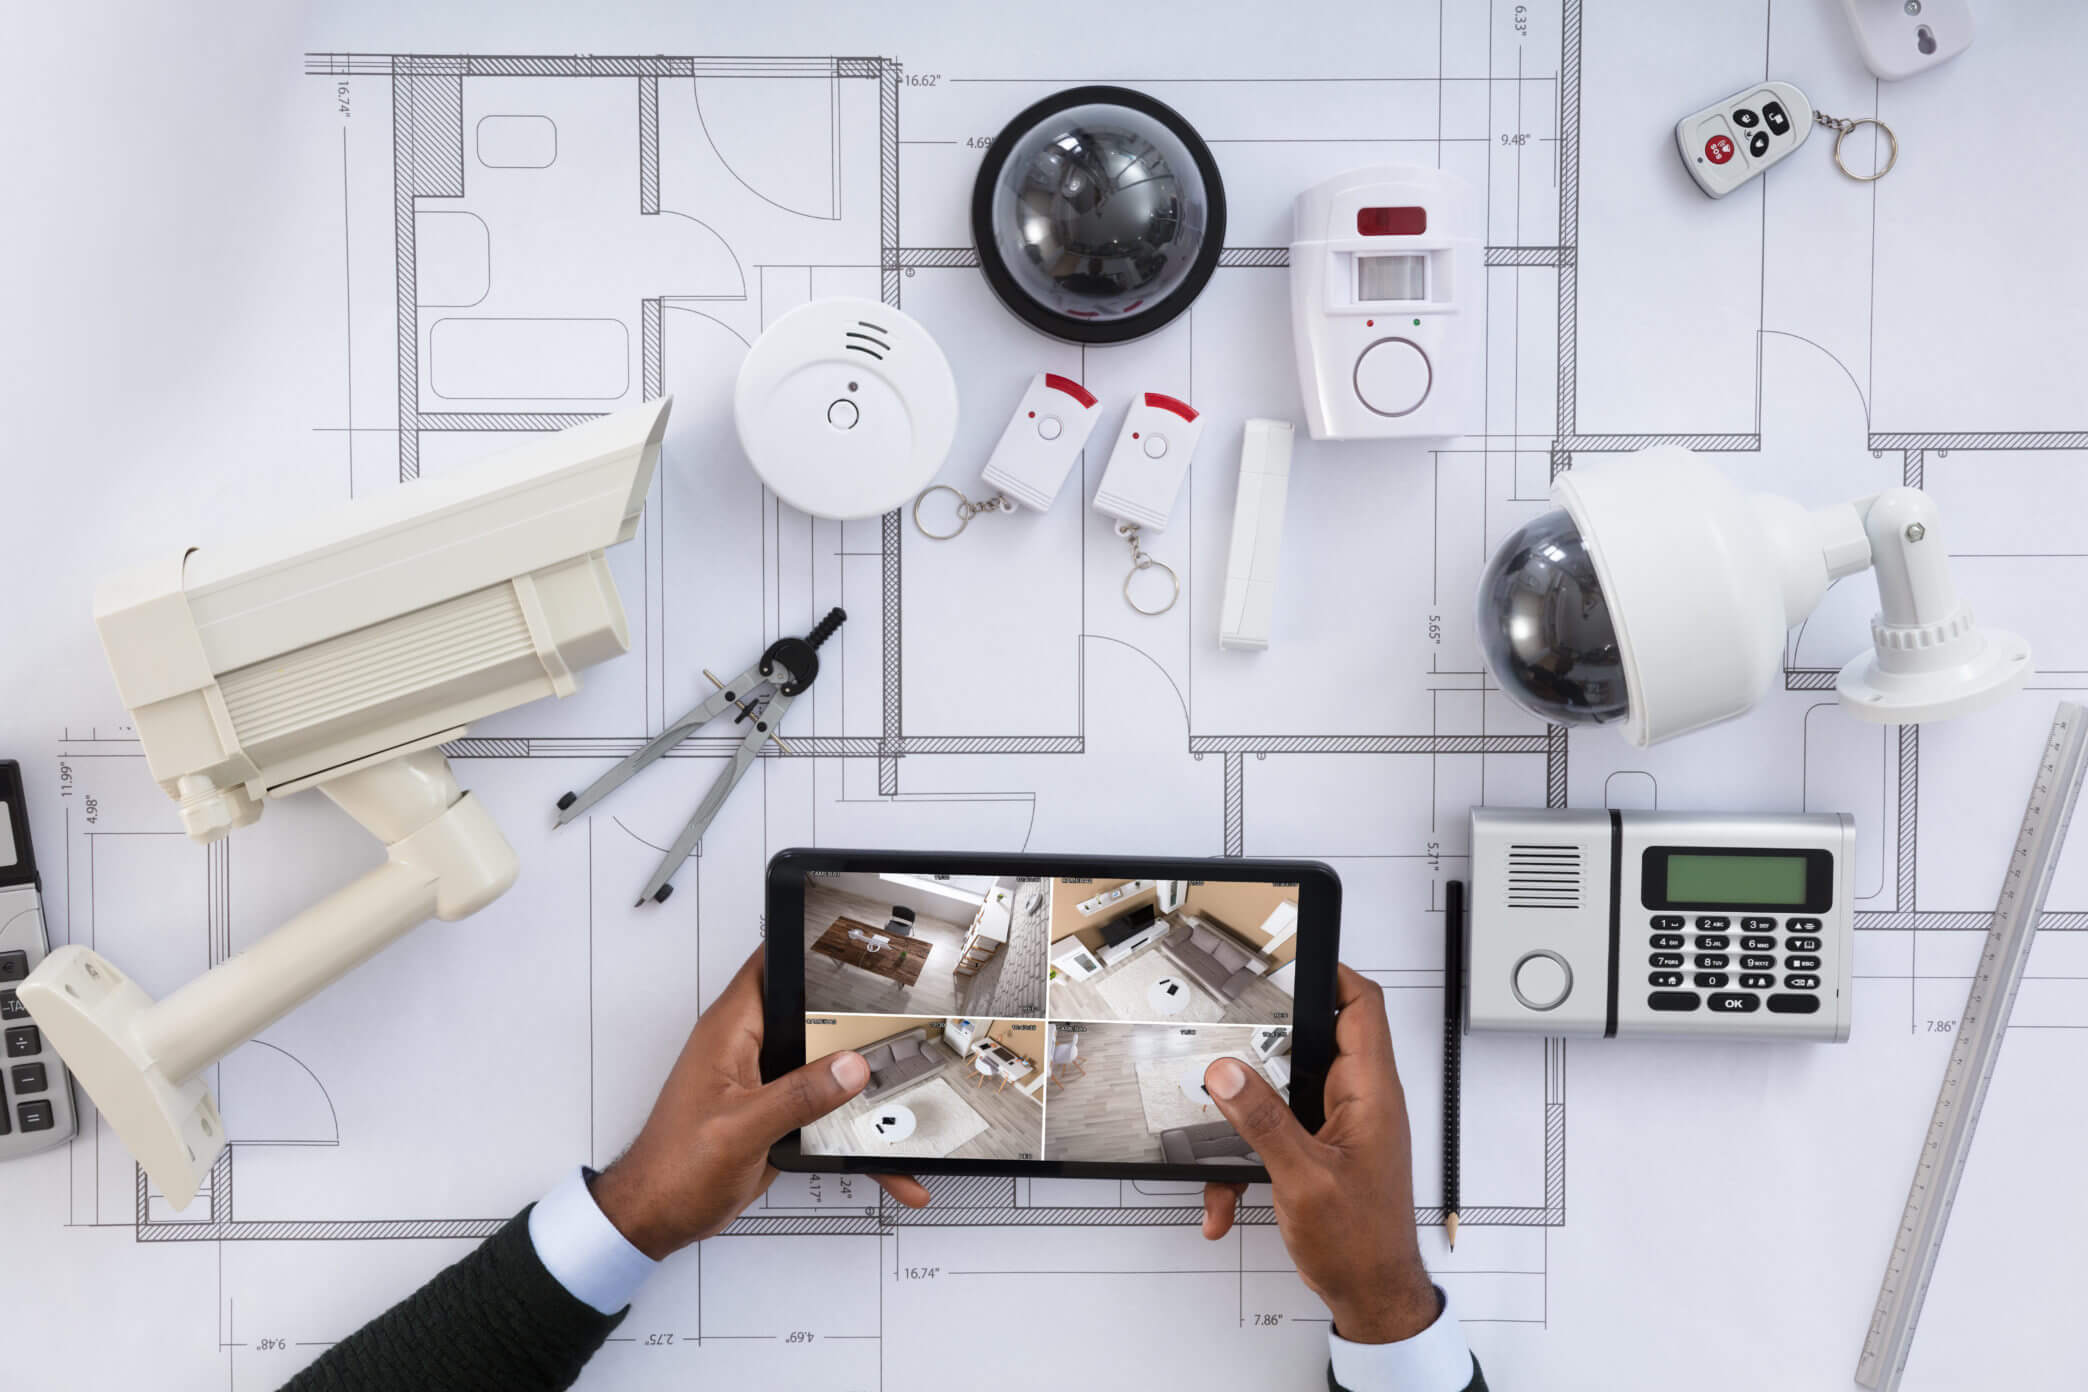
Before installing your Ring Home Security System, make sure to carefully read the instructions provided in the manual. Take your time to plan out the placement of each device to ensure optimal coverage and functionality.
Step 6: Configure Ring App and Connect to Wi-Fi
The Ring app is a crucial component of your Ring home security system as it allows you to control and monitor your devices from your smartphone or tablet. Follow these steps to configure the Ring app and connect it to your Wi-Fi network:
- Download and install the Ring app from your device’s app store.
- Sign in to your Ring account using your registered email address and password.
- Follow the on-screen instructions to set up your account and customize your preferences.
- Tap on the “Add a Device” option within the app’s main menu.
- Select the type of device you want to connect, such as Ring Doorbell or Ring Security Camera.
- Choose your device from the list of available options and follow the specific instructions to connect it to your Ring account.
- Once the device is successfully added, you will be prompted to connect it to your Wi-Fi network.
- Select your Wi-Fi network from the list of available networks and enter your Wi-Fi password as required.
- Wait for the app to establish a connection between your device and the Ring servers.
- Repeat these steps for each additional Ring device you want to connect.
Once your Ring devices are connected to your Wi-Fi network through the Ring app, you can access and control them remotely, receive notifications, view live feeds, and customize settings such as motion detection sensitivity and notification preferences.
Make sure to keep the Ring app updated to access the latest features and security enhancements.
Now that your Ring app is all set up and connected to your Wi-Fi, it’s time to move on to the final step – testing and troubleshooting your Ring home security system.
Step 7: Test and Troubleshoot Your Ring Home Security System
Before considering your Ring home security system fully operational, it’s important to test its functionality and address any potential issues. Follow these steps to test and troubleshoot your Ring system:
- Verify that all your Ring devices are properly connected to the Ring app and Wi-Fi network.
- Test the live video feed and two-way audio feature of your Ring doorbell and security cameras to ensure they’re functioning correctly.
- Check the motion detection capabilities of your devices by walking in front of them and verifying that you receive motion alerts on your smartphone.
- Test the effectiveness of your doorbell’s motion detection by having someone approach your front door and checking if the doorbell detects their presence and sends you a notification.
- Adjust motion detection zones and sensitivity settings within the Ring app to avoid false alerts or ensure proper coverage.
- If you encounter any issues, consult the troubleshooting guide provided by Ring or visit their support website for assistance.
- Ensure that your Wi-Fi signal is strong and stable throughout your property. Consider adding Wi-Fi extenders or moving your router if necessary.
- Regularly update the firmware and software of your Ring devices and the Ring app to ensure you have the latest features and security patches.
If you continue to experience issues with your Ring home security system, reach out to Ring’s customer support for further assistance. They may be able to provide specific troubleshooting steps or arrange for a replacement if necessary.
By testing and troubleshooting your Ring home security system, you can ensure its proper functionality and address any potential concerns, ensuring a reliable and effective security solution for your home.
Congratulations! You’ve successfully installed and set up your Ring home security system. Now, enjoy the peace of mind that comes with knowing your home is protected.
Remember to refer to the user manuals and resources provided by Ring for any specific guidance or troubleshooting steps related to your particular device model.
Conclusion
Installing a Ring home security system is a smart investment in securing your property and ensuring the safety of your loved ones. With its user-friendly features and advanced technology, Ring provides an efficient and convenient solution for monitoring and protecting your home.
In this comprehensive guide, we’ve walked you through the step-by-step process of installing and setting up your Ring devices. From gathering the necessary tools and equipment to configuring the Ring app and connecting to Wi-Fi, each step plays a crucial role in ensuring a successful installation.
By carefully considering the ideal placement for your Ring devices, mounting them securely, and connecting them to your Wi-Fi network, you can maximize the effectiveness of your home security system. Additionally, regularly testing and troubleshooting your system will help address any potential issues and ensure its proper functionality.
Remember to take advantage of the features offered by the Ring app, such as live video feeds, motion detection alerts, and two-way audio communication. These features provide you with a comprehensive view of your property and the ability to monitor and interact with your Ring devices remotely.
As technology advances, Ring continues to innovate and enhance its products. Stay updated with firmware and software updates to access new features and security enhancements, ensuring your Ring home security system is always up-to-date.
With your Ring home security system now installed and operational, enjoy the peace of mind that comes with knowing your property is protected. Whether you’re at home or away, you can have confidence in knowing that Ring has your back.
Remember to consult the user manuals and support resources provided by Ring for any specific instructions or troubleshooting steps related to your particular device model. If you still have questions or need further assistance, Reach out to Ring’s customer support for dedicated help.
Thank you for choosing Ring, the next-generation home security and surveillance solution!
Frequently Asked Questions about How To Install Ring Home Security System
Was this page helpful?
At Storables.com, we guarantee accurate and reliable information. Our content, validated by Expert Board Contributors, is crafted following stringent Editorial Policies. We're committed to providing you with well-researched, expert-backed insights for all your informational needs.