Home>Home Security and Surveillance>How To Install A Wired Security System Outside On A Manufactured Home
Home Security and Surveillance
How To Install A Wired Security System Outside On A Manufactured Home
Modified: March 6, 2024
Discover how to install a reliable wired security system outside your manufactured home for enhanced home security and surveillance.
(Many of the links in this article redirect to a specific reviewed product. Your purchase of these products through affiliate links helps to generate commission for Storables.com, at no extra cost. Learn more)
Introduction
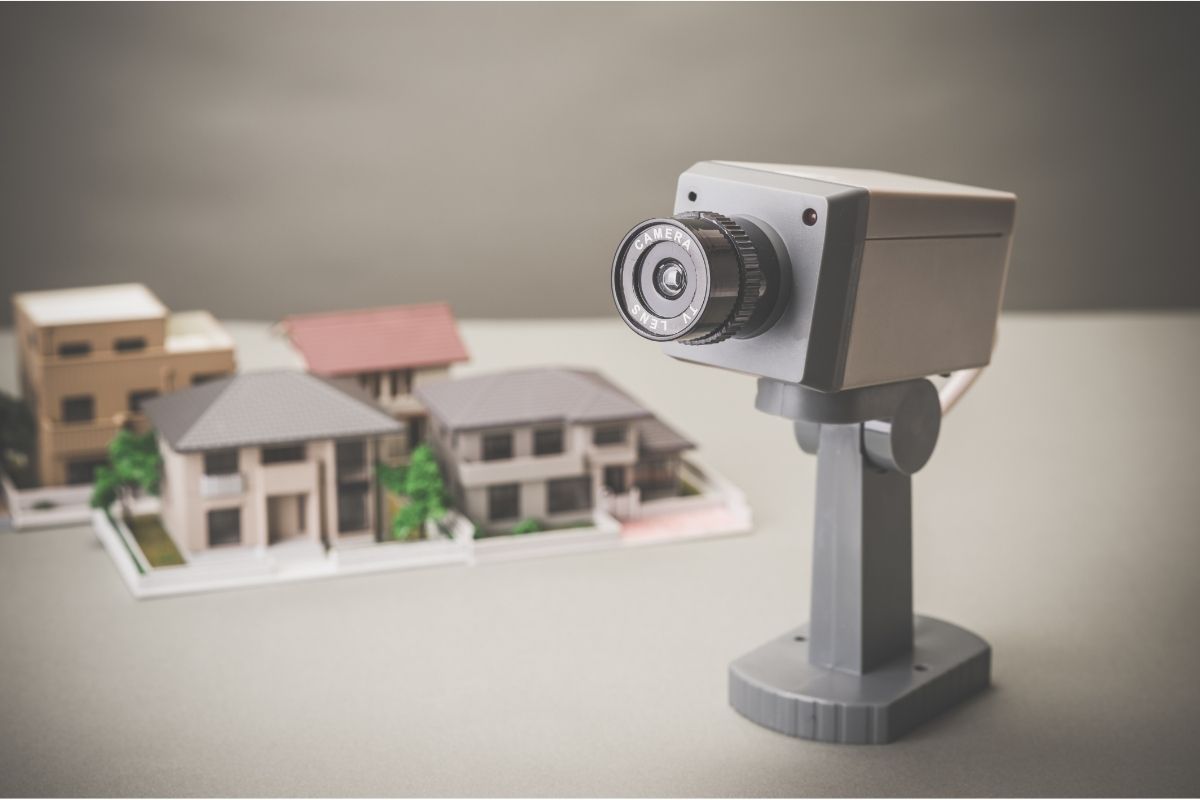
Welcome to the world of home security and surveillance! In today’s uncertain times, it’s essential to protect our homes and loved ones from potential threats. And what better way to do that than by installing a wired security system outside your manufactured home? With advancements in technology, home security systems have become more affordable, user-friendly, and effective.
In this comprehensive guide, we will walk you through the process of installing a wired security system outside your manufactured home. Whether you’re a DIY enthusiast or looking to hire a professional, this article will provide you with valuable insights and step-by-step instructions to ensure optimal security for your home.
Before we delve into the installation process, let’s briefly discuss the advantages of a wired security system.
A wired security system offers several benefits over wireless options. Firstly, it provides a more stable and reliable connection, ensuring uninterrupted surveillance. Secondly, wired systems are known for their superior video quality, allowing you to capture clear images and videos. Lastly, wired security systems are less prone to interference from other devices, providing you with a more secure and dependable solution.
Now that we understand the advantages, let’s explore the important things to consider before installing a wired security system outside your manufactured home.
Key Takeaways:
- Installing a wired security system outside your manufactured home provides stability, clear video quality, and resistance to interference, ensuring enhanced safety and protection for your property and loved ones.
- Before installation, consider factors such as security needs, budget, compatibility, and future expansion options to make informed decisions and ensure your wired security system meets your specific needs.
Things to Consider Before Installing a Wired Security System
Before diving into the installation process, it’s crucial to consider a few factors that will help you make informed decisions about your wired security system. Let’s take a look at what you should consider:
- Security Needs: Assess your security needs and determine what areas of your manufactured home require surveillance. Identify potential entry points such as doors, windows, and other vulnerable areas that require monitoring.
- Budget: Establish a budget for your security system. Consider the cost of cameras, sensors, control panels, and any additional accessories you may need. Keep in mind that while wired systems tend to provide a more stable connection, they can be slightly more expensive upfront due to the wiring installation.
- Compatibility: Ensure that the wired security system you choose is compatible with your manufactured home. Some systems may require additional wiring or modifications, so it’s important to select one that fits seamlessly with your home’s infrastructure.
- Expansion Options: Think about any future expansion needs. Consider whether you may want to add more cameras or sensors later on and ensure that the system you choose can accommodate your plans for future expansion.
- Power Source: Determine how you plan to power your security system. While some systems connect directly to a power source, others may require batteries or a power supply. Consider the availability and reliability of power sources near your security device placements.
- Insurance Requirements: Check with your insurance provider to see if there are any specific requirements for your security system. Installing a wired security system may offer potential discounts on your home insurance premiums, so it’s worth exploring this possibility.
- Local Regulations: Research any local regulations or permits required for installing a security system. Some areas may have specific rules around surveillance cameras or wiring installation, so it’s important to comply with the local regulations and obtain any necessary permits.
- Professional Installation: Consider whether you want to install the system yourself or hire a professional. While DIY installation can save money, hiring an experienced installer ensures that the system is set up correctly and maximizes the system’s effectiveness.
Taking these factors into account will help you make informed decisions and ensure that your wired security system meets your specific needs. Now, let’s move on to the step-by-step installation process for your wired security system outside your manufactured home.
Step 1: Choose the Right Security System for Your Manufactured Home
Choosing the right security system for your manufactured home is crucial to ensure optimal protection. Here are some factors to consider when selecting your security system:
- Type of System: Determine the type of wired security system that suits your needs. You have options such as a camera-based system, sensor-based system, or a combination of both. Consider the level of surveillance you require and choose accordingly.
- Number of Cameras and Sensors: Assess the areas of your home that require monitoring and decide how many cameras and sensors you need. This will depend on the size of your property and the level of coverage you want.
- Camera Resolution and Features: Look for security cameras with high resolution to capture clear and detailed images. Features such as night vision, motion detection, and two-way audio can enhance the effectiveness of your security system.
- Control Panel and Monitoring: Consider the type of control panel that suits your preferences. You may opt for a panel with a touchscreen interface or one that can be controlled remotely through a mobile app. Additionally, decide if you want professional monitoring services or if self-monitoring is sufficient for your needs.
- Compatibility and Expandability: Ensure that the security system you choose is compatible with your manufactured home and any existing security infrastructure you may have. Also, consider whether the system allows for easy expansion in the future if you decide to add more cameras or sensors.
- Budget: Set a budget for your security system and look for options that fit within your price range. Consider the cost of cameras, sensors, control panels, and any additional features or accessories you may want.
- Read Reviews and Seek Recommendations: Research different security system brands and models, read customer reviews, and seek recommendations from friends or family who may have installed a similar system. This will help ensure you choose a reliable and highly-rated security system.
Once you have considered these factors, you will have a better idea of the type of security system that will best suit your manufactured home. In the next step, we will discuss how to plan the layout and placement of the security devices for maximum effectiveness.
Step 2: Plan the Layout and Placement of Security Devices
Once you have chosen the right security system for your manufactured home, it’s essential to plan the layout and placement of the security devices. Proper placement ensures maximum coverage and effectiveness of your surveillance system. Consider the following factors when planning the layout:
- Entry Points: Identify the entry points to your home, such as doors, windows, and garage. These areas are primary targets for potential intruders, so it’s crucial to have proper surveillance coverage.
- Perimeter Coverage: Assess the perimeter of your manufactured home and determine where you need surveillance coverage. This may include the front yard, backyard, and side areas of your property.
- Line of Sight: Ensure that the cameras have a clear line of sight to the areas you want to monitor. Obstructions such as trees, bushes, or walls can hinder the effectiveness of your security system.
- Height and Angle: Consider the optimal height and angle for camera placement. Mount cameras at a height where they can capture clear images without being easily tampered with. Angle the cameras to cover the widest possible area.
- Coverage Overlaps: Avoid any gaps in coverage by strategically placing cameras and sensors to ensure they overlap their fields of view. This helps eliminate blind spots and increases the chances of capturing any suspicious activities.
- Indoor Surveillance: If you want to monitor the interior of your manufactured home as well, plan the placement of cameras and sensors accordingly. Position cameras in common areas such as the living room, kitchen, and hallway to track movements inside your home.
- Outdoor Lighting: Take into account the availability of outdoor lighting when planning camera placement. Well-lit areas can help improve the quality of surveillance footage and act as a deterrent to potential intruders.
- Protecting Wires: Consider ways to protect the wiring to prevent tampering or damage. Conceal or secure the wires using protective conduit or sheathing, especially if they are exposed or easily accessible.
By carefully planning the layout and placement of your security devices, you can maximize the coverage area and effectiveness of your surveillance system. In the next step, we will discuss the tools and materials you need to gather before starting the installation process.
Step 3: Gather the Necessary Tools and Materials
Before you can begin the installation process of your wired security system outside your manufactured home, it’s important to gather all the necessary tools and materials. Having everything prepared in advance will make the installation process smoother and more efficient. Here is a list of tools and materials you will need:
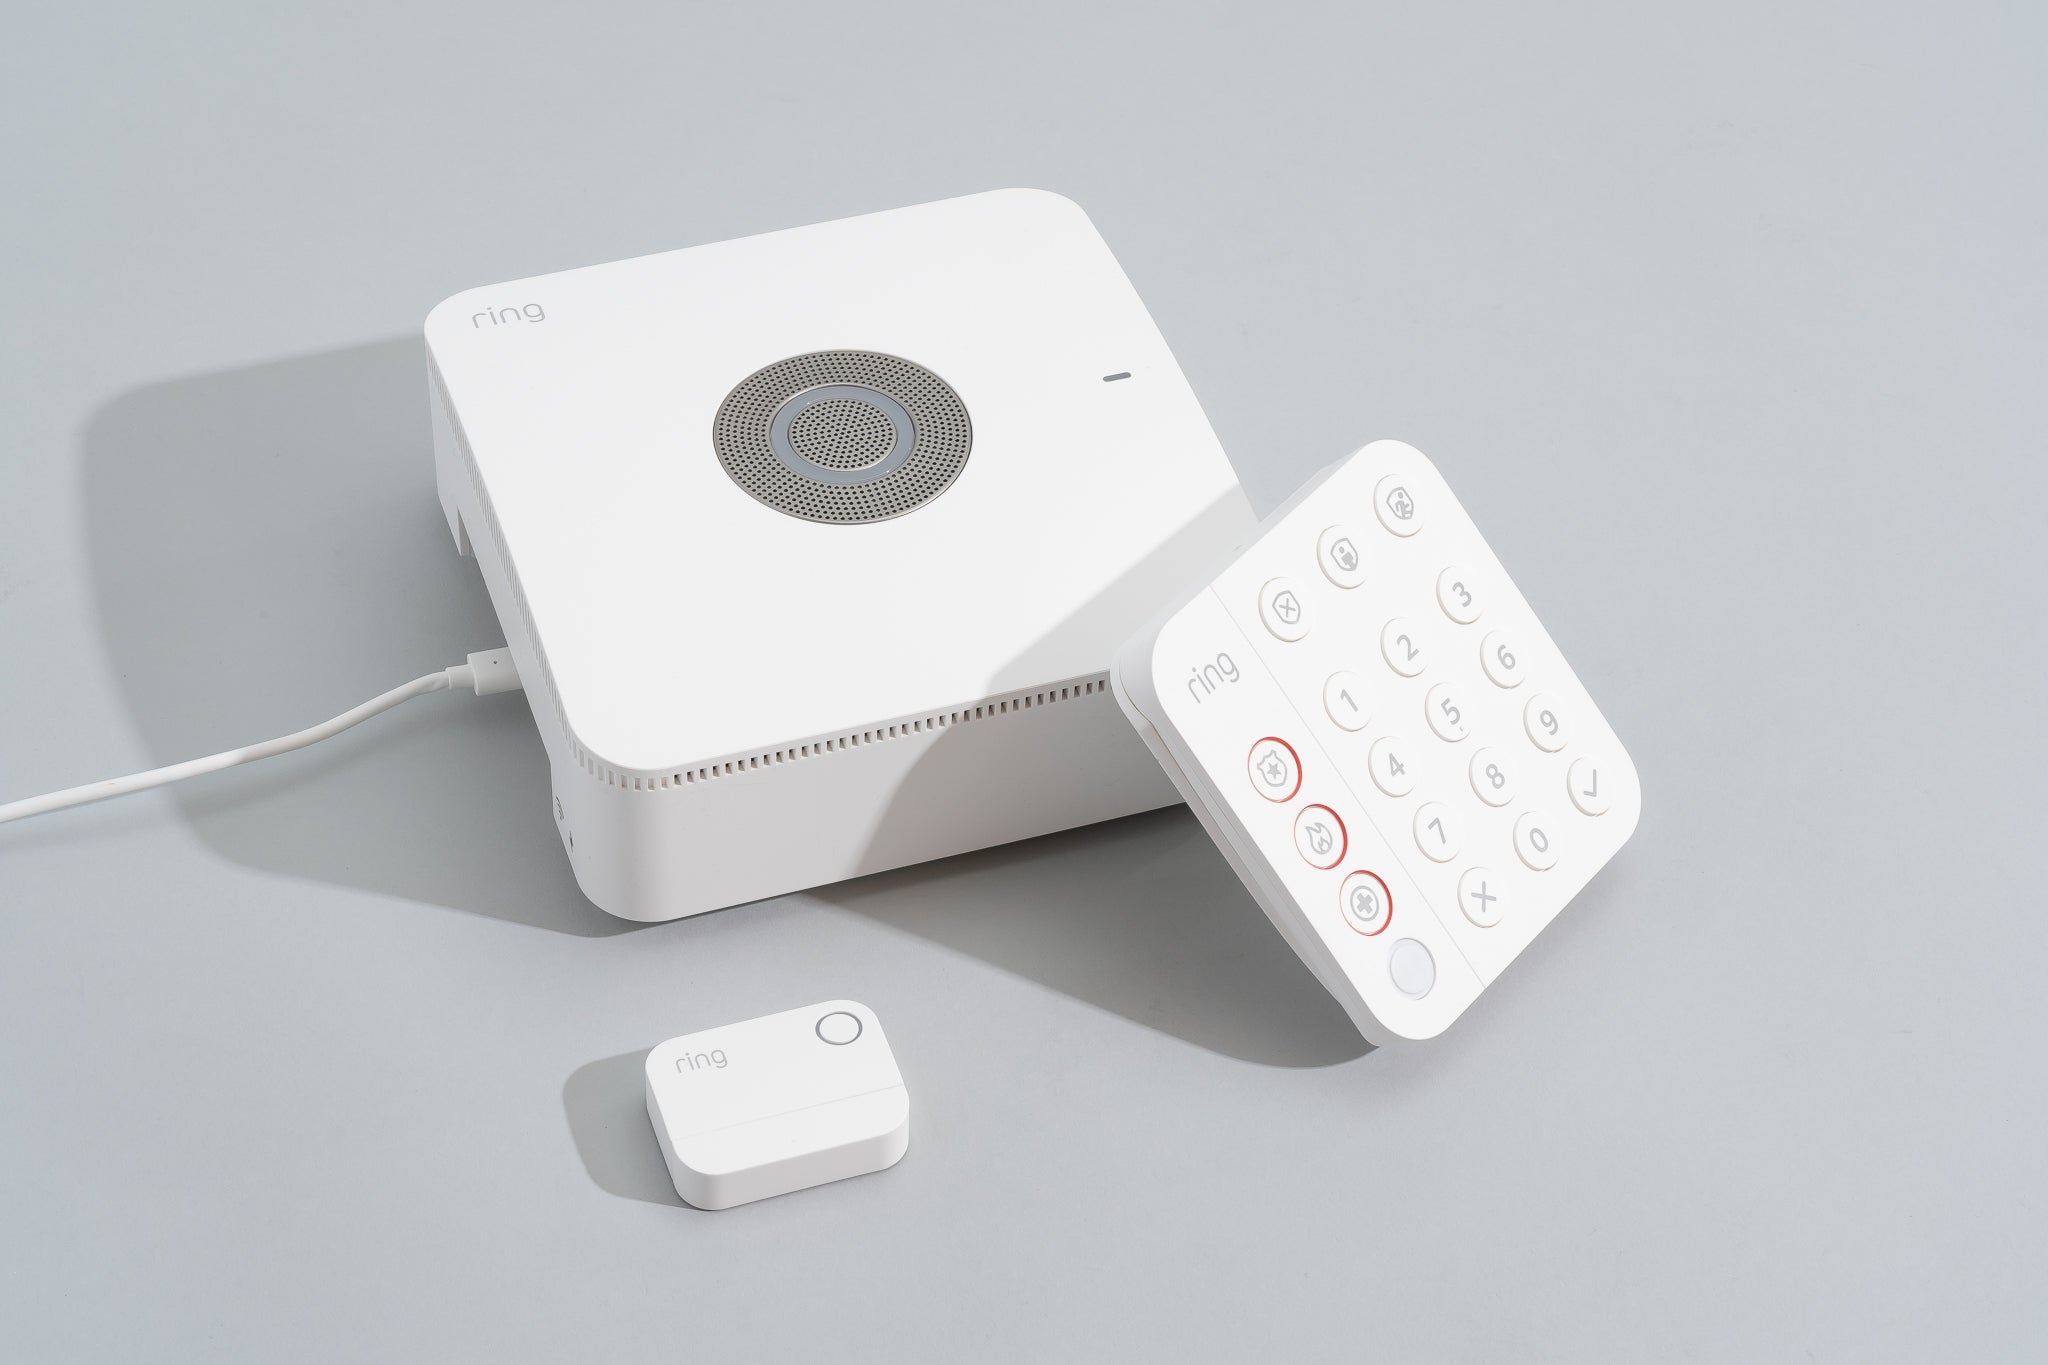
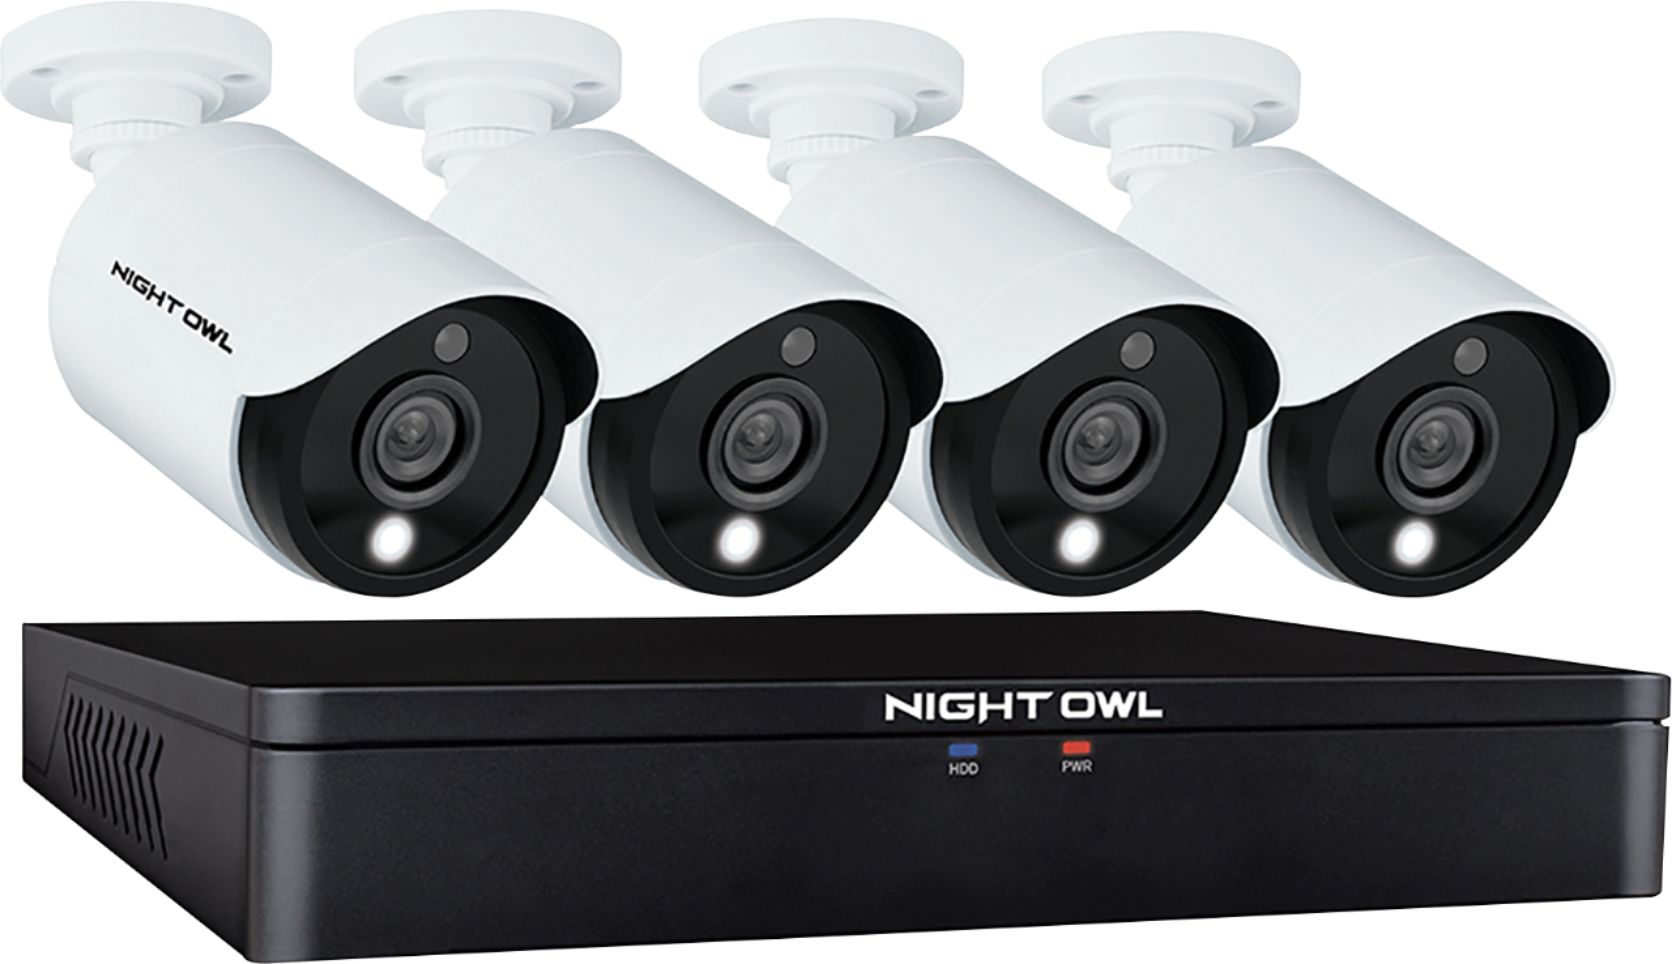
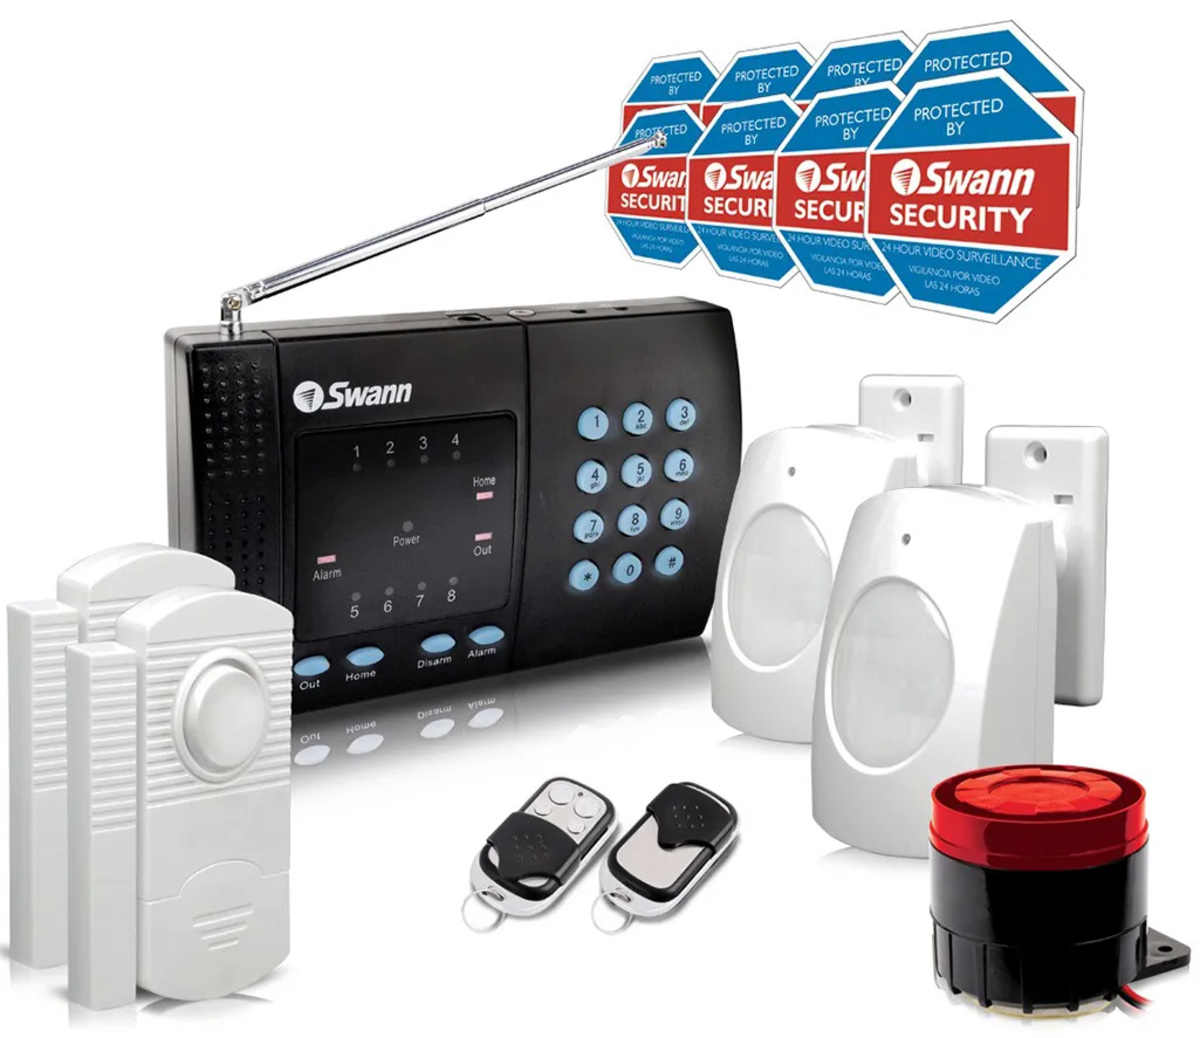
- Security System Kit: Make sure you have purchased a wired security system kit that includes all the essential components, such as cameras, sensors, control panels, and cables.
- Drill: A drill will be needed to create holes for mounting cameras and sensors. Ensure that you have the appropriate drill bits for your specific needs.
- Screwdriver: Keep a screwdriver handy for attaching and securing the cameras, sensors, and control panel to their respective mounts or surfaces.
- Level: Use a level to ensure that the cameras and sensors are straight and properly aligned.
- Cable Clips: These clips are used to secure and organize the cables along the walls or surfaces, keeping them neat and out of the way.
- Electrical Tape: Use electrical tape to secure and protect the connections between cables or to insulate any exposed wiring.
- Ladder or Step Stool: Depending on the height of the installation points, you may need a ladder or step stool to reach and mount cameras and sensors at elevated positions.
- Measuring Tape: Measure distances and ensure accurate placement of cameras and sensors by using a measuring tape.
- Cable Tester: A cable tester will come in handy to ensure that all the wiring connections are properly established and functioning correctly.
- Recording Device: If your security system requires a separate recording device, such as a DVR or NVR, make sure you have it ready for installation and connection to the system.
- Wiring and Connectors: Depending on the length and complexity of your installation, you may need additional wiring and connectors to extend or connect the cables.
- Protective Conduit or Sheathing: If required for protecting the exposed wiring, gather the necessary protective conduit or sheathing to secure and safeguard the cables.
By gathering these essential tools and materials beforehand, you can ensure a smooth and efficient installation process for your wired security system. In the next step, we will discuss how to mount the cameras and sensors in the desired locations.
When installing a wired security system outside on a manufactured home, make sure to use weatherproof cables and connectors to protect the system from the elements. Additionally, secure the cables to the home to prevent damage from wind or other environmental factors.
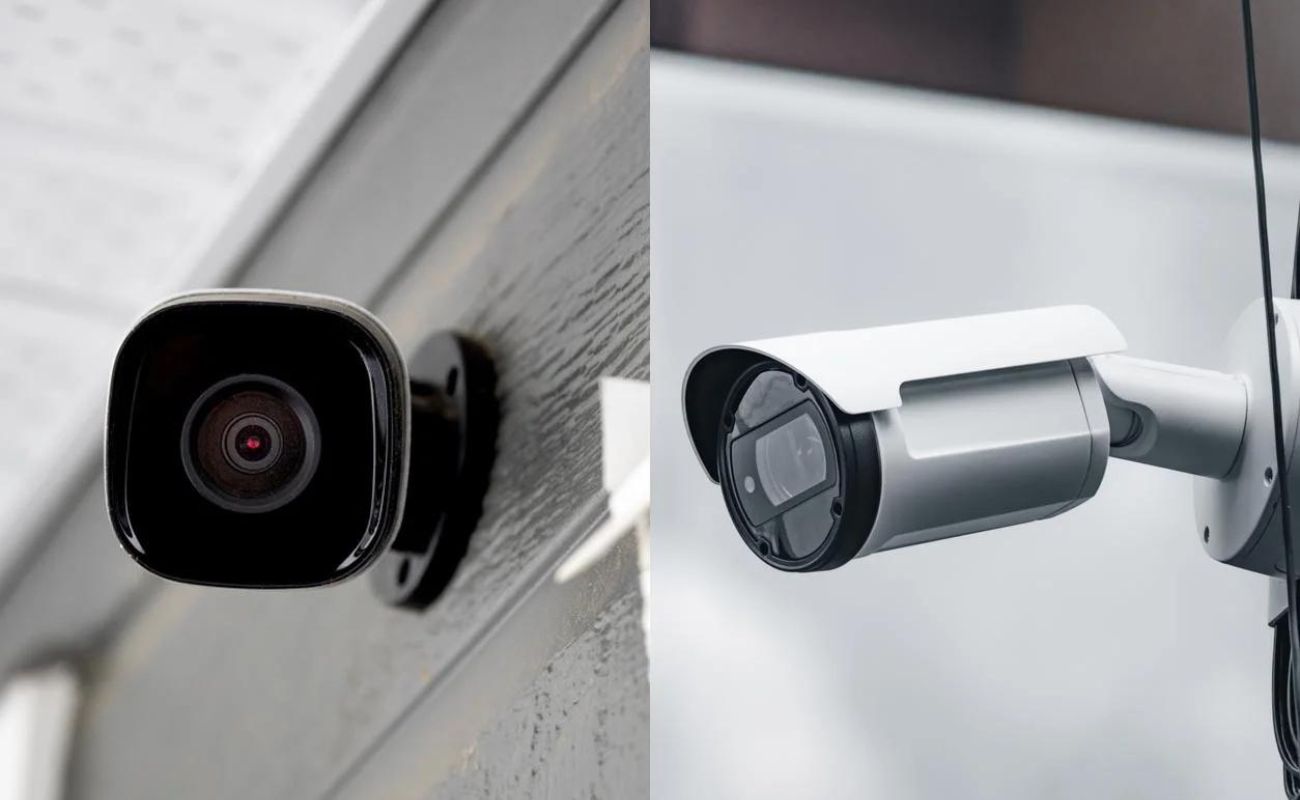
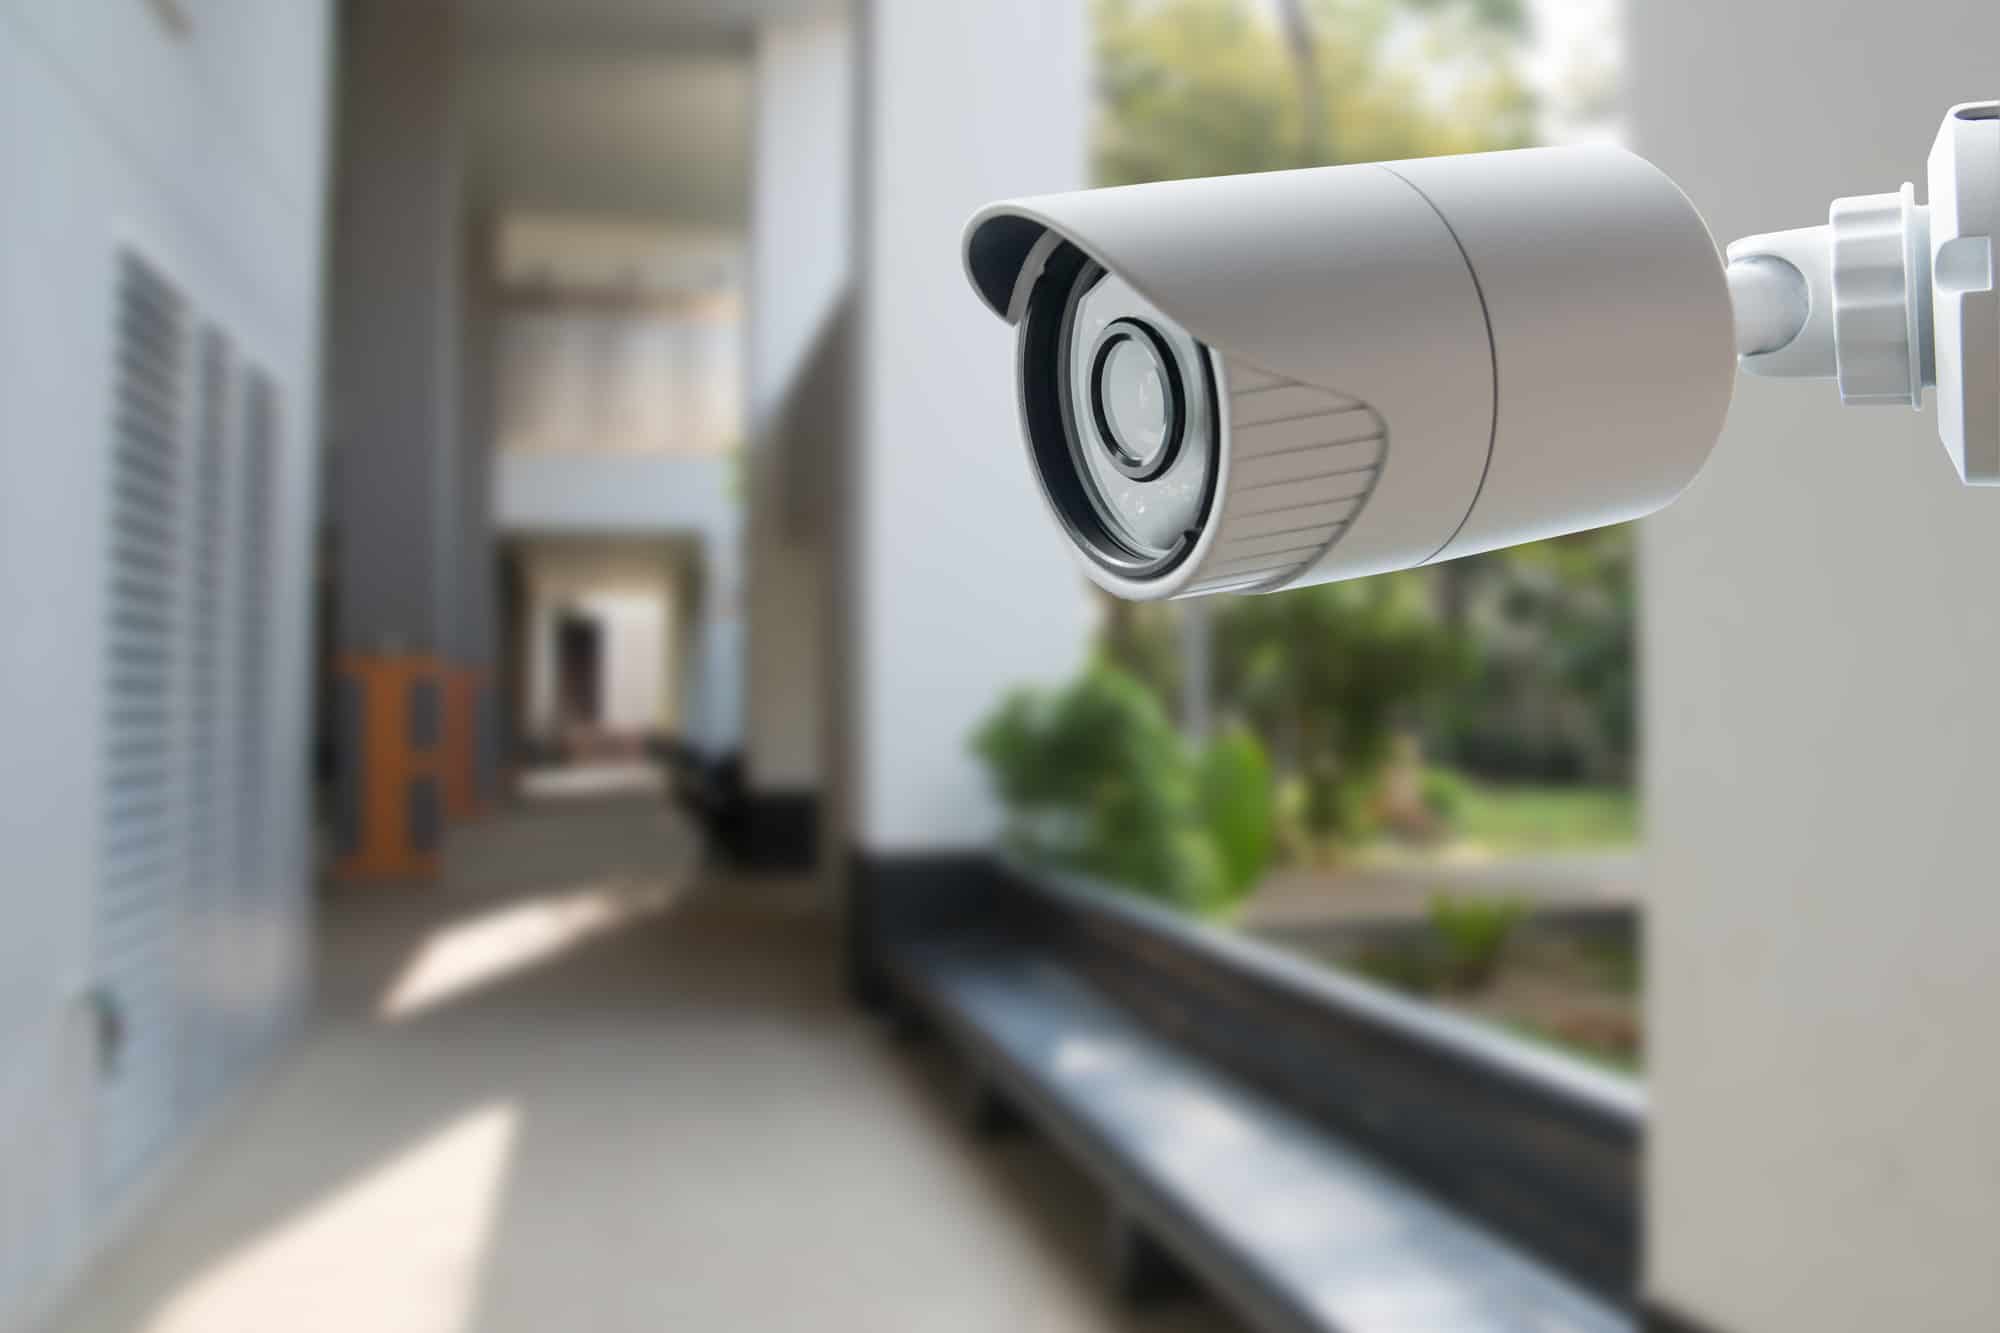
Step 4: Mount the Cameras and Sensors
Now that you have gathered all the necessary tools and materials, it’s time to mount the cameras and sensors in the desired locations around your manufactured home. Proper mounting ensures optimal coverage and effectiveness of your wired security system. Follow these steps to mount the cameras and sensors:
- Choose the Mounting Locations: Refer to your layout plan and identify the predetermined locations where you want to install the cameras and sensors. These locations should provide the best line of sight and coverage for the areas you want to monitor.
- Prepare the Mounting Surfaces: Clean and prepare the mounting surfaces to ensure proper adhesion. If necessary, use sandpaper or a cleaning solution to remove any dirt or debris that may hinder the mounting process.
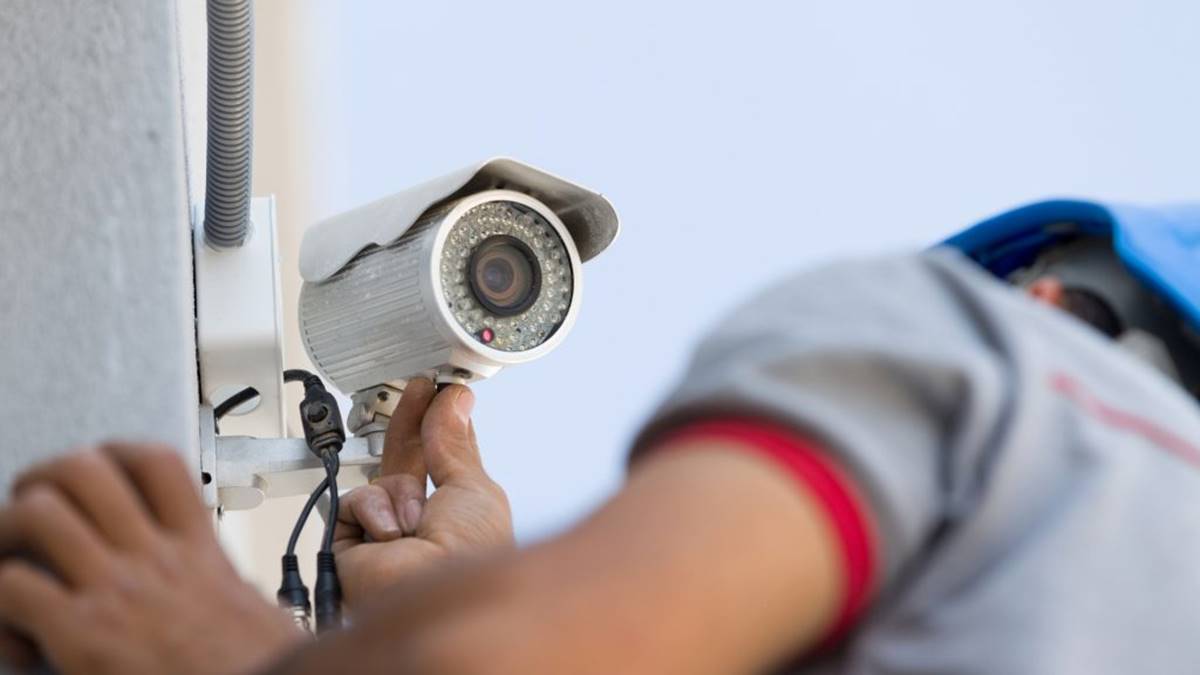
- Mount the Cameras: Use the drill and appropriate screws to mount the cameras securely. Ensure that the cameras are aligned correctly, level, and facing the desired direction. If possible, aim the cameras slightly downward to capture a wider field of view.
- Mount the Sensors: Similarly, use the drill and screws to mount the sensors in the predetermined positions. Place the sensors at the appropriate height and angle to detect any movement or activity in the designated areas. Use a level to make sure they are properly aligned.
- Test the Mounting Stability: Once the cameras and sensors are mounted, give them a gentle shake or tug to ensure they are securely attached. This step is essential to prevent any accidental dislodging or misalignment after the installation process.
- Adjust the Angles: Fine-tune the angles of the cameras and sensors to optimize their coverage. Use the level as a guide to ensure they are properly aligned and adjusted for the best possible view of the monitored areas.
- Secure the Wiring: As you mount the cameras and sensors, secure the wiring using cable clips or any protective conduit or sheathing you have. This helps keep the wiring neat, organized, and out of sight, while also protecting it from potential damage or tampering.
By following these steps, you can successfully mount the cameras and sensors in the desired locations around your manufactured home. In the next step, we will discuss how to run the wiring for your security system.
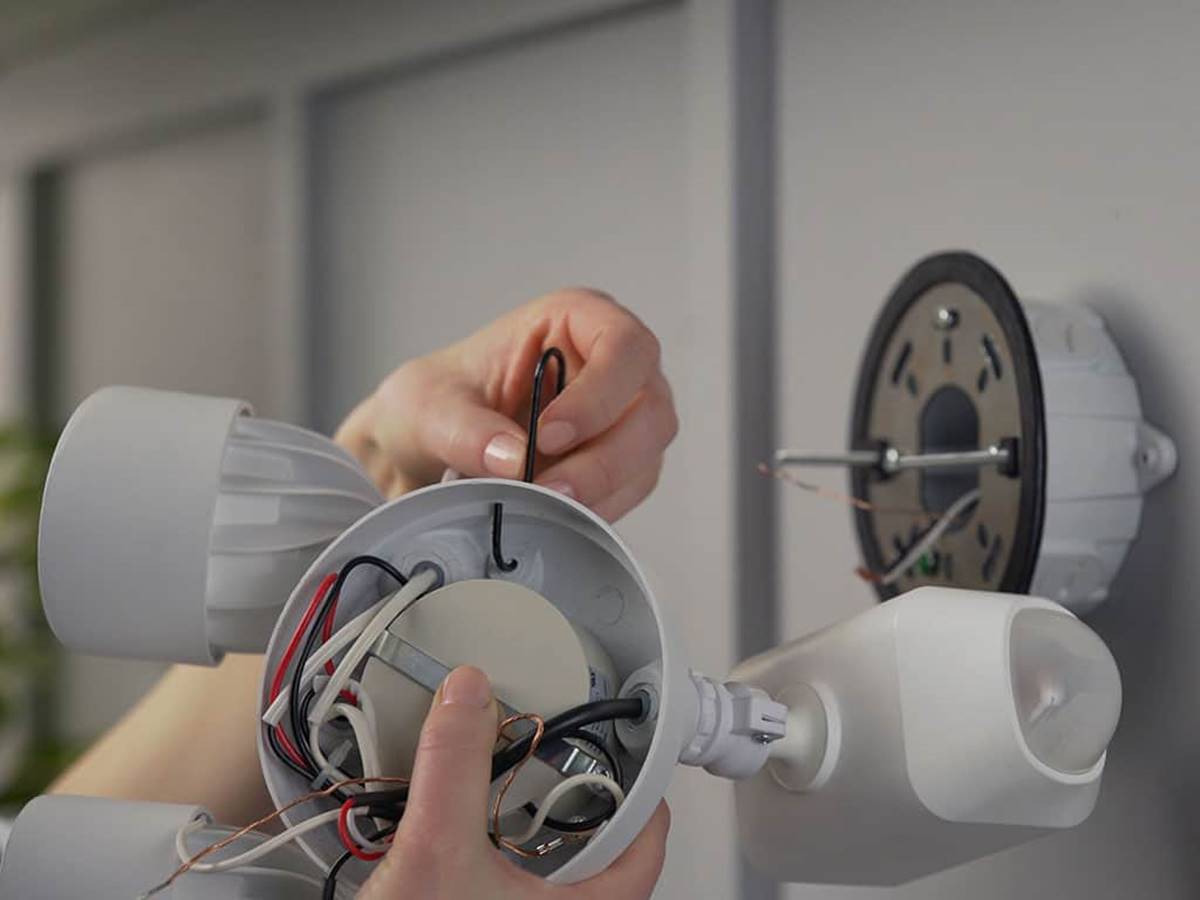
Step 5: Run the Wiring for the Security System
Running the wiring for your security system is a crucial step in the installation process. Properly installed and concealed wiring ensures a clean and professional look while ensuring that your security system functions optimally. Follow these steps to run the wiring for your wired security system:
- Plan the Wiring Routes: Determine the most efficient routes for running the wiring from the cameras and sensors to the control panel or recording device. Consider pathways that will keep the wiring hidden and out of the way, such as running it along walls or ceilings.
- Drill Access Holes: Use the drill to create access holes at strategic points where the wiring will pass through walls or ceilings. Be mindful of electrical wiring, plumbing, and other potential obstructions behind the walls.
- Feed the Wiring: Begin feeding the wiring through the access holes, starting from the cameras and sensors and working your way towards the control panel or recording device location. This may require fishing the wiring through walls or using conduit or raceways to conceal the wiring.
- Secure the Wiring: Along the route, use cable clips or clips specifically designed for securing low-voltage wiring to fasten the wiring to walls, ceilings, or other surfaces. This helps prevent hanging or loose wiring and maintains the aesthetics of your home.
- Maintain Wiring Separation: If running multiple wires, ensure proper separation between power and data cables, as interference can affect the performance of your security system. Keep the wiring separated and organized to minimize any potential signal interference.
- Conceal the Wiring: Conceal the exposed wiring using conduit, raceways, or any other approved methods that align with the aesthetics and design of your home. This helps protect the wiring from tampering or accidental damage while maintaining a clean appearance.
- Label and Document: As you run the wiring, label each cable and document the routing and connection points. This will be helpful for future reference, troubleshooting, or any future system expansions you may undertake.
- Test the Wiring Connections: Once the wiring is in place, ensure that all connections are securely fastened and properly connected to their respective devices. Use a cable tester to verify the integrity of the wiring connections.
By following these steps, you can successfully run the wiring for your security system, ensuring that it is hidden, organized, and connected properly. In the next step, we will discuss how to connect the cameras and sensors to the control panel or recording device.
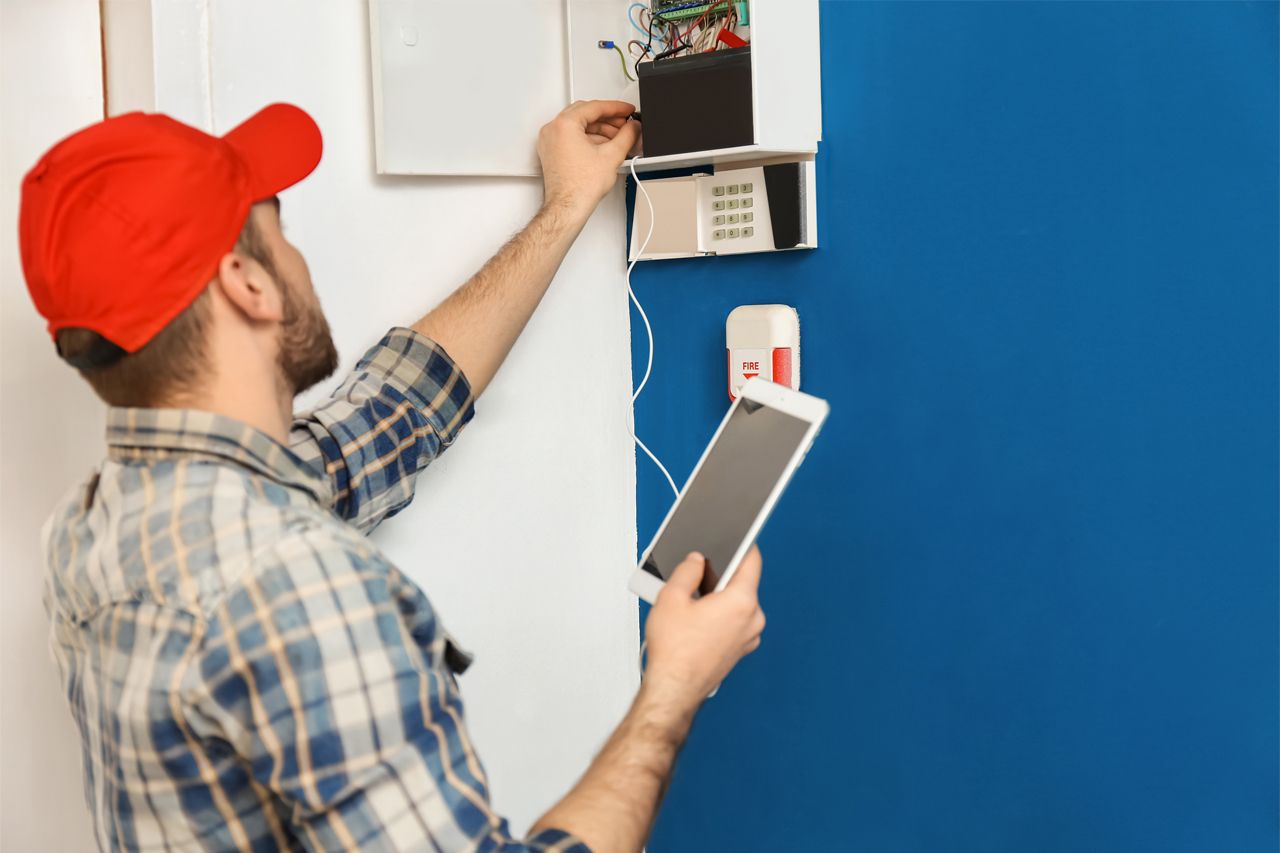
Step 6: Connect the Cameras and Sensors to the Control Panel
Once you have run the wiring for your security system, the next step is to connect the cameras and sensors to the control panel or recording device. This step establishes the communication between the devices, allowing for monitoring and surveillance. Follow these steps to connect the cameras and sensors:
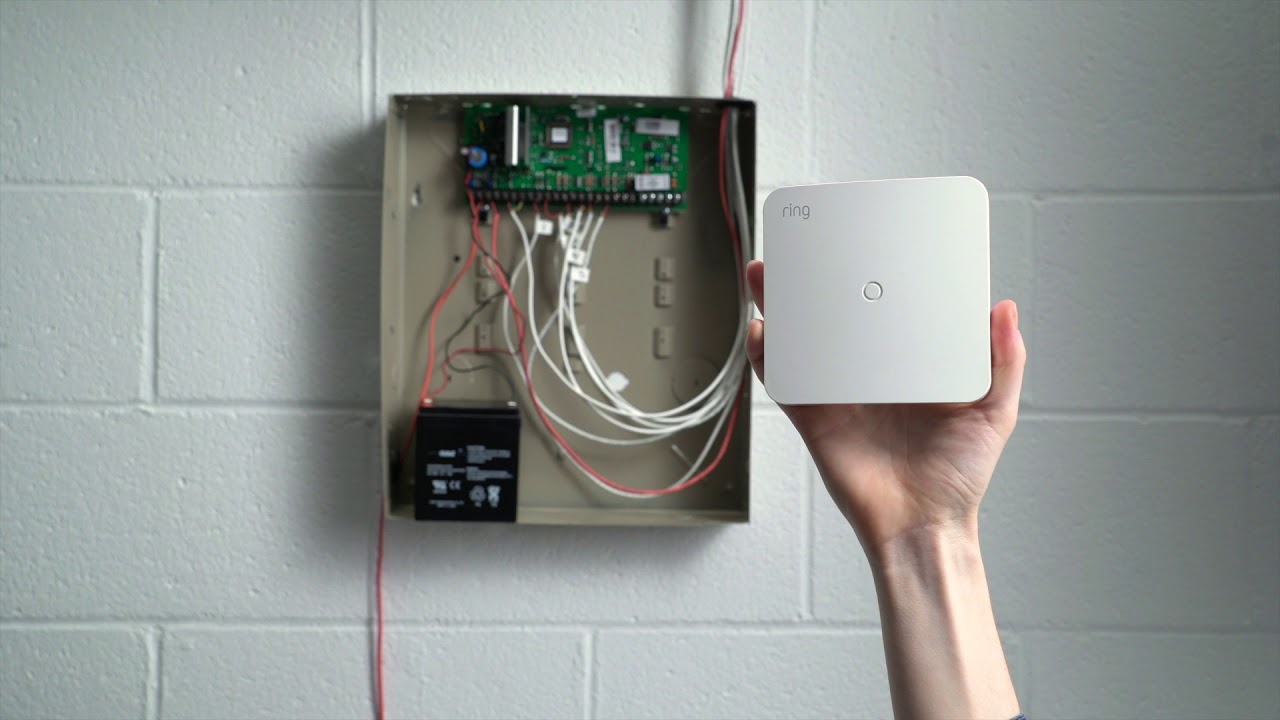
- Locate the Control Panel: Identify the location of the control panel or recording device for your wired security system. This is usually placed in a central and secure area of your home.
- Identify Wiring Connections: Locate the wiring connections on the control panel or recording device. These connectors are usually labeled and correspond to the cameras and sensors you have installed.
- Strip the Wiring: Strip a small portion of the outer insulation from each wire end to expose the inner conductor. Be cautious not to damage or break the inner conductors of the wires.
- Connect the Cameras and Sensors: Match the colors or labeling of the wires from the cameras and sensors to the corresponding connectors on the control panel or recording device. Insert each wire securely into its respective connector, ensuring a proper connection.
- Tighten the Connections: Use a screwdriver or any provided locking mechanism to tighten the connections between the wires and the control panel or recording device. This ensures a secure and stable connection.
- Verify the Connections: Double-check each connection to ensure they are properly inserted, secured, and fully seated in the connectors. Ensure that there are no loose or exposed wires.
- Power On and Test: Power on the control panel or recording device and test the cameras and sensors to ensure they are functioning correctly. Verify that the video feed and sensor readings appear on the control panel or recording device as expected.
By following these steps, you can successfully connect the cameras and sensors to the control panel or recording device. This establishes the communication between your security devices, allowing for effective monitoring and surveillance. In the final step, we will discuss how to test the system and make any necessary adjustments.
Step 7: Test the System and Make Adjustments
After successfully connecting the cameras and sensors to the control panel or recording device, it is crucial to test the system to ensure that it is functioning properly. Testing allows you to identify any potential issues and make any necessary adjustments for optimal performance. Follow these steps to test the system and make adjustments:
- Check Camera Feeds: Monitor the live camera feeds on the control panel or recording device to ensure each camera is capturing clear images and videos. Verify that the camera angles are correctly adjusted to cover the intended areas.
- Trigger Sensor Alerts: Test the sensors by intentionally triggering their detection mechanisms. Walk in front of motion sensors or open/close windows or doors to trigger their alarms. Verify that the control panel or recording device receives the alerts and responds accordingly.
- Review Recording Playback: If your system includes recording capabilities, review the recorded footage to ensure it is clear and properly archived. Check for any skipped frames, pixelation, or other issues that may affect the overall recording quality.
- Test Notifications: If you have set up notifications, such as emails, text messages, or push notifications, test them to ensure you receive alerts when triggered. Verify that the notifications are prompt and accurate.
- Make Necessary Adjustments: Based on the test results, make any necessary adjustments to improve the system’s performance. This may include repositioning cameras, adjusting sensor sensitivity, or fine-tuning any other settings to better suit your needs.
- Consult the User Manual: If you encounter any difficulties or have specific questions about your system, refer to the user manual provided by the manufacturer. The manual will provide further guidance on troubleshooting or advanced configuration options.
- Finalize System Setup: Once you are satisfied with the system’s performance and any adjustments you have made, finalize the setup by securing all connections, organizing any wiring, and ensuring that the control panel or recording device is properly installed and powered.
By thoroughly testing the system and making any necessary adjustments, you can ensure that your wired security system is fully functional and optimized for your specific needs. Regularly perform maintenance checks to keep the system in top condition and address any issues promptly. With a properly installed and functioning system, you can enjoy enhanced security and peace of mind for your manufactured home.
Congratulations! You have successfully installed a wired security system outside your manufactured home. Remember to familiarize yourself with the system’s features and functionalities, and regularly test and maintain the system to keep it operating at its best.
Read more: How To Upgrade My Wired Security System
Conclusion
Home security is of paramount importance, and installing a wired security system outside your manufactured home is an effective way to enhance the safety and protection of your property and loved ones. Throughout this comprehensive guide, we have explored the steps and considerations involved in the installation process.
We started by highlighting the advantages of a wired security system, including its stability, video quality, and resistance to interference. Then, we delved into the crucial factors to consider before installing a security system, such as your security needs, budget, compatibility, and expansion options.
Next, we discussed how to choose the right security system for your manufactured home, including the type of system, number of cameras and sensors, and desired features. We then moved on to planning the layout and placement of the security devices, considering entry points, line of sight, and coverage overlaps.
Once the planning was complete, we emphasized the importance of gathering the necessary tools and materials for a seamless installation process. This included tools such as drills, screwdrivers, levels, and materials like cable clips and protective conduit.
We then walked through the step-by-step process of mounting the cameras and sensors, ensuring proper alignment, stability, and concealment. Subsequently, we covered the essential task of running the wiring, emphasizing the need for careful planning, routing, and separation of power and data cables.
After running the wiring, we discussed connecting the cameras and sensors to the control panel or recording device, establishing the crucial communication between devices. Finally, we highlighted the importance of testing the system, reviewing camera feeds, triggering sensor alerts, and making any necessary adjustments for optimal performance.
In conclusion, installing a wired security system outside your manufactured home is a worthwhile investment to deter potential intruders and enhance the safety of your property. By following the steps outlined in this guide, you can successfully install and configure a robust security system that offers peace of mind and protection for you and your loved ones.
Remember to regularly maintain and test your security system, ensuring its continued effectiveness. Stay vigilant and take proactive steps to protect your home, making it a secure haven for your family.
Frequently Asked Questions about How To Install A Wired Security System Outside On A Manufactured Home
Was this page helpful?
At Storables.com, we guarantee accurate and reliable information. Our content, validated by Expert Board Contributors, is crafted following stringent Editorial Policies. We're committed to providing you with well-researched, expert-backed insights for all your informational needs.