Home>Home Security and Surveillance>How To Install A Home Security System
Home Security and Surveillance
How To Install A Home Security System
Modified: March 6, 2024
Learn how to install a home security system for optimal protection and surveillance. Safeguard your property with our step-by-step guide and expert tips.
(Many of the links in this article redirect to a specific reviewed product. Your purchase of these products through affiliate links helps to generate commission for Storables.com, at no extra cost. Learn more)
Introduction
Feeling safe and secure in our homes is a priority for all of us. In a world where threats and intrusions can happen at any time, investing in a home security system is a wise decision. A well-designed and properly installed home security system can give you peace of mind, knowing that you have taken steps to protect your loved ones and your valuable belongings.
In this article, we will guide you through the process of installing a home security system. From assessing your security needs to choosing the right equipment and setting it up, we will provide you with a comprehensive overview that will help you navigate the world of home security with confidence.
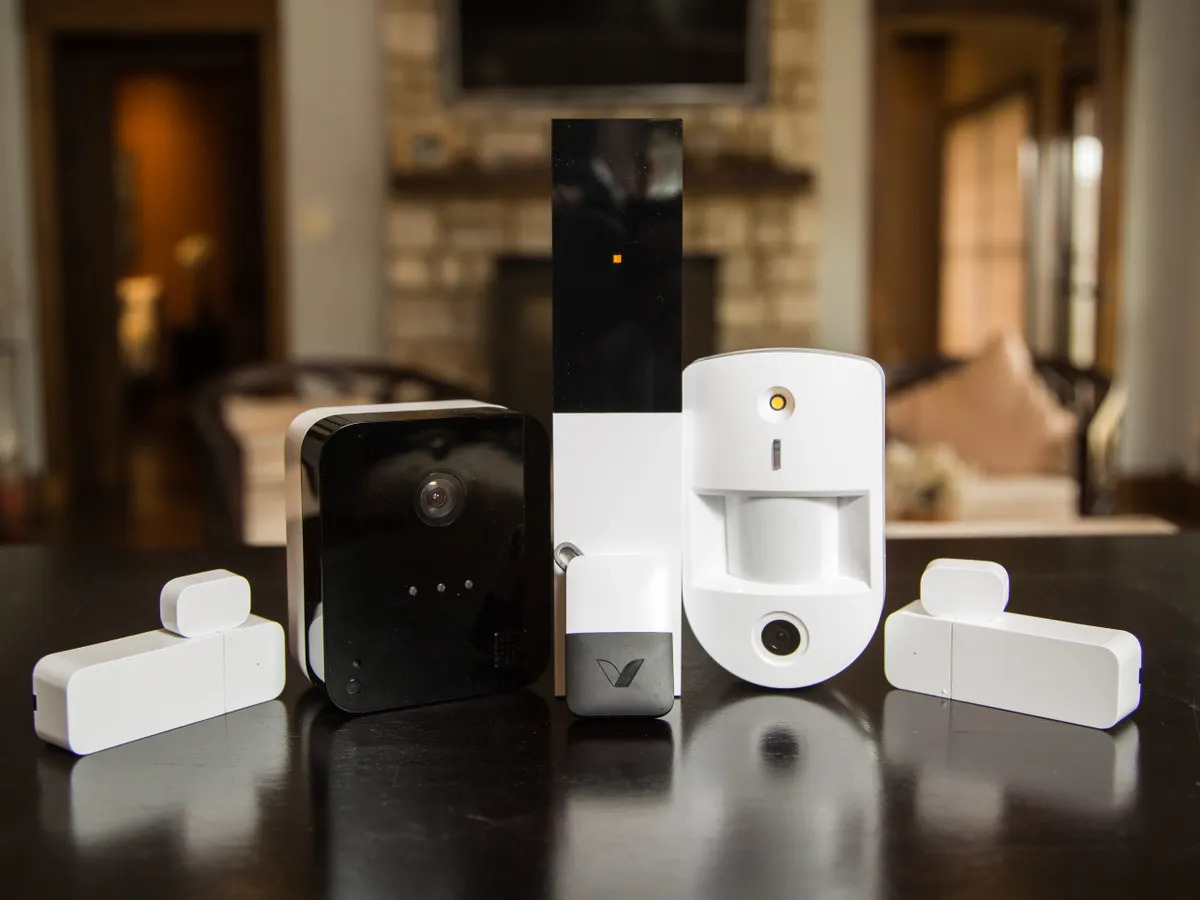
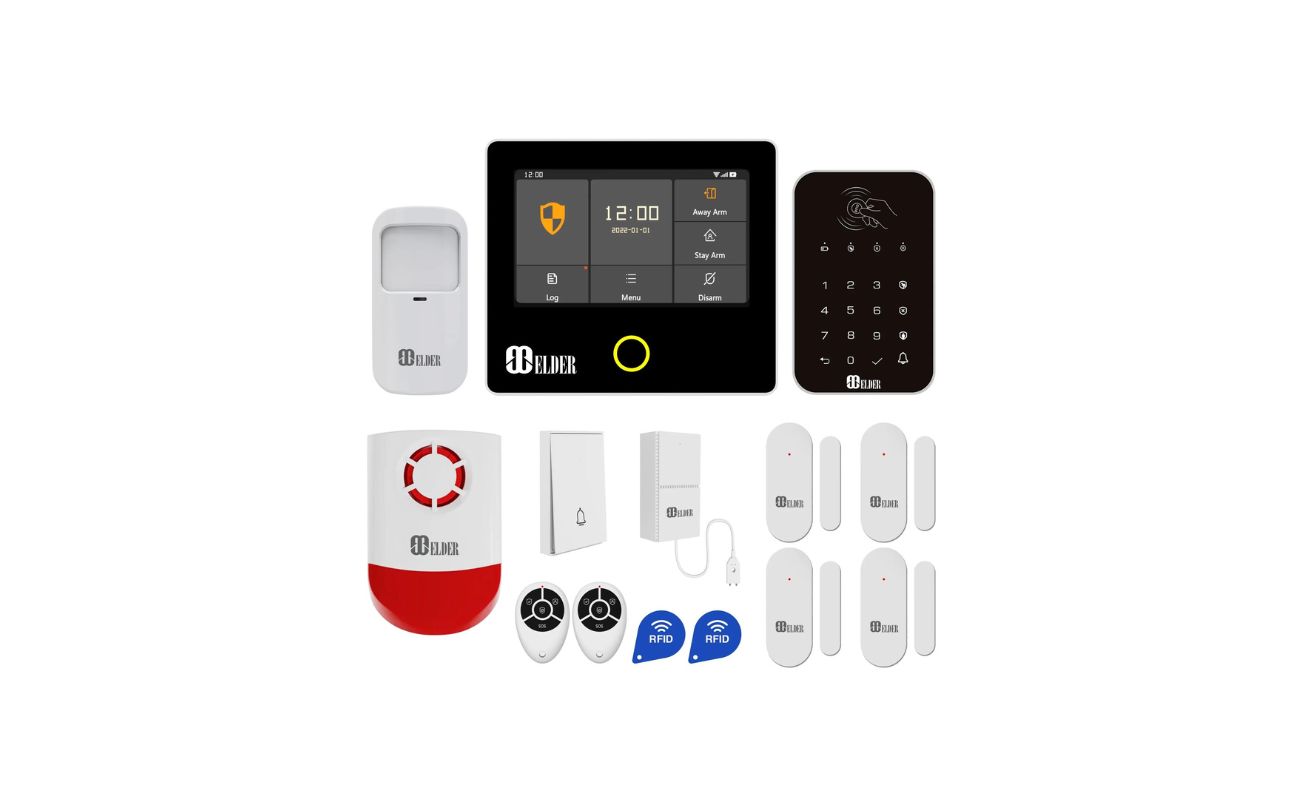
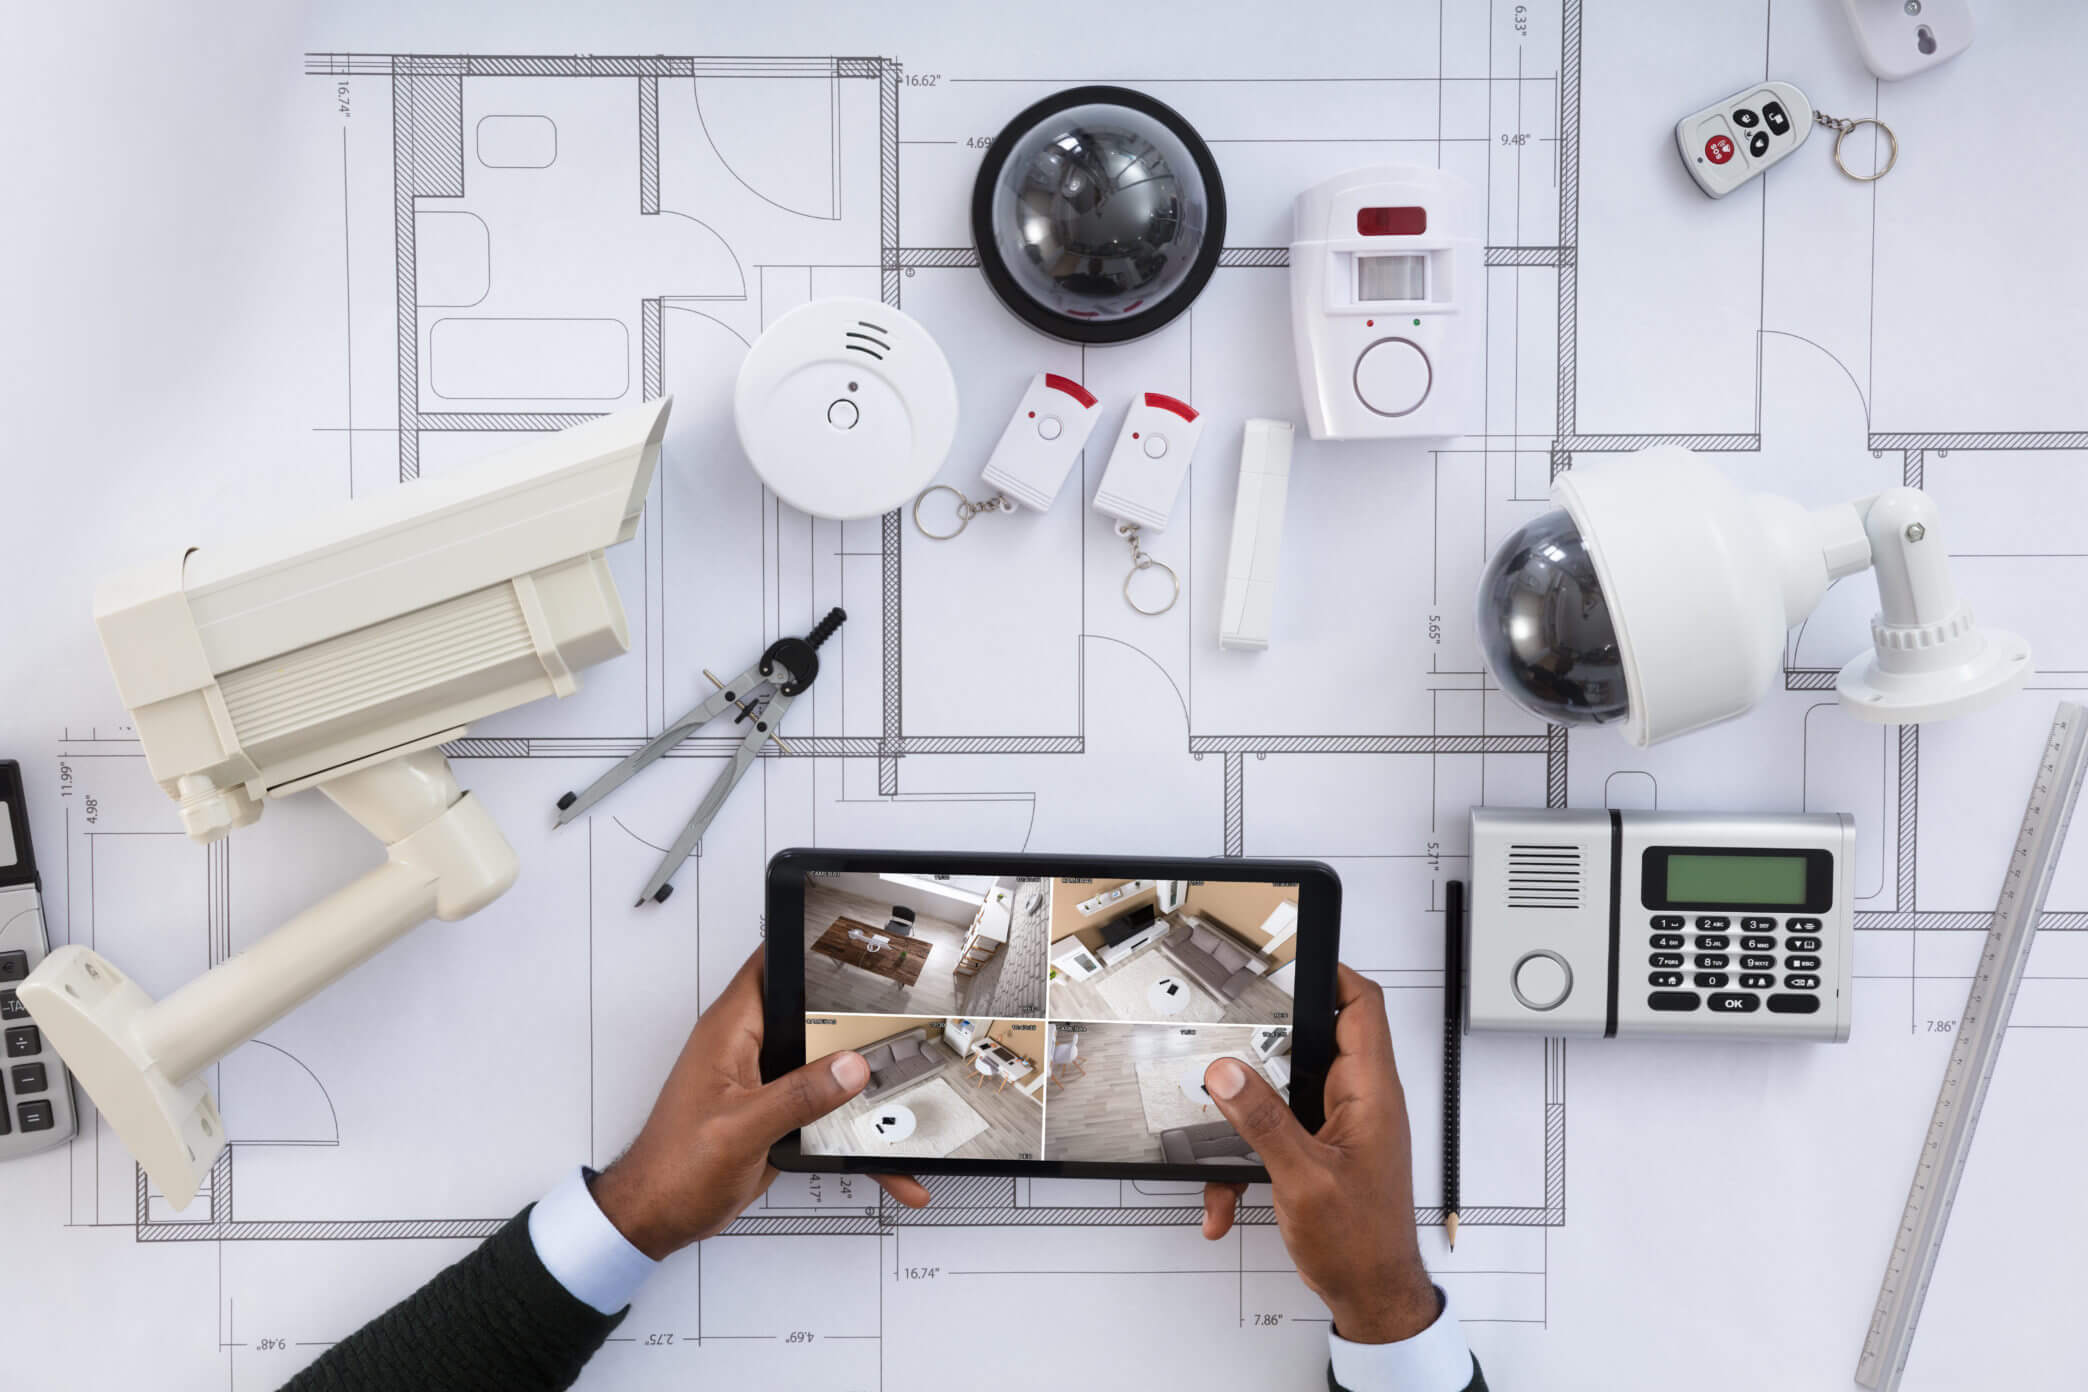
Before diving into the installation process, it is important to understand the different components of a home security system and what they offer. A typical home security system consists of a control panel, door and window sensors, motion sensors, surveillance cameras, and a monitoring service.
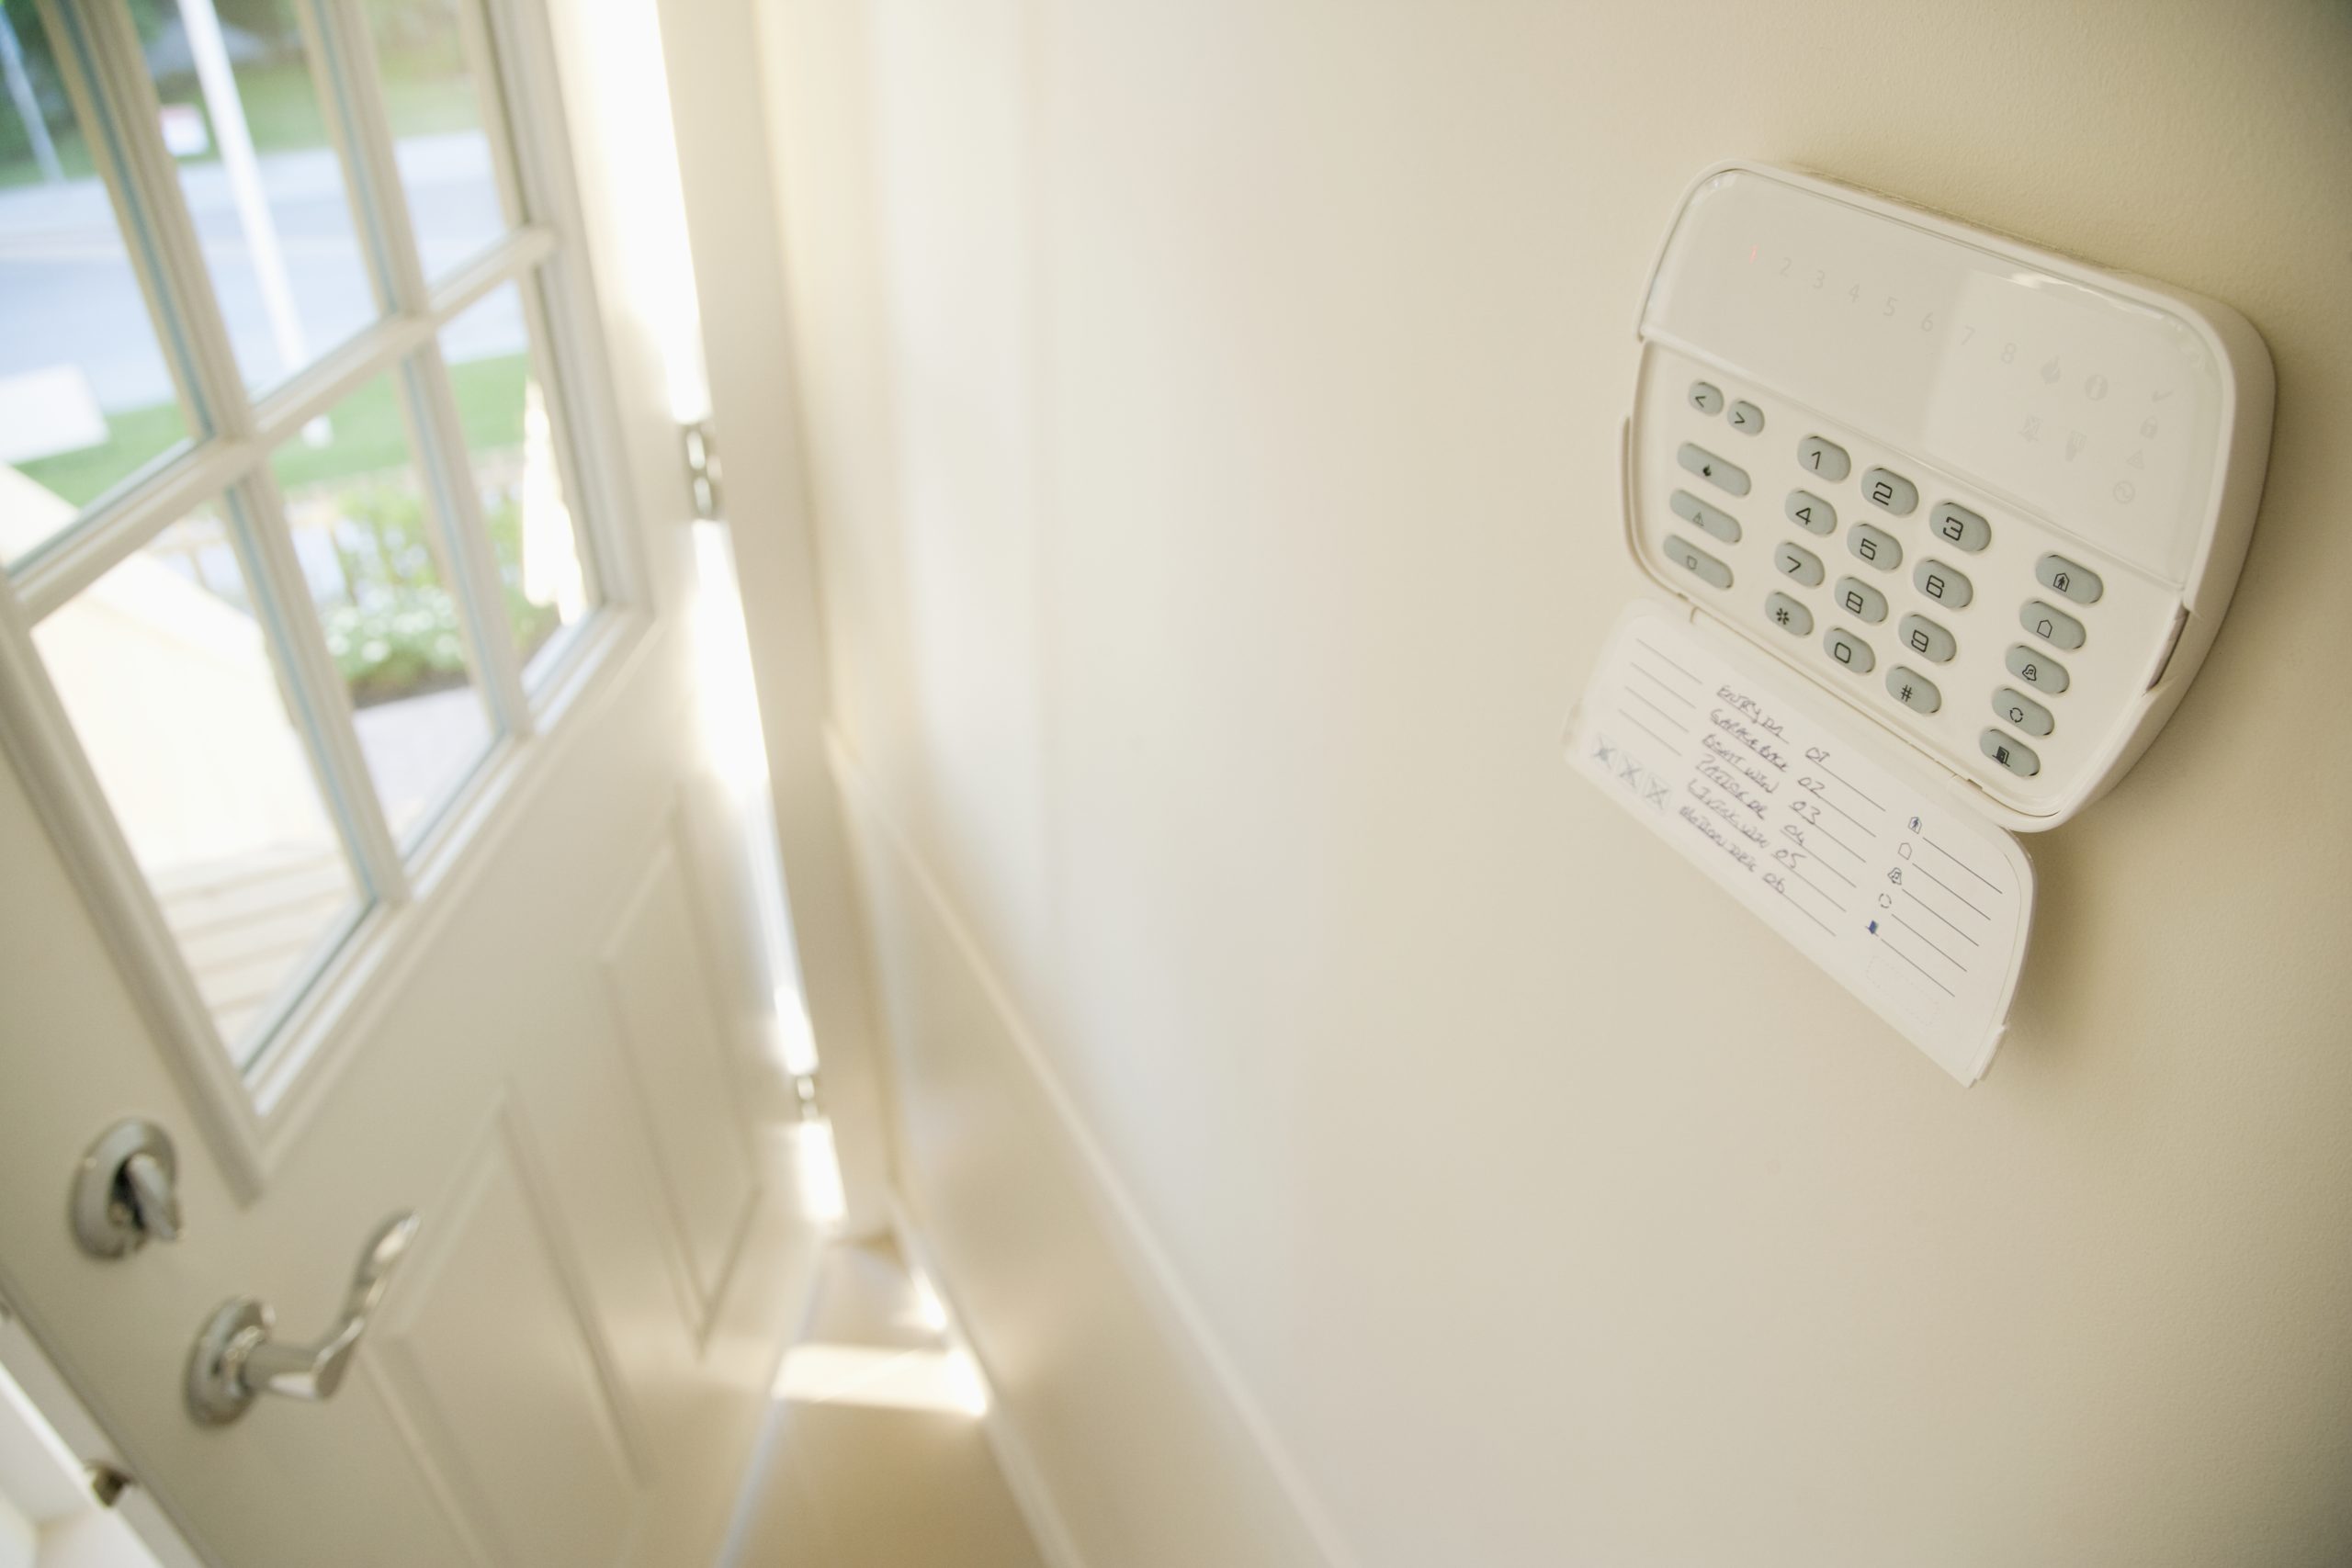
The control panel serves as the central hub of the system, allowing you to arm and disarm the system, customize settings, and receive alerts. Door and window sensors detect any unauthorized openings and trigger the alarm. Motion sensors detect movement in specific areas and can be customized to ignore pets or other non-threatening objects.
Surveillance cameras provide visual monitoring of your property and can be placed strategically to maximize coverage. Lastly, a monitoring service provides an additional layer of security by alerting the authorities in case of a break-in or emergency. Now that we have a basic understanding of the components, let’s move on to the installation process.
Key Takeaways:
- Assess your home’s security needs by considering entry points, lifestyle, and monitoring preferences. This sets the foundation for choosing the right system that aligns with your requirements and budget.
- Properly installing and testing your home security system, along with regular maintenance, ensures it functions effectively to protect your home and loved ones. Regular testing and maintenance are essential for optimal performance.
Step 1: Assessing your home security needs
Before diving into the installation process, it is essential to assess your home security needs. Understanding your specific requirements will help you make informed decisions when choosing the right home security system for your property.
Start by evaluating the layout and size of your home. Consider the number of entry points, such as doors and windows, that need to be secured. Identify any vulnerable areas, such as dark corners or blind spots, where surveillance cameras or additional motion sensors may be necessary.
Next, think about your lifestyle and daily routines. Do you have pets that roam around the house? Are there any family members who may have special needs or require additional safety measures? Take these factors into account when determining the features and capabilities you want in your home security system.
Consider the level of monitoring and control you desire. Do you want a system that allows you to monitor your property remotely through a smartphone app? Or do you prefer a system with professional monitoring that will alert authorities in case of an emergency? Understanding your monitoring preferences will help you choose the right equipment and services.
Lastly, establish a budget for your home security system. Determine how much you are willing to invest upfront as well as the monthly costs for monitoring services, if applicable. Keep in mind that while a higher budget may offer more advanced features and options, there are also cost-effective solutions available that can still provide effective security for your home.
Taking the time to assess your home security needs will ensure that you choose a system that aligns with your requirements and provides the level of protection you desire. It sets the foundation for a successful installation process and helps avoid unnecessary complications or overspending on unnecessary features.
Step 2: Choosing the right home security system
Once you have assessed your home security needs, it’s time to choose the right home security system that will meet those needs effectively. With a wide range of options available in the market, it’s important to consider certain factors before making a decision.
First and foremost, consider the type of system you want. There are two main categories to choose from: wired and wireless. Wired systems require professional installation and typically involve drilling holes for the wires. On the other hand, wireless systems are easier to install and can be set up by homeowners themselves. They utilize wireless technology to communicate between the sensors and the control panel.
Consider the scalability of the system. If you plan on expanding or adding more sensors or cameras in the future, make sure the system supports that. Some systems may have a limited number of devices they can accommodate, while others offer more flexibility.
Look for a system that offers a variety of sensors to cover different entry points in your home. Door and window sensors are essential for detecting unauthorized openings. Motion sensors are great for detecting movement inside the house. Glass break sensors can alert you in case of a window breaking. Additionally, consider whether you want environmental sensors for smoke, carbon monoxide, or water leaks.
Consider the control options available. Many systems come with a mobile app that allows you to control and monitor your home security system remotely. This can be especially beneficial if you travel frequently or want to check in on your home when you’re away. Look for a system that offers intuitive and user-friendly control features.
Consider the reputation and reliability of the home security system provider. Read reviews, seek recommendations from friends or family, and look for a company that has a strong track record of customer satisfaction and responsive customer support.
Lastly, factor in the cost of the system. Compare different options and packages to find one that fits your budget while still meeting your security needs. Remember to consider not only the initial installation cost but also any ongoing monthly fees for monitoring services, if you choose to opt for them.
By considering these factors, you can make an informed decision when choosing the right home security system. Remember that your choice should align with your specific needs, lifestyle, and budget, ultimately providing you with the peace of mind and protection you seek for your home and loved ones.
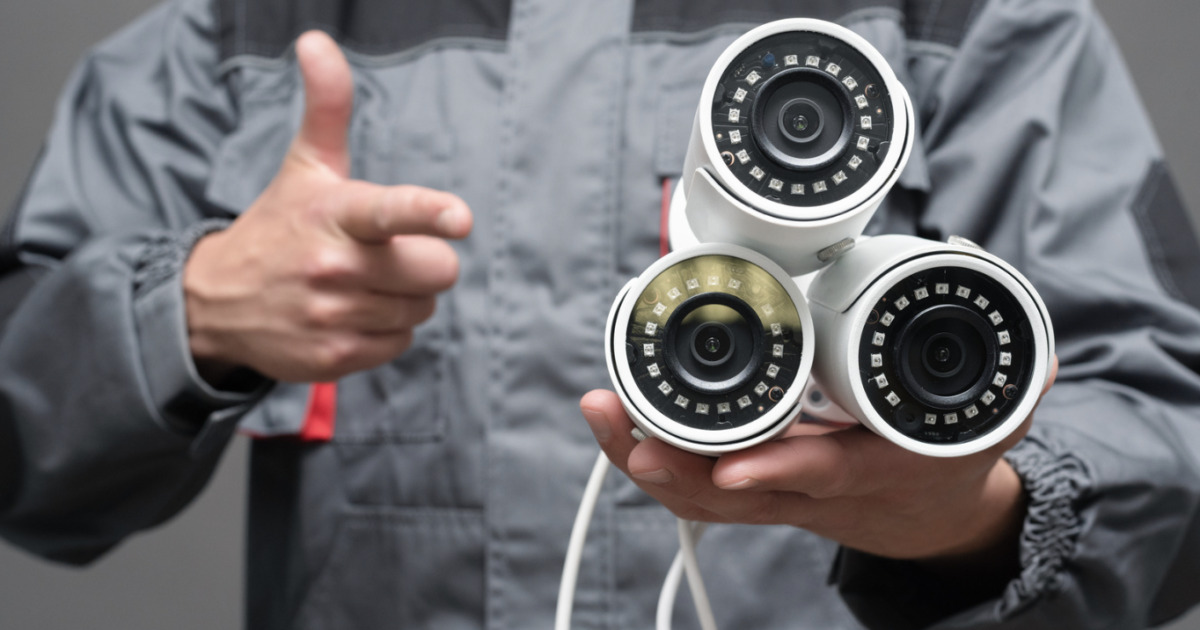
Step 3: Gathering necessary equipment and tools
Before you can begin the installation process, it’s important to gather all the necessary equipment and tools. Having everything on hand will make the installation smoother and more efficient. Here are some essential items you’ll need:
- Control panel: This is the central component of your home security system. Make sure you have the control panel that is compatible with your chosen system.
- Door and window sensors: These sensors are crucial for detecting any unauthorized openings. Depending on the number of entry points in your home, gather enough door and window sensors to provide complete coverage.
- Motion sensors: Motion sensors detect movement within specified areas. Depending on the layout of your home and your security needs, gather an adequate number of motion sensors.
- Surveillance cameras: If you plan on installing surveillance cameras, ensure you have the cameras themselves, along with the necessary mounting brackets and cables.
- Batteries and power supplies: Depending on the type of system you have chosen, you may need batteries or power supplies for the various components.
- Tools: Common tools that may be needed for installation include a drill, screwdriver, wire strippers, and a ladder. Make sure you have these tools readily available.
- Mounting hardware: This includes screws, anchors, and brackets for securely mounting the sensors, control panel, and cameras.
- Instruction manuals: Keep the instruction manuals for all the components handy, as they will provide detailed guidance on how to properly install and set up each item.
It’s also a good idea to have a notebook and pen on hand to jot down any important information, such as serial numbers or login credentials, that you may need during the installation process.
Before you start the installation, take some time to review the instruction manuals and become familiar with the equipment and tools. This will ensure that you have a clear understanding of how everything works and will help prevent any confusion or mistakes during the installation process.
By gathering all the necessary equipment and tools in advance, you’ll be well-prepared to proceed with the installation of your home security system smoothly and efficiently.
Step 4: Setting up the control panel
The control panel is the central hub of your home security system. It allows you to arm and disarm the system, customize settings, and receive alerts. Setting up the control panel correctly is essential for the proper functioning of your home security system. Follow these steps to set up the control panel:
- Choose the ideal location: Find a central and accessible location for your control panel. It should be easily reachable and visible to you and other authorized users of the system.
- Mount the control panel: Use the mounting hardware provided to securely attach the control panel to the wall. Ensure that it is level and properly aligned.
- Connect the power: Plug in the power supply for the control panel and connect it to an electrical outlet. If your system uses batteries, make sure they are properly inserted.
- Connect to the internet (if applicable): If your control panel requires an internet connection, follow the manufacturer’s instructions to connect it to your home network. This will allow you to access your system remotely.
- Configure system settings: Access the control panel’s interface and follow the on-screen prompts to configure your desired system settings. This may include setting up the date and time, adjusting volume levels, and customizing user codes.
- Set up communication options: If your system offers communication options such as text or email alerts, follow the instructions to input the necessary contact information and preferences.
- Test the control panel: Once the setup is complete, test the control panel to ensure that it is functioning correctly. Arm and disarm the system, trigger alarms, and check if all the connected sensors are detected and responding appropriately.
It’s crucial to carefully read the manufacturer’s instructions for your specific control panel model. Each control panel may have different setup processes and options, so following the provided guidelines is essential for a successful installation.
Remember to keep your control panel’s user manual in a safe place for future reference. It will come in handy if you need to make changes to settings or troubleshoot issues down the line.
By correctly setting up the control panel, you establish the foundation for a well-functioning home security system. This central hub will allow you to control and monitor your system effectively, providing you with the peace of mind and security you desire.
Read more: How To Install Ring Home Security System
Step 5: Installing door and window sensors
Door and window sensors are essential components of any home security system. They detect any unauthorized openings and trigger the alarm, alerting you to potential intrusions. Properly installing these sensors is crucial for the effectiveness of your system. Follow these steps to install door and window sensors:
- Plan sensor placement: Take a thorough walk around your home and identify all the doors and windows that need sensor coverage. Consider any additional entry points such as sliding glass doors or basement windows.
- Clean and prepare the surfaces: Clean the areas where you plan to install the sensors. Make sure they are free from any dust, dirt, or debris that may affect the adhesive or mounting.
- Peel off the adhesive backing: Most door and window sensors come with adhesive backing for easy installation. Carefully peel off the protective backing to expose the adhesive.
- Attach the sensors: Align the sensor properly on the designated door or window frame. Press firmly to ensure a secure bond with the surface. Hold it in place for a few seconds to allow the adhesive to set.
- Test the sensors: After installing each sensor, test them to ensure they are working correctly. Open and close the door or window to trigger the sensor and verify that the control panel receives the signal and responds accordingly.
- Repeat the process: Continue installing sensors on all the doors and windows that require coverage, following the same steps.
- Double-check placements: Once all the sensors are installed, double-check their placements to ensure they are aligned properly and securely attached.
Remember to refer to the manufacturer’s instructions for any additional installation steps or guidelines specific to your door and window sensors. This will ensure that you install them correctly and avoid any issues with their functionality.
It’s also important to periodically test your door and window sensors to ensure they are still functioning properly. Check the adhesive bond periodically to ensure it remains secure, as exposure to temperature changes and humidity can sometimes affect the adhesive’s strength.
By properly installing door and window sensors, you create a strong first line of defense for your home. These sensors detect potential intrusions, providing you with early warning and maximizing the security of your property.
When installing a home security system, make sure to place motion sensors in areas where an intruder would have to pass through, such as hallways and staircases, to ensure maximum coverage.
Step 6: Placing motion sensors
Motion sensors are integral in detecting movement within specific areas of your home. Proper placement of motion sensors ensures that they can effectively monitor the desired areas while minimizing false alarms. Follow these steps to correctly place motion sensors:
- Identify target areas: Determine the areas where you want the motion sensors to detect movement. Common locations include hallways, staircases, and rooms with valuable or high-traffic areas.
- Consider range and coverage: Determine the range and coverage area of each motion sensor. Some sensors have adjustable sensitivity or range settings, allowing you to customize the detection area. Ensure that the chosen sensor fits your specific needs for each area.
- Avoid direct sunlight: Avoid placing motion sensors near windows or where they will be exposed to direct sunlight. Sunlight can create false alarms by triggering the sensor to detect movement inaccurately.
- Mounting height: Install motion sensors at an appropriate height, generally around 6 to 7 feet above the floor. This height ensures optimal detection of movement while minimizing the chances of false alarms triggered by pets or other low-lying objects.
- Angle adjustment: Adjust the angle of the motion sensor to cover the desired area effectively. Most sensors allow for swiveling or pivoting, making it easier to fine-tune the detection angle.
- Secure mounting: Use the provided mounting hardware or adhesive to securely attach the motion sensor to the wall or ceiling. Ensure that it is firmly in place and does not move or wiggle.
- Test the sensors: Once all the motion sensors are installed, test each one to ensure they are properly detecting movement. Walk through the detection area and verify that the control panel receives the signal and responds accordingly.
- Adjust sensitivity if needed: If you notice false alarms or missed detections, adjust the sensitivity or range settings of the motion sensors accordingly. Experiment with different settings until you find the right balance for your specific needs.
Always refer to the manufacturer’s instructions for any specific guidelines or recommendations regarding the placement and installation of your motion sensors. This will ensure that you install them correctly and optimize their performance.
Regularly check and clean the motion sensors to ensure there is no dust or debris that may obstruct their motion detection capabilities. Additionally, test the sensors periodically to ensure they are still functioning correctly and adjust any settings as needed.
By strategically placing motion sensors throughout your home, you enhance your overall security by detecting any unauthorized movement and providing an additional layer of protection for your property.
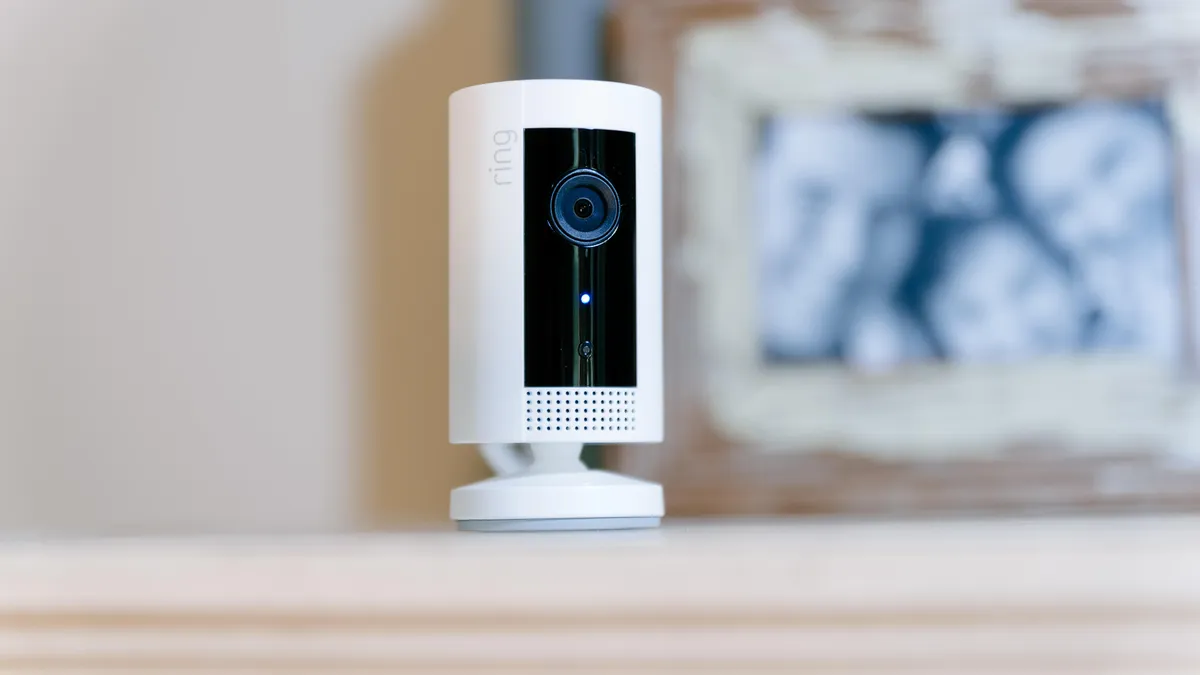
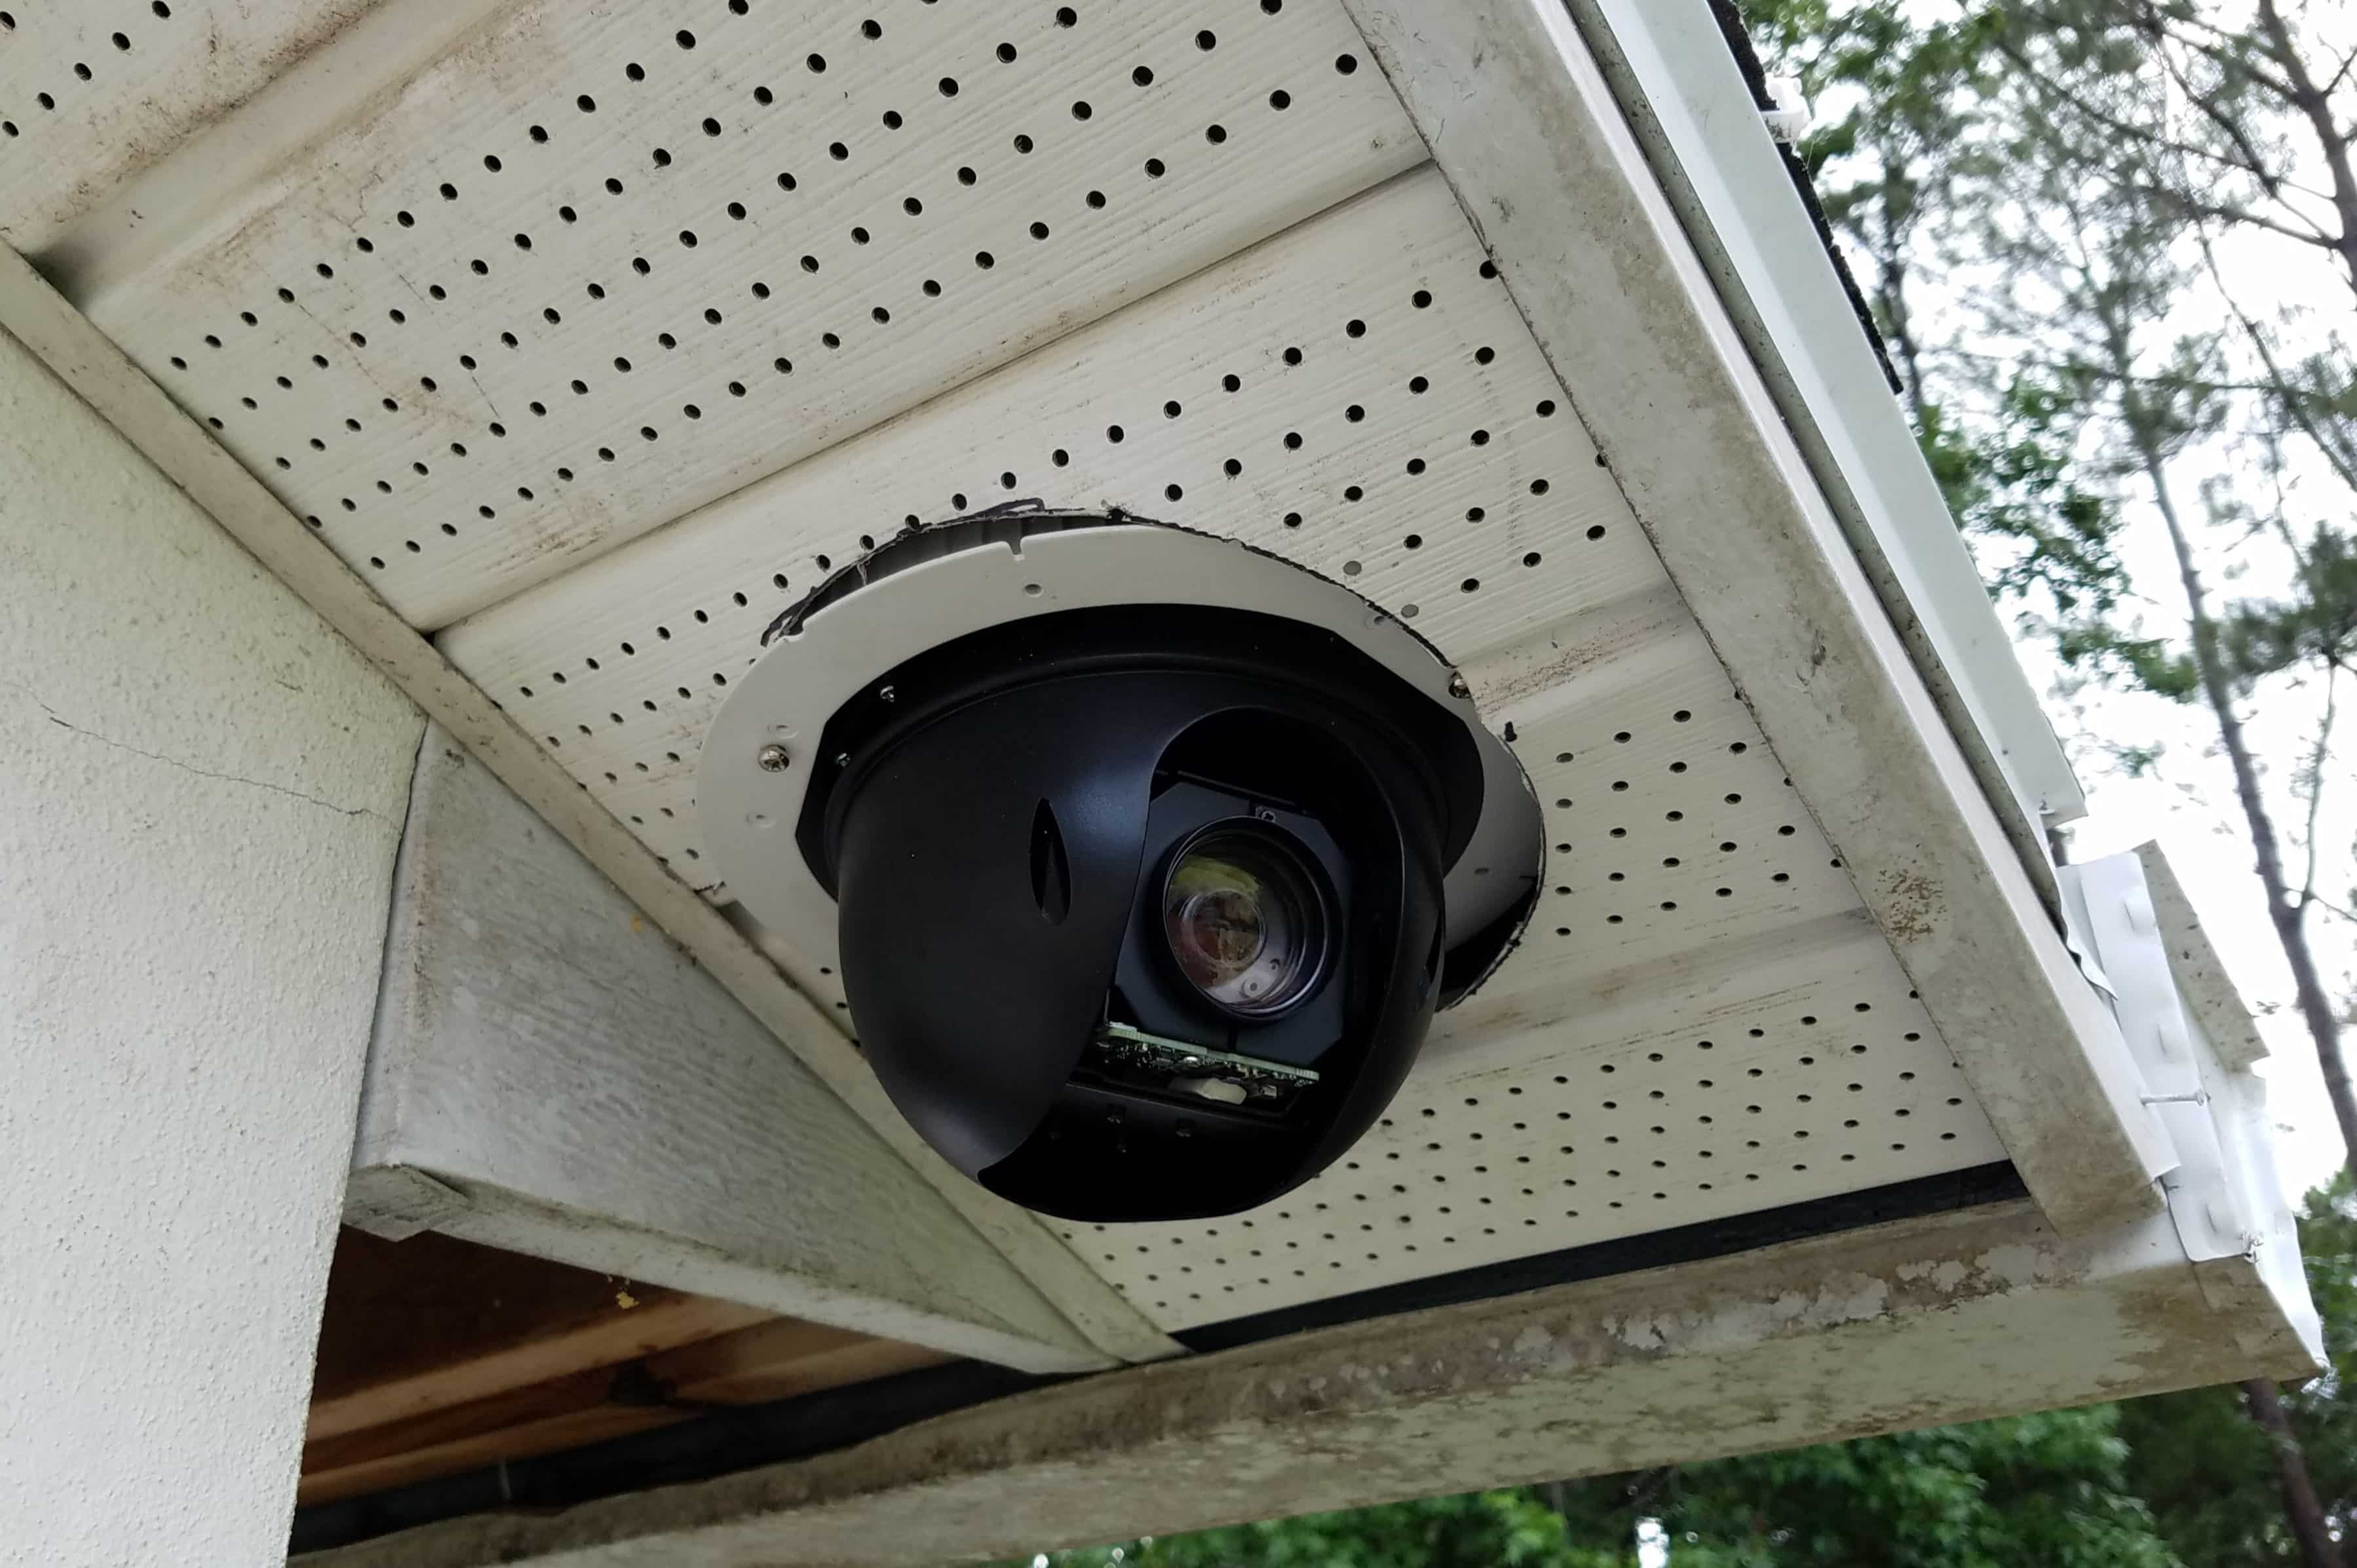
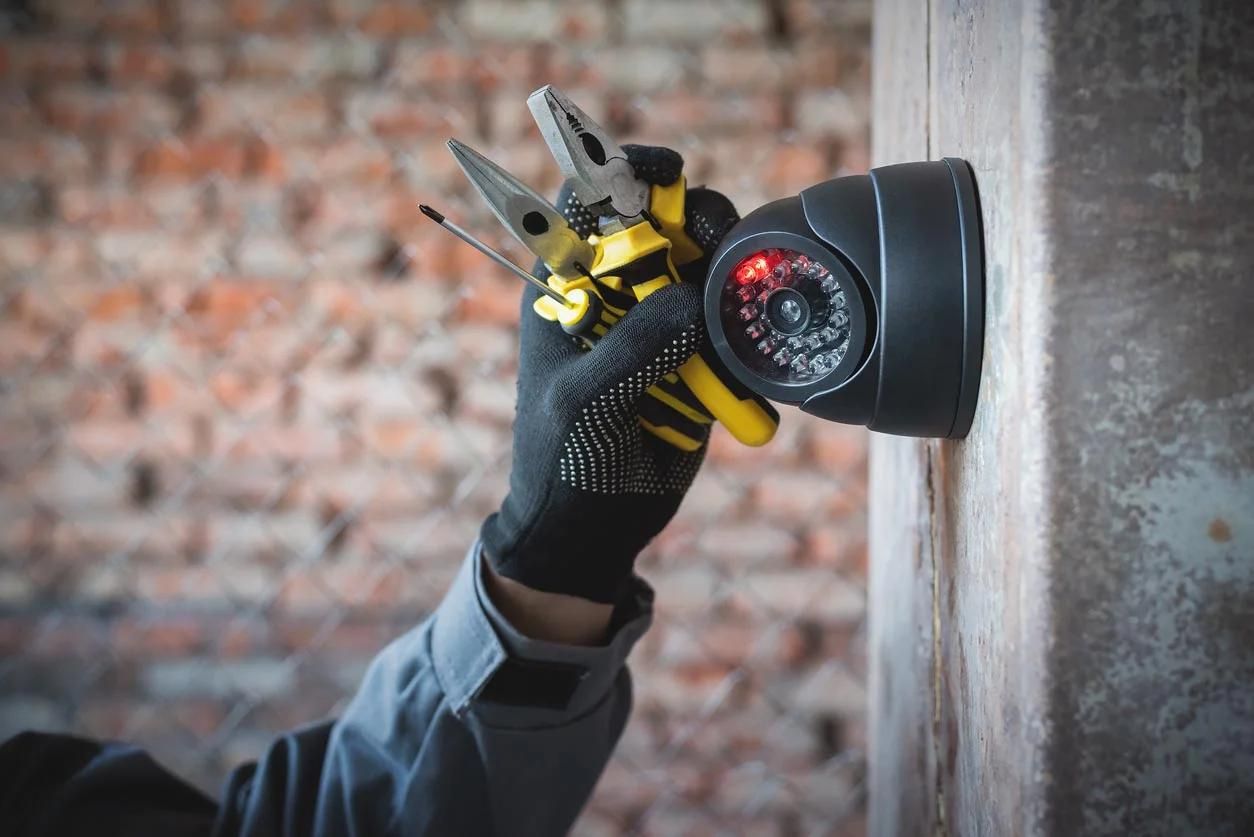
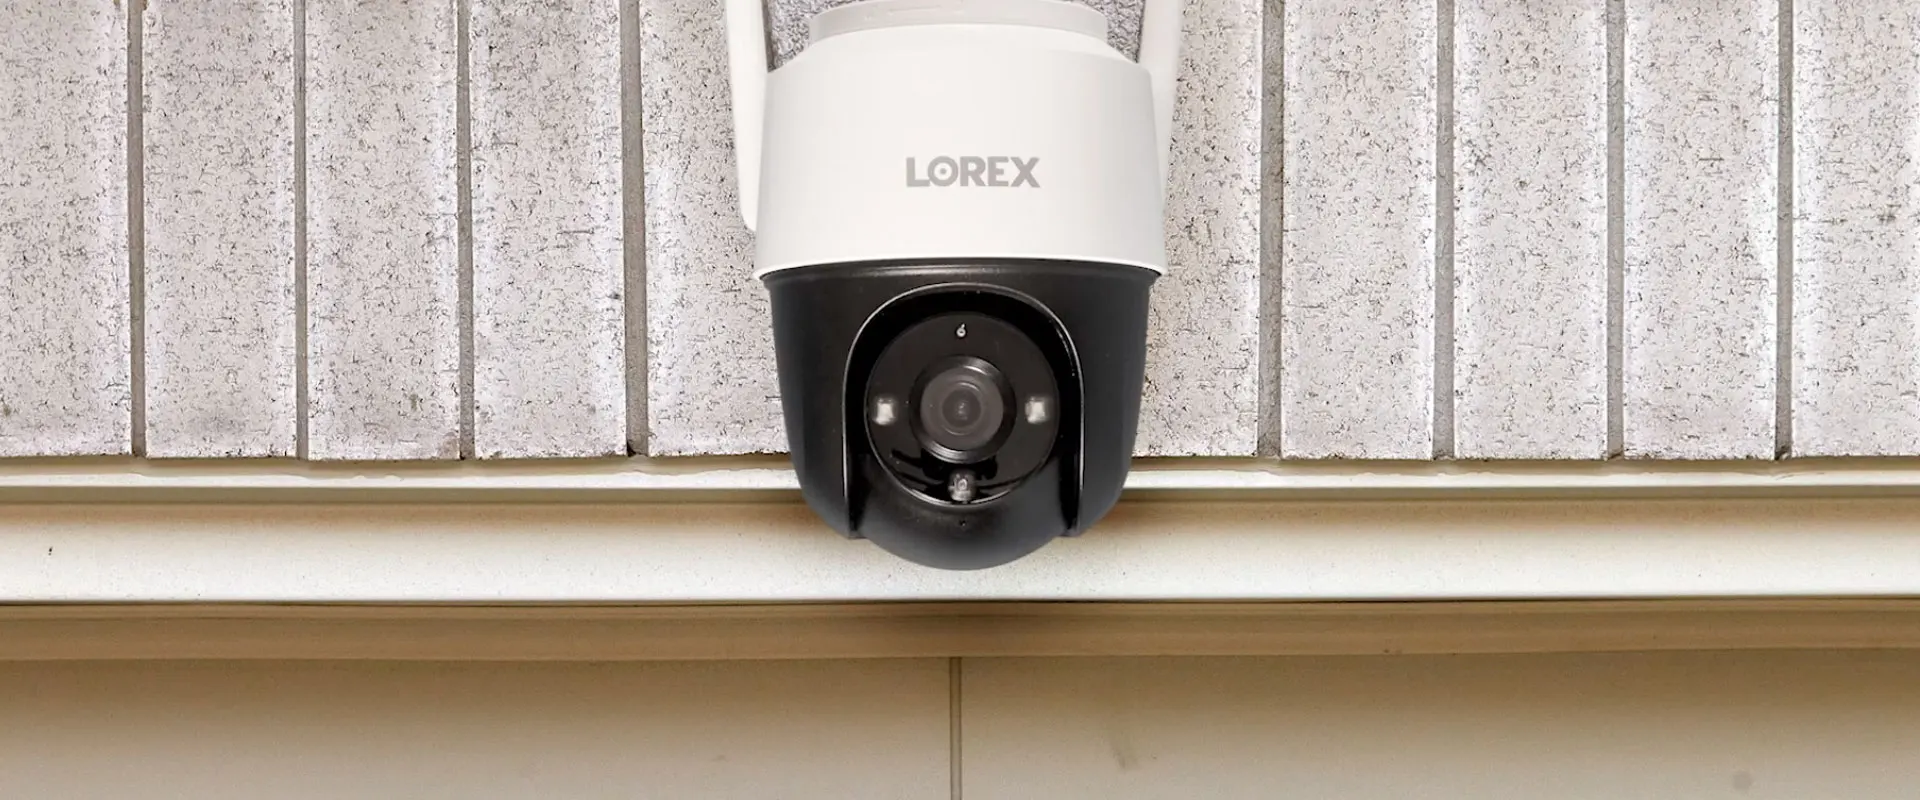
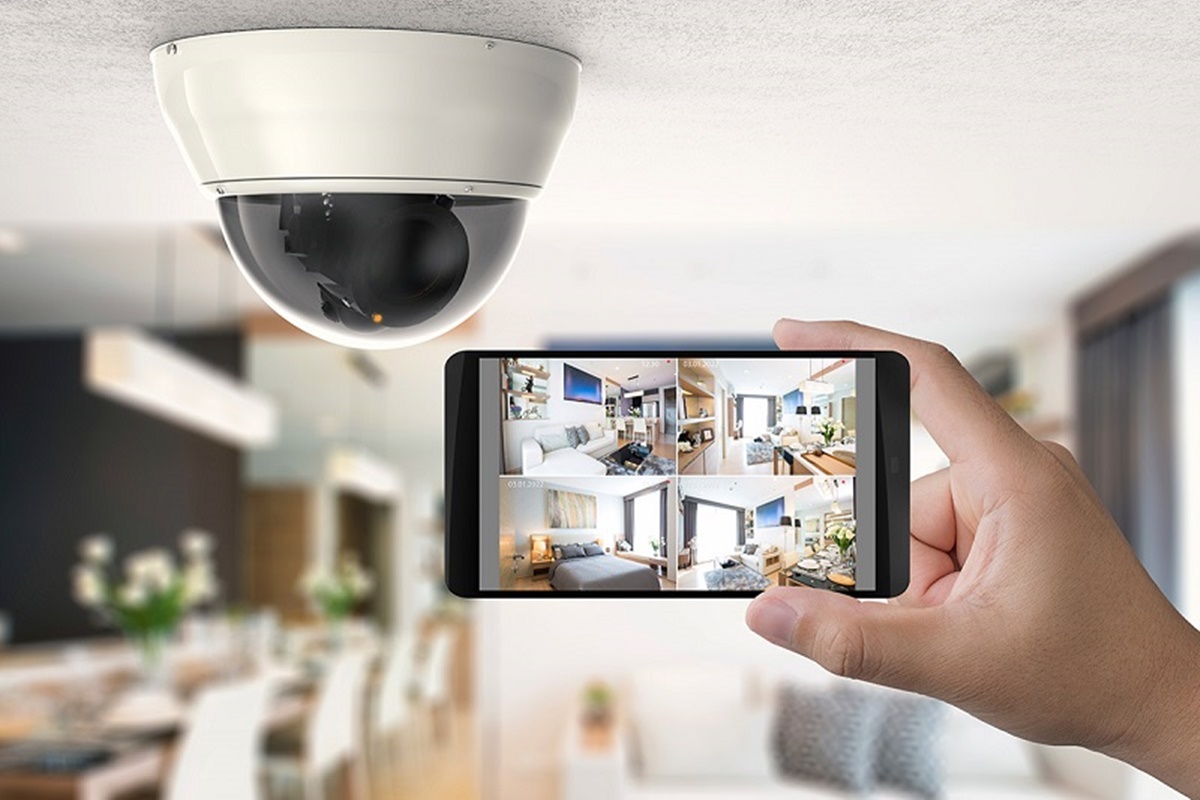
Step 7: Setting up surveillance cameras
Surveillance cameras are a valuable addition to any home security system as they provide visual monitoring of your property. Proper placement and setup of surveillance cameras maximize their effectiveness in capturing important footage. Follow these steps to correctly set up your surveillance cameras:
- Plan camera placement: Identify the key areas of your property that require surveillance coverage. Common locations include entry points, driveway, backyard, and any other areas that are vulnerable or important to monitor.
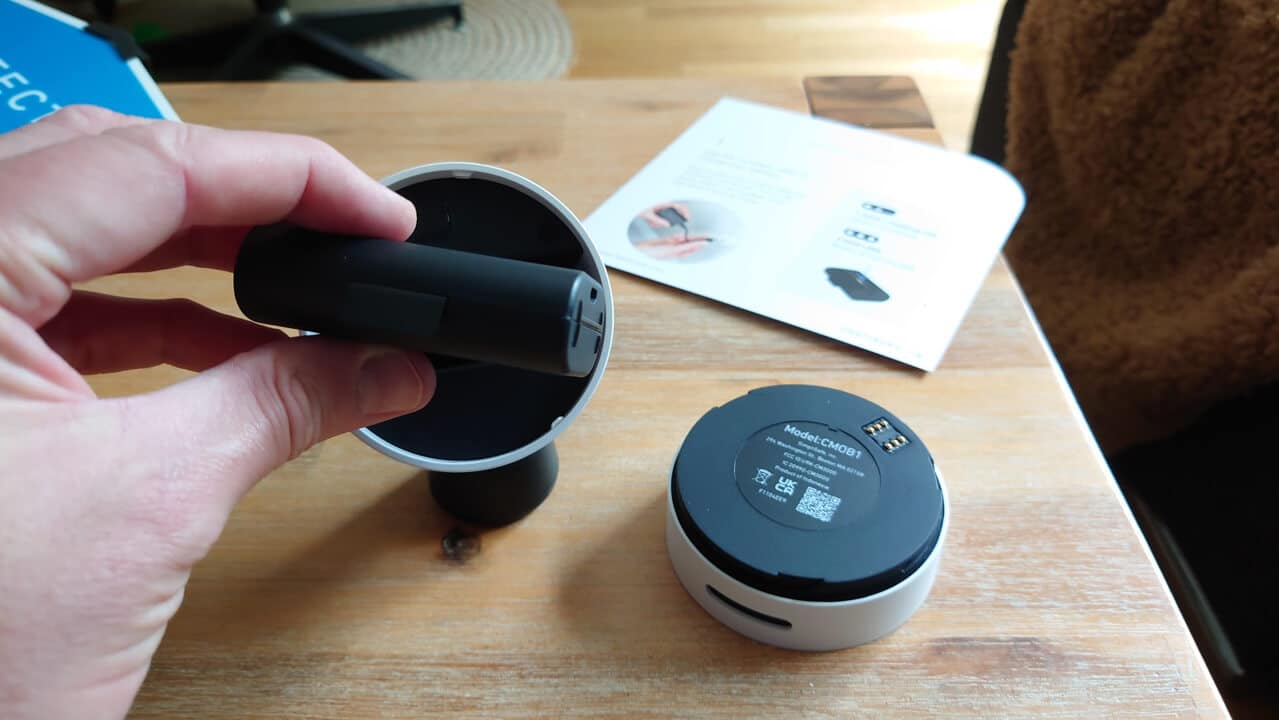
- Determine camera type: Choose the appropriate type of camera for each location. Options include wired cameras that require proper mounting and wiring, wireless cameras that connect to the network, or battery-operated cameras for flexibility in placement.
- Consider camera features: Evaluate the specific features you need for each camera, such as high-resolution recording, night vision capabilities, wide-angle lenses, two-way audio, or pan-tilt-zoom (PTZ) functionality. Select cameras that match your requirements.
- Maintain camera visibility: Place the cameras in visible locations to act as a deterrent. However, consider the angles and avoid obstructions that may hinder the camera’s view or compromise its effectiveness.
- Secure camera mounting: Install the cameras using the provided brackets or mounting hardware. Ensure they are firmly attached to the walls, ceilings, or other surfaces. Test the stability to avoid any accidental movement or dislodging.
- Connect cameras to the system: Follow the manufacturer’s instructions to connect the cameras to your home security system or network. This may involve connecting them via Ethernet cables, Wi-Fi, or pairing them with a central hub or recorder.
- Configure camera settings: Access the camera’s interface or associated software to configure specific settings. This may include adjusting the recording resolution, enabling motion detection, setting up alerts, or customizing other camera-specific features.
- Test camera coverage: Once all the cameras are set up, test their coverage by viewing the live feeds and checking for any blind spots or areas that may require adjustment. Make necessary positioning or angle changes to optimize the camera coverage.
It’s important to refer to the manufacturer’s instructions for your specific cameras to ensure proper installation and setup. This will also provide guidance on any additional features or settings that may be available.
Regularly check any power or network connections for your surveillance cameras to ensure they are functioning correctly. Clean the lenses periodically to maintain clear image quality, and review footage to identify any issues or adjustments needed.
By strategically placing and setting up surveillance cameras, you enhance the security monitoring capability of your home, providing you with visual evidence that can aid in any potential investigations and increase the overall safety of your property.
Step 8: Connecting the system to a monitoring service
Connecting your home security system to a monitoring service adds an extra layer of protection by alerting professionals who can address emergencies on your behalf. Here’s how to connect your system to a monitoring service:
- Research monitoring service providers: Start by researching different monitoring service providers in your area. Look for reputable companies with a strong track record of reliability and excellent customer service.
- Choose the right monitoring plan: Evaluate the monitoring plans offered by various providers and choose the one that aligns with your needs and budget. Consider the level of monitoring (24/7 or only when the system is armed), the available communication methods (phone call, text, or email alerts), and any additional services or features included in the plan.
- Contact the monitoring service provider: Reach out to the chosen monitoring service provider and discuss your interest in their services. They will guide you through the process of setting up an account and any necessary paperwork.
- Provide system and contact information: Provide the monitoring service provider with the necessary information about your home security system, including the make and model of the control panel, the types of sensors and cameras installed, and any unique setup requirements.
- Set up communication methods: Work with the monitoring service provider to set up the communication methods for receiving alerts and notifications. This can include providing emergency contact numbers, email addresses, or mobile phone numbers.
- Test the connection: Once the system is connected to the monitoring service, conduct a thorough test to ensure that the communication between your home security system and the monitoring center is working properly. Arm the system and trigger an alarm to verify that the monitoring service receives the alert and responds accordingly.
- Understand the monitoring service procedures: Take the time to understand the procedures and protocols established by the monitoring service provider. Familiarize yourself with their response times, how they handle alarms or emergencies, and any additional services they may offer, such as contacting emergency services on your behalf.
By connecting your home security system to a monitoring service, you gain the peace of mind of knowing that trained professionals are monitoring your property round the clock. They can quickly respond to any alarms or emergencies, providing assistance when needed.
Remember to keep your monitoring service provider’s contact information easily accessible, and update them if there are any changes to your home security system or contact details. Regularly test the system to ensure the connection to the monitoring service remains functional and reliable.
With the system connected to a monitoring service, you can enjoy an added layer of security and timely response, making your home safer and providing you with enhanced peace of mind.
Step 9: Testing the system and making necessary adjustments
After installing and connecting your home security system, it’s crucial to thoroughly test it to ensure that all components are functioning correctly and to make any necessary adjustments. Testing the system allows you to identify and address any issues before relying on it for your home’s security. Follow these steps to test your home security system:
- Arm and disarm the system: Test the arming and disarming functionality of the system using the control panel or remote keypad. Make sure you can successfully arm and disarm the system without any errors or glitches.
- Trigger sensors and alarms: Test all the sensors, including door/window sensors and motion sensors. Open doors and windows to ensure that the sensors accurately detect the openings and trigger the alarm. Walk in front of motion sensors to verify proper detection and alarm activation.
- Test communication with the monitoring service: If you have subscribed to a monitoring service, trigger the alarm and ensure that it communicates effectively with the monitoring center. Confirm that the service receives the alarm signal and follows the appropriate protocol for responding to emergencies.
- Check surveillance camera feeds: Review the live feeds from your surveillance cameras to ensure that you have clear and consistent footage. Verify that all the cameras have optimal angles and coverage without any blind spots.
- Test emergency alerts: If your system includes features such as panic buttons or emergency alerts, test those as well. Activate the panic button or emergency alert and verify that it is successfully sent to the monitoring service or your designated emergency contacts.
- Assess system response time: Evaluate the response time of your home security system. Check how long it takes for the alarm to activate, the monitoring service to respond, and any notifications to reach your mobile devices or email. Adjust any delays or response times as necessary.
- Document any issues: Keep a record of any issues or malfunctions you encounter during the system testing process. Take note of sensors that may have difficulty detecting, cameras with poor video quality, or any other concerns that need attention.
- Making necessary adjustments: Based on the results of your testing, make any necessary adjustments to your system. This could include repositioning sensors or cameras, adjusting sensitivity settings, or addressing any technical issues that arise.
- Retest after adjustments: After making any adjustments, repeat the testing process to ensure that the system is now functioning optimally. Confirm that all the issues identified earlier have been resolved.
Regular testing and maintenance are essential to ensure that your home security system continues to operate at its best. Consider conducting routine tests every few months to catch any problems early and make any necessary updates or changes as your security needs evolve over time.
By thoroughly testing your home security system and making necessary adjustments, you can have confidence that your system is working effectively to protect your home and loved ones.
Step 10: Maintaining and troubleshooting the home security system
Maintaining and troubleshooting your home security system is essential to ensure its continued effectiveness. Regular maintenance helps prevent issues and keeps your system operating smoothly. In this final step, we will guide you through the process of maintaining and troubleshooting your home security system:
- Follow manufacturer’s maintenance guidelines: Familiarize yourself with the manufacturer’s guidelines for maintaining your specific home security system. These guidelines typically include recommendations for cleaning and inspecting the system regularly.
- Test the battery backup (if applicable): If your system has a battery backup, test it periodically to ensure it is functioning properly. Power outages can occur, and the battery backup ensures your system continues to operate during these times.
- Check sensor and camera positioning: Regularly inspect the positioning of your sensors and cameras to ensure they have not been moved or obstructed. Verify that they are still aligned properly to provide optimal coverage and functionality.
- Inspect and clean sensors and cameras: Clean the lenses of your cameras and sensors regularly to maintain clear image quality. Check for any dust or debris accumulation and clean them accordingly.
- Keep software and firmware updated: If your system has software or firmware, ensure that it is up to date. Regularly check for updates provided by the manufacturer, as these updates often include security enhancements and bug fixes.
- Replace batteries as needed: If your sensors or cameras are battery-powered, monitor the battery levels regularly and replace them as needed. Maintaining fresh batteries ensures your devices will function properly.
- Regularly test the system: Conduct routine tests of your entire home security system to ensure all components are functioning as expected. Test door and window sensors, motion sensors, surveillance cameras, and the connection with your monitoring service if applicable.
- Address false alarms promptly: If your system experiences false alarms, investigate the cause and take corrective action. Adjust sensor sensitivity, ensure proper sensor positioning, and ensure all doors and windows are secured properly.
- Train family members: Educate your family members on how to use the home security system and any relevant codes or passwords. Ensure they are familiar with system arming and disarming procedures and are aware of any emergency features or panic buttons.
- Document and save system information: Keep a record of your system information, including user manuals, warranties, and contact information for customer support. This documentation will be valuable when facing any issues or when upgrading your system in the future.
- Seek professional assistance when necessary: If you encounter any complex issues or are unsure about troubleshooting steps, don’t hesitate to contact a professional technician or the customer support of your home security system provider for assistance.
By regularly maintaining and troubleshooting your home security system, you ensure its continued reliability and effectiveness. Performing routine checks and addressing any issues promptly will help keep your system in optimal condition, providing you with peace of mind.
Remember, home security systems are not foolproof and may require occasional adjustments or updates as technology evolves. Stay proactive in monitoring and maintaining your system to ensure it continues to meet your security needs effectively.
Conclusion
Securing and protecting your home is of paramount importance, and a properly installed home security system is a crucial component in achieving that goal. Throughout this comprehensive guide, we have walked you through the process of installing a home security system, from assessing your security needs to troubleshooting any issues that may arise. By following these steps, you can create a secure environment for you and your loved ones.
Assessing your home security needs is the first vital step. Understanding the layout of your home, identifying vulnerable areas, and considering your lifestyle will help you make informed decisions when choosing the right home security system.
Choosing the right home security system involves careful consideration of wired or wireless systems, the scalability of the system, the types of sensors you need, and the control options available to you.
Gathering the necessary equipment and tools ensures that you have everything you need for a smooth installation process. From the control panel and sensors to the mounting hardware and instructions, being prepared will save time and frustration.
Setting up the control panel properly establishes the central hub of your home security system, enabling you to arm and disarm the system and customize settings according to your preferences.
Installing door and window sensors and placing motion sensors strategically provide a first line of defense. They alert you to unauthorized openings and detect movement, maximizing your security coverage.
Surveillance cameras add an extra layer of security by providing visual monitoring of your property. Properly placing and setting up these cameras ensure optimal coverage and clear footage.
Connecting your home security system to a monitoring service enhances your level of protection. The monitoring service can alert authorities in case of emergencies, providing round-the-clock surveillance and peace of mind.
Thoroughly testing the system and making necessary adjustments ensure that all components are functioning correctly and any issues are addressed promptly. Regular maintenance and troubleshooting keep your home security system at its optimal performance level.
In conclusion, installing a home security system requires careful planning, assessment, and execution. By following the steps outlined in this guide, you can create an effective and reliable security system for your home. Remember to regularly test and maintain your system to keep it operating at its best. With a properly installed and maintained home security system, you can have peace of mind knowing that you have taken steps to protect your home, loved ones, and valuable belongings.
Frequently Asked Questions about How To Install A Home Security System
Was this page helpful?
At Storables.com, we guarantee accurate and reliable information. Our content, validated by Expert Board Contributors, is crafted following stringent Editorial Policies. We're committed to providing you with well-researched, expert-backed insights for all your informational needs.