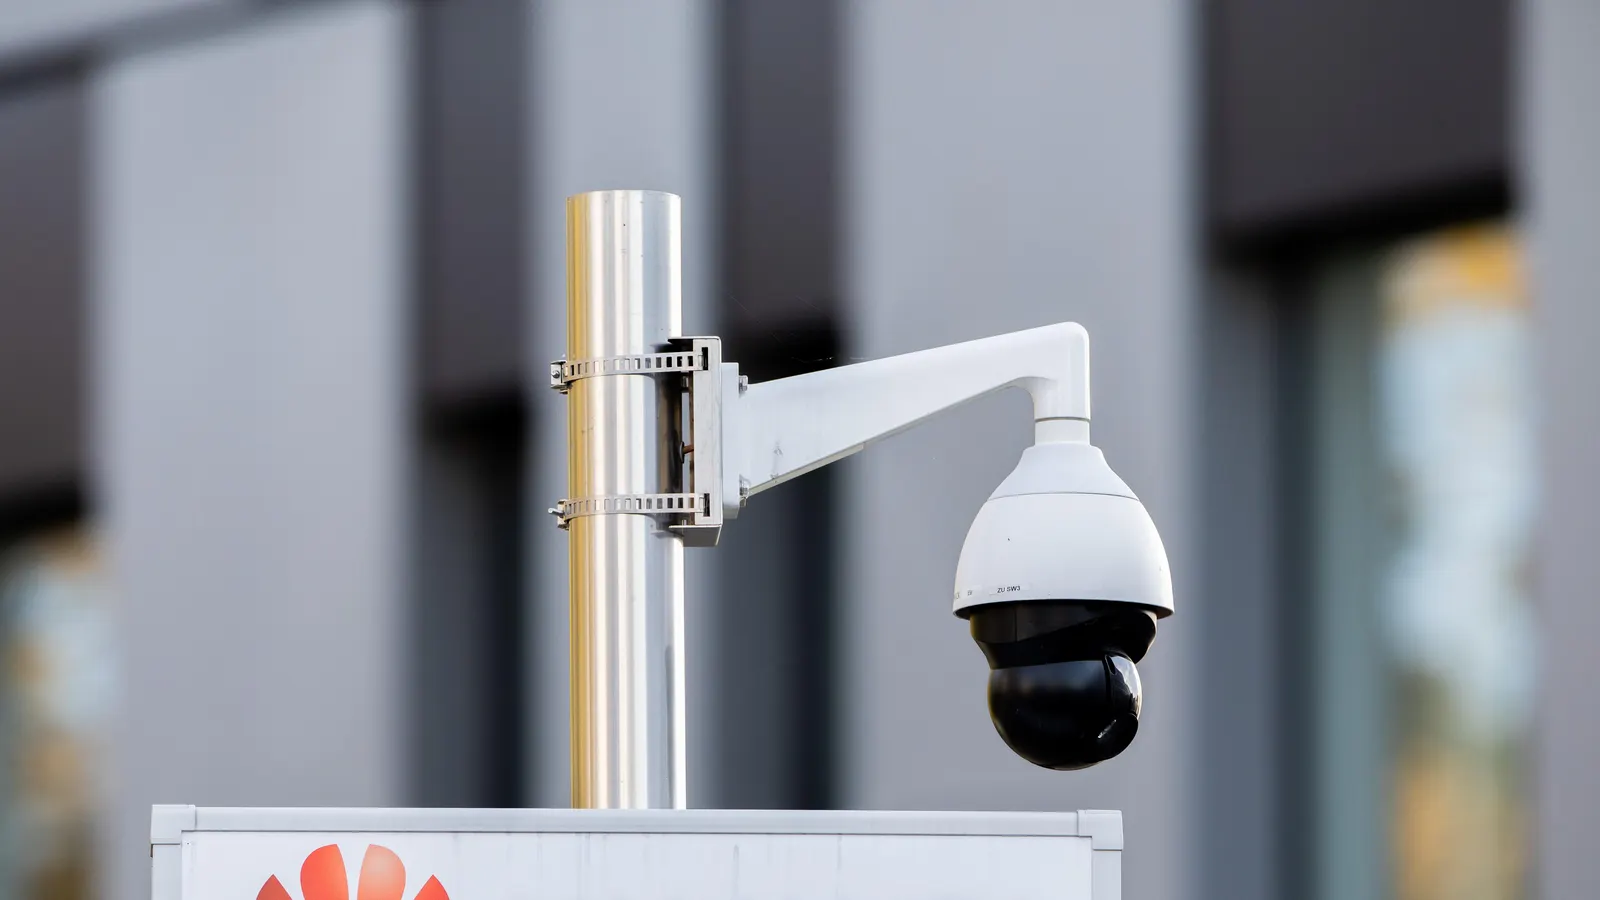
Home>Home Security and Surveillance>How To Make A Security Camera
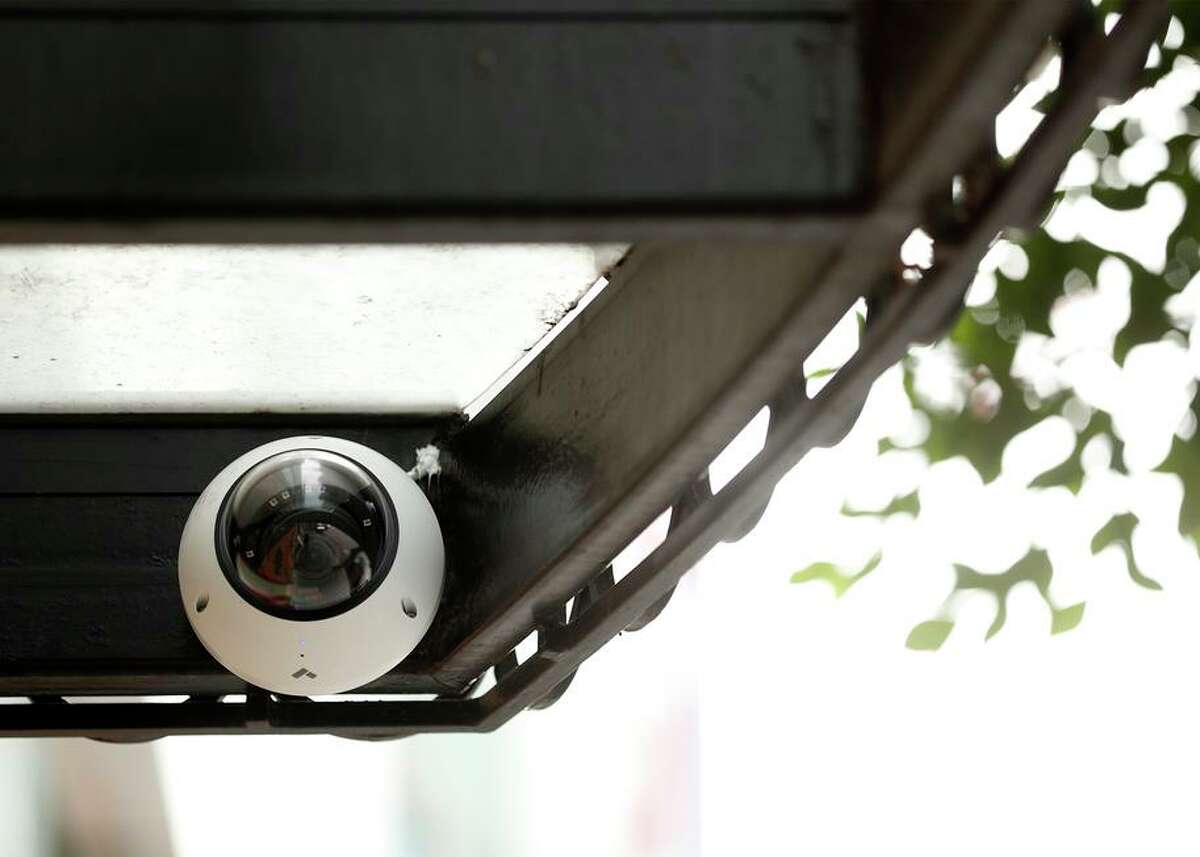

Home Security and Surveillance
How To Make A Security Camera
Modified: March 6, 2024
Learn how to make a reliable security camera for your home with our comprehensive guide on home security and surveillance. Ensure your safety with DIY solutions.
(Many of the links in this article redirect to a specific reviewed product. Your purchase of these products through affiliate links helps to generate commission for Storables.com, at no extra cost. Learn more)
Introduction
When it comes to protecting our homes and ensuring the safety of our loved ones, having a security camera system in place is essential. Security cameras not only act as a deterrent against potential intruders, but they also provide valuable evidence in the event of a break-in or other security incidents. While there are many ready-made security camera systems available on the market, building your own can be a more cost-effective and customizable option.
In this article, we will guide you through the step-by-step process of making your own security camera. Whether you’re looking to secure your front door, monitor your backyard, or keep an eye on your entire property, building a DIY security camera can be a rewarding project that gives you peace of mind.
Before we dive into the steps, it’s important to note that this article assumes a basic level of technical proficiency and familiarity with tools. If you’re unsure about any of the steps or lack the necessary skills, it’s always a good idea to consult a professional or enlist the help of a friend who is experienced in this area.
Now, let’s get started on creating your very own DIY security camera system!
Key Takeaways:
- Building your own security camera system can be cost-effective and customizable, providing peace of mind and protection for your property. With the right materials and technical know-how, you can create a DIY solution tailored to your specific needs.
- Choosing the right camera, preparing the housing, and testing the system are crucial steps in creating a successful DIY security camera. Regular maintenance and monitoring ensure ongoing effectiveness and reliability.
Read more: How To Make Your Own Security Camera
Step 1: Gather the necessary materials
Before you begin building your own security camera, it’s important to gather all the necessary materials and tools. Here’s a list of items you will need to get started:
- Camera module or IP camera: The first thing you’ll need is a camera module or an IP camera. There are various types available, ranging from basic modules to more advanced models with features like night vision and motion detection. Choose a camera that best suits your needs and budget.
- Raspberry Pi or similar single-board computer: You will need a single-board computer, such as a Raspberry Pi, to power and control the camera module. These small computers are affordable, versatile, and easy to work with.
- Power supply: Make sure you have a suitable power supply for your single-board computer. The power supply should match the voltage and current requirements of the board.
- SD card: You’ll need an SD card to install the operating system and store the camera footage. Make sure to choose a high-quality and high-capacity SD card to ensure smooth performance.
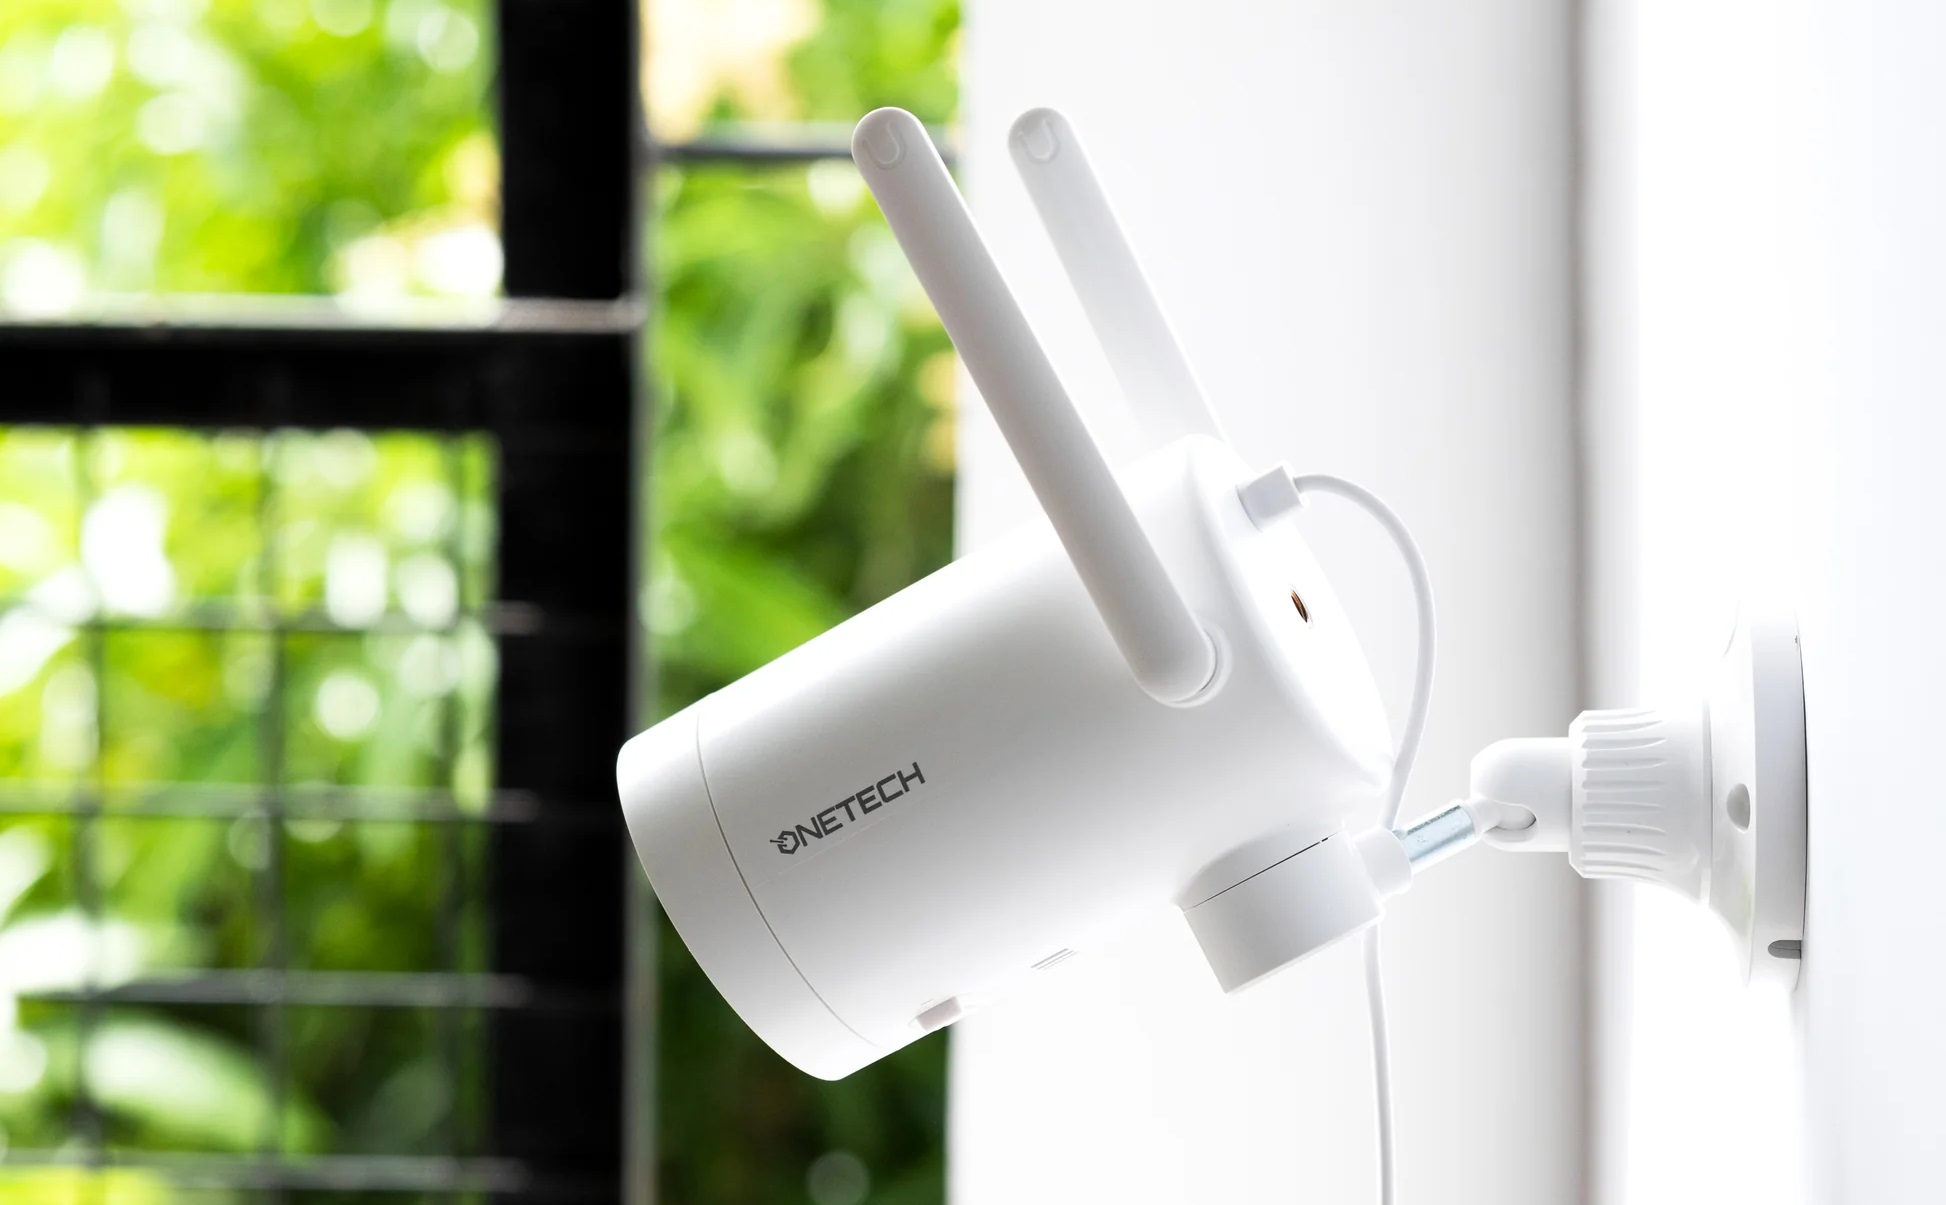
- Camera housing: To protect your camera from the elements and ensure its longevity, you’ll need a camera housing. You can purchase a ready-made housing or create your own using a weatherproof case.
- Mounting hardware: Depending on where you plan to install the camera, you may need mounting brackets, screws, and other hardware to securely attach the camera to a surface.
- Network cable or Wi-Fi adapter: If you’re using an IP camera, you’ll need a network cable or a Wi-Fi adapter to connect the camera to your network.
- Video recorder or monitor: To view and store the camera footage, you’ll need a video recorder or monitor. This can be a dedicated network video recorder (NVR) or any device with video input capabilities, such as a computer or a television.
- Other tools: Lastly, make sure you have basic tools like a screwdriver, pliers, wire cutters, and a drill. These tools will come in handy during the installation process.
Once you have gathered all the necessary materials, you’re ready to move on to the next step: choosing the right camera for your DIY security system.
Step 2: Choose your camera
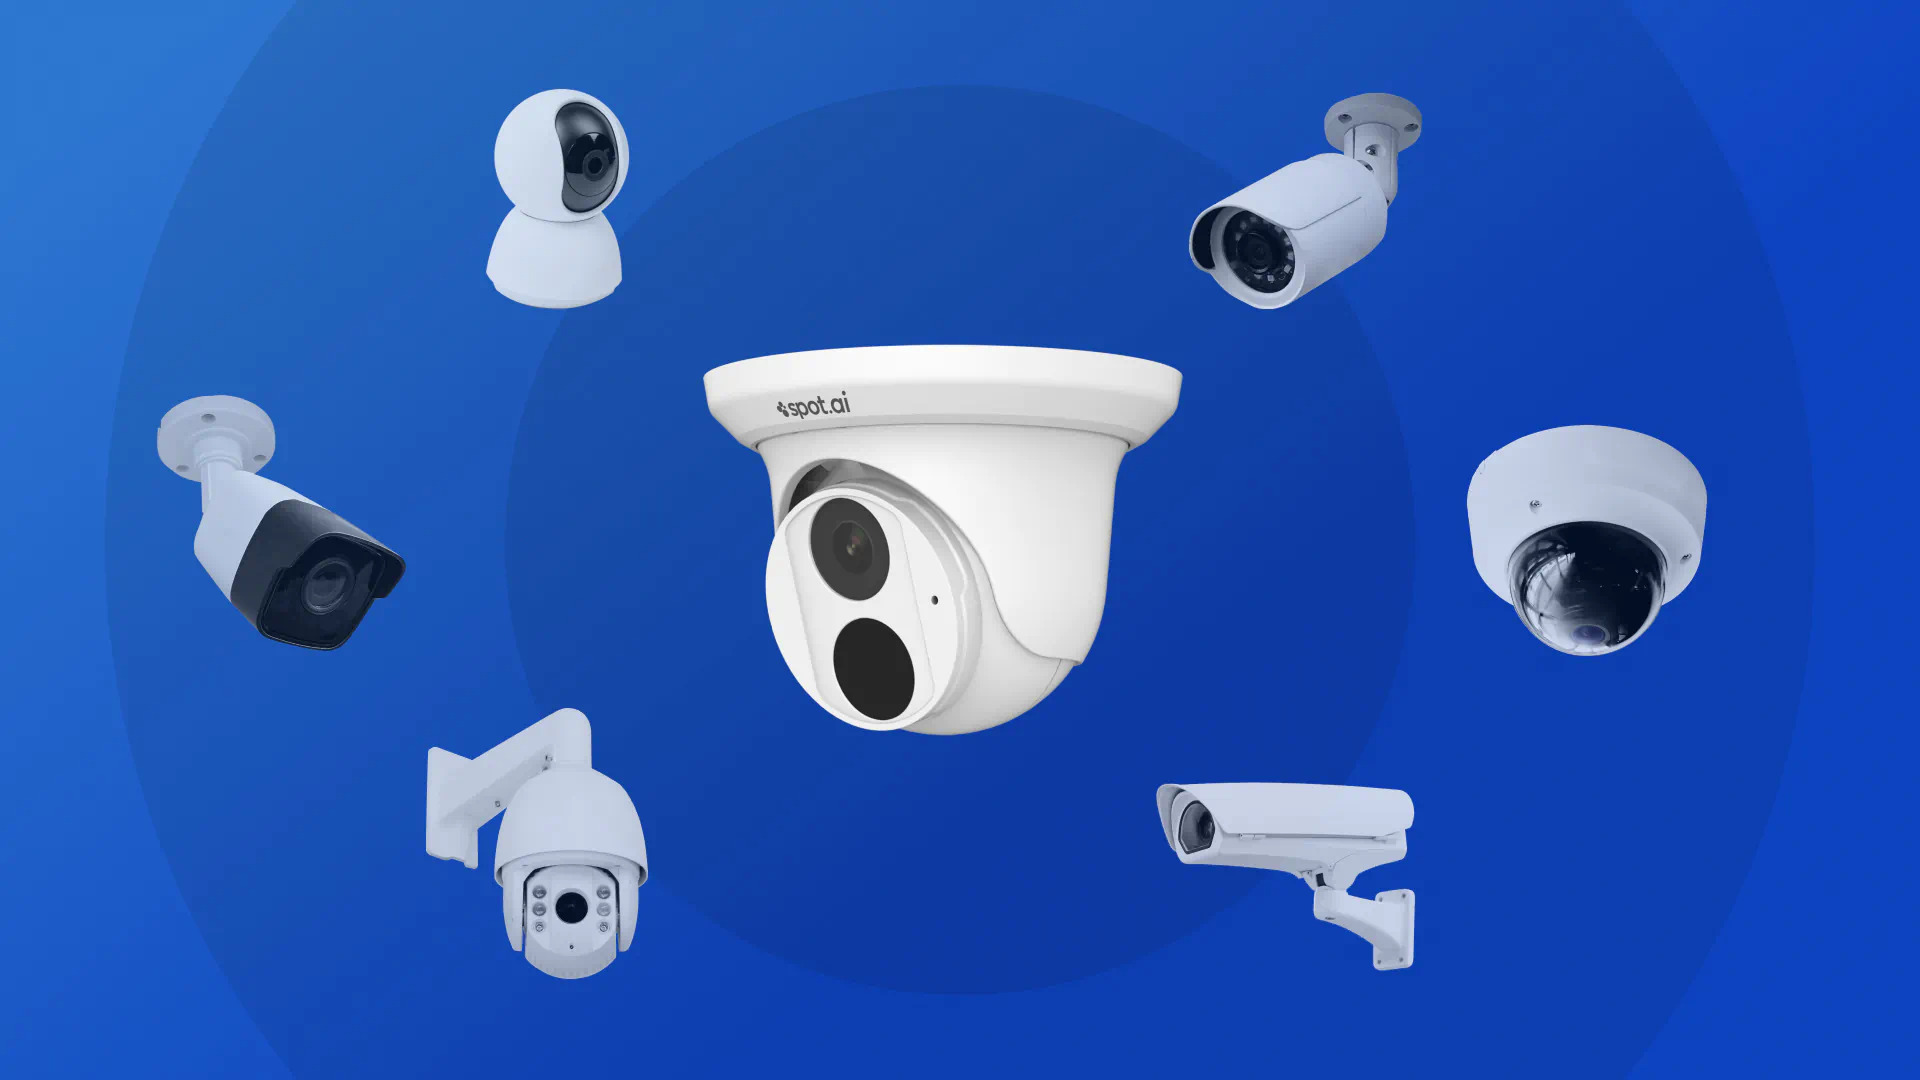
Choosing the right camera for your DIY security system is crucial as it will determine the quality and effectiveness of your surveillance. Here are some factors to consider when selecting your camera:
- Resolution: The resolution of the camera determines the clarity of the footage. Higher resolution cameras will provide more detail, but they may come at a higher price. Consider your specific needs and budget when deciding on the resolution.
- Field of view: The field of view refers to the area that the camera can capture. If you want to monitor a large space, you may need a camera with a wide field of view or consider using multiple cameras to cover the area adequately.
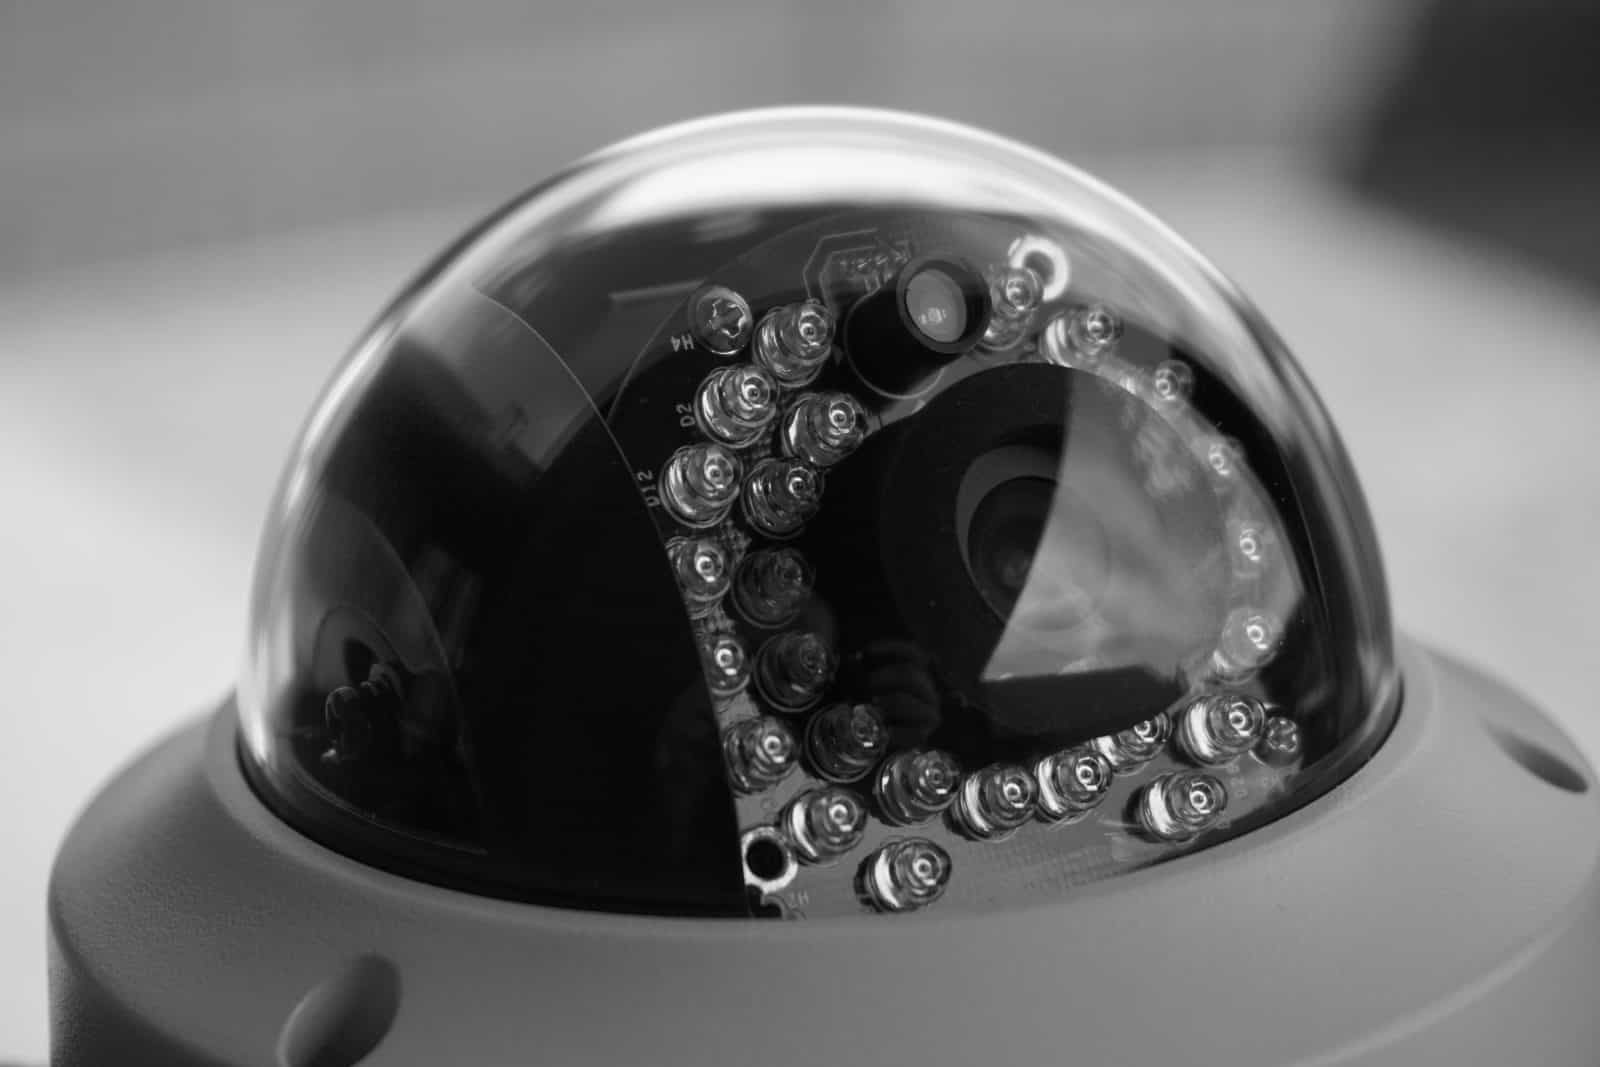
- Night vision: If you need surveillance during nighttime or low-light conditions, look for a camera with night vision capabilities. These cameras use infrared LEDs to capture clear images even in the dark.
- Motion detection: Cameras with motion detection can send alerts or start recording when they detect movement. This feature is useful for minimizing false alarms and capturing important events.
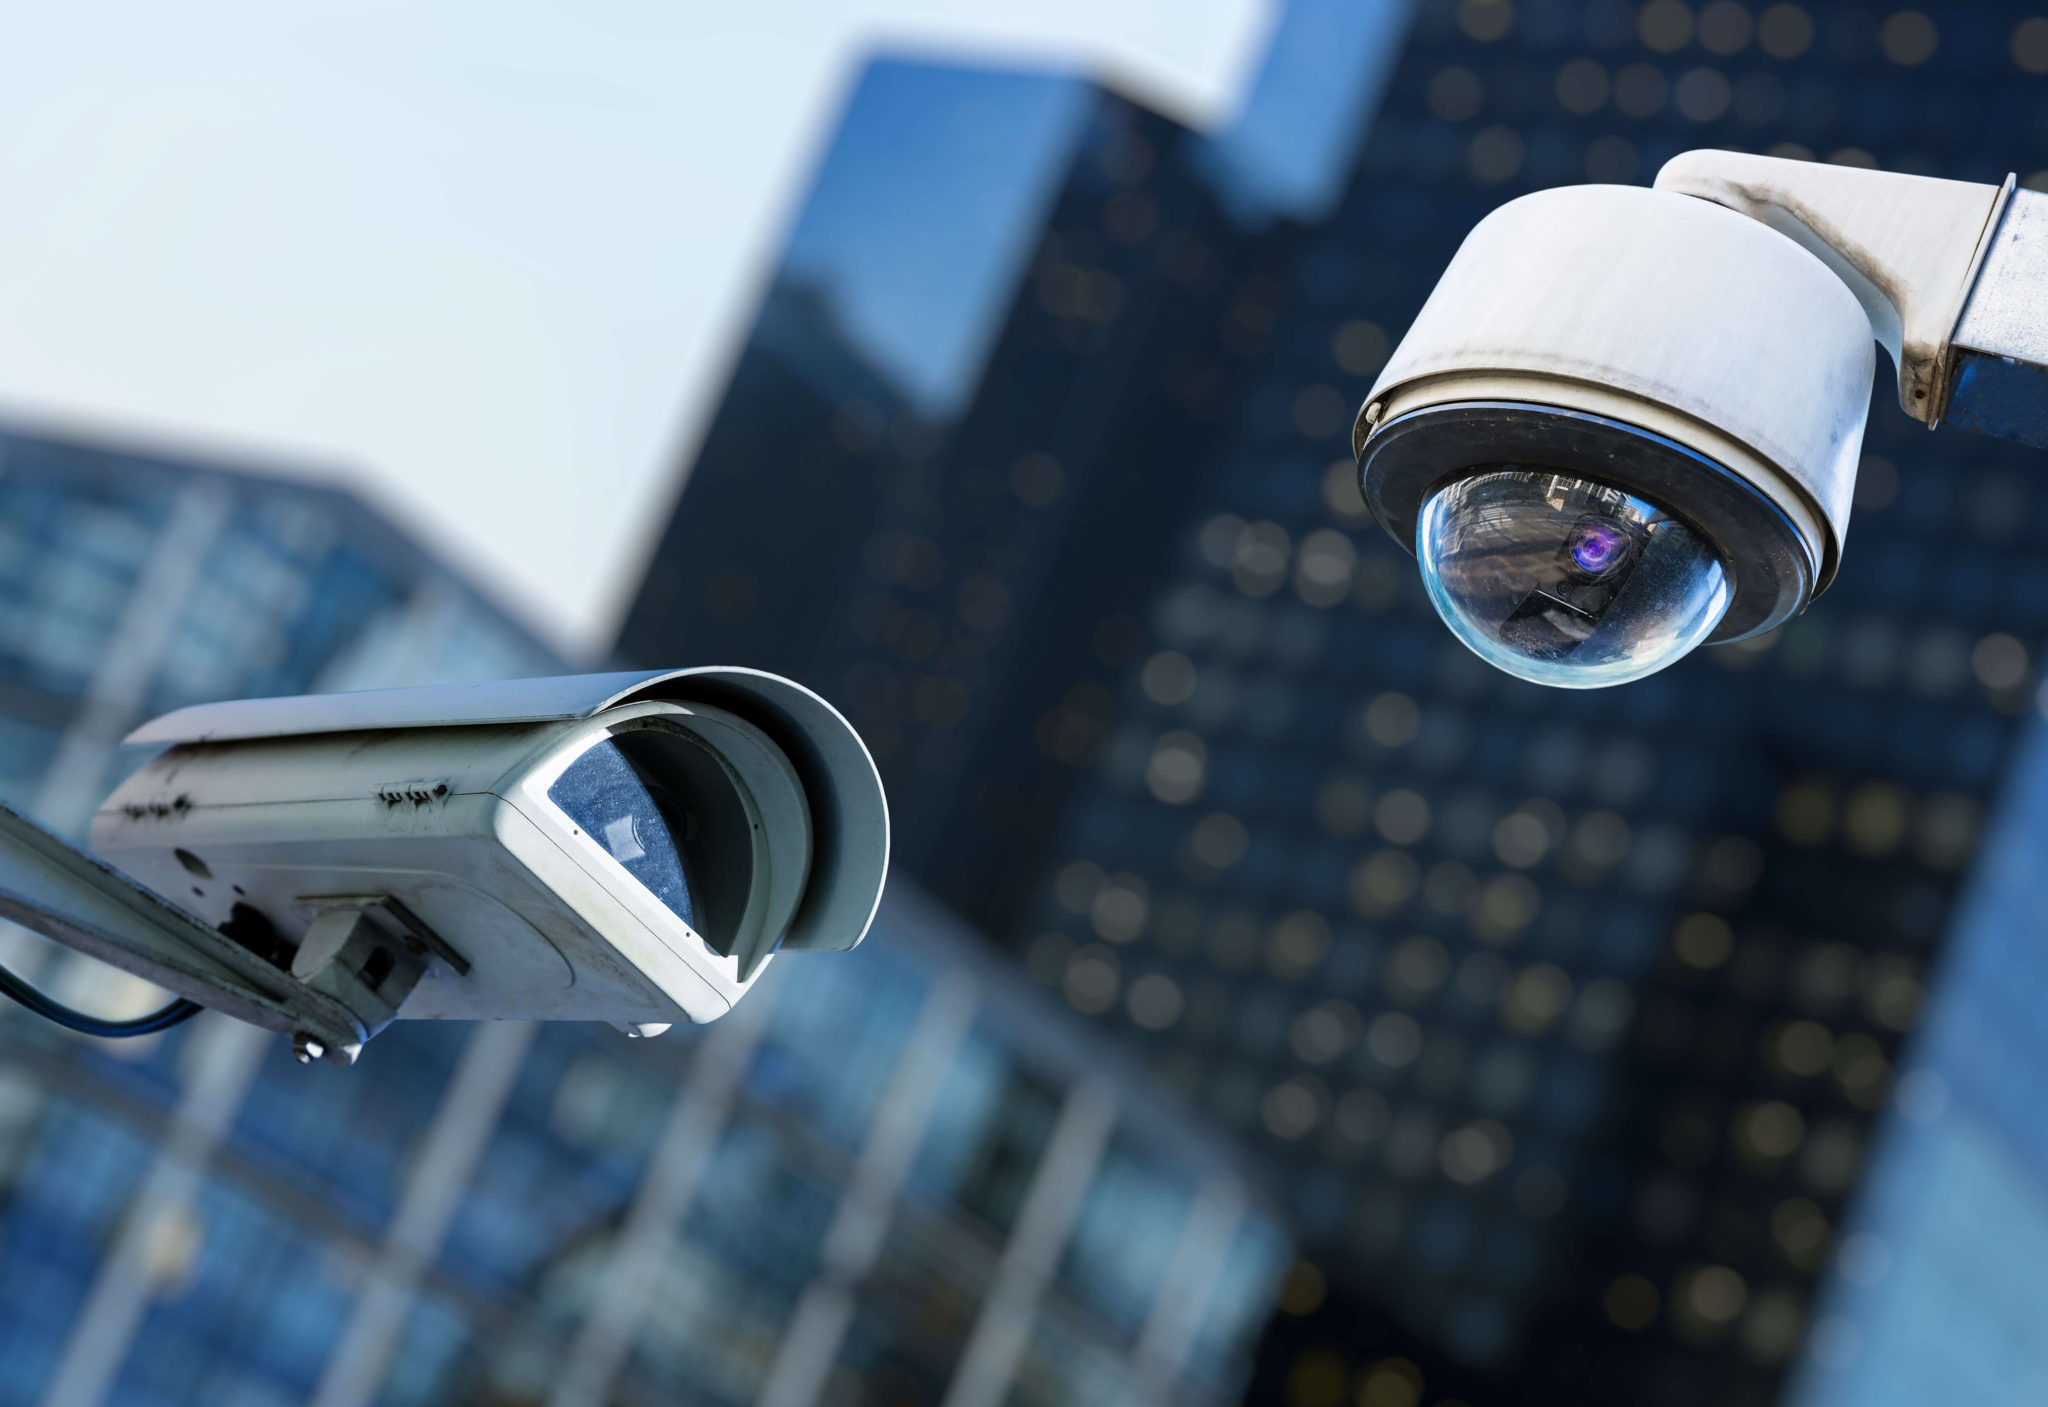
- Weather resistance: If you plan to install the camera outdoors, make sure it is weather-resistant and can withstand various weather conditions. Look for cameras with an IP65 or higher rating to ensure they are protected from dust and water.
- Connectivity: Consider how you want to connect the camera to your network. Some cameras offer both wired and wireless options, while others are specifically designed for either Ethernet or Wi-Fi connections. Choose a camera that suits your network setup.
- Storage options: Decide how you want to store the camera footage. Some cameras have built-in storage capabilities, while others require an external storage device or cloud storage. Evaluate your storage needs and choose accordingly.
It’s also important to read reviews and compare different camera models before making a final decision. Look for cameras with positive customer feedback and reliable performance. Additionally, check if the camera is compatible with your chosen single-board computer or video recorder to ensure seamless integration.
Once you have selected your camera, you can proceed to the next step: preparing the camera housing.
Step 3: Prepare the camera housing
Preparing the camera housing is an important step in building your DIY security camera system. The housing protects the camera from the elements and ensures its longevity. Here’s how you can prepare the camera housing:
- Choose a suitable housing: Depending on your camera and installation location, you can either purchase a ready-made camera housing or make your own. Ready-made housings are available in various shapes and sizes, while DIY housings can be created using weatherproof cases or even PVC pipes.
- Make necessary modifications: If you are using a ready-made housing, you may need to make modifications to accommodate the camera module or IP camera. This can involve drilling holes for the camera lens, mounting screws, and cable entry. Take accurate measurements and use appropriate tools to ensure a proper fit.
- Seal the housing: To protect the camera from moisture and dust, it’s essential to seal the housing properly. Use silicone sealant or weatherproof gaskets to seal any openings or gaps in the housing. This will help maintain the camera’s functionality and prevent damage.
- Consider additional features: Depending on your specific needs, you may want to consider adding additional features to the camera housing. For example, if you are installing the camera in a high-security area, you could add a tamper-proof cover or an anti-glare shield to protect the camera against vandalism or harsh lighting conditions.
- Test the housing: Before moving on to the installation, it’s important to test the camera housing to ensure it is properly sealed and can withstand the intended environmental conditions. Perform a water test by spraying water on the housing to check for any leaks. Also, test the camera’s functionality inside the housing to ensure proper positioning and clear image capture.
Preparing the camera housing ensures that your camera is well-protected and can function optimally in its intended environment. Once you have prepared the housing, you can proceed to the next step: installing the camera inside the housing.
Step 4: Install the camera inside the housing
Now that you have prepared the camera housing, it’s time to install the camera module or IP camera inside it. Proper installation is crucial to ensure the camera’s stability and functionality. Here’s how you can install the camera inside the housing:
- Open the housing: If you’re using a ready-made housing, follow the manufacturer’s instructions to open it. If you’ve created your own housing, remove any access panels or covers to gain access to the inside.
- Position the camera: Carefully position the camera module or IP camera inside the housing. Make sure the camera lens aligns with the opening you’ve created in the housing. Adjust the camera’s angle and tilt as needed to capture the desired field of view.
- Secure the camera: Use screws or mounting brackets to secure the camera in place. Ensure that the camera is firmly attached and doesn’t move or shake within the housing. This will help maintain a stable image and prevent any damage to the camera.
- Connect the cables: If your camera requires any cables for power or data transmission, carefully route them through the housing’s cable entry holes. Connect the cables to the appropriate ports on the camera module or IP camera.
- Organize the cables: To keep the inside of the housing neat and ensure proper cable management, use cable clips or ties to secure and organize the cables. This will prevent any tangling or interference with the camera’s performance.
- Close the housing: Once the camera is securely installed and the cables are properly organized, close the housing. Ensure that all seals, gaskets, or access panels are firmly in place to maintain the housing’s weather resistance.
It’s essential to handle the camera with care and follow the manufacturer’s instructions during the installation process. Take your time to ensure that the camera is correctly positioned and secured within the housing. Once the camera is installed, you can move on to the next step: connecting the camera to a power source.
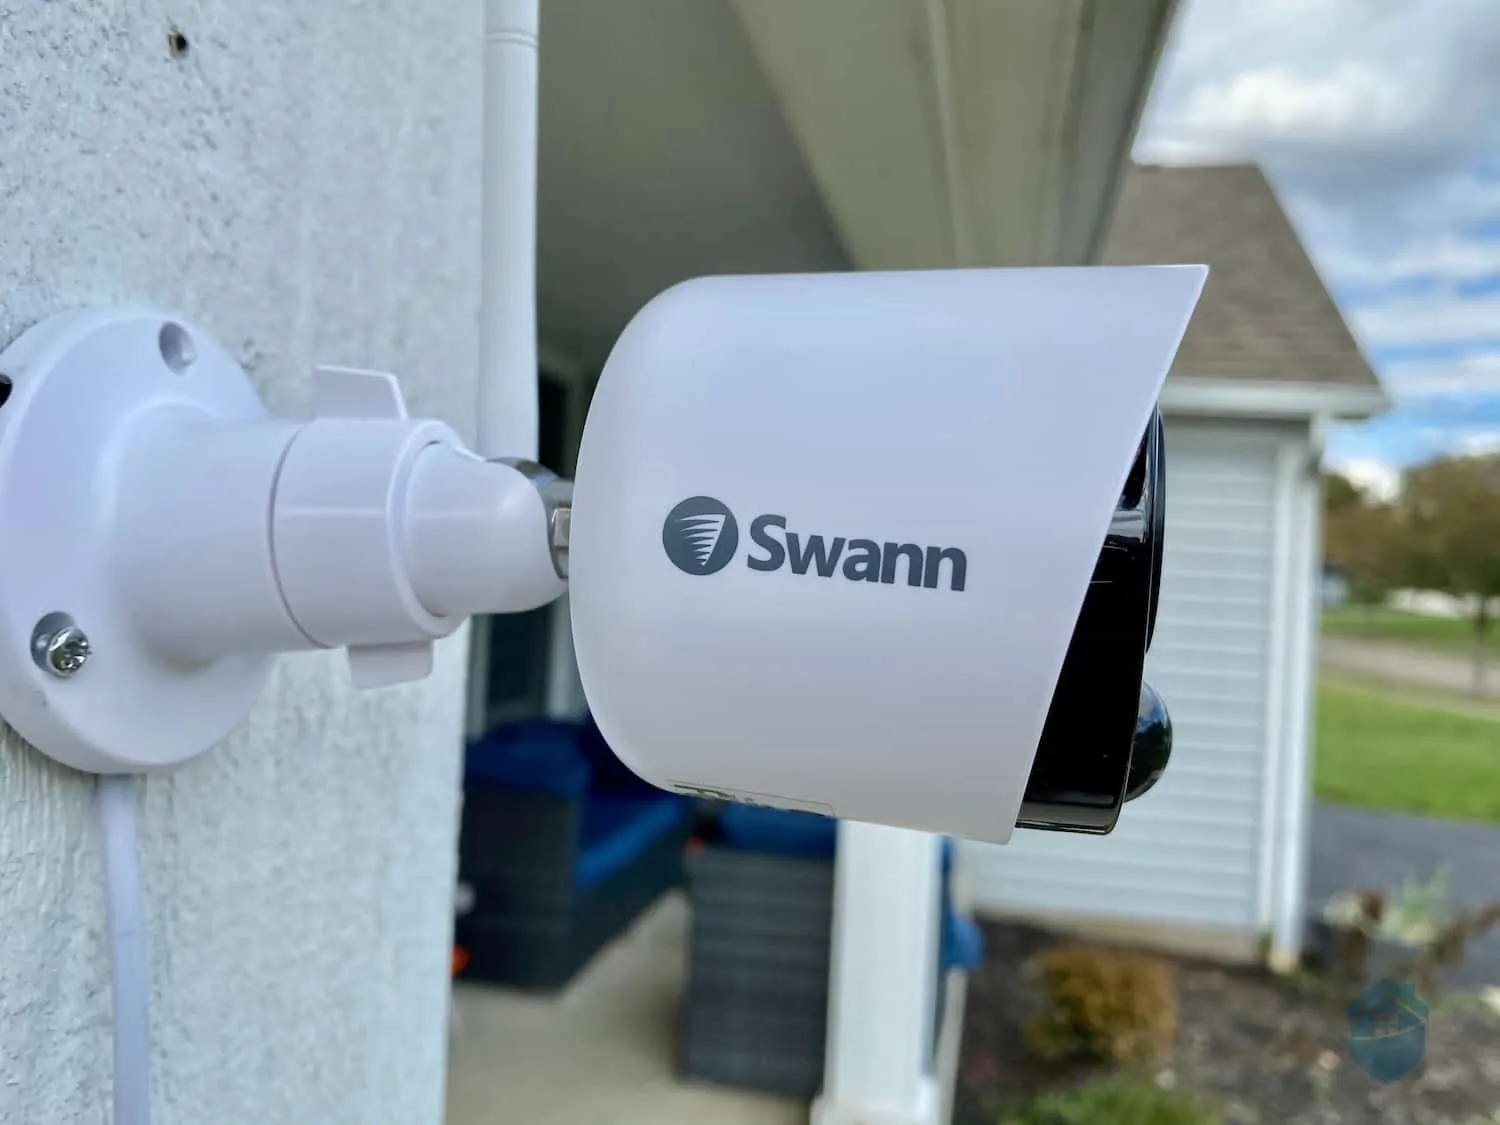
Read more: Who Makes Swann Security Cameras
Step 5: Connect the camera to a power source
Once your camera is securely installed inside the housing, the next step is to connect it to a power source. Proper power supply is essential for the camera to function effectively and ensure uninterrupted surveillance. Here’s how you can connect the camera to a power source:
- Determine the power requirements: Before connecting the camera to a power source, identify its specific power requirements. Check the camera’s documentation or specifications to determine the voltage and current requirements.
- Choose the power supply: Based on the camera’s power requirements, select an appropriate power supply. You can use a dedicated power adapter that matches the camera’s specifications or a power source that provides the required voltage and current. If using a power adapter, make sure it has the correct connector type for the camera.
- Connect the power cables: Connect the power cables to the camera’s power input port or terminal. Ensure a secure and proper connection to prevent any power supply issues or damage to the camera.
- Route the power cables: Once the camera is connected to the power supply, route the power cables to a suitable location. Depending on your installation setup, you may need to run the cables along walls, ceilings, or through conduits to reach the power source.
- Use proper cable management: To maintain a neat and organized setup, use cable clips, ties, or conduits to secure and manage the power cables. This will help prevent any accidental disconnections or tangling of cables.
- Test the power supply: After connecting the camera to the power source, test the power supply to ensure the camera receives a stable and reliable power feed. Make sure the camera powers on and functions as expected.
It’s important to note that proper electrical safety measures should be followed during the power connection process. Avoid exposing live wires or creating any hazardous situations. If you’re unsure about electrical work, it’s recommended to consult a professional or an experienced individual for assistance.
With the camera successfully connected to a power source, you’re ready to move on to the next step: connecting the camera to a video recorder or monitor.
When making a security camera, make sure to choose a high-resolution camera with night vision capabilities for clear footage in low light. This will help ensure that your camera can capture important details even in the dark.
Step 6: Connect the camera to a video recorder or monitor
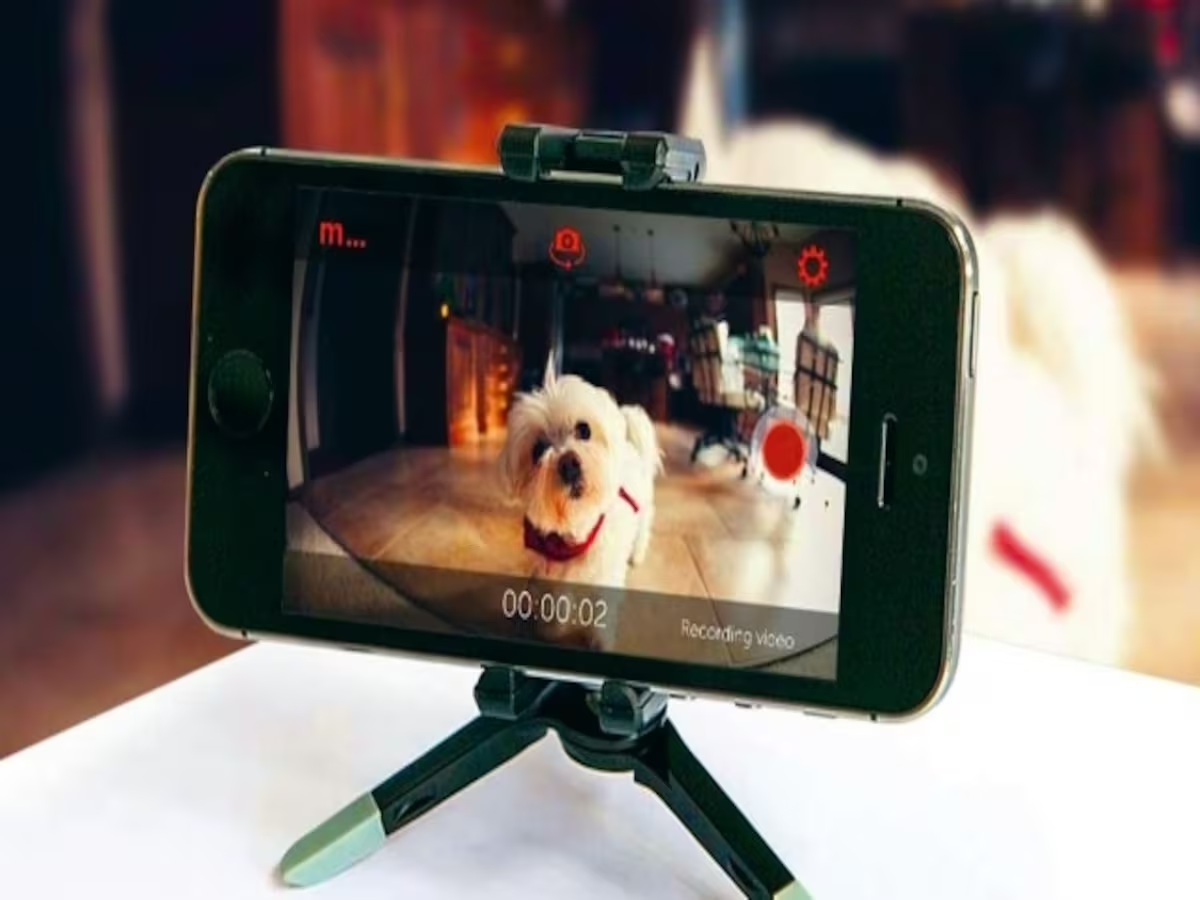
Now that your camera is powered up, it’s time to connect it to a video recorder or monitor. This step allows you to view and record the camera feed, enabling you to monitor your property or playback footage if needed. Here’s how you can connect the camera to a video recorder or monitor:
- Select the appropriate connection type: Determine the connection type supported by your camera and video recorder or monitor. Common options include HDMI, VGA, or composite (RCA) connections. Check the camera and recording device’s documentation to identify the supported connection types.
- Connect the camera to the video recorder or monitor: Use the appropriate cables to connect the camera output to the corresponding input port on the video recorder or monitor. For example, if both devices support HDMI, use an HDMI cable to establish the connection.
- Configure the video recorder or monitor settings: Once the camera is connected, configure the video recorder or monitor settings to ensure it recognizes the camera feed. Access the settings menu on the recording device and follow the instructions to detect and display the camera’s video output.
- Adjust the display settings: If necessary, adjust the display settings such as brightness, contrast, and resolution to optimize the camera feed’s visual quality. This step ensures that the footage is clear and easy to observe.
- Test the camera feed: After making the necessary connections and adjustments, test the camera feed on the video recorder or monitor. Verify that the camera’s video output is successfully displayed and that all settings are functioning as expected.
- Consider additional features: Depending on the video recorder or monitoring system you’re using, there may be additional features and settings available. Explore these options to enhance your surveillance experience, such as setting up motion detection alerts or scheduling recording times.
By connecting the camera to a video recorder or monitor, you can have real-time access to the camera feed and ensure continuous monitoring of your property. This step is crucial in maximizing the functionality of your DIY security camera system.
With the camera successfully connected to a video recorder or monitor, you can move on to the next step: positioning and mounting the camera.
Step 7: Position and mount the camera
Positioning and mounting the camera is a crucial step to ensure optimal coverage and surveillance of your property. Proper placement of the camera allows for clear and effective monitoring. Here’s how you can position and mount your DIY security camera:
- Survey your property: Take some time to survey your property and identify the areas where you want to monitor. Consider high-risk areas such as entrances, driveways, backyards, and windows.
- Determine the best angles: Based on the areas you want to monitor, determine the best camera angles that cover the desired field of view. Angle the camera to capture the maximum area while avoiding any obstructions or blind spots.
- Consider camera visibility: Decide whether you want the camera to be visible or discreet. A visible camera can act as a deterrent, while a discreet camera may capture more natural and candid footage. Choose the approach that suits your security needs.
- Mounting options: Depending on the mounting brackets or hardware included with your camera, choose the best mounting option. This could involve using wall mounts, ceiling mounts, or pole mounts. Ensure that the mount is stable and securely attached to the mounting surface.
- Maintain camera stability: Make sure the camera is secured tightly to the mount to prevent any movement or shaking caused by wind or other external factors. This will help ensure that the camera captures stable footage without any distortion.
- Adjust camera position: Once the camera is mounted, adjust its position and angle if necessary. Fine-tune the camera’s position to ensure the desired area is captured accurately and without any obstructions.
It’s important to mention that every property is unique, so take the time to experiment with different camera positions and angles to find the most effective setup for your specific needs. Regularly check the camera’s field of view to ensure it hasn’t been accidentally blocked or misaligned.
Proper positioning and mounting of the camera is crucial to ensure effective monitoring and maximize the security benefits of your DIY system. With the camera securely positioned and mounted, you can move on to the next step: setting up the camera’s settings.
Step 8: Set up the camera’s settings
Setting up the camera’s settings is an essential step in configuring your DIY security camera system. These settings will determine how the camera functions, captures footage, and responds to various scenarios. Here’s how you can set up the camera’s settings:
- Access the camera’s settings interface: Depending on the camera model, you can typically access the settings via a web browser, mobile app, or dedicated software. Refer to the camera’s documentation to determine the appropriate method for accessing its settings interface.
- Configure network settings: If your camera is connected to a network, ensure that the network settings are properly configured. Set the appropriate IP address, subnet mask, and gateway details to allow the camera to communicate with other devices on the network.
- Set up user accounts and passwords: Create strong and unique passwords for the camera’s user accounts to prevent unauthorized access. Consider using complex passwords that include a combination of alphanumeric characters and symbols.
- Adjust video settings: Configure the video settings to optimize the camera’s performance. Adjust parameters such as resolution, frame rate, and compression settings based on your preferences and network capabilities.
- Enable motion detection: If your camera supports motion detection, enable this feature and customize the sensitivity settings. This will allow the camera to detect motion and trigger alerts or recordings when movement is detected in the monitored area.
- Set up recording options: Determine how you want the camera to record footage. You may have options such as continuous recording, scheduled recording, or event-triggered recording. Choose the appropriate recording options based on your surveillance requirements and storage capacity.
- Configure alerts and notifications: If your camera supports alerts and notifications, set them up according to your preferences. This could include receiving email notifications, push notifications on a mobile device, or triggering alarms in case of specific events, such as motion detection or tampering attempts.
- Test and fine-tune settings: After configuring the camera’s settings, perform tests to ensure that the camera is functioning as desired. Verify that alerts, recordings, and other settings are working correctly and adjust any necessary settings based on the results.
It’s important to read the camera’s user manual or consult the manufacturer’s documentation for specific instructions on configuring the settings. Each camera model may have unique features and options that require specific guidance for optimal setup.
With the camera’s settings properly configured, you’re almost ready to start monitoring your property. Before that, though, there’s one more step: testing the camera and making any necessary adjustments.
Read more: Who Makes Lorex Security Cameras
Step 9: Test the camera and adjust if necessary
After setting up the camera and configuring its settings, it’s important to test the camera and ensure it is functioning correctly. Testing allows you to identify any issues or areas for improvement before fully relying on the camera for surveillance. Here’s how you can test the camera and make necessary adjustments:
- Monitor the camera feed: Start by monitoring the camera feed on your video recorder, monitor, or mobile device. Check if the camera is capturing the intended areas and if the video quality is satisfactory. Ensure that the camera lens is clean and free from any obstructions.
- Test different lighting conditions: Evaluate the camera’s performance under different lighting conditions, such as bright sunlight, dim lighting, or night vision mode (if available). Make note of any issues with visibility, clarity, or night vision performance, and adjust the camera settings as needed.
- Check for image stabilization: Look for any signs of camera shake or instability in the footage. If necessary, adjust the camera’s position or mounting to minimize any unwanted movement or vibrations that could affect the quality of the recorded video.
- Verify motion detection: If your camera has motion detection capabilities, test its accuracy in detecting and triggering alerts or recordings. Walk or move within the camera’s field of view to check if the motion detection feature is responsive and consistent.
- Review recording playback: Review the recorded footage to ensure that it is being properly saved and can be accessed for later viewing. Check if the recordings are clear, properly timestamped, and easily accessible through the video recorder or storage device.
- Adjust settings if necessary: Based on your testing, adjust the camera’s settings as needed. This could include modifying motion detection sensitivity, fine-tuning image quality, changing recording settings, or exploring additional features or functionalities of the camera.
- Perform regular maintenance: Once the camera is successfully tested and adjusted, establish a regular maintenance routine. This can include periodic cleaning of the camera lens, checking cable connections, and ensuring the camera housing remains secure and weather-resistant.
Testing the camera and making necessary adjustments ensures that your DIY security camera system is performing optimally. Regular maintenance and monitoring will help you identify any issues and ensure the continuous operation and effectiveness of your surveillance setup.
With these steps completed, you have successfully built and tested your own DIY security camera system. You can now enjoy the enhanced security and peace of mind that comes with monitoring and protecting your property.
Remember, a DIY security camera system may require ongoing maintenance and adjustments. Stay proactive in checking and updating your system to ensure the best possible surveillance and protection for your home or business.
Conclusion
Congratulations on successfully completing the journey of building your DIY security camera system! By following the steps outlined in this guide, you have created a customized and cost-effective solution for safeguarding your property and loved ones. Here’s a brief recap of the steps we covered:
- Gathered the necessary materials
- Chose the right camera for your needs
- Prepared the camera housing
- Installed the camera inside the housing
- Connected the camera to a power source
- Linked the camera to a video recorder or monitor
- Positioned and mounted the camera
- Configured the camera’s settings
- Tested the camera and made necessary adjustments
By taking the DIY approach, you have not only saved money but also gained the flexibility to customize every aspect of your security camera system. Whether you’re monitoring your home, office, or any other property, having a DIY system allows you to tailor it to your specific needs and preferences.
Remember, ongoing maintenance and monitoring are essential to ensure the continued effectiveness of your DIY security camera system. Regularly clean the camera lens, check connections, and update settings as needed. Stay vigilant and proactive in maintaining your system’s integrity and reliability.
With your DIY security camera system in place, you can enjoy the peace of mind that comes with knowing your property is protected. Whether you’re preventing break-ins, monitoring for security incidents, or simply keeping an eye on your surroundings, your DIY security camera will be there to support you.
Thank you for joining us on this DIY journey, and we hope that this guide has empowered you to create your very own reliable and effective security camera system. Stay safe, secure, and always be aware of your surroundings!
Frequently Asked Questions about How To Make A Security Camera
Was this page helpful?
At Storables.com, we guarantee accurate and reliable information. Our content, validated by Expert Board Contributors, is crafted following stringent Editorial Policies. We're committed to providing you with well-researched, expert-backed insights for all your informational needs.
