Home>Furniture & Design>Bathroom Accessories>How To Remove Azo Stains From Toilet Seat
Bathroom Accessories
How To Remove Azo Stains From Toilet Seat
Modified: October 19, 2024
Learn how to effectively remove Azo stains from your toilet seat with our expert tips and tricks. Keep your bathroom accessories looking clean and fresh. Discover the best methods now!
(Many of the links in this article redirect to a specific reviewed product. Your purchase of these products through affiliate links helps to generate commission for Storables.com, at no extra cost. Learn more)
Introduction
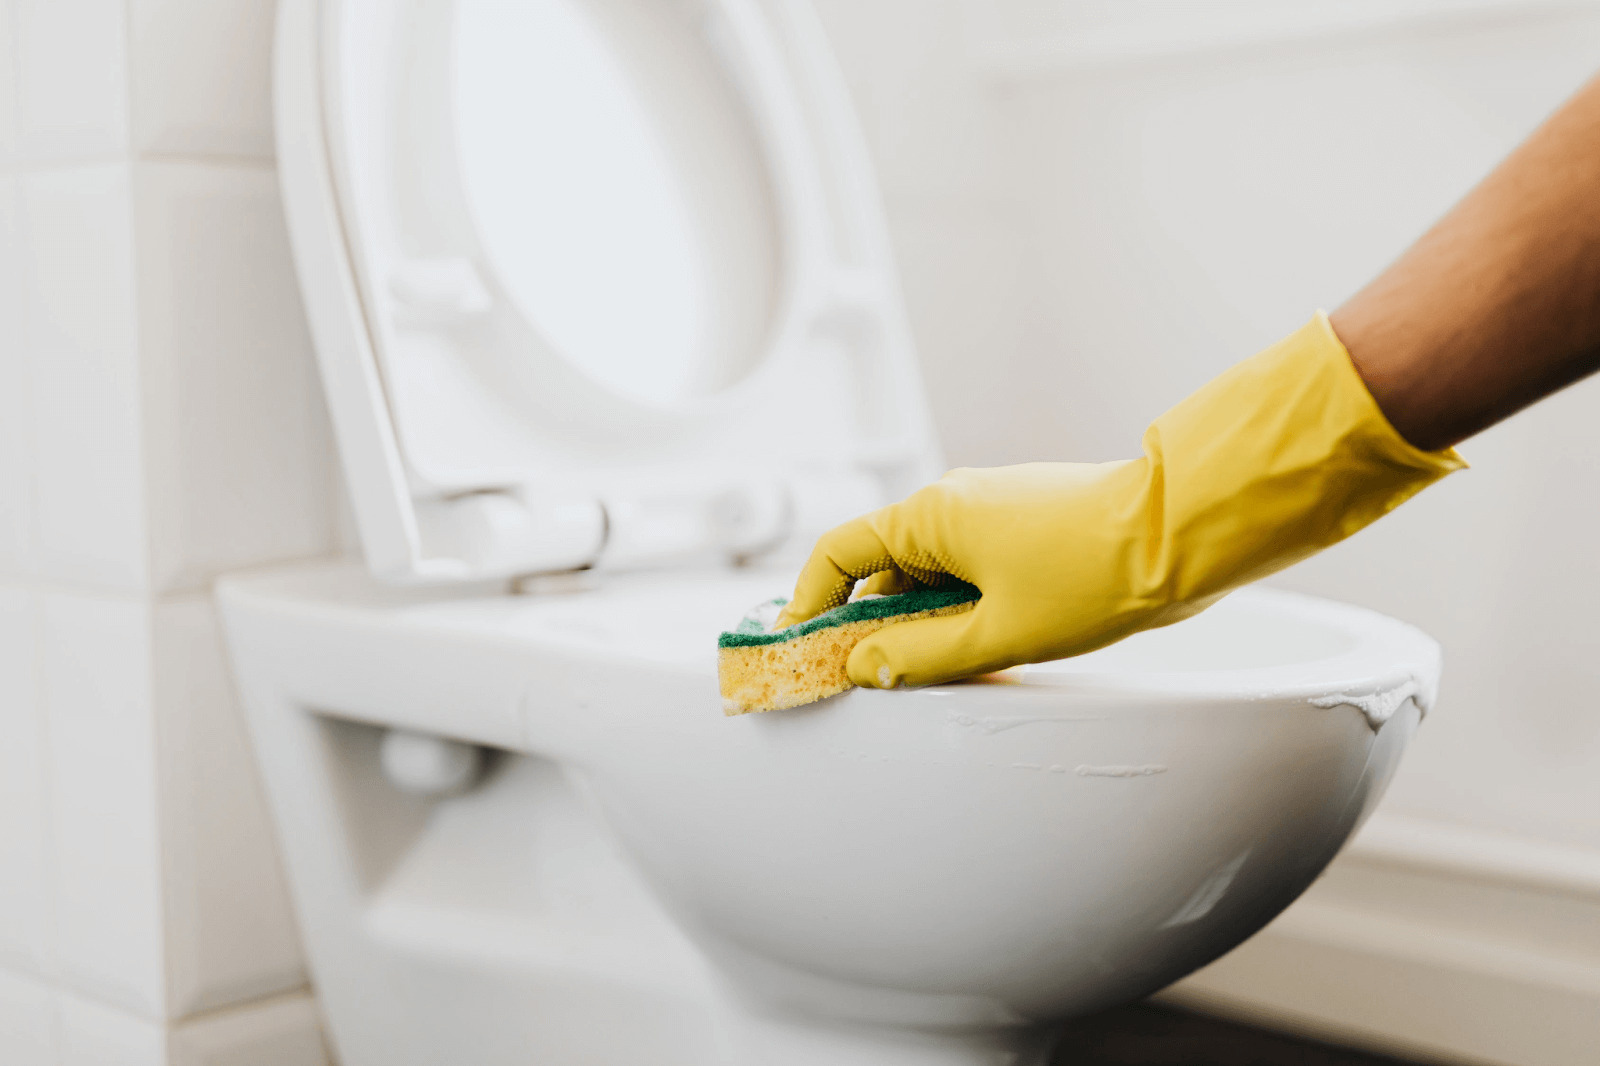
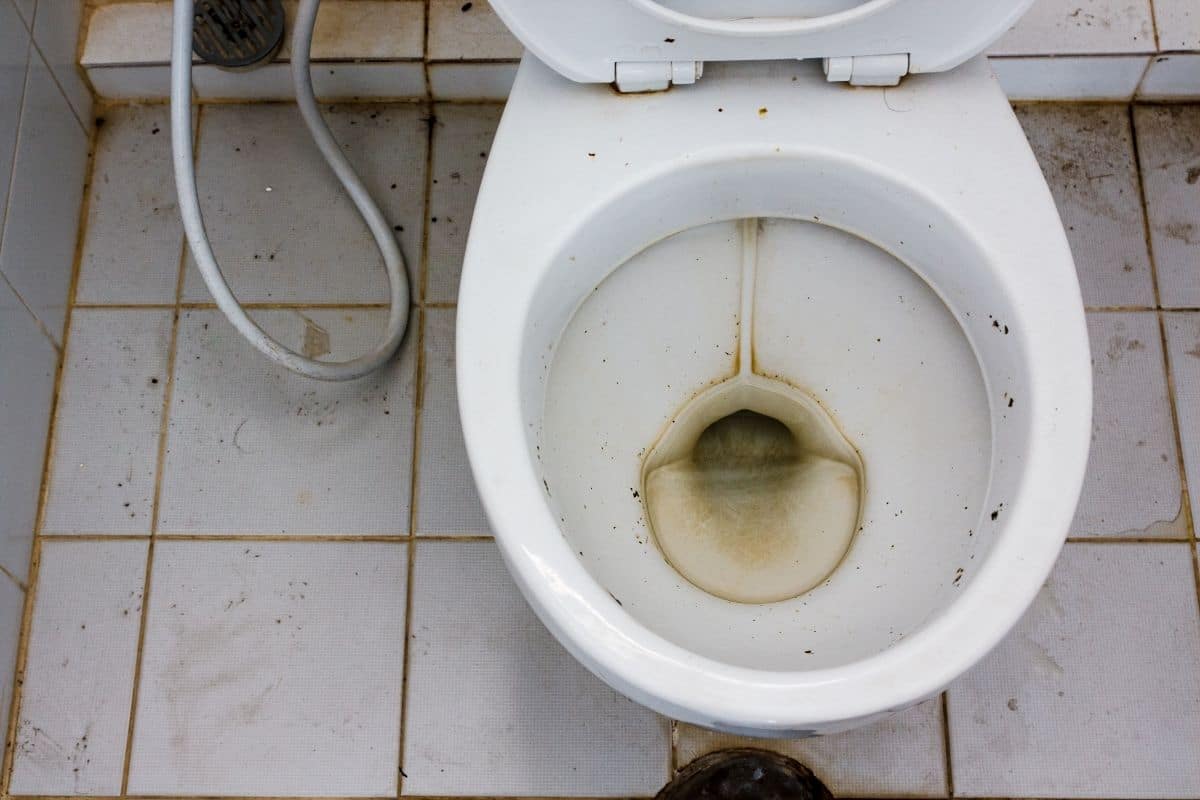
Azo stains on a toilet seat can be a frustrating and unsightly issue for many homeowners. These stubborn stains, often caused by the buildup of urine and other bodily fluids, can be challenging to remove without the right approach and materials. However, with the proper knowledge and techniques, you can effectively tackle and eliminate azo stains, restoring your toilet seat to its pristine condition.
In this comprehensive guide, we will delve into the intricacies of azo stains and provide you with a step-by-step approach to effectively remove them. Additionally, we will explore the materials needed for this task and offer valuable insights on preventing azo stains in the future. By the end of this article, you will be equipped with the knowledge and expertise to conquer azo stains and maintain a clean and hygienic bathroom environment.
Let's embark on this journey to banish azo stains and revitalize your toilet seat, ensuring that your bathroom remains a welcoming and refreshing space for all who use it.
Key Takeaways:
- Say goodbye to stubborn azo stains on your toilet seat by using vinegar, baking soda, and a little elbow grease. Keep your bathroom clean and inviting with these simple, natural cleaning techniques.
- Prevent future azo stains by wiping spills promptly, establishing a regular cleaning schedule, and considering urine-resistant materials. Maintain a pristine toilet seat and a hygienic bathroom environment for all.
Read more: How To Remove Dye Stains From Toilet Seat
Understanding Azo Stains
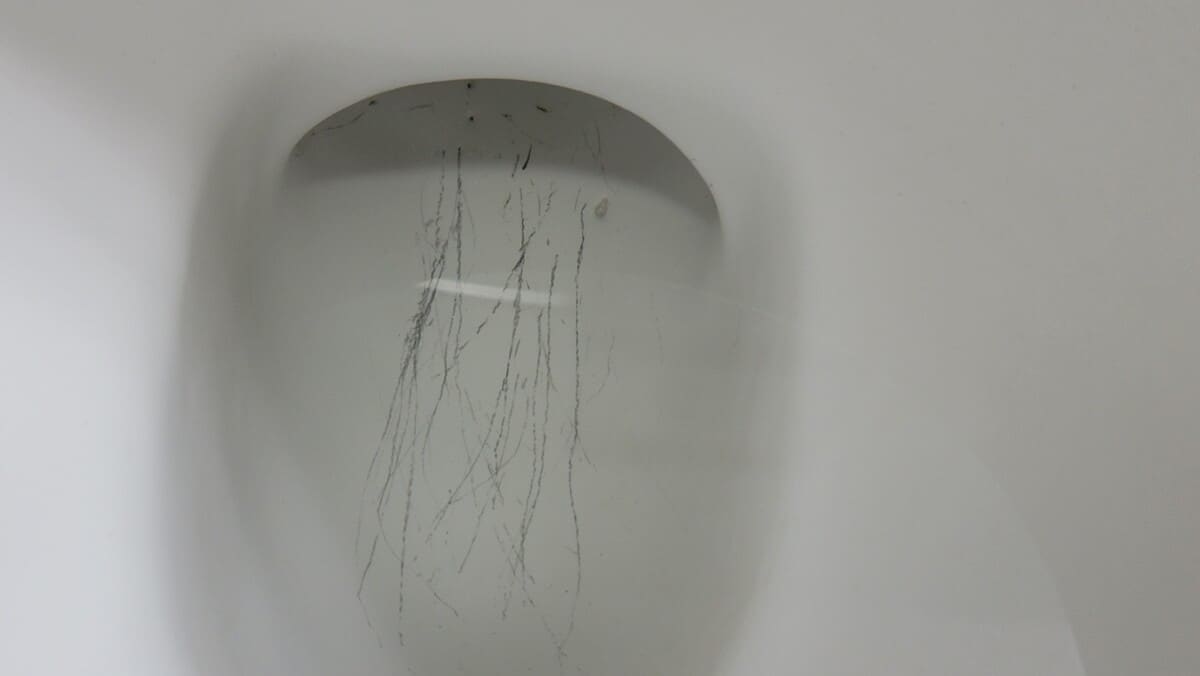
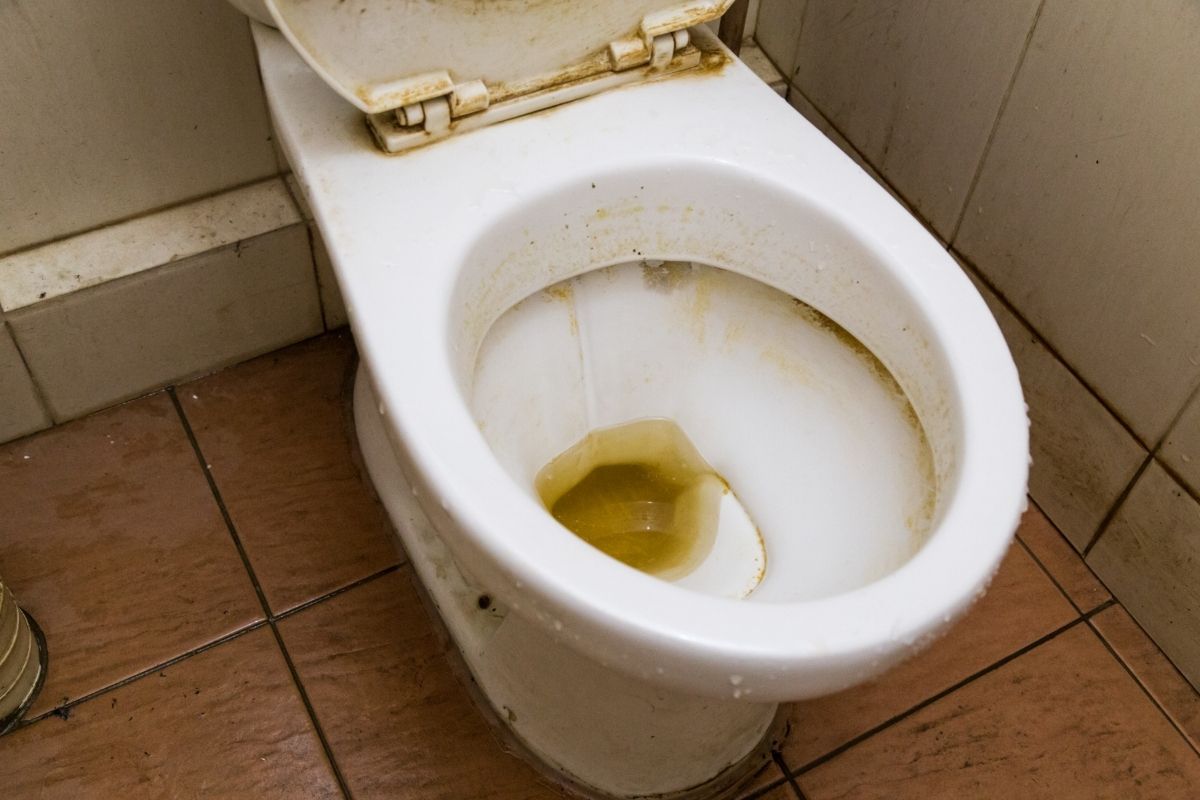
Azo stains, commonly found on toilet seats, are the result of a chemical reaction between urine and the materials used in the toilet seat. These stains often manifest as a yellowish or orange discoloration, which can be particularly stubborn and unsightly. The primary culprit behind azo stains is urobilin, a pigment found in urine that can adhere to the surface of the toilet seat, leading to the formation of these persistent stains.
The porous nature of many toilet seat materials, such as plastic or wood, can exacerbate the problem, as the urobilin pigment can penetrate the surface, making it challenging to remove using conventional cleaning methods. Additionally, the prolonged exposure to urine and other bodily fluids can contribute to the buildup of these stains over time, further complicating the removal process.
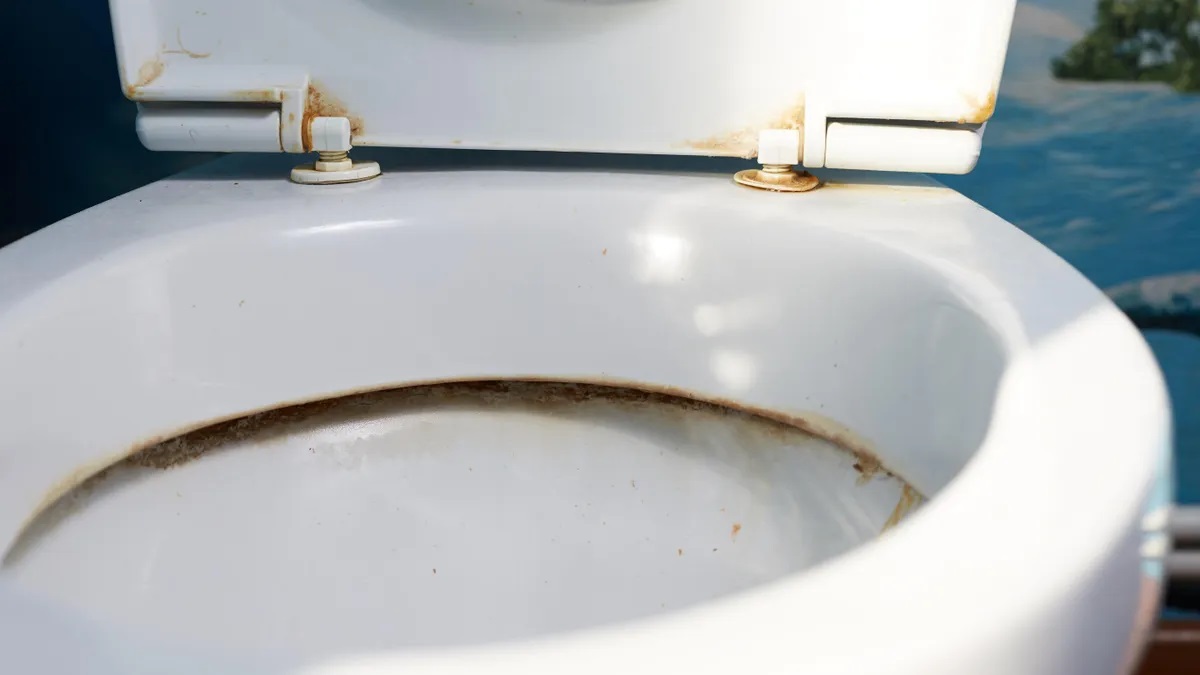
It's important to note that azo stains not only detract from the aesthetic appeal of the toilet seat but also pose hygiene concerns. The presence of stubborn stains can create an impression of uncleanliness, potentially impacting the overall perception of the bathroom's cleanliness and hygiene.
Understanding the nature of azo stains is crucial in devising an effective strategy for their removal. By gaining insight into the chemical composition of these stains and the factors contributing to their formation, you can approach the removal process with a targeted and informed approach, increasing the likelihood of successful stain eradication.
In the following sections, we will explore the materials needed and provide a detailed step-by-step guide to effectively remove azo stains from your toilet seat, empowering you to tackle this common bathroom challenge with confidence and expertise.
Materials Needed
To effectively tackle azo stains on your toilet seat, you will require a set of materials specifically chosen to target and eliminate these stubborn discolorations. Equipping yourself with the right tools and cleaning agents is essential in ensuring a successful stain removal process. Here are the key materials you will need:
-
Rubber Gloves: Before embarking on the stain removal process, it is crucial to prioritize safety and hygiene. Rubber gloves provide protection for your hands, shielding them from direct contact with the cleaning agents and any potentially harmful substances present on the toilet seat.
-
White Vinegar: White vinegar is a versatile and effective natural cleaning agent that can be instrumental in combating azo stains. Its acidic properties make it adept at breaking down and dissolving the components of the stains, facilitating their removal from the toilet seat surface.
-
Baking Soda: This household staple serves as a gentle yet potent abrasive agent, aiding in the mechanical removal of azo stains. Its mild abrasive nature allows for the gentle scrubbing of the stains without causing damage to the toilet seat material.
-
Soft Microfiber Cloth or Sponge: Utilizing a soft microfiber cloth or sponge is essential to avoid scratching or damaging the toilet seat surface during the cleaning process. These gentle cleaning tools are effective in applying the cleaning solutions and delicately scrubbing the stains without causing undue abrasion.
-
Old Toothbrush: An old toothbrush can be repurposed as a targeted cleaning tool for intricate areas and crevices on the toilet seat. Its small bristles allow for precise and detailed cleaning, particularly useful for addressing hard-to-reach areas where stains may be deeply embedded.
-
Plastic Wrap (Optional): In certain cases where the stains are particularly stubborn or extensive, using plastic wrap to cover the treated area can aid in intensifying the cleaning process. This method helps to create a controlled environment, allowing the cleaning agents to work more effectively on the stains.
By assembling these essential materials, you will be well-prepared to embark on the journey of removing azo stains from your toilet seat. Each item plays a crucial role in the stain removal process, working in synergy to restore the cleanliness and visual appeal of your bathroom fixture. With these materials at your disposal, you are ready to proceed to the next phase: the step-by-step guide to removing azo stains from your toilet seat.
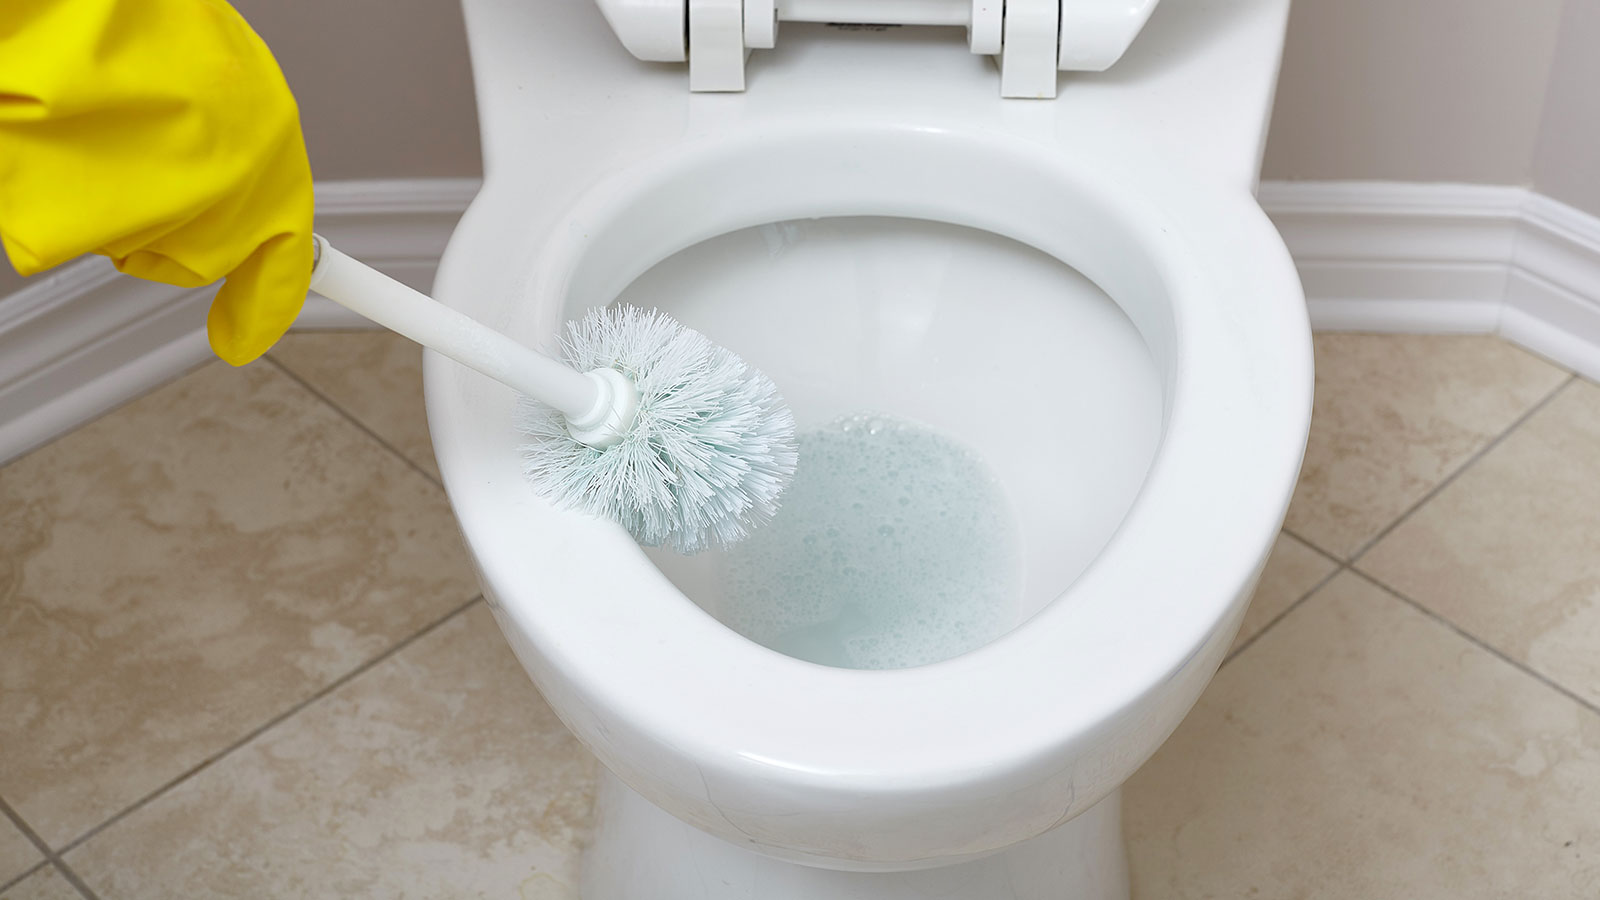
Use a mixture of equal parts vinegar and water to soak the stained area for 30 minutes. Then, scrub with a toilet brush and rinse with water.
Step-by-Step Guide to Remove Azo Stains
-
Prepare the Cleaning Solution: Begin by creating a potent yet safe cleaning solution by mixing equal parts of white vinegar and water in a small bowl or container. This diluted vinegar solution serves as the primary agent for breaking down the azo stains while being gentle on the toilet seat material.
-
Apply the Cleaning Solution: Using a soft microfiber cloth or sponge, generously apply the prepared vinegar solution to the affected areas of the toilet seat. Ensure thorough coverage of the stains, allowing the solution to penetrate and begin the process of loosening the discolorations.
-
Let it Sit: After applying the cleaning solution, allow it to sit on the stains for approximately 15-20 minutes. This dwell time is essential for the vinegar solution to effectively penetrate the azo stains and initiate the breakdown of the urobilin pigments causing the discolorations.
-
Scrub with Baking Soda: Sprinkle a small amount of baking soda directly onto the stained areas of the toilet seat. Using a gentle circular motion, carefully scrub the stains with the baking soda, leveraging its mild abrasive properties to aid in the mechanical removal of the discolorations. The combination of the vinegar solution and baking soda creates a powerful cleaning synergy, effectively targeting the azo stains.
-
Targeted Cleaning with an Old Toothbrush: For intricate areas and crevices where the stains may be deeply embedded, utilize an old toothbrush to perform targeted cleaning. Dip the toothbrush in the vinegar solution and gently scrub the hard-to-reach areas, ensuring comprehensive coverage and meticulous attention to detail.
-
Optional Plastic Wrap Method: In cases where the stains are particularly stubborn, consider employing the plastic wrap method. After applying the cleaning solution and baking soda, cover the treated areas with plastic wrap, creating a controlled environment that intensifies the cleaning process. Allow the plastic wrap to remain in place for an additional 15-20 minutes before proceeding to the next step.
-
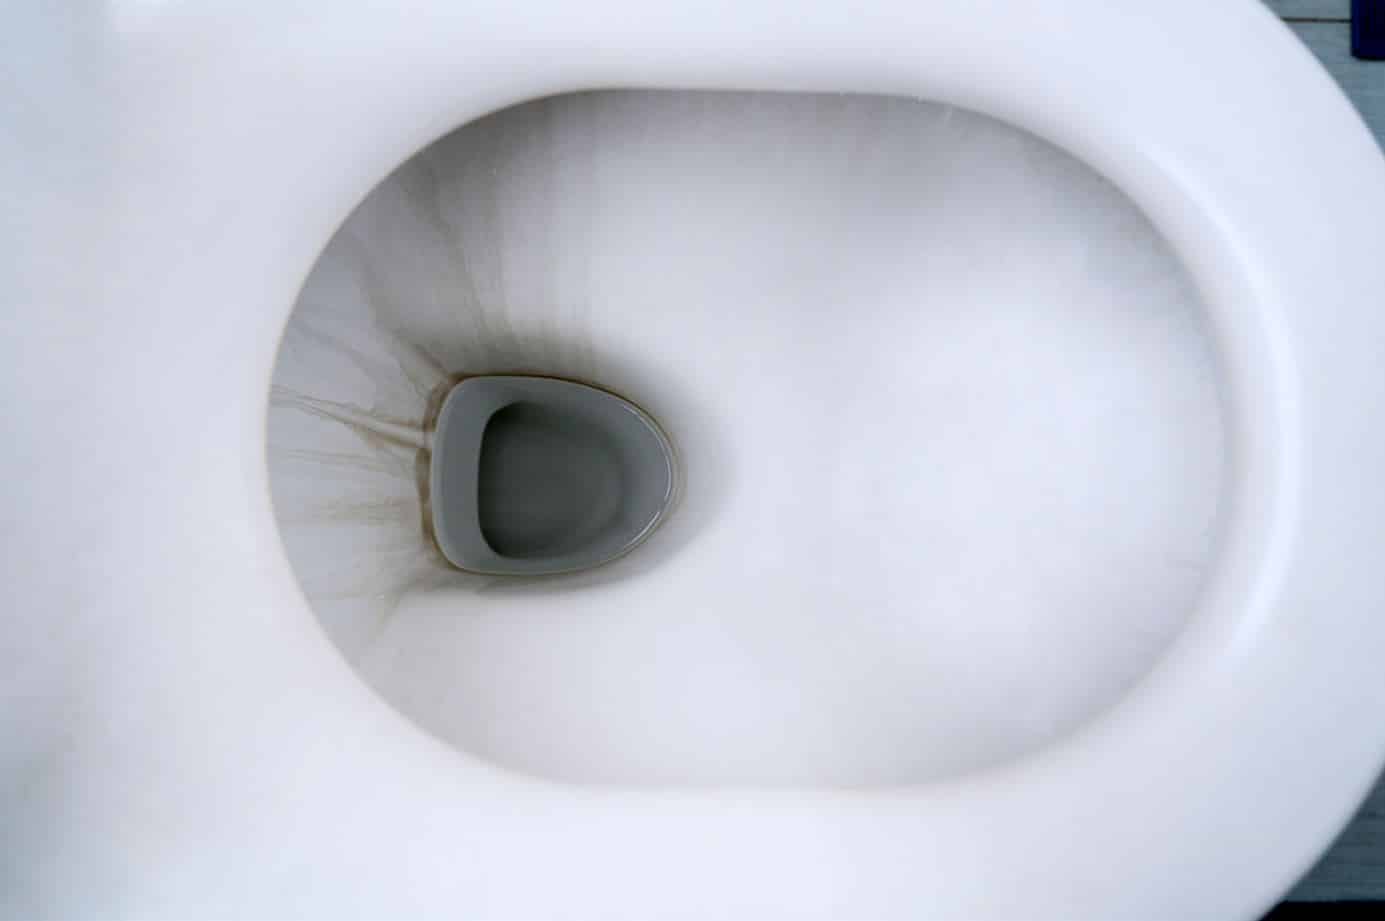
Rinse and Dry: Once the stains have been effectively treated and scrubbed, thoroughly rinse the entire toilet seat with clean water to remove any residual cleaning solution and baking soda. Use a separate clean cloth or sponge to ensure complete removal of the cleaning agents. Finally, dry the toilet seat with a soft, dry cloth to restore its pristine appearance.
By following these meticulous steps, you can effectively remove azo stains from your toilet seat, revitalizing its cleanliness and visual appeal. This method harnesses the power of natural cleaning agents and gentle abrasives, ensuring the safe and thorough elimination of stubborn azo stains. With your newly acquired expertise, you can confidently address and conquer this common bathroom challenge, maintaining a hygienic and inviting environment for all who utilize your bathroom.
Preventing Azo Stains in the Future
Preventing the recurrence of azo stains on your toilet seat is essential to maintain a pristine and hygienic bathroom environment. By implementing proactive measures and adopting a consistent cleaning routine, you can effectively mitigate the risk of azo stains and preserve the visual appeal of your toilet seat. Here are valuable strategies to prevent azo stains in the future:
-
Regular Cleaning Schedule: Establishing a regular cleaning schedule for your bathroom, including the toilet seat, is paramount in preventing the buildup of urine and bodily fluid residues that contribute to azo stains. Consistent cleaning, using mild yet effective cleaning agents, can help mitigate the formation of stubborn stains.
-
Immediate Wiping: Encourage prompt wiping of the toilet seat after each use, particularly if there are visible spills or splatters. Swiftly addressing any residual urine or bodily fluids can prevent the accumulation of staining agents, reducing the likelihood of azo stains over time.
-
Hygienic Practices: Promote hygienic practices among household members or occupants, emphasizing the importance of aiming accurately during toilet use to minimize splashing and spillage. Additionally, encouraging the use of toilet seat covers or liners can further safeguard the surface from potential staining agents.
-
Surface Sealing: Consider applying a protective sealant or coating to the toilet seat surface, especially if it is made of porous materials such as wood. A quality sealant can create a barrier that inhibits the penetration of staining agents, making it easier to maintain a clean and stain-free toilet seat.
-
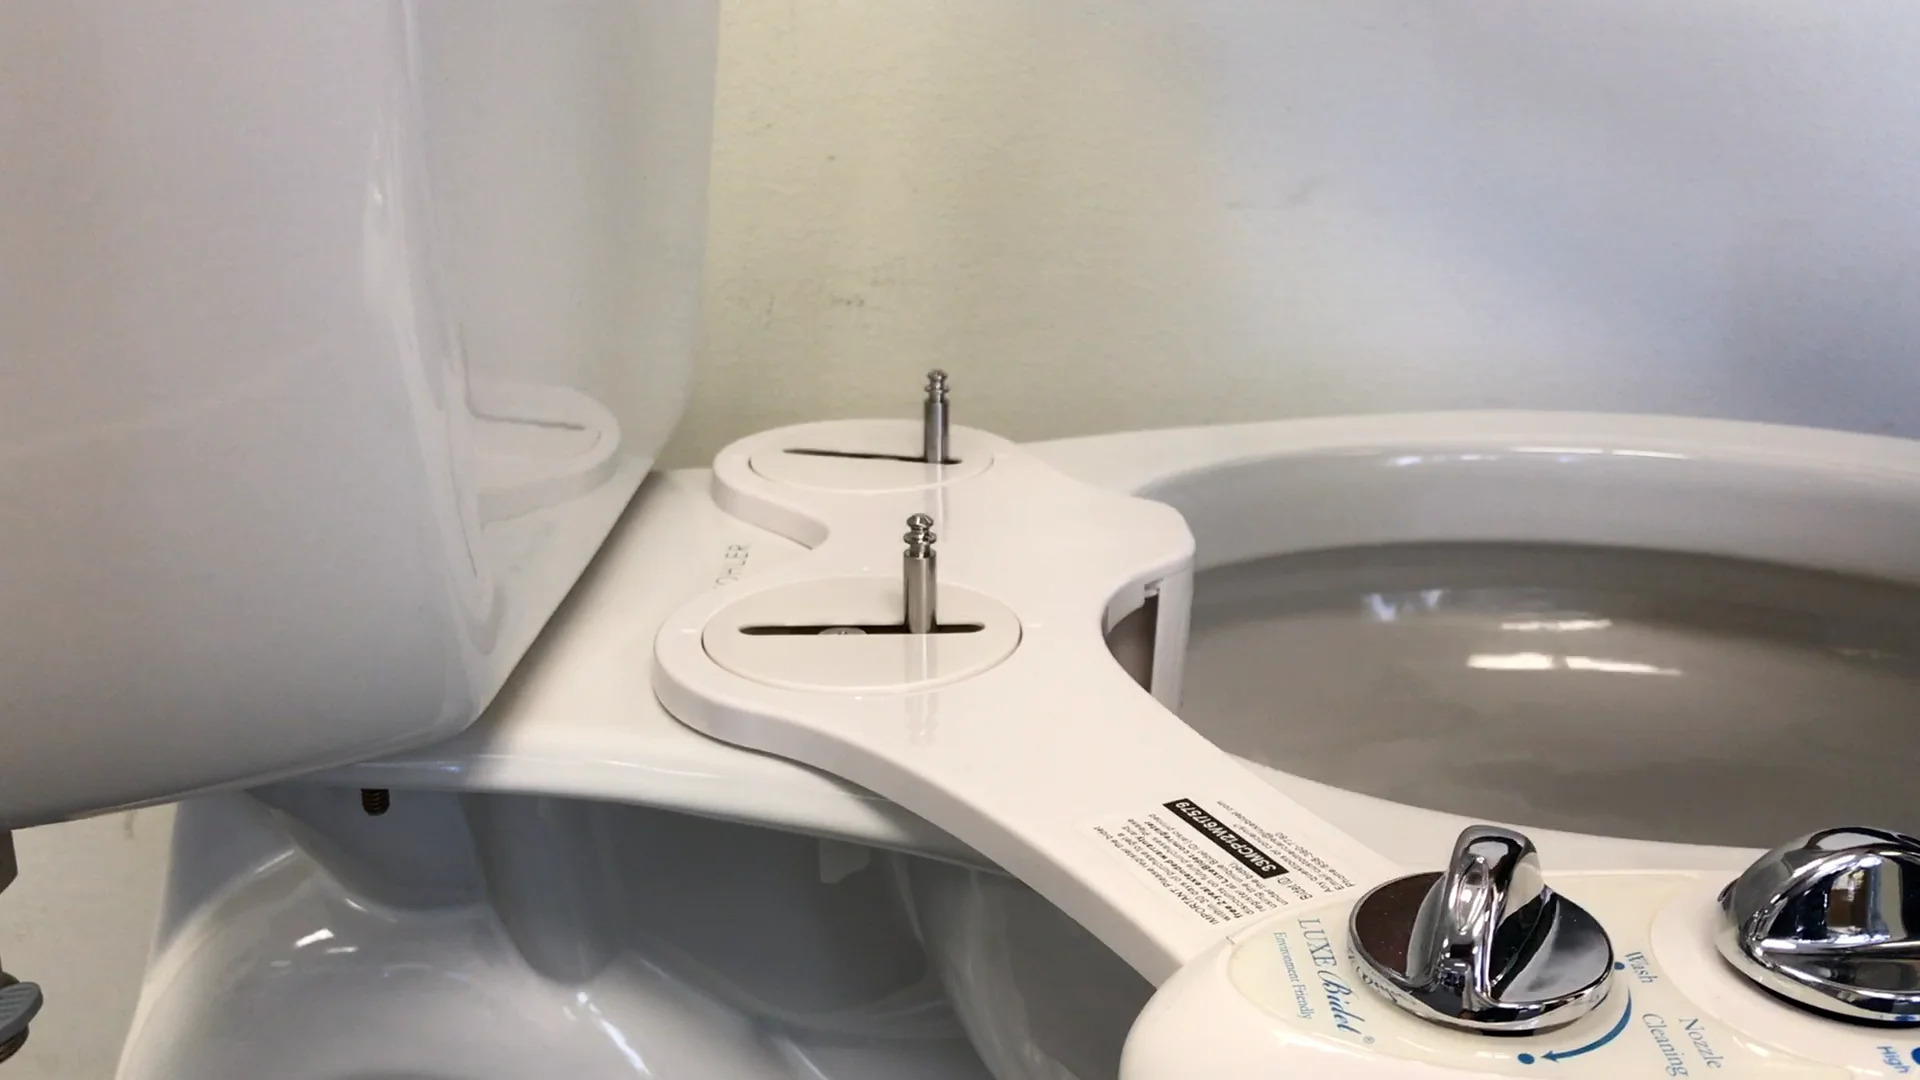
Use of Urine-Resistant Materials: When replacing or selecting a new toilet seat, opt for materials that are specifically designed to resist urine and bodily fluid stains. Certain modern toilet seat materials feature enhanced resistance to staining, offering a proactive solution to mitigate the formation of azo stains.
-
Regular Inspection: Periodically inspect the toilet seat for any early signs of discoloration or staining. Early detection allows for prompt intervention and targeted cleaning, preventing the escalation of minor stains into more challenging and persistent azo stains.
By integrating these preventive measures into your bathroom maintenance routine, you can effectively minimize the occurrence of azo stains, preserving the cleanliness and visual appeal of your toilet seat. Proactive prevention, coupled with the knowledge and techniques for effective stain removal, empowers you to maintain a welcoming and hygienic bathroom environment for yourself and your household.
Read more: How To Remove Blue Stain From Toilet Seat
Conclusion
In conclusion, the battle against azo stains on your toilet seat can be conquered with the right knowledge, materials, and techniques. By understanding the nature of azo stains and the factors contributing to their formation, you are empowered to approach the removal process with confidence and precision. The step-by-step guide provided equips you with a meticulous and effective strategy to eliminate azo stains, restoring the cleanliness and visual appeal of your toilet seat.
Furthermore, the preventive measures outlined offer a proactive approach to safeguarding your toilet seat against future staining, ensuring a hygienic and inviting bathroom environment. By integrating these strategies into your regular maintenance routine, you can mitigate the risk of azo stains and maintain a pristine toilet seat for the long term.
It's important to emphasize the significance of prompt action and consistent maintenance in addressing azo stains. By promptly addressing any spills or splatters and adhering to a regular cleaning schedule, you can minimize the accumulation of staining agents and preserve the cleanliness of your toilet seat.
Ultimately, the successful removal and prevention of azo stains contribute to a positive and hygienic bathroom experience for all occupants. A clean and well-maintained toilet seat not only enhances the visual appeal of the bathroom but also promotes a sense of cleanliness and comfort for everyone who utilizes the space.
With the knowledge and insights gained from this comprehensive guide, you are well-equipped to tackle azo stains with efficacy and confidence, ensuring that your bathroom remains a welcoming and refreshing sanctuary for all. By implementing the recommended strategies and techniques, you can uphold the cleanliness and visual allure of your toilet seat, fostering a hygienic and inviting environment for yourself and your household.
Now that you've mastered removing Azo stains from your toilet seat, why not extend your cleaning prowess further? With our guide on cleaning tips, you'll learn to keep your refrigerator spotless inside and out, ensuring freshness and hygiene. If other stubborn marks trouble you, our stain removal steps will help keep all your toilet seats pristine. Lastly, don't miss our comprehensive bathroom cleaning advice to maintain a sparkling, germ-free bathroom. Ready to tackle these challenges? Check out our additional resources for more handy cleaning insights!
Frequently Asked Questions about How To Remove Azo Stains From Toilet Seat
Was this page helpful?
At Storables.com, we guarantee accurate and reliable information. Our content, validated by Expert Board Contributors, is crafted following stringent Editorial Policies. We're committed to providing you with well-researched, expert-backed insights for all your informational needs.

0 thoughts on “How To Remove Azo Stains From Toilet Seat”