Articles
How To Fix A Torn Up Carpet
Modified: August 28, 2024
Learn effective techniques and tips for fixing a torn up carpet with our informative articles. Expert advice and step-by-step instructions for a seamless repair.
(Many of the links in this article redirect to a specific reviewed product. Your purchase of these products through affiliate links helps to generate commission for Storables.com, at no extra cost. Learn more)
Introduction
Having a torn up carpet can be a frustrating issue that not only affects the aesthetic appeal of your home but also poses a tripping hazard. However, before you consider replacing the entire carpet, it’s worth knowing that there are several ways to fix smaller tears or damage. With a little patience and the right tools, you can restore your carpet to its original condition and save yourself the cost of a complete replacement.
In this article, we will guide you through the process of assessing the damage, gathering the necessary materials and tools, preparing the area, and step-by-step instructions on how to repair small tears, patch larger tears, reattach loose edges, and blend the patched area with the surrounding carpet. We’ll also provide some finishing touches to ensure a seamless and professional-looking repair.
Before you get started, make sure you have the following materials and tools ready:
- Carpet repair adhesive
- Carpet patch kit
- Utility knife
- Carpet shears or scissors
- Seam roller
- Measuring tape
- Marker or chalk
- Iron and clean cloth (for patching larger tears)
With these essentials in hand, let’s dive into the process of fixing your torn up carpet.
Key Takeaways:
- Save money and restore your carpet’s appearance by repairing small tears, patching larger tears, and reattaching loose edges using simple tools and materials.
- Achieve a seamless and professional-looking carpet repair by properly assessing the damage, preparing the area, blending the patched area with the surrounding carpet, and adding essential finishing touches.
Read more: How To Fix A Carpet Pulled Up By A Cat
Assessing the Damage
Before you start repairing your torn up carpet, it’s important to assess the extent of the damage. This will help you determine the best approach for fixing it and ensure that you have the necessary materials on hand.
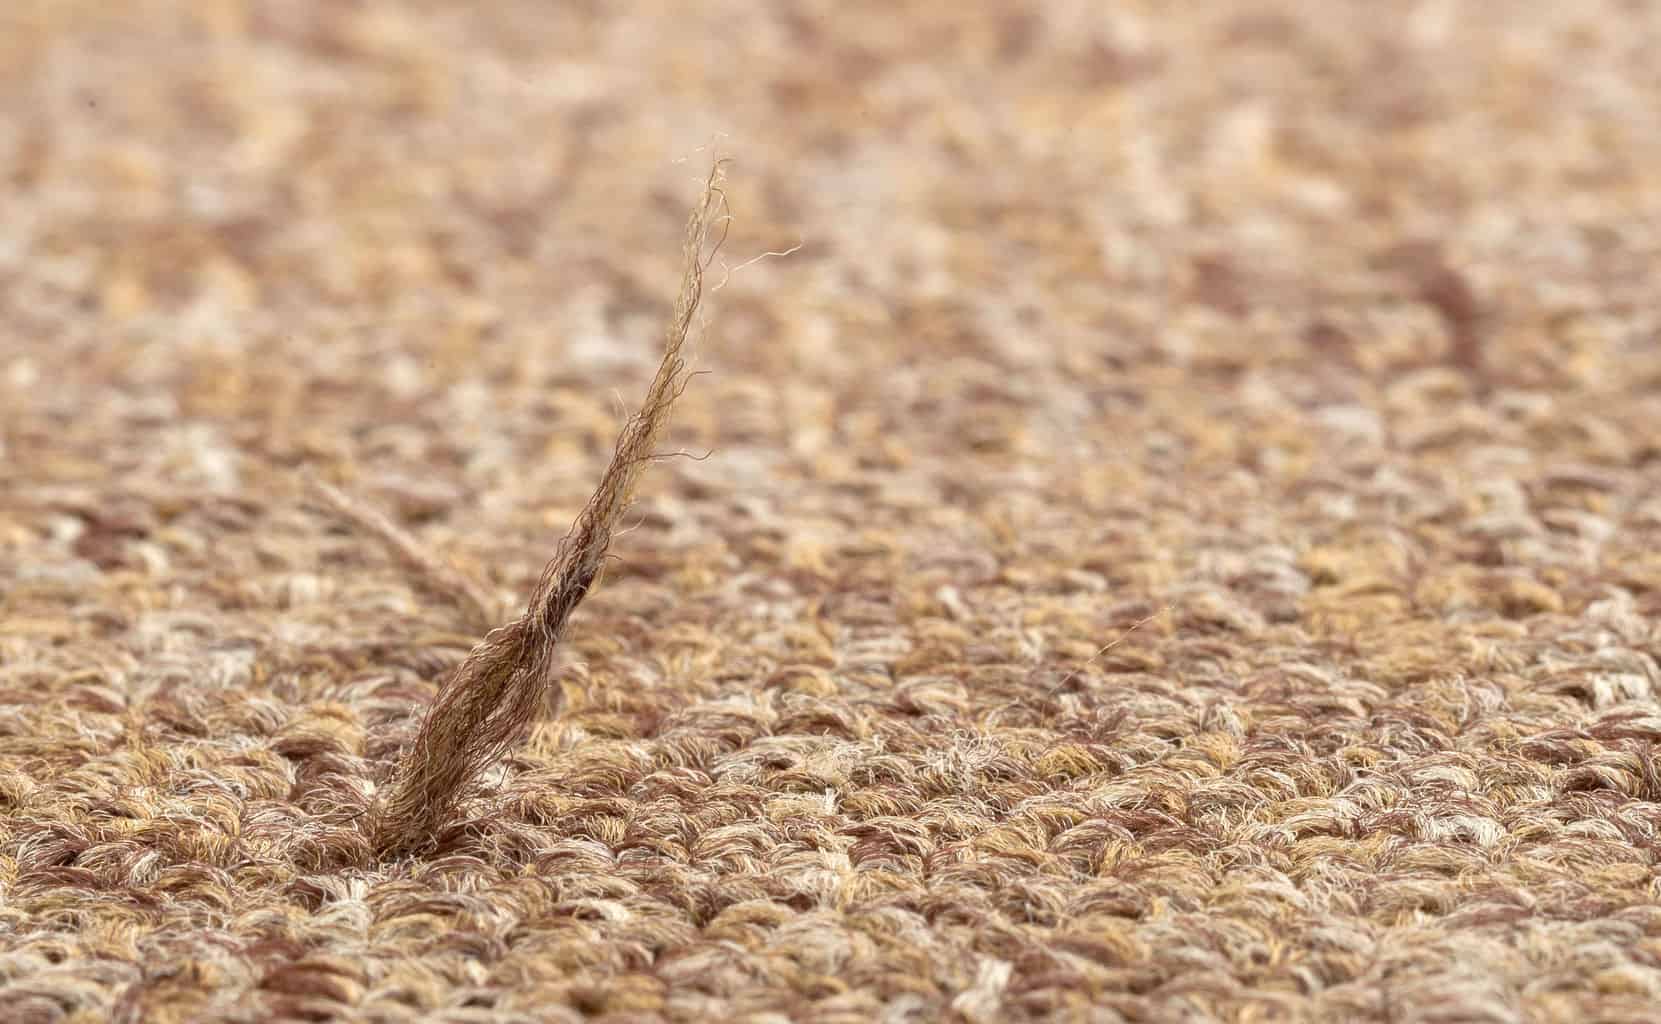
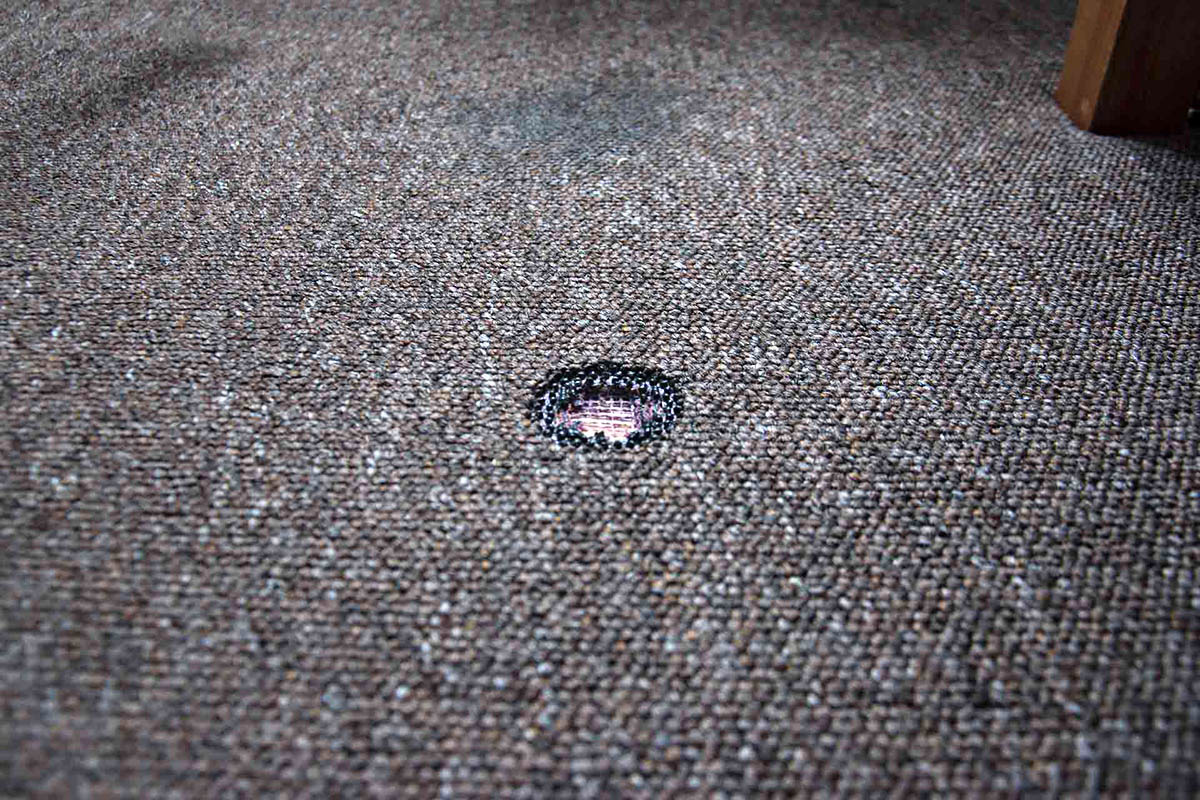
Begin by examining the tear or damage closely. Is it a small tear, a larger rip, or a loose edge? Take note of the size and location of the damage. If the tear is less than an inch long, you can easily fix it using simple adhesive. However, larger tears may require patching.
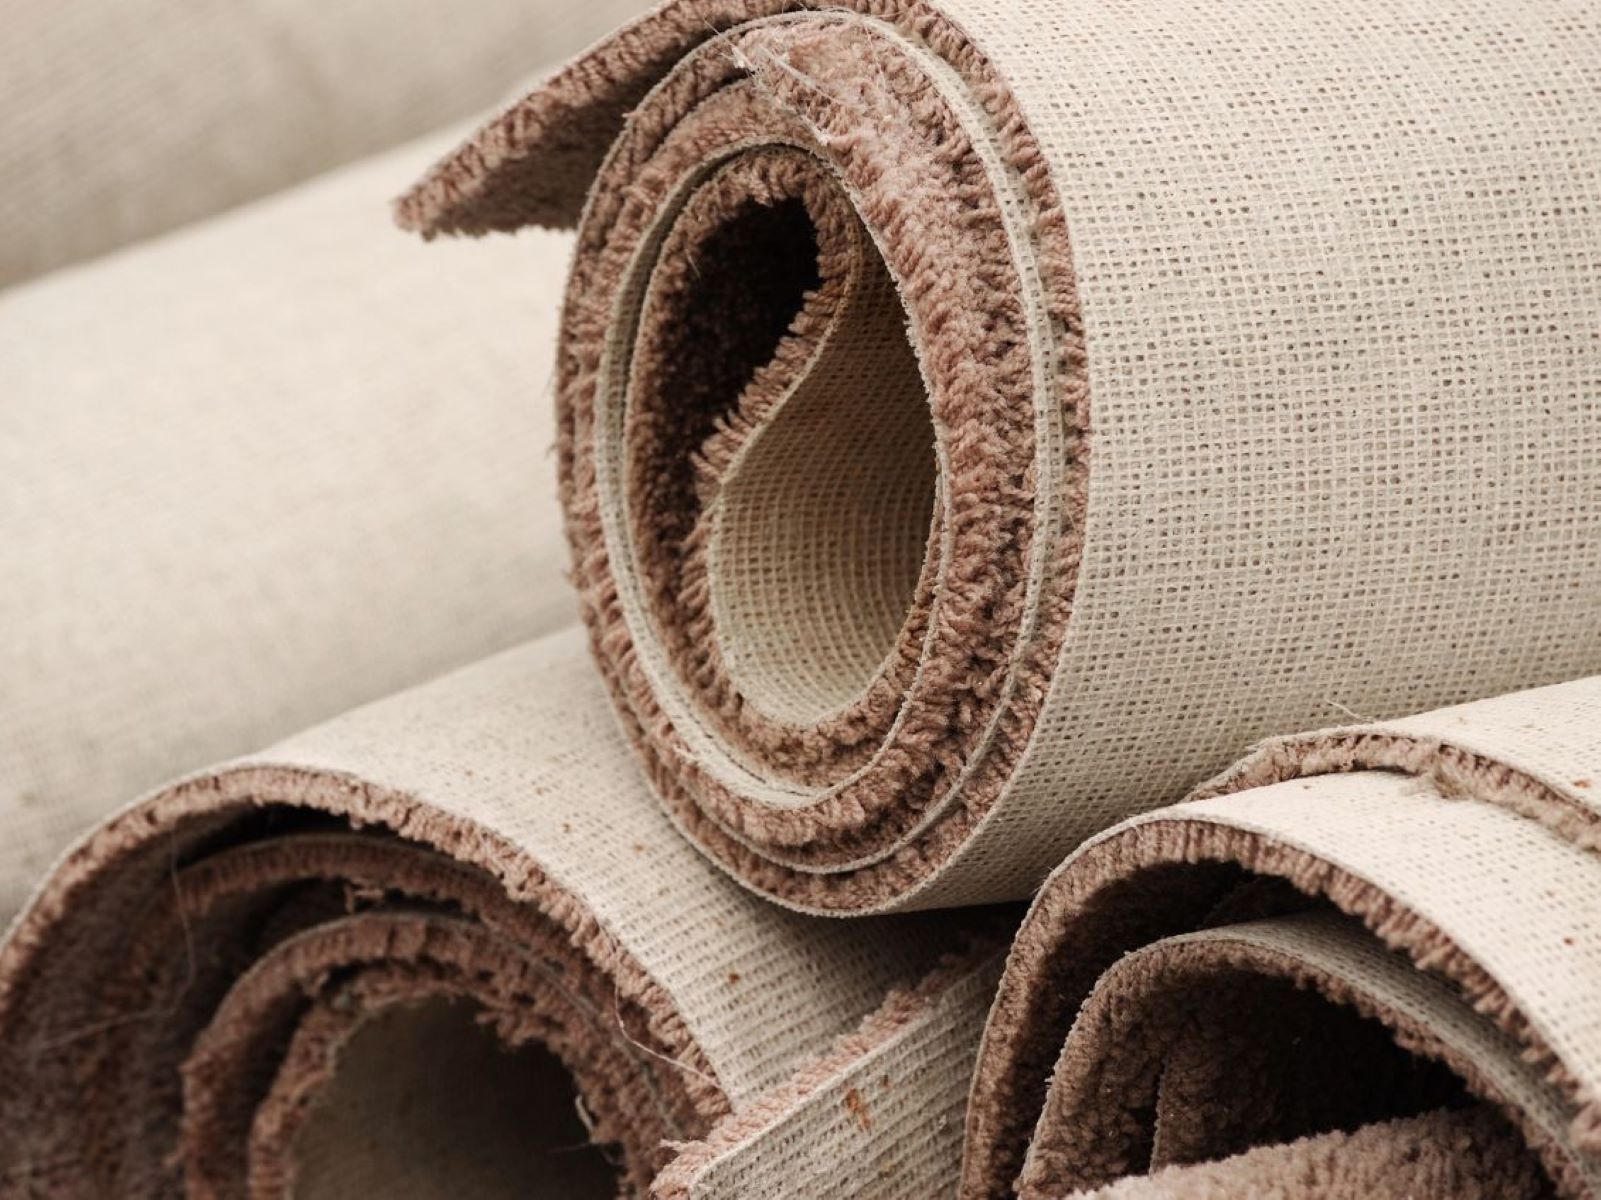
Next, assess the type of carpet you have. Is it a looped or cut-pile carpet? Loop carpets have tightly woven loops, while cut-pile carpets have individual cut fibers. Understanding the type of carpet will help you choose the right method and materials for repair.
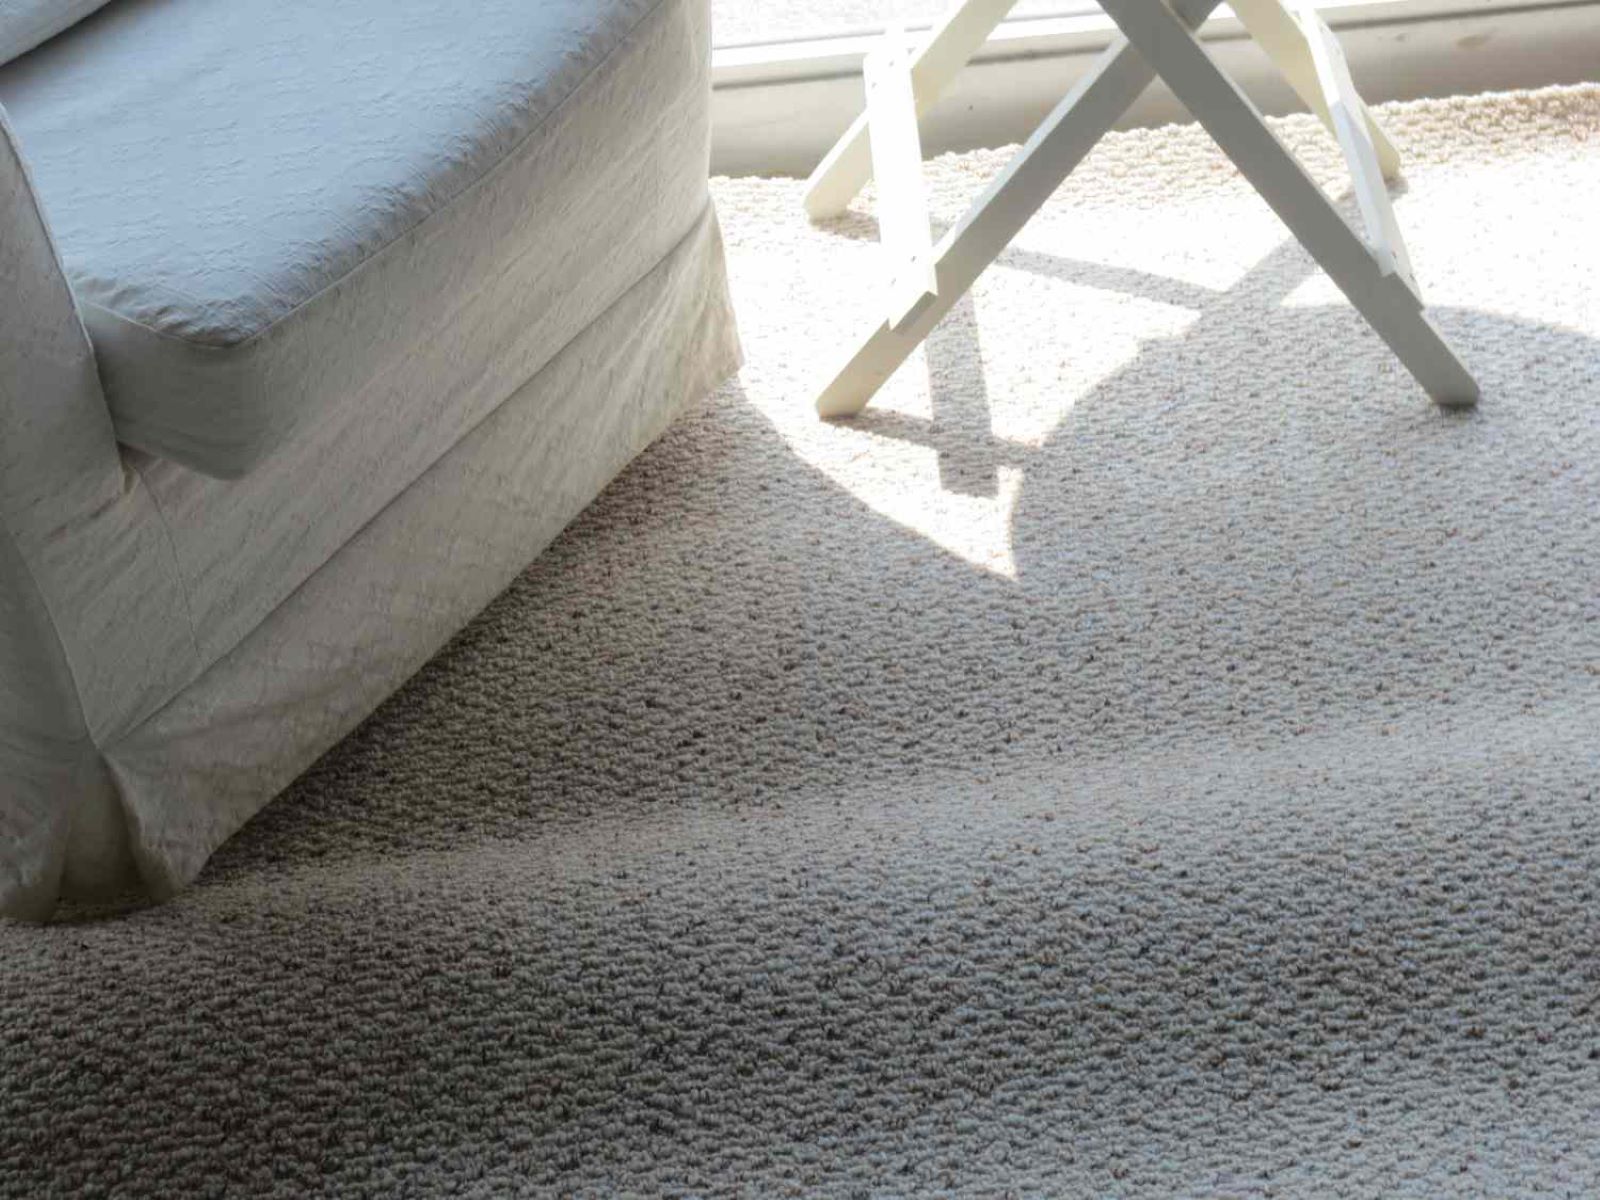
It’s also essential to consider the placement of the tear or damage. Is it in a high-traffic area like the hallway or living room? If so, you’ll want to ensure a stronger and more durable repair. On the other hand, if the damage is in a less frequently used area, you may have more flexibility in your repair options.
Finally, take into account the age and condition of the carpet. If the carpet is old and worn, it may be more susceptible to further damage. In some cases, it may be more practical to replace the carpet entirely, especially if there are multiple tears or signs of extensive wear and tear.
By carefully assessing the damage, you can determine the best course of action for repairing your torn up carpet and ensure that you have the necessary materials and tools for the job. Let’s move on to the next step of gathering the materials and tools required for the repair.
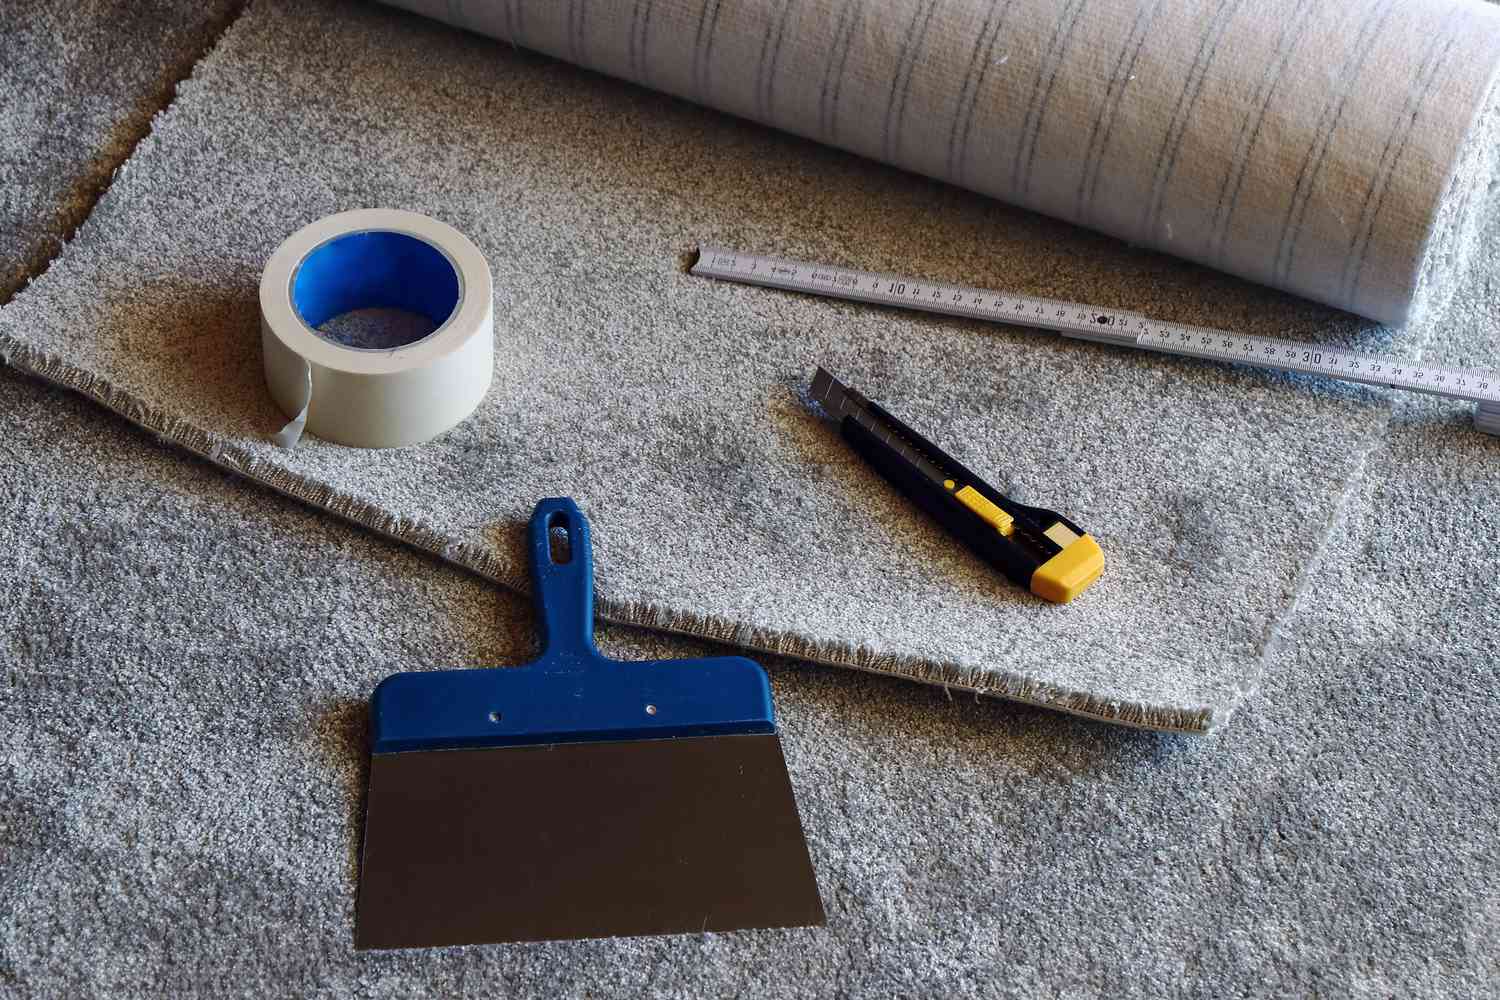
Gathering Materials and Tools
Before you begin repairing your torn up carpet, make sure you have all the necessary materials and tools. Having everything ready will save you time and ensure a smoother repair process.
Here are the materials and tools you’ll need:
- Carpet repair adhesive or glue: Look for a high-quality adhesive specifically designed for carpet repair. Choose a product that dries clear and is suitable for the type of carpet you have.
- Carpet patch kit: If you have larger tears or holes in your carpet, you’ll need a carpet patch kit. These kits typically come with adhesive-backed patches in various colors and sizes.
- Utility knife: A sharp utility knife with a retractable blade will be used for trimming and cutting the damaged portion of the carpet.
- Carpet shears or scissors: These will be used for precise cutting of the carpet patch and trimming any excess fibers.
- Seam roller: A seam roller is necessary for ensuring a smooth and seamless bond between the patch and the existing carpet. It helps to eliminate air bubbles and creases.
- Measuring tape: A measuring tape will help you accurately measure the size of the damaged area and determine the appropriate size of the patch.
- Marker or chalk: You’ll need a marker or chalk to outline the area that needs to be cut or patched.
- Iron and clean cloth (for patching larger tears): If you have larger tears in your carpet, you’ll need an iron and a clean cloth to activate the adhesive on the patch and bond it to the carpet fibers.
Once you have gathered all the necessary materials and tools, you’ll be ready to move on to the next step, which is preparing the area for repair. Having everything at your disposal will ensure a smooth and efficient repair process, helping you achieve the best possible results. Let’s continue to the next step of preparing the area.
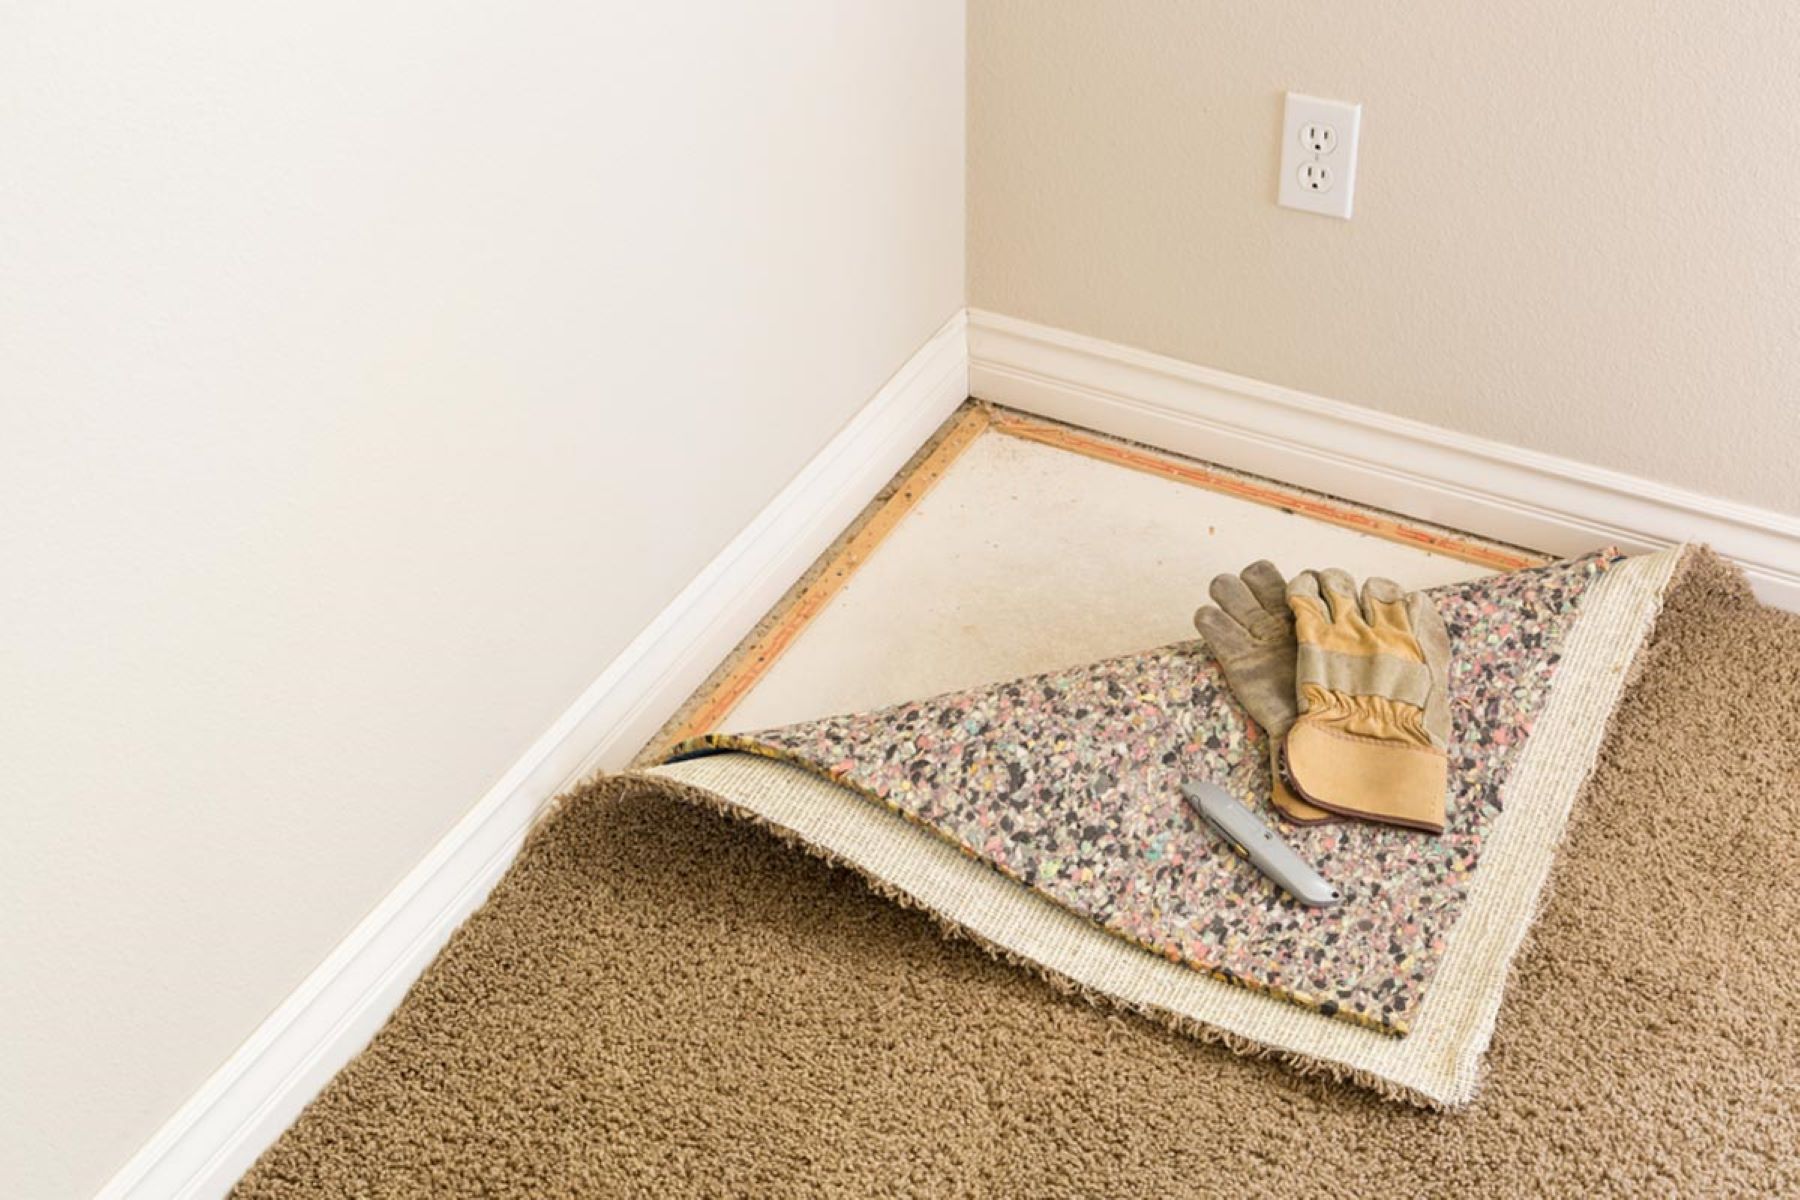
Preparing the Area
Before you can begin repairing your torn up carpet, it’s crucial to properly prepare the area. This will ensure that the repair is seamless and that the patched area blends in seamlessly with the rest of the carpet.
Here are the steps to follow when preparing the area:
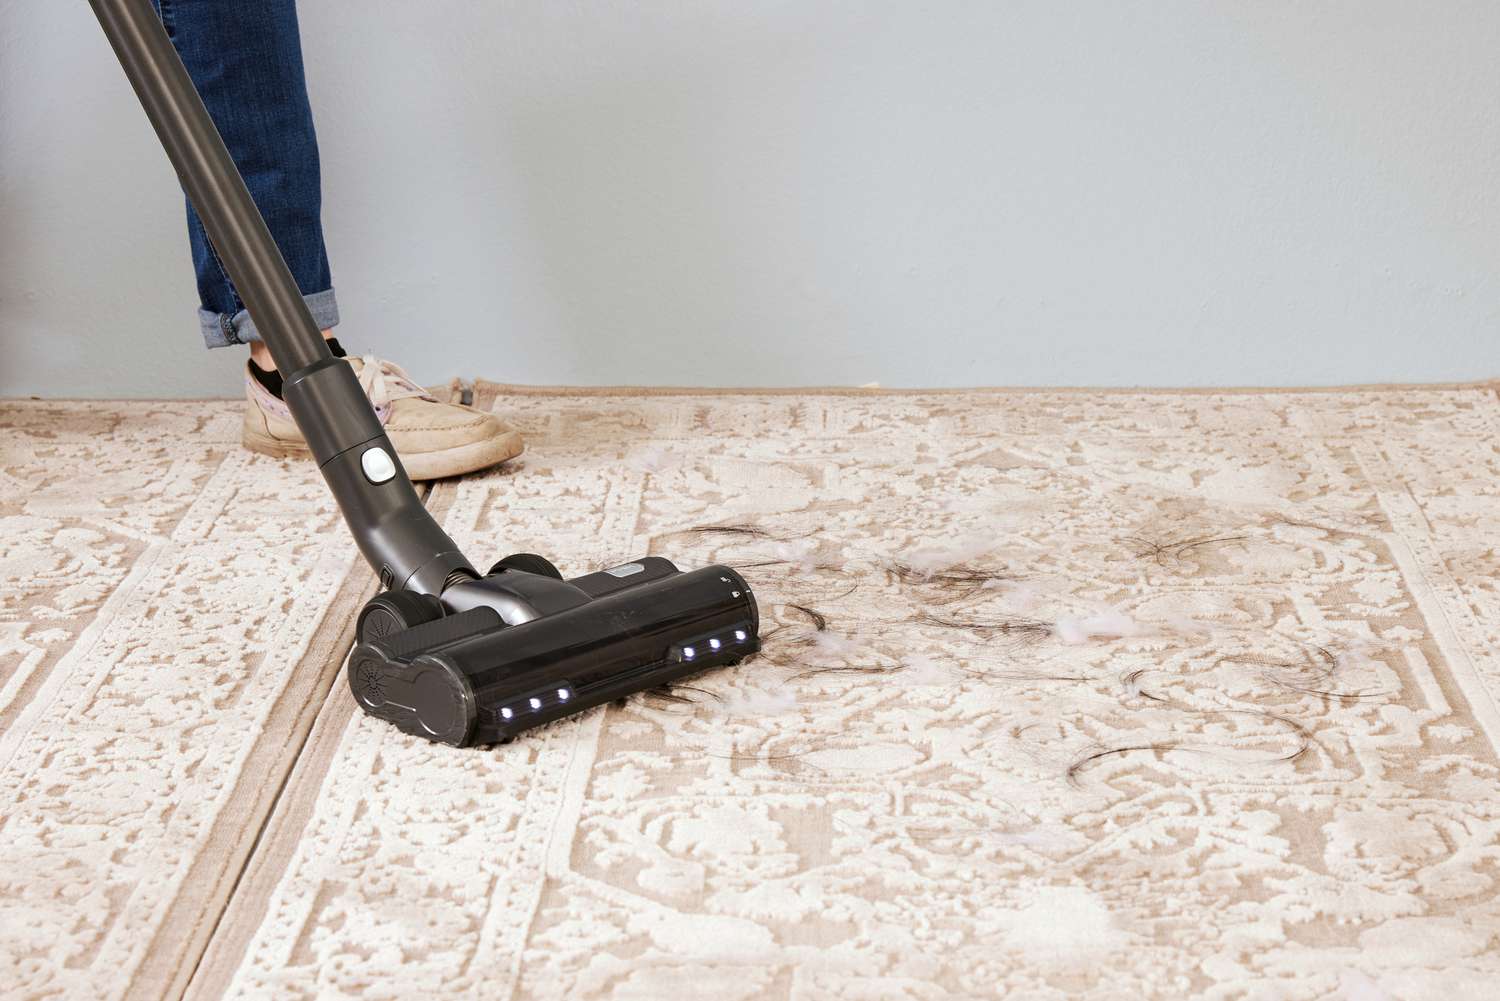
- Clean the area: Start by thoroughly cleaning the area around the tear or damage. Remove any dirt, debris, or loose fibers that may interfere with the repair process. Use a vacuum or a soft brush to gently clean the area.
- Trim any loose fibers: If there are any loose or frayed fibers around the tear or damage, carefully trim them using carpet shears or scissors. Be cautious not to cut any important carpet fibers.
- Outline the repair area: Use a marker or chalk to outline the area that needs to be repaired. This will serve as a guide when cutting out the damaged portion or placing the carpet patch.
- Cut out the damaged portion: If you’re dealing with a small tear, use a sharp utility knife to carefully cut around the outline. Make sure to remove the damaged fibers without cutting into the surrounding carpet.
- Smooth out the edges: Once the damaged portion is removed, use your fingers to gently smooth and blend the edges of the remaining carpet fibers. This will prevent noticeable lines or bumps after the repair.
By properly preparing the area, you create a clean and even surface for the repair. This will result in a more professional and seamless finish. Now that the area is prepped, we can move on to the next step: repairing small tears.
Repairing Small Tears
If you have small tears in your carpet, you can easily fix them using adhesive. Here’s how to repair small tears:
- Apply adhesive: Apply a small amount of carpet repair adhesive or glue to the edges of the tear. Use a toothpick or a small brush to spread the adhesive evenly.
- Press the edges together: Carefully bring the torn edges of the carpet together and press them firmly. Hold the edges in place for a few minutes to allow the adhesive to bond.
- Remove excess adhesive: If any adhesive seeps out from the edges, wipe it away with a clean cloth or a damp sponge. Be careful not to disturb the repaired area while doing this.
- Allow drying time: Give the adhesive enough time to dry completely. The drying time will depend on the type of adhesive you’re using, so refer to the product instructions for specific guidelines.
- Inspect and trim: Once the adhesive is fully dry, inspect the repaired area. If there are any uneven or excess fibers, carefully trim them using carpet shears or scissors to ensure a neat and seamless repair.
With these simple steps, you can successfully repair small tears in your carpet. However, if you’re dealing with larger tears or holes, you’ll need to patch them using a carpet patch kit. Let’s move on to the next step: patching large tears.
Use a carpet patch kit to fix a torn up carpet. Cut out the damaged area, replace it with a patch from the kit, and use adhesive to secure it in place. Trim any excess and blend the fibers for a seamless repair.
Read more: How To Fix A Carpet Ripped Up By A Dog
Patching Large Tears
If you have larger tears or holes in your carpet, you’ll need to patch them using a carpet patch kit. Here’s how to patch large tears:
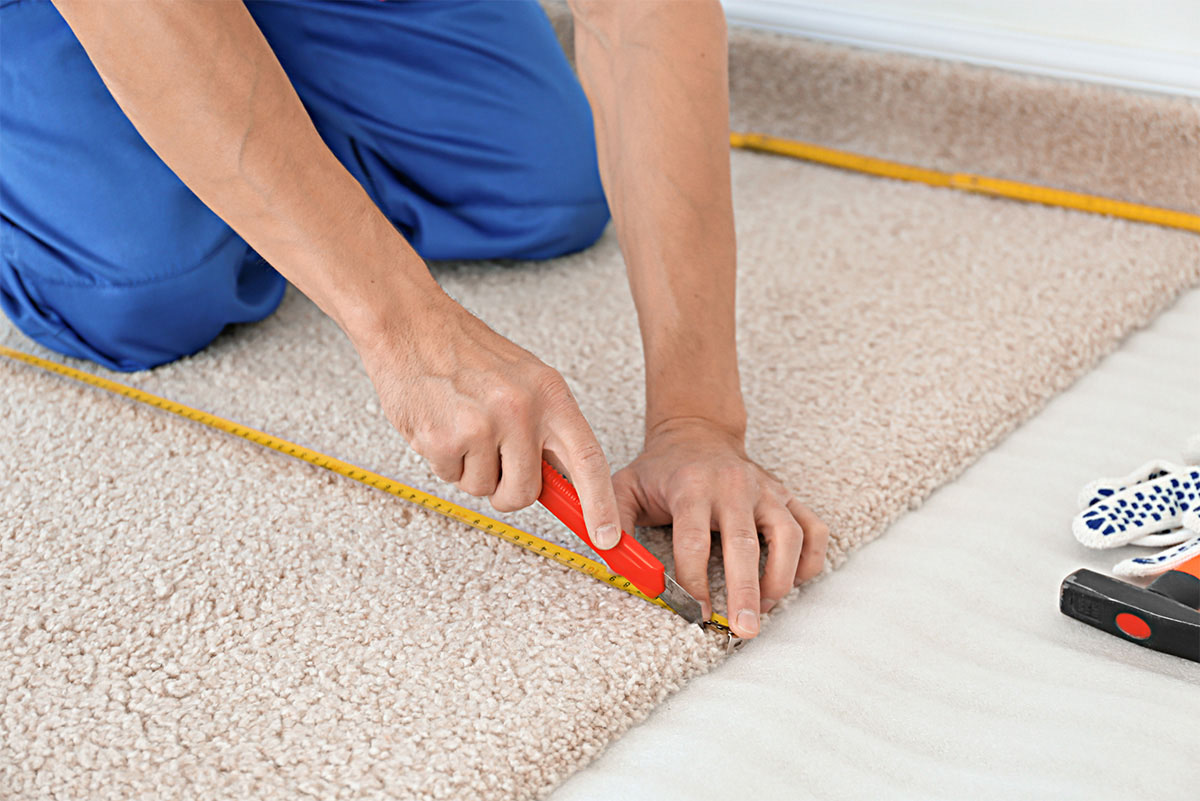
- Measure and select a patch: Start by measuring the size of the damaged area. Use a measuring tape to determine the dimensions accurately. Select a patch from the carpet patch kit that is slightly larger than the damaged area.
- Cut the patch: Use a utility knife to cut out the patch from the carpet patch kit. Make sure to cut it slightly larger than the measured dimensions to ensure a proper fit.
- Trim the damaged area: Trim the damaged area of your carpet using a sharp utility knife. Cut along the outlined area to remove the damaged fibers and create a clean edge for the patch to adhere to.
- Apply adhesive to the patch: Apply a layer of carpet repair adhesive to the back of the patch, ensuring even coverage. Be careful not to apply too much adhesive as it may seep through the carpet fibers.
- Position and press the patch: Carefully place the patch over the damaged area, aligning it with the surrounding carpet fibers. Press down firmly to ensure a secure bond.
- Activate the adhesive: If your carpet patch kit comes with heat-activated adhesive, use an iron set to a low heat setting. Place a clean cloth over the patch and gently iron over it. The heat will activate the adhesive and bond the patch to the carpet fibers.
- Smooth out the patch: Use a seam roller or your fingers to smooth out the patch, ensuring it blends seamlessly with the surrounding carpet. Remove any air bubbles or creases for a professional finish.
- Allow drying time: Give the adhesive enough time to dry and set. Refer to the product instructions for specific drying times.
- Trim excess fibers: Once the adhesive is completely dry, trim any excess fibers from the patch using carpet shears or scissors. This will ensure that the patch is flush with the surrounding carpet.
By following these steps, you can successfully patch larger tears or holes in your carpet. However, if you’re dealing with loose edges, we’ll cover how to reattach them in the next section.
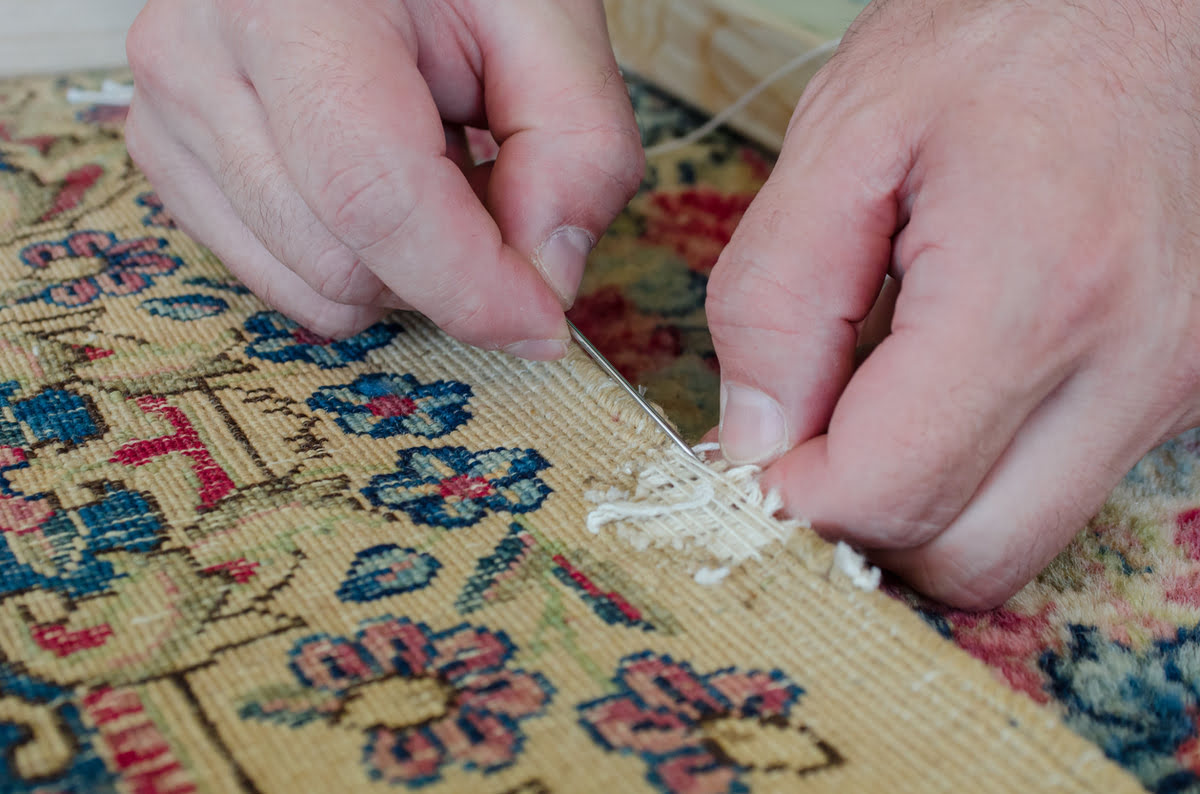
Reattaching Loose Edges
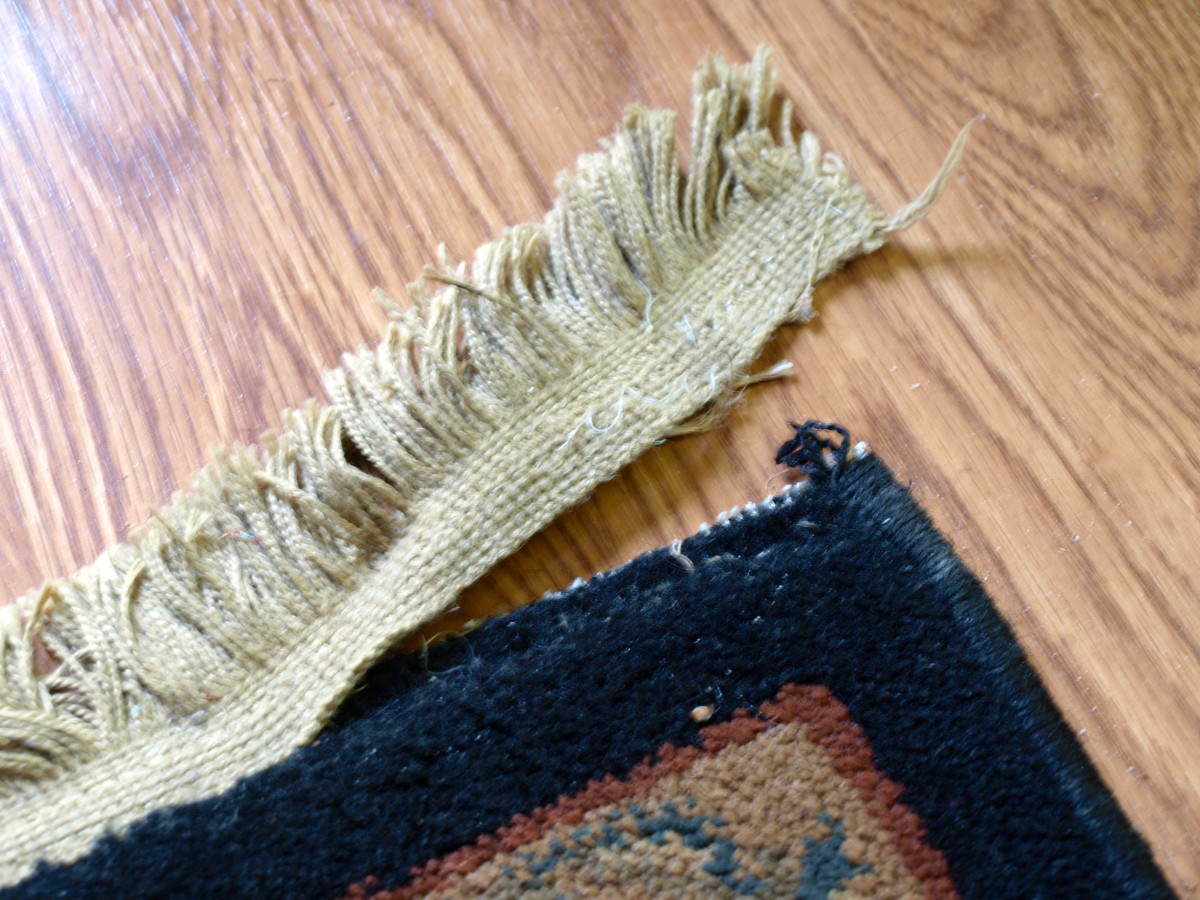
If you have loose edges in your carpet, reattaching them is essential to prevent further unraveling and damage. Here’s how to reattach loose edges:
- Clean and prep the area: Start by cleaning the area around the loose edge. Remove any dirt or debris that may hinder the adhesive bond. Use a vacuum or a soft brush to gently clean the area.
- Apply adhesive: Apply a thin layer of carpet repair adhesive or glue to the underside of the loose edge. Use a toothpick or a small brush to ensure even coverage.
- Press the edge down: Carefully press the loose edge of the carpet back into place. Apply firm pressure to ensure a secure bond between the carpet and the floor beneath.
- Hold in place: Hold the reattached edge in place for a few minutes to allow the adhesive to set. This will help ensure a strong and durable bond.
- Smooth out any wrinkles: After the adhesive has set, check for any wrinkles or creases along the reattached edge. Smooth them out by applying gentle pressure with your hand.
- Allow drying time: Give the adhesive enough time to fully dry and set. Refer to the product instructions for specific drying times.
By following these steps, you can effectively reattach loose edges in your carpet. However, repairing the torn up carpet is not complete without blending the patched area with the surrounding carpet. Let’s move on to the next step: blending the patched area.
Blending the Patched Area with Surrounding Carpet
After patching or repairing torn areas of your carpet, it’s important to blend the patched area with the surrounding carpet. This will ensure that the repair is virtually undetectable, creating a seamless and cohesive look. Here’s how to blend the patched area with the surrounding carpet:
- Trim excess fibers: Using carpet shears or scissors, carefully trim any excess fibers from the patched area. This will help create a smooth transition between the patch and the surrounding carpet.
- Check for color match: Assess the color of the patched area compared to the surrounding carpet. If there’s a noticeable difference, you may need to consider dyeing the patched area to match the rest of the carpet. Consult a professional carpet dyeing service for guidance.
- Blend fibers: Gently use your fingers or a soft brush to blend the carpet fibers from the patch into the surrounding carpet. This will help create a more natural and seamless appearance.
- Consider steam cleaning: If the patched area is still slightly visible, steam cleaning the entire carpet can help soften the contrast and blend the colors together more effectively. However, make sure to follow the manufacturer’s instructions and use caution to avoid damaging the carpet fibers.
- Inspect the repair: Once you’ve blended the patched area with the surrounding carpet, step back and inspect the repair. Check for any visible lines or unevenness. Make any necessary adjustments to ensure a seamless finish.
By following these steps and taking the time to blend the patched area with the surrounding carpet, you can achieve a professional and virtually invisible repair. Now that you’ve completed the repair process, let’s move on to the final step: the finishing touches.
Finishing Touches
After successfully repairing your torn up carpet, there are a few finishing touches you can add to ensure a polished and professional look. These final steps will help enhance the overall appearance and longevity of your carpet repair:
- Vacuum the carpet: Thoroughly vacuum the entire carpet, including the repaired area, to remove any loose fibers or debris. This will leave your carpet looking clean and refreshed.
- Protect the repaired area: Consider applying a carpet protector spray or sealant to the repaired area. This will help guard against future stains and make it easier to clean and maintain.
- Restore the carpet texture: If the repaired area looks slightly different in texture, gently brush the carpet fibers with a soft brush or comb to restore a more uniform texture across the entire carpet surface.
- Monitor for durability: Over time, keep an eye on the repaired area to ensure its durability. Make sure the adhesive holds well, and address any signs of loosening or damage promptly to prevent further issues.
- Consider professional assistance: If you’re unsure about the repair or if the damage is extensive, consider seeking professional assistance from a carpet repair specialist. They can provide expert advice and ensure a seamless repair.
Remember, the longevity of your carpet repair will depend on various factors such as the adhesive used, the type and condition of the carpet, and the location of the repair. Regular maintenance, proper cleaning, and prompt attention to any new damage or wear will help extend the life of your repaired carpet.
With the finishing touches complete, you can now enjoy your newly repaired carpet. By following the steps outlined in this article, you’ve saved yourself the cost of a complete replacement and revitalized the appearance of your home’s flooring. Well done!
Note: It’s important to consider safety precautions and follow any additional instructions provided by the manufacturer when using adhesives or tools. Always work in a well-ventilated area and protect yourself with appropriate gear.
Now that you’re equipped with the knowledge to fix a torn up carpet, you can confidently tackle any small tears, large holes, or loose edges that may occur in the future. With a little patience and the right tools, your carpet will remain in great condition for years to come.
Read more: How To Roll Up A Carpet
Conclusion
Repairing a torn up carpet doesn’t have to be a daunting task. With the right materials, tools, and step-by-step guidance, you can successfully restore your carpet’s appearance and functionality. Not only will this save you the cost of a complete replacement, but it will also enhance the overall aesthetic appeal of your home.
In this article, we covered the process of assessing the damage, gathering the necessary materials and tools, preparing the area, and repairing small tears, patching large tears, reattaching loose edges, blending the patched area with the surrounding carpet, and adding those essential finishing touches. By following these steps, you can achieve a seamless and professional-looking repair.
Remember, each repair may vary depending on the size, type, and location of the damage. Take the time to assess the specific needs of your carpet and choose the appropriate repair method accordingly. Additionally, it’s crucial to prioritize safety by following manufacturer instructions, working in a well-ventilated area, and using protective gear when necessary.
By taking care of your repaired carpet with regular maintenance and prompt attention to new damage or wear, you can extend its lifespan and keep it looking pristine. If you’re uncertain about the repair process or if the damage is extensive, don’t hesitate to seek professional assistance from a carpet repair specialist.
We hope this comprehensive guide has empowered you to confidently repair your torn up carpet. With a little patience and effort, you can transform a damaged carpet into a beautiful and functional flooring that you can enjoy for years to come.
Remember, a small tear or damage doesn’t have to mean the end of your carpet’s lifespan. By repairing it, you not only restore its appearance but also prolong its durability and value. So, roll up your sleeves and get ready to breathe new life into your carpet!
Frequently Asked Questions about How To Fix A Torn Up Carpet
Was this page helpful?
At Storables.com, we guarantee accurate and reliable information. Our content, validated by Expert Board Contributors, is crafted following stringent Editorial Policies. We're committed to providing you with well-researched, expert-backed insights for all your informational needs.