Home>Home Security and Surveillance>How To Reset A Security Camera
Home Security and Surveillance
How To Reset A Security Camera
Modified: August 28, 2024
Learn how to reset your security camera with our step-by-step guide. Improve your home security and surveillance with these easy tips.
(Many of the links in this article redirect to a specific reviewed product. Your purchase of these products through affiliate links helps to generate commission for Storables.com, at no extra cost. Learn more)
Introduction
Home security and surveillance systems are essential for keeping your family and property safe. However, there may come a time when you need to reset your security camera. This could be due to various reasons, such as troubleshooting issues, changing network settings, or simply starting fresh with a clean slate.
In this article, we will guide you through the step-by-step process of resetting a security camera. Whether you have a wired or wireless camera, a standalone device or part of a larger security system, these instructions will help you reset your camera without any hassle.
Before we dive into the reset process, it’s important to note that resetting a security camera will erase all the camera’s configurations and settings. This means you will need to set up the camera again from scratch, including network settings, motion detection settings, and any other preferences you had previously configured. Therefore, it’s crucial to have the necessary credentials and documentation handy, such as the camera’s manual or any login details.
So, if you’re ready to learn how to reset your security camera, let’s get started!
Key Takeaways:
- Don’t panic if you need to reset your security camera! Follow these simple steps to erase all previous settings and reconfigure it to keep your home safe and secure.
- Remember to have your camera’s manual and credentials handy before resetting. Once reset, take the time to customize the settings to match your specific security needs for optimal protection.
Read more: How To Reset ADT Doorbell Camera
Step 1: Power off the Security Camera
The first step in resetting your security camera is to power it off. This ensures that the camera is completely shut down before proceeding with the reset process. To power off the camera, locate the power source of the camera and disconnect it from the power outlet. If your camera has a built-in battery, make sure to turn off the camera using the designated power switch.
By turning off the camera, you ensure that any ongoing processes or configurations are halted, allowing for a clean reset.
It’s important to note that if your security camera is part of a larger system or connected to a network video recorder (NVR), you may need to power off the entire system or disconnect the camera from the NVR during the reset process.
Once the camera is powered off, you can move on to the next step in the reset process.
Step 2: Locate the Reset Button
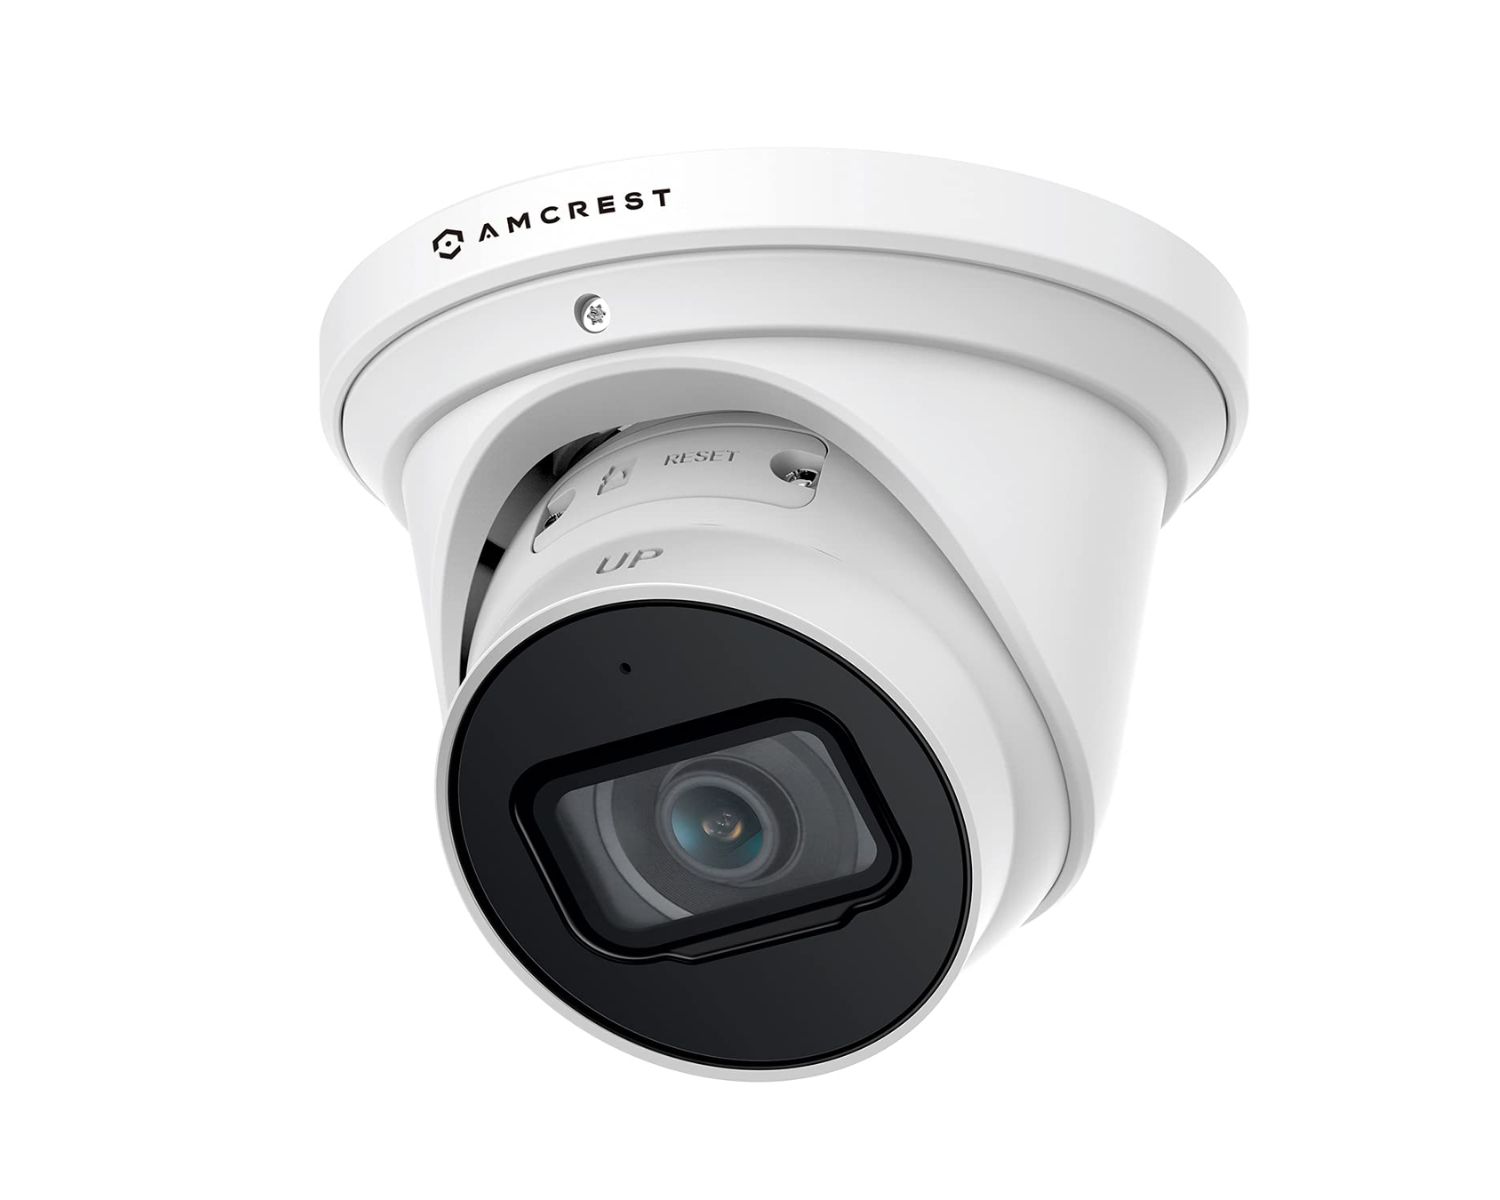
After powering off the security camera, the next step is to locate the reset button. The reset button is a small, usually recessed button located on the camera’s body. Its exact position may vary depending on the camera model and manufacturer, so refer to the camera’s manual or documentation for specific instructions.
The reset button is typically used to restore the camera to its factory default settings. When pressed, it erases all the custom configurations and settings, returning the camera to its original state. The location of the reset button may differ depending on the camera type. For some cameras, the reset button can be found on the back or bottom of the device, while for others, it may be inside a small pinhole.
Take a close look at the camera and search for any small buttons or holes that could house the reset button. It’s important to note that you may need a small pointed object, such as a paperclip or a toothpick, to press the reset button if it is recessed inside a pinhole.
Once you have located the reset button, you are ready to proceed to the next step in the reset process.
Step 3: Press and Hold the Reset Button
Now that you have located the reset button on your security camera, it’s time to press and hold it. Pressing and holding the reset button is the key action that initiates the reset process. The duration for holding the reset button may vary depending on the camera manufacturer, so it’s best to refer to the camera’s manual or documentation for specific instructions.
Using a small pointed object, like a paperclip or a toothpick, press and hold the reset button firmly. You may feel a slight click when the button is engaged. As you continue to hold the reset button, you should observe some visual indication that the reset process has begun. This can vary depending on the camera model, and it may involve LED lights flashing or specific patterns appearing on the camera’s display.
It’s important to ensure that you hold the reset button for the required duration, as specified in the camera’s manual. Usually, this is anywhere from 10 to 30 seconds. Holding the button for the specified time allows the camera’s internal processes to kick in and initiate the reset.
Continue to hold the reset button until you see clear signs that the camera is resetting. Once you have completed this step, you can move on to the next step in the reset process.
Step 4: Release the Reset Button
After holding the reset button for the specified duration, it’s time to release it. Releasing the reset button is a crucial step in the camera reset process, as it allows the camera to finalize the reset and proceed to its default settings.
To release the reset button, simply let go of it and remove your finger or the pointed object you were using to press it. As you release the button, you may notice some additional visual indications from the camera, such as lights flashing or the display changing. These signs usually indicate that the camera has recognized the reset command and is now processing the reset.
It’s important to be patient during this stage, as the camera may take a few moments to complete the reset process. Avoid interrupting the camera’s resetting sequence by keeping the button released and allowing the camera to finish the necessary operations.
Once the reset button has been released, you can proceed to the next step in the reset process.
To reset a security camera, locate the reset button on the camera or in the camera’s software settings. Press and hold the reset button for 15-30 seconds to restore the camera to its default settings.
Read more: How To Reset An Insteon Outdoor Camera
Step 5: Power on the Security Camera
With the reset button released, it’s now time to power on the security camera. This step brings the camera back to life and allows it to initialize with its default settings.
To power on the camera, simply reconnect the power source or turn on the camera using the designated power switch. If your camera is connected to an NVR or part of a larger security system, ensure that you power on the entire system as well.
As the camera powers on, you may see lights flashing or hear a startup sound, indicating that the camera is getting ready for operation. Depending on the camera model, it may take a few moments for the camera to fully boot up and become operational.
It’s important to note that during the initial power-up process, the camera may go through self-checks and necessary configurations. Allow the camera enough time to complete these processes before moving on to the next step.
Once the camera is powered on and ready for use, you can move on to the next step in the reset process.
Step 6: Reset the Camera Settings
After powering on the security camera, it’s time to reset the camera settings. Since the reset process erased all the previous configurations and settings, you’ll need to reconfigure the camera to suit your needs.
First, access the camera’s settings interface. This can typically be done by connecting to the camera’s IP address through a web browser or using the manufacturer’s designated software. Refer to the camera’s manual or documentation for specific instructions on how to access the settings interface.
Once you’ve accessed the settings interface, you’ll be presented with various options to configure the camera’s features and parameters. Take this opportunity to customize the camera settings according to your preferences and requirements. Some common settings that you may need to adjust include network connection settings, video resolution, motion detection sensitivity, and recording preferences.
It’s important to thoroughly go through each setting and configure them to your liking. This will ensure that the camera operates optimally and meets your specific security needs. Take your time to familiarize yourself with the available options and make adjustments accordingly.
Remember to save your settings after making any changes. This will ensure that the camera retains your preferred configurations and operates according to your specifications.
Once you have reset and adjusted the camera settings, you can proceed to the final step in the reset process.
Step 7: Reconfigure the Security Camera
In the final step of resetting your security camera, it’s time to reconfigure the camera to ensure it is properly connected and functioning within your home security system. This step involves setting up the camera with your desired network settings and integrating it with any other devices or software you may be using.
First, establish a connection between the security camera and your network. Depending on the camera model, this may involve either a wired Ethernet connection or a wireless connection. Follow the instructions provided by the manufacturer to connect the camera to your network.
If you are using a wireless connection, make sure you have the necessary network credentials, such as the network name (SSID) and the password. This information will be required during the setup process to establish a secure connection.
Once the camera is connected to your network, it’s important to test its functionality. Ensure that the camera is capturing clear video footage, and that all features, such as motion detection and remote access, are functioning as expected. Adjust any additional settings or preferences to fine-tune the camera’s performance and meet your specific requirements.
If your security camera is part of a larger home security system or integrated with software or apps, ensure that it is properly synchronized and working in conjunction with other devices. Verify that you can access the camera remotely through your mobile device or computer, and that you are receiving notifications for any detected activity.
Take the time to thoroughly test the camera and its features to ensure that it is functioning optimally in your home security setup.
With the security camera reconfigured and fully functional, you can now rest assured knowing that your surveillance system is ready to protect your home and provide you with peace of mind.
Conclusion
Resetting a security camera may seem like a daunting task, but with the right guidance, it can be a straightforward process. Whether you are troubleshooting issues, changing network settings, or starting fresh, following these step-by-step instructions will help you reset your security camera effectively.
Remember to always refer to the camera’s manual or documentation for specific instructions and guidance. Each camera model and manufacturer may have slight variations in the reset process, so it’s important to follow the recommended procedures.
When resetting your security camera, keep in mind that all previous configurations and settings will be erased. It’s vital to have the necessary credentials and documentation available to set up the camera again from scratch. Take this opportunity to customize the camera settings to match your specific security needs, such as adjusting network settings, video resolution, and motion detection sensitivity.
Once the camera is reset and reconfigured, test its functionality to ensure that it is properly capturing video footage and that all features are working as expected. If the camera is part of a larger security system, ensure that it is integrated and synchronized with other devices or software.
By diligently following these steps, you can reset and reconfigure your security camera, ensuring that it is optimized for your home security needs. A properly functioning security camera plays a crucial role in maintaining the safety and protection of your family and property, providing you with peace of mind.
Remember to consult the camera’s manual or seek professional assistance if you encounter any difficulties or have specific questions about your security camera model. With the right knowledge and steps, you’ll have your security camera reset and working seamlessly in no time.
Frequently Asked Questions about How To Reset A Security Camera
Was this page helpful?
At Storables.com, we guarantee accurate and reliable information. Our content, validated by Expert Board Contributors, is crafted following stringent Editorial Policies. We're committed to providing you with well-researched, expert-backed insights for all your informational needs.