Home>Home Security and Surveillance>How To Make Your Own 12-Gauge Shotgun For Home Defense
Home Security and Surveillance
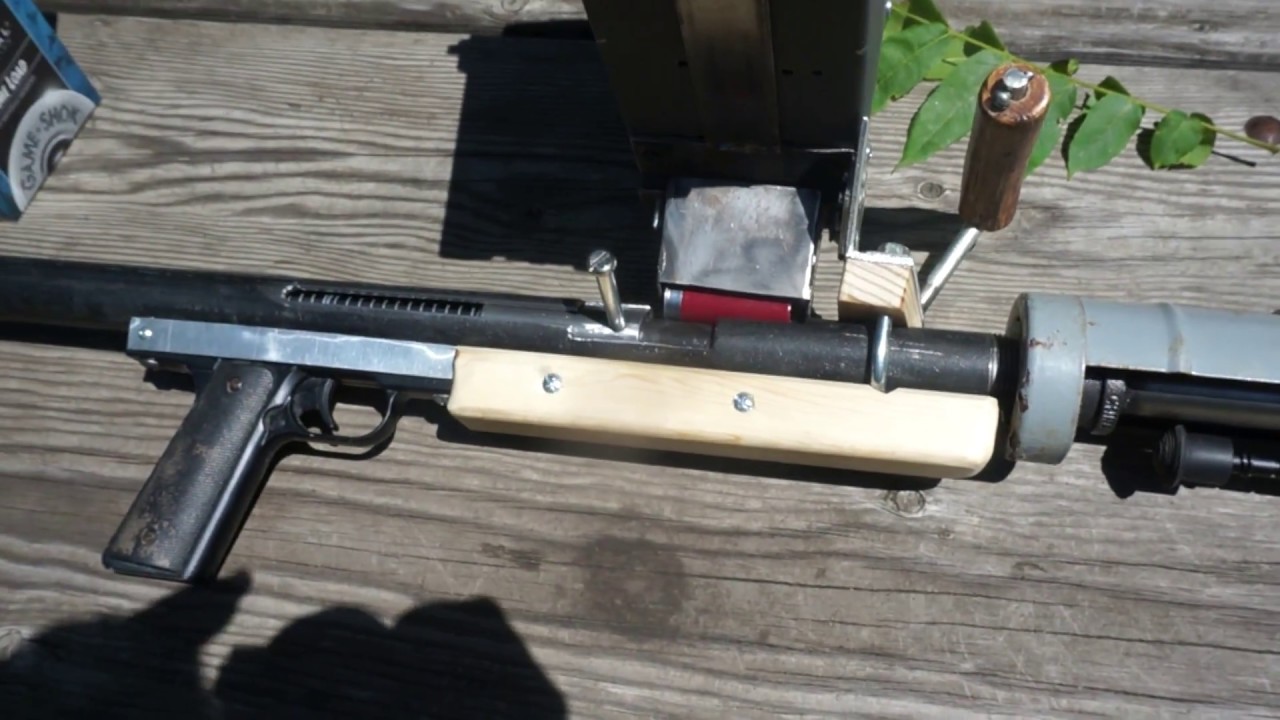
How To Make Your Own 12-Gauge Shotgun For Home Defense
Modified: March 6, 2024
Learn how to make your own 12-gauge shotgun for home defense with our comprehensive guide. Enhance your home security and surveillance with this DIY project.
(Many of the links in this article redirect to a specific reviewed product. Your purchase of these products through affiliate links helps to generate commission for Storables.com, at no extra cost. Learn more)
Introduction
Welcome to the world of home security and surveillance! With the increasing need for personal safety and protection, many individuals are taking proactive measures to secure their homes. One crucial aspect of home security is having an effective home defense system in place. While there are various options available on the market, some individuals may prefer a DIY approach to create their own home defense tools.
This article will provide you with a step-by-step guide on how to make your own 12-gauge shotgun for home defense. However, before we dive into the details, it’s essential to address some important considerations.
Please note that this article is for informational purposes only, and I strongly advise checking your local laws and regulations regarding firearms. Safety should always be your top priority, so it’s crucial to be well-informed and follow guidelines set by your local authorities.
Key Takeaways:
- Building your own 12-gauge shotgun for home defense requires expertise, knowledge, and strict adherence to safety protocols. Prioritize safety, legal compliance, and seek professional guidance for a responsible DIY project.
- Safety, legal compliance, and proper handling techniques are crucial when building a DIY 12-gauge shotgun. Always prioritize safety, obtain necessary permits, and seek professional guidance to ensure a responsible and legal DIY project.
Disclaimer
Before proceeding with any DIY project related to firearms, it is essential to recognize the potential dangers involved. Building your own firearm requires a high level of knowledge, experience, and adherence to safety protocols. This article is purely informative and not intended to promote or endorse any illegal activities.
Always ensure that you have the necessary legal permits and licenses to possess and construct firearms in your jurisdiction. Ignoring or violating any local regulations can lead to serious legal consequences. Be aware of the risks involved and take full responsibility for your actions.
Furthermore, it is crucial to prioritize safety throughout the process. If you are not confident in your ability to safely handle firearms or lack the necessary skills, it is advisable to seek professional assistance from a licensed gunsmith or firearms expert.
Take note that building firearms carries inherent risks, including the potential for injury or death. By proceeding with any DIY firearm project, you assume all liability and responsibility for any consequences that may arise.
Always remember that safety should be your utmost concern, and it is better to err on the side of caution when it comes to firearms. If you have any doubts or concerns about the legality or safety of a DIY firearms project, consult with a legal professional or firearm expert before proceeding.
Safety Considerations
When it comes to firearms, safety should always be the top priority. Before embarking on any DIY firearms project, it is crucial to familiarize yourself with proper safety measures. Here are some essential safety considerations to keep in mind:
- Eye and Ear Protection: Always wear safety goggles or glasses and hearing protection when working with firearms. Protecting your eyes and ears from flying debris and excessive noise is crucial.
- Work in a Well-Ventilated Area: Ensure that your workspace is properly ventilated to minimize the risk of inhaling toxic fumes or gases that may be emitted during the assembly process.
- Handle Firearms with Care: Treat all firearms as if they are loaded, even if you believe them to be unloaded. Always keep the barrel pointed in a safe direction and exercise caution when handling firearms.
- Secure Your Work Area: Create a dedicated work area that is secure and free from distractions. Minimize the risk of accidents by keeping the area organized and uncluttered.
- Use the Correct Tools: Ensure that you have the appropriate tools for the job and that they are in good working condition. Using improper tools or tools in poor condition can lead to accidents or damage to the firearm.
- Follow Proper Assembly Procedures: Carefully follow the assembly instructions provided with the firearm parts. Skipping steps or rushing through the process can result in an improperly functioning firearm.
- Test in a Controlled Environment: When testing the firearm, do so in a controlled environment such as a shooting range. Follow all local laws and regulations regarding the discharge of firearms.
- Educate Yourself: Continuously educate yourself on firearm safety practices, local laws, and regulations. Stay up to date with any changes in the laws and maintain a responsible approach to firearm ownership.
By adhering to these safety considerations and taking necessary precautions, you can minimize the risk of accidents and ensure a safer DIY firearms project.
Legal Considerations
Before proceeding with any DIY firearms project, it is crucial to be aware of the legal considerations surrounding firearm ownership and construction in your jurisdiction. Laws and regulations vary greatly from country to country and even within different states or provinces. Here are some general legal considerations to keep in mind:
- Research Local Laws: Familiarize yourself with local, state, and federal laws regarding firearm ownership, possession, and construction. Research any specific regulations related to DIY firearms projects in your area.
- Obtain the Necessary Permits: If your jurisdiction requires individuals to possess specific permits or licenses for firearm construction, ensure that you have obtained the necessary documentation before proceeding.
- Comply with Firearm Regulations: Ensure that the firearm you are constructing complies with all relevant regulations, including restrictions on firearm length, barrel length, capacity, and other specifications.
- Serial Numbers and Markings: Some jurisdictions require firearms to be marked with a unique serial number or identification markings. Familiarize yourself with these requirements and ensure compliance.
- Transfer or Resale: Be aware of the laws surrounding the transfer or resale of firearms that you have constructed. In some cases, you may need to follow specific procedures or obtain additional documentation.
- Age Restrictions: Know the minimum age requirements for possessing or constructing firearms in your jurisdiction. In many places, individuals must be at least 18 years old to own or build a firearm.
- Storage and Transport: Research the laws regarding the safe storage and transportation of firearms in your area. It is essential to securely store your firearm to prevent unauthorized access.
- Comply with Local Regulations: Remember that local laws may have additional requirements or restrictions not covered here. Contact your local authorities or consult with legal professionals to ensure full compliance.
It is essential to emphasize that this article is not a substitute for legal advice. Always consult with legal professionals or relevant authorities to understand the specific laws and regulations pertaining to firearms in your area.
By understanding and adhering to the legal considerations, you can ensure that your DIY firearm project is in full compliance with the law, promoting responsible ownership and construction of firearms.
Tools and Materials Needed
Before starting your DIY project to make a 12-gauge shotgun for home defense, it’s important to gather all the necessary tools and materials. Here’s a list of items you will need:
Tools:
- Drill press
- Drill bits
- Tap and die set
- Files
- Screwdrivers
- Hammer
- Vise
- Wrenches
- Calipers
- Sandpaper
- Measuring tools (ruler, protractor, etc.)
Materials:
- 12-gauge shotgun barrel
- Receiver or frame
- Stock
- Trigger mechanism
- Firing pin
- Magazine tube (optional)
- Gunpowder
- Shotgun shells
- Screws and bolts
- Epoxy or adhesive
- Wood or synthetic furniture (optional)
- Paint or finish (optional)
When it comes to selecting the specific components for your DIY shotgun project, it is crucial to ensure compatibility, quality, and adherence to any local legal requirements. Consult with reputable firearm suppliers or gunsmiths to assist you in choosing the appropriate parts.
Additionally, it’s worth mentioning that craftsmanship and attention to detail are paramount when building your own firearm. Take the time to research the different elements and their specifications, and opt for high-quality materials to ensure a safe and reliable end product.
Remember, safety should always be the top priority. Double-check that you have all the necessary tools and materials before starting the project to ensure a smooth and efficient DIY process.
Step 1: Gather the Parts
The first step in making your own 12-gauge shotgun for home defense is to gather all the necessary parts. Here’s a breakdown of the components you will need:
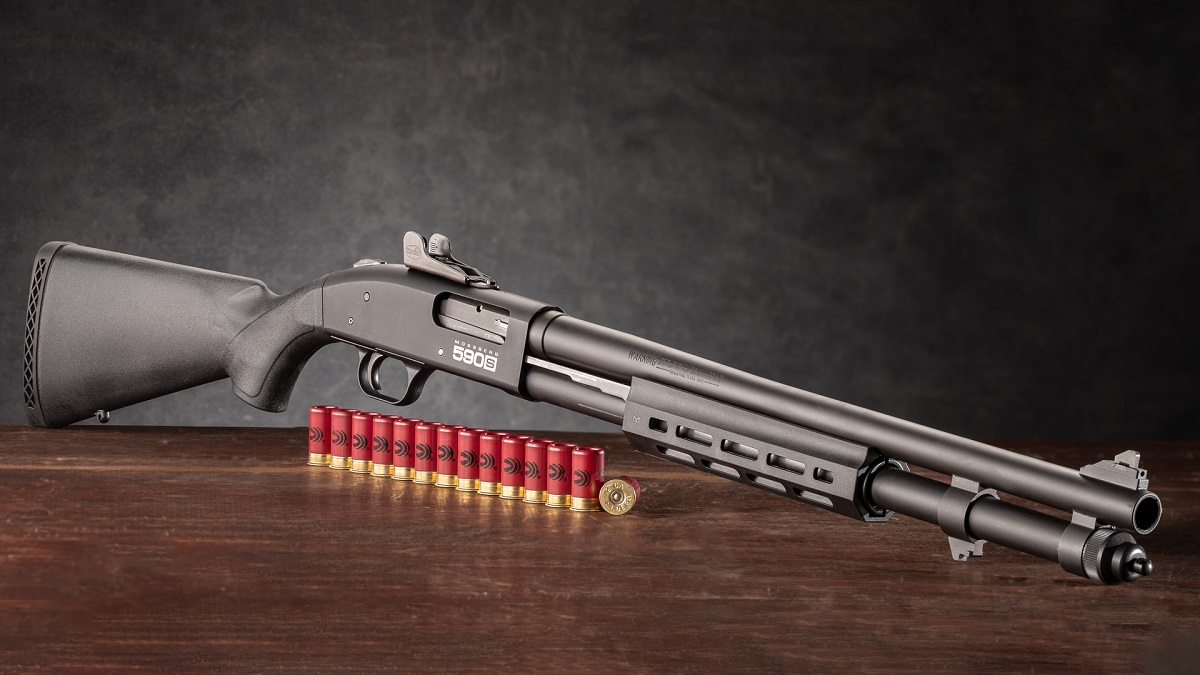
1. 12-Gauge Shotgun Barrel:
Start by acquiring a 12-gauge shotgun barrel, which serves as the main component of your firearm. Look for a barrel that meets your desired length and specifications. Ensure that the barrel is compatible with the other parts you plan to use.
Read more: How To Load A Shotgun For Home Defense
2. Receiver or Frame:
The receiver or frame is the main housing of the firearm and where all the other components will be attached. It provides structural support and houses the trigger mechanism and firing pin. Acquire a receiver that is designed for use with a 12-gauge shotgun barrel.
3. Stock:
The stock is an essential part of the shotgun, providing stability and allowing for comfortable and controlled shooting. Choose a stock that fits your preferences in terms of material, design, and ergonomics. Ensure that it is compatible with the receiver you have chosen.
4. Trigger Mechanism:
The trigger mechanism is responsible for the firing mechanism of the shotgun. Acquire a trigger group that is specifically designed for use with a 12-gauge shotgun and is compatible with the receiver you have chosen.
5. Firing Pin:
The firing pin is a crucial component that strikes the primer of the shotgun shell, initiating the firing process. Make sure to obtain a firing pin that is designed for use with a 12-gauge shotgun and is compatible with your chosen receiver.
Read more: How To Pick A Shotgun For Home Defense
6. Magazine Tube (optional):
Depending on your preferences and the design of your shotgun, you may choose to include a magazine tube for holding additional rounds. Ensure that the magazine tube is compatible with your receiver and has the appropriate capacity.
It is vital to note that the selection and acquisition of these parts should be done in accordance with local laws and regulations. Consult with firearms experts or reputable suppliers to ensure that you are acquiring the right components legally and responsibly.
Once you have gathered all the necessary parts, you are ready to move on to the next step of assembling your DIY 12-gauge shotgun for home defense.
Step 2: Assemble the Barrel
Once you have gathered all the necessary parts, the next step in building your own 12-gauge shotgun for home defense is to assemble the barrel. Proper assembly ensures that the shotgun will function correctly and safely. Follow these steps to assemble the barrel:
- Inspect the barrel: Carefully examine the shotgun barrel for any defects, cracks, or damage. Ensure that it is of the correct length and meets your desired specifications.
- Attach the barrel to the receiver: Align the barrel with the receiver and secure it using the appropriate screws or bolts. Tighten them securely but avoid over-tightening, as it may cause damage to the components.
- Test the fit: After attaching the barrel to the receiver, test the fit by ensuring that it is firmly attached and properly aligned. Any movement or misalignment should be addressed before proceeding.
- Check for proper headspace: Headspacing refers to the distance between the face of the bolt or breechface and the base of the shotgun shell. It is essential to check and ensure that there is proper headspace according to manufacturer specifications.
- Confirm barrel alignment: Verify that the barrel is properly aligned with the stock and other components. Any misalignment should be corrected to ensure proper functionality and safety.
- Check functionality: Before proceeding to the next step, perform a function check. Ensure that the shotgun barrel is securely attached, and the action operates smoothly and without any binding.
During the assembly process, it is important to follow the manufacturer’s instructions and any applicable regulations. If you are unsure about any step, consult with a professional gunsmith or firearms expert for guidance. Safety should always be a top priority throughout the assembly process.
Once you have successfully assembled the shotgun barrel, you are ready to move on to the next step of installing the trigger mechanism.
Step 3: Install the Trigger Mechanism
After assembling the barrel, the next crucial step in building your own 12-gauge shotgun for home defense is to install the trigger mechanism. The trigger mechanism is responsible for initiating the firing process. Follow these steps to install the trigger mechanism:
- Prepare the receiver: Ensure that the receiver is clean and free from any debris or obstructions. This will provide a smooth and secure installation of the trigger mechanism.
- Attach the trigger mechanism: Align the trigger mechanism with the designated cutouts or holes in the receiver. Depending on the specific design of your shotgun, there may be screws, pins, or other fasteners to secure the trigger mechanism. Follow the manufacturer’s instructions for proper installation. Ensure that it fits snugly and securely in place.
- Test the trigger function: Once the trigger mechanism is installed, test its functionality by pulling the trigger and confirming that it operates smoothly. Check for any binding or resistance and make any necessary adjustments.
- Ensure proper safety mechanisms: The trigger mechanism may have additional safety features such as a safety lever or button. Double-check that these safety mechanisms are properly installed and functional. This will help prevent accidental discharges and ensure safe operation of the shotgun.
- Test the disconnector: The disconnector is responsible for disconnecting the trigger from the firing mechanism after each shot. Test the disconnector to ensure that it functions correctly, resetting the trigger for subsequent shots.
- Perform function check: Before proceeding to the next step, perform a function check of the trigger mechanism. Confirm that the trigger functions smoothly, the safety mechanisms engage and disengage properly, and the disconnector resets as intended.
Ensuring the proper installation and functionality of the trigger mechanism is crucial for safety and reliable operation of the shotgun. Take your time during this step, and if you encounter any issues or uncertainties, consult with a knowledgeable firearms expert.
Once the trigger mechanism is successfully installed and functioning correctly, you are ready to move on to the next step of mounting the stock.
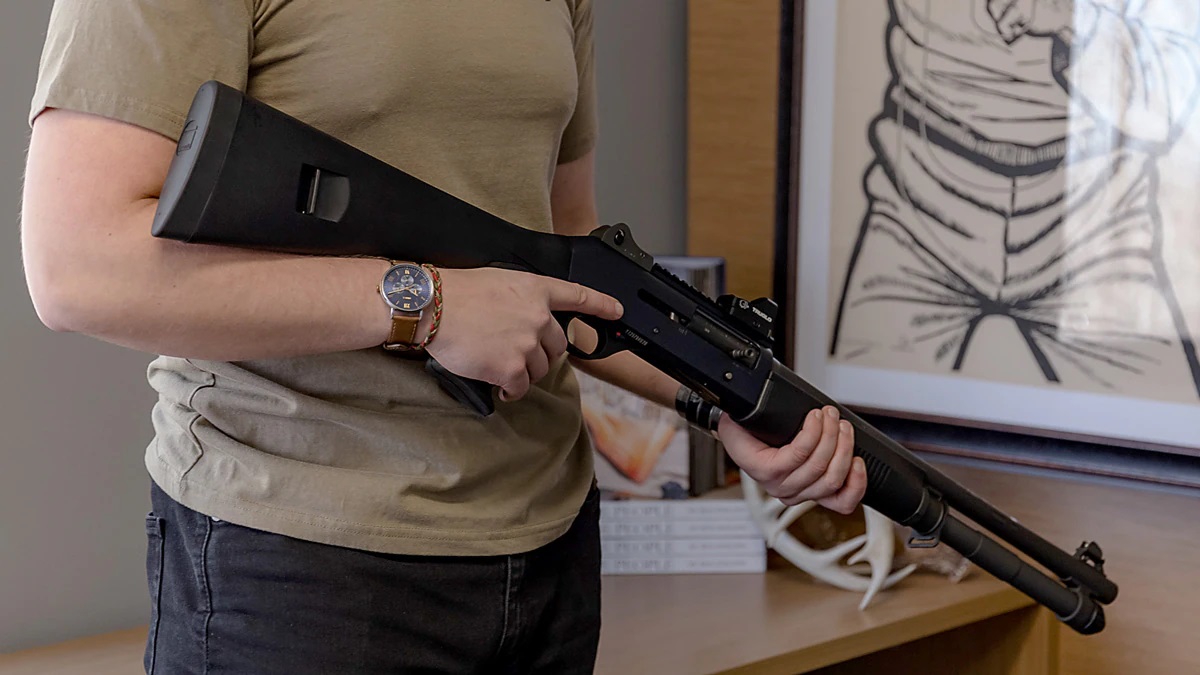
Step 4: Mount the Stock
After installing the trigger mechanism, the next step in building your own 12-gauge shotgun for home defense is to mount the stock. The stock provides stability, helps absorb recoil, and allows for comfortable handling of the firearm. Follow these steps to properly mount the stock:
- Prepare the stock: Ensure that the stock is clean and free from any debris or obstructions. If necessary, sand or file down any rough edges or imperfections for a smooth and comfortable grip.
- Align the stock: Align the stock with the receiver and ensure that it fits snugly and securely. The stock should align with the trigger mechanism and provide a comfortable shooting position.
- Attach the stock: Depending on the design of your shotgun and stock, there may be screws, pins, or other fasteners used to secure the stock to the receiver. Follow the manufacturer’s instructions for proper installation. Tighten the screws or fasteners securely but avoid over-tightening, as it may cause damage to the components.
- Check for stability: Once the stock is attached, check for any excessive movement or looseness. The stock should be securely mounted, with no wobbling or shifting during handling.
- Verify the length of pull: The length of pull refers to the distance between the trigger and the butt of the stock. Ensure that the length of pull is appropriate for your body size and shooting preferences. This will help ensure proper shooting posture and comfortable handling of the shotgun.
- Perform a function check: Before proceeding, perform a function check of the stock and its attachments. Check for any signs of weakness or instability. Also, ensure that the stock does not interfere with the operation of the trigger mechanism.
Properly mounting the stock is essential for stability, accuracy, and comfortable shooting. Take your time during this step to ensure that the stock is securely attached and aligned with the other components of the shotgun.
Once the stock is successfully mounted, you are ready to move on to the next step of installing the firing pin.
Read more: Where Do You Keep Your Home Defense Shotgun
Step 5: Install the Firing Pin
After mounting the stock, the next important step in building your own 12-gauge shotgun for home defense is to install the firing pin. The firing pin is responsible for striking the primer of the shotgun shell and initiating the firing process. Follow these steps to properly install the firing pin:
- Prepare the firing pin: Before installation, ensure that the firing pin is clean and free from any dirt or debris. Also, inspect it for any damage or wear that may affect its performance.
- Locate the firing pin channel: On the receiver, locate the firing pin channel or housing. This is where the firing pin will be inserted.
- Insert the firing pin: Carefully insert the firing pin into the designated channel, ensuring that it is properly aligned and oriented. Follow any specific instructions provided by the manufacturer for correct installation.
- Secure the firing pin: Depending on the design of your shotgun, there may be screws, pins, or other fasteners used to secure the firing pin in place. Follow the manufacturer’s instructions to properly secure the firing pin.
- Check for proper movement: Once the firing pin is installed and secured, test its movement by manually pushing on it. It should move freely and smoothly within its channel without any obstructions or binding.
- Perform a function check: Before proceeding, perform a function check of the firing pin. Activate the trigger mechanism and observe that the firing pin moves forward and strikes the primer when triggered.
Properly installing the firing pin is crucial for the functionality and safety of your shotgun. Take your time during this step to ensure that the firing pin is securely and correctly installed.
Once the firing pin is successfully installed and functioning properly, you are ready to move on to the next step of testing and adjusting the shotgun.
Step 6: Test and Adjust
After installing the firing pin, the next important step in building your own 12-gauge shotgun for home defense is to test and adjust the firearm. Testing and adjusting the shotgun will help ensure its proper functionality, reliability, and accuracy. Follow these steps to test and adjust your DIY shotgun:
- Prepare a safe testing area: Find a suitable location, such as a shooting range or a controlled outdoor area, to conduct the test. Ensure that you have the necessary permission and follow all local laws and regulations regarding the discharge of firearms.
- Load and chamber a dummy round: Use a specifically designed dummy round or snap cap to test the shotgun without live ammunition. This will allow you to evaluate the functioning of the firearm without the risk of accidental discharge.
- Cycle the action: Work the action of the shotgun by manipulating the slide or pump mechanism, depending on the design of your shotgun. Test the feeding, extraction, and ejection of the dummy round. Pay attention to any issues or malfunctions that may occur.
- Check for reliable ignition: Ensure that the firing pin strikes the primer of the dummy round consistently and reliably. If there are any issues with ignition, check the firing pin and the alignment of the components to rectify any potential problems.
- Assess accuracy and recoil: Fire a few rounds of live ammunition to assess the shotgun’s accuracy and manageability. Pay attention to recoil and how controllable the shotgun is during firing.
- Make adjustments if needed: If any issues or malfunctions are detected during testing, consult with a knowledgeable firearms expert to troubleshoot and make the necessary adjustments. This may involve further adjustment of the trigger mechanism, firing pin, or other components.
It is important to keep safety as the top priority during the testing process. Always follow proper firearm safety rules, wear appropriate safety gear, and handle the shotgun responsibly.
Note that the testing and adjustment process may require multiple rounds of trial and error to ensure optimal performance. Be patient and persistent, and seek professional assistance if needed.
Once the shotgun has been thoroughly tested, adjusted, and proven to function reliably, you are one step closer to completing your DIY 12-gauge shotgun for home defense.
Always follow local laws and regulations when building a homemade firearm. It’s important to ensure that your creation is legal and safe to use for home defense.
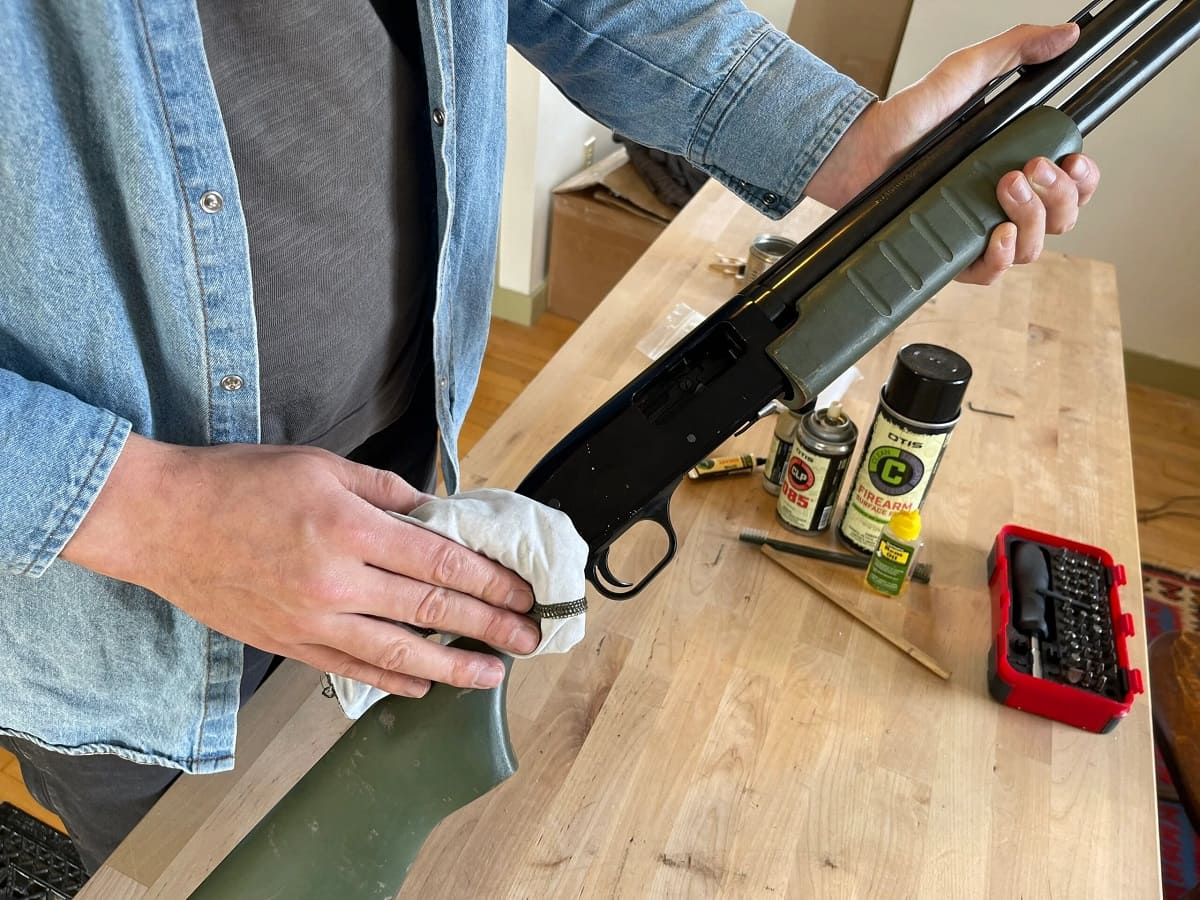
Step 7: Finish and Paint
After testing and adjusting your DIY 12-gauge shotgun for home defense, the final step is to finish and paint the firearm. This step not only enhances the aesthetic appeal of your shotgun but also serves to protect the metal parts from corrosion and wear. Follow these steps to finish and paint your shotgun:
- Clean the firearm: Thoroughly clean the shotgun, ensuring that all dirt, oil, and residue are removed from the metal surfaces. This will help the finish adhere properly.
- Choose a finish: Decide on the type of finish you want for your shotgun. This could include bluing, parkerizing, or applying a protective coating like Cerakote. Consider factors such as durability, aesthetics, and ease of application when making your choice.
- Apply the finish: Follow the instructions provided with the chosen finish to apply it to the metal surfaces of the shotgun. This may involve techniques such as immersion, spraying, or applying with a brush. Take care to achieve an even and consistent coverage.
- Allow for proper drying or curing: Give the finish sufficient time to dry or cure according to the manufacturer’s instructions. This will help ensure that the finish is fully set and provides the desired protection.
- Paint the stock (optional): If you wish to customize the appearance of the stock, you can apply paint or stain. Ensure that you choose a paint or stain suitable for the type of stock material (e.g., wood or synthetic). Apply the paint or stain in thin, even coats and allow sufficient drying time between each layer.
- Apply a protective coat (optional): To further protect the stock and enhance its durability, consider applying a clear protective coating. This will help prevent scratches and damage, ensuring that the stock looks good for years to come.
- Final inspection: Once the finish and paint have dried or cured, give the entire shotgun a final inspection. Check for any imperfections, blemishes, or areas that may require touch-ups or additional attention.
Remember to follow safety guidelines and ventilation recommendations when applying finishes and paints. Wear appropriate protective equipment, such as gloves and a respiratory mask, and work in a well-ventilated area.
By completing the finishing and painting process, you add a personal touch to your DIY 12-gauge shotgun while providing added protection and durability.
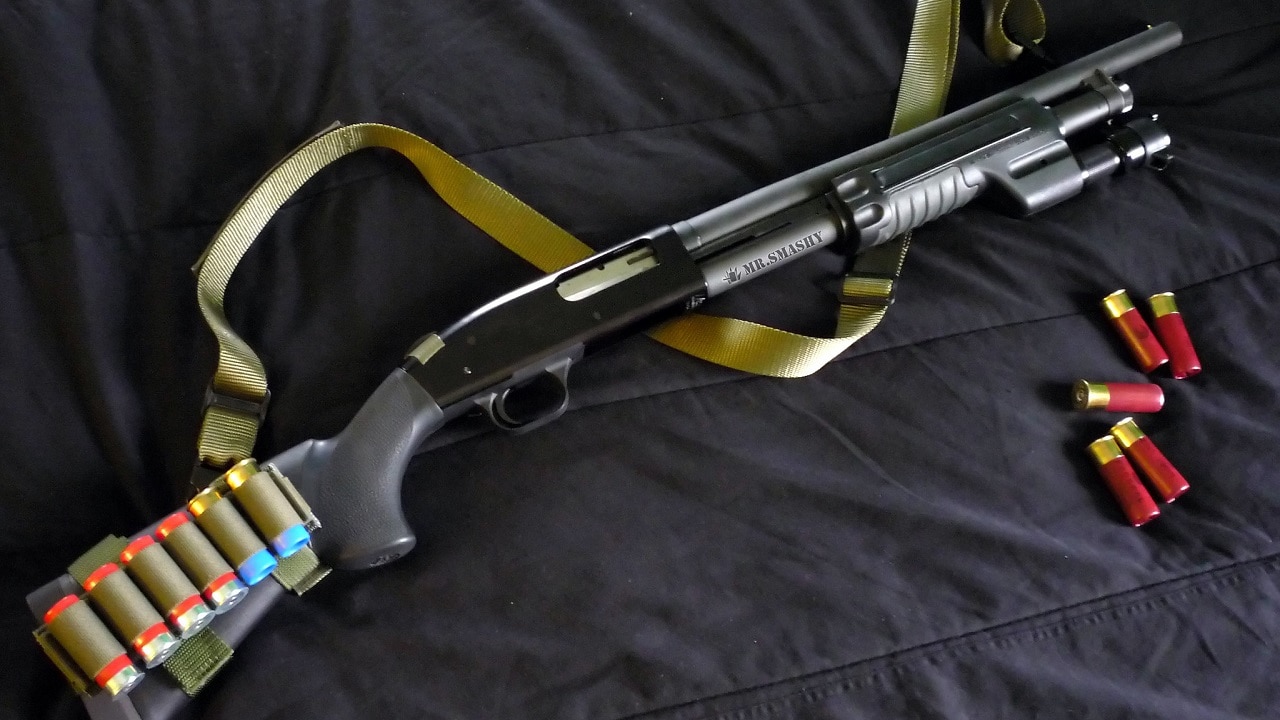
Congratulations! You have successfully built and finished your own 12-gauge shotgun for home defense. Remember to always handle firearms responsibly, follow local laws and regulations, and prioritize safety in every aspect of firearm ownership and usage.
Conclusion
Building your own 12-gauge shotgun for home defense can be a rewarding and educational project. Throughout this guide, we’ve covered the essential steps and considerations that go into creating a DIY firearm. However, it’s important to remember that building firearms requires a high level of expertise, knowledge, and adherence to safety protocols. It should only be undertaken by those with the necessary skills and understanding of local laws and regulations.
When embarking on a DIY firearms project, always prioritize safety above all else. Familiarize yourself with proper handling techniques, safety measures, and legal requirements. Take the time to research local laws, obtain the necessary permits, and seek professional guidance if needed. Ignoring or bypassing these crucial steps can have serious legal and safety consequences.
Additionally, it’s important to note that building your own firearms should not be seen as a substitute for purchasing a commercially manufactured and certified shotgun. Commercial firearms go through stringent testing and certification processes to ensure their reliability and safety. If you’re considering a shotgun for home defense, it’s recommended to purchase one from a reputable firearm manufacturer.
Remember, home security is a serious matter, and it’s essential to be well-informed and prepared. In addition to considering firearms, explore other home security options such as alarm systems, surveillance cameras, and reinforced doors and windows. Combine these measures to create a comprehensive home security plan that meets your needs.
By understanding and adhering to the legal, safety, and technical considerations discussed in this guide, you can make informed decisions about home security and firearms. Take a responsible approach, prioritize safety, and consult with professionals when necessary.
Lastly, never forget the importance of continuous learning and staying updated on local laws and regulations, as they can change over time. Be a responsible firearm owner and advocate for safe and responsible gun ownership practices.
Frequently Asked Questions about How To Make Your Own 12-Gauge Shotgun For Home Defense
Was this page helpful?
At Storables.com, we guarantee accurate and reliable information. Our content, validated by Expert Board Contributors, is crafted following stringent Editorial Policies. We're committed to providing you with well-researched, expert-backed insights for all your informational needs.