Home>Home Security and Surveillance>How To Make Your Own Burglar Alarm
Home Security and Surveillance
How To Make Your Own Burglar Alarm
Modified: October 20, 2024
Learn how to protect your home with a DIY burglar alarm system. Enhance your home security and surveillance with these expert tips and techniques.
(Many of the links in this article redirect to a specific reviewed product. Your purchase of these products through affiliate links helps to generate commission for Storables.com, at no extra cost. Learn more)
Introduction
Keeping your home secure is a top priority for every homeowner. One effective way to protect your home and loved ones is by installing a burglar alarm system. While there are plenty of pre-made options available on the market, they can be expensive and might not always fit your specific needs. Fortunately, you can make your own burglar alarm at a fraction of the cost with just a few materials and some basic knowledge of electronics.
In this article, we will guide you through the process of creating your own DIY burglar alarm. By following these steps, you will have a customized security system that suits your requirements and gives you peace of mind.
Key Takeaways:
- You can create a customized burglar alarm for your home using simple materials like a motion sensor, buzzer, and LED. It’s a fun and cost-effective DIY project that adds an extra layer of security.
- Testing and troubleshooting your DIY burglar alarm is crucial for ensuring it works effectively. You can even add extra features like a camera or smartphone connectivity to enhance your homemade security system.
Read more: How To Make A Burglar Alarm Circuit
Materials Needed
Before diving into the process of building your own burglar alarm, make sure you have the following materials ready:
- Breadboard
- Jumper wires
- Motion sensor
- Piezo buzzer
- Resistor (220 Ohm)
- LED (optional)
- Battery pack or power supply
These essential components can be easily found at your local electronics store or online retailer. It’s important to gather all the necessary materials before getting started to ensure a smooth construction process.
Step 1: Choosing a Sensor
The first step in building your own burglar alarm is to select an appropriate sensor. There are several types of sensors available, but the most common choice for a home security system is a motion sensor or a passive infrared (PIR) sensor.
A motion sensor detects changes in infrared energy, such as the movement of a person or object, and triggers the alarm accordingly. When choosing a motion sensor, consider factors such as the range, sensitivity, and angle of detection. You want a sensor that can cover a wide area and accurately detect any movement within its range.
Additionally, you may opt for a sensor with adjustable settings, allowing you to fine-tune its sensitivity and detection range. This flexibility can be useful in customizing your alarm system to suit your specific needs and the layout of your home.
It’s also important to consider the power requirements of the sensor. Some sensors run on batteries, while others require a power supply. Choose a sensor that aligns with your preferred power source to ensure uninterrupted operation.
Once you have selected the right sensor for your DIY burglar alarm, it’s time to move on to the next step: setting up the sensor.
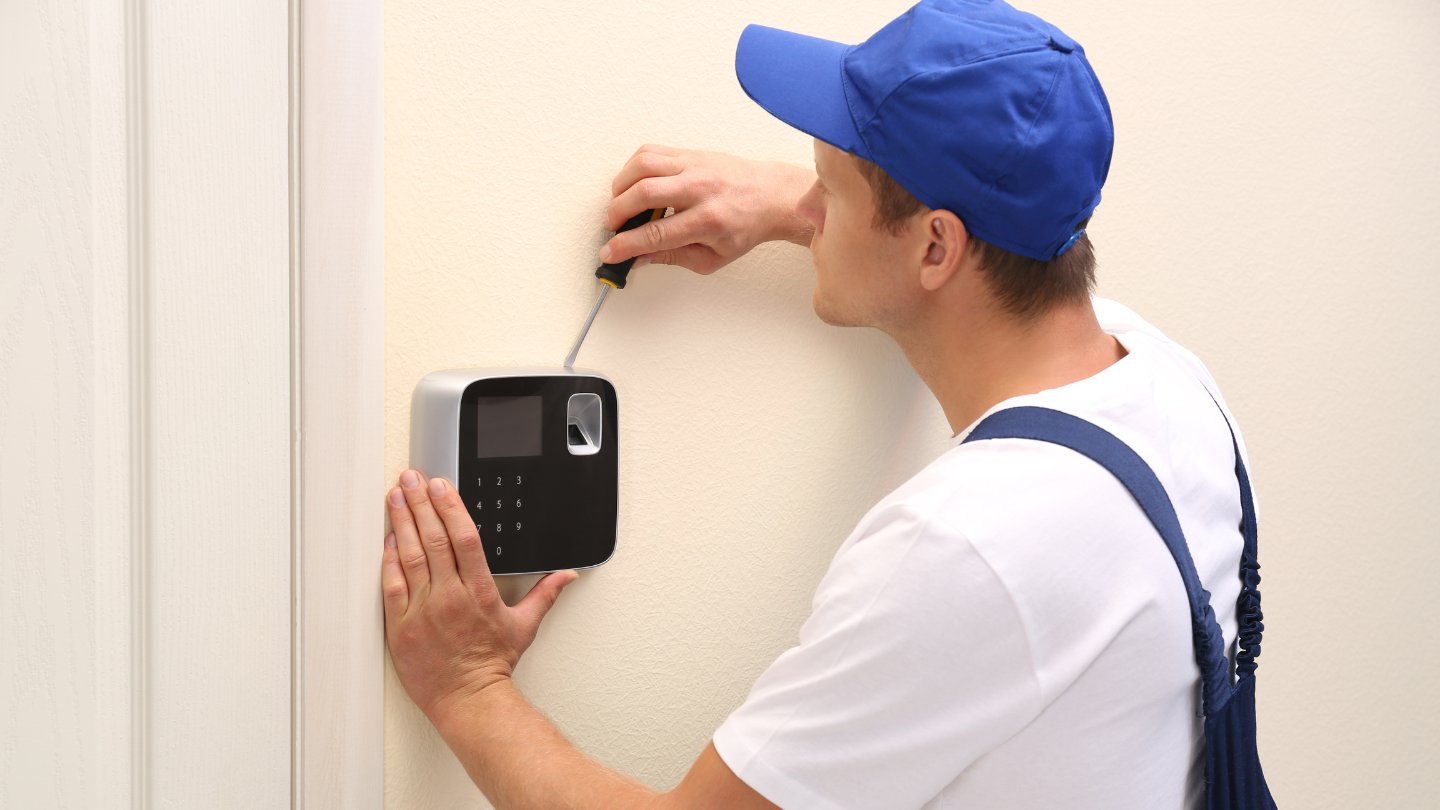
Step 2: Setting up the Sensor
Now that you have chosen the right sensor for your burglar alarm, it’s time to set it up. Follow these steps to properly install the sensor:
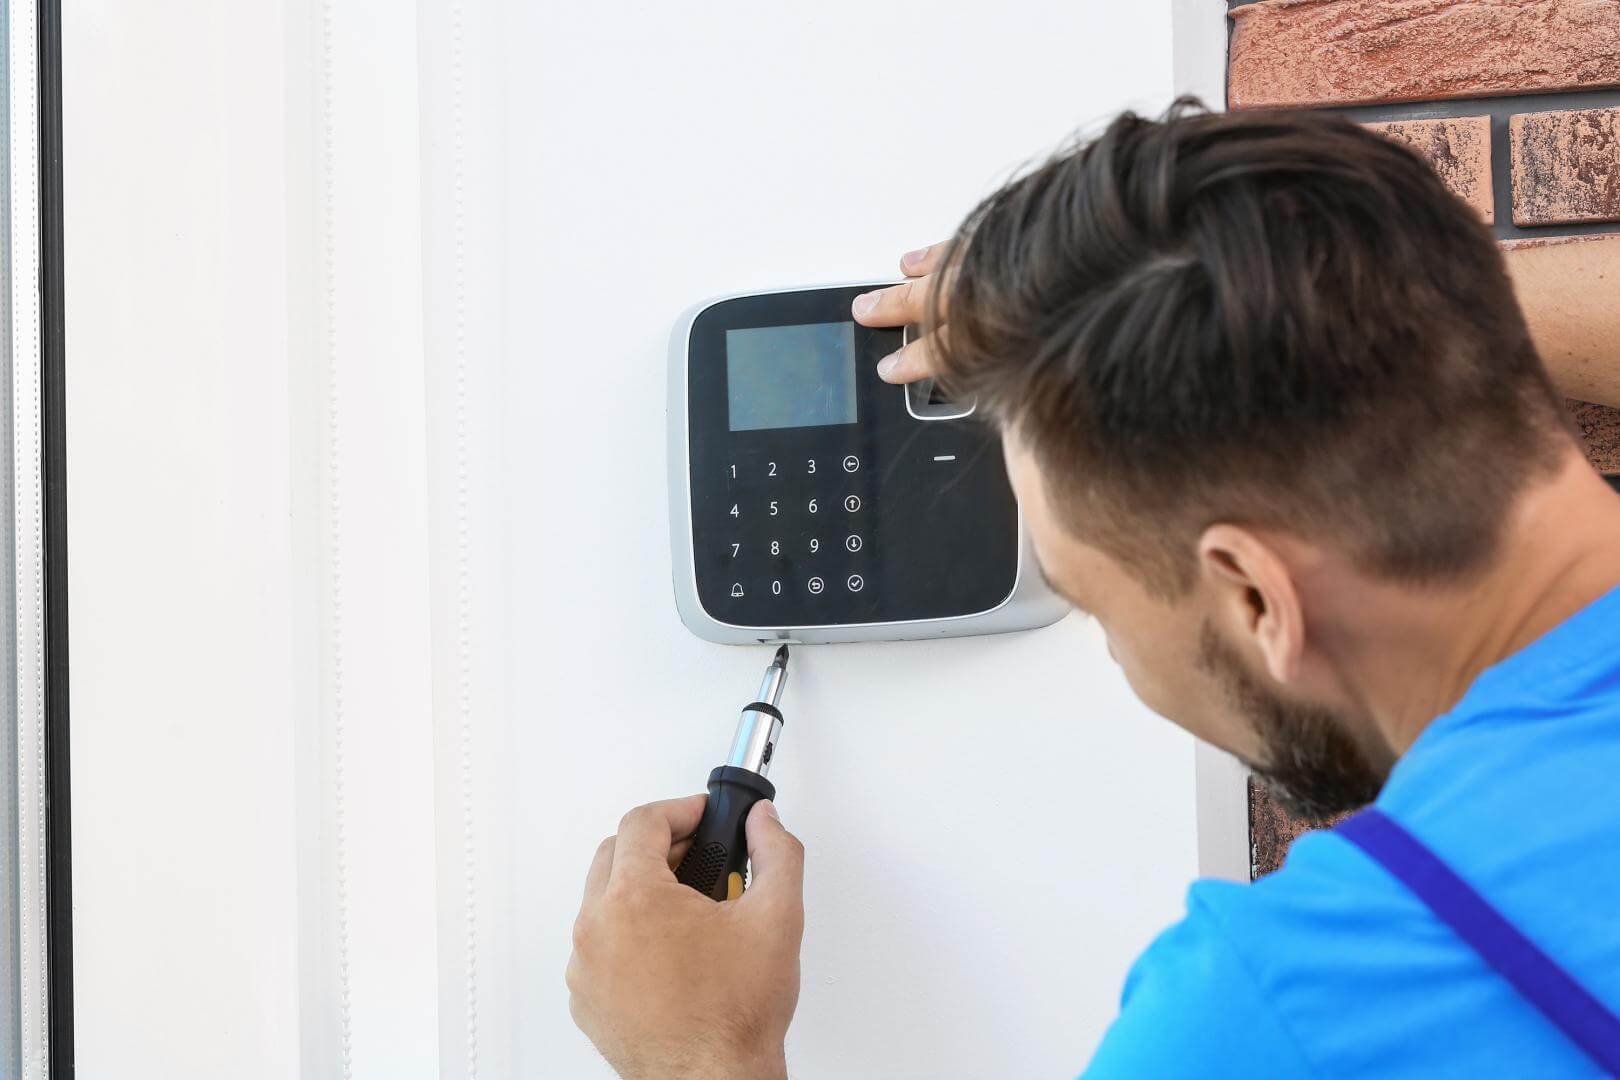
- Choose an optimal location: Find a suitable location to mount the motion sensor. The ideal placement is usually near entry points like doors or windows, where the sensor can detect any unauthorized movement.
- Mount the sensor: Use screws or double-sided tape to securely mount the sensor in the chosen location. Ensure that it is positioned at a proper height and angle to provide effective detection.
- Adjust the settings: If your sensor has adjustable settings, configure them according to your requirements. This may include adjusting the sensitivity, range, or delay time. Consult the user manual of your sensor for specific instructions.
- Test the sensor: Before moving on to the next step, perform a test to ensure that the sensor is working correctly. Walk in front of the sensor’s detection range and verify that it triggers the desired response, such as LED activation or buzzer sound.
Properly setting up the sensor is crucial for the overall effectiveness of your burglar alarm system. Take your time to position and configure the sensor accurately to maximize its functionality.
Consider using motion sensors and a loud alarm to create a simple and effective burglar alarm for your home. Place the sensors in strategic locations and connect them to the alarm to alert you of any movement.
Step 3: Building the Alarm Circuit
With the motion sensor in place, it’s time to move on to building the alarm circuit. Follow these steps to construct the circuit:
- Connect the power supply: Begin by connecting the positive and negative terminals of the power supply (battery pack or power supply) to the corresponding rails on the breadboard.
- Add the resistor: Insert the 220 Ohm resistor into the breadboard, connecting one leg of the resistor to the positive rail of the breadboard.
- Attach the LED (optional): If you want a visual indicator in addition to the audible alarm, insert the LED’s longer leg (the positive leg) into the same row as the resistor’s connected leg. Connect the LED’s shorter leg (the negative leg) to the negative rail of the breadboard.
- Integrate the piezo buzzer: Place the piezo buzzer in the breadboard, connecting one of its legs to the same row as the other end of the resistor. Connect the buzzer’s other leg to the negative rail of the breadboard.
At this stage, you have successfully built the alarm circuit, consisting of the resistor, LED (optional), and the piezo buzzer. The resistor limits the current flowing through the LED, protecting it from excessive current. The piezo buzzer will produce the audible alarm sound when triggered.
Now that the alarm circuit is complete, it’s time to move on to the next step: connecting the motion sensor to the alarm circuit.
Read more: How To Disable A Burglar Alarm
Step 4: Connecting the Sensor and Alarm Circuit
In this step, you will connect the motion sensor to the alarm circuit you built in the previous step. Follow these instructions to ensure a proper connection:
- Locate the signal output of the motion sensor: Depending on the sensor you are using, it will have a signal output pin. Check the sensor’s documentation or data sheet to identify the correct pin.
- Connect the sensor’s signal output to the input of the alarm circuit: Using a jumper wire, connect the signal output of the motion sensor to the row of the resistor in the alarm circuit. This will allow the sensor to trigger the alarm when it detects movement.
- Double-check the connections: Once the wiring is complete, double-check all the connections to ensure they are secure and properly connected. Loose connections can disrupt the functioning of the alarm system.
With the sensor and alarm circuit properly connected, the system is now ready for testing and troubleshooting.
Step 5: Testing and Troubleshooting
After completing the previous steps, it’s time to test your DIY burglar alarm system and address any issues that may arise. Follow these guidelines to ensure proper testing and troubleshooting:
- Power on the system: Connect the power supply to the breadboard and ensure that the circuit is powered on.
- Trigger the motion sensor: Walk in front of the motion sensor to activate it. If everything is connected correctly, the LED (if present) should light up, and the piezo buzzer should emit a loud sound.
- Test the range and sensitivity: Vary the distance and direction of movement in front of the sensor to test its range and sensitivity. Ensure that the sensor can detect movement within the desired area and adjust the settings if necessary.
- Address any issues: If the alarm does not trigger or if you encounter any other issues, carefully check all connections to make sure they are secure. Verify that the wiring is correct and that all components are functioning properly.
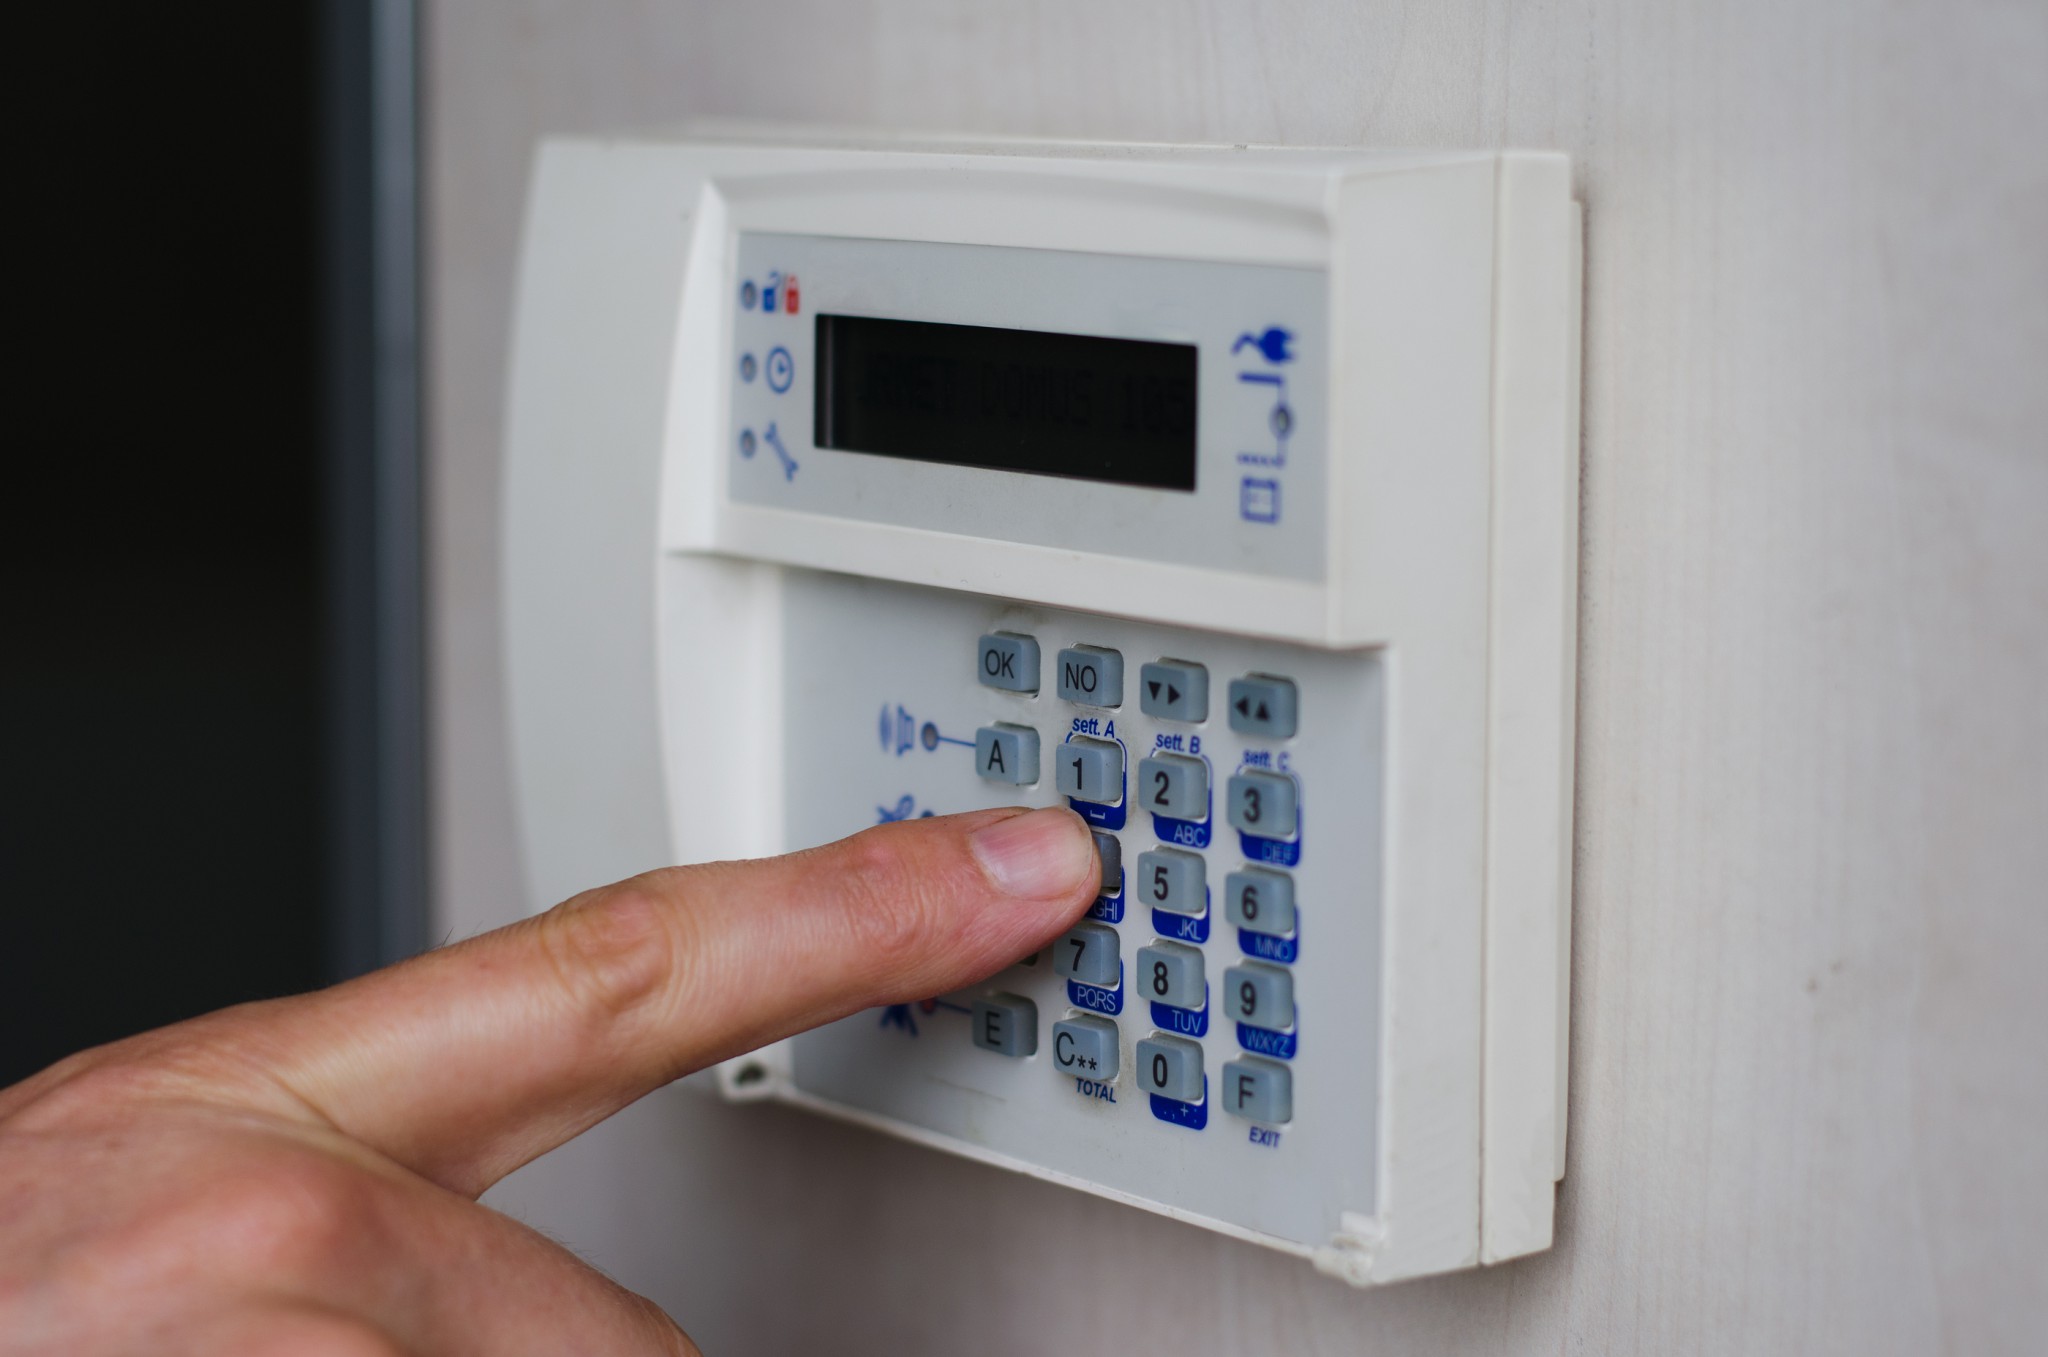
- Experiment with additional features (optional): If you want to enhance your DIY burglar alarm system further, you can explore additional features such as integrating a camera, connecting it to a smartphone app, or adding a keypad for PIN code authentication.
Testing and troubleshooting are crucial steps to ensure the reliability and effectiveness of your burglar alarm system. Take the time to thoroughly test and address any issues to ensure optimal performance.
Conclusion
Building your own burglar alarm system can be a rewarding project that not only provides added security to your home but also allows you to customize the system to suit your specific needs. By following the steps outlined in this article, you have learned how to create a DIY burglar alarm using readily available components.
Remember, the key to a successful DIY burglar alarm is choosing the right sensor, properly setting it up, building the alarm circuit, and connecting everything correctly. Testing and troubleshooting are also essential to ensure that your alarm system functions reliably.
While a DIY burglar alarm can be an effective deterrent for potential intruders, it is important to note that it may not provide the same level of security as professionally installed systems. However, for those on a budget or looking for a customizable solution, a DIY burglar alarm can be a great option.
Always use your DIY burglar alarm in conjunction with other security measures such as sufficient lighting, sturdy locks, and overall vigilance. Regularly maintain and update your alarm system to ensure its continued functionality.
With a little bit of effort and ingenuity, you can enjoy the peace of mind that comes with knowing your home is protected by a DIY burglar alarm that you built yourself.
Frequently Asked Questions about How To Make Your Own Burglar Alarm
Was this page helpful?
At Storables.com, we guarantee accurate and reliable information. Our content, validated by Expert Board Contributors, is crafted following stringent Editorial Policies. We're committed to providing you with well-researched, expert-backed insights for all your informational needs.