Home>Home Security and Surveillance>How To Reset Nest Outdoor Camera

Home Security and Surveillance
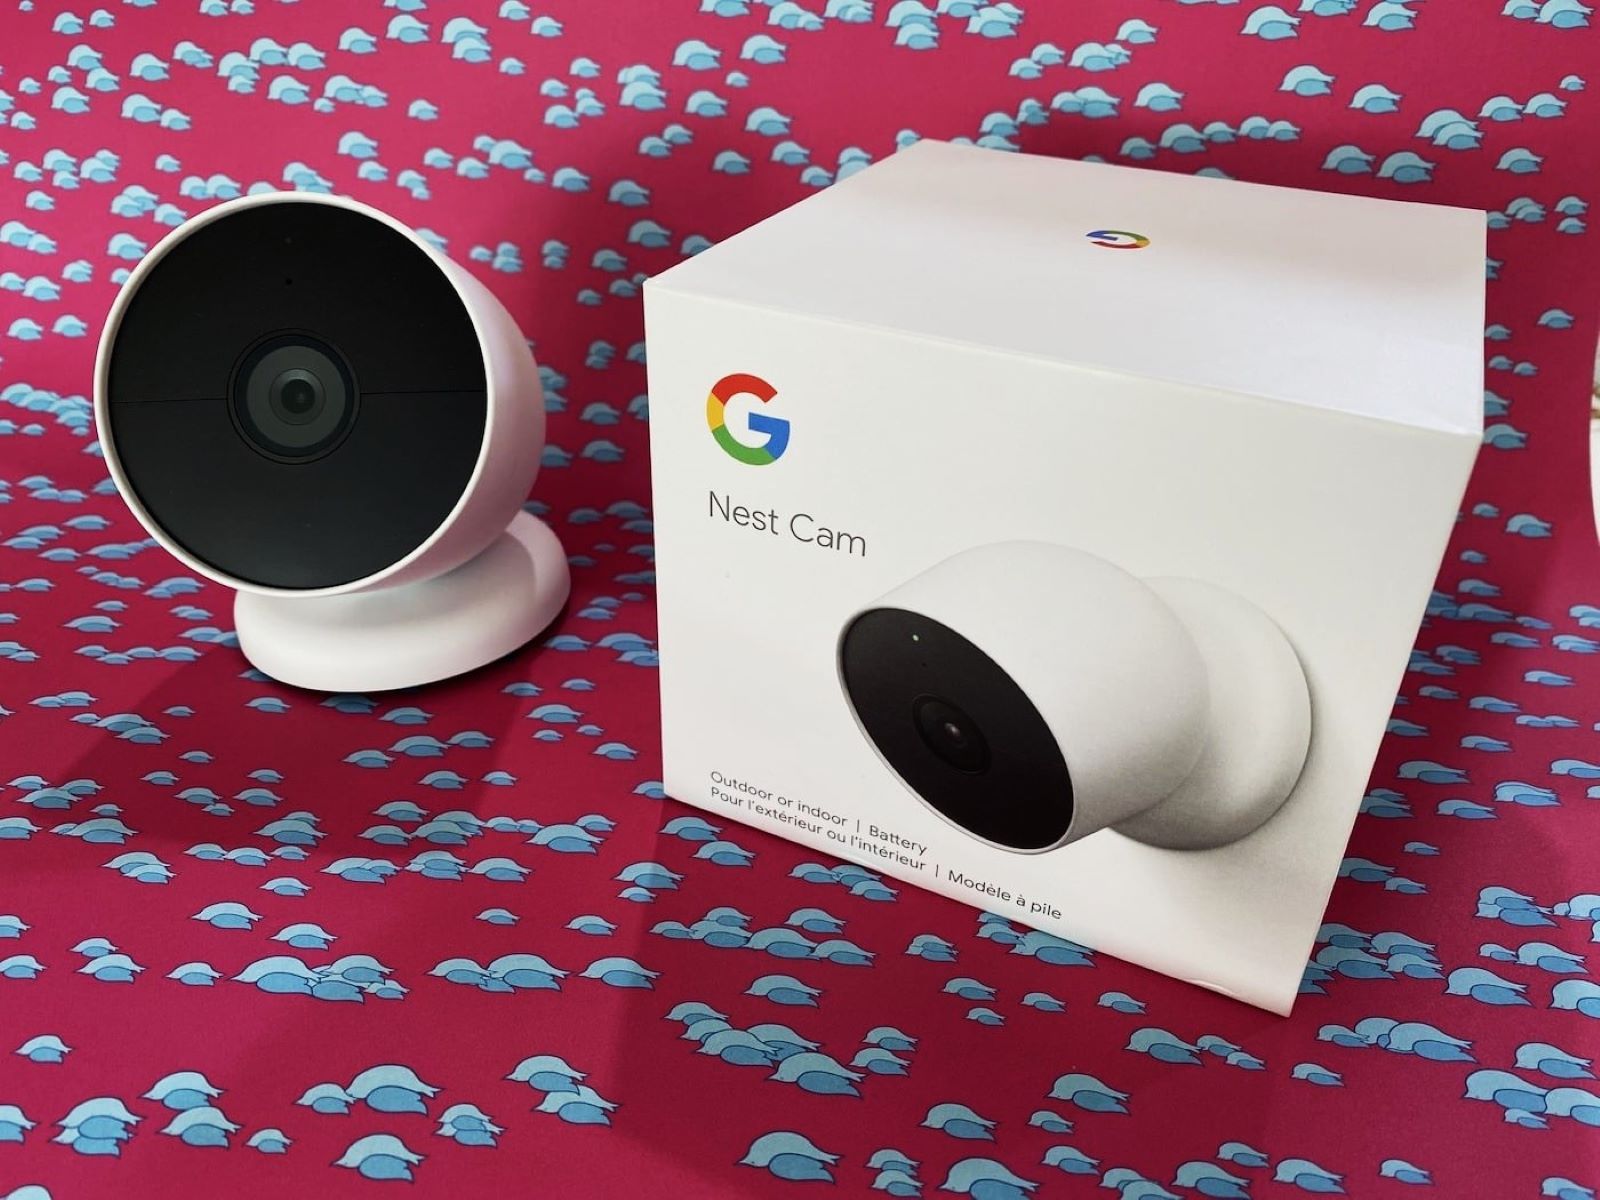
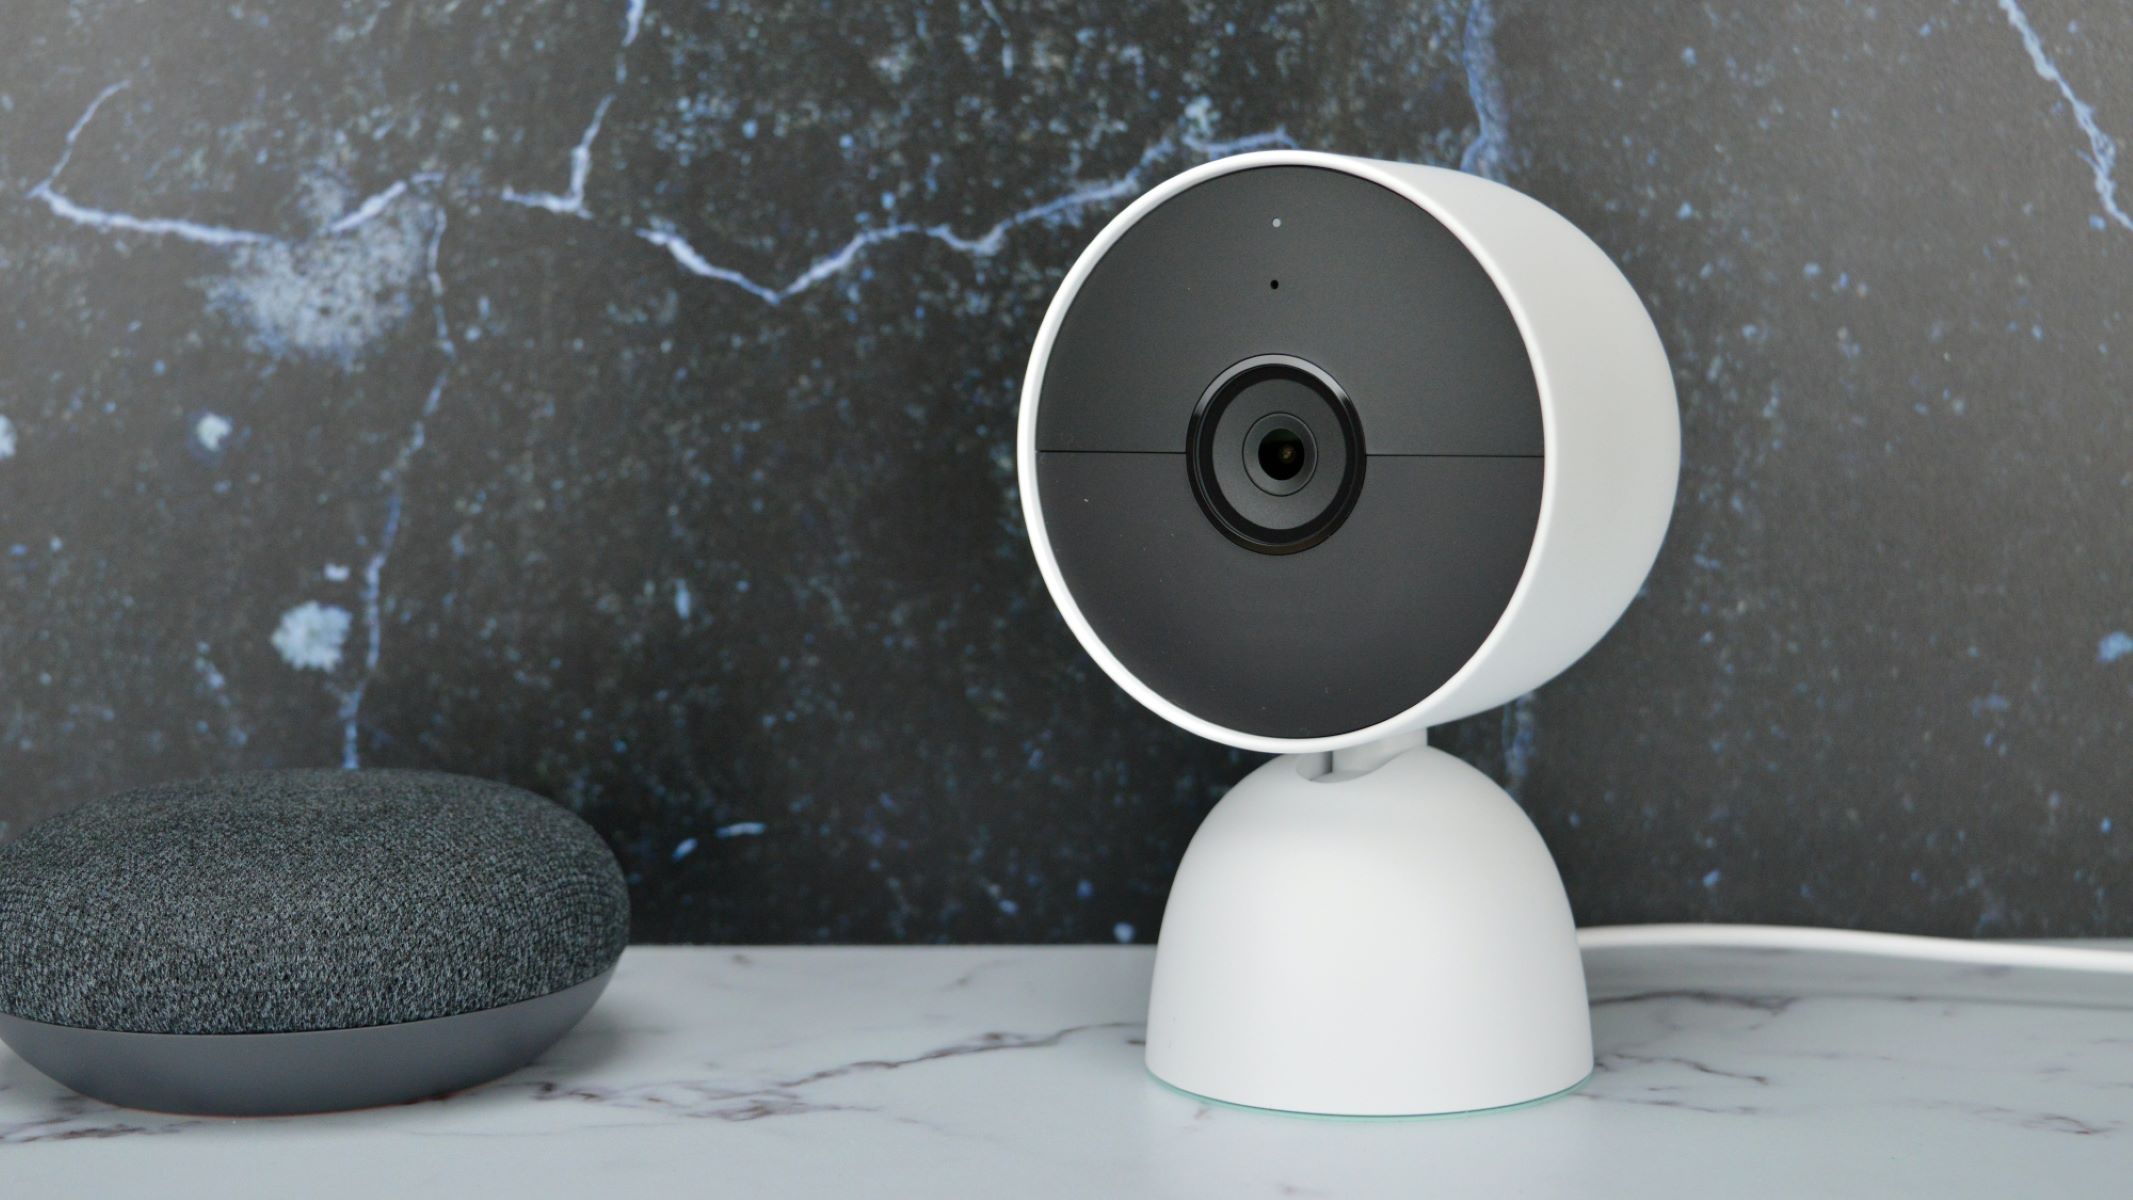
How To Reset Nest Outdoor Camera
Modified: September 1, 2024
Improve your home security with our step-by-step guide on how to reset your Nest outdoor camera. Keep your home protected with our surveillance tips.
(Many of the links in this article redirect to a specific reviewed product. Your purchase of these products through affiliate links helps to generate commission for Storables.com, at no extra cost. Learn more)
Introduction
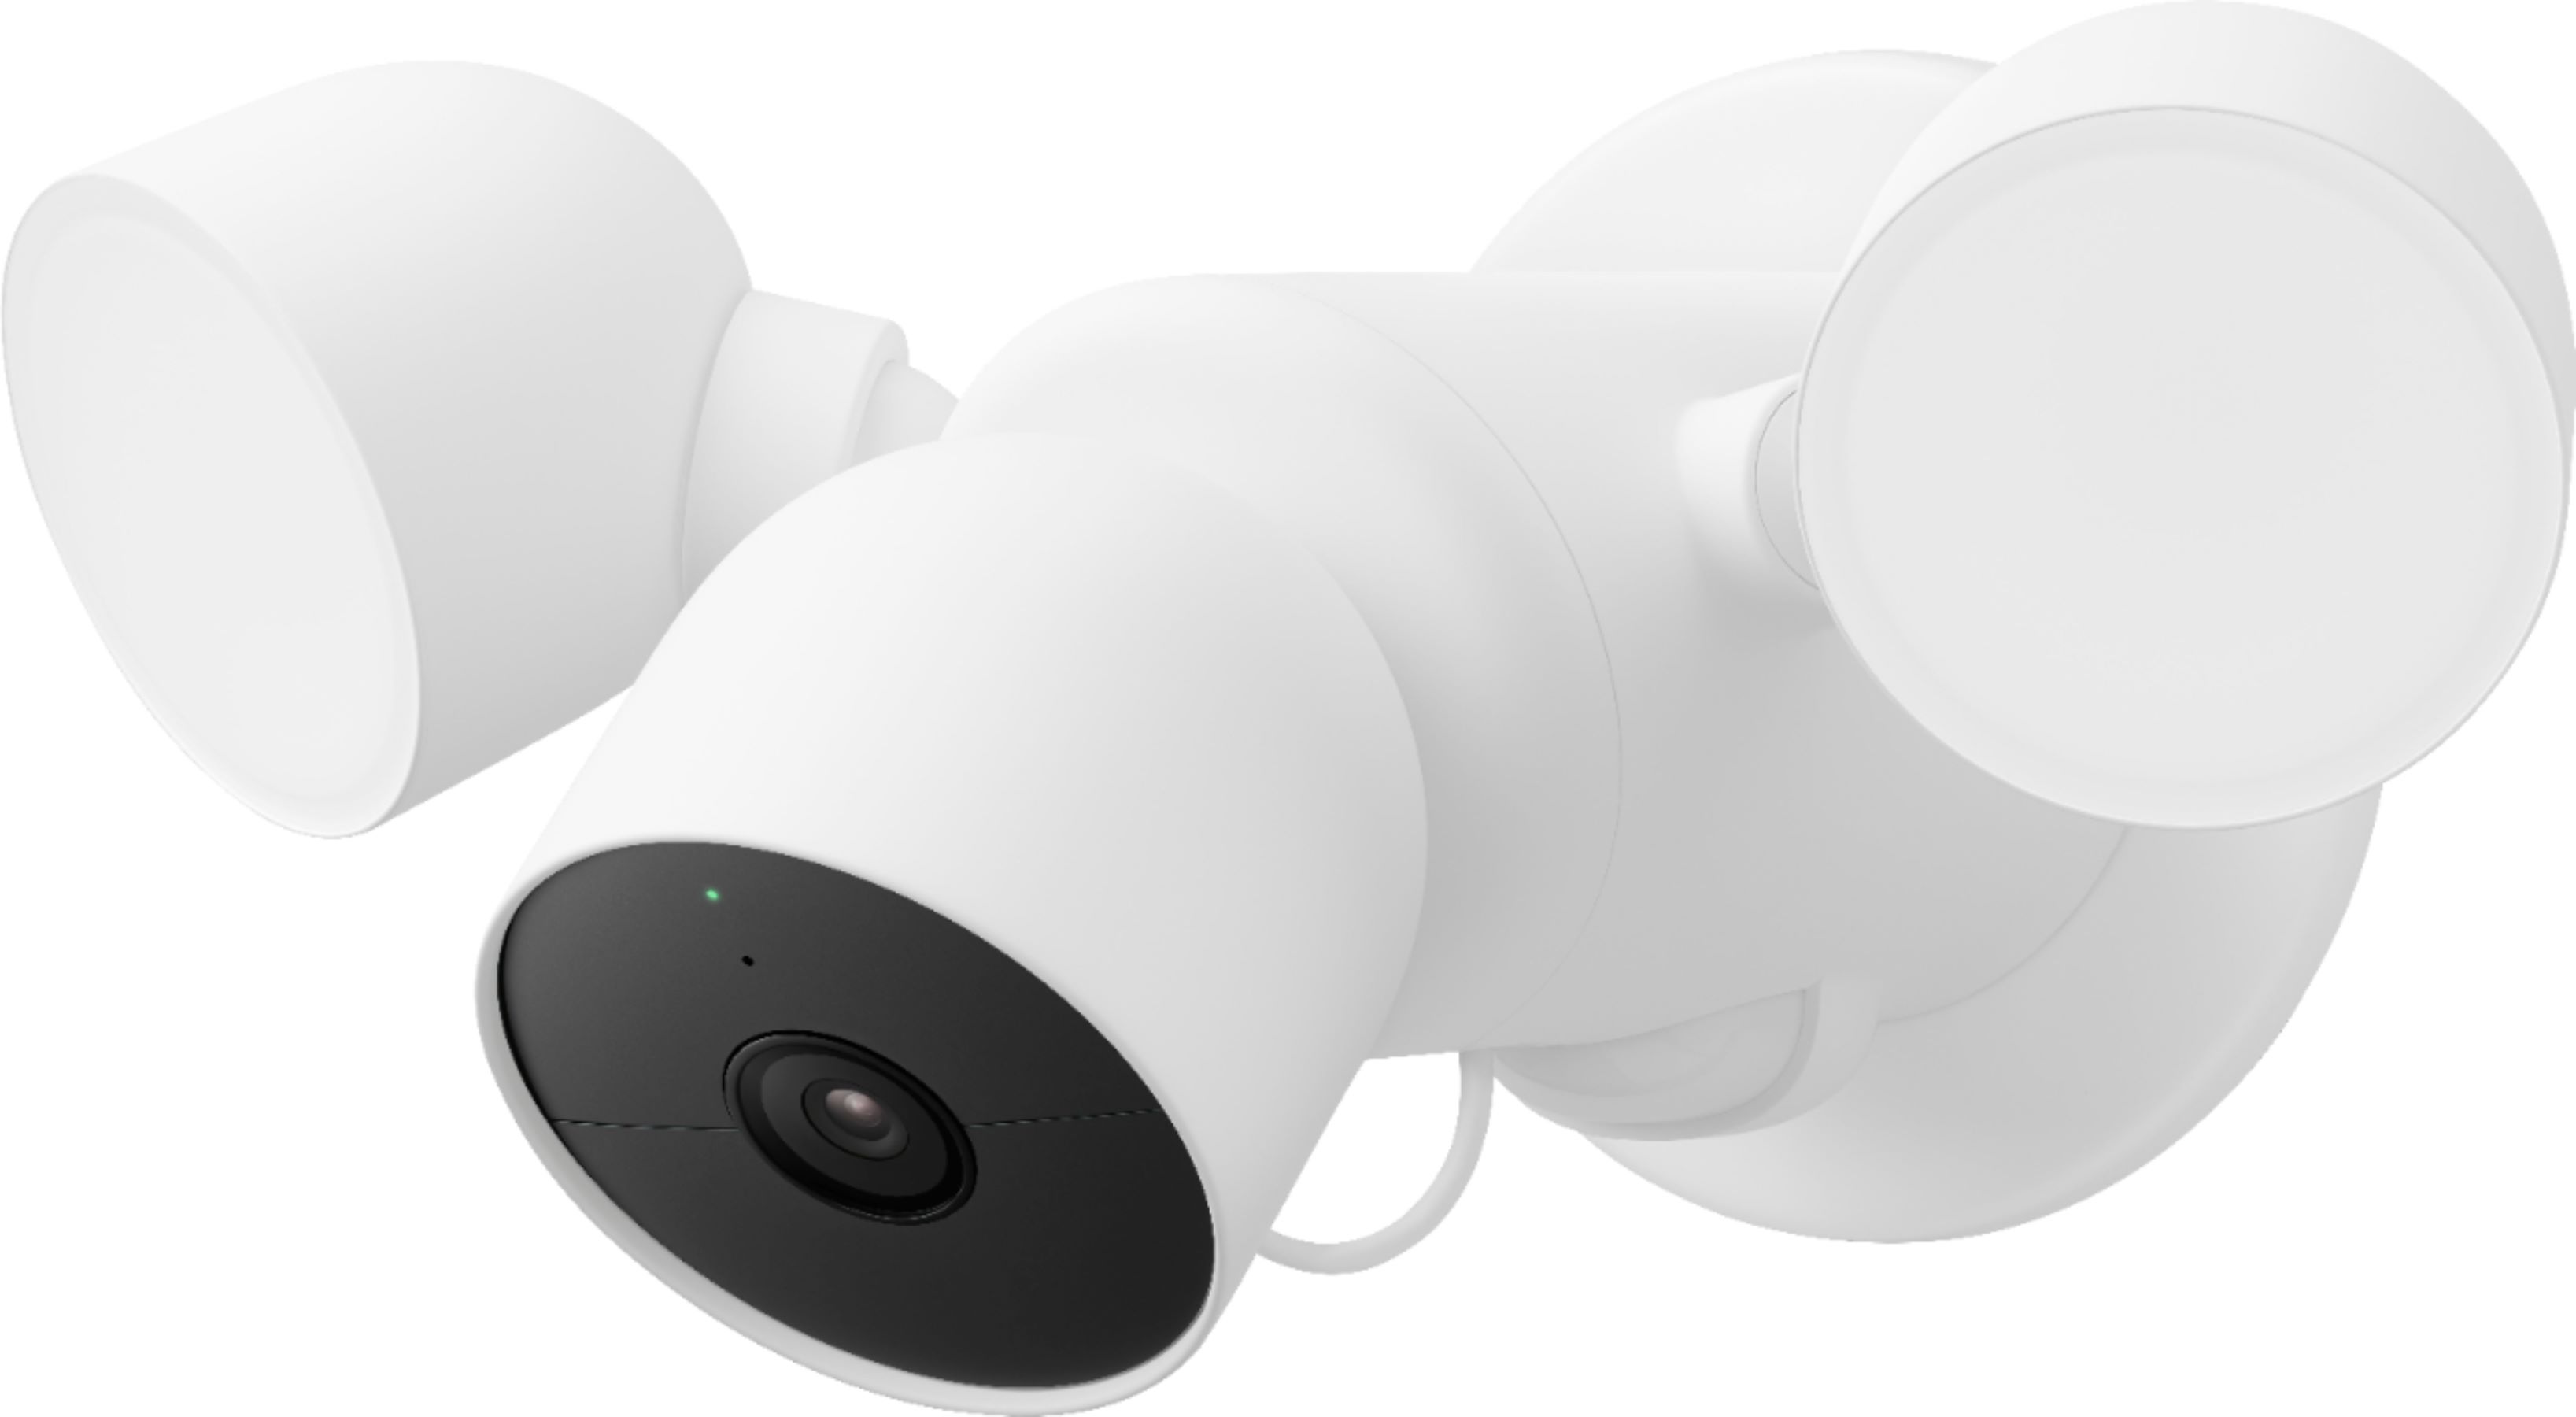
Welcome to our guide on how to reset a Nest Outdoor Camera. Whether you’re experiencing technical issues with your camera or you simply want to start fresh, resetting the Nest Outdoor Camera can help resolve various problems and restore it to its default settings. In this article, we will walk you through the step-by-step process of resetting the camera.
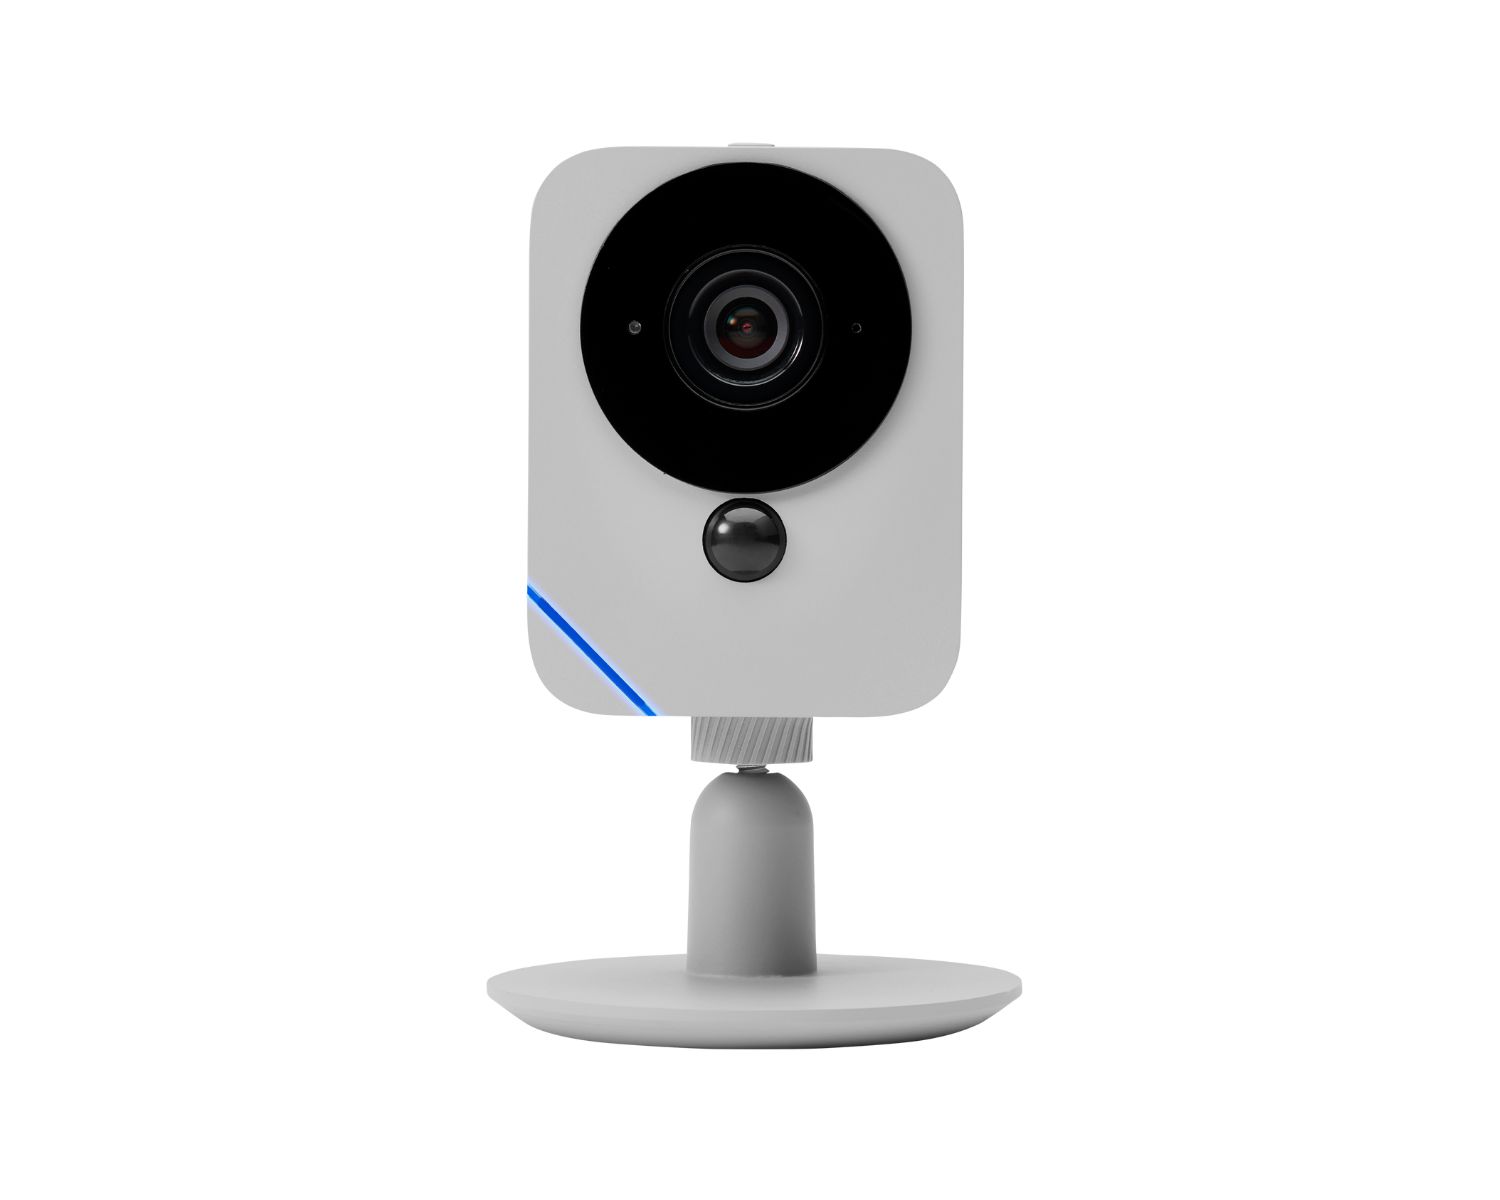
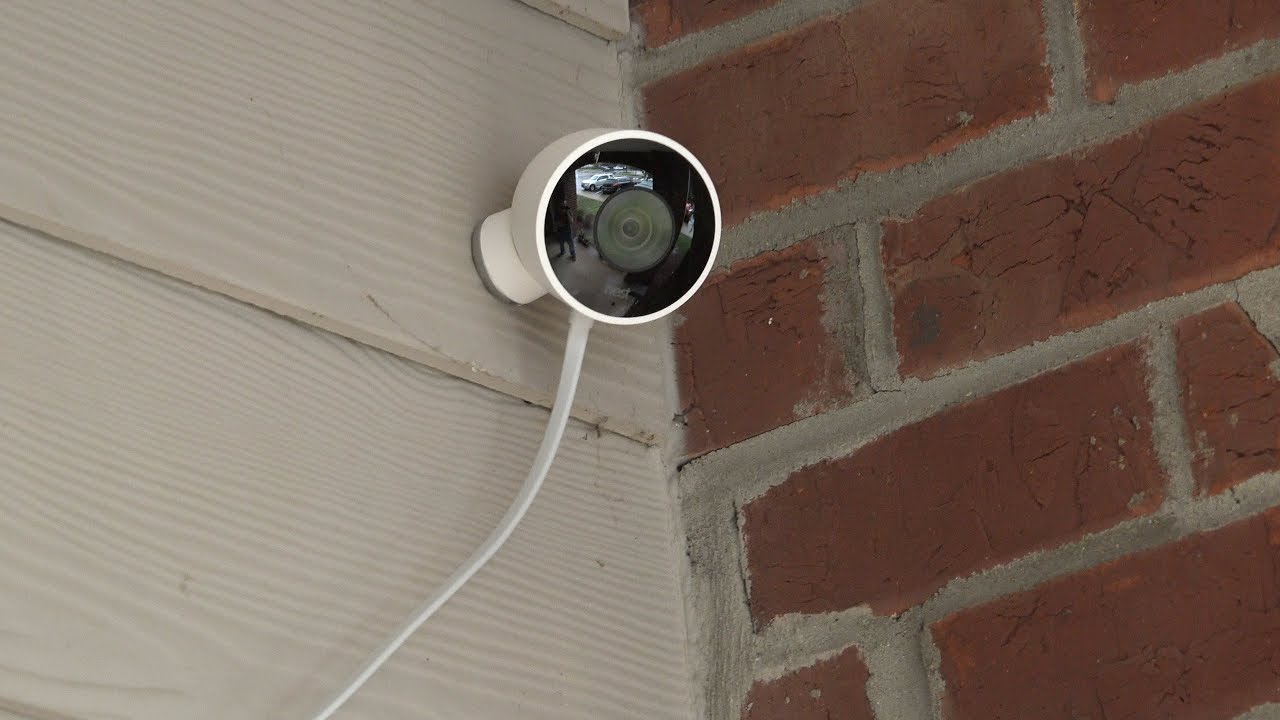
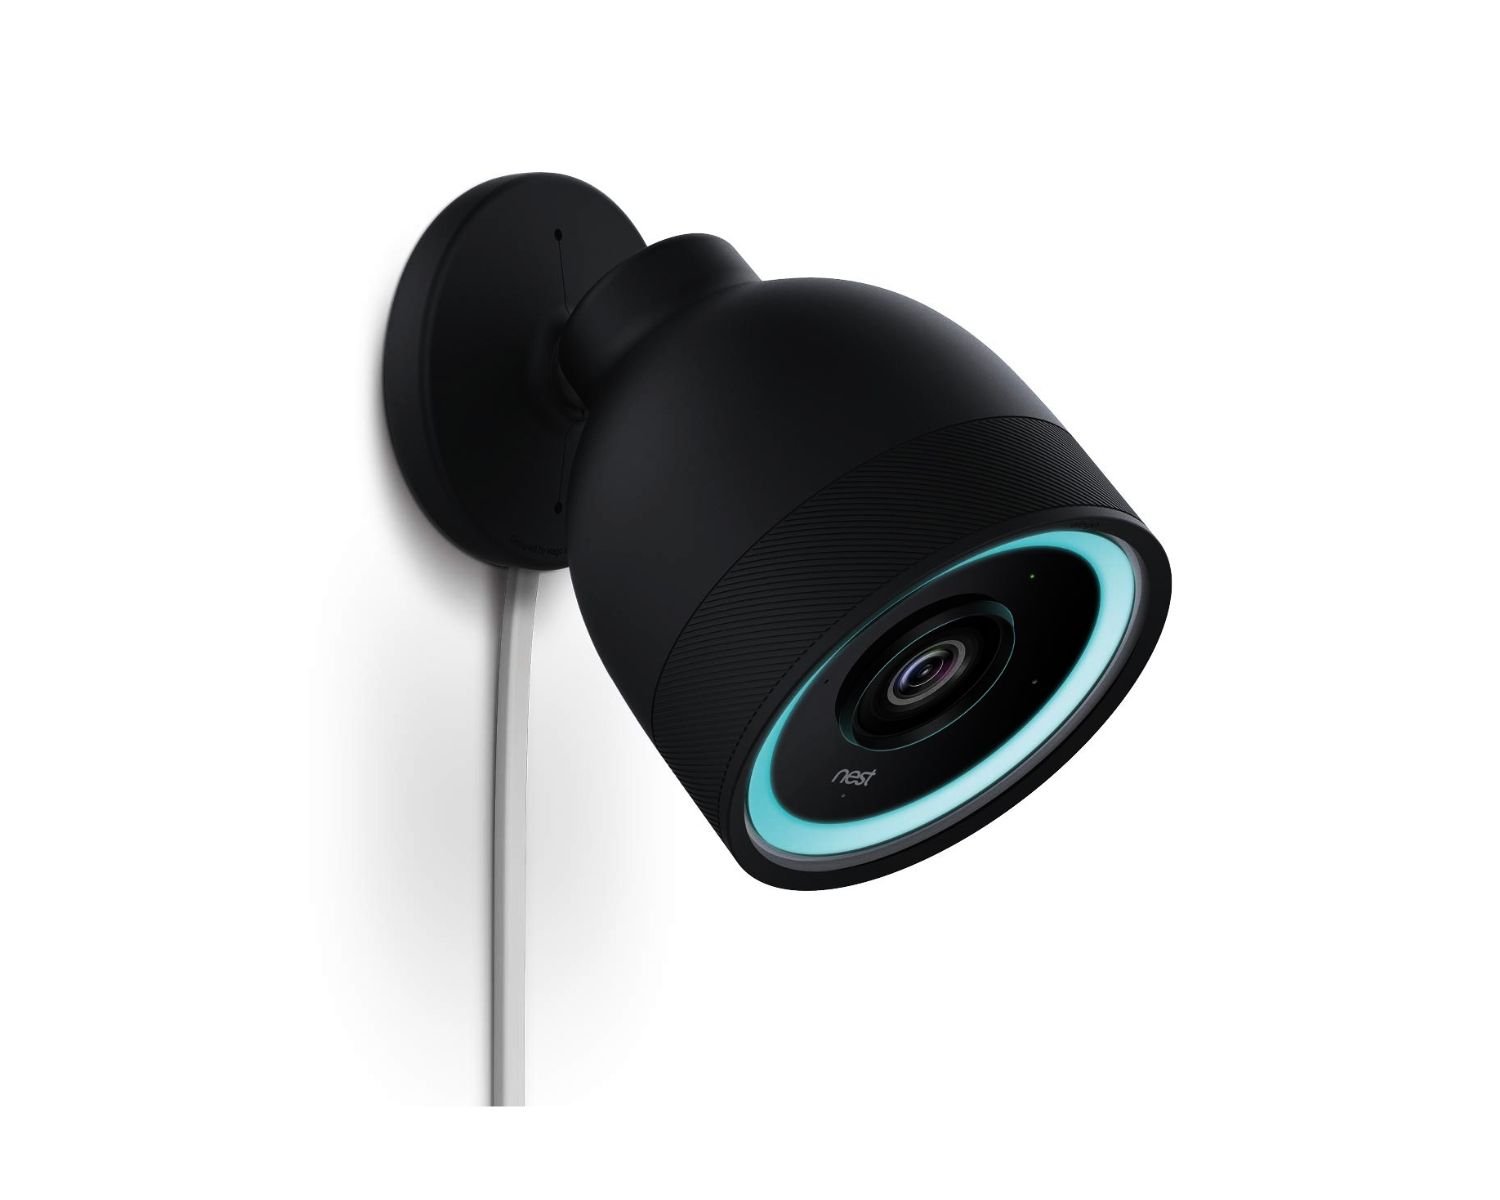
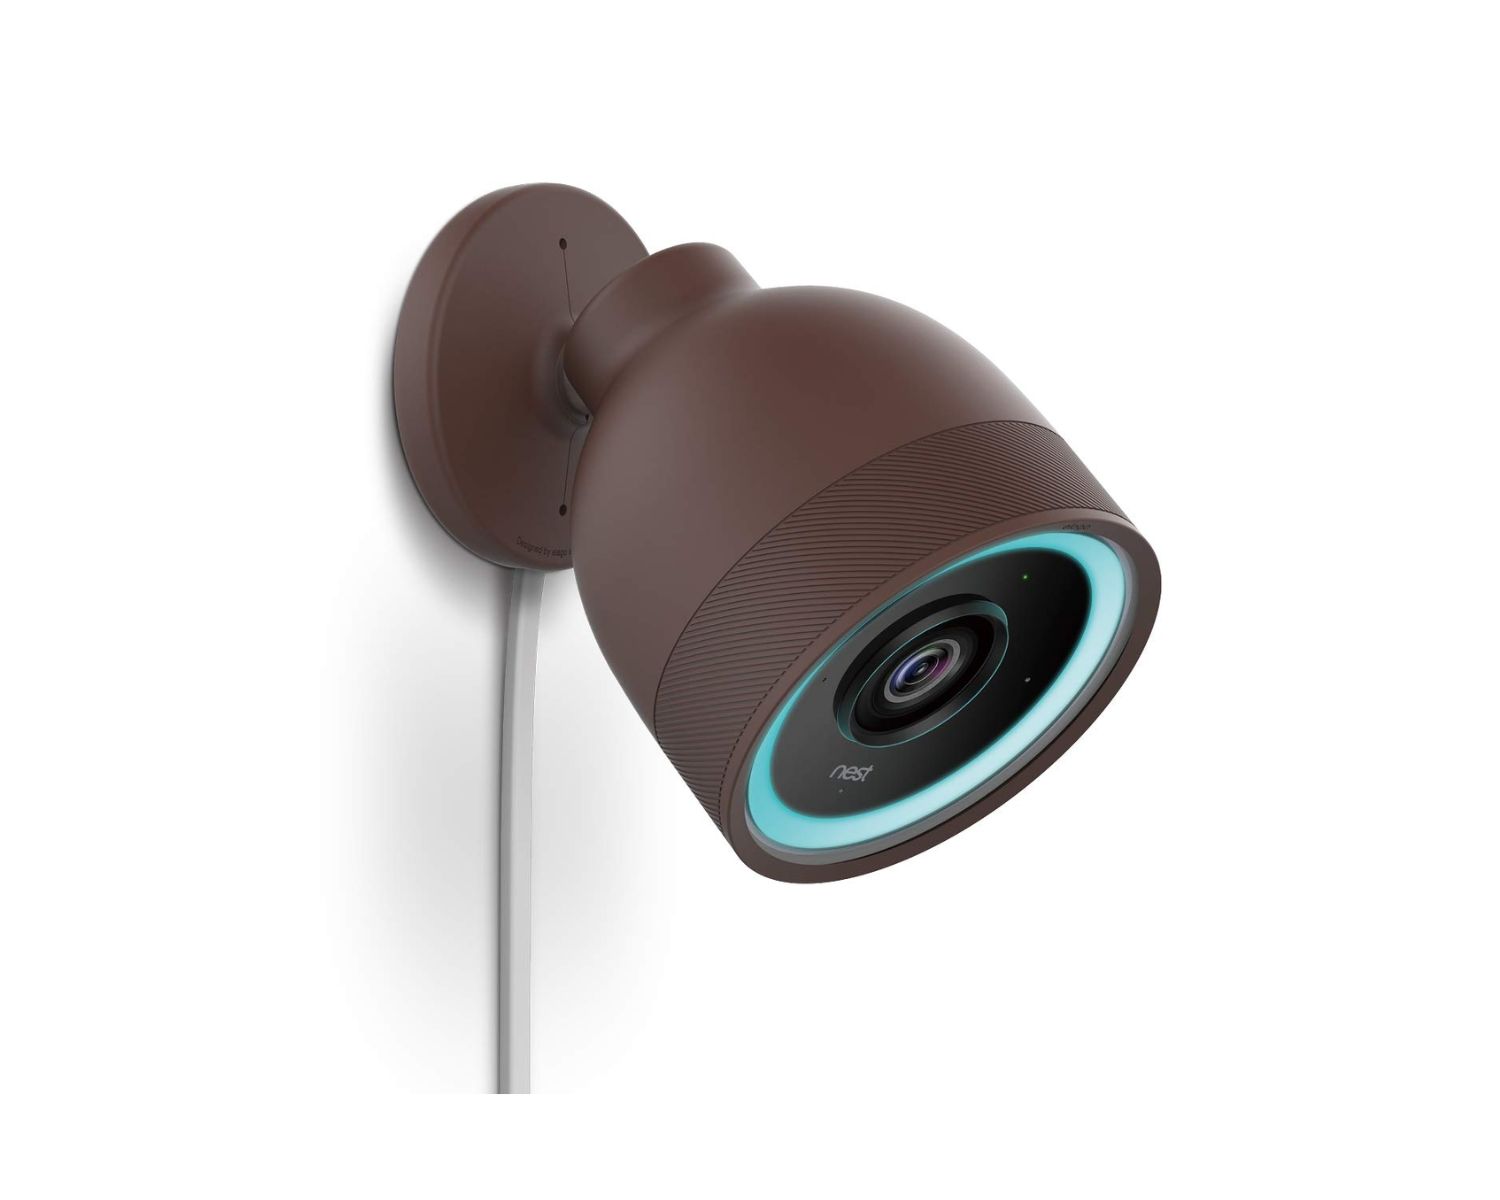
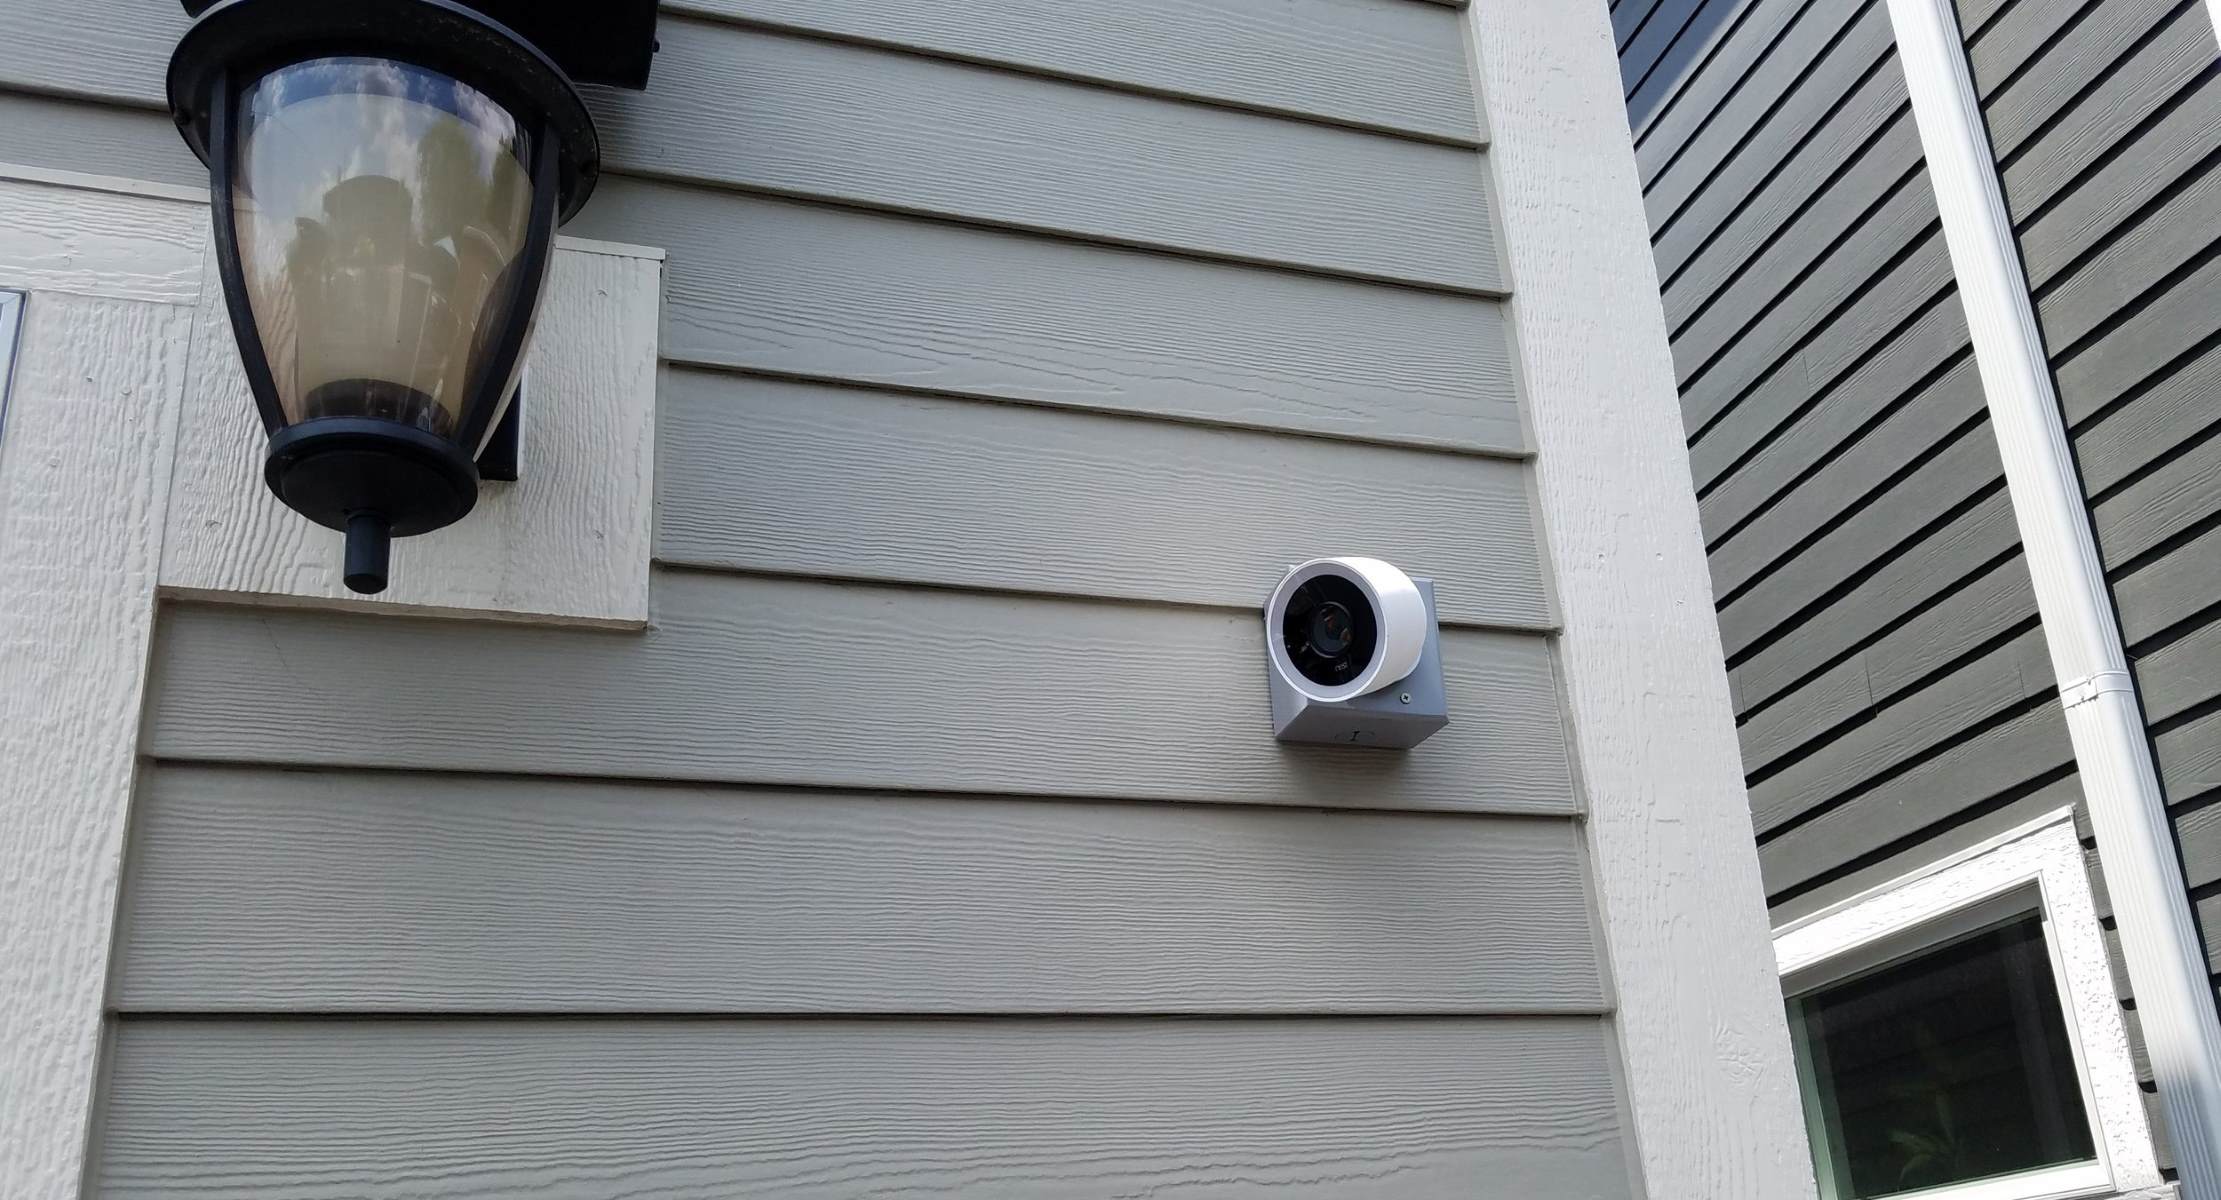
The Nest Outdoor Camera is a popular choice for homeowners looking to enhance the security of their property. With its advanced features and easy-to-use interface, it offers peace of mind by keeping a watchful eye on your home, even when you’re away. However, like any electronic device, it may encounter issues that require a reset to troubleshoot and fix.
Resetting the Nest Outdoor Camera is a straightforward process, but it’s important to note that it will erase all your camera’s settings and configuration. This means you will need to set it up again and reconnect it to your Nest account. Before you proceed with the reset, make sure you have the necessary tools and follow the steps carefully to ensure a successful reset.
In the following sections, we’ll guide you through each step of the reset process, providing detailed instructions and helpful tips along the way. By following these instructions, you’ll be able to reset your Nest Outdoor Camera and get it back up and running as quickly as possible.
Key Takeaways:
- Resetting your Nest Outdoor Camera is a simple process that erases all settings. Gather tools, press and hold the reset button, wait for the reset, and reconnect to your Nest account to restore functionality.
- After resetting, test your camera to ensure it’s working. If issues persist, seek help from Nest customer support. Regular maintenance and monitoring will keep your camera performing at its best.
Read more: How To Wire A Nest Outdoor Camera
Step 1: Gather the necessary tools
Before you begin the process of resetting your Nest Outdoor Camera, it’s important to gather the necessary tools to ensure a smooth reset. Here’s what you’ll need:
- A small, pointed object: You will need a small, pointed object such as a paperclip or a pin to access the reset button on the camera.
- A smartphone or computer: You will need a smartphone or computer with internet access to reconnect the camera to your Nest account after the reset.
- A stable Wi-Fi connection: Make sure your Wi-Fi network is stable and functioning properly. The camera will need to be connected to the internet during the setup process.
- Your Nest account credentials: You will need your Nest account email and password to log in and reconnect the camera.
Once you have gathered these tools, you are ready to move on to the next step of the reset process.
Note: If you don’t have a smartphone or computer, you can use a compatible mobile device to complete the setup process. However, using a larger screen and keyboard can make the process easier.
Step 2: Locate the reset button on your Nest Outdoor Camera
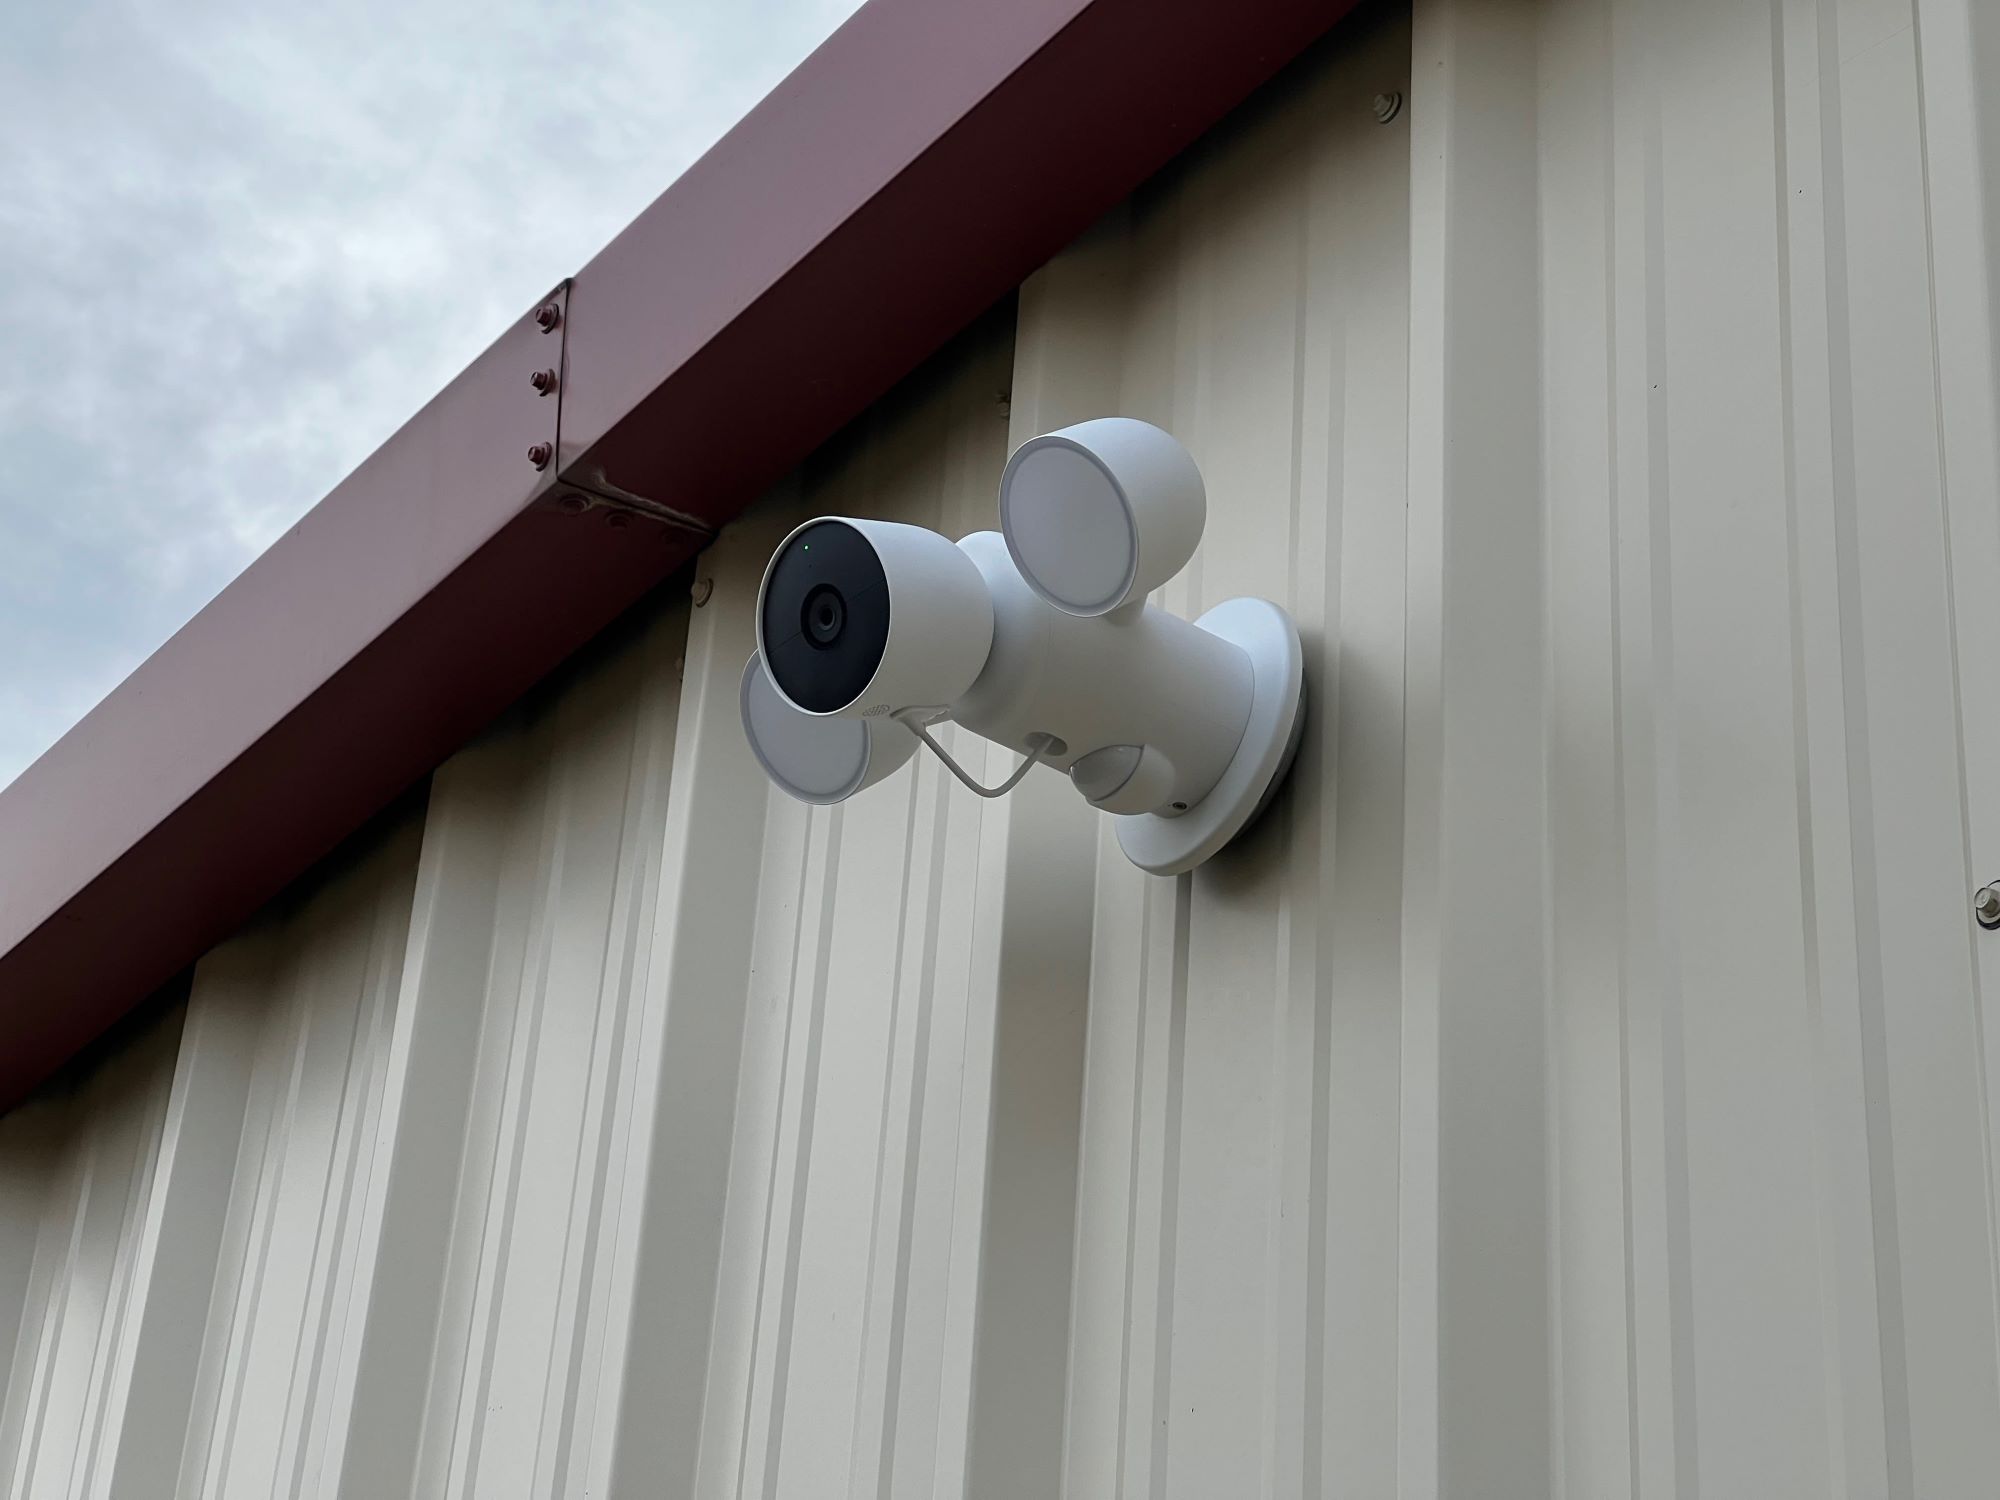
Once you have gathered the necessary tools, the next step is to locate the reset button on your Nest Outdoor Camera. The reset button is usually located on the back or bottom of the camera, depending on the specific model.
Take a close look at your camera and look for a small hole or a recessed button. This is where the reset button is housed. It’s important to note that the location of the reset button may vary slightly between different camera models, so refer to the user manual or check the Nest website for specific instructions for your particular camera.
Using your small, pointed object (such as a paperclip or pin) that you gathered earlier, gently press and hold the reset button. It’s important to apply steady and consistent pressure while holding the button to ensure a successful reset.
Once you have located the reset button and are ready to move on, proceed to the next step.
Step 3: Press and hold the reset button
With your small, pointed object in hand, it’s time to press and hold the reset button on your Nest Outdoor Camera. This step is crucial in initiating the reset process.
To do this, align the tip of your pointed object with the reset button. Apply steady pressure and push the button in and hold it down for at least 10 seconds. You may need to use a bit of force to ensure the button is fully engaged.
While you are holding the reset button, you may notice the camera’s LED lights start to flash or change colors. This is a normal part of the reset process and indicates that the camera is being reset to its default settings.
It’s important to note that during the reset process, you should not disconnect the camera from its power source. Keep the camera powered on and continue holding the reset button until you are ready to move on to the next step.
Once you have successfully pressed and held the reset button, you can proceed to the next step in the reset process.
Step 4: Release the reset button
After holding the reset button for the specified duration, it’s time to release the button. Releasing the reset button initiates the actual resetting process of your Nest Outdoor Camera.
To release the reset button, simply remove the pressure and let go. You should feel a slight click or give as the button disengages.
Once you have released the reset button, the camera will begin the reset process. During this time, the camera’s LED lights may continue to flash or change colors, indicating that the reset is in progress. This process may take a few moments, so be patient and avoid interrupting the camera’s power source.
It’s important to note that once you have released the reset button, you should not press it again or attempt to reset the camera multiple times in quick succession. Doing so can interfere with the reset process and may cause further issues with the camera.
With the reset button released, you are ready to proceed to the next step in the resetting process.
To reset a Nest outdoor camera, press and hold the reset button on the camera for 10 seconds until the light blinks. Then, release the button and wait for the camera to restart.
Read more: How To Reset An Insteon Outdoor Camera
Step 5: Wait for the camera to reset
Now that you have released the reset button, it’s time to wait for the camera to complete the reset process. This step requires patience, as it may take a few moments for the camera to fully reset.
During this time, the camera’s LED lights may continue to flash or change colors. This is a normal part of the reset process and indicates that the camera is undergoing a reboot to restore its default settings.
While waiting for the camera to reset, it’s important to avoid any interference with its power source or physical operations. Disconnecting the camera from its power source or attempting to use it while it is resetting can disrupt the process and potentially cause further issues with the camera.
The duration of the reset process can vary depending on several factors, including the specific model of your Nest Outdoor Camera and the strength of your Wi-Fi connection. Typically, it should take no longer than a minute or two for the camera to complete the reset.
Once the camera has finished resetting, the LED lights should stabilize, indicating that the camera is ready for the next step in the resetting process.
Once you have waited for the camera to reset, you can proceed to the next step:
Step 6: Reconnect the camera to your Nest account
After the Nest Outdoor Camera has completed the reset process, it’s time to reconnect it to your Nest account. This step is crucial in restoring your camera’s settings and ensuring that it functions properly.
To reconnect your camera to your Nest account, follow these steps:
- Open the Nest app: Launch the Nest app on your smartphone or tablet. If you don’t have the app installed, you can download it from the App Store or Google Play Store.
- Login to your Nest account: Enter your Nest account email and password to log in. If you have multiple Nest products, make sure you select the appropriate camera that you want to reconnect.
- Add a new device: Once you are logged in, navigate to the “Settings” or “Devices” section of the app. Look for the option to add a new device and select it.
- Select “Nest Outdoor Camera”: From the list of available devices, choose “Nest Outdoor Camera” as the device you want to add.
- Follow the on-screen instructions: The app will guide you through the setup process, which may include steps such as connecting to your Wi-Fi network, scanning a QR code on the camera, and naming the camera for easy identification.
- Wait for the setup to complete: Once you have followed the on-screen instructions, the app will finalize the setup process. This may take a few moments as the camera establishes a connection to your Wi-Fi network and syncs with your Nest account.
- Confirm the camera is connected: After the setup is complete, you should see a confirmation message indicating that your Nest Outdoor Camera is successfully connected to your Nest account.
Once you have successfully reconnected your camera to your Nest account, you can proceed to the final step to ensure the camera is functioning correctly.
Step 7: Test the camera after resetting
With your Nest Outdoor Camera reconnected to your Nest account, it’s time to test the camera to ensure that the reset process was successful. Testing the camera will help you verify that it is functioning correctly and capturing video footage as expected.
To test your camera after resetting, follow these steps:
- Launch the Nest app: Open the Nest app on your smartphone or tablet.
- Select your camera: Within the app, navigate to the “Camera” section and select your Nest Outdoor Camera from the list of devices.
- View the camera feed: The app should display the live camera feed. Check if you can see the camera’s view and if the image is clear and without any distortion.
- Check camera settings: Explore the camera settings within the app to ensure that all the desired settings and preferences have been restored after the reset.
- Test additional features: If your camera has additional features, such as motion detection or two-way audio, test them to ensure they are working properly.
- Walk around the camera’s field of view: Move around in front of the camera to test the motion detection and see if it’s capturing any movement accurately. This will help you confirm that the camera is detecting motion and recording video footage.
If the camera is functioning correctly during the testing process, congratulations! The reset process was successful, and your Nest Outdoor Camera is now back to normal. You can continue using it to monitor your home’s security and keep an eye on your surroundings.
However, if you encounter any issues or the camera is not performing as expected, you may need to troubleshoot further or seek assistance from Nest customer support. They can provide guidance on solving any technical problems or provide further assistance with your Nest Outdoor Camera.
Remember to regularly check the camera’s performance and ensure that it is functioning optimally. This includes keeping the camera firmware updated and performing routine maintenance to ensure smooth operation.
By following these steps and testing your camera after resetting, you can confidently rely on your Nest Outdoor Camera to help protect your home and provide peace of mind.
Conclusion
Resetting a Nest Outdoor Camera can be a simple yet effective solution to various technical issues or the need to start fresh. By following the step-by-step guide outlined in this article, you can successfully reset your camera and restore it to its default settings.
Throughout the reset process, it’s important to gather the necessary tools, locate and press the reset button, release the button, wait for the camera to reset, and reconnect it to your Nest account. Finally, don’t forget to test the camera to ensure it’s functioning correctly after the reset.
Resetting a Nest Outdoor Camera allows you to troubleshoot any issues that may be hindering its performance and restore the camera to its original settings. It’s important to note that resetting the camera will erase all your camera’s settings and configuration, so it’s crucial to have your Nest account credentials ready to reconnect the camera after the reset.
By following these steps and ensuring proper setup and testing, you can continue to rely on your Nest Outdoor Camera for enhanced home security and peace of mind. Regularly monitoring and maintaining your camera will help ensure its long-lasting performance and reliability.
If you encounter any difficulties during the reset process or require further assistance, don’t hesitate to reach out to Nest customer support for guidance. They are equipped with the knowledge and expertise to help you resolve any issues you may encounter.
We hope this guide has been helpful in assisting you through the process of resetting your Nest Outdoor Camera. With proper care and maintenance, your camera will continue to provide you with the security and surveillance you need to protect your home and loved ones.
Now that you've got your Nest outdoor camera reset, you might be curious about other ways to boost home safety. Our fresh write-up on smart home security solutions for the upcoming year offers a wealth of information. Whether you're starting from scratch or enhancing an existing setup, these insights will help ensure your living space is as secure as possible.
Frequently Asked Questions about How To Reset Nest Outdoor Camera
Was this page helpful?
At Storables.com, we guarantee accurate and reliable information. Our content, validated by Expert Board Contributors, is crafted following stringent Editorial Policies. We're committed to providing you with well-researched, expert-backed insights for all your informational needs.