Home>Home Security and Surveillance>How To Add Outdoor Camera To Vivint System
Home Security and Surveillance
How To Add Outdoor Camera To Vivint System
Modified: May 6, 2024
Learn how to add an outdoor camera to your Vivint home security and surveillance system. Enhance your home's protection with easy installation and monitoring.
(Many of the links in this article redirect to a specific reviewed product. Your purchase of these products through affiliate links helps to generate commission for Storables.com, at no extra cost. Learn more)
Introduction
Welcome to the world of home security and surveillance, where safeguarding your home has never been easier. With the advancement of technology, homeowners now have the ability to add outdoor cameras to their existing security systems for enhanced protection and peace of mind. In this article, we will guide you through the process of adding an outdoor camera to your Vivint system, ensuring that you can keep a watchful eye on your property at all times.
Vivint is a leading provider of smart home security solutions, offering a range of cutting-edge devices, including outdoor cameras, that are designed to integrate seamlessly into your existing Vivint system. By adding an outdoor camera, you can monitor the exterior of your home from anywhere, deterring potential intruders and capturing vital footage in case of any incidents.
Before we jump into the steps of adding an outdoor camera to your Vivint system, it’s important to ensure that your system is compatible with this particular device. Vivint provides a wide range of outdoor camera options, so it’s crucial to verify compatibility in order to make the right purchase decision.
In the following sections, we will walk you through the step-by-step process of adding an outdoor camera to your Vivint system. From checking compatibility and purchasing the camera to installing the Vivint app and configuring the settings, we’ve got you covered.
So, let’s dive in and explore how you can enhance your home security with the addition of an outdoor camera to your Vivint system.
Key Takeaways:
- Ensure compatibility before adding an outdoor camera to your Vivint system to avoid integration issues and optimize performance for enhanced home security.
- By following the step-by-step process of purchasing, installing, and configuring the outdoor camera, you can seamlessly enhance your Vivint system for remote monitoring and real-time alerts.
Read more: How To Install A Vivint Outdoor Camera
Step 1: Check Compatibility of Outdoor Camera with Vivint System
Before you add an outdoor camera to your Vivint system, it’s important to check for compatibility. Vivint offers a range of outdoor cameras, each with different features, specifications, and compatibility requirements. Ensuring that your Vivint system is compatible with the camera you choose is essential for proper integration and functionality.
To check compatibility, start by reviewing the product documentation and specifications provided by Vivint for the outdoor camera you are interested in. Look for any specific requirements such as power source, communication protocol (Wi-Fi or wired), and integration capabilities.
Next, log in to your Vivint account on their website or mobile app and navigate to the “Devices” or “Add a Device” section. Here, you should be able to view a list of compatible devices supported by your Vivint system, along with any limitations or system requirements.
If you are unsure about compatibility or have any questions, don’t hesitate to reach out to Vivint’s customer support. They will be able to provide you with the necessary information and guide you towards choosing a compatible outdoor camera for your system.
Remember, ensuring compatibility upfront will save you time, effort, and potential frustration later on. By selecting a camera that is specifically designed to work with your Vivint system, you can optimize the performance and functionality of your security setup.
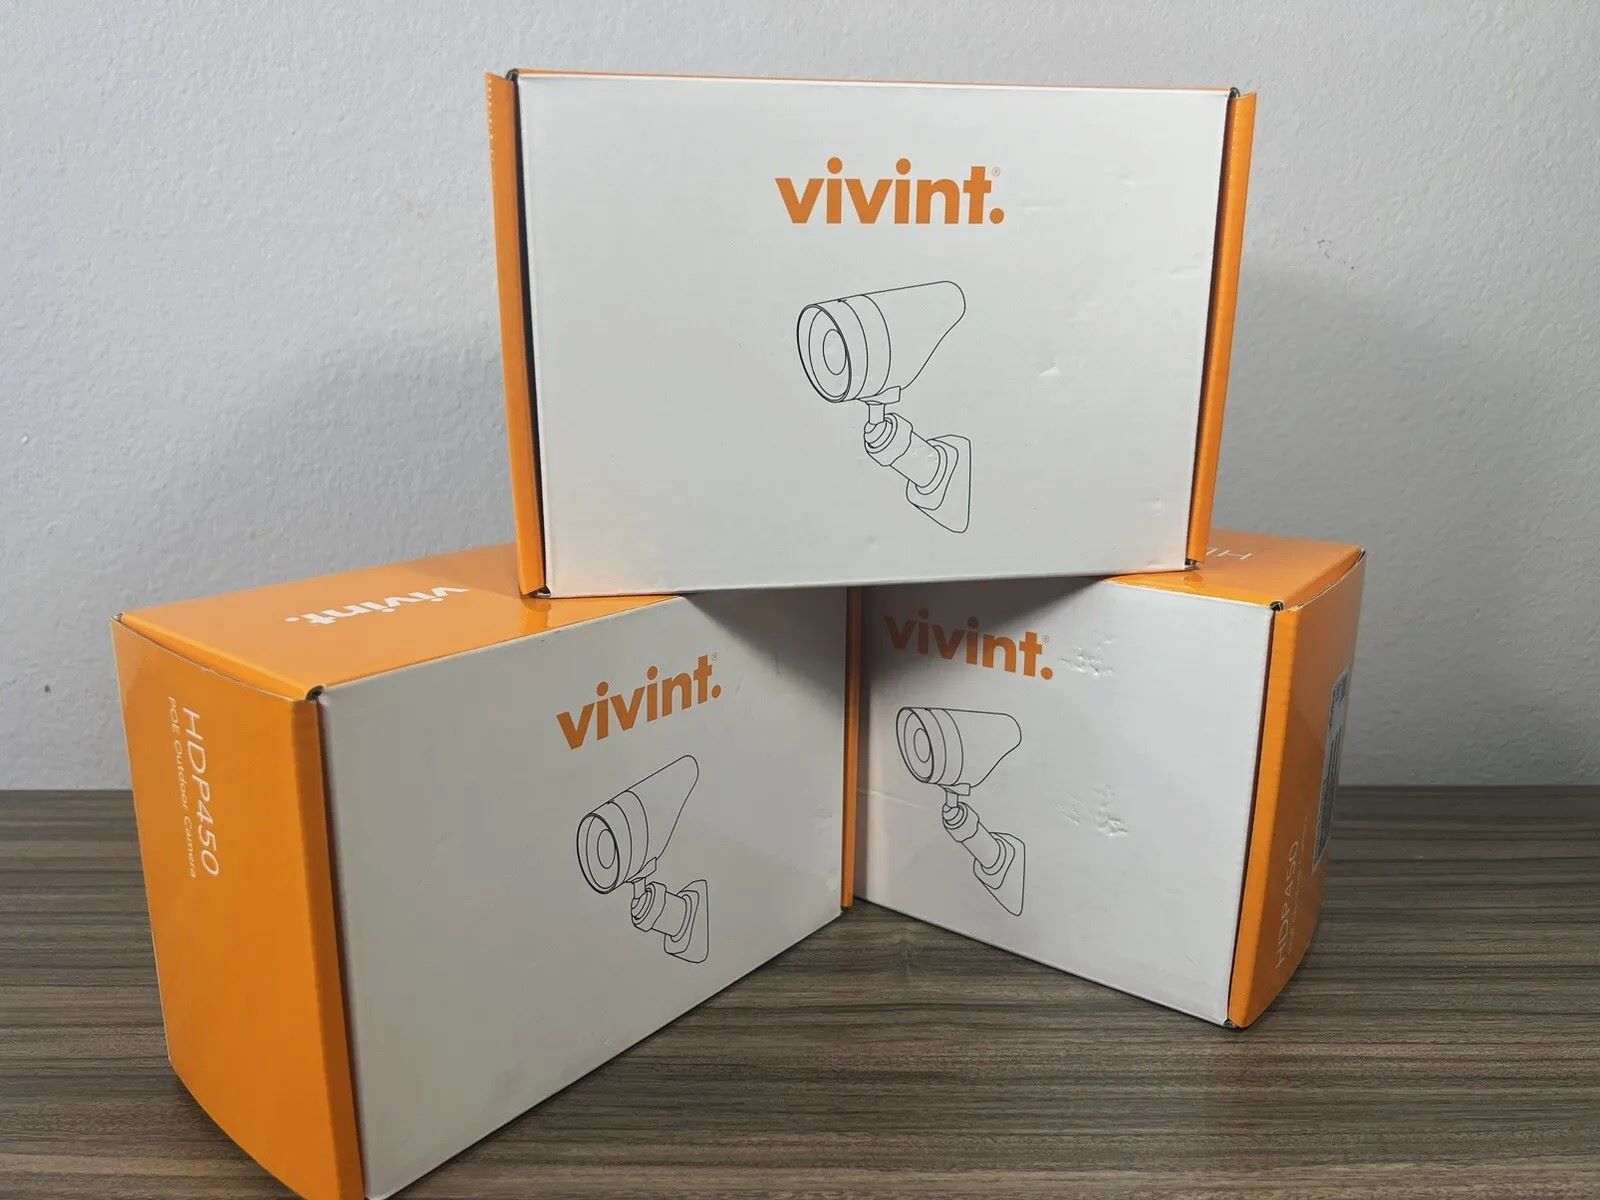
Step 2: Purchase Outdoor Camera
Once you have confirmed the compatibility of the outdoor camera with your Vivint system, it’s time to make the purchase. Vivint offers a variety of outdoor cameras to choose from, each with its own set of features and capabilities. Consider your specific security needs and budget when selecting the right camera for your home.
To purchase an outdoor camera, follow these steps:
- Visit the Vivint website or contact their customer support to explore the available outdoor camera options.
- Review the features, specifications, and pricing of each camera model. Look for features such as high-resolution video, night vision, motion detection, two-way audio, and weather resistance.
- Consider factors such as the range of the camera, field of view, and the ability to integrate with your existing Vivint system.
- Once you have chosen the outdoor camera that meets your requirements, proceed to the checkout and complete the purchase. Follow the instructions provided by Vivint for a seamless ordering process.
- Keep track of your order and shipping information to ensure a smooth delivery process.
It’s important to note that Vivint often offers promotions and discounts, so be sure to check for any ongoing deals or special offers that may help you get the best value for your money.
By purchasing a high-quality outdoor camera designed specifically for your Vivint system, you can enjoy reliable and effective surveillance that will help keep your home and loved ones safe.
Step 3: Install the Vivint Outdoor Camera App
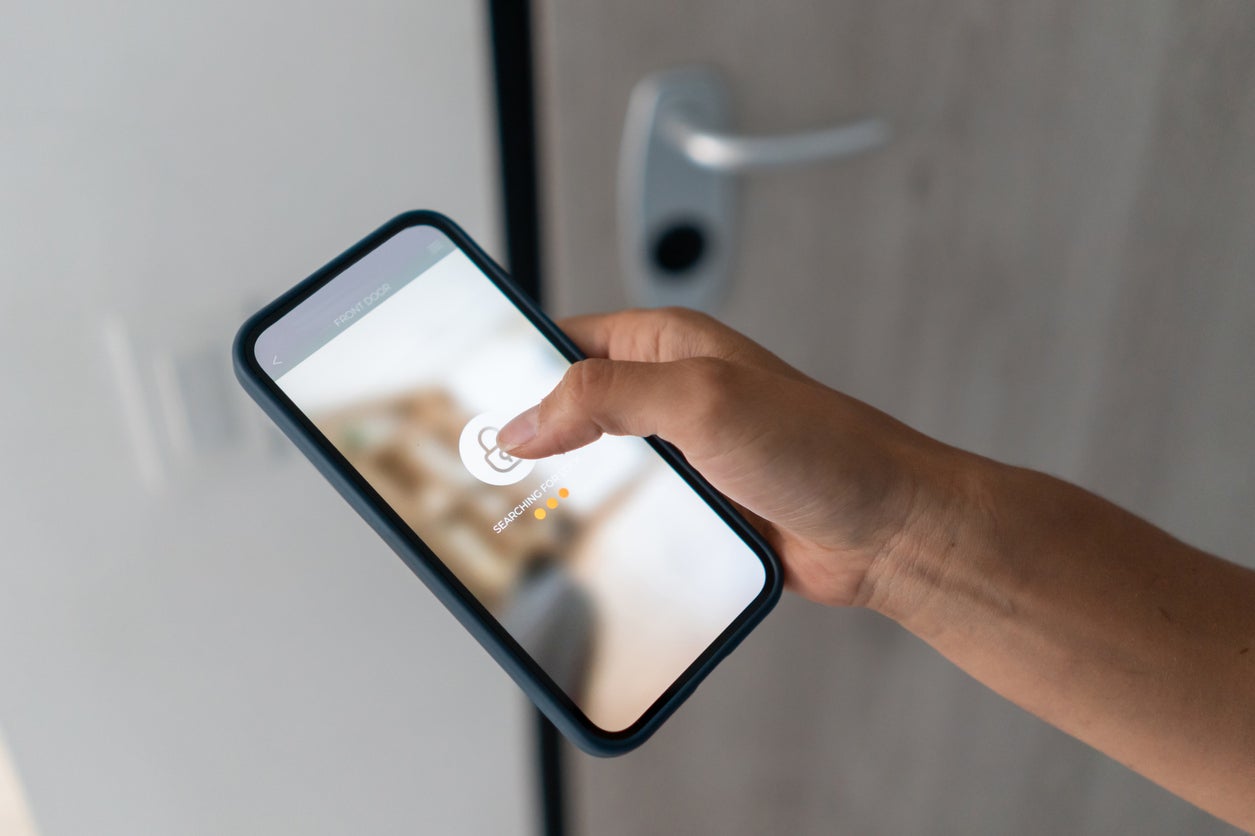
To successfully integrate and control your outdoor camera, you’ll need to install the Vivint Outdoor Camera app on your smartphone or tablet. This app allows you to access and manage your camera’s settings, view live footage, receive alerts, and more. Follow the steps below to install the app:
- Open the app store on your mobile device. For iOS users, this is the App Store, while Android users can find it on the Google Play Store.
- Search for “Vivint Outdoor Camera” in the app store’s search bar.
- Locate the official Vivint Outdoor Camera app and click on it.
- Click on the “Install” button to download and install the app on your device.
- Once the app is installed, open it and log in using your Vivint account credentials. If you don’t have an account, you will need to create one.
- Follow the app’s on-screen instructions to set up and configure the Vivint Outdoor Camera, including connecting it to your Wi-Fi network.
Ensure that you grant the necessary permissions to the Vivint Outdoor Camera app, such as access to your device’s camera and microphone, for optimal functionality.
By installing the Vivint Outdoor Camera app on your smartphone or tablet, you’ll have convenient access to your outdoor camera’s features and controls, allowing you to monitor and manage your home’s security even when you’re away.
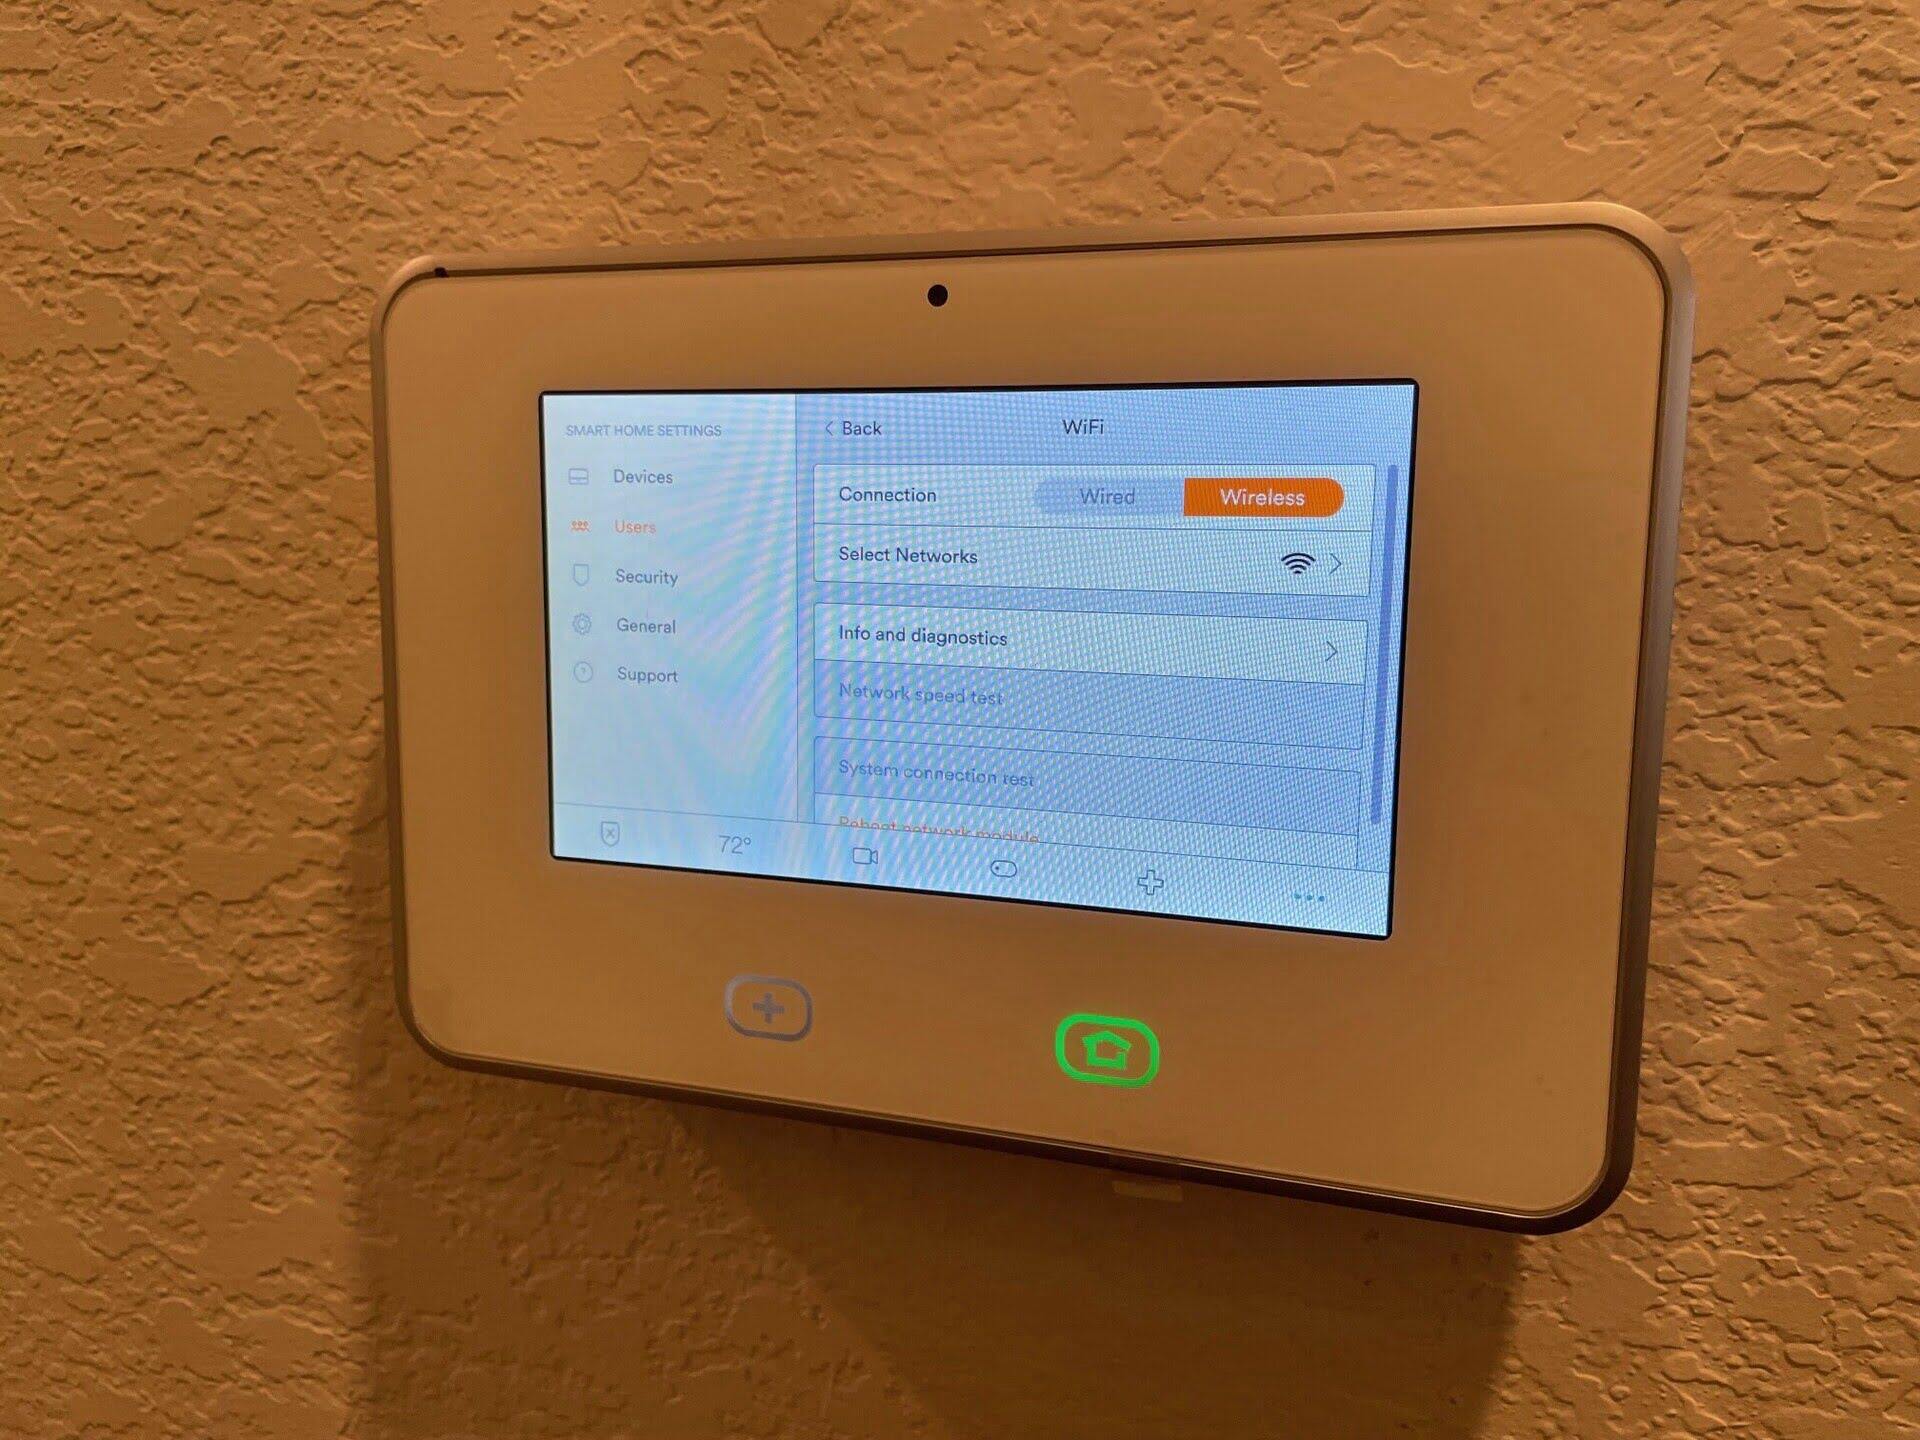
Step 4: Connect the Camera to Wi-Fi Network
Connecting your outdoor camera to your Wi-Fi network is essential for it to transmit live video footage and receive commands from the Vivint Outdoor Camera app. Follow the steps below to ensure a successful Wi-Fi connection:
- Ensure that your Wi-Fi network is functioning properly and that you have the network name (SSID) and password available.
- Position your outdoor camera within range of your Wi-Fi router to ensure a strong and stable connection.
- Power on the camera by connecting it to a power source. Ensure that the camera is receiving power and is in setup mode.
- Open the Vivint Outdoor Camera app on your smartphone or tablet.
- In the app’s settings or setup section, locate the option to connect the camera to Wi-Fi. This may be labeled as “Connect camera to Wi-Fi” or similar.
- Follow the on-screen instructions to scan for available Wi-Fi networks.
- Select your Wi-Fi network from the list and enter the network password when prompted.
- Allow the app and camera some time to establish a connection to your Wi-Fi network. This may take a few minutes.
- Once the camera is successfully connected to your Wi-Fi network, you will receive a confirmation message in the Vivint Outdoor Camera app.
It’s important to note that a stable and reliable Wi-Fi connection is crucial for optimal performance of your outdoor camera. Ensure that your Wi-Fi network has sufficient coverage and bandwidth to support the camera’s video streaming and communication capabilities.
By successfully connecting your outdoor camera to your Wi-Fi network, you’ll be able to access live video feeds, receive motion alerts, and control the camera’s settings conveniently through the Vivint Outdoor Camera app.
To add an outdoor camera to your Vivint system, first ensure it is compatible with Vivint. Then, follow the manufacturer’s instructions for installation and connect it to your Vivint app for monitoring.
Read more: How To Remove Vivint Outdoor Camera
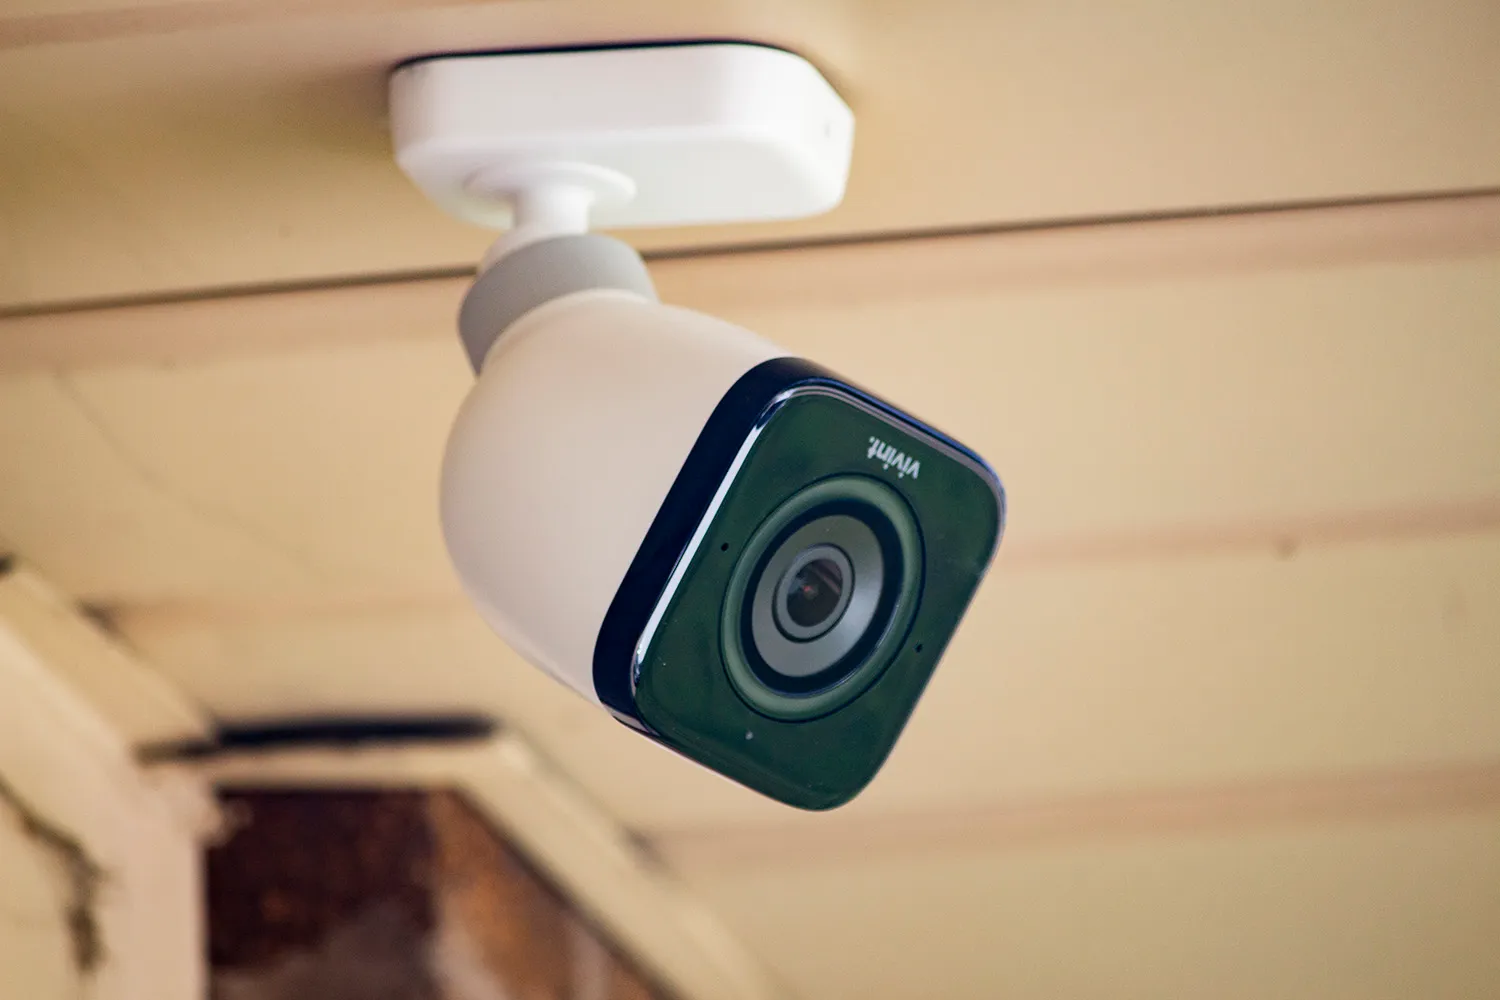
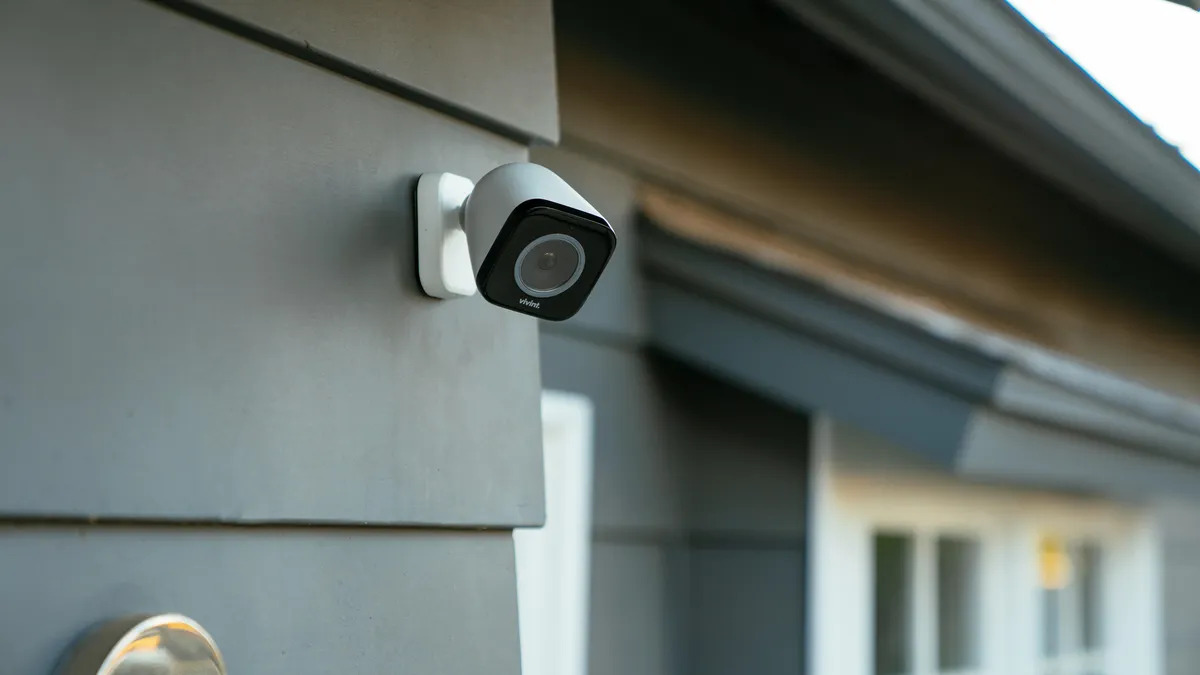
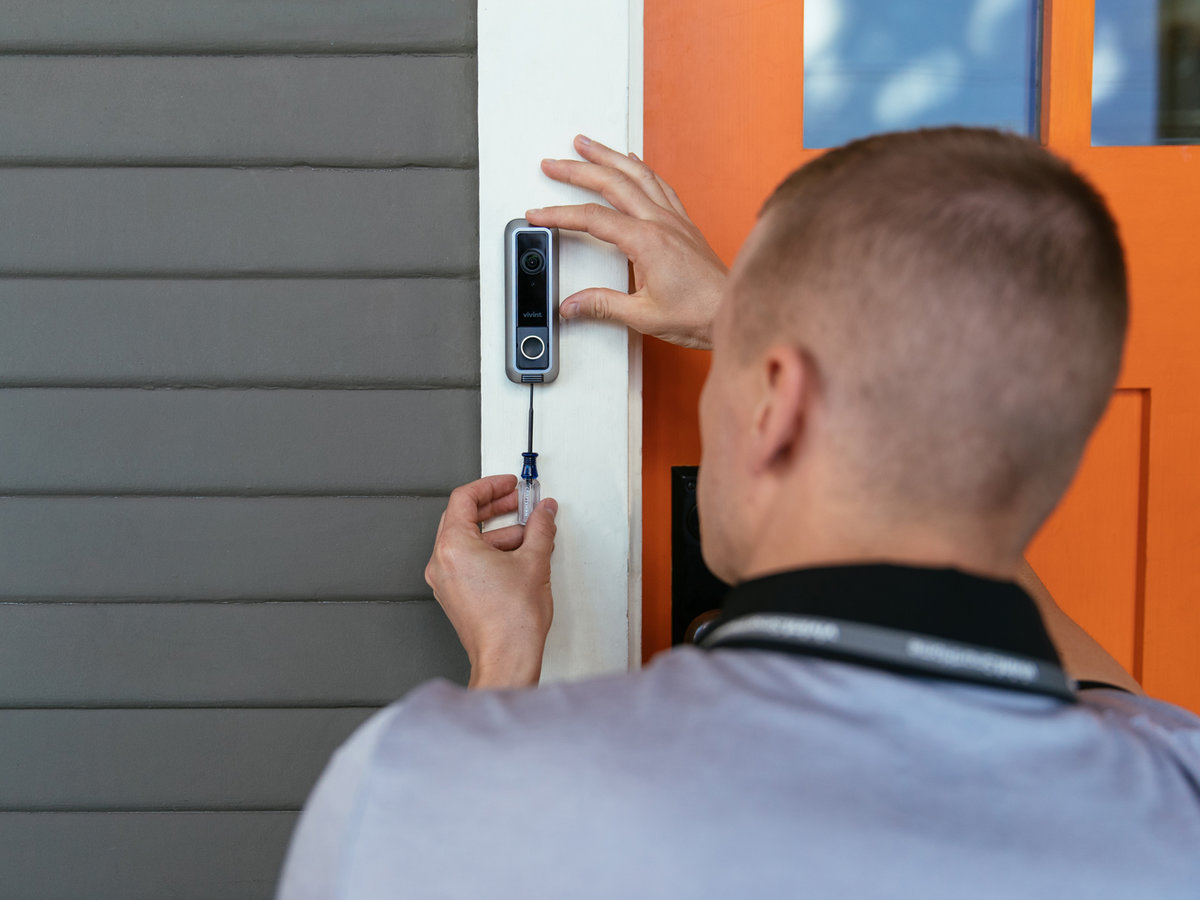
Step 5: Mount the Outdoor Camera
Once you have connected your outdoor camera to the Wi-Fi network, the next step is to mount the camera in the desired location outside your home. Proper positioning and installation of the camera are crucial for optimal surveillance coverage. Follow these steps to mount your outdoor camera:
- Select the mounting location for your camera. Ideally, it should offer a clear view of the area you want to monitor, such as the front door, driveway, or backyard.
- Ensure that the mounting surface is sturdy and can support the weight of the camera. Use a level to ensure that the camera is mounted straight.
- Locate the mounting bracket or plate that came with your outdoor camera. Affix it to the selected mounting surface using screws or other appropriate hardware.
- Attach the camera to the mounting bracket or plate, following the manufacturer’s instructions. Make sure it is securely fastened.
- Adjust the camera’s angle and direction to achieve the desired field of view. Ensure that the camera is positioned for optimal coverage and that it is not obstructed by any objects or obstacles.
- Tighten any screws or brackets to secure the camera in place.
- Ensure that all cables and connections are properly routed and protected from the elements. Consider using weatherproof conduit or covers for added protection.
- Double-check the camera’s positioning and connections to ensure everything is in place and secure.
It’s essential to consider factors such as weather conditions, exposure to direct sunlight, and potential tampering when choosing the mounting location for your outdoor camera.
By properly mounting your outdoor camera, you’ll be able to maximize its effectiveness in monitoring and protecting the exterior of your home. Take the time to ensure a secure and optimal placement to enhance your overall security system.
Step 6: Configure Camera Settings in Vivint App
With your outdoor camera mounted and connected to your Wi-Fi network, the next step is to configure its settings through the Vivint Outdoor Camera app. By customizing the camera settings, you can optimize its performance and tailor it to suit your specific surveillance needs. Follow these steps to configure the camera settings:
- Open the Vivint Outdoor Camera app on your smartphone or tablet.
- Ensure that you are logged in to your Vivint account and that your outdoor camera is connected and detected within the app.
- Navigate to the camera settings section or menu within the app.
- Review the available settings and options. These may include resolution, video quality, motion detection sensitivity, alerts, recording duration, and more.
- Adjust the settings according to your preferences. For example, you may want to set a higher resolution for clearer video quality or adjust the motion detection sensitivity to minimize false alerts.
- Take some time to explore any additional features or settings specific to your outdoor camera model. This may include options such as two-way audio, night vision mode, or scheduling recordings.
- Ensure that you save or apply any changes made to the camera settings within the app.
- Test the camera’s functionality by viewing the live video feed, capturing a test recording, or triggering a motion alert.
Configuring the camera settings allows you to tailor the outdoor camera’s performance to your specific needs while ensuring that it operates optimally within your home security system.
Keep in mind that you can always adjust and fine-tune the camera settings as needed over time. It’s a good idea to periodically review and update the settings to ensure that the camera continues to meet your changing security requirements.
Step 7: Test the Outdoor Camera
After configuring the settings of your outdoor camera, it’s crucial to test its functionality to ensure that it is working as intended. Testing the camera allows you to identify any potential issues, adjust settings if necessary, and verify that you’re receiving the desired surveillance coverage. Follow these steps to test your outdoor camera:
- Open the Vivint Outdoor Camera app on your smartphone or tablet.
- Ensure that you are logged in to your Vivint account and that you have a stable internet connection.
- Navigate to the live view section of the app where you can access the camera’s video feed.
- Check if the camera is providing a clear, crisp view of the monitored area. Ensure that there are no obstructions or visibility issues.
- Test the camera’s motion detection by walking in front of it or introducing movement within its field of view. Verify that you receive real-time motion alerts on your device.
- Engage with any additional features you have configured, such as two-way audio or night vision mode, to ensure they are functioning correctly.
- If you have set up recording or storage options, such as cloud storage or an SD card, review and test the playback functionality to confirm that the camera is capturing and storing footage.
- Verify that the camera is transmitting a stable video feed even during low light conditions or at night if it has night vision capability.
- If you encounter any issues or the camera is not performing as expected, refer to the troubleshooting section in the Vivint Outdoor Camera app or contact Vivint’s customer support for assistance.
Regularly testing your outdoor camera allows you to proactively address any issues, fine-tune its settings, and ensure that it is providing the desired surveillance coverage for your home.
By verifying the functionality of your outdoor camera, you can have peace of mind knowing that your home and loved ones are well-protected and that your security system is operating at its best.
Step 8: Troubleshooting Common Issues
While setting up and using your outdoor camera, you may encounter certain issues or challenges. Troubleshooting these common issues can help ensure that your camera operates smoothly and provides the intended security coverage. Here are some troubleshooting tips:
- Check the camera’s power source and connections. Ensure that the camera is properly plugged in and receiving power. If it is battery-powered, make sure the batteries are charged or replaced as needed.
- Verify the camera’s Wi-Fi connection. Ensure that it is connected to your network and that the signal strength is strong enough for reliable operation. Try relocating the camera or adjusting your Wi-Fi router’s settings if needed.
- Restart the camera and the Vivint Outdoor Camera app. Sometimes, a system reboot can resolve connectivity or performance issues. Power off the camera, wait a few seconds, and then power it back on. Similarly, close the app and reopen it to refresh the connection.
- Update the camera’s firmware and the Vivint Outdoor Camera app. Regular firmware and app updates often include bug fixes and performance improvements. Check for updates within the app or Vivint’s website, and follow the instructions to update accordingly.
- Ensure that the camera’s lens is clean and free from any dirt, dust, or debris that may affect the image quality. Use a soft, lint-free cloth to gently clean the lens if necessary.
- Check your internet connection. Slow or unstable internet can affect the camera’s performance. Consider resetting your router or contacting your internet service provider for assistance.
- Verify that you have sufficient storage capacity for recording, whether using cloud storage or an SD card. Clear out any unnecessary recordings or review your storage settings to ensure proper functionality.
- If you continue to experience issues or have specific questions, reach out to Vivint’s customer support. They can provide guidance and assistance for troubleshooting advanced technical issues.
Remember, troubleshooting steps may vary depending on your specific camera model and Vivint system setup. Always refer to the manufacturer’s documentation and follow their recommended troubleshooting procedures.
By identifying and resolving common issues, you can ensure the optimal performance and functionality of your outdoor camera, providing you with reliable security and peace of mind.
Read more: How Much Is The Vivint Outdoor Camera
Conclusion
Adding an outdoor camera to your Vivint system is a valuable step towards enhancing the security and surveillance of your home. By following the steps outlined in this guide, you can smoothly integrate the camera into your existing system and enjoy the benefits of remote monitoring, motion detection, and real-time alerts.
We began by emphasizing the importance of checking the compatibility of the outdoor camera with your Vivint system. By ensuring compatibility upfront, you can avoid any issues and ensure seamless integration.
We then discussed the process of purchasing the outdoor camera, highlighting the importance of considering factors such as features, specifications, and pricing to choose the right camera for your home’s specific security needs.
Next, we covered the installation of the Vivint Outdoor Camera app, enabling you to control and manage the camera from your smartphone or tablet. The app provides a convenient platform for accessing live footage, adjusting settings, and receiving alerts.
Connecting the outdoor camera to your Wi-Fi network was the next crucial step. We provided guidance on establishing a stable connection, ensuring that the camera can transmit live video and receive commands effectively.
Mounting the outdoor camera properly is crucial for obtaining optimal surveillance coverage. We discussed the importance of selecting the right location, ensuring stability, and adjusting the camera’s angle to achieve the desired field of view.
Configuring the camera settings within the Vivint Outdoor Camera app allows you to customize its performance to suit your specific needs. From resolution and motion detection sensitivity to additional features like two-way audio, you can tailor the camera’s functionality to maximize its effectiveness.
Testing the camera’s functionality is a vital step to ensure that it is working as intended. We provided instructions for verifying live video feeds, motion detection, and other features to confirm that the camera is fully operational.
Finally, we discussed common troubleshooting steps to address any potential issues that may arise during setup or operation. By following these troubleshooting tips, you can identify and resolve issues promptly, ensuring the continuous and reliable performance of your outdoor camera.
In conclusion, integrating an outdoor camera into your Vivint system offers enhanced security and peace of mind. By following the steps outlined in this guide, you can successfully add an outdoor camera to your Vivint system and take control of your home’s surveillance. With the ability to monitor your property remotely, deter potential intruders, and capture important footage, you can enjoy the benefits of a comprehensive home security solution.
Now that you've mastered adding an outdoor camera to your Vivint system, why stop there? Boosting your property's security isn't just about installation; understanding why robust home surveillance is vital could lead to better peace of mind. Dive deeper into reasons to invest in a reliable home security setup. If you're curious about which models stand out, uncover insights on selecting the best rated outdoor camera. For tech enthusiasts eager to streamline their living space, getting familiar with the latest in home automation might just be the next step. Each guide offers practical tips and detailed advice to make your home smarter and safer.
Frequently Asked Questions about How To Add Outdoor Camera To Vivint System
Was this page helpful?
At Storables.com, we guarantee accurate and reliable information. Our content, validated by Expert Board Contributors, is crafted following stringent Editorial Policies. We're committed to providing you with well-researched, expert-backed insights for all your informational needs.