Home>Home Security and Surveillance>How To Reset ADT Outdoor Camera
Home Security and Surveillance
How To Reset ADT Outdoor Camera
Modified: May 6, 2024
Learn how to reset your ADT outdoor camera for optimal performance. Enhance your home security and surveillance with these tips.
(Many of the links in this article redirect to a specific reviewed product. Your purchase of these products through affiliate links helps to generate commission for Storables.com, at no extra cost. Learn more)
Introduction
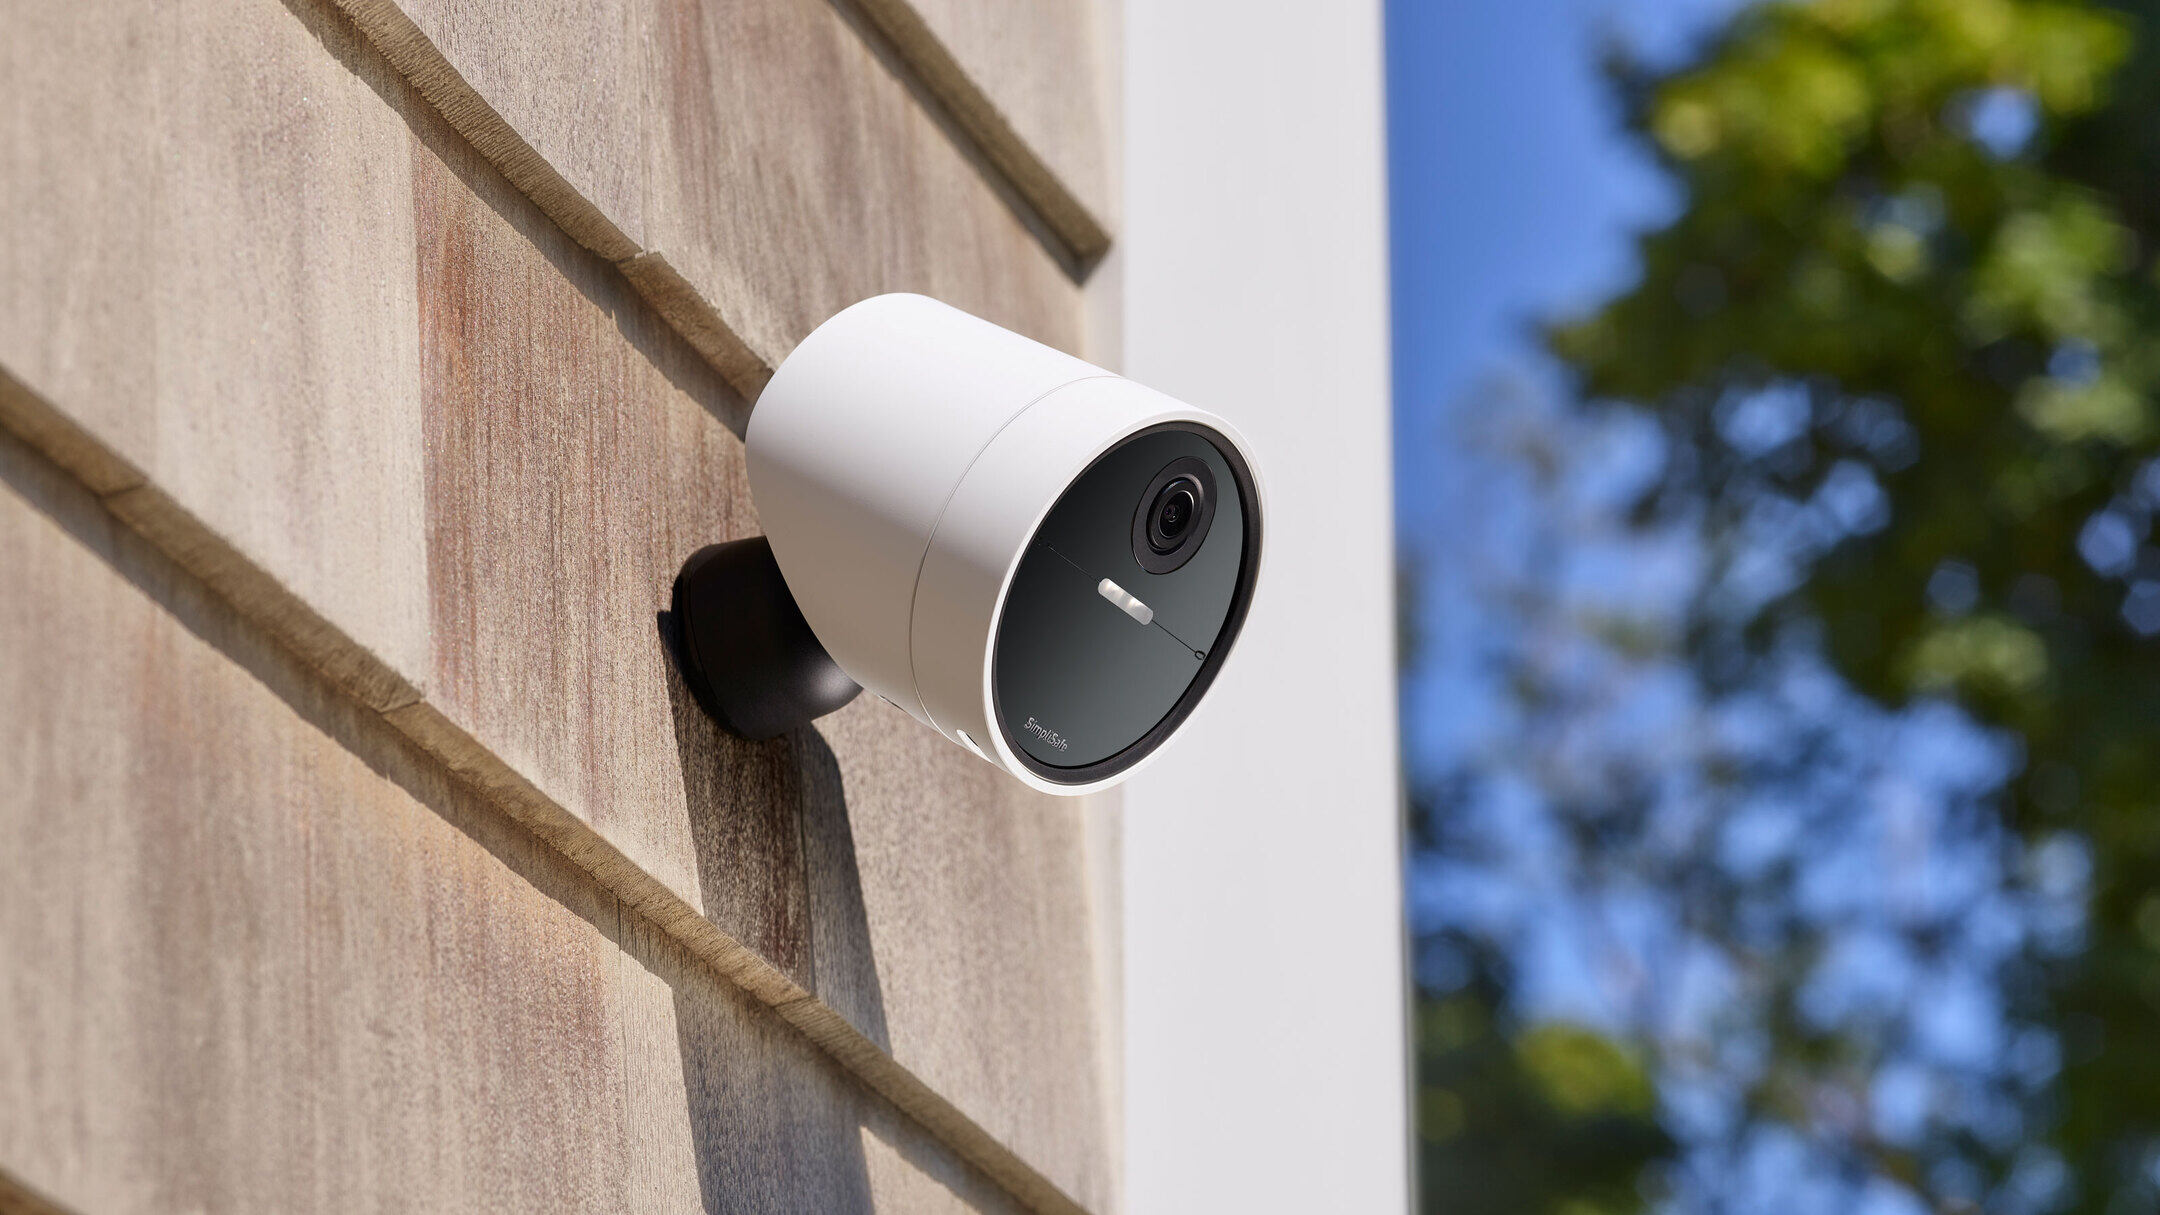
Welcome to our guide on how to reset an ADT outdoor camera. ADT is a well-known provider of home security and surveillance systems, offering reliable and robust equipment to help protect your property. However, in some cases, you may encounter issues with your outdoor camera that require a reset to restore its functionality.
Resetting an ADT outdoor camera can be a simple solution to resolve common problems such as connectivity issues, camera unresponsiveness, or configuration errors. In this article, we will walk you through the step-by-step process of resetting your ADT outdoor camera, ensuring you can successfully restore its functionality and get back to monitoring your property.
Before we dive into the reset process, it’s important to note that resetting your camera will erase any customized settings or configurations you have made. Therefore, it’s recommended to try other troubleshooting methods before resorting to a reset, and to make note of any important settings you may need to reconfigure after the reset.
Now, let’s get started with the first step of checking the camera’s power source to ensure it’s ready for the reset process.
Key Takeaways:
- Resetting your ADT outdoor camera can resolve common issues like connectivity problems and unresponsiveness. Just make sure to check the power source, locate the reset button, and reconfigure the settings after the reset.
- If you encounter issues with your ADT outdoor camera, a reset may be the solution. Remember to follow the step-by-step process, and if problems persist, reach out to ADT customer support for further assistance.
Read more: How To Reset ADT Doorbell Camera
Step 1: Check the Camera’s Power Source
Before initiating the reset process, it’s crucial to ensure that your ADT outdoor camera has a stable power source. Without a reliable power supply, the camera may not be able to reset properly or may encounter further issues post-reset.
Here are a few things you can check regarding the camera’s power source:
- Power Outlet: Verify that the power outlet connected to the camera is functioning correctly. You can try plugging in another electronic device to confirm if the outlet is providing power.
- Power Cable: Examine the power cable for any visible damage or loose connections. If you notice any frayed wires or loose plugs, it’s advisable to replace the cable to ensure a secure power connection.
- Power Adapter: If your camera uses a power adapter, check if it’s plugged in properly and securely connected to both the camera and the power outlet. Consider using a different power adapter if you suspect the current one may be faulty.
- Battery Level (Wireless Cameras): If your ADT outdoor camera is wireless and uses batteries, make sure to check the battery level. Low battery power can cause issues with the camera’s functionality. Replace the batteries if necessary.
By ensuring that the camera has a stable and reliable power source, you can proceed confidently to the next step of locating the reset button on the camera.
Step 2: Locate the Reset Button
Once you have confirmed that your ADT outdoor camera has a stable power source, the next step is to locate the reset button. The placement of the reset button may vary depending on the model and make of your camera. Here are some common locations where you can find the reset button:
- On the back or bottom of the camera: Many ADT outdoor cameras have a small reset button located on the back or bottom of the device. It is often a recessed button that requires a pin or paperclip to press.
- Inside the camera housing: In some cases, the reset button may be located inside the camera housing. To access it, you will need to remove the camera from its mounting bracket or housing.
- On the camera’s control panel: Certain ADT outdoor camera models feature a control panel with buttons, and the reset button may be integrated into this panel.
If you are unable to locate the reset button on your camera, refer to the camera’s user manual or contact ADT customer support for guidance specific to your camera model.
Once you have identified the reset button’s location, move on to the next step of pressing and holding the reset button to initiate the reset process.
Step 3: Press and Hold the Reset Button
With the reset button located, it’s time to initiate the reset process for your ADT outdoor camera. Pressing and holding the reset button will trigger the camera to restore its default settings, resolving any issues that may have arisen.
Here’s how you can press and hold the reset button:
- Use a small tool such as a pin or paperclip to press and hold the reset button. Make sure to apply steady pressure to the button.
- Hold the reset button for approximately 10 to 20 seconds. This duration may vary depending on your camera model, so refer to your camera’s user manual for specific instructions.
During the reset process, you may notice lights blinking or the camera powering off and on. These are normal indications that the reset is in progress. It’s important to maintain a steady hold on the reset button until the reset process completes.
Once you have held the reset button for the recommended duration, you can move on to the next step of releasing the reset button.
To reset your ADT outdoor camera, locate the reset button on the camera and hold it down for 15 seconds. This will restore the camera to its factory settings.
Step 4: Release the Reset Button
After holding the reset button for the recommended duration, it is time to release the button. Releasing the reset button signifies that the camera has completed the reset process and is ready for the next steps.
Here’s how to release the reset button:
- Gently remove the pressure from the reset button with your finger or the tool you used to press it.
- Ensure that the reset button is no longer depressed or held down.
As you release the reset button, you may notice the camera’s lights or indicators stabilize, indicating that the reset process is complete. At this point, the camera has been restored to its default settings.
Now that you have released the reset button, it’s time to move on to the next step of waiting for the camera to complete the reset process.
Read more: How Much Are ADT Outdoor Cameras
Step 5: Wait for the Camera to Reset
After releasing the reset button, it’s important to give your ADT outdoor camera some time to complete the reset process. During this time, the camera will restore its default settings and reboot to ensure all changes take effect.
Here’s what you should do while waiting for the camera to reset:
- Be patient: The reset process may take a few minutes to complete. Avoid interrupting the process or attempting any further troubleshooting during this time.
- Observe the camera’s indicators: Pay attention to any lights or indicators on the camera. These may provide insight into the reset progress. For example, the lights may blink or change colors as the camera undergoes the reset process.
- Avoid power disruptions: Make sure the camera remains connected to a stable power source throughout the reset process. Interrupting the power supply can interrupt the reset and may cause further issues.
By allowing the camera sufficient time to reset, you ensure that the default settings are properly restored. Once the reset process is complete, you can proceed to the final step of reconfiguring the camera settings.
Step 6: Reconfigure the Camera Settings
After the reset process is complete, it’s time to reconfigure the settings for your ADT outdoor camera. Since the reset restores the camera to its default settings, you will need to set up the camera again according to your preferences and requirements.
Follow these steps to reconfigure the camera settings:
- Access the camera’s configuration interface: Depending on your camera model, you may need to connect to the camera’s local network or use a specific app or software provided by ADT to access its configuration interface. Refer to your camera’s user manual for instructions on how to access the settings.
- Connect the camera to your network: If the camera is not automatically connected to your home network after the reset, follow the instructions provided by ADT to connect it. Usually, this involves selecting your network from a list and entering the Wi-Fi password.
- Adjust camera settings: Once connected to the network, you can configure various settings such as video quality, motion detection sensitivity, recording preferences, and any other options available for your specific camera model. Customize these settings according to your preferences and needs.
- Secure the camera: It’s essential to ensure the security of your camera by setting a strong password, enabling two-factor authentication if available, and keeping the firmware up-to-date. These security measures will help protect your camera from unauthorized access.
- Test the camera: After reconfiguring the settings, perform a test by monitoring the camera’s video feed, checking the motion detection, and confirming that all desired features are functioning correctly.
By reconfiguring the camera settings, you can tailor the camera’s functionality to your specific requirements and ensure optimal performance.
With the camera settings reconfigured, you have successfully reset and reconfigured your ADT outdoor camera. You can now enjoy the enhanced security and surveillance capabilities it provides for your home.
………………………………………..
It’s important to note that if you continue to experience issues or if the problems persist even after following these steps, it’s advisable to contact ADT customer support for further assistance. They will be able to provide additional troubleshooting steps or guide you through any necessary repairs or replacements.
Remember that proper maintenance and regular updates are essential in keeping your ADT outdoor camera functioning smoothly. Stay vigilant and address any issues promptly to ensure the continued security of your home.
Conclusion
Resetting an ADT outdoor camera can be a straightforward solution to address various issues that may arise, such as connectivity problems, unresponsiveness, or configuration errors. By following the steps outlined in this guide, you can successfully reset your camera and restore its functionality.
Throughout the reset process, it’s crucial to ensure that your camera has a stable power source, locate the reset button, and press and hold it for the recommended duration. After releasing the reset button, allow the camera sufficient time to complete the reset process. Once the camera has reset, reconfigure its settings according to your preferences and needs.
Always remember to consult your camera’s user manual for specific instructions related to your camera model. If you encounter any challenges or the issues persist, reach out to ADT customer support for further assistance.
Maintaining the security and surveillance of your home is paramount, and ADT outdoor cameras play a vital role in achieving this goal. By regularly performing necessary maintenance and keeping the equipment updated, you can ensure the long-term reliability and effectiveness of your ADT outdoor camera.
Thank you for choosing ADT and taking the necessary steps to reset your outdoor camera. We hope this guide has been helpful, and may your home remain secure and protected with the assistance of ADT home security and surveillance systems.
Once you've mastered resetting your ADT outdoor camera, why not delve deeper into enhancing your home's security and tech features? If you're curious about other top surveillance options, our article on outdoor camera options offers insights into the best devices currently available. For those considering broader security measures, our piece on home security essentials outlines why a robust system is vital. Lastly, our guide on smart home technology for 2024 provides a sneak peek into the future of home automation, ensuring your living space is both safe and cutting-edge.
Frequently Asked Questions about How To Reset ADT Outdoor Camera
Was this page helpful?
At Storables.com, we guarantee accurate and reliable information. Our content, validated by Expert Board Contributors, is crafted following stringent Editorial Policies. We're committed to providing you with well-researched, expert-backed insights for all your informational needs.