Home>Home Security and Surveillance>How To Reset An Insteon Outdoor Camera
Home Security and Surveillance
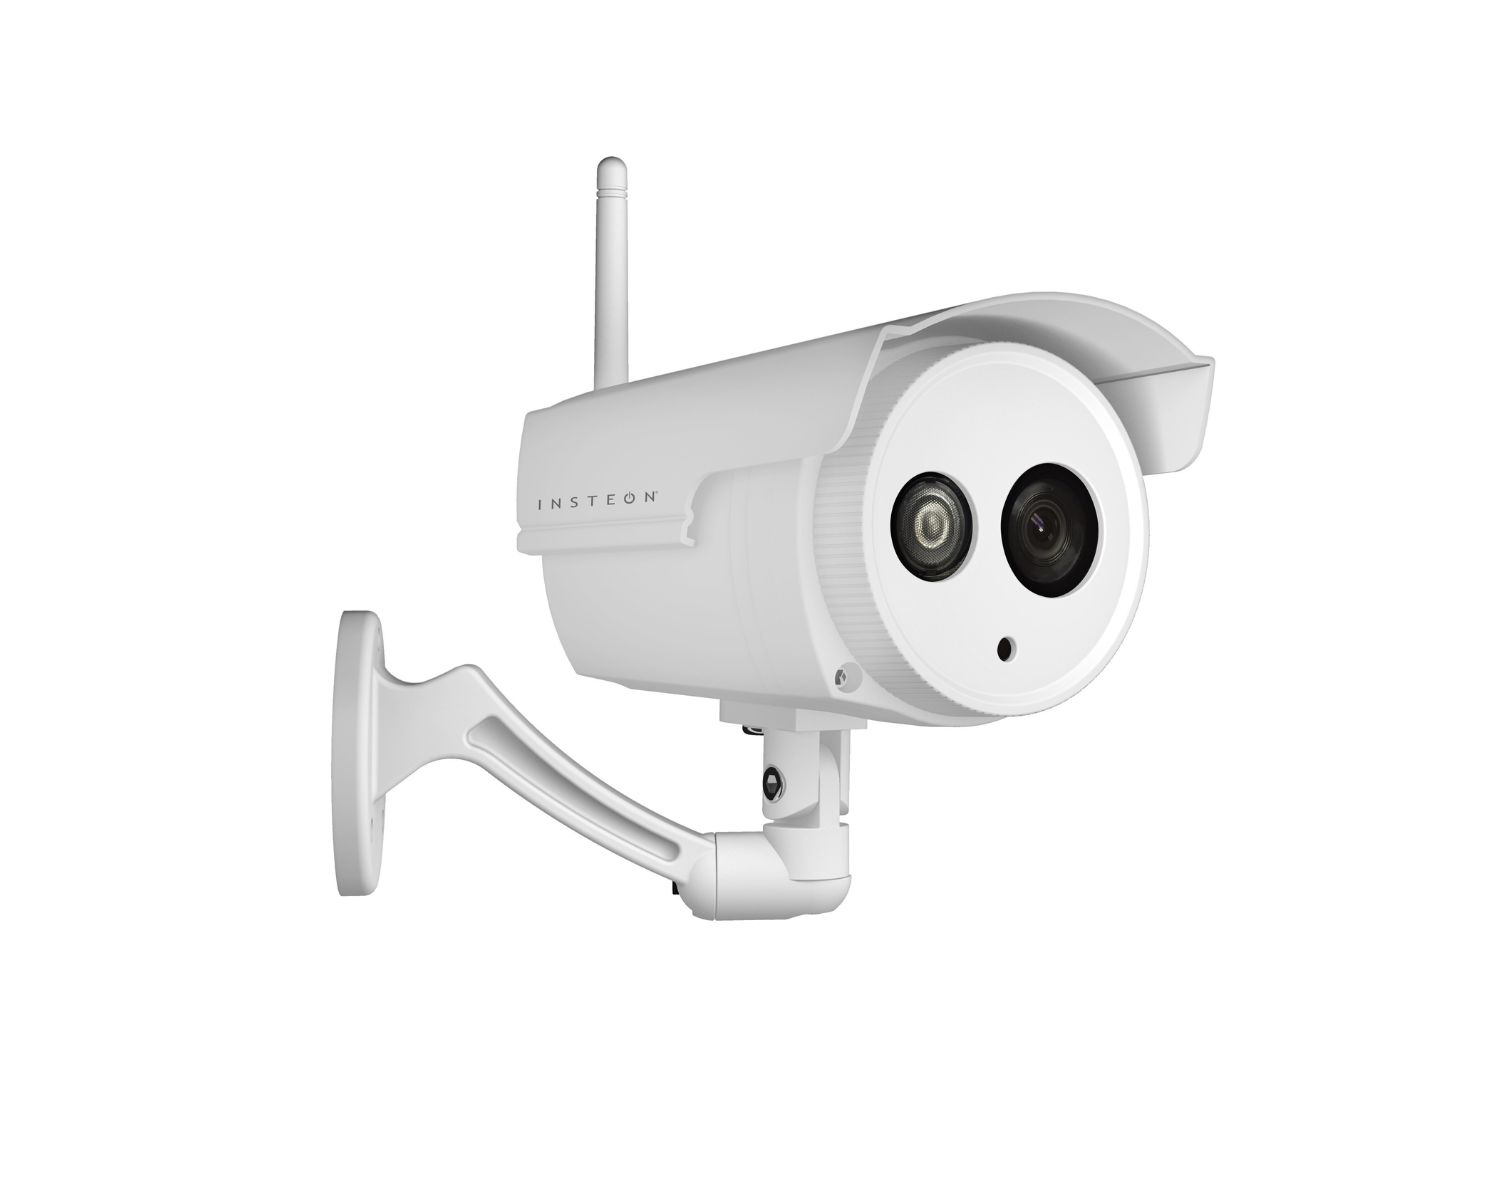
How To Reset An Insteon Outdoor Camera
Modified: March 7, 2024
Learn how to reset your Insteon outdoor camera for improved home security and surveillance. Follow our step-by-step guide for a quick and hassle-free reset.
(Many of the links in this article redirect to a specific reviewed product. Your purchase of these products through affiliate links helps to generate commission for Storables.com, at no extra cost. Learn more)
Introduction
Welcome to the exciting world of home security and surveillance! In today’s ever-changing world, it’s crucial to have reliable measures in place to protect our homes and loved ones. One essential component of a robust home security system is an outdoor camera. An outdoor camera allows you to monitor your property, deter potential intruders, and provide valuable evidence in the event of any incidents.
However, there may be times when you encounter issues with your Insteon outdoor camera and need to reset it. Whether it’s due to connectivity problems, configuration errors, or other issues, resetting the camera can often resolve these issues and restore its functionality.
In this guide, we’ll walk you through the step-by-step process of resetting your Insteon outdoor camera. From finding the reset button to reconfiguring the camera settings, we’ve got you covered. So, let’s dive in and get your outdoor camera back up and running!
Key Takeaways:
- Ensure a stable power source for your Insteon outdoor camera to prevent connectivity issues. Consider a backup power supply for uninterrupted surveillance during outages.
- Reset and reconfigure your Insteon outdoor camera to optimize its functionality. Test its live feed, motion detection, and remote access for reliable home security.
Read more: How To Reset Nooie Outdoor Camera
Step 1: Check the camera’s power source
Before attempting to reset your Insteon outdoor camera, it’s essential to ensure that the camera has a stable power supply. A faulty or intermittent power source can often cause connectivity issues and other camera malfunctions. Here’s what you need to do:
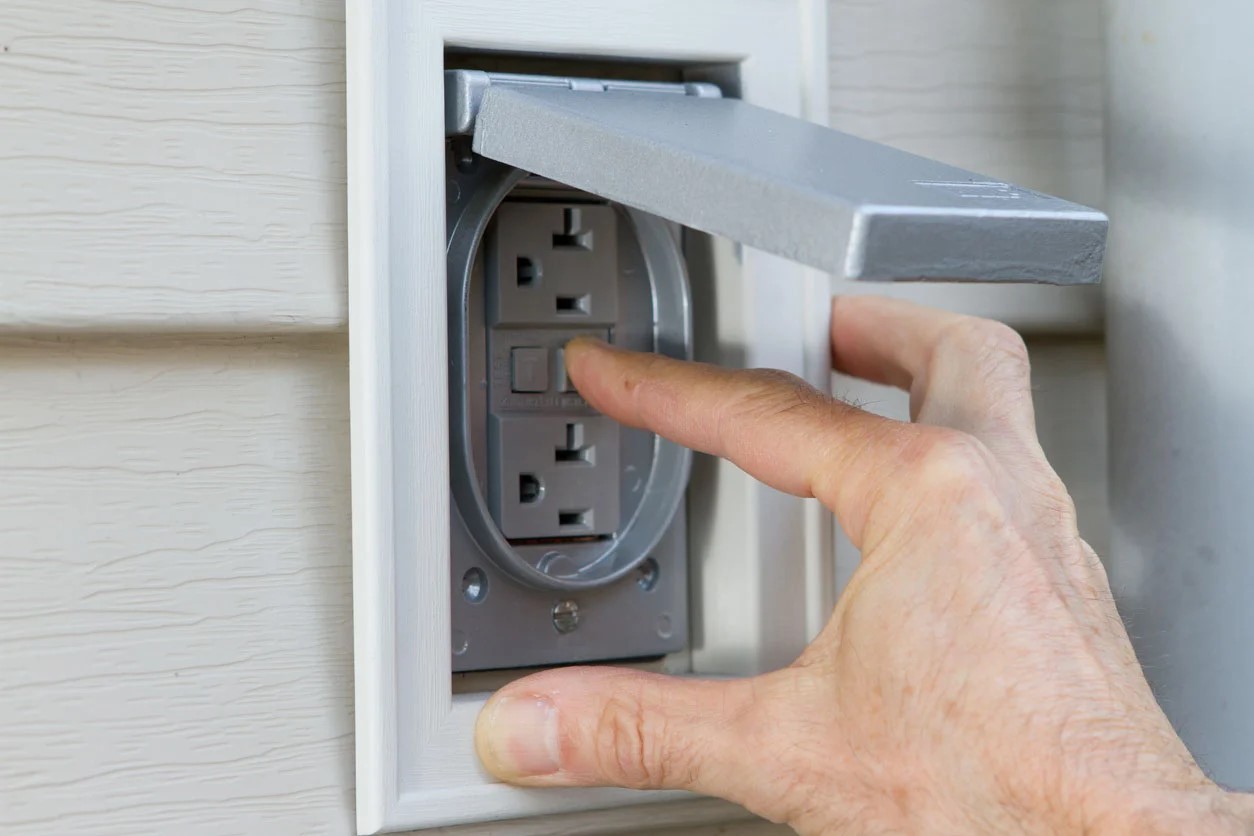
- Inspect the power adapter: Start by examining the power adapter that connects your outdoor camera to an electrical outlet. Check for any physical damage or frayed wires that may be affecting the power supply. If you notice any issues, it’s crucial to replace the power adapter before proceeding with the reset process.
- Verify the power outlet: Next, confirm that the power outlet you’re using is working correctly. Plug in another device or use a voltage tester to determine if there’s any power output from the outlet. If the power outlet is faulty, you’ll need to fix it or use a different outlet to ensure a stable power supply for your camera.
- Consider a backup power source: If you frequently experience power outages in your area, it may be worth considering a backup power source for your outdoor camera. This could be a battery backup system or a generator to ensure uninterrupted power supply during outages.
By ensuring a reliable and stable power source for your Insteon outdoor camera, you can minimize the chances of future issues and maximize the camera’s performance. Once you’ve confirmed the power source, you can move on to the next step of the reset process.
Step 2: Locate the reset button
Now that you’ve checked the camera’s power source, it’s time to locate the reset button on your Insteon outdoor camera. The reset button is usually a small, recessed button that you’ll need to press and hold to initiate the reset process. Here’s how to find it:
- Refer to the user manual: The user manual that came with your Insteon outdoor camera is an excellent resource for locating the reset button. It will provide detailed instructions along with illustrations or diagrams that can help you identify the button’s placement.
- Inspect the camera body: Take a close look at the camera body, including the front, sides, and bottom. Look for any small openings or buttons that may be labeled as “reset” or have a similar indication. The reset button is often recessed to prevent accidental resets.
- Use a flashlight if necessary: In some cases, the reset button may be less visible or hidden in a shadowed area. If needed, use a flashlight to illuminate the camera’s surface and help you locate the reset button more easily.
Once you’ve found the reset button, you’re ready to move on to the next step and initiate the reset process. Keep in mind that the exact location of the reset button may vary depending on the specific model of your Insteon outdoor camera, so refer to the user manual for accurate guidance.
Step 3: Press and hold the reset button
With the reset button located, you’re now ready to reset your Insteon outdoor camera. In this step, you’ll need to press and hold the reset button for a specific duration to initiate the reset process. Follow these steps:
- Gather a small, pointed object: To press and hold the recessed reset button, you’ll need a small, pointed object such as a paperclip or a pen tip. Ensure that the object is long enough to reach the button comfortably.
- Prepare for the reset: Take a moment to prepare for the reset process. Make sure you’re ready to hold the reset button for the required duration without interruption.
- Press and hold the reset button: Insert the small, pointed object into the reset button opening and press down firmly. While holding the button down, count to 10 or follow the specific instructions provided in the user manual. This duration may vary depending on the camera model.
By pressing and holding the reset button, you’re effectively triggering the camera’s reset mechanism. This step is crucial in clearing any existing configurations or errors and returning the camera to its default settings.
Once you’ve completed this step, you’re ready to move on to the next one, where you’ll wait for the camera to reset and reinitialize itself.
To reset an Insteon outdoor camera, locate the reset button on the camera and hold it down for 10 seconds. This will restore the camera to its factory settings.
Step 4: Wait for the camera to reset
After pressing and holding the reset button on your Insteon outdoor camera, you’ll need to allow the camera time to reset and reinitialize itself. During this process, the camera will clear its current settings and revert to its default factory settings. Follow these steps as you wait for the camera to reset:
- Maintain pressure on the reset button: While the camera is resetting, make sure to keep the reset button pressed down. This ensures that the camera remains in the reset mode until the process is complete.
- Observe the camera’s indicator lights: Many outdoor cameras have indicator lights that provide visual cues about the reset process. Look for any changes in the blinking pattern or color of these lights, as they can indicate that the camera is going through the reset process.
- Be patient: The duration of the reset process can vary depending on the camera model and its specific configuration. It’s essential to be patient and allow the camera enough time to complete the reset process. This can take anywhere from a few seconds to a couple of minutes.
While waiting for the camera to reset, it’s best to avoid interrupting the process or attempting to access the camera’s settings. Allowing the camera sufficient time ensures a successful reset and minimizes the risk of any complications or errors.
Once the camera has completed the reset process, you can move on to the next step and reconfigure its settings to suit your preferences and needs.
Read more: How To Reset Wyze Outdoor Camera
Step 5: Reconfigure the camera settings
After the Insteon outdoor camera has successfully reset and reinitialized, it’s time to reconfigure its settings to ensure optimal functionality and customization. Follow these steps to reconfigure the camera settings:
- Access the camera’s configuration interface: To begin reconfiguring the camera settings, you’ll typically need to access the camera’s configuration interface. This can be done through a web browser or a dedicated mobile app provided by Insteon. Consult the user manual for specific instructions on how to access the interface.
- Set up a new administrator account: During the initial camera setup, you’ll want to establish a new administrator account with a strong password. This account will grant you access to the camera’s settings and features while ensuring security.
- Connect the camera to your Wi-Fi network: Follow the on-screen instructions to connect the camera to your Wi-Fi network. This step is crucial for enabling remote monitoring and accessing the camera’s live feed from anywhere.
- Configure motion detection and recording settings: Adjust the motion detection sensitivity and define the areas you want the camera to monitor. Additionally, specify whether you want the camera to record continuously or only when motion is detected.
- Set up notifications and alerts: Determine the types of notifications and alerts you’d like to receive, such as push notifications or email alerts, when the camera detects motion or other specified events.
- Customize additional settings: Explore the camera’s configuration options to personalize settings such as video quality, time-lapse recording, audio recording, and more according to your preferences.
Take your time to carefully go through each setting and customize them to meet your specific requirements. This will ensure that your Insteon outdoor camera is tailored to your surveillance needs and provides you with the desired level of security.
Once you’ve finished reconfiguring the camera settings, you’re ready to proceed to the final step and test the camera’s functionality.
Step 6: Test the camera functionality
With the Insteon outdoor camera’s settings reconfigured, it’s time to test its functionality and ensure that everything is working as intended. Here’s what you should do to test the camera:
- Check the live feed: Access the camera’s live feed through the web interface or mobile app and verify that you can view the real-time video. Ensure that the camera is capturing a clear and stable image.
- Test the motion detection: Trigger the camera’s motion detection feature by walking or moving objects within the camera’s field of view. Verify that the camera detects motion accurately and sends notifications or records video based on your configured settings.
- Adjust camera angles: If necessary, make small adjustments to the camera’s positioning to ensure optimal coverage of the desired area. Test different angles and monitor the live feed to ensure that you’re capturing the intended view.
- Test remote access: If you’ve set up remote access, try accessing the camera’s live feed from a different location, such as using your mobile network or a different Wi-Fi network. Verify that you can connect to the camera and view the feed without any issues.
- Validate recording functionality: If you’ve configured the camera to record video, review the recorded footage to ensure that it is being saved as expected. Check the playback functionality and ensure that all recordings are accessible and of good quality.
By thoroughly testing the camera’s functionality, you can identify any potential issues or fine-tune the settings for optimal performance. If you encounter any problems during the testing process, consult the user manual or reach out to Insteon’s customer support for assistance.
Once you’re satisfied with the camera’s performance and confident in its functionality, you can rest assured knowing that your Insteon outdoor camera is ready to provide reliable and effective surveillance for your home.
Conclusion
Resetting your Insteon outdoor camera is a straightforward process that can help resolve various issues and restore its functionality. By following the steps outlined in this guide, you can ensure a successful reset and reconfiguration of your camera.
Remember to start by checking the camera’s power source and ensuring a stable power supply. Then, locate and press the reset button, holding it for the specified duration. Allow the camera to reset and reinitialize before proceeding to reconfigure its settings.
Take the time to access the camera’s configuration interface, set up a new administrator account, connect the camera to your Wi-Fi network, and customize motion detection, recording, and notification settings. Once you’ve completed the reconfiguration, it’s crucial to test the camera’s functionality.
Check the live feed, test motion detection, adjust camera angles if needed, and verify remote access and recording functionalities. By validating these aspects, you can ensure that your Insteon outdoor camera is functioning optimally and providing the level of security you desire.
If you encounter any difficulties during the reset or reconfiguration process, refer to the user manual provided with your camera or reach out to Insteon’s customer support for assistance.
With your Insteon outdoor camera successfully reset and reconfigured, you can now enjoy enhanced home security and surveillance. Keep in mind the importance of regular maintenance and monitoring to ensure ongoing performance and peace of mind.
Remember, it’s always a good idea to stay updated on the latest techniques and technologies in home security. This will allow you to maximize the potential of your Insteon outdoor camera and keep your home and loved ones safe and secure.
Happy monitoring!
Frequently Asked Questions about How To Reset An Insteon Outdoor Camera
Was this page helpful?
At Storables.com, we guarantee accurate and reliable information. Our content, validated by Expert Board Contributors, is crafted following stringent Editorial Policies. We're committed to providing you with well-researched, expert-backed insights for all your informational needs.