Home>Home Security and Surveillance>How To Reset Amcrest Outdoor Camera
Home Security and Surveillance
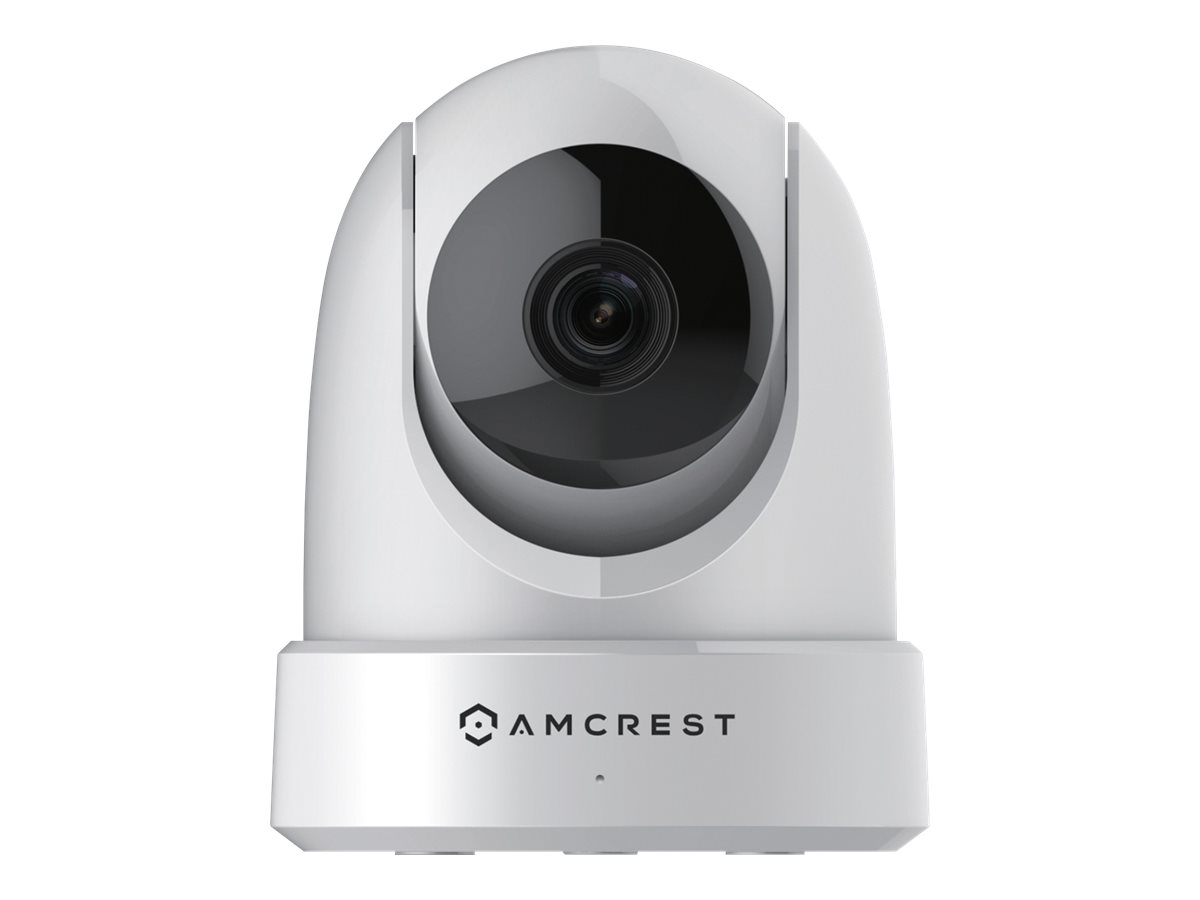
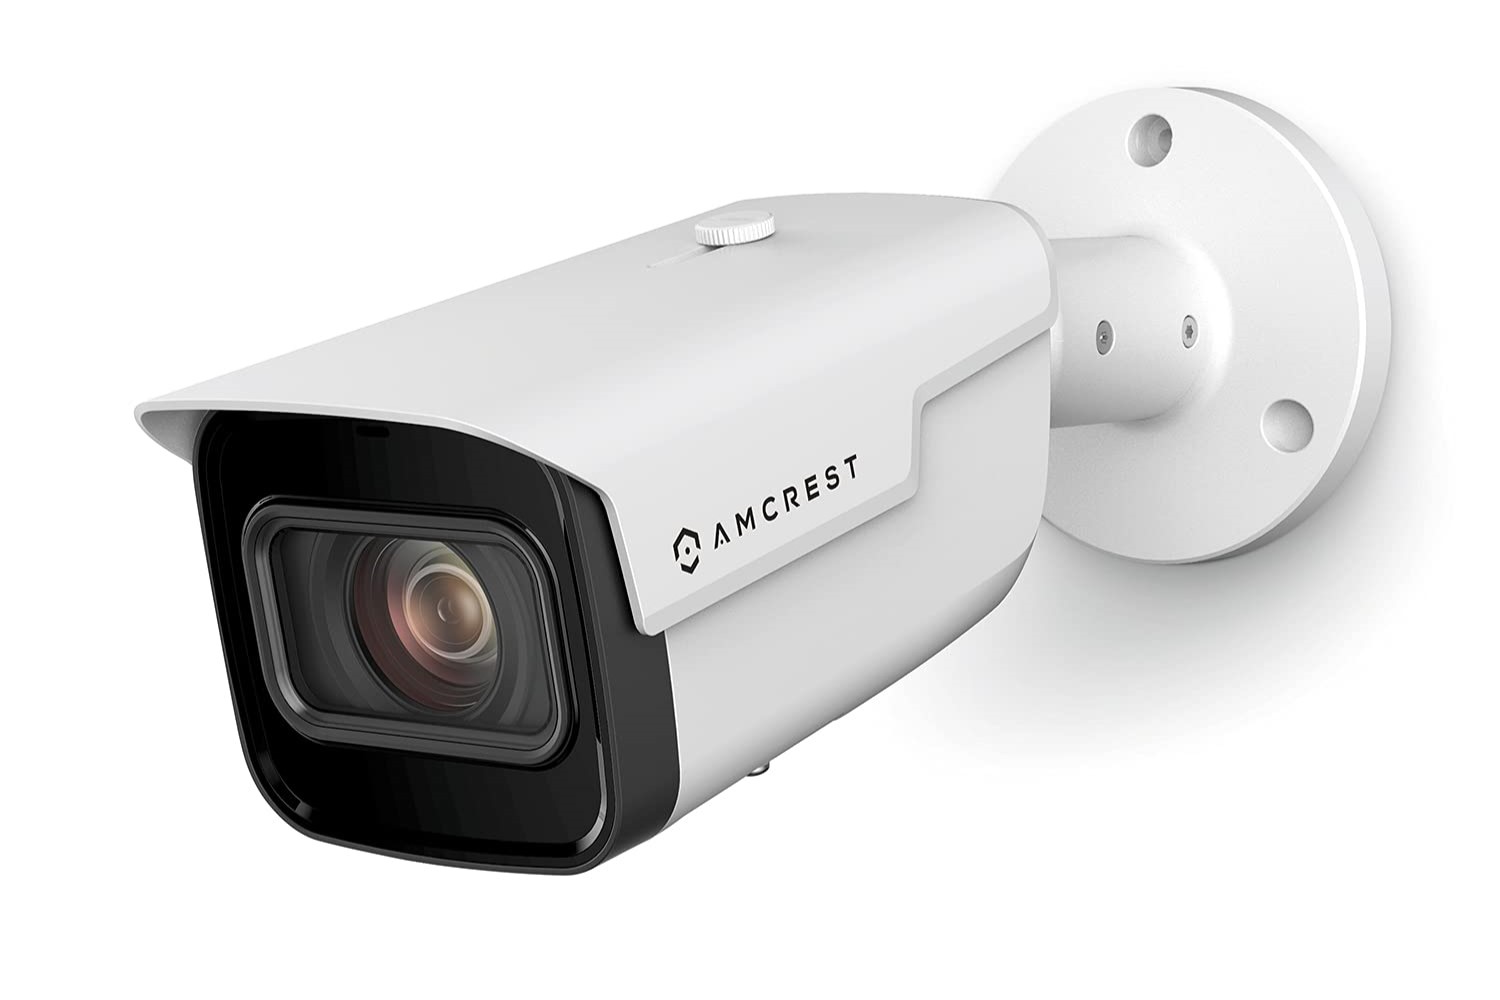
How To Reset Amcrest Outdoor Camera
Modified: October 20, 2024
Learn how to reset your Amcrest outdoor camera for enhanced home security and surveillance.
(Many of the links in this article redirect to a specific reviewed product. Your purchase of these products through affiliate links helps to generate commission for Storables.com, at no extra cost. Learn more)
Introduction
Welcome to this comprehensive guide on how to reset your Amcrest outdoor camera. Amcrest outdoor cameras are designed to provide you with peace of mind and security by monitoring the exterior of your home or business. However, there may be instances where you need to reset the camera due to technical issues, forgotten passwords, or changes in network settings.
In this article, we will walk you through a step-by-step process to reset your Amcrest outdoor camera. Whether you are a beginner or an experienced user, this guide will help you navigate the reset procedure with ease.
Before we dive into the reset process, it’s essential to understand that resetting your Amcrest outdoor camera will erase all the current settings and configurations. This means you will need to reconfigure the camera once the reset is complete. However, a reset can also be a helpful troubleshooting step if you are experiencing issues with your camera.
So, let’s get started with gathering the necessary equipment for the reset process.
Key Takeaways:
- Resetting your Amcrest outdoor camera is like giving it a fresh start. It erases all the old settings, so you’ll need to set it up again. But it can help fix problems and make sure everything is working properly.
- After resetting your camera, remember to set a strong password and test its features like motion detection and night vision. This ensures that your Amcrest outdoor camera is ready to keep your home safe and secure.
Step 1: Gathering the Necessary Equipment
Before you begin the reset process, ensure that you have gathered the necessary equipment. Here’s what you will need:
- Amcrest outdoor camera
- Power adapter
- Network cable (Ethernet cable)
- A computer or mobile device with internet connectivity
Make sure that the power adapter is plugged into a power outlet and the network cable is connected to the camera. This will ensure that you have a stable power source and an internet connection during the reset process. Now that you have all the equipment ready, let’s move on to locating the reset button on your Amcrest outdoor camera.
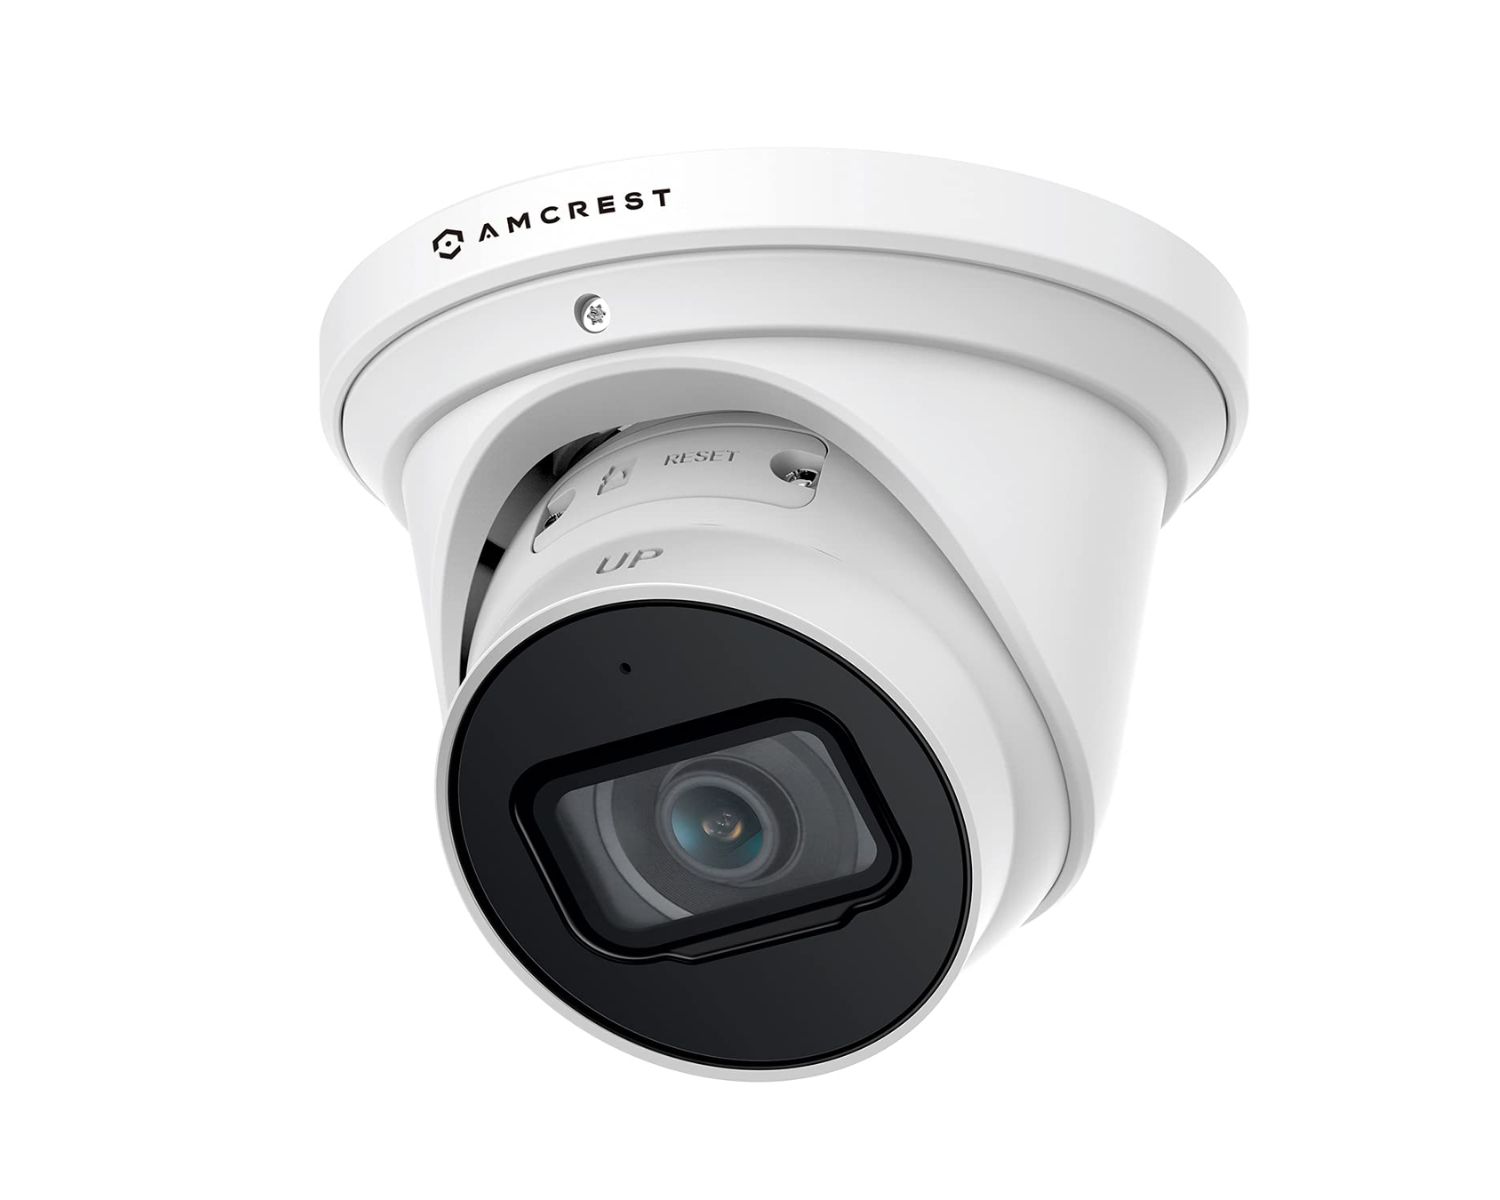
Step 2: Locating the Reset Button
The next step in resetting your Amcrest outdoor camera is to locate the reset button. The reset button is typically located on the back or bottom of the camera, depending on the model.
Take a close look at the camera and look for a small hole or a button labeled “Reset.” This button can be recessed, so you may need to use a pointed object like a pin or a paperclip to press it. It’s important to note that the location of the reset button may vary slightly between different camera models, so consult the user manual or the manufacturer’s website for specific instructions for your camera.
Once you have located the reset button, we can proceed to the next step, which is pressing the reset button to initiate the reset process.
Step 3: Pressing the Reset Button
Now that you have located the reset button on your Amcrest outdoor camera, it’s time to proceed with the reset process. Before we begin, make sure that the camera is powered on and connected to the network.
To initiate the reset, carefully insert a pointed object, such as a pin or a paperclip, into the reset button hole. Gently press and hold the reset button for about 10-15 seconds. You may need to use some force to press the button, but be careful not to damage the camera in the process.
While pressing the reset button, you may notice the camera’s LED indicators flashing or turning off momentarily. This is a sign that the reset process has been initiated. Continue to hold the reset button until the LED indicators stabilize or the camera emits a beep sound, indicating that the reset is complete.
Once the reset is complete, you can release the reset button and proceed to the next step, which involves configuring the camera settings.
Before we move on, it’s important to note that the reset process may vary slightly depending on the camera model. For specific instructions or further guidance, refer to the user manual or the manufacturer’s website.
To reset an Amcrest outdoor camera, locate the reset button on the camera and hold it down for 10 seconds. This will restore the camera to its default settings.
Step 4: Configuring the Camera Settings
After performing the reset on your Amcrest outdoor camera, it’s time to configure the camera settings to get it up and running again. Follow these steps to configure the camera settings:
- Connect your computer or mobile device to the same network as the camera. This will allow you to access the camera’s configuration settings.
- Open a web browser and enter the IP address of the camera in the address bar. The IP address can be found in the camera’s user manual or obtained from your router’s configuration page.
- A login page will appear, prompting you for credentials. If you haven’t changed the default username and password, use the default login details provided in the user manual or on the manufacturer’s website. If you have changed the credentials, enter the updated login information.
- Once you have successfully logged in, you will be presented with the camera’s configuration interface. Here, you can adjust various settings such as Wi-Fi connectivity, motion detection, recording settings, and more. Take some time to explore the different options and customize the camera settings according to your preferences.
- Make sure to set a strong password for the camera’s admin account to enhance security. Avoid using common passwords and opt for a combination of letters, numbers, and special characters.
- Once you have made the desired changes, click on the “Save” or “Apply” button to save the settings. The camera will now apply the new configurations.
With the camera settings configured, you are one step closer to restoring your Amcrest outdoor camera’s functionality. The last step involves testing the camera to ensure that it is working properly.
Read more: How To Reset An Insteon Outdoor Camera
Step 5: Testing the Camera
Now that you have gone through the process of resetting and configuring your Amcrest outdoor camera, it’s time to test its functionality. Follow these steps to ensure that the camera is working as expected:
- Make sure that the camera is properly connected to power and the network. Double-check all the cables and connections to ensure a stable connection.
- Access the camera’s live feed through the web browser or mobile app. Enter the camera’s IP address or use the provided app to view the live video stream.
- Observe the live feed and check for clear and stable video quality. If you experience any issues such as pixelation, lag, or connectivity problems, review your network configuration and ensure that the camera is connected to a stable internet connection.
- Test the camera’s additional features such as motion detection, night vision, and audio recording. Walk in front of the camera to trigger the motion detection or test the night vision by covering the camera’s lens and checking if the infrared LEDs activate.
- Ensure that the camera is capable of capturing and recording video footage. Make sure that the recording settings are properly configured and that the camera is storing the recordings in the desired location, such as an SD card or a network storage device.
- If you encounter any issues during the testing phase, refer to the camera’s user manual or visit the manufacturer’s support website for troubleshooting tips and solutions.
By completing these tests, you can verify that your Amcrest outdoor camera has been successfully reset and is functioning correctly. Enjoy the added security and peace of mind that your camera provides!
Conclusion
Resetting your Amcrest outdoor camera can be a helpful troubleshooting step or necessary procedure when you encounter technical issues or need to change its settings. By following the step-by-step guide outlined in this article, you can easily reset your camera and get it back up and running in no time.
Remember, before performing a reset, gather all the necessary equipment and locate the reset button on your camera. Press the reset button for the specified duration to initiate the reset process, and ensure that the camera’s LED indicators stabilize or emit a beep sound to indicate the reset’s completion.
After the reset, configure the camera settings through your computer or mobile device’s web browser. Customize the settings according to your needs and preferences, and make sure to set a strong password for improved security.
Finally, test the camera’s functionality by checking the live feed, motion detection, night vision, and recording capabilities. If you encounter any issues, consult the user manual or reach out to the manufacturer’s support for further assistance.
By following these steps, you can effectively reset and configure your Amcrest outdoor camera, ensuring optimal performance and the peace of mind that comes with a reliable security system.
Thank you for choosing Amcrest and for prioritizing the security of your home or business with our outdoor cameras. We hope this guide has been helpful, and if you have any further questions or concerns, don’t hesitate to reach out to our support team for assistance!
Frequently Asked Questions about How To Reset Amcrest Outdoor Camera
Was this page helpful?
At Storables.com, we guarantee accurate and reliable information. Our content, validated by Expert Board Contributors, is crafted following stringent Editorial Policies. We're committed to providing you with well-researched, expert-backed insights for all your informational needs.