Home>Home Security and Surveillance>How To Stop Reflection On A Glass Security Camera

Home Security and Surveillance
How To Stop Reflection On A Glass Security Camera
Modified: August 28, 2024
Looking for ways to prevent reflection on your glass security camera? Our expert tips and tricks for home security and surveillance will help you achieve clear, uninterrupted footage.
(Many of the links in this article redirect to a specific reviewed product. Your purchase of these products through affiliate links helps to generate commission for Storables.com, at no extra cost. Learn more)
Introduction
Home security and surveillance systems have become essential in protecting our homes and loved ones. One crucial component of these systems is the security camera, which provides a watchful eye over our property. However, sometimes these cameras can encounter a common issue: reflection on the glass surface.
Reflection occurs when light hits the camera’s glass cover and bounces back, distorting the image captured by the camera. This can lead to blurry footage, reduced visibility, and ultimately hinder the effectiveness of the security system.
Fortunately, there are several steps you can take to minimize or eliminate reflection on a glass security camera. In this article, we will explore these solutions in detail, allowing you to ensure that your security camera delivers clear and accurate footage without any distortion.
Key Takeaways:
- Say goodbye to blurry footage! Adjust your camera angle, apply anti-reflective coating, and optimize lighting to minimize reflection on your glass security camera.
- Keep your camera clear for top-notch security! Install a protective cover, use a polarizing filter, and utilize infrared illumination to combat reflection and ensure crystal-clear footage.
Read more: How To Make Glass Non-Reflective
Understanding the Issue of Reflection on Glass Security Cameras
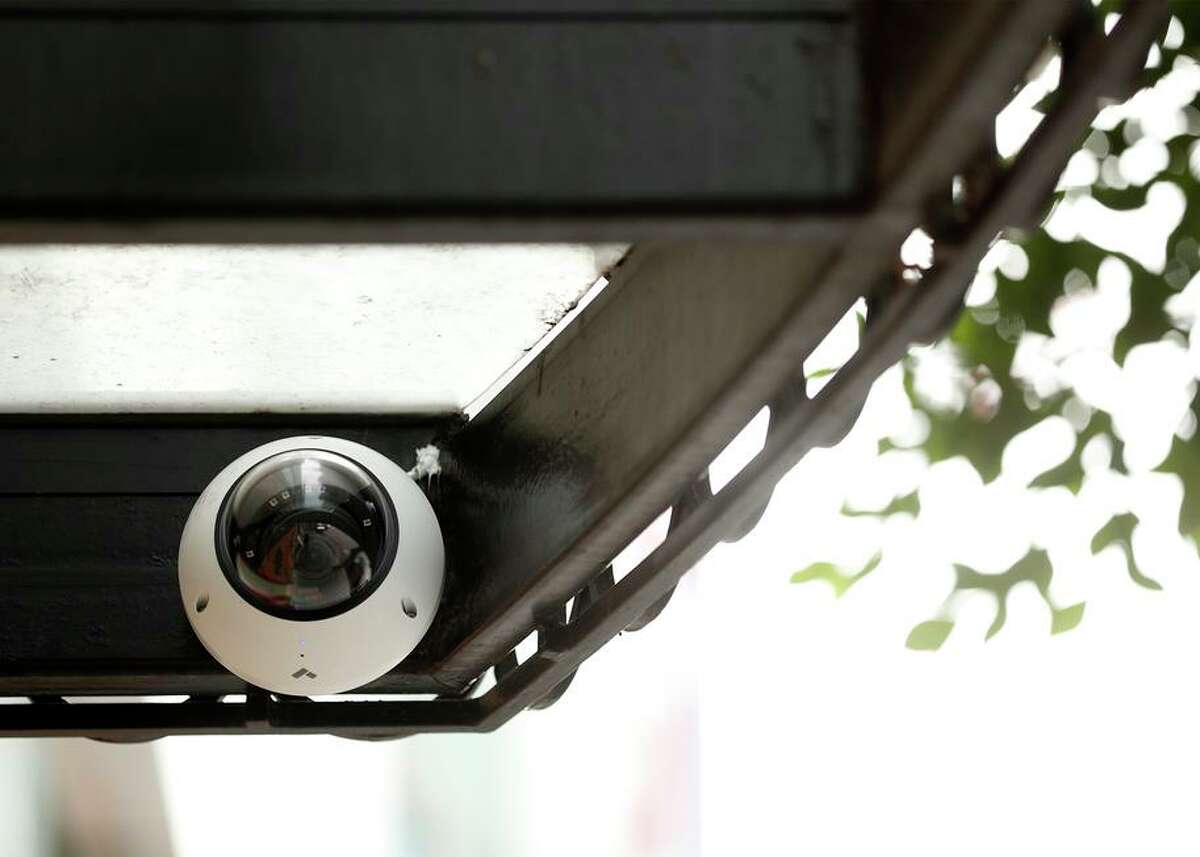
Reflection on glass security cameras is a common problem that occurs when light rays bounce off the camera’s glass cover instead of passing through it. When light hits the glass cover at certain angles, it reflects back into the lens, resulting in a distorted image or glare. This can diminish the camera’s ability to capture clear and sharp footage, compromising the effectiveness of the entire surveillance system.
There are several factors that contribute to the occurrence of reflection. The type of glass used for the camera cover plays a significant role. Some types of glass have a higher reflectivity, which means they are more prone to reflection. Additionally, environmental conditions, such as the location of the camera and the surrounding objects or structures, can also impact the amount of reflection.
Understanding the causes of reflection is essential in finding the right solutions to minimize or eliminate this issue. By addressing the underlying factors, you can ensure that your security camera functions optimally and provides the best possible surveillance coverage.
Step 1: Adjusting the Camera Angle
One of the simplest and most effective ways to reduce reflection on a glass security camera is by adjusting its angle. By changing the camera’s position, you can find an angle that minimizes the reflection from surrounding objects or structures. Here’s how you can do it:
- Survey the area: Take a close look at the camera’s surroundings. Identify any objects or surfaces that may be causing reflection, such as windows, glass doors, or shiny walls. These reflective surfaces can bounce light back into the camera lens, causing unwanted glare or distortion.
- Reposition the camera: Once you’ve identified the potential sources of reflection, try adjusting the camera’s mounting position. Move it to a different spot where there is less chance of light reflecting onto the camera lens. Experiment with different angles until you find the one that provides the clearest view without experiencing reflection issues.
- Consider the camera’s field of view: While adjusting the camera angle, make sure to take into account its field of view. You want to ensure that the camera covers the desired area while minimizing reflection. Take note of any obstructions that may interfere with its view and adjust accordingly.
By taking the time to adjust the camera angle, you can significantly reduce the chances of reflection and improve the overall quality of the captured footage. However, keep in mind that repositioning the camera may also affect its coverage range, so it’s important to find the right balance between minimizing reflection and maximizing surveillance coverage.
Step 2: Using an Anti-Reflective Coating on the Glass
An effective solution to minimize reflection on a glass security camera is to apply an anti-reflective coating to the camera’s glass cover. This coating helps to reduce the amount of light that reflects off the surface, allowing for clearer and more accurate footage. Here’s how you can use an anti-reflective coating:
- Select the appropriate coating: There are various types of anti-reflective coatings available in the market. Look for coatings specifically designed for glass surfaces and suitable for outdoor use. These coatings are typically formulated to provide long-lasting protection against reflection while being resistant to weather conditions.
- Clean the glass surface: Before applying the coating, ensure that the camera’s glass cover is clean and free from dust, dirt, or fingerprints. Use a non-abrasive cleaning solution and a lint-free cloth to gently clean the surface. This allows for better adhesion of the coating and ensures optimal performance.
- Apply the coating: Follow the instructions provided by the manufacturer for applying the anti-reflective coating. Typically, it involves evenly spraying or brushing the coating onto the glass surface. Make sure to cover the entire area of the camera’s glass cover. Allow the coating to dry completely before using the camera.
- Regular maintenance: Over time, the anti-reflective coating may wear off or become less effective. Therefore, it’s important to regularly inspect the camera’s glass cover and reapply the coating as needed. This helps to maintain the anti-reflective properties and ensure optimum performance.
By applying an anti-reflective coating on the glass cover of your security camera, you can significantly reduce the occurrence of reflection, resulting in clearer and more reliable footage. This solution is relatively simple and cost-effective, making it a practical choice for improving the performance of your surveillance system.
Step 3: Proper Lighting Setup
Proper lighting is crucial in minimizing reflection on a glass security camera. By ensuring that the surrounding area is well-lit, you can reduce the chances of reflections and improve the clarity of the captured footage. Follow these steps to achieve a proper lighting setup:
- Evaluate the lighting conditions: Assess the existing lighting conditions around the camera. Pay attention to any sources of bright or direct light that may cause reflections on the glass. Identify areas that require additional lighting to eliminate shadows and reduce the overall contrast.
- Install supplementary lighting: Depending on the specific needs of your camera’s location, consider installing additional lights to provide balanced and adequate illumination. Use lighting fixtures that are specifically designed for outdoor use and have adjustable angles. This allows you to direct the light away from the camera, minimizing the chances of reflections.
- Position the lights strategically: Carefully position the supplementary lights to achieve uniform lighting across the surveillance area. Avoid placing the lights in a way that directly illuminates the camera’s glass cover, as this can increase the chances of reflection. Instead, position the lights to illuminate the desired area while minimizing glare.
- Consider motion-detection lighting: Motion-detection lighting can be a useful addition to your security setup. These lights automatically activate when motion is detected, providing temporary illumination in response to activity. By having motion-activated lights, you can enhance the visibility around the camera without constant illumination, reducing the chances of reflection.
By ensuring proper lighting around your glass security camera, you can improve the overall image quality and minimize the occurrence of reflection. Remember to regularly assess the lighting conditions, make adjustments as needed, and consider using motion-detection lighting for added convenience and effectiveness.
To stop reflection on a glass security camera, try using an anti-reflective coating on the glass or adjusting the camera angle to minimize glare. You can also use a polarizing filter on the camera lens to reduce reflections.
Step 4: Installing a Protective Cover
Installing a protective cover on your glass security camera can help reduce reflection and provide added protection against various elements. A protective cover acts as a shield, minimizing the impact of external factors that can lead to reflection. Here’s how you can install a protective cover:
- Select a suitable cover: Look for a protective cover specifically designed for your camera model. Consider covers that are made from anti-reflective materials or have matte finishes. These types of covers can help reduce reflection and glare.
- Clean the camera: Before installing the cover, ensure that the camera’s glass surface is clean and free from any debris or smudges. Use a non-abrasive cleaning solution and a lint-free cloth to gently clean the surface. This ensures that the cover adheres properly and does not trap any particles between the cover and the glass.
- Attach the cover: Follow the manufacturer’s instructions to attach the protective cover securely over the camera’s glass surface. Ensure that the cover fits snugly and does not obstruct the lens or any essential functionalities of the camera. Check that the cover does not introduce any new reflective surfaces that could cause additional issues.
- Regular maintenance: Periodically inspect the protective cover to ensure that it remains clean and in good condition. Clean the cover as needed, following the manufacturer’s recommendations. Replace the cover if it becomes damaged or worn out to maintain optimal performance.
By installing a protective cover on your glass security camera, you can add an extra layer of defense against reflection and various external factors. This solution not only helps reduce glare and distortion but also provides protection against dust, moisture, and physical damage, ensuring the longevity and reliability of your camera.
Step 5: Using a Polarizing Filter
A polarizing filter is a valuable tool in minimizing reflection on a glass security camera. It works by selectively blocking out certain light waves, reducing glare and improving image quality. Here’s how you can use a polarizing filter to combat reflection:
- Select the appropriate filter: Choose a polarizing filter that is compatible with your camera’s lens diameter. Look for filters specifically designed for outdoor use and that offer anti-reflective properties.
- Attach the filter: Screw the polarizing filter onto the lens of your camera, following the manufacturer’s instructions. Ensure that it is securely attached and properly aligned.
- Rotate the filter: Once the filter is attached, you can adjust its effect by rotating it. Experiment with different positions to find the orientation that minimizes glare and reflection. Keep in mind that the effectiveness of the filter may vary depending on the angle of the light source and the camera’s position.
- Monitor the footage: Monitor the captured footage after applying the polarizing filter. Assess the quality of the images and make any necessary adjustments to the filter’s orientation if reflection is still present.
Using a polarizing filter can significantly reduce reflection on your glass security camera, resulting in clearer and sharper footage. Keep in mind that the effectiveness of the filter may vary depending on the specific lighting conditions and the angle at which the camera is positioned. Regularly assess the footage and make adjustments to the filter as needed to achieve optimal results.
Step 6: Utilizing Infrared Illumination
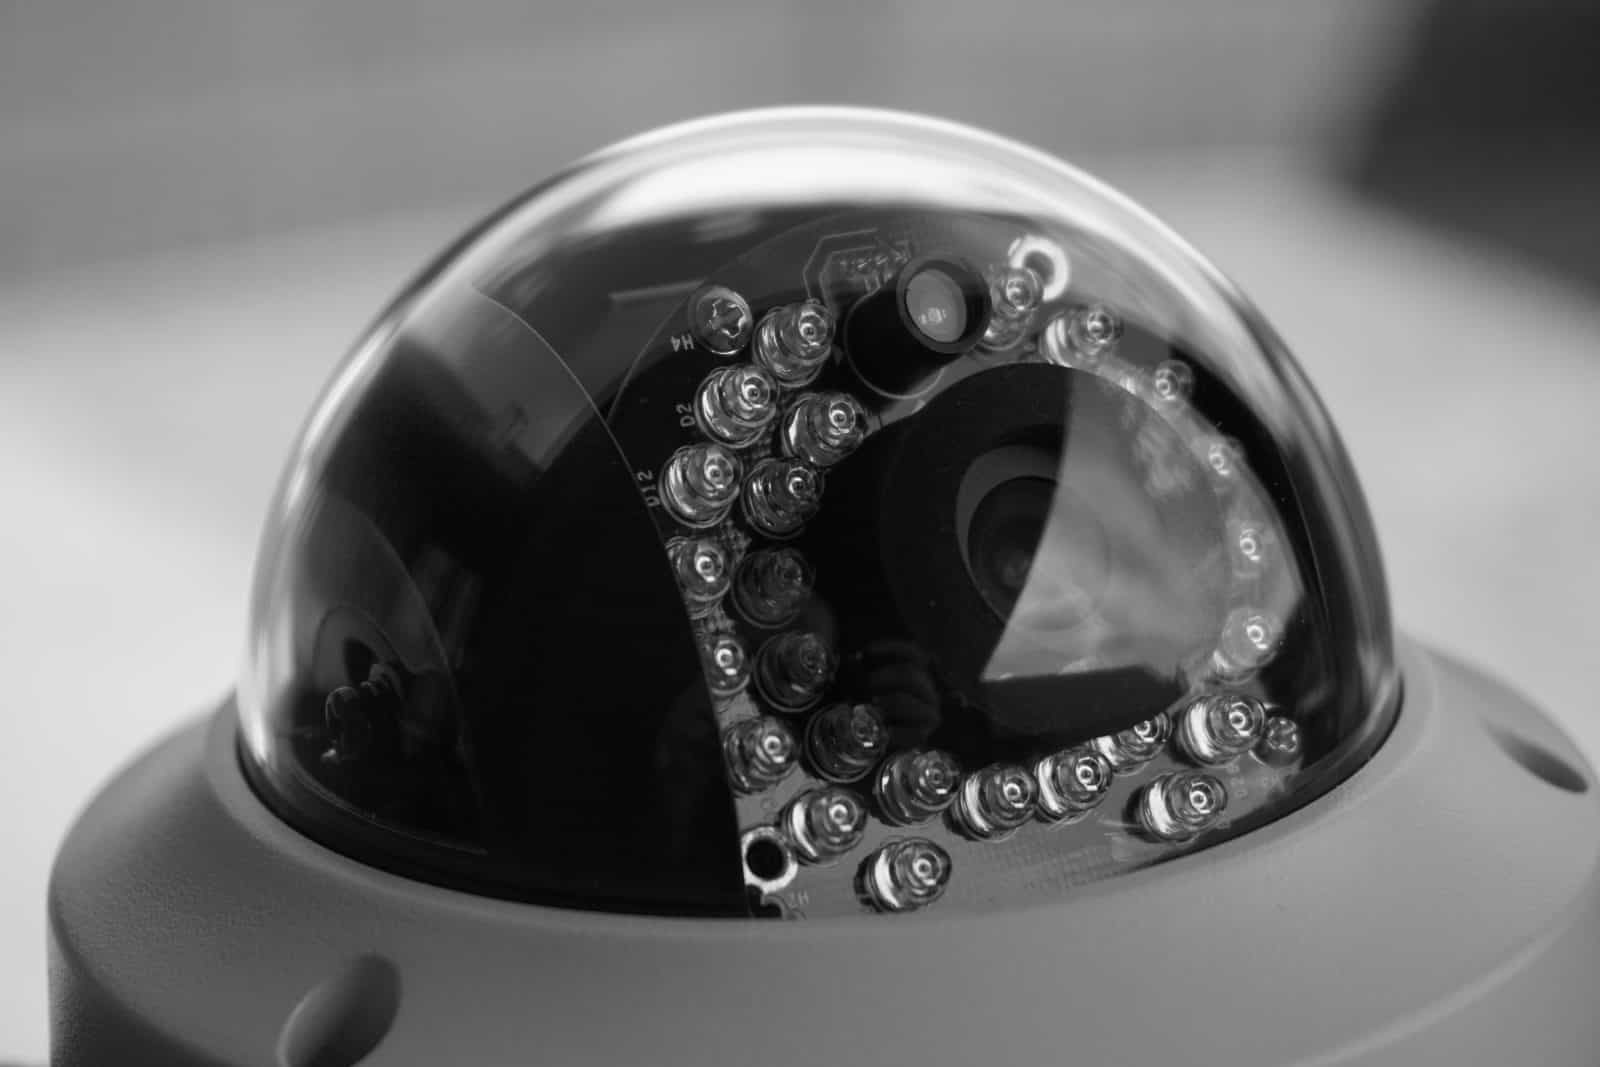
Infrared illumination is an effective solution for minimizing reflection and improving image quality on a glass security camera, especially in low-light or nighttime conditions. By utilizing infrared lighting, you can capture clear and detailed footage without the interference of reflection. Here’s how you can utilize infrared illumination:
- Check camera compatibility: Ensure that your security camera is compatible with infrared technology. Some cameras are specifically designed to work with infrared illumination, while others may require additional components or modifications.
- Choose the right infrared illuminator: Select an infrared illuminator that suits your camera’s specifications and the area being monitored. Consider factors such as the required coverage range and the intensity of the illuminator’s infrared output.
- Position the illuminator: Install the infrared illuminator in a strategic location that provides maximum coverage while minimizing reflection on the camera’s glass. The illuminator should be positioned away from the camera to prevent direct reflection.
- Adjust the distance and angle: Experiment with the distance and angle of the infrared illuminator to optimize the lighting conditions for your camera. Consider the environment, the desired coverage area, and potential obstructions that may affect the effectiveness of the infrared lighting.
- Monitor and adjust: Regularly monitor the footage captured with the infrared illumination and make adjustments as necessary. Fine-tuning the position, distance, and angle of the illuminator can help minimize reflection and improve the overall image quality.
By utilizing infrared illumination, you can overcome the challenges of reflection and achieve superior image quality on your glass security camera, especially during low-light situations. Proper positioning and adjustment of the infrared illuminator are key to maximizing its effectiveness and reducing reflection.
Step 7: Regular Maintenance and Cleaning
Regular maintenance and cleaning are essential for the optimal performance of your glass security camera. By keeping the camera and its surroundings clean and well-maintained, you can minimize reflection and ensure clear and reliable footage. Here’s how you can incorporate regular maintenance and cleaning into your security camera care routine:
- Schedule routine inspections: Establish a schedule to regularly inspect the camera and its surrounding area. Check for any signs of dirt, debris, or potential sources of reflection, such as smudges on the glass or nearby shiny surfaces. Early identification of these issues allows for prompt action.
- Clean the camera lens: Use a soft, lint-free cloth or a lens cleaning solution specifically designed for camera lenses to clean the camera’s glass cover. Gently wipe the lens in a circular motion, ensuring that you remove any fingerprints, dust, or other contaminants that may contribute to reflection or image degradation.
- Clear the surrounding area: Regularly remove any obstructions or objects that may cause reflection or interfere with the camera’s field of view. Trim back foliage that may obstruct the camera’s line of sight or introduce unwanted shadows. Keeping the area around the camera clean and clear helps to minimize reflection and maintain optimal surveillance coverage.
- Check and adjust lighting: Ensure that the lighting around the camera is functioning correctly. Replace any faulty or burned-out bulbs promptly. Make adjustments as needed to achieve balanced and sufficient illumination in the surveillance area, reducing the chances of reflection.
- Perform preventive maintenance: Follow the manufacturer’s recommendations for regular maintenance tasks, such as inspecting connections, cleaning ventilation ports, and checking for any signs of wear or damage. Address any maintenance issues promptly to prevent potential performance issues or further damage to the camera.
Regular maintenance and cleaning are essential for preventing reflection and maximizing the performance of your glass security camera. By incorporating these steps into your routine, you can ensure that your camera delivers consistent and high-quality surveillance footage, free from distortions caused by reflection or other contaminants.
Read more: How To Stop Home Security Calls
Conclusion
Dealing with reflection on a glass security camera can be frustrating, but by implementing the right strategies, you can greatly reduce its impact and improve the overall performance of your surveillance system. Whether it’s adjusting the camera angle, applying an anti-reflective coating, optimizing the lighting setup, installing a protective cover, using a polarizing filter, utilizing infrared illumination, or performing regular maintenance and cleaning, each step plays a vital role in minimizing reflection and ensuring clear and accurate footage.
Take the time to assess your specific situation and determine the best solutions for your glass security camera. Experiment with different techniques and adjust as necessary to achieve optimal results. Remember that maintaining a balance between minimizing reflection and maximizing surveillance coverage is crucial.
By following these steps and maintaining a proactive approach to reflection management, you can enhance the effectiveness of your home security and surveillance system. Enjoy the peace of mind that comes with knowing that your glass security camera is capturing high-quality, reliable footage, providing you with valuable protection and security for your home and loved ones.
Frequently Asked Questions about How To Stop Reflection On A Glass Security Camera
Was this page helpful?
At Storables.com, we guarantee accurate and reliable information. Our content, validated by Expert Board Contributors, is crafted following stringent Editorial Policies. We're committed to providing you with well-researched, expert-backed insights for all your informational needs.
