Home>Home Security and Surveillance>How To Hide Infrared Lights On Security Camera
Home Security and Surveillance
How To Hide Infrared Lights On Security Camera
Modified: August 28, 2024
Learn how to effectively hide infrared lights on your security camera to enhance your Home Security and Surveillance without compromising visibility or detection.
(Many of the links in this article redirect to a specific reviewed product. Your purchase of these products through affiliate links helps to generate commission for Storables.com, at no extra cost. Learn more)
Introduction
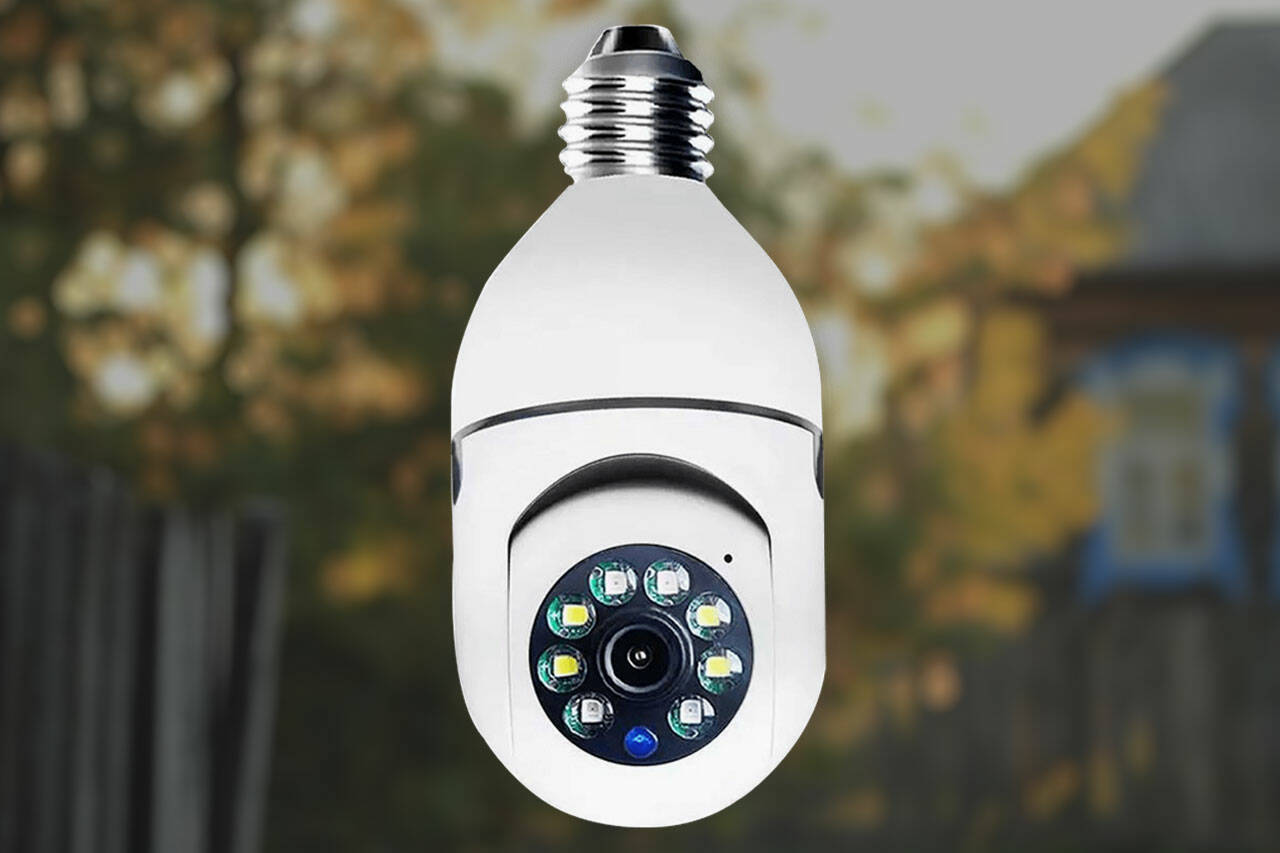
Home security and surveillance systems play a crucial role in protecting your property and ensuring the safety of your loved ones. In recent years, advancements in technology have led to the widespread use of security cameras with infrared lights. These lights enable cameras to capture clear footage in low-light conditions, making them an essential feature of modern security systems.
However, there are situations where you may want to hide the infrared lights on your security cameras. Perhaps you’re concerned about potential intruders spotting the lights and avoiding detection or you simply prefer a more discreet surveillance setup. Whatever the reason, there are various methods to conceal or disable the infrared lights on your security cameras.
In this article, we will explore different techniques you can use to hide the infrared lights on your security cameras. By implementing these methods, you can create a more inconspicuous surveillance system without compromising the effectiveness of your security measures.
Key Takeaways:
- Hiding infrared lights on security cameras can be done using methods like taping over the lights, using concealment covers, or adjusting camera settings. This helps maintain discreet surveillance without compromising security.
- Natural obstacles and camouflage techniques can also hide infrared lights effectively. It’s important to test the camera’s performance after implementing these methods and ensure compliance with local laws.
Why Hide Infrared Lights on Security Cameras?
While infrared lights are an important feature of security cameras, there are circumstances where you might want to hide or disable them. Here are a few reasons why you may choose to conceal the infrared lights on your security cameras:
- Preventing Detection: In some situations, you may want to prevent potential criminals or intruders from identifying the presence of security cameras. By hiding the infrared lights, you make it harder for them to spot the cameras, increasing the chances of capturing their actions discreetly.
- Aesthetics and Discretion: If aesthetics is a concern for you, you may prefer to have a more discreet and subtle surveillance system. Concealing the infrared lights helps to maintain the overall appearance of your home or business without drawing unnecessary attention to the cameras.
- Avoiding Deterrent Effect: Infrared lights can act as a deterrent, warning potential intruders that they are being monitored. However, there may be cases where you want to capture more candid or natural behavior without the presence of visible surveillance equipment.
- Enhancing Covert Operations: Certain security operations may require undercover surveillance or the gathering of evidence without alerting the subjects being monitored. By hiding the infrared lights, you can conduct covert operations and maintain the element of surprise.
- Protecting Equipment: Infrared lights are a potential target for vandalism or tampering. By concealing them, you reduce the risk of damage to your security camera system, ensuring its functionality and longevity.
It’s important to note that while hiding the infrared lights on your security cameras can offer these benefits, it’s essential to comply with local laws and regulations regarding surveillance and privacy. Ensure that you are not infringing on any legal requirements when implementing these methods.
Methods to Hide Infrared Lights
If you’ve decided to hide the infrared lights on your security cameras, there are several effective methods you can employ. Let’s explore these methods in detail:
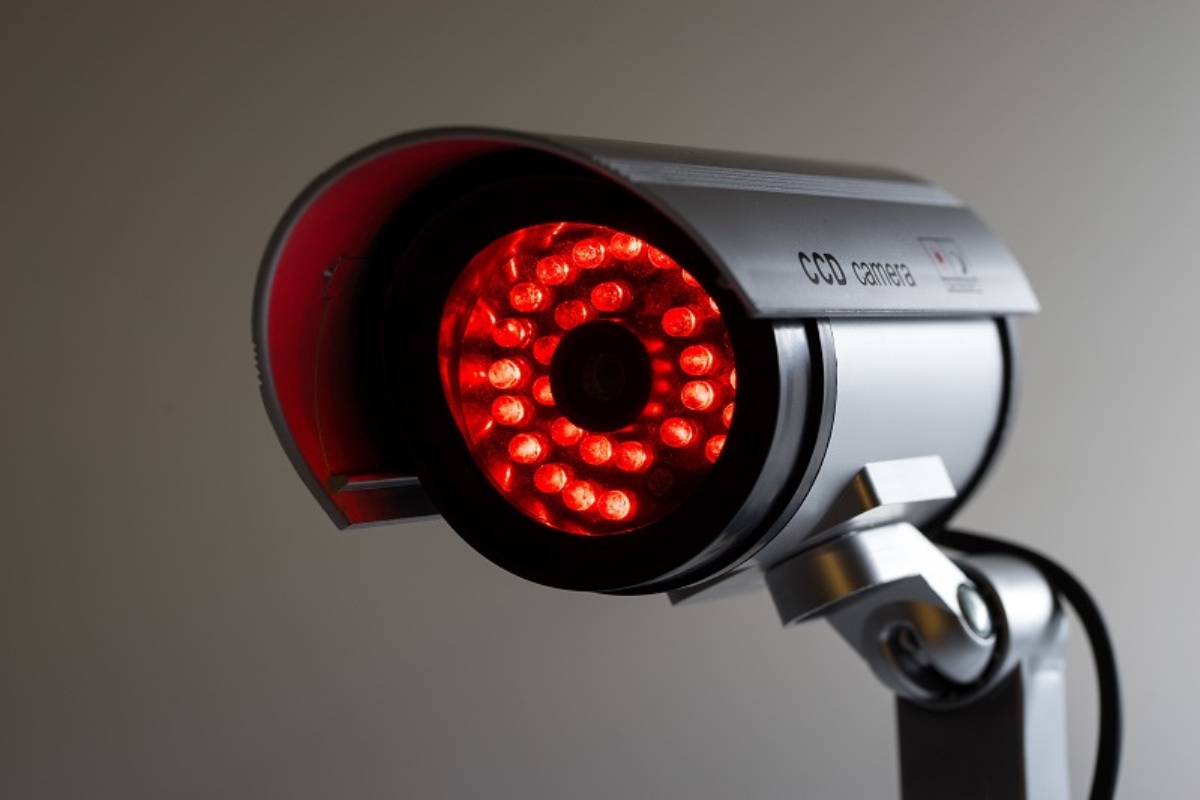
- Taping or Painting Over the Infrared LEDs: One of the simplest ways to conceal the infrared lights is by using electrical tape or paint to cover the LEDs. This method effectively blocks the emitted light, rendering it invisible to the naked eye. However, it’s important to ensure that the tape or paint does not interfere with the camera’s image quality or obstruct the view.
- Using an Infrared Illuminator with a Concealing Cover: An alternative approach is to use an infrared illuminator with a cover that conceals the emitted light. These covers, often made of materials like plastic or tinted glass, help disperse and diffuse the infrared light, making it less noticeable.
- Installing an Infrared Light Blocker: Infrared light blockers are specifically designed accessories that mount directly on the front of security cameras. These blockers filter out the infrared light, preventing it from being emitted. They are available in various sizes and designs to accommodate different camera models.
- Adjusting Camera Settings to Disable Infrared Lights: Many security cameras offer settings to disable or adjust the infrared lights. By accessing the camera’s settings menu, you can deactivate the infrared functionality or reduce the intensity of the emitted light. Keep in mind that disabling the infrared lights may impact the camera’s ability to capture clear footage in low-light conditions.
- Using Smoked or Tinted Camera Covers: Another effective method is to use smoked or tinted camera covers. These covers provide a layer of camouflage, making it harder to spot the infrared lights. The tinted material slightly reduces the visibility of the lights without significantly affecting the camera’s image quality.
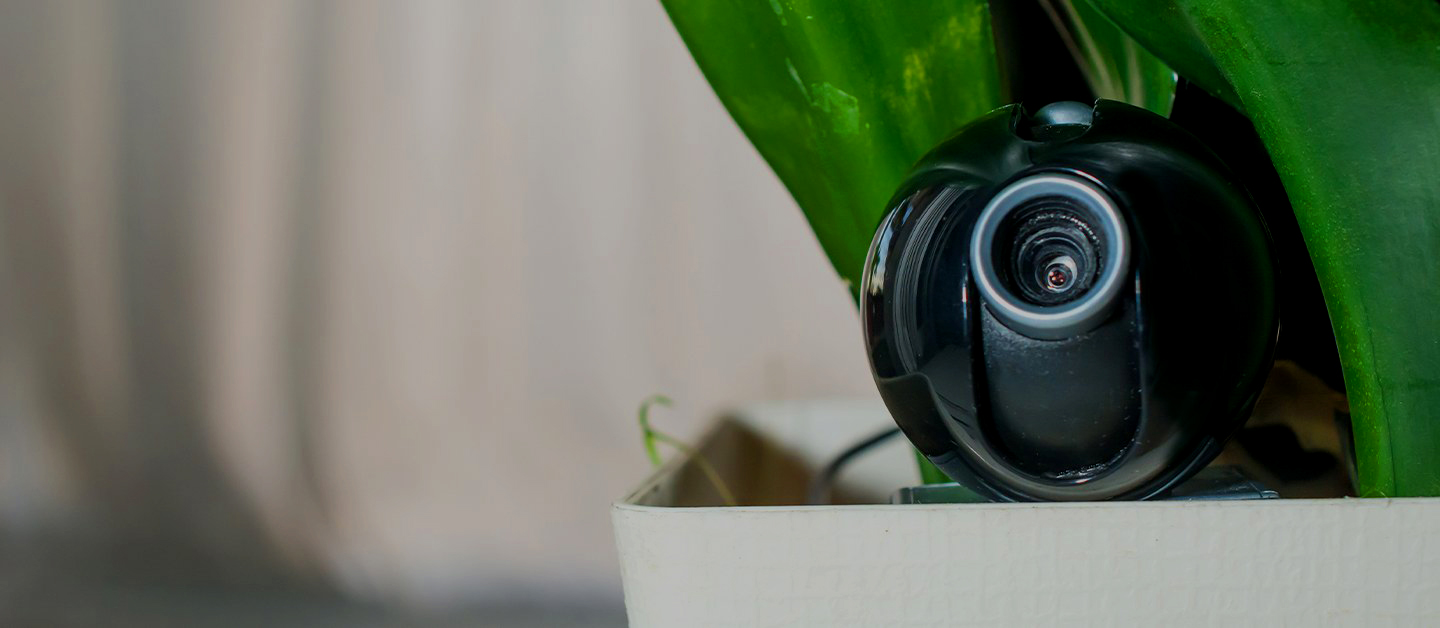
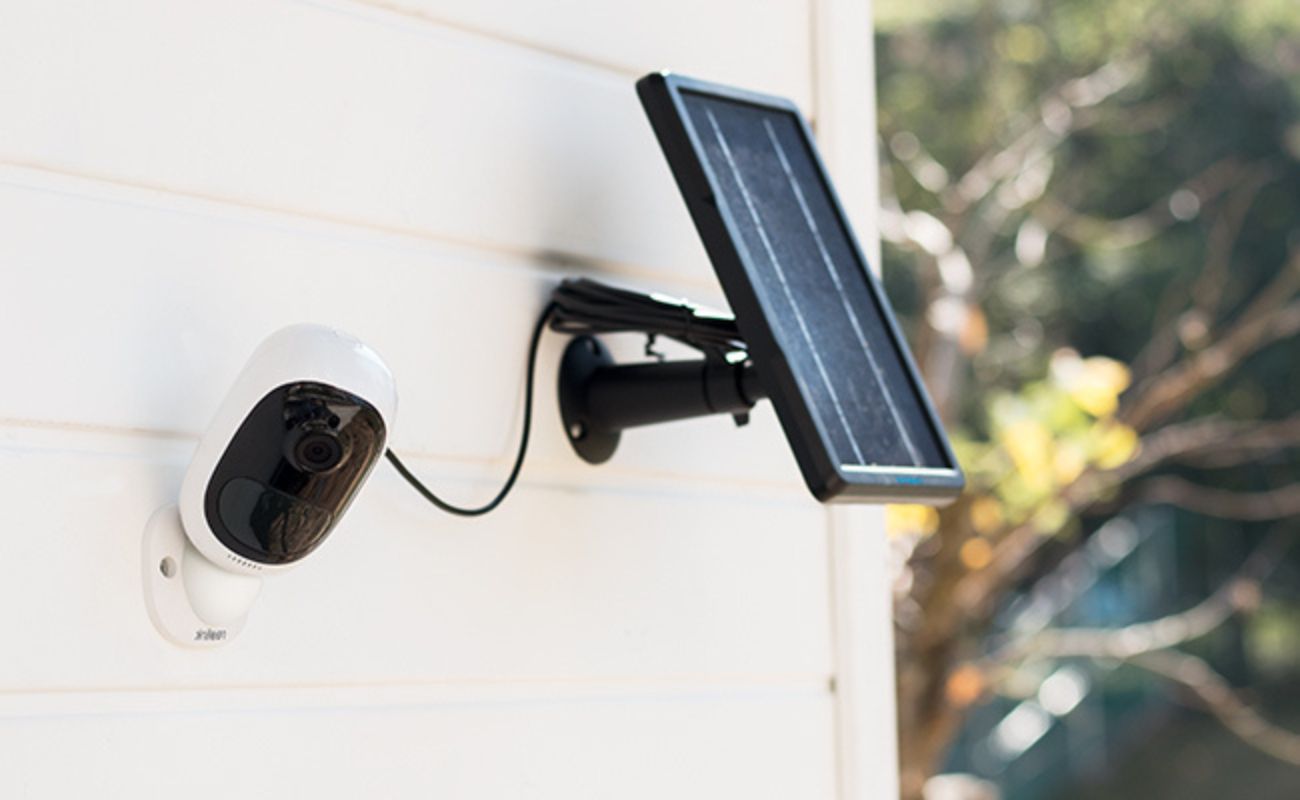
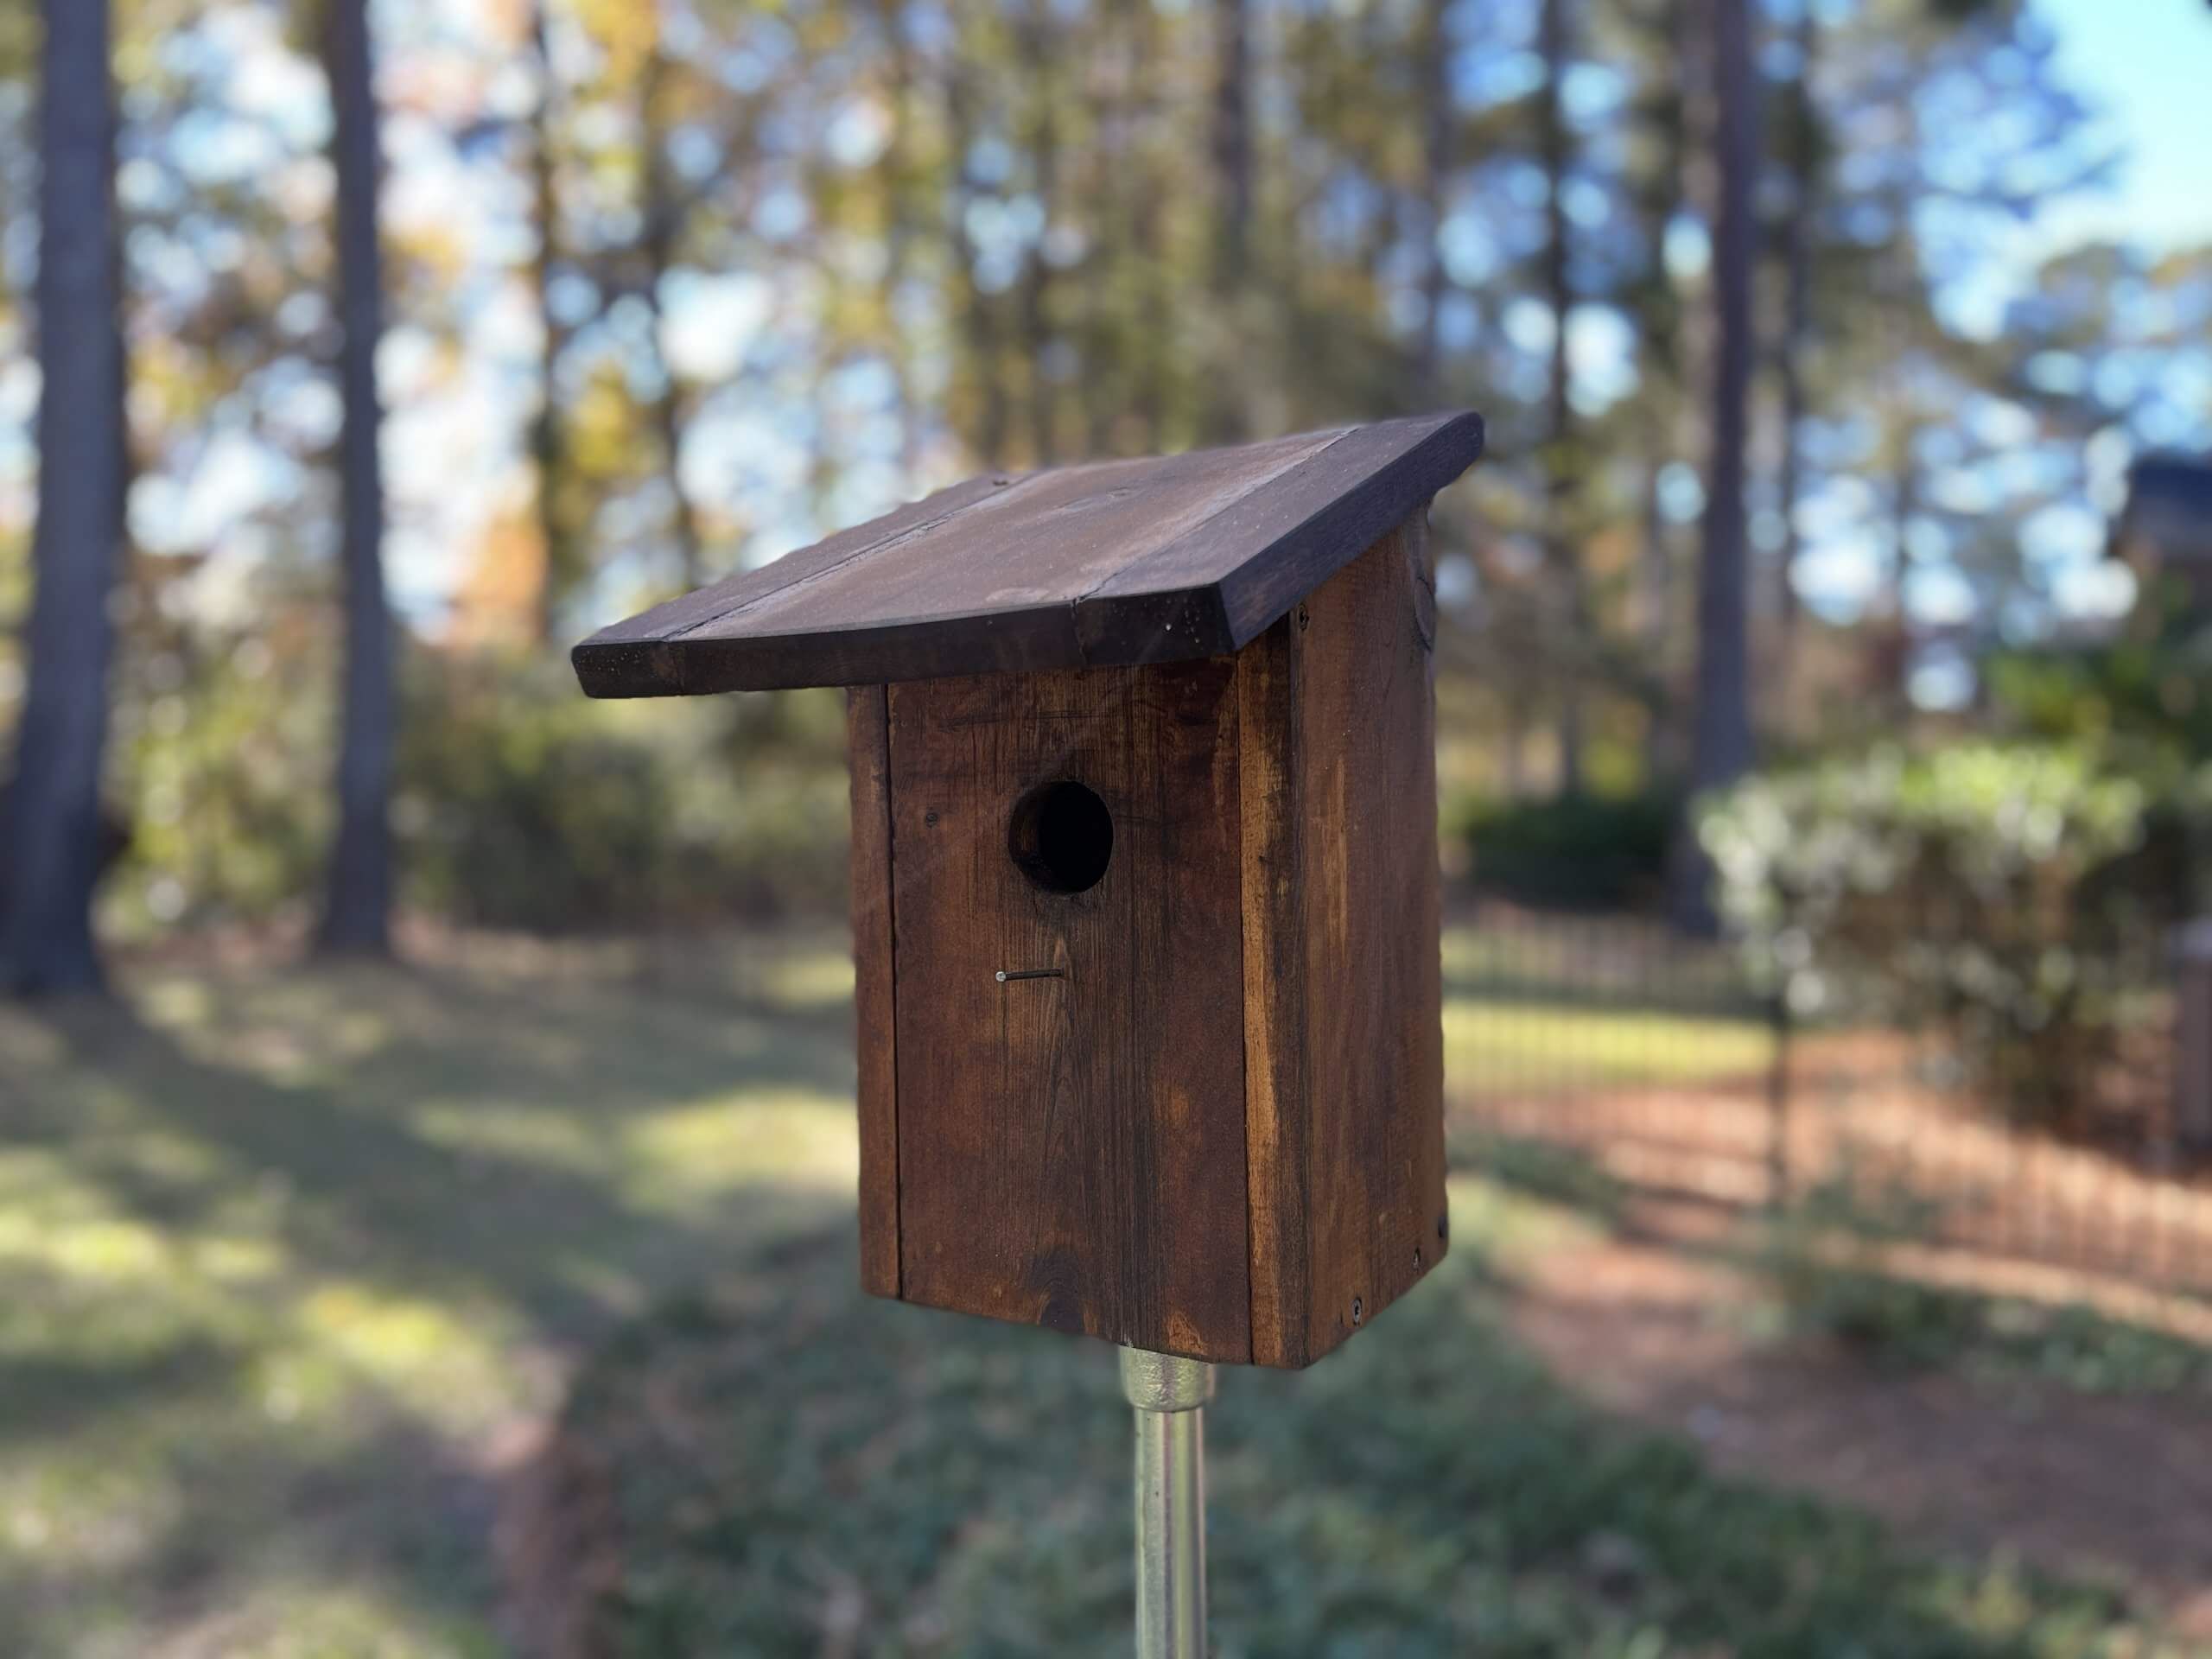
- Installing Security Cameras Behind Opaque Objects: Placing your security cameras strategically behind objects such as plants, blinds, or decorative elements can help conceal the infrared lights. The objects act as a barrier, blocking the direct line of sight to the camera and making the lights less visible.
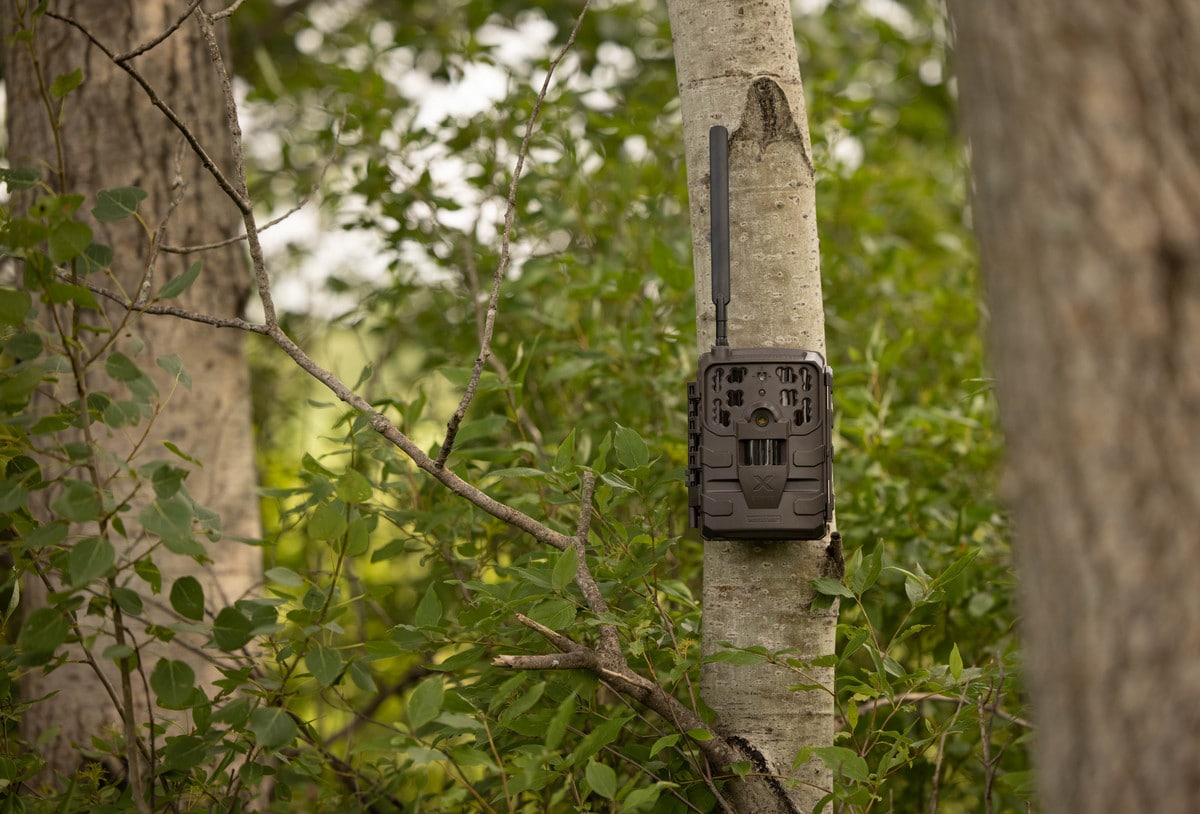
- Utilizing Natural Obstacles to Conceal Infrared Lights: Infrared lights can be hidden by utilizing natural elements in your environment. Trees, shrubs, or other landscaping features can help obstruct the view of the lights while providing an added layer of camouflage.
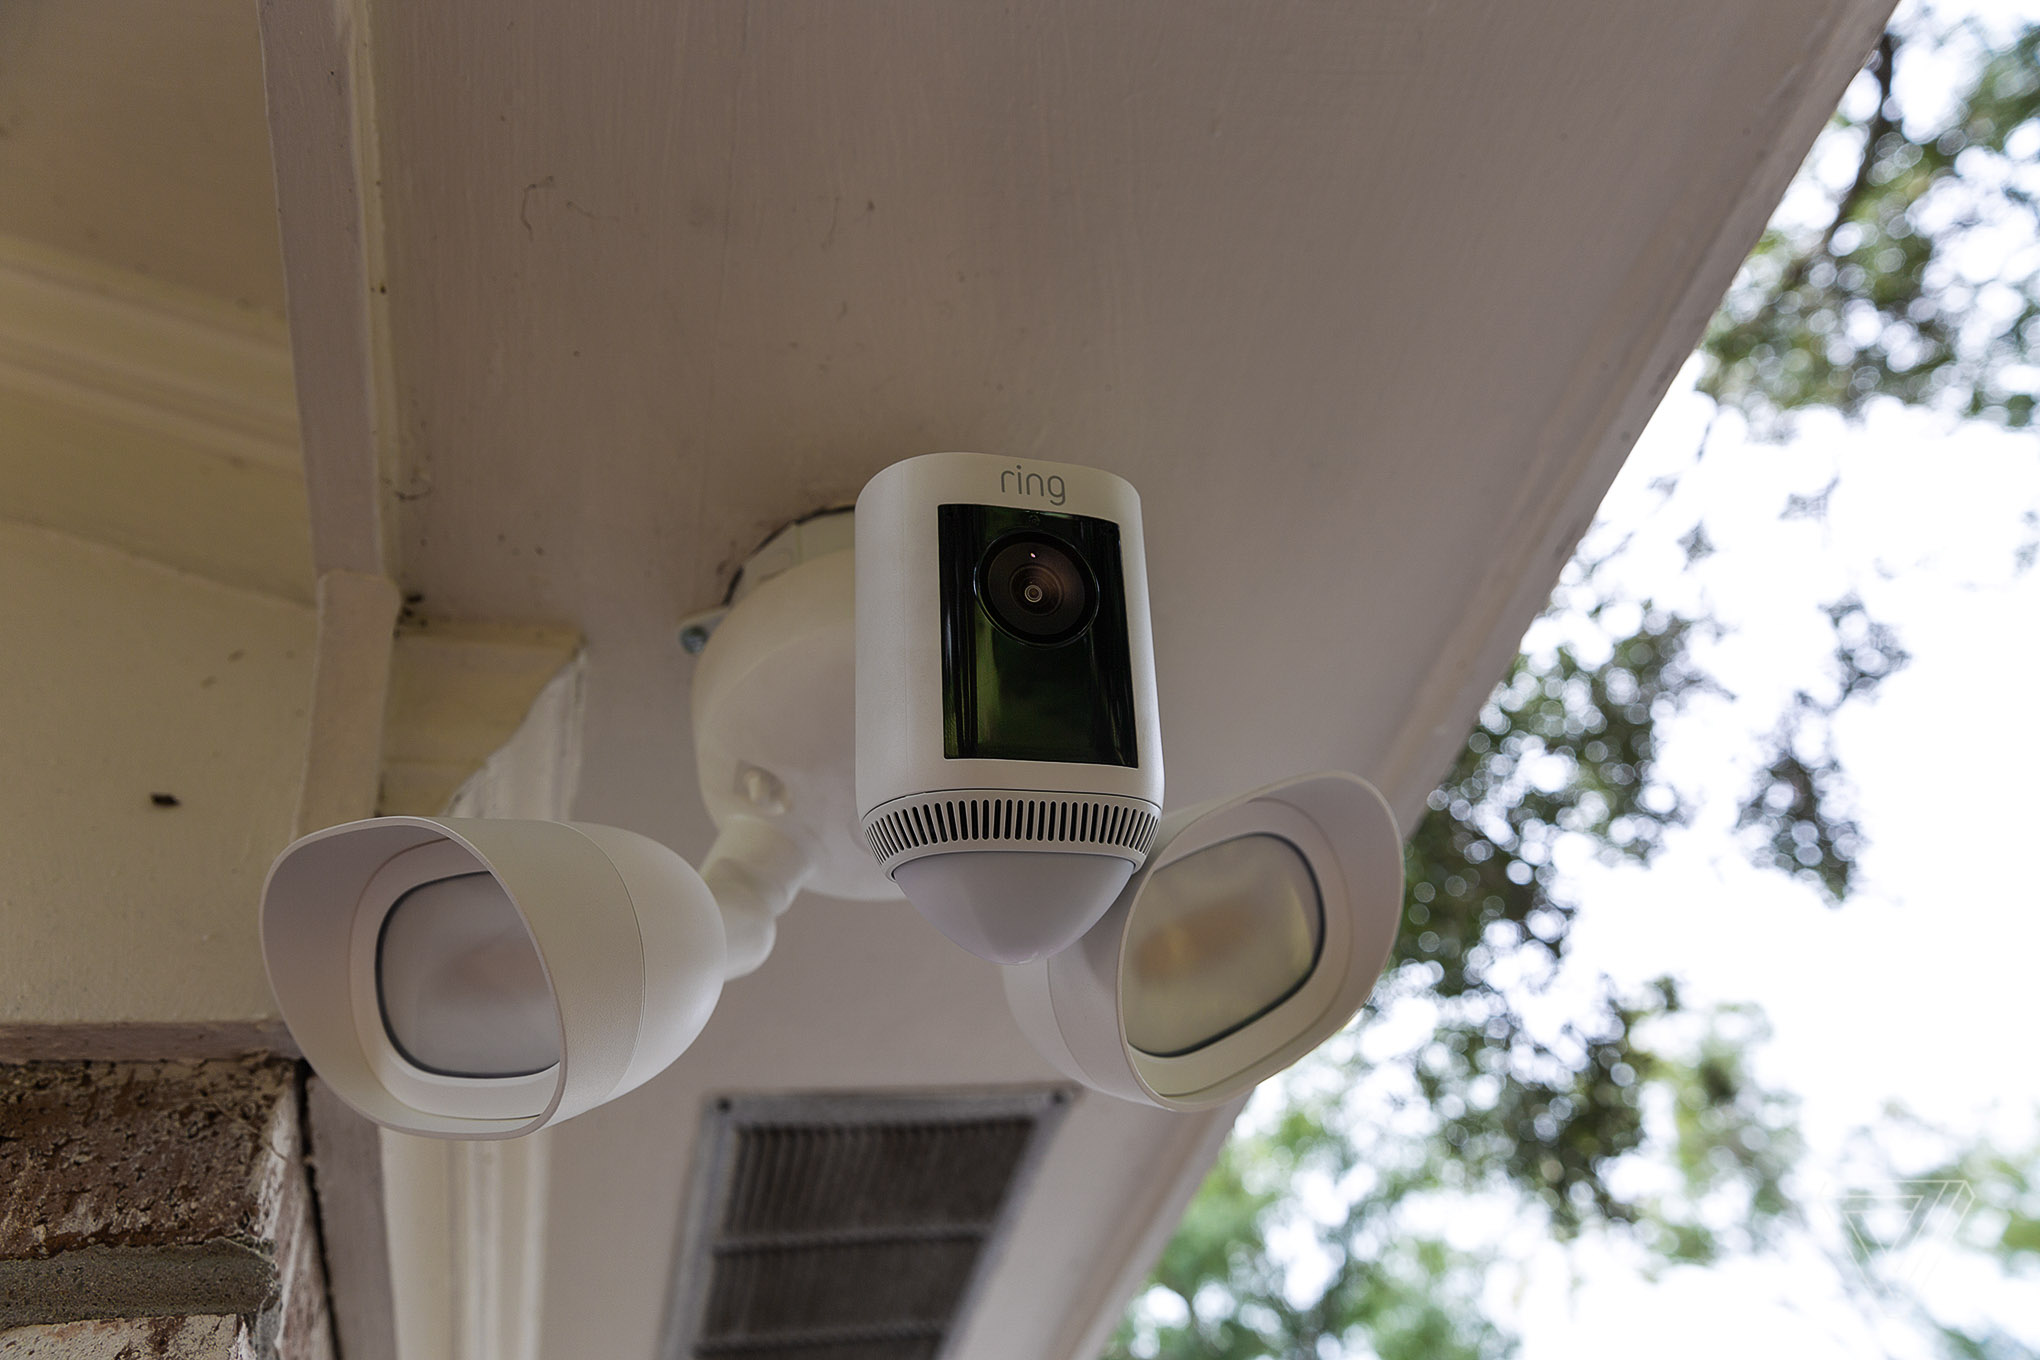
- Blending Infrared Lights with Surrounding Environment: Integrating the security cameras into their surroundings can help disguise the infrared lights. Painting the camera housing to match the wall color, using camouflage wraps or skins, or positioning the cameras in areas with similar color tones can help blend the lights seamlessly.
When implementing any of these methods, it’s important to test the camera’s functionality and ensure that the image quality and overall surveillance effectiveness are not compromised. Additionally, consider the specific requirements and limitations of your security system before deciding on the best approach.
Taping or Painting Over the Infrared LEDs
One of the easiest and most cost-effective methods to hide the infrared lights on your security cameras is by using electrical tape or paint to cover the LEDs. This method effectively blocks the emitted infrared light, making it invisible to the naked eye.
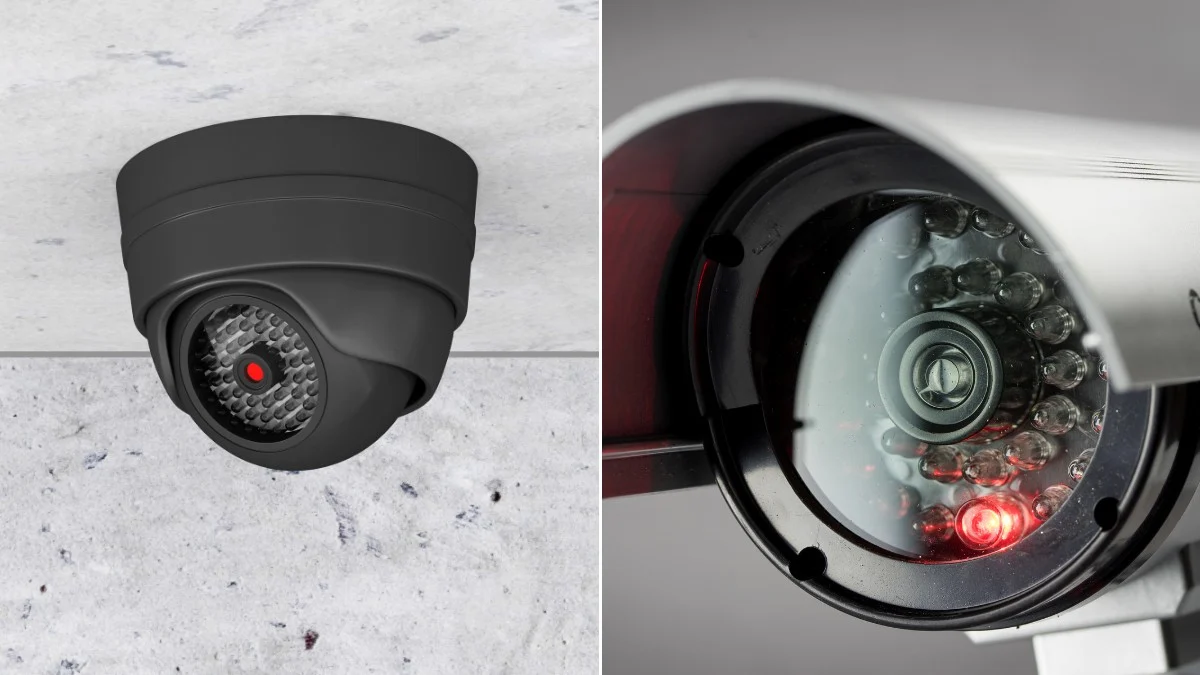
To apply this technique, start by identifying the location of the infrared LEDs on your camera. Typically, you’ll find the LEDs surrounding the camera lens or integrated into the camera housing. Once located, clean the area surrounding the LEDs to ensure proper adhesion of the tape or paint.
If using electrical tape, carefully cut small pieces to fit over the individual LEDs or the entire LED cluster, depending on your preference. Make sure the tape adheres firmly to the surface, completely covering the lights without interfering with the camera lens or obstructing the view.
Alternatively, if you opt for painting, choose a matte black or any color that matches your camera housing or the surroundings. Using a small brush or a cotton swab, carefully apply a thin even layer of paint over the infrared LEDs. Allow the paint to dry completely before testing the camera to ensure that the image quality remains unaffected.
It’s important to note that while taping or painting over the infrared LEDs effectively hides the lights, you should exercise caution to avoid obstructing the camera’s view or compromising its performance. Test the camera after applying these methods to ensure that the image quality remains clear, especially in low-light conditions.
Additionally, consider the maintenance aspect of this method. If you need to access the LEDs for any reason, such as adjusting camera settings or cleaning the lens, make sure it’s easy to remove or reapply the tape or paint without causing any damage to the camera.
Remember to comply with any local laws or regulations regarding the modification of security cameras. It’s important to ensure that you are not infringing on any legal requirements when applying this technique.
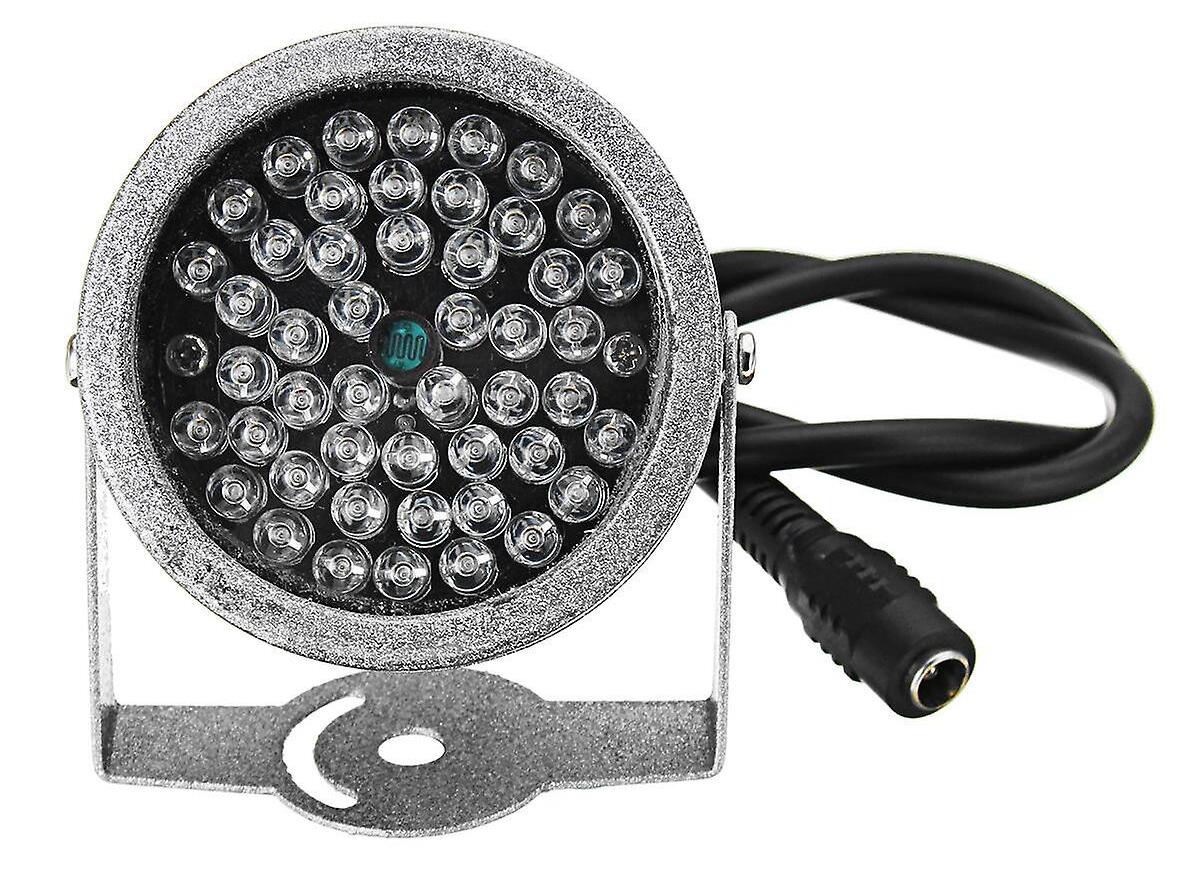
Using an Infrared Illuminator with a Concealing Cover
Another effective method for hiding the infrared lights on your security cameras is by using an infrared illuminator with a concealment cover. An infrared illuminator is a separate device that emits infrared light, enhancing the camera’s visibility in low-light conditions.
To implement this method, you’ll need to purchase an infrared illuminator that is compatible with your security camera system. These illuminators come in various sizes and power options, so choose one that suits your specific needs.
The concealment cover is a specialized accessory designed to fit over the infrared illuminator. It is typically made of plastic or tinted glass material that helps to disperse and diffuse the emitted infrared light, making it less noticeable to the human eye. The cover can be easily mounted onto the illuminator, providing an added layer of camouflage.
When installing the infrared illuminator with the concealment cover, ensure that it is positioned in a way that aligns with the camera’s view and doesn’t obstruct the lens or field of vision. Mount the illuminator at a suitable distance from the camera to evenly distribute the infrared light across the surveillance area.
It’s important to note that both the infrared illuminator and the cover require a power source. Ensure that you have a dedicated power supply or the necessary connectivity to integrate them with your existing security camera system.
Before installing the concealed infrared illuminator, test the camera to ensure that the image quality remains clear and that the concealment cover does not introduce any unwanted glare or obstruction. Make necessary adjustments to the positioning or angle if required to achieve optimal results.
This method offers the advantage of maintaining the functionality of the infrared lights while making them less noticeable to potential intruders. It also provides flexibility in adjusting the intensity or position of the infrared illuminator for better coverage.
Keep in mind that the concealment cover may slightly reduce the range or effectiveness of the infrared illumination. Therefore, it’s essential to consider the specific coverage requirements of your surveillance area and test the camera’s performance to ensure that it meets your desired level of security.
Before installing any equipment or making modifications to your security camera system, familiarize yourself with local laws and regulations regarding surveillance and privacy. Always ensure compliance with these regulations to avoid any legal issues.
Read more: How To Hide From Security Cameras
Installing an Infrared Light Blocker
Installing an infrared light blocker is an effective method to hide the infrared lights on your security cameras. Designed specifically for this purpose, an infrared light blocker is a device that filters out the infrared light emitted by the camera, preventing it from being visible to the human eye.
To use this method, you’ll need to purchase an infrared light blocker that is compatible with your security camera model. These blockers come in various shapes and sizes, so choose one that fits your camera effectively.
The installation process typically involves attaching the light blocker directly to the front of the camera lens or housing. Most blockers are designed with a snap-on or screw-on mechanism for easy attachment and removal. Ensure that the blocker is securely fastened to avoid any movement or interference with the camera’s operation.
After installing the infrared light blocker, test the camera to ensure that the image quality remains clear and unaffected. Adjust the positioning or angle of the blocker if necessary for optimal results.
One advantage of using an infrared light blocker is that it allows you to maintain the functionality of the infrared lights while rendering them invisible to potential intruders. It eliminates the need for physically covering or disabling the infrared LEDs, ensuring that the camera can still capture clear footage in low-light conditions.
It’s important to note, however, that using an infrared light blocker may slightly reduce the camera’s effective range in low-light situations. This reduction in range can vary depending on the specific blocker and camera combination, so it’s crucial to test and evaluate the camera’s performance in different lighting conditions.
When implementing this method, consider the maintenance aspect as well. Ensure that the infrared light blocker is easy to remove or adjust when necessary, such as for camera cleaning or adjusting settings.
Before installing any equipment or modifying your security camera system, be sure to familiarize yourself with local laws and regulations regarding surveillance and privacy. It’s essential to comply with these regulations to avoid any legal complications.
Cover the infrared lights with black electrical tape to block the light from being visible to the camera, while still allowing the infrared to pass through.
Adjusting Camera Settings to Disable Infrared Lights
If you want to hide the infrared lights on your security cameras without any physical modifications, adjusting the camera settings to disable the infrared lights can be a viable option. Many security cameras offer settings that allow you to control and customize various aspects of their functionality, including the infrared lights.
To implement this method, access the camera’s settings menu using the manufacturer-provided software or through a web-based interface. Look for options related to the camera’s infrared functionality or night vision settings.
Depending on your camera model, you may find options to disable the infrared lights completely or adjust the intensity of the emitted light. Some cameras allow you to schedule specific time periods for the infrared lights to be disabled, such as during daylight hours when the camera can rely on natural light.
Before making any changes, it’s important to understand the impact on the camera’s performance. Disabling the infrared lights may result in reduced image quality and visibility in low-light conditions. Evaluate your specific surveillance needs and the lighting conditions of your monitored area to determine if this adjustment is suitable for your requirements.
It’s recommended to test the camera after making changes to the settings to ensure that it continues to capture clear footage and meets your desired level of security.
Keep in mind that adjusting camera settings to disable infrared lights may have implications for areas that experience frequent low-light or nighttime activity. Consider the specific surveillance needs of your environment and find the right balance between hidden infrared lights and maintaining adequate visibility.
Additionally, familiarize yourself with any local laws and regulations pertaining to surveillance and privacy. Ensure that any changes you make comply with these regulations to avoid any legal issues.
This method provides a non-intrusive way to hide the infrared lights while relying on other light sources for surveillance. It allows you to maintain the functionality of the camera’s night vision capabilities and capture clear footage under different lighting conditions.
Using Smoked or Tinted Camera Covers
Using smoked or tinted camera covers is an effective method to hide the infrared lights on your security cameras while maintaining their functionality. These covers are designed to provide a layer of camouflage that makes the infrared lights less visible to the human eye.
To implement this method, you can purchase camera covers specifically designed for your security camera model. These covers are typically made of a smoked or tinted material that slightly reduces the visibility of the infrared lights without significantly affecting the camera’s image quality.
Installing the smoked or tinted camera cover is usually a straightforward process. Most covers are designed to fit snugly over the camera lens or housing, ensuring a secure fit. Follow the manufacturer’s instructions for proper installation, and make sure the cover does not obstruct the view of the lens or interfere with the camera’s operation.
After installing the cover, test the camera to ensure that the image quality remains clear and that the cover does not introduce any unwanted glare or artifacts. Make any necessary adjustments to the positioning or angle of the cover to achieve optimal results.
One of the advantages of using smoked or tinted camera covers is that they provide a discreet way to hide the infrared lights while still allowing the camera to capture clear footage in low-light conditions. The covers blend the camera into its surroundings, making it less noticeable to potential intruders or unwanted attention.
However, it’s important to note that using smoked or tinted camera covers may slightly reduce the effective range of the infrared lights. Consider the specific surveillance requirements of your area and test the camera’s performance in different lighting conditions to ensure it meets your desired level of security.
Before installing any equipment or modifying your security camera system, familiarize yourself with local laws and regulations governing surveillance and privacy. It’s essential to comply with these regulations to avoid any legal complications.
Using smoked or tinted camera covers is an excellent option for those who prefer a subtle and inconspicuous surveillance setup while still benefiting from the infrared capabilities of their security cameras.
Installing Security Cameras Behind Opaque Objects
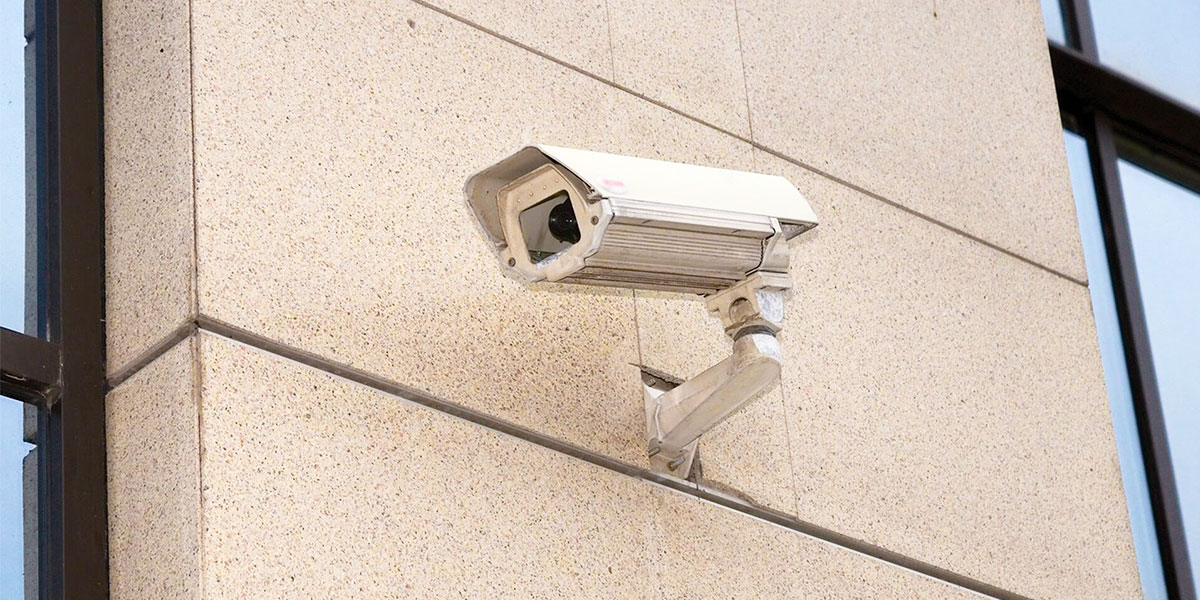
Installing security cameras behind opaque objects is a clever method to hide the infrared lights while maintaining effective surveillance. By strategically placing the cameras behind such objects, you can obstruct the direct line of sight to the infrared lights, making them less visible to potential intruders.
Identify areas in your property where you can position the security cameras behind objects like plants, blinds, curtains, or decorative elements. These objects should be thick or dense enough to effectively block the view of the infrared lights.
Ensure that the object used does not obstruct the camera’s field of view or interfere with its functionality. Experiment with different placements and angles to find the optimal position that both conceals the infrared lights and captures the desired surveillance area effectively.
When installing the camera, make sure it is securely mounted and positioned to provide a clear line of sight without compromising its ability to capture footage. Test the camera after installation to ensure that the image quality remains clear and uninterrupted.
This method offers the advantage of hiding the infrared lights while maintaining the functionality and effectiveness of the security cameras. By utilizing opaque objects in your environment, you create a discreet surveillance setup that blends seamlessly with its surroundings.
It’s important to note that while installing security cameras behind opaque objects provides camouflage for the infrared lights, it may impact the camera’s visibility in low-light conditions. Consider the lighting conditions of the monitored area and ensure that the camera’s performance meets your desired level of security.
Prior to installing any equipment or modifying your security camera system, familiarize yourself with local laws and regulations governing surveillance and privacy. Always comply with these regulations to ensure you are using your security cameras in a lawful manner.
By installing security cameras behind opaque objects, you can effectively hide the infrared lights while maintaining a discreet and inconspicuous surveillance system.
Read more: How To Hide An Outdoor Security Camera
Utilizing Natural Obstacles to Conceal Infrared Lights
Another effective method to hide the infrared lights on your security cameras is by utilizing natural obstacles in your environment. Trees, shrubs, and other landscaping elements can be strategically positioned to obstruct the direct line of sight to the infrared lights, making them less noticeable to potential intruders.
Take a look at your property and identify areas where natural obstacles can be utilized to conceal the infrared lights on your security cameras. Consider the placement of trees, tall shrubs, or dense foliage that can act as a barrier between the camera and the viewing area.
When positioning the security cameras, ensure that they are mounted securely and have a clear line of sight to the areas you want to monitor. Adjust the camera angles and heights to align with the natural obstacles, allowing them to effectively block the view of the infrared lights.
It’s important to note that while utilizing natural obstacles provides a discreet way to hide the infrared lights, it may also impact the camera’s field of view and potentially reduce visibility in certain areas. A careful balance needs to be struck between maintaining effective surveillance coverage and utilizing the natural landscape.
After installing the cameras and utilizing natural obstacles, test the camera’s performance to ensure that the image quality remains clear and unobstructed. Adjust the camera angles or reposition natural elements if necessary to optimize the surveillance coverage.
This method offers the advantage of integrating your security cameras seamlessly into their natural surroundings while effectively concealing the infrared lights. It provides a more inconspicuous surveillance setup that can go unnoticed by potential intruders.
It’s crucial to consider the growth and maintenance of the natural obstacles used. Regular trimming and pruning may be necessary to ensure they do not obstruct the camera’s view or compromise its performance.
Before installing any equipment or modifying your security camera system, familiarize yourself with local laws and regulations governing surveillance and privacy. Comply with these regulations to ensure that you are using your security cameras in a lawful and responsible manner.
By utilizing natural obstacles to conceal the infrared lights on your security cameras, you can create a discreet surveillance system that blends harmoniously with your environment.
Blending Infrared Lights with Surrounding Environment
To create a seamless and inconspicuous surveillance system, another effective method to hide the infrared lights on your security cameras is to blend them with the surrounding environment. By ensuring that the infrared lights match their surroundings, they become less noticeable to potential intruders.
One way to achieve this is by painting the camera housing to match the color of the wall or the surroundings where it is installed. Use paint that is specifically formulated for outdoor use and compatible with the camera’s material. Choose a color that closely matches the background, such as beige, gray, or brown.
In addition to painting the housing, you can also use camouflage wraps or skins that are designed to cover the camera and blend it with the environment. These wraps typically feature natural patterns like leaves, trees, or rocks, making the camera more discreet and harder to spot.
When installing the camera, consider the placement and positioning to further enhance its camouflage. Look for areas that naturally provide some cover or where the camera is partially hidden by other objects.
It’s important to note that while blending the infrared lights with the surrounding environment helps hide them, it’s crucial to maintain the functionality of the lights for effective surveillance. Ensure that the painting or camouflage wraps do not interfere with the camera’s performance or obstruct the infrared lights’ emission.
Test the camera after implementing this method to ensure that the image quality remains clear and unaffected. Adjust the installation or positioning if needed to achieve optimal surveillance coverage.
Before installing any equipment or making modifications to your security camera system, familiarize yourself with local laws and regulations governing surveillance and privacy. It’s essential to comply with these regulations to avoid any legal complications.
By blending the infrared lights with the surrounding environment, you create a more visually seamless surveillance system that is less likely to attract attention.
Conclusion
When it comes to home security and surveillance, hiding the infrared lights on your security cameras can be a valuable tactic to maintain a discreet and inconspicuous surveillance system. Whether you want to prevent detection by potential intruders, enhance the aesthetics of your property, or conduct covert operations, there are several effective methods to hide the infrared lights while maintaining the functionality of your security cameras.
By taping or painting over the infrared LEDs, using an infrared illuminator with a concealment cover, installing an infrared light blocker, adjusting camera settings to disable the infrared lights, using smoked or tinted camera covers, installing cameras behind opaque objects, utilizing natural obstacles, or blending the infrared lights with the surrounding environment, you can create a surveillance system that meets your specific needs.
It’s essential to consider the specific requirements of your property and surveillance goals when choosing a method to hide the infrared lights. Test the camera’s performance after implementing any changes to ensure that the image quality remains clear and the surveillance coverage meets your desired level of security.
Furthermore, always verify compliance with local laws and regulations regarding surveillance and privacy before installing any equipment or making modifications to your security camera system.
Remember, the primary goal is to strike a balance between effectively concealing the infrared lights and maintaining the necessary surveillance capabilities. By implementing these methods, you can create a more inconspicuous surveillance system that blends seamlessly into your environment while ensuring the safety and security of your property and loved ones.
Frequently Asked Questions about How To Hide Infrared Lights On Security Camera
Was this page helpful?
At Storables.com, we guarantee accurate and reliable information. Our content, validated by Expert Board Contributors, is crafted following stringent Editorial Policies. We're committed to providing you with well-researched, expert-backed insights for all your informational needs.