Home>Home Security and Surveillance>How To Turn Off Older Alarm Systems
Home Security and Surveillance
How To Turn Off Older Alarm Systems
Modified: March 6, 2024
Learn how to turn off older alarm systems in your home for enhanced home security and surveillance. Follow our step-by-step guide to ensure a smooth process.
(Many of the links in this article redirect to a specific reviewed product. Your purchase of these products through affiliate links helps to generate commission for Storables.com, at no extra cost. Learn more)
Introduction
Welcome to the world of home security and surveillance! In today’s modern age, protecting our homes and loved ones has become a top priority. With technology continuously advancing, older alarm systems may not meet the needs of today’s homeowners. These systems, which were once cutting-edge, may now be outdated and in need of replacement or deactivation. If you find yourself in this situation, fear not! In this article, we will guide you through the process of turning off older alarm systems, ensuring a smooth transition to a more up-to-date security solution.
Understanding older alarm systems can be a daunting task, especially if you’re unfamiliar with their components and functionality. However, with a little knowledge and guidance, you can effectively and safely navigate the process of deactivating these systems.
The following steps will guide you through turning off an older alarm system:
Key Takeaways:
- Deactivating an older alarm system involves identifying the model, disarming, disconnecting power, removing backup batteries, and informing the monitoring service to ensure a smooth transition to a new security solution.
- Testing the system after deactivation is crucial to confirm that all components have been properly disconnected and that the alarm system will no longer trigger any false alarms or alerts.
Read more: How To Turn Off Older Fire Alarm Systems
Understanding Older Alarm Systems
Before diving into the process of turning off an older alarm system, it’s important to familiarize yourself with its components and operation. Older alarm systems typically consist of a control panel, sensors, devices, and a connection to a monitoring service. These systems often use wired connections, such as phone lines, to communicate with the monitoring service and trigger alarms when a break-in or other security breach is detected.
Control Panel: The control panel is the brain of the alarm system. It houses the circuitry and controls the various sensors and devices connected to the system. It may have a keypad for arming and disarming the system, as well as indicator lights to show system status.
Sensors: Sensors, such as door and window sensors, motion detectors, and glass break sensors, are strategically placed throughout the home to detect unauthorized entry or movement. When triggered, these sensors send a signal to the control panel, which then activates the alarm.
Devices: Alarm systems may include devices like sirens, strobe lights, and panic buttons. These devices are designed to alert occupants and deter intruders in the event of a security breach.
Monitoring Service: Older alarm systems often utilize a monitoring service that receives signals from the alarm system and dispatches the necessary authorities or contacts the homeowner in the event of an alarm activation. This service is usually connected to the alarm system through a phone landline.
Now that you have a basic understanding of the components of an older alarm system, let’s move on to the steps you need to take to turn off the system and ensure it no longer functions.
Step 1: Identifying the Alarm System Model
Before you can effectively turn off an older alarm system, it’s important to identify the specific model you are working with. This information will help you navigate the deactivation process more efficiently, as different alarm systems may have unique procedures for disarming and disabling. Here’s how you can identify your alarm system model:
- Check the control panel: The control panel of your alarm system may have a manufacturer’s label or logo that can indicate the model name. Look for any identifying information or labels on the control panel’s exterior.
- Consult the system documentation: If you have the original documentation or user manual for your alarm system, refer to it to find the model name and any specific instructions for deactivation.
- Contact the manufacturer or installation company: If you’re unable to find the model information on the control panel or in the documentation, reach out to the manufacturer or the company that installed the alarm system. They should be able to provide you with the necessary information based on your system’s installation records.
Identifying the alarm system model is a crucial first step in the deactivation process, as it will ensure that you are following the correct procedures for your specific system. With the model information in hand, you can now move on to locating the control panel, the next step in turning off your older alarm system.
Step 2: Locating the Control Panel
Now that you have identified the alarm system model, the next step is to locate the control panel. The control panel is the central hub of the alarm system, where all the wiring and connections are made. Here’s how you can find the control panel:
- Check common locations: Control panels are typically installed in easily accessible areas of the home, such as a basement, utility room, or closet. Check these areas first to see if you can locate the control panel.
- Follow the wiring: The control panel is usually connected to all the sensors and devices throughout the house via wiring. Trace the wiring from one of the sensors to its ultimate destination, which is likely the control panel.
- Look for a metal box: In most cases, the control panel is housed in a metal box or enclosure to protect it from tampering and environmental factors. Look for a box mounted on the wall or hidden behind a removable panel.
- Refer to the system documentation: If you still can’t find the control panel, consult the system documentation or user manual. It may provide additional guidance on the location of the control panel for your specific model.
Once you have located the control panel, you can proceed to the next step and begin the process of disarming the system. It’s important to exercise caution during this process and follow any safety precautions outlined in the system documentation.
Step 3: Disarming the System
Now that you have successfully located the control panel of your older alarm system, it’s time to disarm the system. Disarming the system will prevent it from triggering any alarms or alerts while you proceed with turning it off. Here’s how you can disarm the system:
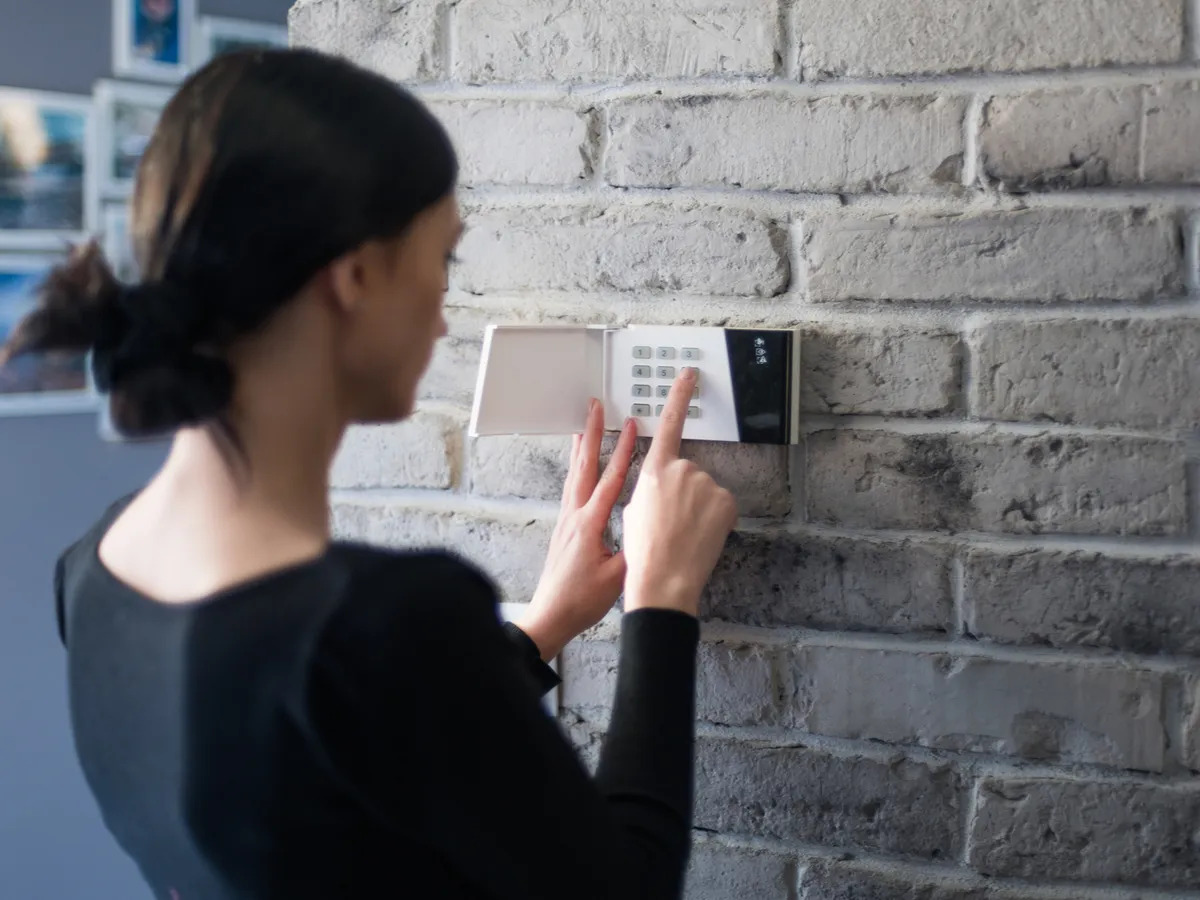
- Locate the keypad: Many older alarm systems have a keypad on the control panel or in a separate location. This keypad is used to arm and disarm the system. Find the keypad and make sure it’s accessible.
- Enter the disarm code: Using the keypad, enter the disarm code for your alarm system. This code is typically provided by the system installer or may be a default code specified in the system documentation. The disarm code is usually a sequence of numbers that needs to be entered accurately to disarm the system.
- Verify system status: Once you have entered the disarm code, the system should display a message indicating that it has been disarmed successfully. Check the keypad or control panel for any confirmation message or indicator light that confirms the system is disarmed.
If you encounter any difficulties or don’t have the disarm code for your alarm system, refer to the system documentation or contact the manufacturer or installation company for assistance. It’s important to note that if you cannot disarm the system using the keypad, you may need to proceed to the next step and disconnect the power source to disable the system completely.
By successfully disarming the alarm system, you have taken a significant step towards turning it off. Now, let’s move on to Step 4 and learn how to disconnect the power source.
Step 4: Disconnecting Power Source
With the alarm system disarmed, it’s time to disconnect the power source to fully deactivate the system. Disconnecting the power source will ensure that the alarm system no longer receives power and cannot function. Here’s how you can disconnect the power source:
- Locate the power supply: The power supply for the alarm system is typically connected to the control panel. Look for a power cord or wire that leads to an electrical outlet or wiring junction box.
- Unplug the power cord: Once you have identified the power supply, unplug the power cord from the electrical outlet or disconnect it from the wiring. This will cut off the supply of electricity to the alarm system.
- Verify power disconnection: After disconnecting the power source, check the control panel or any indicator lights to ensure that there is no power going to the system. If the control panel or any lights remain lit, double-check the power connection and ensure it is fully disconnected.
It’s important to note that some older alarm systems may have a backup battery that can provide power even if the main power source is disconnected. To ensure complete deactivation, it is crucial to remove the backup batteries, which will be addressed in the next step.
By disconnecting the power source, you have effectively disabled the alarm system. However, it’s essential to continue with the deactivation process to ensure that all components of the system are rendered inactive. Let’s move on to Step 5 and learn how to remove the backup batteries.
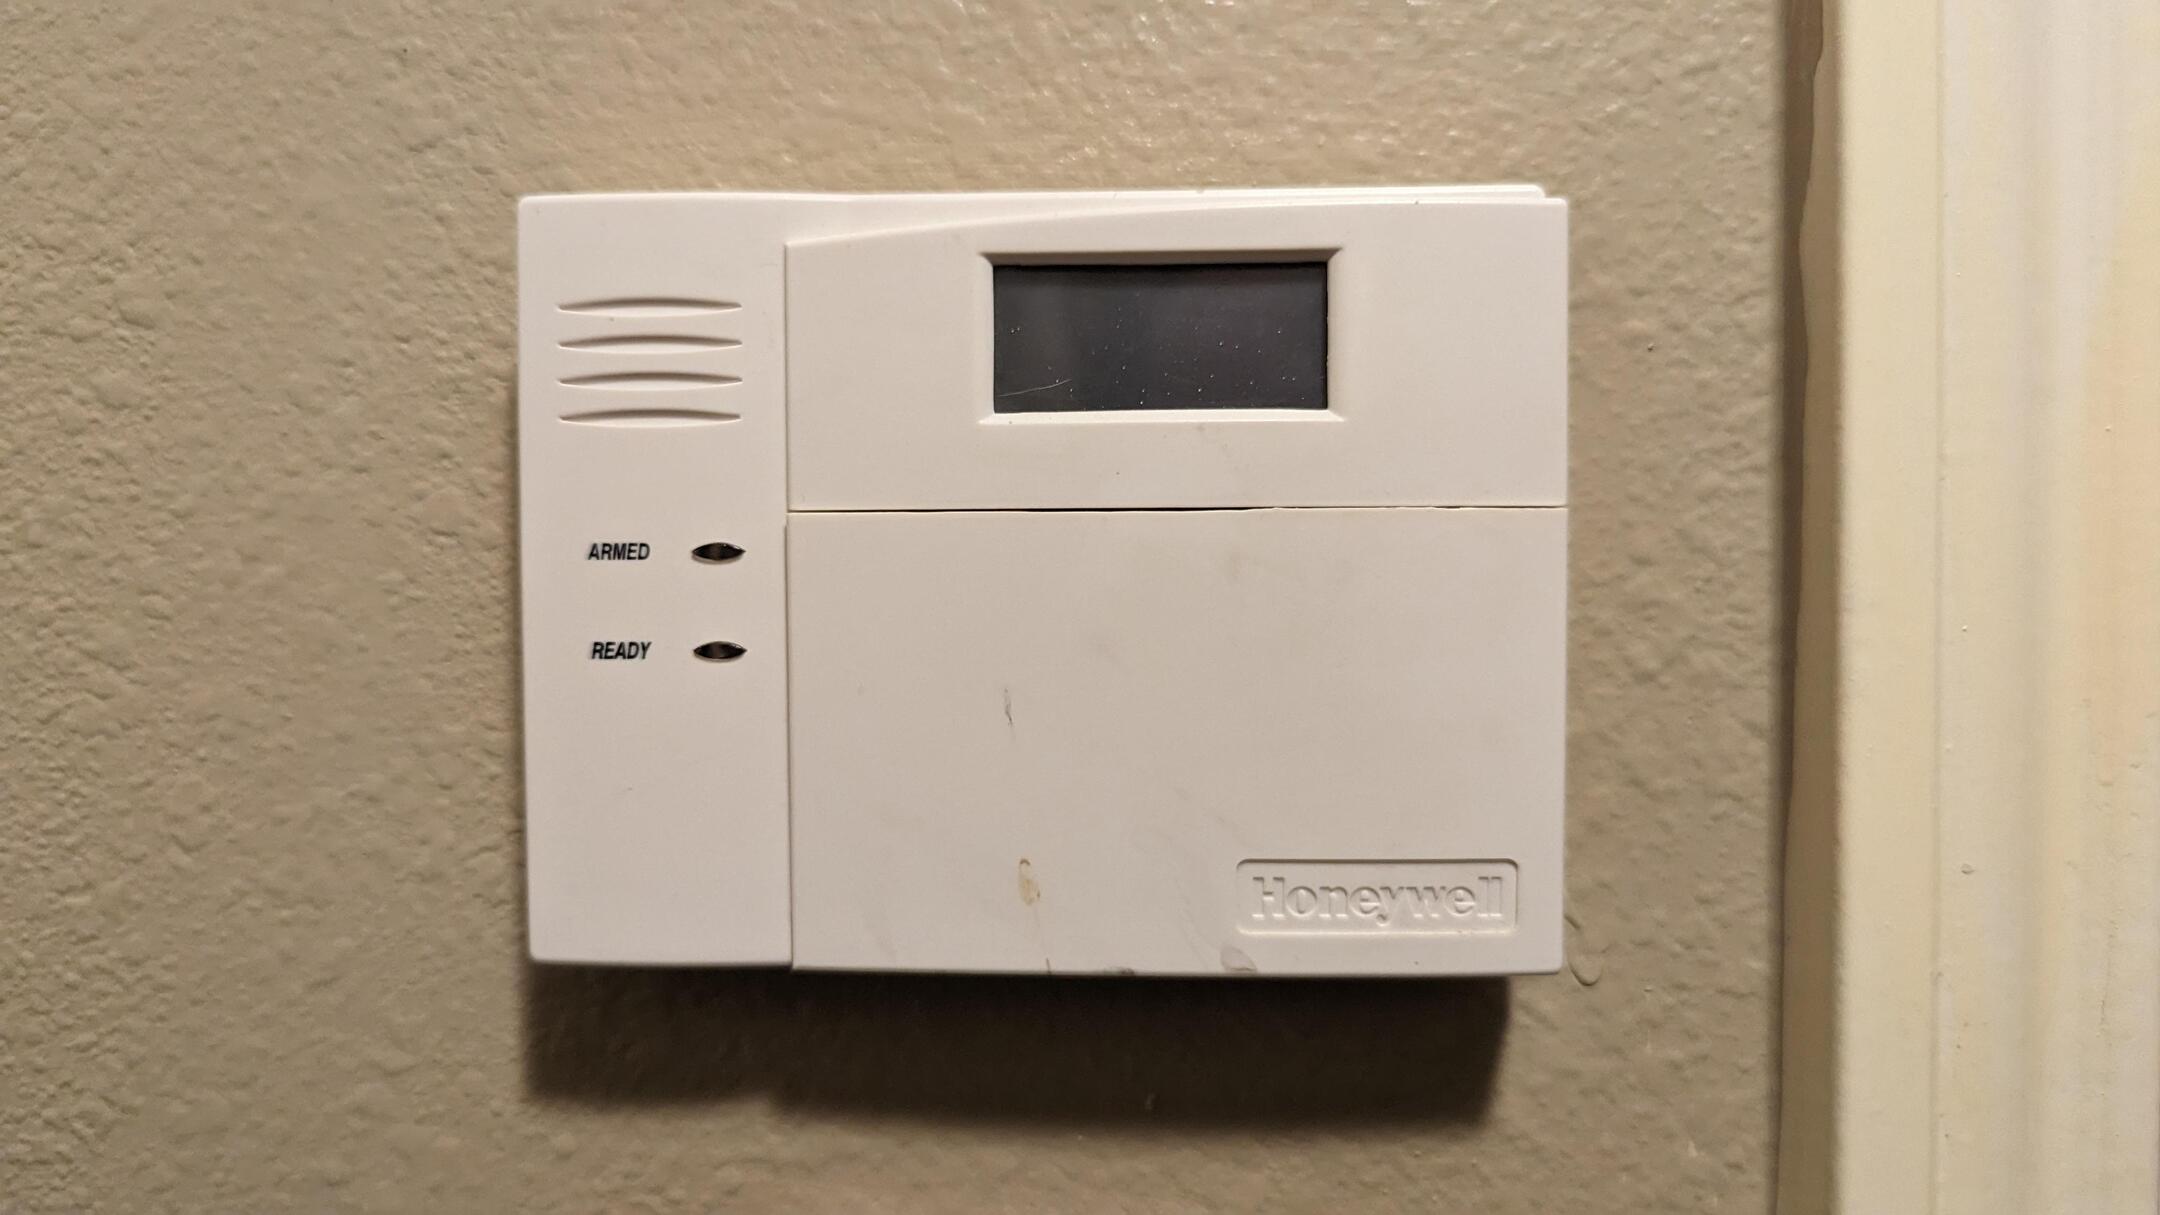
If you have an older alarm system, look for a control panel or keypad and locate the “off” or “disarm” button. You may need a code or key to turn it off. If you can’t find the off button, contact the alarm company for assistance.
Step 5: Removing Backup Batteries
In order to fully deactivate an older alarm system, it is important to remove any backup batteries that keep the system powered even when the main power source is disconnected. Removing the backup batteries ensures that the alarm system is completely inactive. Here’s how you can remove the backup batteries:
- Locate the backup battery compartment: Older alarm systems typically have a separate compartment where the backup batteries are housed. This compartment is often located on the control panel or in close proximity to it.
- Open the battery compartment: Using a screwdriver or following any instructions provided with the system, open the battery compartment to access the backup batteries.
- Remove the backup batteries: Carefully remove the backup batteries from the compartment, making sure to disconnect them from any wiring or terminals. Take note of the battery type and voltage for future reference.
- Dispose of the batteries properly: Dispose of the backup batteries in accordance with local regulations for battery disposal. Many local recycling centers or electronic stores have battery collection points where you can drop off old batteries.
Once the backup batteries have been removed, the alarm system will no longer have any power sources and will be completely deactivated. However, there may still be connections to the phone line that need to be addressed to ensure the system is fully turned off, which will be discussed in the next step.
By removing the backup batteries, you have taken a critical step in fully deactivating the alarm system. However, it’s important to continue with the remaining steps to ensure that all components of the system are properly disabled. Next, let’s move on to Step 6 and learn how to unplug the phone line connections.
Step 6: Unplugging Phone Line Connections
Older alarm systems often rely on phone line connections to communicate with a monitoring service or trigger alarms when a security breach is detected. To ensure that the alarm system is fully turned off, it’s crucial to disconnect these phone line connections. Here’s how you can unplug the phone line connections:
- Locate the phone line connection: Look for a phone line connection on the control panel or near the control panel. It is usually a modular jack, similar to the one used for landline phone connections.
- Disconnect the phone line: Gently unplug the phone line from the modular jack, ensuring that it is completely removed from the port.
- Secure the phone line: After disconnecting the phone line, you may want to secure it to prevent it from accidentally being plugged back in. Consider using zip ties or tape to secure the disconnected phone line to the control panel or nearby wiring.
Unplugging the phone line connections ensures that the alarm system will no longer be able to communicate with the monitoring service or trigger alarms using the phone line. Keep in mind that if you plan to use the phone line for other purposes, such as a landline phone, you will need to reconnect it after deactivating the alarm system.
With the phone line connections unplugged, you have made significant progress in turning off the older alarm system. However, there are still a few more steps to complete the deactivation process. We will cover them in the following steps. Let’s move on to Step 7 and learn how to inform the alarm monitoring service about the system deactivation.
Step 7: Informing Alarm Monitoring Service
When deactivating an older alarm system, it’s important to inform the alarm monitoring service to ensure that they do not respond to any alarms triggered by the system. This step ensures that authorities or emergency services are not dispatched unnecessarily. Here’s what you need to do to inform the alarm monitoring service:
- Gather monitoring service information: Locate any documentation or contracts related to the alarm monitoring service. Look for contact information, account numbers, or any instructions on how to cancel or suspend the service.
- Contact the monitoring service: Call the alarm monitoring service using the provided contact information. Inform them that you are deactivating your older alarm system and request them to suspend or cancel the monitoring service for your account.
- Follow any required procedures: The monitoring service may require specific procedures or documentation to cancel or suspend the service. Follow their instructions and provide any necessary information or documentation requested.
- Confirm service suspension or cancellation: Once you have informed the monitoring service about the deactivation of your alarm system, confirm with them that the service has been suspended or canceled. It’s important to obtain confirmation to ensure that you will not be billed for any future monitoring services.
By notifying the alarm monitoring service about the deactivation of your older alarm system, you can prevent any false alarms or unnecessary responses from emergency services. This step is crucial in completing the process of disabling the alarm system. Next, let’s move on to Step 8 and learn how to deactivate and remove the sensors and devices connected to the system.
Read more: How To Turn Off HVAC System
Step 8: Deactivating Sensors and Devices
Now that the alarm system has been disarmed, power disconnected, phone line connections unplugged, and monitoring service informed, it’s time to deactivate the sensors and devices connected to the system. Deactivating these components ensures that they will no longer communicate with the alarm system or trigger any alarms. Here’s how you can deactivate the sensors and devices:
- Identify the sensors and devices: Take a walkthrough of your home and identify all the sensors and devices that are connected to the alarm system. This may include door/window sensors, motion detectors, glass break sensors, sirens, strobe lights, panic buttons, and any other components connected to the system.
- Remove power or batteries: Depending on the type of sensor or device, you may need to remove their power source. If they use batteries, take out the batteries. If they are powered by electricity, cut off their power supply by unplugging them or turning off their respective circuit breakers.
- Remove or disconnect sensors and devices: If you no longer wish to use the sensors and devices in your new security setup, you can remove them completely from their locations. Carefully detach them from doors, windows, walls, or ceilings. If you plan to reuse them or sell them, remember to label and store them safely.
- Label and secure wiring: If there are any exposed wiring or cables from the removed sensors and devices, label them properly for future reference. You can secure the unused wiring by tying or taping them neatly to prevent any accidents or confusion.
By deactivating the sensors and devices connected to the alarm system, you ensure that they will no longer function as part of the system. This step allows you to transition smoothly to a new security solution or make adjustments as needed without any interference from the older alarm system.
With the sensors and devices now deactivated, it’s time to move on to the final steps of the process to ensure that the alarm system is completely turned off. In the next step, we’ll discuss how to test the system to confirm its deactivation.
Step 9: Testing the Alarm System
After following the previous steps to disarm and deactivate your older alarm system, it’s important to test the system to ensure that it is fully turned off and no longer operational. This step allows you to confirm that all the components have been properly disconnected and that the system will not trigger any alarms or alerts. Here’s how you can test the alarm system:
- Reconnect power (if necessary): If you disconnected the main power source during the earlier steps, reconnect it to the control panel to restore power to the system temporarily for testing purposes.
- Trigger a test event: Activate each sensor and device one-by-one as if you were intentionally triggering an alarm. For example, open a door or window to activate a door/window sensor, or walk in front of a motion detector to trigger its motion detection.
- Observe system response: If the alarm system is fully deactivated, it should not respond to any test events. Check the control panel, keypad, or any indicator lights to ensure that there are no alarms or alerts being triggered. If you do observe any responses, review the previous steps to ensure that all components have been properly deactivated.
- Restore power (if necessary): After completing the testing, disconnect the main power source again to fully deactivate the system.
By testing the alarm system, you can have peace of mind knowing that it has been successfully turned off and will not cause any false alarms or disturbances. If you notice any issues or the system continues to respond after following the previous steps, consider reaching out to a professional alarm system technician for further assistance.
Congratulations! You have successfully turned off your older alarm system and completed the deactivation process. You can now move forward with your new security solution or explore other options to meet your home security needs. Remember to dispose of any unused components or equipment responsibly, and consider implementing new security measures to keep your home safe and secure.
We hope this guide has been helpful in guiding you through the process of turning off an older alarm system. Wishing you a secure and protected home!
Conclusion
Turning off an older alarm system may seem like a daunting task, but with the right knowledge and guidance, it can be a straightforward process. By following the steps outlined in this guide, you can successfully deactivate an older alarm system and ensure that it no longer functions or triggers any alarms.
Understanding the components and operation of the alarm system is crucial in navigating the deactivation process effectively. By identifying the alarm system model, locating the control panel, disarming the system, disconnecting the power source, removing backup batteries, unplugging phone line connections, informing the alarm monitoring service, deactivating sensors and devices, and testing the system, you can fully disable the old alarm system.
Through this process, you not only ensure the smooth transition to a more up-to-date security solution but also prevent any false alarms or unnecessary dispatches of emergency services. By deactivating the system properly, you can have peace of mind knowing that your home is safe and secure.
Remember to consult the system documentation, reach out to the manufacturer or installation company if needed, and dispose of any components or batteries responsibly. It’s always recommended to seek professional assistance if you encounter any difficulties during the deactivation process.
We hope that this guide has provided you with the necessary information to confidently turn off your older alarm system. As technologies continue to advance in the realm of home security and surveillance, it’s important to stay informed and adapt to the changing landscape to ensure the safety of your home and loved ones.
Thank you for taking the time to learn about turning off older alarm systems. Stay proactive, stay protected!
Frequently Asked Questions about How To Turn Off Older Alarm Systems
Was this page helpful?
At Storables.com, we guarantee accurate and reliable information. Our content, validated by Expert Board Contributors, is crafted following stringent Editorial Policies. We're committed to providing you with well-researched, expert-backed insights for all your informational needs.