Home>Ideas and Tips>Antique Furniture Restoration Tips For Beginners

Ideas and Tips
Antique Furniture Restoration Tips For Beginners
Published: November 3, 2024
Learn essential tips for restoring antique furniture. Perfect for beginners, this guide covers tools, techniques, and steps to rejuvenate your cherished pieces.
(Many of the links in this article redirect to a specific reviewed product. Your purchase of these products through affiliate links helps to generate commission for Storables.com, at no extra cost. Learn more)
Restoring antique furniture can be a rewarding and challenging project, especially for those who are new to the world of home improvement. Whether you're looking to breathe new life into a family heirloom or simply want to give an old piece of furniture a fresh look, the process of restoration can be both educational and enjoyable. In this article, we'll guide you through the essential steps and tips for restoring antique furniture, making it easier for beginners to embark on this exciting journey.
Understanding Your Piece
Before you begin any restoration project, it's crucial to understand the piece of furniture you're working with. This includes knowing its design style, the type of wood it's made from, and any specific repairs it may need. Here are some key points to consider:
-
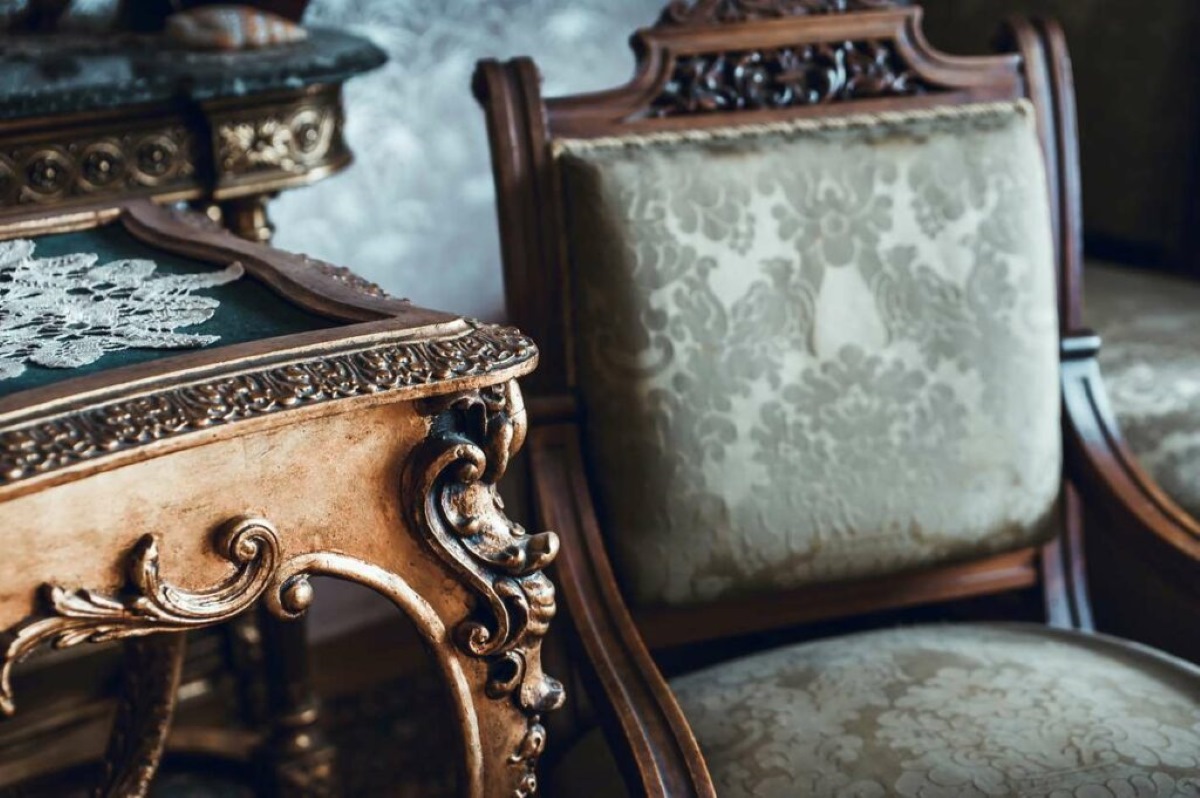
Design Style: Antique furniture often reflects the design styles of different eras. Understanding the style can help you choose the right materials and techniques for restoration. For example, Victorian-era furniture might have intricate carvings and ornate details, while mid-century modern pieces are characterized by clean lines and minimal ornamentation.
-
Wood Type: Different types of wood have unique characteristics that affect how they should be restored. Common types of wood found in antique furniture include cherry, walnut, maple, poplar, pine, oak, and mahogany. Each type of wood has its own grain pattern and color, which should be matched when making repairs.
-
Damage Assessment: Inspect your piece carefully to identify all the issues it has. Note down every scratch, chip, stain, and any other damage. This will help you determine the extent of the restoration needed and ensure you have all the necessary tools and materials.
Gathering Tools and Materials
Restoring antique furniture requires a variety of tools and materials. The specific items you'll need will depend on the extent of the restoration and your skill level. Here’s a comprehensive list to get you started:
Tools:
- Sandpaper (various grits): Essential for smoothing surfaces. Start with coarse grit sandpaper to remove old finishes and progress to finer grits for a smooth finish.
- Paintbrushes or sprayer: For applying new finishes or stains.
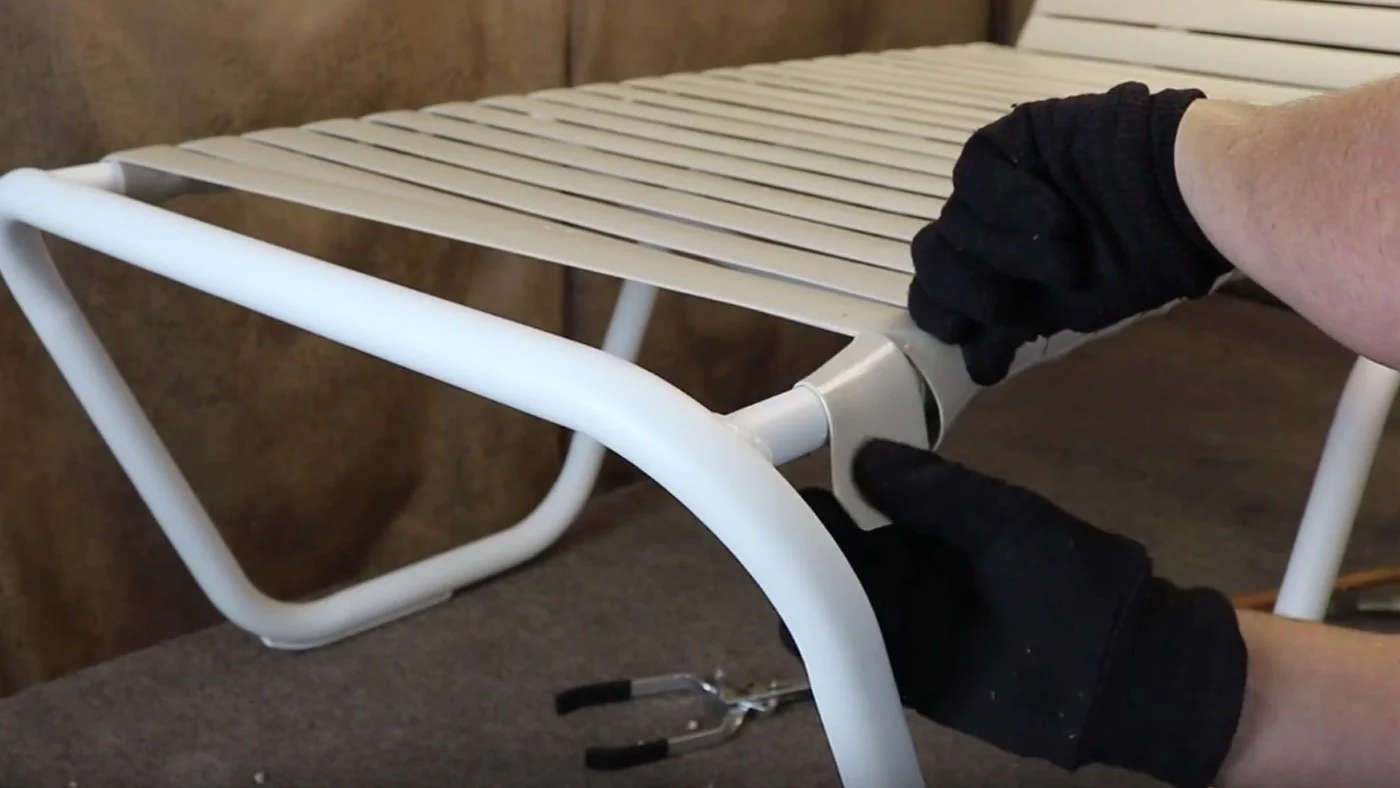
- Screwdrivers and pliers: For removing hardware or making minor repairs.
- Putty knife: Useful for applying wood filler.
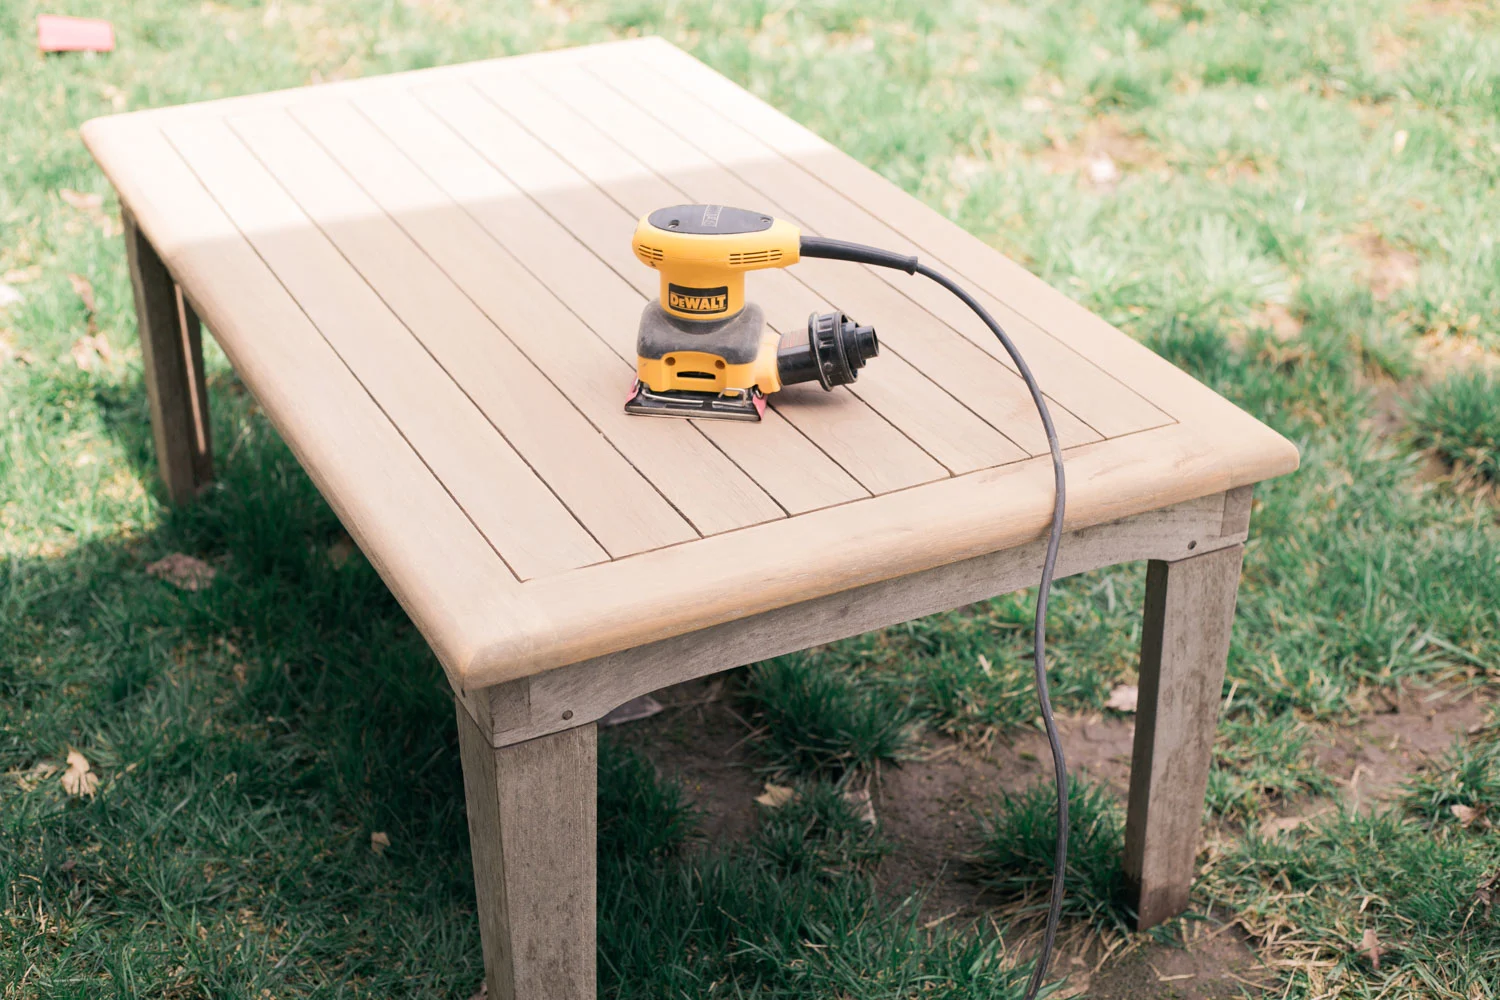
- Random orbital sander (optional): Can expedite the sanding process but requires skill to use properly.
- Heat gun (optional): Useful for removing stubborn finishes.
- Paint stripper or chemical stripper (optional): Effective for intricate details but may not be necessary for beginners.
Materials:
- Stain or paint: Choose a stain that matches the original color as closely as possible.
- Wood filler: For patching holes and cracks.
- Clean rags or tack cloth: For cleaning surfaces before applying new finishes.
- Drop cloths or plastic sheeting: For protecting surfaces during the restoration process.
- Varnish or sealant: To protect the wood and enhance the finish.
- New or replacement hardware: If the original hardware is damaged beyond repair.
Cleaning and Preparing the Surface
Cleaning and preparing the surface are crucial steps in any restoration project. Here’s how you can do it effectively:
Cleaning:
- Dampen a Soft Cloth: Use a soft cloth dampened with soap and water to clean the surface. Avoid using harsh chemicals that could damage the wood or remove its original finish.
- Dry Thoroughly: After cleaning, make sure to dry the surface thoroughly to prevent water spots or warping.
Deglossing:
If your piece has a shiny finish, consider deglossing it with a liquid sanding deglosser. This can help remove any glossy layers and prepare the surface for further restoration.
Removing Old Finishes:
If you need to remove an old finish, use sandpaper starting with coarse grits and progressing to finer ones. Alternatively, you can use a heat gun or chemical stripper for more stubborn finishes.
Assessing and Repairing Damage
Once you've cleaned and prepared the surface, it's time to assess and repair any damage:
Inspecting for Damage:
Carefully inspect your piece for scratches, chips, stains, and other forms of damage. Note down every issue you spot so you can plan accordingly.
Repairing Scratches:
- Light Scratches: Can often be repaired with light rejuvenation techniques like waxing or polishing.
- Deep Scratches: Usually require refinishing to restore the original finish.
- Chips: Small chips can be recovered with light repairs and refinishing, but deep chips may need an expert touch.
Repairing Stains:
- Small Stains: Can sometimes be removed with proper cleaning.
- Large Stains: May need refinishing to restore the original color.
Repairing Tears or Snags (in Upholstered or Leather Furniture):
- Small Snags: Can be repaired with a sewing needle or machine and some thread.
- Large Tears: May require professional upholstering services.
Determining the Right Restoration Method
To ensure your old furniture looks good as new, you need to determine what kind of restoration it needs:
Rejuvenating:
This process is best for furniture pieces with small blemishes or injuries that are in otherwise good condition. A clean, wax, and polish can work wonders in revitalizing an antique piece.
Reupholstering:
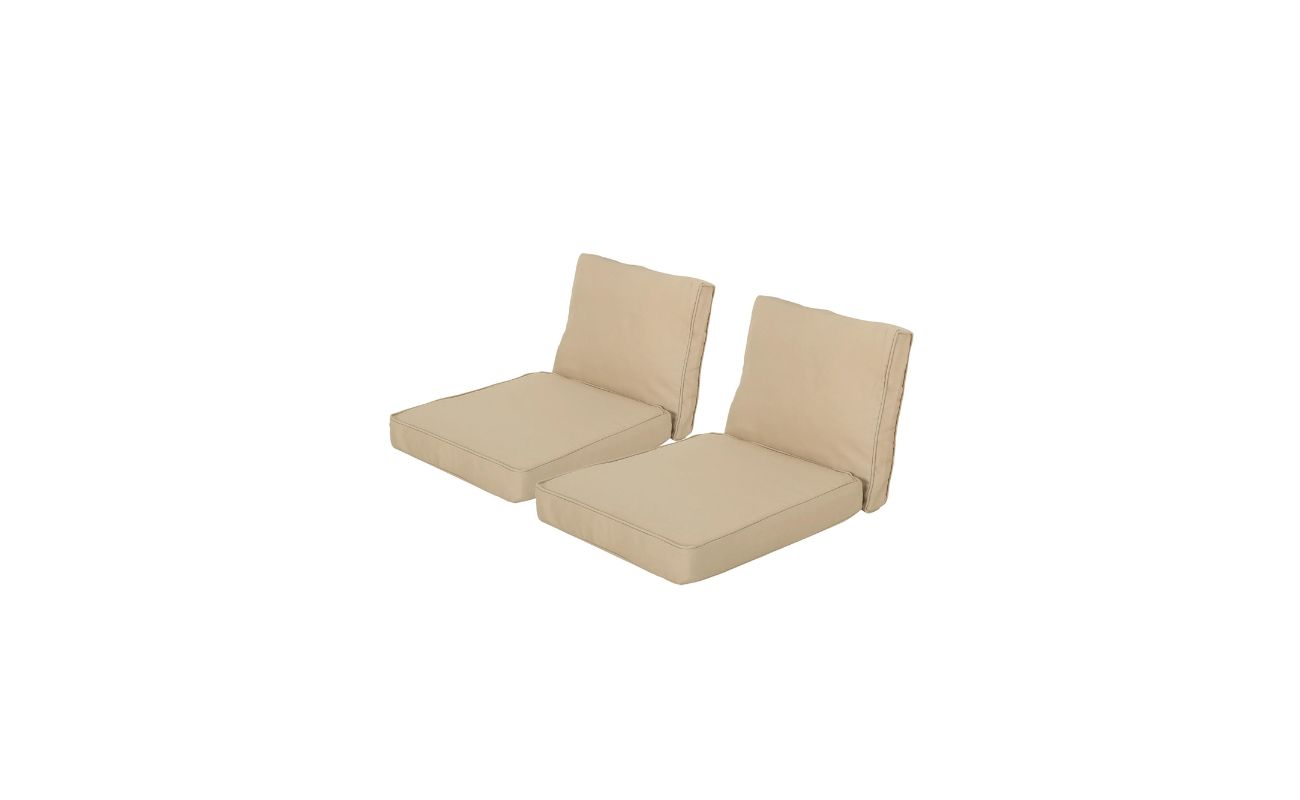
This involves removing, repairing, or replacing fabric elements of a piece of furniture. It can be tricky unless you know your way around a sewing machine, but washing upholstery can sometimes make a worn-out couch or armchair shine again.
Refinishing:
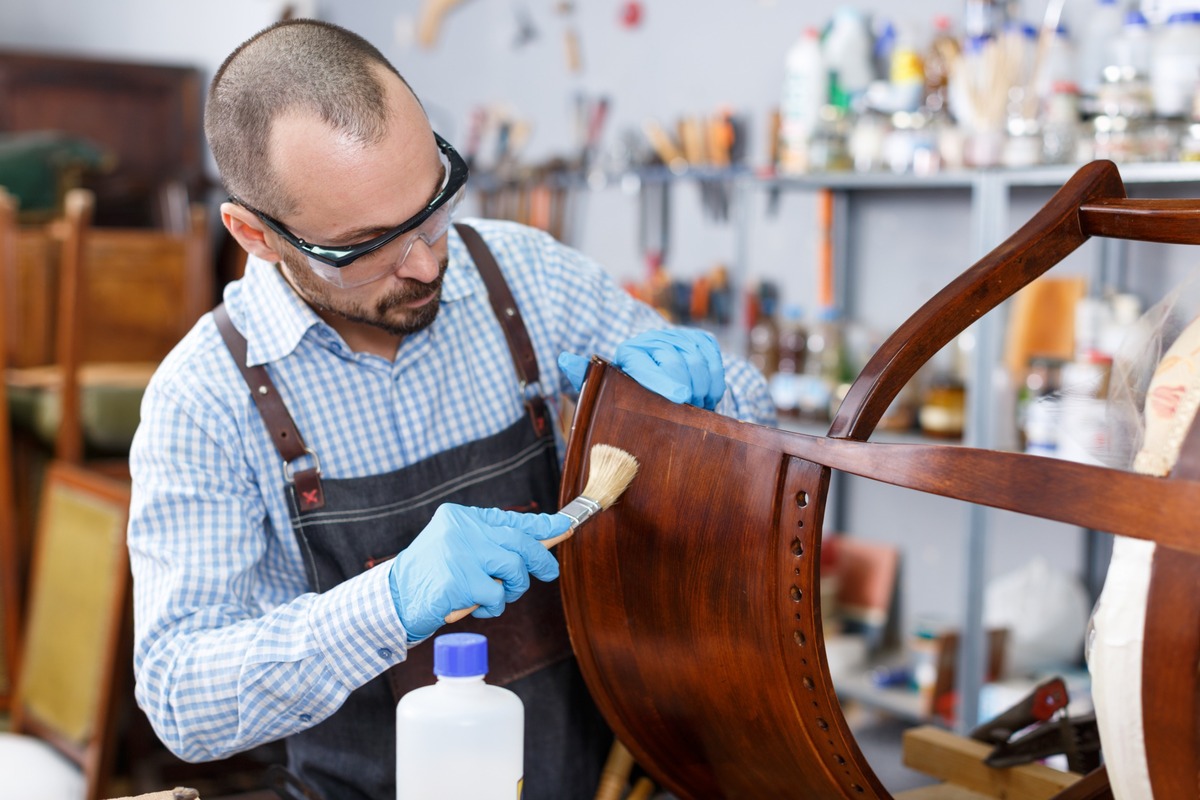
With refinishing, you'll be stripping the current finish off your furniture using sandpaper or a chemical peeler, patching up holes and cracks with wood filler, and restaining and refinishing the whole thing. This project isn't impossible for the average person but will require patience and planning.
Repairing:
Repairing a piece of vintage furniture can include fixing broken chair legs or sealing small or large cracks. It involves much of the same work as refinishing plus additional steps like sourcing new pieces.
Using the Right Supplies
When making extensive repairs on antique furniture, using the same tools and materials is essential to preserve quality. Here’s what you should keep in mind:
Matching Wood Type:
Make repairs with the same type of wood from which the piece was constructed. This ensures that the repairs blend seamlessly with the original material.
Upholstered Furniture Exception:
Upholstered furniture is an exception because some fabric isn’t meant to stand the test of time. However, most pieces won’t lose much value from a simple fabric swap.
Removing as Little as Possible
Furniture restoration aims to restore rather than reinvent unless your goal is to create a new and exciting piece of furniture. Only remove what you absolutely can’t save and try to repurpose what you can’t salvage to fix any remaining damages.
Applying New Finishes
Once you've prepared and repaired your piece, it's time to apply new finishes:
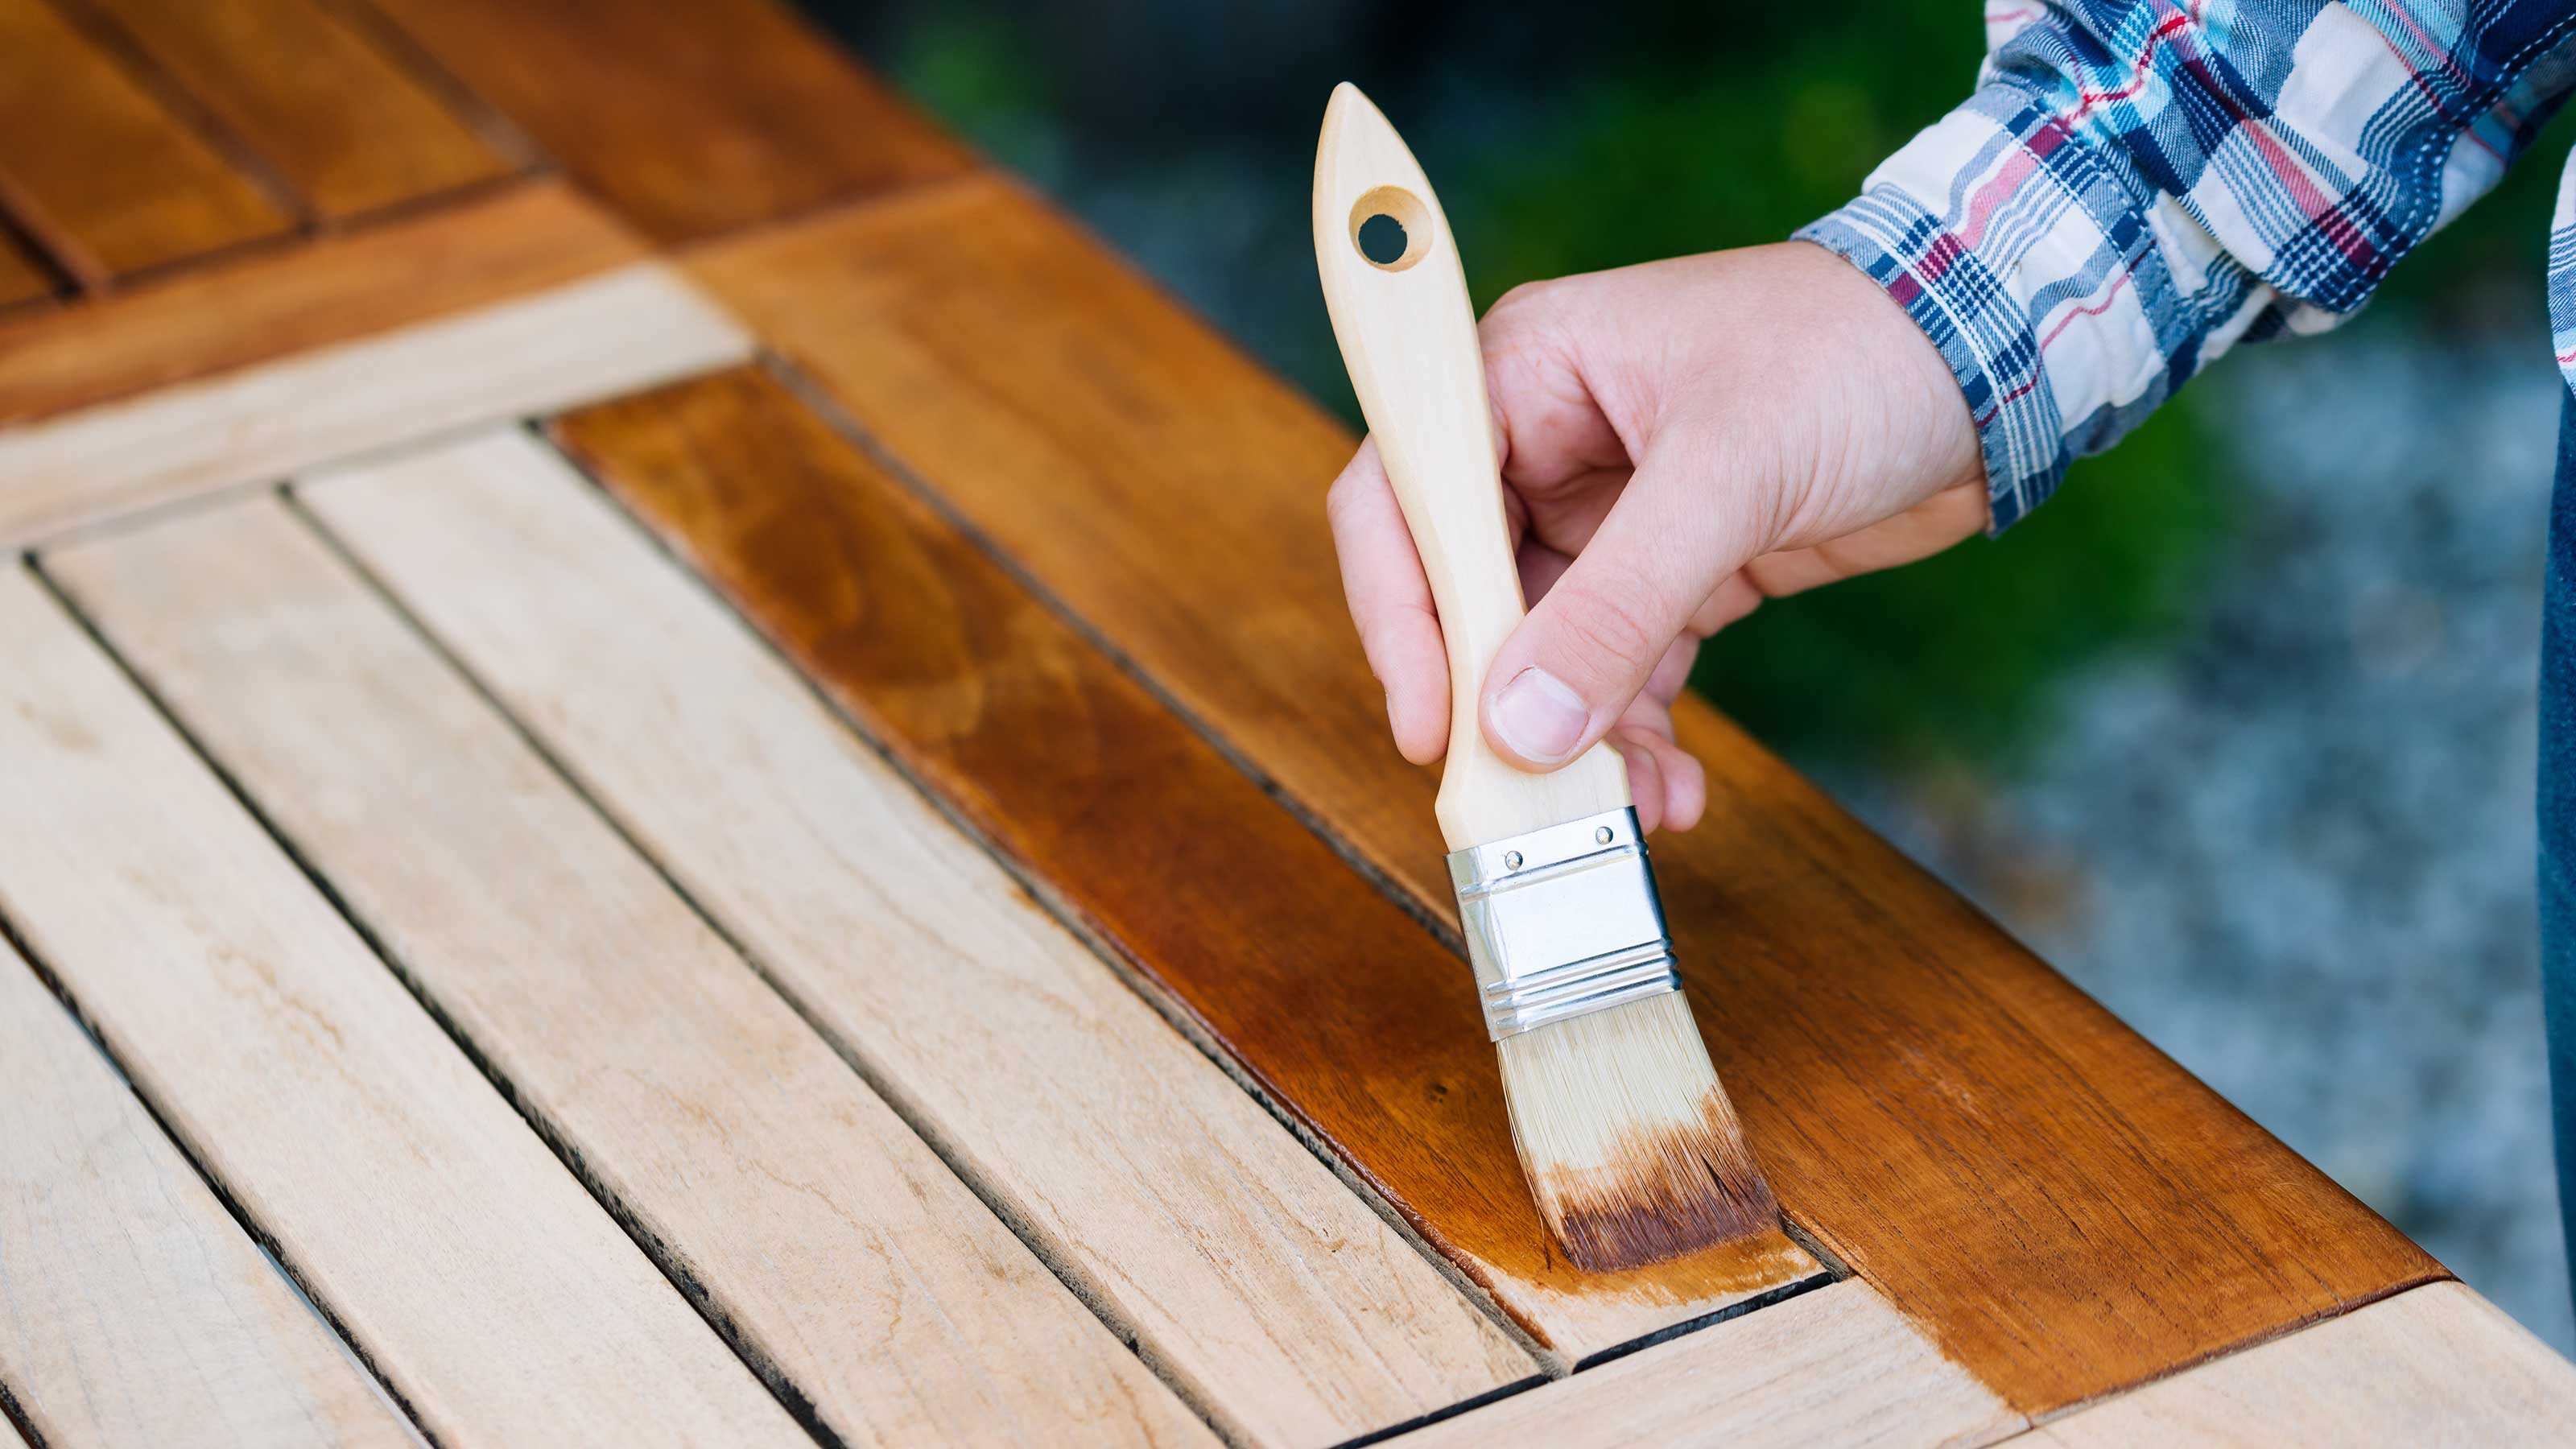
Applying Stain or Paint:
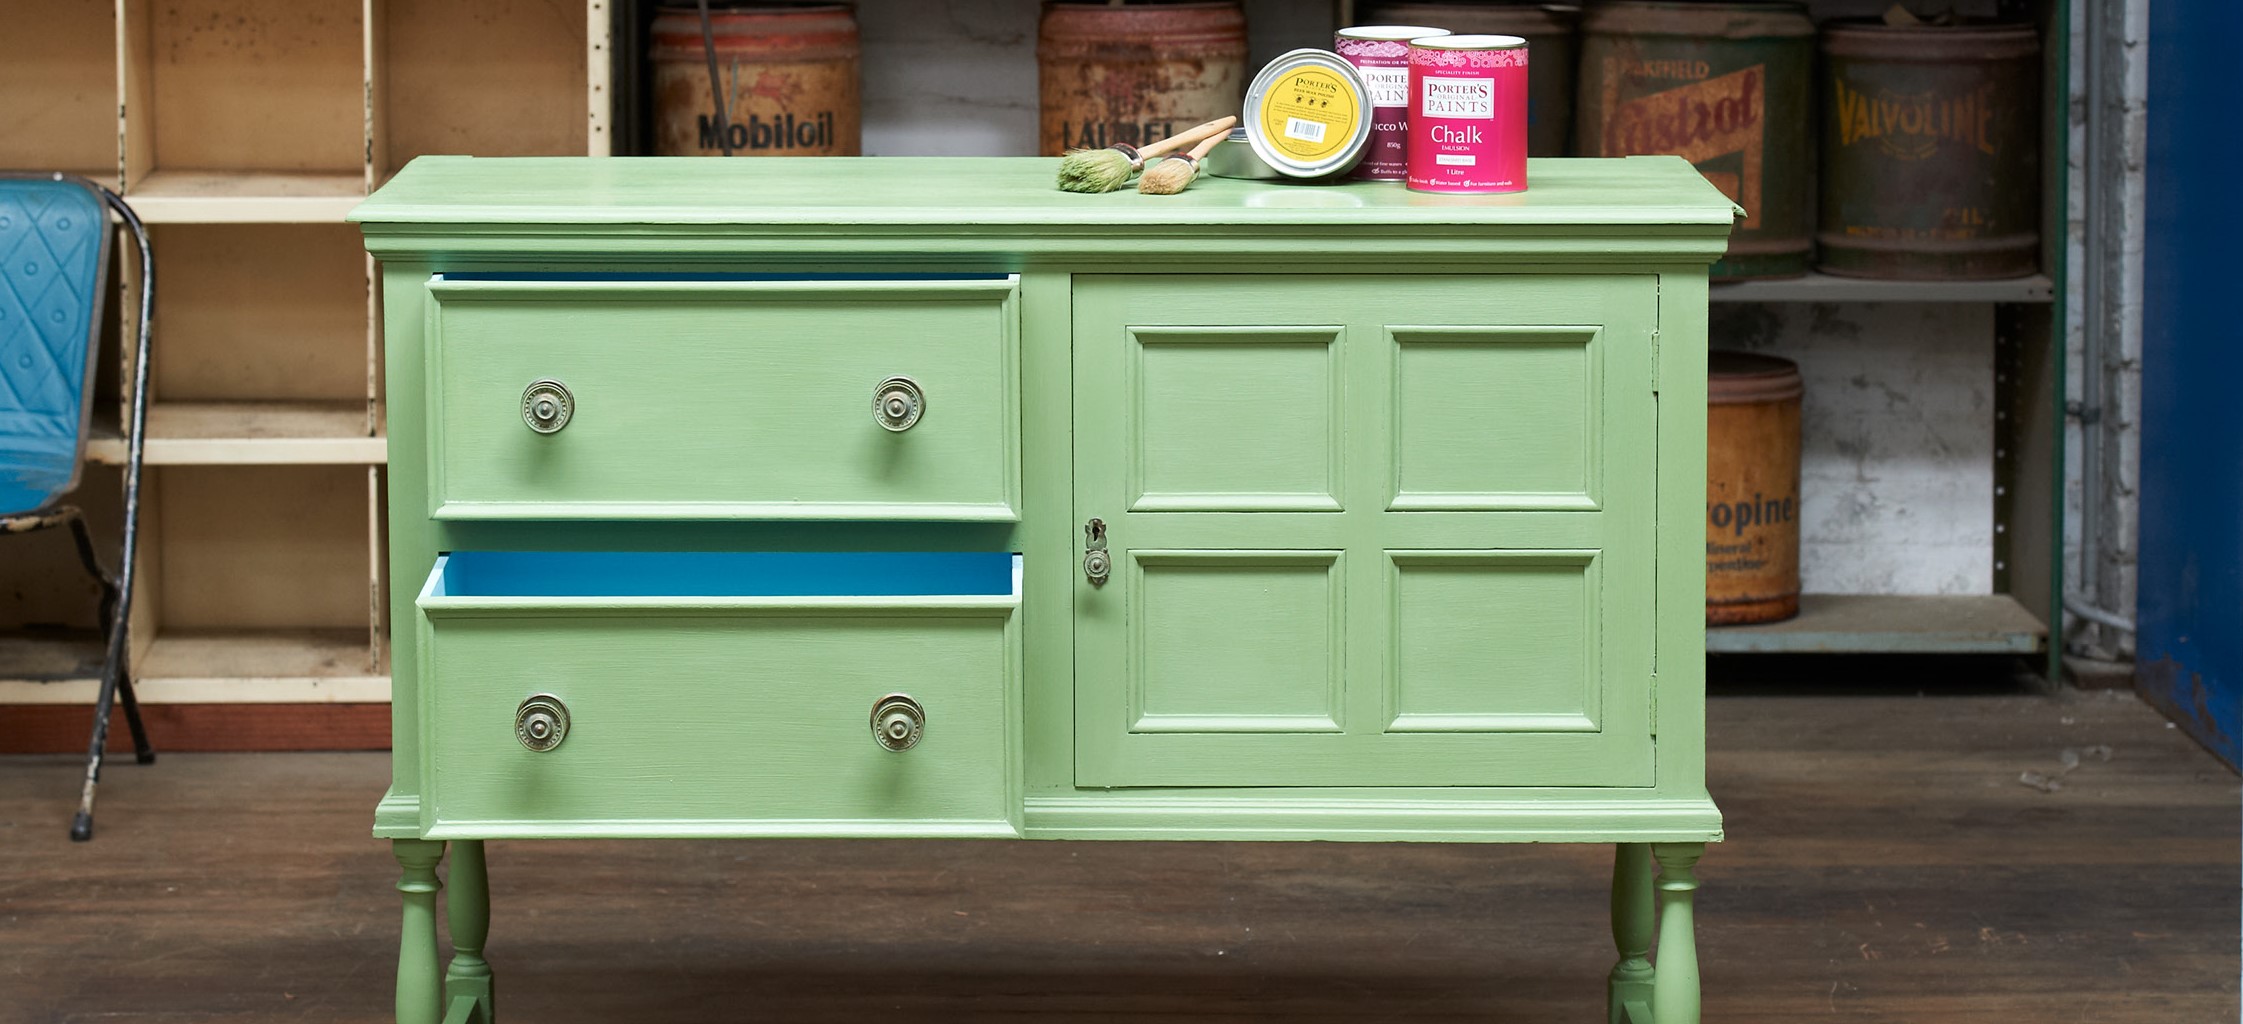
Choose a stain that matches the original color as closely as possible. Apply it evenly using paintbrushes or sprayers, following the manufacturer's instructions.
Applying Varnish or Sealant:
After applying stain or paint, use varnish or sealant to protect the wood and enhance the finish. Apply thin coats allowing each coat to dry before adding more.
Buffing and Polishing
Buffing and polishing are critical steps in achieving a smooth, pristine surface:
Using Furniture Wax:
Apply furniture wax using a soft, clean cotton cloth dipped into the can of wax. Rub the wax on in small circular motions over the entire wood surface sparingly. Wait for around 30-60 minutes for it to dry before buffing up with an old piece of towelling in the direction of the grain. The more buffing you do, the higher sheen you get.
Using Metal Cleaners for Brass Fittings:
For antique furniture with brass fittings, use a superb metal cleaner mixed with cold water (1 measure fluid with 7 measures water). Submerge the fittings fully until all tarnish is removed, rinse thoroughly with water then polish in usual way. For badly rusted metal use cleaning solution with fine wire wool.
Restoring Leather
Leather on antique furniture must be kept original and preserved over time due to its nature:
Cleaning Leather:
Use a soft cloth dampened with soap and water to clean leather surfaces gently without damaging them.
Applying Leather Care Products:
There are specialized products available that help restore leather without altering its original finish. These products can help remove scratches, white heat rings, watermarks, smoke damage, and sun fade.
Additional Tips
Here are some additional tips that can help make your restoration project successful:
Steam Out Dents:
If you accidentally get a dent in your piece of antique furniture (usually by dropping something on the surface), there is a method to remove this but it can only be used if the surface has the old finish stripped off. It can only be used on solid wood rather than veneered wood. First strip off old polish from surface then dampen large piece cloth fold roughly size iron turn low setting put cloth over dent put iron damp cloth hold short while check dent wood swell dent disappear may have repeat process careful burn wood leaving iron long keep cloth damp alternative put small puddle water dent soak overnight swell draw dent marble cleaned solution dissolve handful soda crystals four Litres warm water container use solution give top light clean cotton buffing cloth remove surface dirt avoid over clean marble still want keep part charm character nice finish clear wax add several thin coats add original charm patina.
Using Howard’s Restor-A-Finish:
If you want to restore an antique without refinishing consider using Howard’s Restor-A-Finish product. Begin by cleaning piece soap water dry thoroughly apply liquid sanding deglosser if shiny finish worked really well dry remove excess rag paper towel repeat drying wiping couple times finish piece Howard’s Feed Wax let soak thoroughly adding protect finish clean periodically restore brass knobs handles Howard’s Pine-Ola Copper Brass Polish remove hardware clean soap water scrub old toothbrush handle knob buff shine clean soap water dry thoroughly check complete line Howard’s Wood Products yet find didn’t like love these products help restore antique keeping original finish intact scratches white heat rings watermarks smoke damage nearly disappear Restore-A-Finish.
By following these tips and steps outlined above, you'll be well-equipped to tackle any antique furniture restoration project with confidence. Remember that patience and thoroughness are key to achieving a successful restoration that preserves both the original character and value of your antique piece. Happy restoring
Was this page helpful?
At Storables.com, we guarantee accurate and reliable information. Our content, validated by Expert Board Contributors, is crafted following stringent Editorial Policies. We're committed to providing you with well-researched, expert-backed insights for all your informational needs.



0 thoughts on “Antique Furniture Restoration Tips For Beginners”