
Articles
How To Antique Paint Furniture
Modified: September 1, 2024
Learn how to antique paint furniture and give it a vintage charm with our step-by-step guide. Transform your old furniture into unique pieces that will stand out in any room.
(Many of the links in this article redirect to a specific reviewed product. Your purchase of these products through affiliate links helps to generate commission for Storables.com, at no extra cost. Learn more)
Introduction
Welcome to the wonderful world of antique painting furniture! If you’re looking to add a touch of vintage charm and character to your living space, then antiquing furniture is the way to go. With a few simple steps and the right tools, you can transform a plain piece of furniture into a stunning antique masterpiece.
Antique painting furniture involves distressing the surface, adding layers of paint and glaze, and highlighting the intricate details to achieve an aged and weathered look. Whether you’re a seasoned DIY enthusiast or a beginner looking for a new project, this article will guide you through the process of antiquing furniture.
Before we dive into the details, let’s talk about the benefits of antique painting. Firstly, it allows you to give a fresh lease of life to old and worn-out furniture. Instead of spending a fortune on new pieces, you can repurpose and revamp your existing furniture to match your desired aesthetic.
Secondly, antique painting furniture is a sustainable and eco-friendly alternative to buying new. By breathing new life into old pieces, you’re reducing waste and minimizing the environmental impact. Plus, it’s a great way to unleash your creativity and personalize your home decor.
Now that you’re inspired, let’s get started on this exciting journey of antique painting furniture. In the next section, we’ll explore how to choose the perfect piece of furniture for your project.
Key Takeaways:
- Transform plain furniture into stunning antique masterpieces with distressing, layering paint and glaze, and highlighting details. Embrace imperfections and enjoy the creative process for a unique, personalized home decor.
- Choose quality, style, and unique finds for antique painting. Gather essential supplies, prepare, distress, and add glaze and wax for an authentic aged look. Seal the finish and add final touches for a truly remarkable piece.
Read more: How To Store Antique Furniture
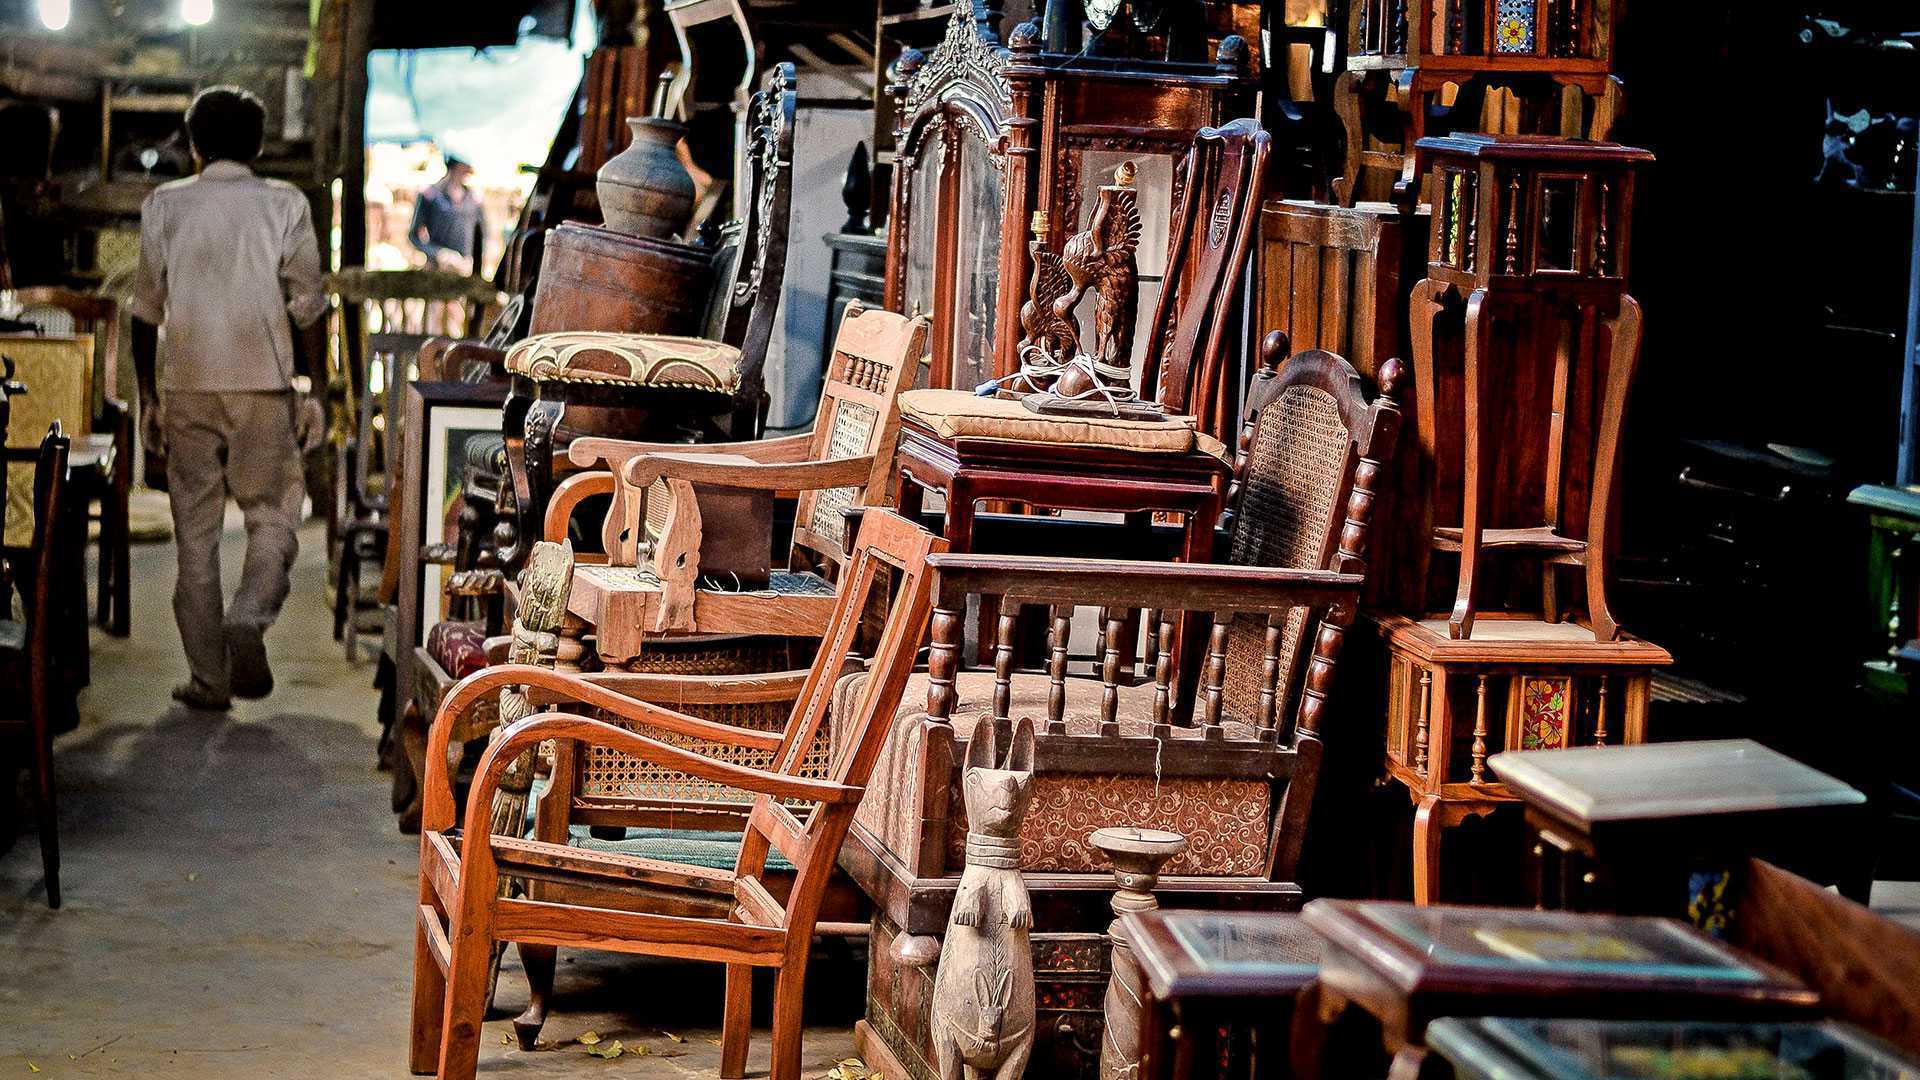
Choosing the Right Piece of Furniture
When it comes to antique painting furniture, selecting the right piece is crucial. Not all furniture is suitable for this technique, so it’s important to consider a few factors before diving in. Here’s a guide to help you choose the perfect piece for your project:
- Quality: Look for solid wood furniture with sturdy construction. Avoid pieces that are made of particleboard or laminate, as they won’t hold up well to distressing and painting.
- Style: Consider the style of furniture that you want to antique. Certain styles, such as farmhouse or vintage, lend themselves well to antiquing. Look for pieces with interesting details, such as carvings, moldings, or unique hardware.
- Condition: Examine the condition of the furniture. Some wear and tear is acceptable, as it adds character, but avoid furniture with extensive damage or structural issues.
- Size: Think about the size of the furniture in relation to your space. Make sure it fits well and compliments the overall design of the room.
- Budget: Set a budget for your project. Antiquing furniture can be done on a tight budget, but keep in mind that you may need to invest in quality paint, brushes, and other supplies to achieve the desired effect.
When searching for furniture to antique, don’t limit yourself to traditional pieces. Think outside the box and consider unique finds, such as old doors, windows, or even vintage suitcases. These items can be repurposed and turned into functional pieces with a touch of antique charm.
Additionally, keep an eye out for furniture at garage sales, flea markets, thrift stores, and online marketplaces. These places often offer hidden treasures at affordable prices. With a little patience and perseverance, you’re sure to find the perfect piece for your antique painting project.
Now that you know how to choose the right piece of furniture, it’s time to gather the necessary supplies. In the next section, we’ll explore the essential tools and materials needed for antique painting.
Gathering the Necessary Supplies
Before you begin your antique painting project, it’s important to gather all the necessary supplies. Having the right tools and materials on hand will make the process much easier and ensure a successful outcome. Here’s a list of essential supplies you’ll need:
- Sandpaper or sanding block: Use medium to fine grit sandpaper to prepare the surface of the furniture and create a smooth base for painting.
- Cleaning materials: Prepare the furniture by cleaning it thoroughly. You’ll need soap or detergent, water, and a sponge or cloth to remove any dirt, grease, or residue.
- Primer: Apply a quality primer to the furniture before painting. This will ensure better adhesion and provide a smooth, even surface for the paint to adhere to. Choose a primer that is suitable for the type of paint you’ll be using.
- Paint: Select your desired paint color for the base coat. Chalk paint or milk paint are popular choices for antique painting due to their matte finish and ease of distressing.
- Paint brushes: Invest in a few high-quality brushes in various sizes. Synthetic brushes work well with water-based paints, while natural bristle brushes are ideal for oil-based paints.
- Antique glaze: This is a must-have for achieving the authentic aged look. Antique glaze adds depth and dimension to the furniture, highlighting the distressed areas and enhancing the details.
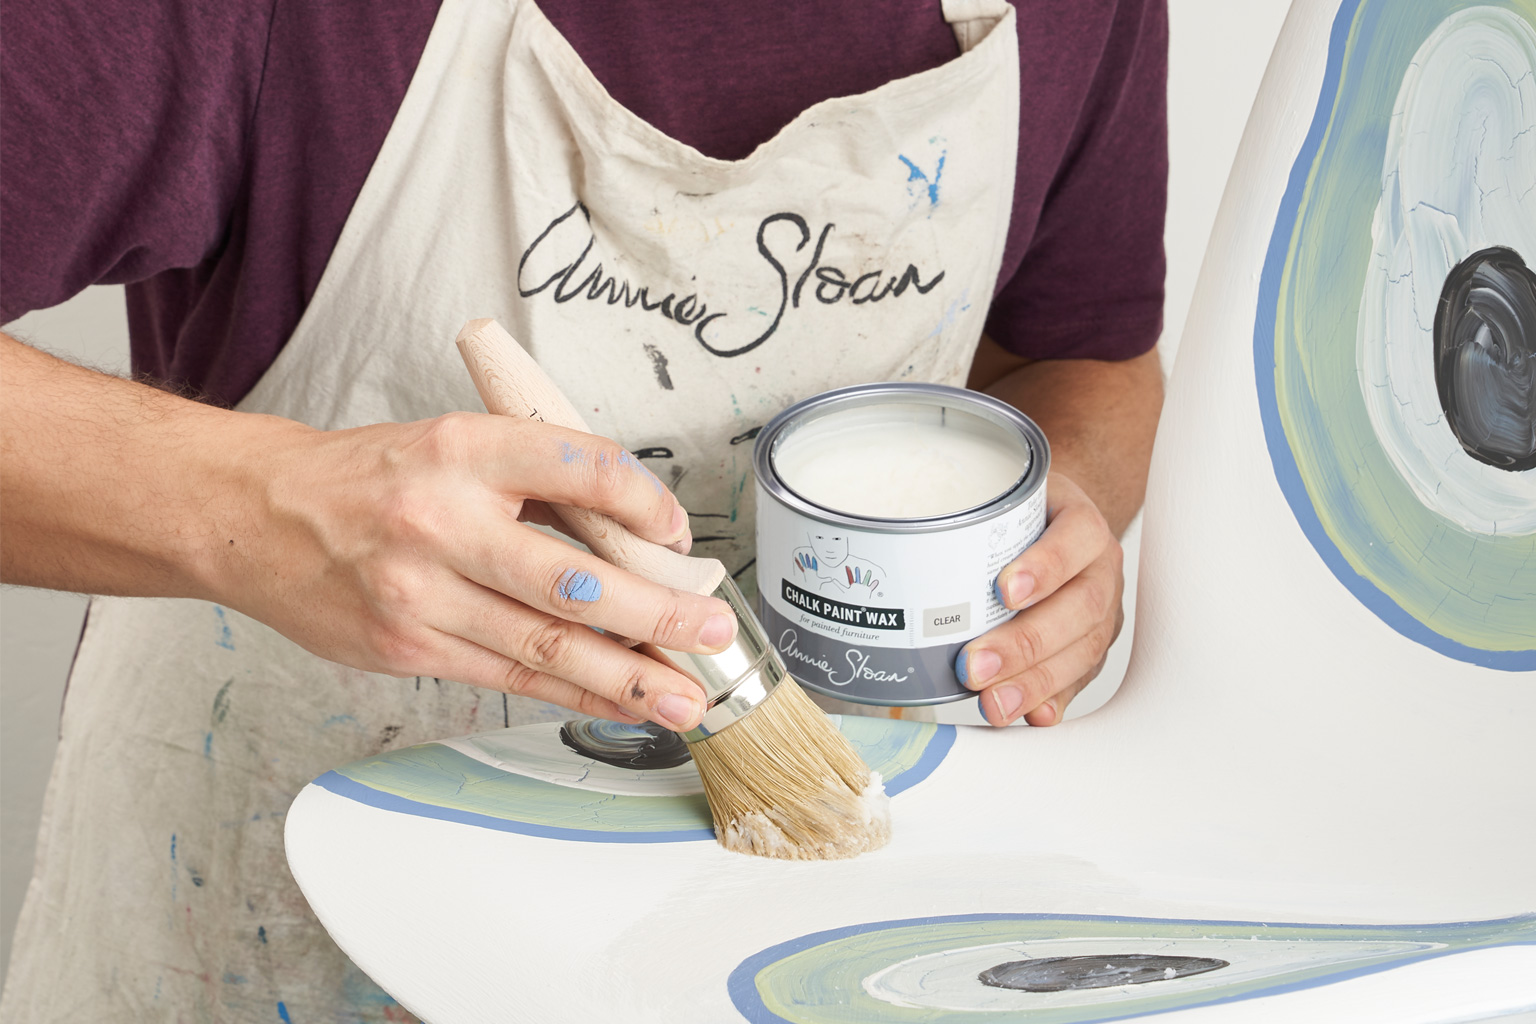
- Dark wax: Dark wax is used to further enhance the antique look and give the piece a rich, aged appearance. It is applied selectively to add depth and dimension to the furniture.
- Sealant: Once you’re happy with the painted and distressed look, apply a sealant to protect the finish. Choose a clear, non-yellowing sealant that is compatible with the paint you’ve used.
- Protective gear: Don’t forget to protect yourself while working. Wear gloves, safety glasses, and a dust mask to stay safe and minimize exposure to dust and fumes.
With these supplies in hand, you’re ready to embark on your antique painting adventure. In the next section, we’ll discuss how to prepare the furniture for painting.
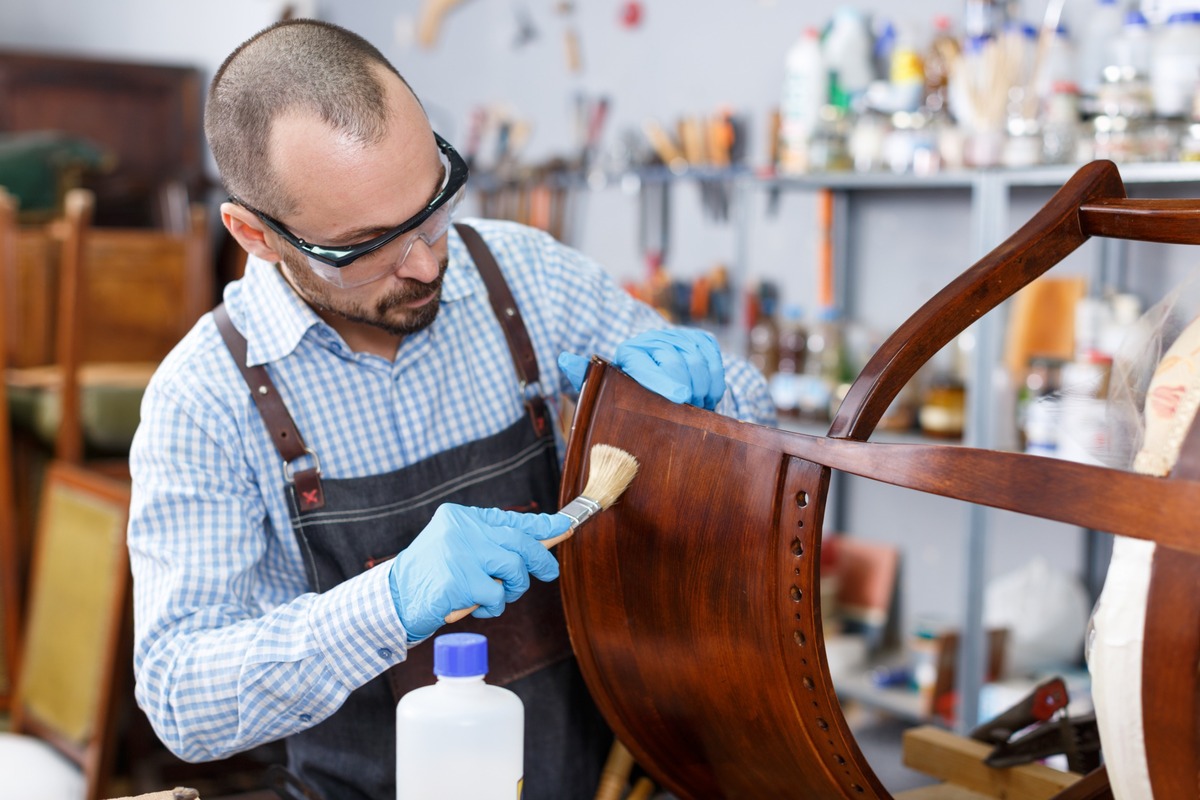
Preparing the Furniture
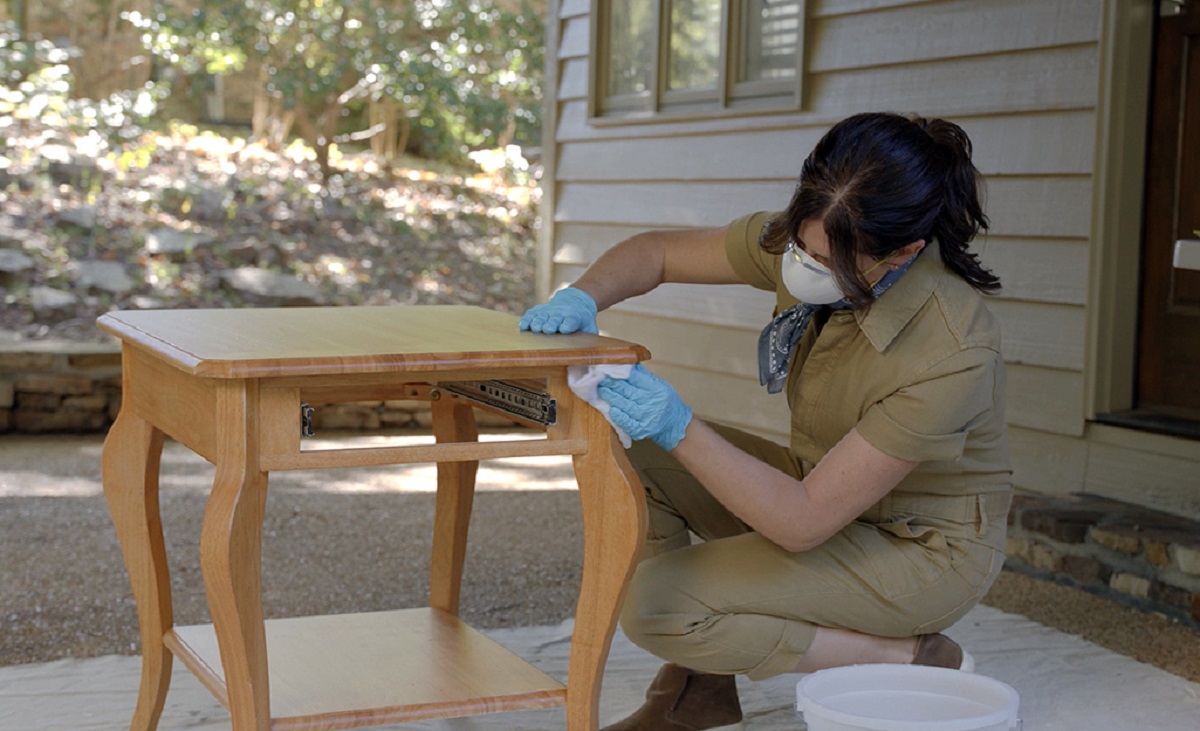
Preparing the furniture is a crucial step in the antique painting process. Proper preparation ensures better adhesion of paint and allows for a smooth and long-lasting finish. Follow these steps to prepare your furniture:
- Clean the furniture: Start by giving the furniture a thorough cleaning. Use a mild soap or detergent mixed with water and a sponge or cloth to remove any dirt, dust, or grease. Make sure to scrub all surfaces, including the nooks and crannies. Rinse with clean water and allow the furniture to dry completely.
- Remove hardware: If your furniture has any knobs, handles, or other hardware, it’s best to remove them before painting. This will make the painting process smoother and allow for better coverage.
- Sand the surface: Lightly sand the surface of the furniture using medium to fine grit sandpaper or a sanding block. This will roughen up the surface and create a better grip for the primer and paint. Sand in the direction of the wood grain and make sure to sand all areas, including edges and corners.
- Repair any damages: Inspect the furniture for any damages, such as chips, cracks, or loose joints. Use wood filler to fill in any holes or cracks and allow it to dry according to the manufacturer’s instructions. Sand the filled areas smooth after it has dried.
- Prime the furniture: Applying a coat of primer is essential to achieve a professional finish. Use a brush or foam roller to apply a thin and even layer of primer to the furniture. Allow the primer to dry completely before moving on to the next step.
By taking the time to properly prepare the furniture, you’ll ensure a better end result. Cleaning the surface removes any dirt or grease that can interfere with paint adhesion. Sanding creates a rough surface for the paint to adhere to, and it also smoothes out any imperfections. Repairing damages ensures that your furniture looks its best once it’s painted and distressed. Finally, applying a primer provides a solid base for the paint and helps it adhere better.
Now that your furniture is clean, sanded, repaired, and primed, it’s time to start the fun part – painting! In the next section, we’ll show you how to apply the base coat to achieve the desired antique look.
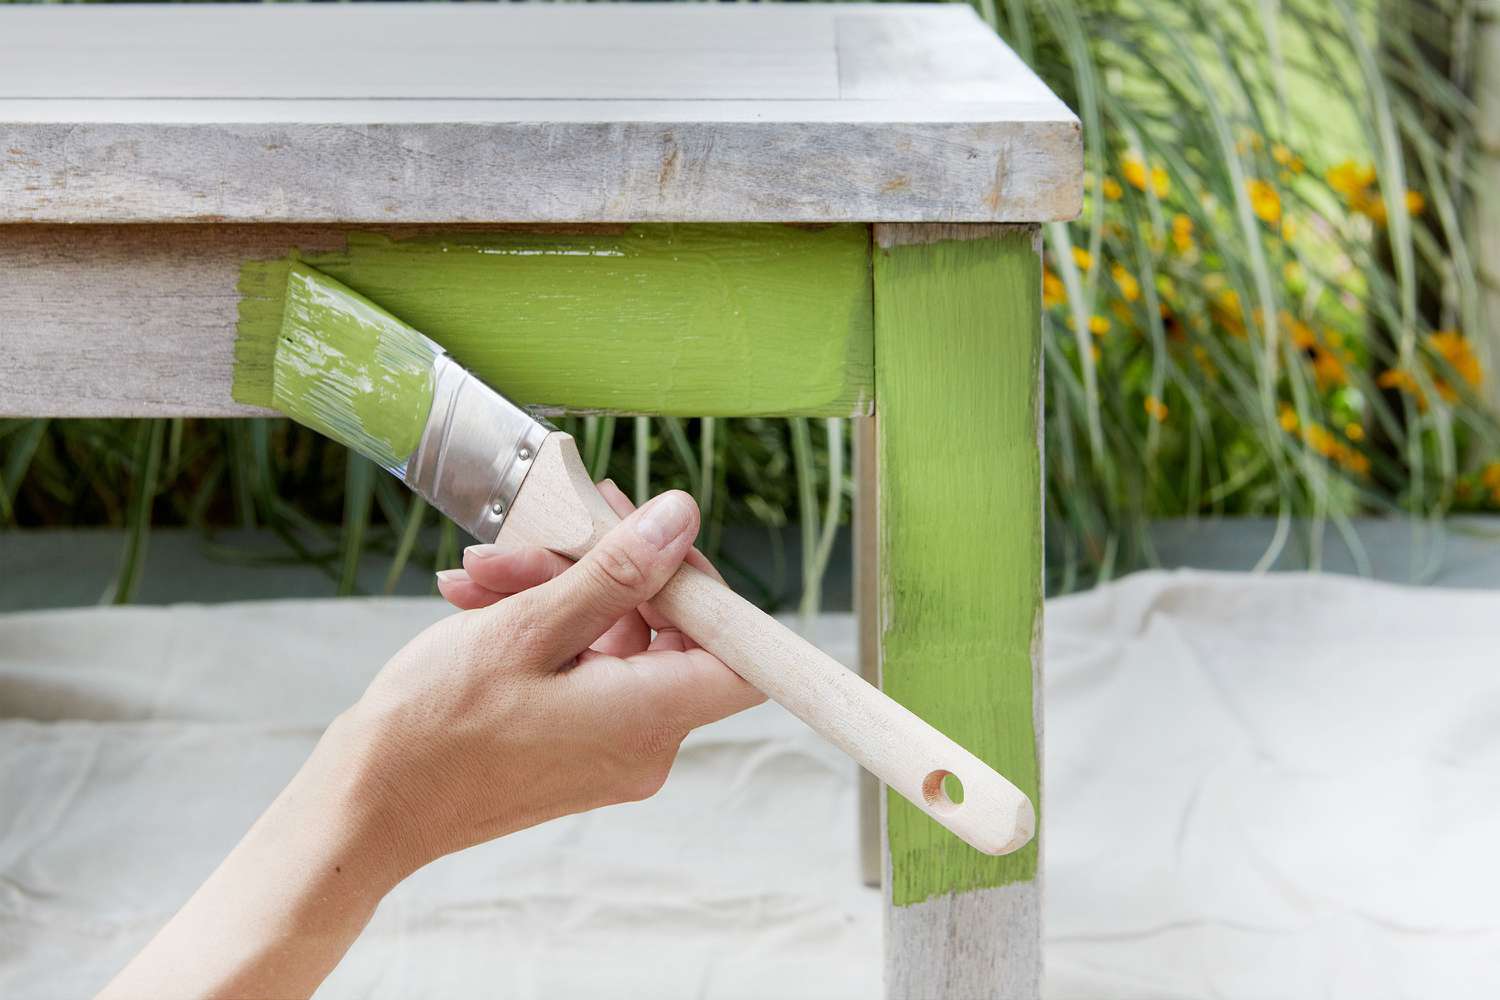
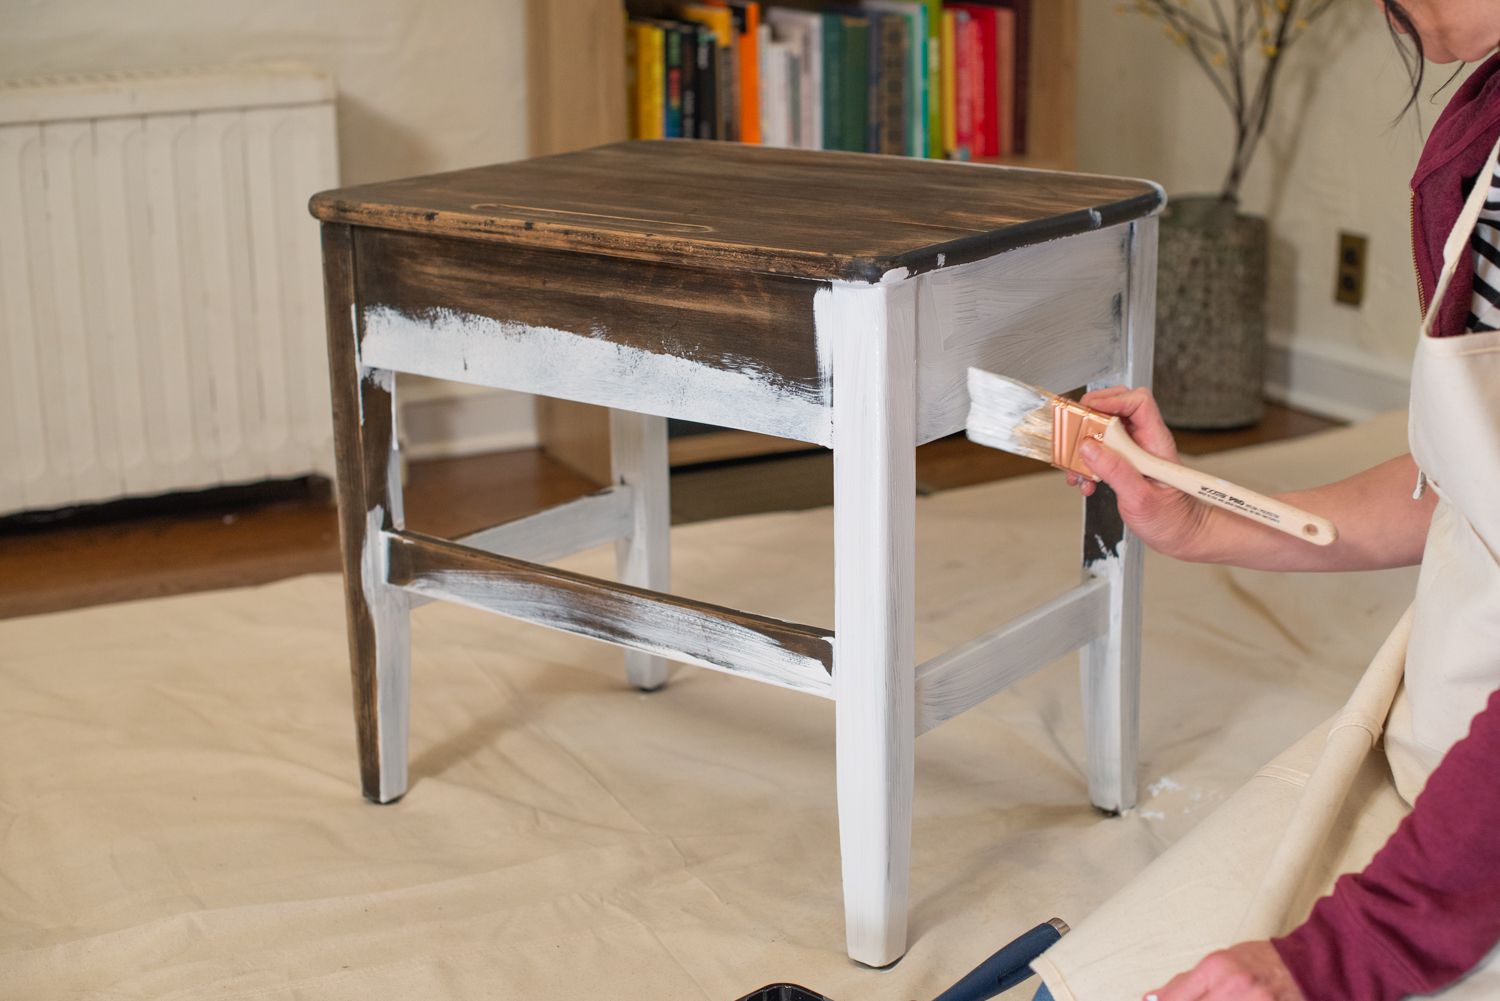
Applying the Base Coat
The base coat is the foundation of your antique painted furniture. It sets the tone for the overall look and provides the base color that will show through the distressed areas. Follow these steps to apply the base coat:
- Choose your paint: Select a high-quality paint that is suitable for furniture, such as chalk paint or milk paint. These types of paint work well for antique painting due to their matte finish and easy distressing properties. Choose a color that complements your desired antique look.
- Prepare your workspace: Find a well-ventilated area and lay down a drop cloth or old newspapers to protect your work surface. Make sure you have enough space to comfortably paint the furniture without any obstructions.
- Stir the paint: Open the paint can and give it a good stir. This will ensure that the pigments are well mixed and provide an even color distribution on your furniture.
- Start painting: Using a brush or foam roller, begin applying the paint to the furniture. Work in small sections, starting from the top and moving down. Apply thin and even coats, making sure to cover all surfaces. Pay special attention to any intricate details or carvings, ensuring they are well coated.
- Allow the paint to dry: Follow the manufacturer’s instructions for drying time. Generally, chalk paint or milk paint dries fairly quickly, but it’s important to allow each coat to dry completely before applying the next one. This will prevent smudging or smearing of the paint.
- Apply additional coats: Depending on the coverage and desired look, you may need to apply multiple coats of paint. Allow each coat to dry before applying the next one. This will help achieve a solid and even base coat.
- Lightly sand the surface: After the final coat of paint has dried, lightly sand the entire surface with fine grit sandpaper. This step smooths out any brushstrokes or imperfections and prepares the surface for the distressed look.
Remember, the base coat sets the stage for the antique finish, so take your time to achieve a smooth and even application. Don’t be afraid to experiment with different paint colors to achieve your desired antique look. Once you’re satisfied with the base coat, it’s time to move on to distressing the furniture in the next section.
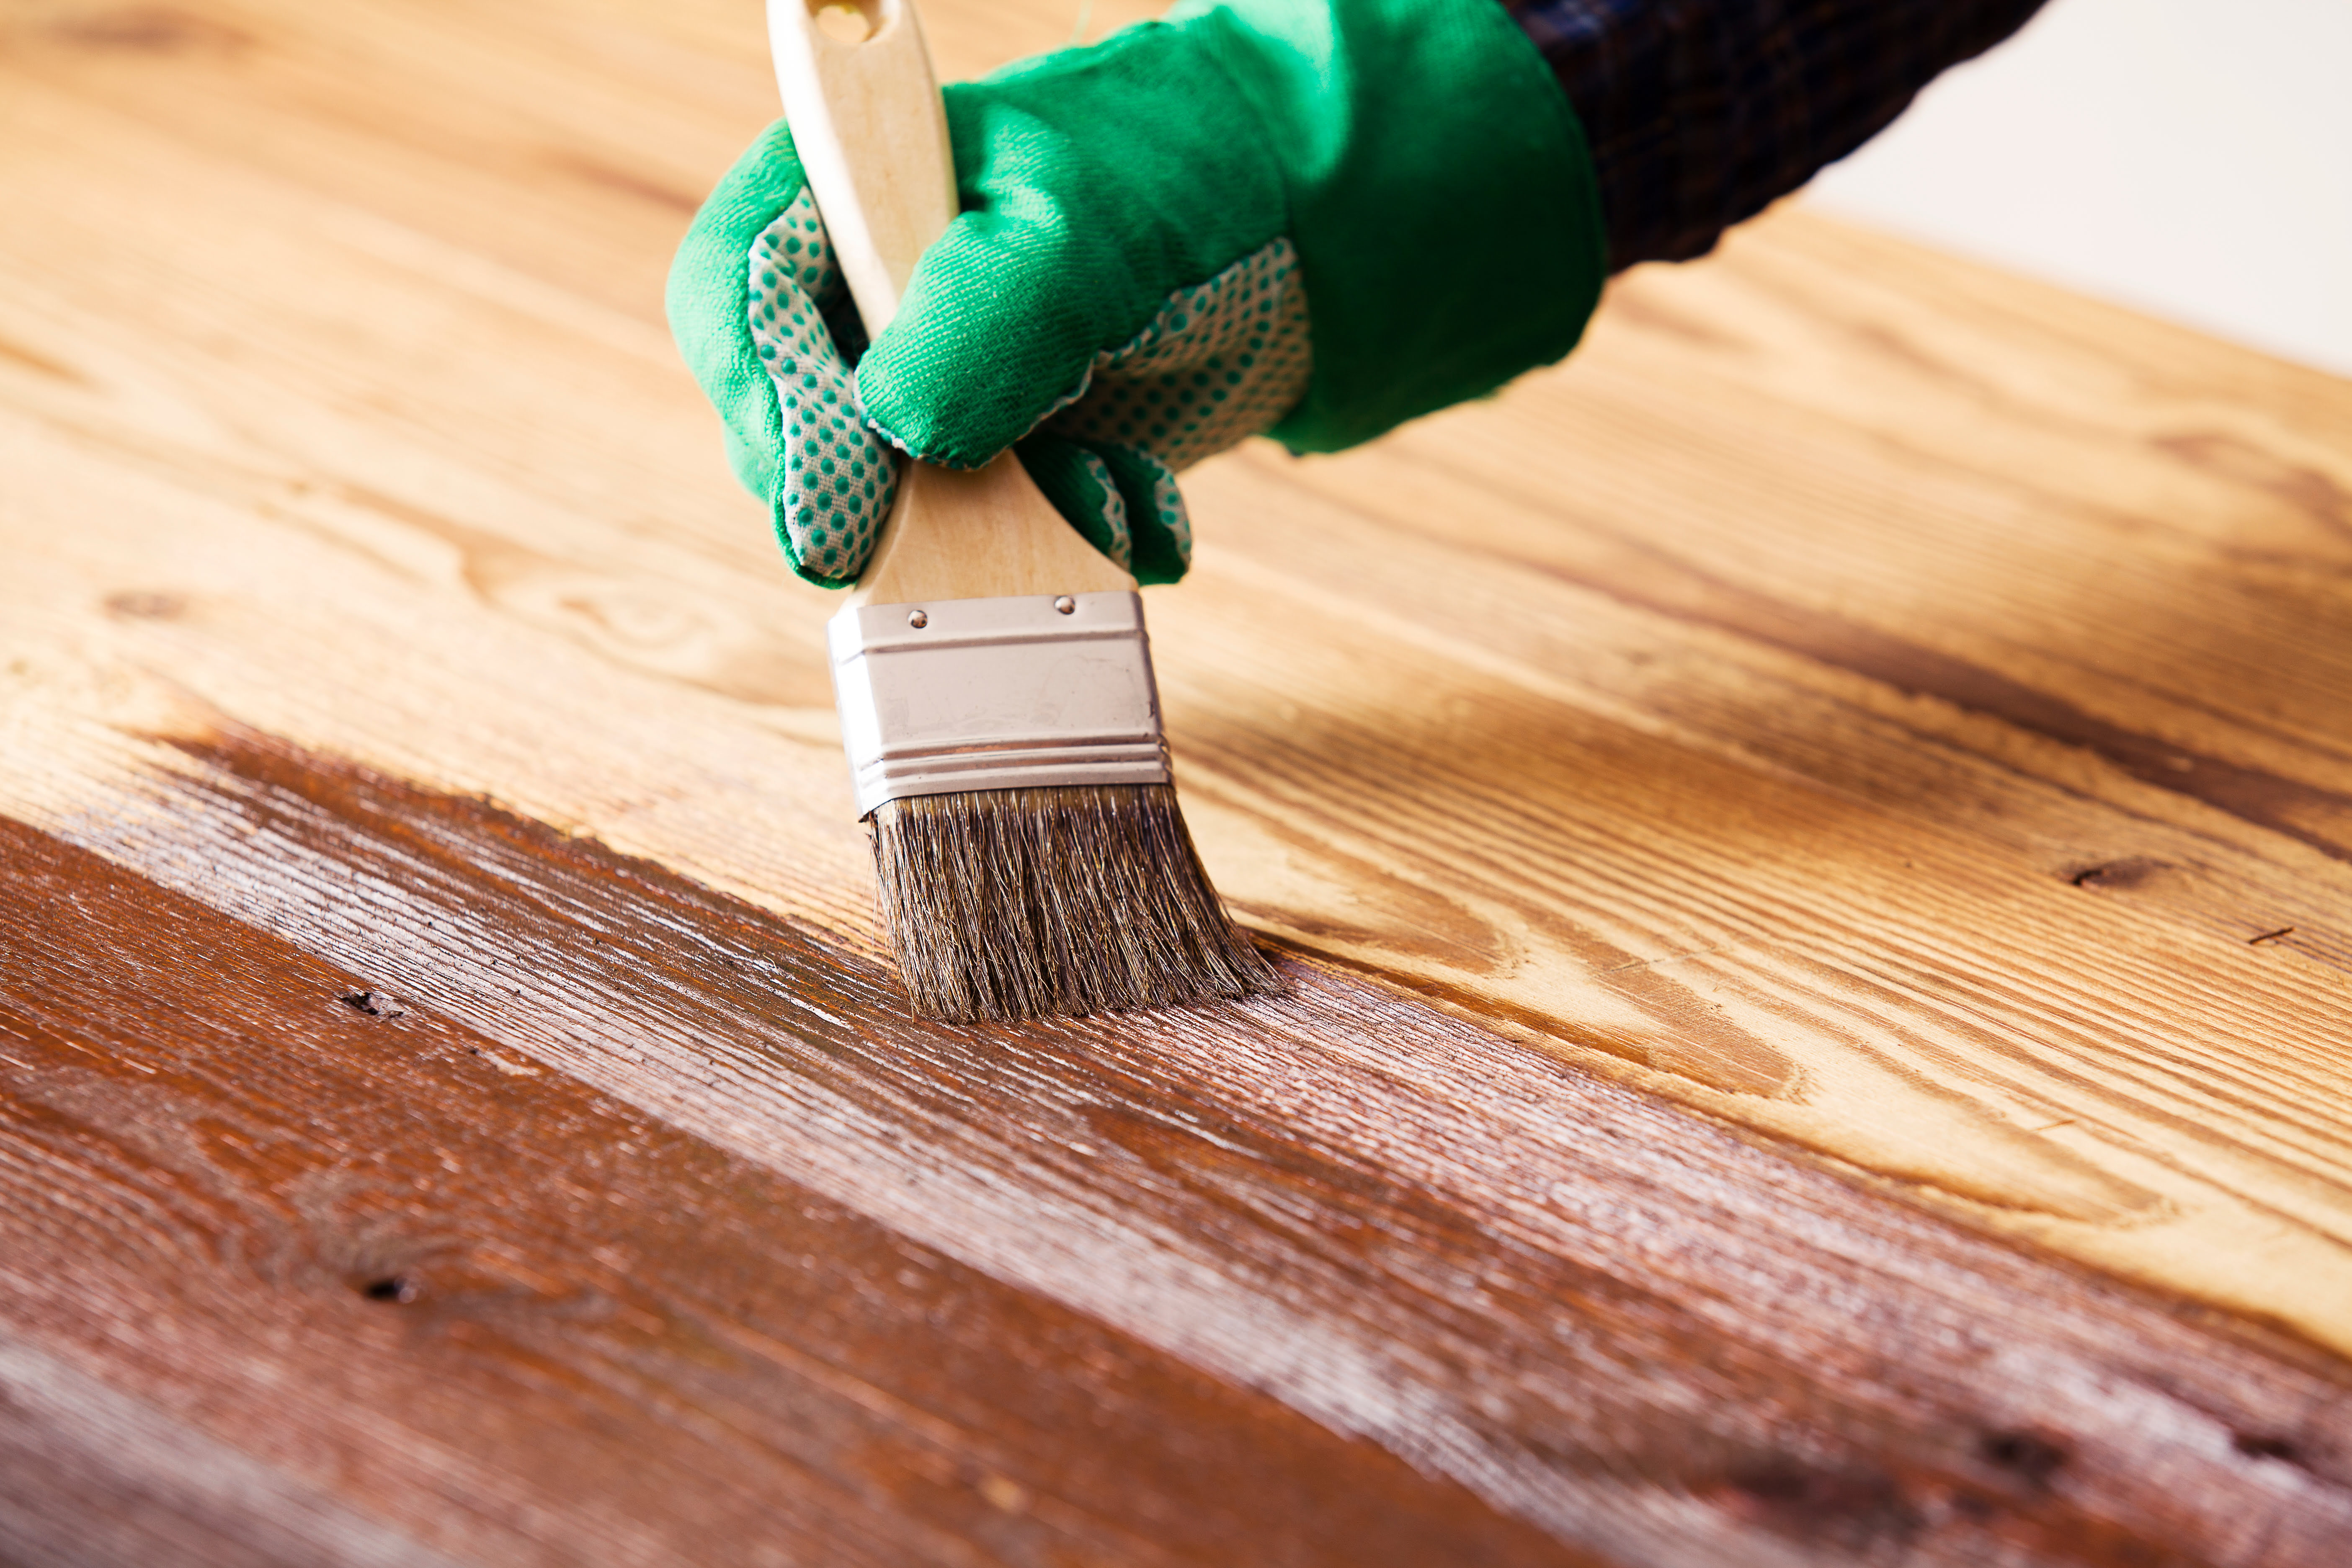
When antiquing furniture, use a dark glaze or wax to add depth and age to the piece. Apply it in the crevices and corners, then wipe away the excess for a subtle, aged look.
Read more: Who Buys Antique Furniture
Distressing the Furniture
Distressing the furniture is where the magic happens. This step adds aged character and gives your piece that authentic vintage look. There are various techniques you can use to distress the furniture, depending on the effect you want to achieve. Here’s how to distress your antique painted furniture:
- Choose your distressing tools: Gather a variety of tools that can create the desired distressed effect. Common options include sandpaper, sanding blocks, steel wool, a wire brush, or even a hammer and nails for creating small dents or wormholes.
- Decide on the distressing areas: Determine which areas of the furniture would naturally wear over time, such as edges, corners, and high-contact points. These are the areas where you’ll focus your distressing techniques.
- Start distressing: Begin by using sandpaper or a sanding block to gently sand down the edges and corners of the furniture. This will create a worn and weathered look. If you prefer a more rustic effect, use a wire brush or steel wool to create deeper scratches and imperfections.
- Experiment with different techniques: Don’t be afraid to get creative with your distressing techniques. Use different tools and pressures to achieve various levels of distressing. You can also try lightly tapping the furniture with a hammer to create small dents or using a nail to make tiny wormholes.
- Step back and assess: As you distress the furniture, step back occasionally to assess the overall effect. This will help you determine if you’re achieving the desired amount of distressing. Remember, you can always add more distressing, but it’s harder to undo it.
- Wipe away the dust: After distressing, wipe away the dust and debris with a clean cloth. This will ensure a clean surface for the next steps in the antique painting process.
Distressing the furniture adds depth and character, making it look like a cherished piece with a rich history. Experiment with different distressing techniques to achieve the desired level of wear and age. Don’t worry if you make mistakes or distress too much in certain areas – it all adds to the authenticity and uniqueness of your antique painted furniture.
Now that your furniture is distressed and full of character, it’s time to add the next layer of charm – the antique glaze. In the next section, we’ll explore how to apply the antique glaze to achieve an aged and weathered look.
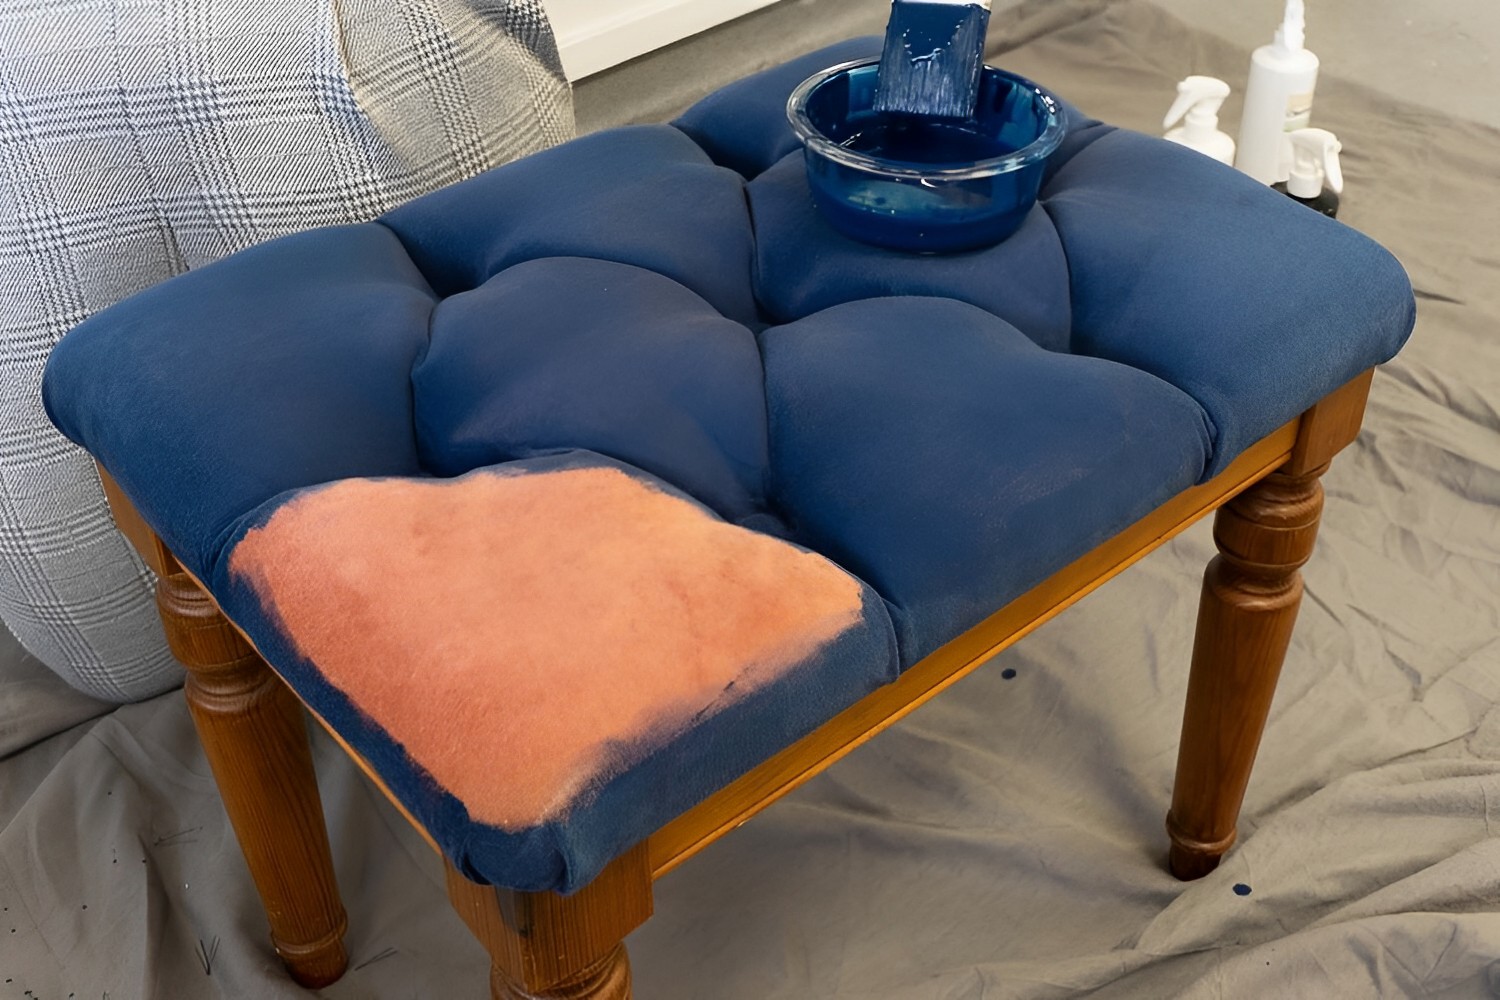
Adding Antique Glaze
Adding antique glaze is a crucial step in achieving an authentic aged and weathered look for your antique painted furniture. The glaze adds depth and dimension, enhancing the distressed areas and highlighting the intricate details. Follow these steps to apply the antique glaze:
- Choose your antique glaze: Select an antique glaze that complements the color of your base coat. Opt for a glaze that is specifically designed for furniture. You can find a variety of pre-made glazes or even mix your own using a clear glaze and a small amount of darker paint.
- Prepare your workspace: Set up your work area with a drop cloth or old newspapers to protect your surface. Have clean brushes, a small container for the glaze, and a clean cloth or sponge on hand.
- Apply the glaze: Dip a clean brush or sponge into the glaze and begin applying it to the furniture. Work in small sections, starting from the top and moving downward. Apply the glaze liberally, making sure to work it into the distressed areas and details of the furniture.
- Wipe away the excess: After applying the glaze, use a clean cloth or sponge to gently wipe away the excess. This will leave the glaze in the cracks and crevices, giving the furniture a beautifully aged appearance.
- Blend for desired effect: If you prefer a more subtle look, you can gently blend the glaze using a clean brush or sponge. This will create a softer, more delicate antique effect.
- Allow the glaze to dry: Follow the drying time specified by the manufacturer of the glaze. It’s important to give the glaze enough time to dry before moving on to the next steps.
Adding the antique glaze is a transformative step that brings your antique painted furniture to life. It adds depth, richness, and an overall aged look to the piece. Don’t rush the process – take your time to apply the glaze carefully and ensure that it is evenly distributed.
Now that your furniture is beautifully antiqued with glaze, let’s move on to highlighting the details with dark wax in the next section.
Highlighting Details with Dark Wax
Highlighting the details with dark wax is a crucial step in achieving an authentic antique finish for your painted furniture. Dark wax adds depth and enhances the character of the piece, giving it an aged and weathered look. Follow these steps to highlight the details with dark wax:
- Choose your dark wax: Select a dark wax that complements the color of your base coat and glaze. Dark wax is available in various shades, so choose one that suits the desired antique look you’re aiming for.
- Prepare your workspace: Prepare your work area with a drop cloth or old newspapers to protect your surface. Have clean brushes or lint-free cloths on hand for applying the dark wax.
- Apply the dark wax: Using a brush or cloth, gently apply the dark wax over the areas you want to highlight, such as carvings, edges, or details. Start with a small amount and build up as needed. Work in small sections to ensure even application.
- Blend and remove excess: After applying the dark wax, use a clean cloth or brush to blend it into the surface. This will create a subtle, aged effect. Wipe away any excess wax to achieve a natural and dimensional finish.
- Focus on details: Pay special attention to the fine details of the furniture. Apply the dark wax carefully to highlight any intricate carvings, moldings, or other unique features. This will enhance the depth and definition of the piece.
- Allow the wax to dry and cure: Follow the drying and curing time recommended by the manufacturer of the wax. This step is important to ensure that the wax settles and provides a protective layer over the paint and glaze.
Highlighting the details with dark wax adds an extra layer of authenticity and character to your antique painted furniture. It brings out the intricate details and gives the piece a beautifully aged appearance. Take your time during this step to ensure that the wax is applied evenly and blended well for a seamless finish.
Now that you’ve highlighted the details with dark wax, it’s time to seal the antique finish and protect the furniture in the next section.
Sealing the Antique Finish
After putting in the hard work and effort to create an authentic antique finish on your painted furniture, it’s important to seal and protect the final result. Sealing the antique finish will not only preserve its beauty but also ensure its durability. Follow these steps to seal your antique painted furniture:
- Choose your sealant: Select a clear, non-yellowing sealant that is compatible with the type of paint you used. The sealant can be in the form of wax, polyurethane, or a clear topcoat designed specifically for furniture.
- Prepare your workspace: Set up your work area with a drop cloth or old newspapers to protect your surface. Make sure the furniture is clean and dust-free before applying the sealant.
- Apply the sealant: Using a brush or a lint-free cloth, apply the sealant evenly to the entire surface of the furniture. Follow the instructions on the sealant’s label for the recommended method of application.
- Allow proper drying time: Let the sealant dry completely according to the instructions provided by the manufacturer. This can range from a few hours to a day, depending on the type of sealant used.
- Apply additional coats: If necessary, apply additional coats of the sealant for added protection. Make sure to follow the drying time in between each coat.
- Buff and finish: Once the sealant is fully dry, gently buff the surface of the furniture to a desired sheen using a clean cloth or buffer. This step will help give the piece a polished and finished look.
Sealing the antique finish is the final step in the process of creating a beautifully aged and protected piece of furniture. The sealant not only enhances the appearance but also provides a barrier against everyday wear and tear.
Remember to read and follow the instructions provided by the manufacturer of the sealant to ensure proper application and drying. This will help you achieve the best possible results and extend the longevity of your antique painted furniture.
Now that your antique finish is sealed, it’s time to add some final touches and share a few tips to complete your project in style.
Final Touches and Tips
Congratulations on successfully completing your antique painting project! As you put the final touches on your furniture, here are some tips and ideas to add those finishing touches and make your piece truly stand out:
- Add hardware: Consider replacing the original hardware with vintage or antique-inspired knobs, handles, or pulls. This will further enhance the antique charm of the furniture.
- Accessorize with vintage decor: Arrange your newly antique painted furniture with vintage accessories, such as old books, vintage glassware, or antique collectibles. This will create a cohesive vintage look in your space.
- Display family heirlooms: Showcase family heirlooms or sentimental items on the furniture. This will not only add a personal touch but also elevate the nostalgic vibe of the piece.
- Create a distressed wall backdrop: Consider creating a distressed or aged look on a wall behind the antique furniture. This will provide a charming backdrop for your piece and tie the room together.
- Experiment with layering colors: Don’t be afraid to experiment with layering different colors of paint or glaze to achieve a unique antique look. Play with different combinations to create a custom finish.
- Embrace imperfections: Remember that imperfections are part of the charm of antique furniture. Embrace the natural wear and tear, and appreciate the character and history that each piece holds.
- Regular maintenance: To keep your antique painted furniture looking its best, practice regular maintenance. Dust the piece regularly, and be cautious with spills or excessive moisture to preserve the finish.
- Enjoy the process: Antique painting furniture is a creative and rewarding process. Enjoy every step of the journey, from choosing the piece to seeing the final transformation. Allow your creativity to flow and make the project uniquely yours.
By adding these final touches and keeping these tips in mind, you’ll create a truly remarkable piece of antique painted furniture that adds character and charm to your living space.
Now it’s time to showcase your masterpiece and enjoy the beauty of your antique painted furniture for years to come. Happy antiquing!
Frequently Asked Questions about How To Antique Paint Furniture
Was this page helpful?
At Storables.com, we guarantee accurate and reliable information. Our content, validated by Expert Board Contributors, is crafted following stringent Editorial Policies. We're committed to providing you with well-researched, expert-backed insights for all your informational needs.

0 thoughts on “How To Antique Paint Furniture”