Home>Furniture & Design>Outdoor Furniture>How To Restore Faded Metal Outdoor Furniture
Outdoor Furniture
How To Restore Faded Metal Outdoor Furniture
Published: January 13, 2024
Restore the beauty of your outdoor furniture with our expert tips. Transform faded metal pieces back to their original glory. Learn how to revive your outdoor space.
(Many of the links in this article redirect to a specific reviewed product. Your purchase of these products through affiliate links helps to generate commission for Storables.com, at no extra cost. Learn more)
Introduction
Welcome to the world of outdoor furniture restoration! Over time, the elements can take a toll on your beloved metal outdoor furniture, causing it to fade and lose its luster. However, with the right techniques and a little elbow grease, you can breathe new life into your outdoor oasis.
Whether you have a vintage wrought iron patio set or a modern aluminum dining ensemble, restoring faded metal outdoor furniture is a rewarding endeavor that can save you money and help preserve the environment by preventing unnecessary waste. In this comprehensive guide, we will walk through the step-by-step process of reviving your weathered outdoor furniture, allowing you to unleash your creativity and showcase your unique style.
By following these expert tips, you will learn how to assess the condition of your furniture, clean its surface, sand away imperfections, apply metal primer, paint with precision, and finish with a protective clear coat. Additionally, we will provide you with essential maintenance tips to ensure that your revitalized outdoor furniture remains in pristine condition for years to come.
So, roll up your sleeves, gather your supplies, and get ready to embark on a fulfilling journey of restoration. Whether you are a seasoned DIY enthusiast or a novice looking for a new project, this guide will equip you with the knowledge and confidence to transform your faded metal outdoor furniture into a stunning focal point of your outdoor living space. Let's dive in and breathe new life into your outdoor oasis!
Key Takeaways:
- Revive your faded metal outdoor furniture by cleaning, sanding, priming, painting, and applying a protective clear coat. Add cushions and perform regular maintenance for a vibrant and long-lasting outdoor oasis.
- Transform your outdoor space with a rewarding restoration journey. Assess, clean, sand, prime, paint, and protect your metal furniture for a durable and personalized outdoor oasis.
Read more: How To Restore Faded Outdoor Cushions
Assessing the Condition of the Furniture
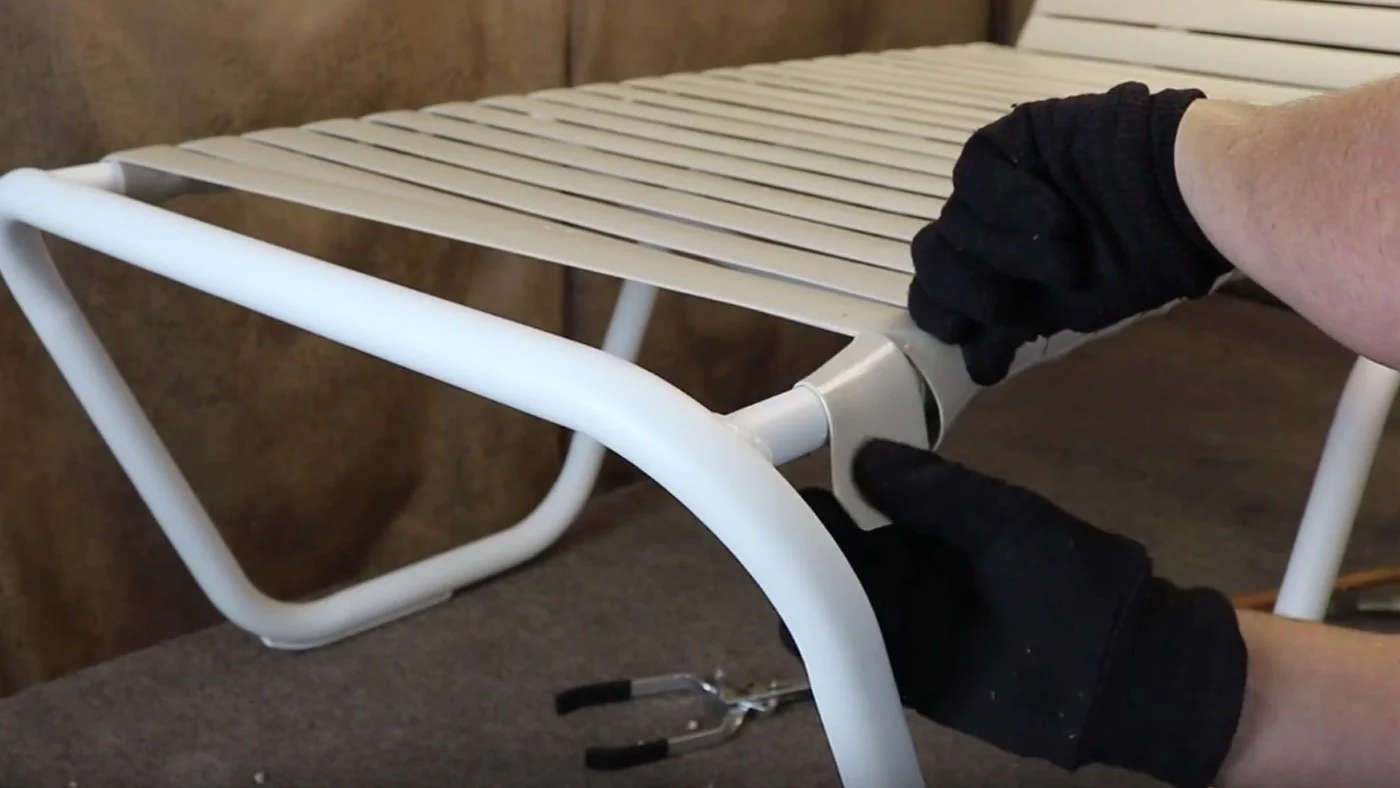
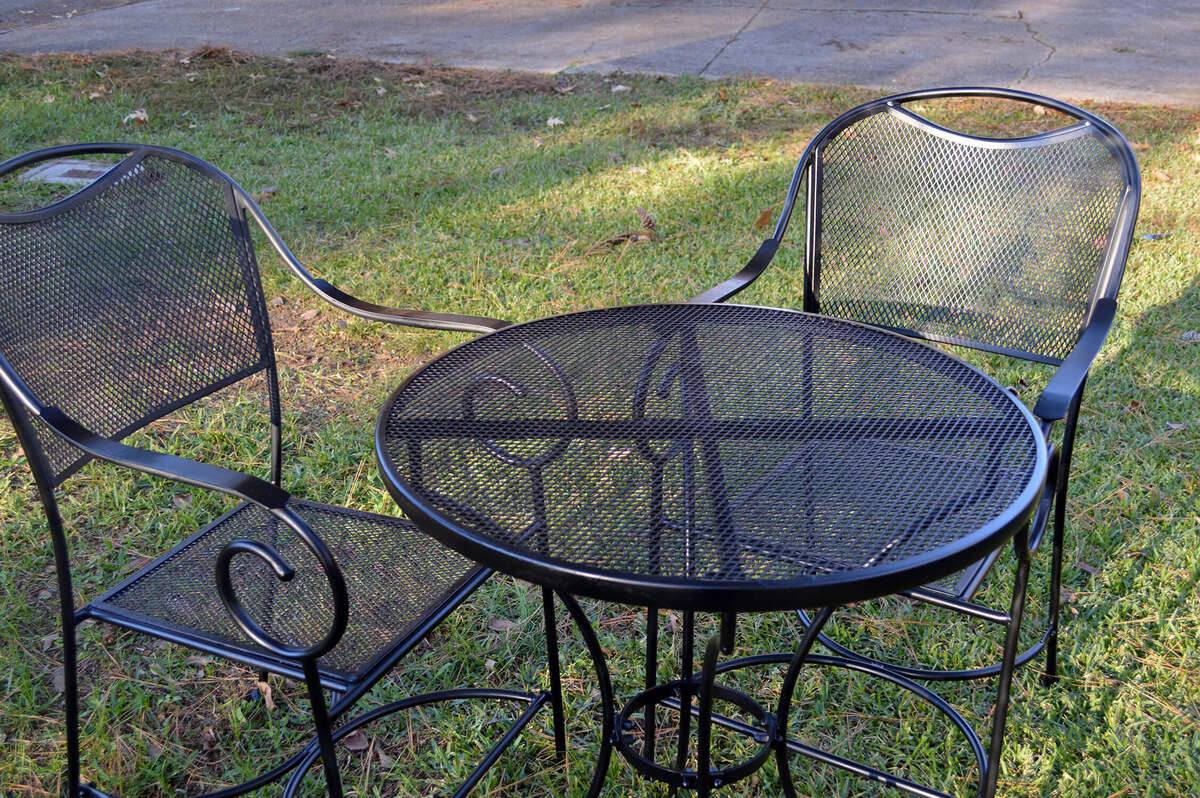
Before diving into the restoration process, it’s crucial to assess the current state of your metal outdoor furniture. Start by conducting a thorough inspection to identify areas of fading, rust, chipping paint, or other signs of wear and tear. Take note of any structural damage, such as dents or bent components, that may require repair before proceeding with the restoration.
Next, consider the type of metal used in your furniture, as different metals may require specific restoration techniques. Wrought iron, known for its durability and classic aesthetic, is susceptible to rust and may require more intensive surface preparation. Aluminum, on the other hand, is lightweight and resistant to rust, but its surface may still require cleaning and priming to ensure optimal paint adhesion.
Additionally, evaluate the existing finish on the furniture. If the original paint is peeling or flaking, it will need to be completely removed before applying a new finish. However, if the current finish is in relatively good condition, a thorough cleaning and light sanding may be sufficient to prepare the surface for painting.
Consider the overall design and intricacies of the furniture. Ornate details and intricate patterns may require extra attention during the restoration process to ensure that every nook and cranny is revitalized. By carefully assessing these factors, you can tailor your restoration approach to suit the unique characteristics of your outdoor furniture.
Lastly, take into account your personal preferences and the desired outcome. Are you looking to restore the furniture to its original appearance, or do you envision a fresh, new color scheme that complements your outdoor decor? Understanding your aesthetic goals will guide your decisions as you progress through the restoration process.
By thoroughly assessing the condition of your metal outdoor furniture, you will gain valuable insights that will inform your restoration strategy, ensuring that the end result exceeds your expectations. With a clear understanding of the current state of your furniture, you are ready to embark on the next steps of the restoration journey.
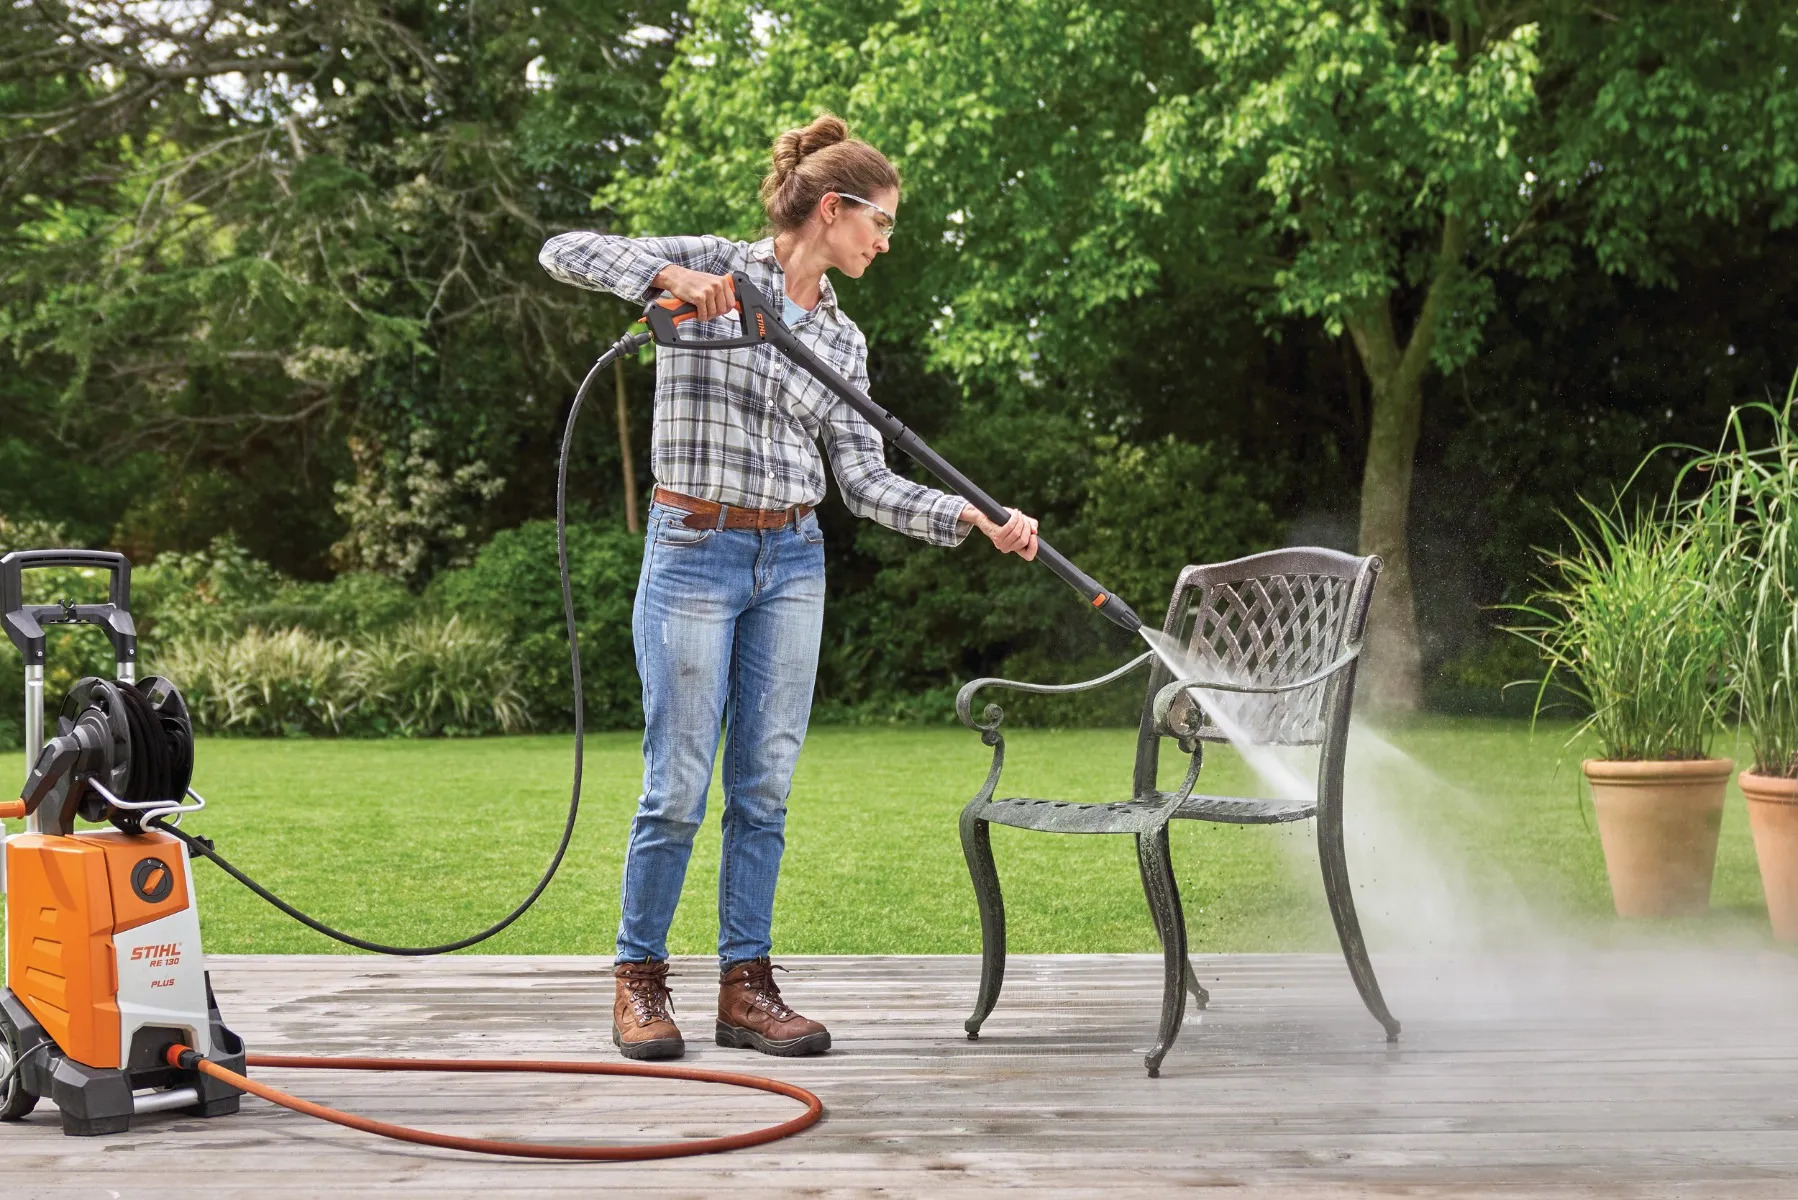
Cleaning the Surface
Once you have assessed the condition of your metal outdoor furniture, the next crucial step in the restoration process is to thoroughly clean the surface. Over time, outdoor furniture accumulates dirt, grime, and environmental residues that can compromise the adhesion and longevity of the new finish. By effectively cleaning the surface, you will create a pristine canvas for the subsequent restoration steps.
Begin by removing any loose debris and dirt from the furniture using a stiff-bristled brush or a vacuum with a brush attachment. Pay close attention to intricate details and crevices where dirt and debris may be lodged. This initial cleaning step will prepare the furniture for a deeper cleanse.
Next, prepare a cleaning solution by mixing a mild detergent, such as dish soap, with warm water. Using a sponge or soft-bristled brush, gently scrub the entire surface of the furniture to remove embedded dirt and grime. For stubborn stains or areas with heavy soiling, you may need to use a non-abrasive scouring pad to effectively lift the dirt without damaging the metal surface.
After cleaning the furniture with the detergent solution, thoroughly rinse the entire surface with clean water to remove any residual soap or cleaning agents. Ensure that all traces of the cleaning solution are completely removed, as any remaining residue can interfere with the adhesion of the primer and paint.
Once the furniture is rinsed, allow it to dry completely before proceeding to the next stage of the restoration process. Depending on the weather conditions and humidity levels, this may take a few hours to a full day. Proper drying is essential to prevent trapping moisture, which can lead to adhesion issues and premature paint failure.
By meticulously cleaning the surface of your metal outdoor furniture, you are setting the stage for a successful restoration. The thorough removal of dirt and grime will ensure that the subsequent steps, such as sanding and painting, result in a flawless finish that revitalizes your outdoor oasis.
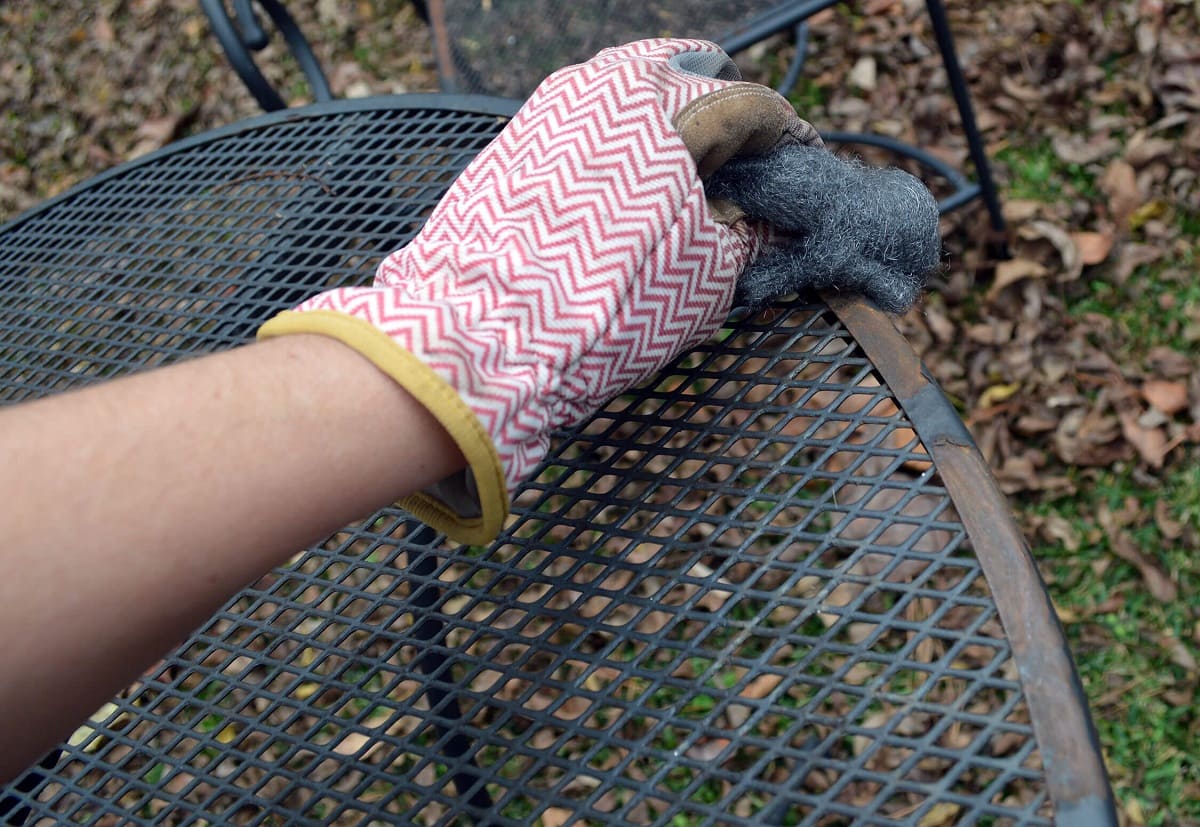
Sanding the Furniture
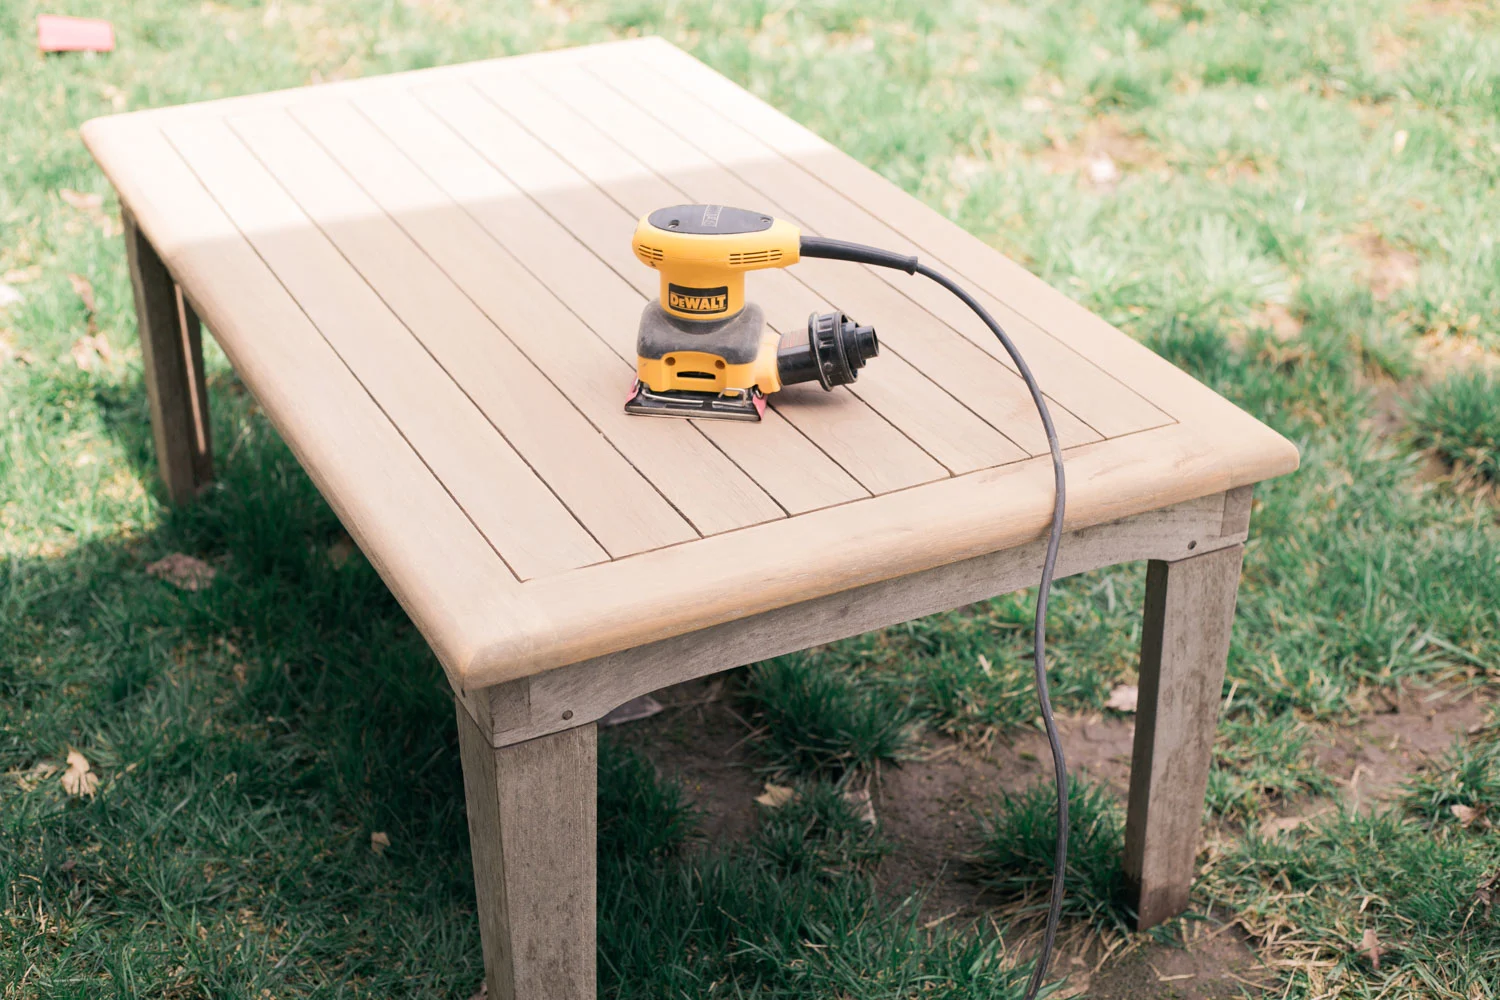
After cleaning the surface of your metal outdoor furniture, the next step in the restoration process is to prepare the surface for the application of primer and paint. Sanding the furniture is essential for promoting paint adhesion and creating a smooth, uniform surface that enhances the durability and aesthetic appeal of the final finish.
Start by selecting the appropriate sandpaper grit based on the condition of the furniture. For surfaces with minor imperfections and existing paint that is in relatively good condition, a medium-grit sandpaper, such as 120-150 grit, is suitable for creating a slightly roughened texture that promotes paint adhesion. However, if the furniture has significant rust, chipping paint, or rough patches, begin with a coarser grit, such as 80-100, to effectively smooth out these imperfections.
Using a sanding block or sandpaper, systematically sand the entire surface of the furniture, working in the direction of the grain or pattern to maintain a consistent finish. Pay particular attention to areas with rust or chipped paint, ensuring that these areas are smoothed down to create a seamless transition between the affected and unaffected areas.
For intricate details and hard-to-reach areas, utilize sandpaper strips or small pieces of sandpaper to carefully sand these delicate sections without compromising their design. Patience and attention to detail during this process will ensure that every part of the furniture receives the necessary surface preparation for the subsequent painting stage.
As you sand, periodically wipe the furniture with a clean, damp cloth to remove dust and inspect the surface for any remaining imperfections. This step will help you identify areas that may require additional sanding to achieve a uniform and smooth texture across the entire piece of furniture.
Once the entire surface has been sanded and smoothed to your satisfaction, thoroughly wipe down the furniture with a tack cloth to remove any lingering dust particles. This final preparation step is crucial for ensuring a clean surface that is ready to receive the primer and paint, setting the stage for a professional-quality restoration that will breathe new life into your outdoor furniture.
To restore faded metal outdoor furniture, start by cleaning the surface with a mild detergent and water. Then, use a metal primer and spray paint to give it a fresh coat of color. Finish with a clear sealant to protect it from the elements.
Applying Metal Primer
With the surface of your metal outdoor furniture thoroughly cleaned and sanded, the next critical step in the restoration process is the application of metal primer. Primer serves as a foundation for the paint, promoting adhesion and providing an additional layer of protection against corrosion and wear.
Before applying the primer, ensure that the furniture is placed in a well-ventilated area, and the surrounding environment is free from dust and debris that could compromise the primer application. Additionally, check the weather conditions to avoid painting outdoors on excessively humid or windy days, as these factors can affect the drying and curing of the primer.
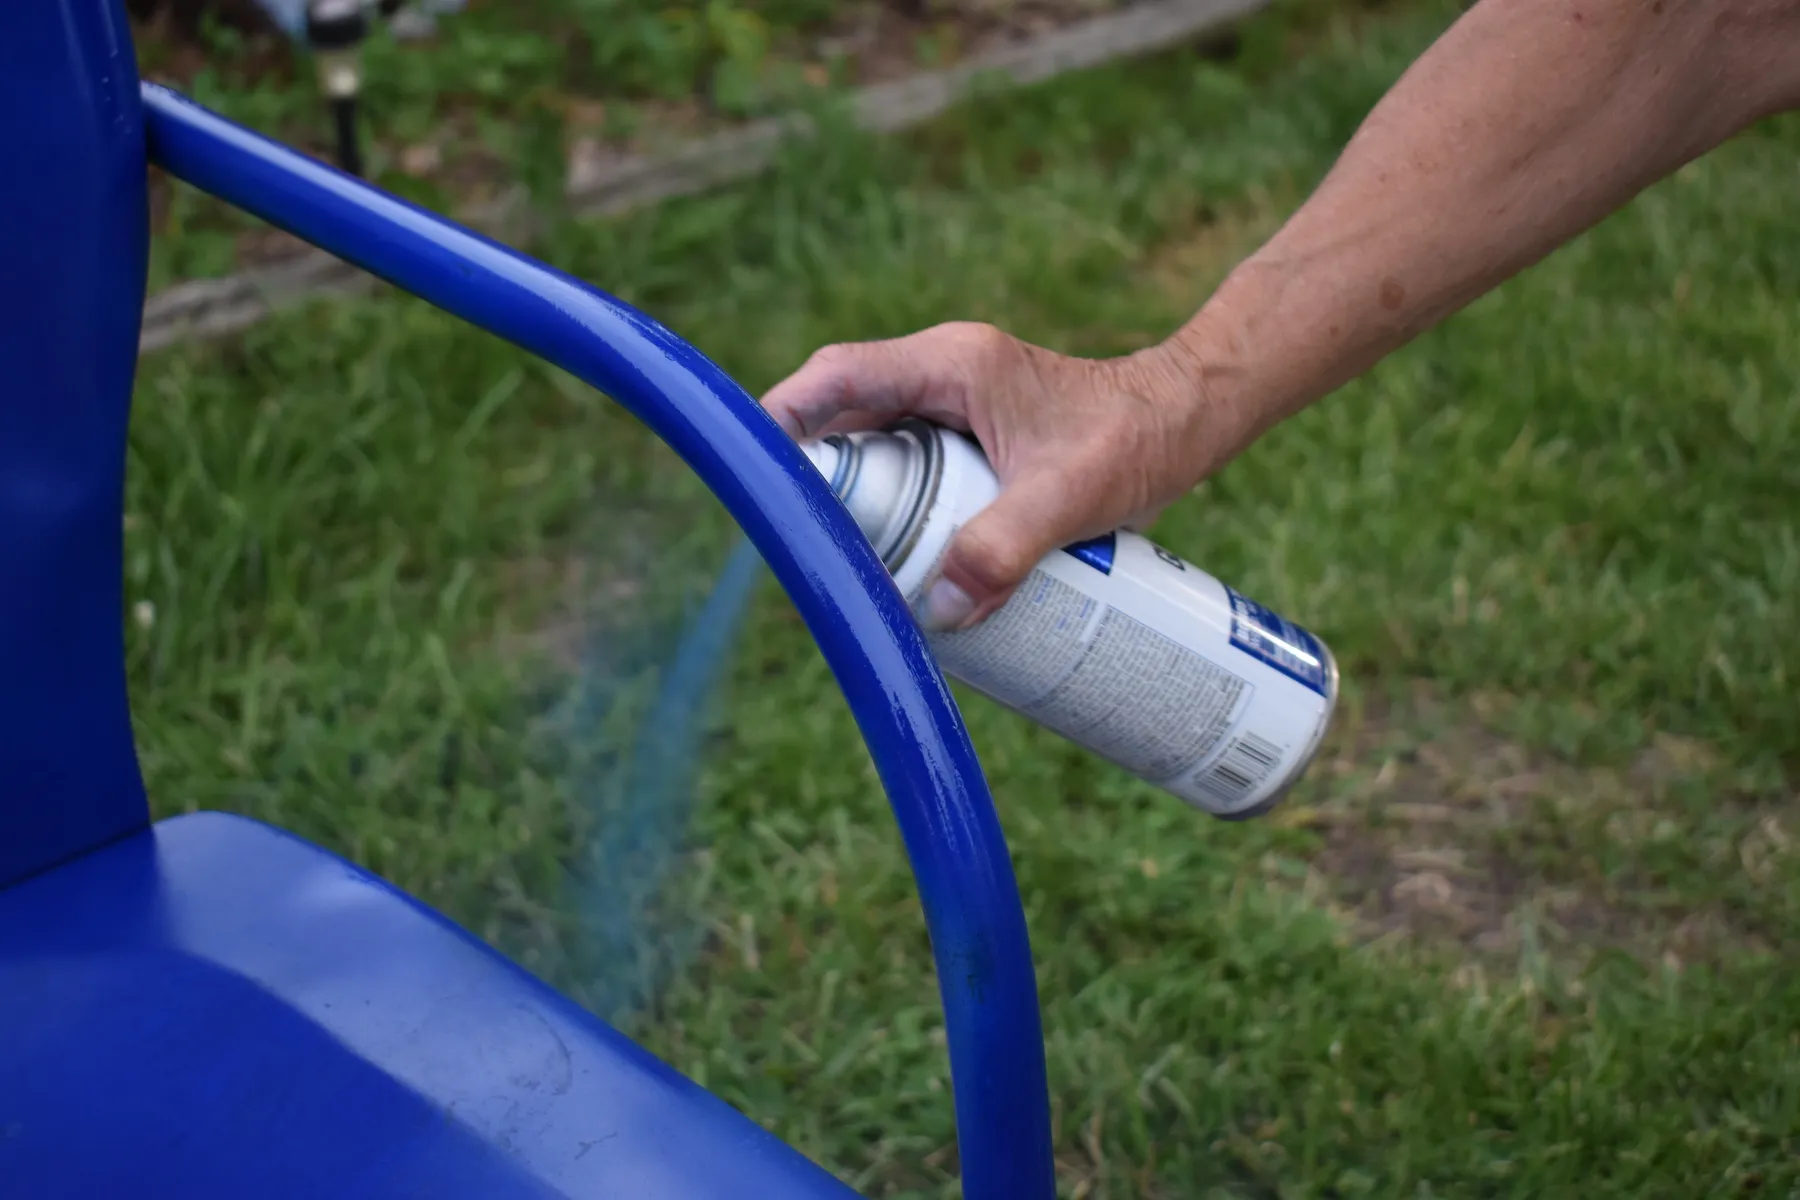
Choose a high-quality metal primer specifically designed for outdoor use, ensuring that it offers rust-inhibiting properties and adheres well to metal surfaces. Shake the primer can thoroughly to mix the contents and then apply a thin, even coat of primer to the entire surface of the furniture. Hold the spray can approximately 8-12 inches away from the surface and use smooth, overlapping strokes to achieve uniform coverage.
When applying the primer, focus on maintaining a consistent distance and speed to prevent drips, runs, or uneven coverage. Work methodically to cover all exposed surfaces, including intricate details and hard-to-reach areas, ensuring that the entire piece of furniture is coated with a thin layer of primer.
After the initial coat of primer has been applied, allow it to dry according to the manufacturer’s instructions. Once the first coat is dry to the touch, inspect the furniture for any areas that may require additional primer to achieve optimal coverage and adhesion. Apply a second thin coat of primer if necessary, ensuring that the entire surface is evenly coated for maximum protection and paint adhesion.
Once the final coat of primer has dried completely, the surface of the furniture will be prepared to receive the paint. The application of high-quality metal primer is a crucial step that sets the foundation for a durable and long-lasting finish, ensuring that your restored outdoor furniture maintains its beauty and resilience in the face of outdoor elements.
Read more: How To Restore Faded Patio Umbrella
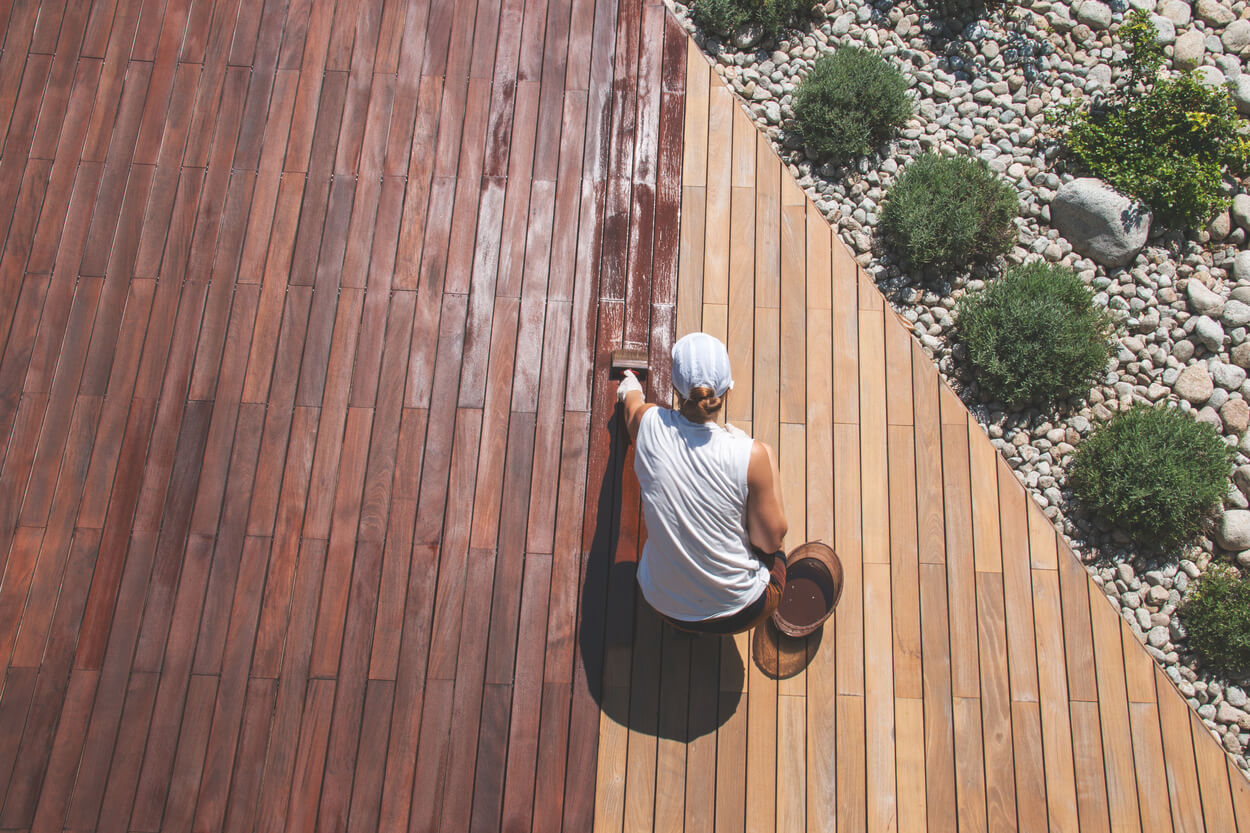
Painting the Furniture
With the metal primer providing a solid foundation for the new finish, it’s time to infuse your outdoor furniture with a fresh burst of color and personality through the application of paint. Whether you’re aiming to restore the furniture to its original hue or seeking to introduce a new and vibrant color scheme, the painting stage is where your vision comes to life.
Before you begin painting, carefully select a high-quality outdoor metal paint that is formulated to withstand the elements and provide long-lasting protection. Consider the color options available and choose a shade that complements your outdoor decor while reflecting your personal style.
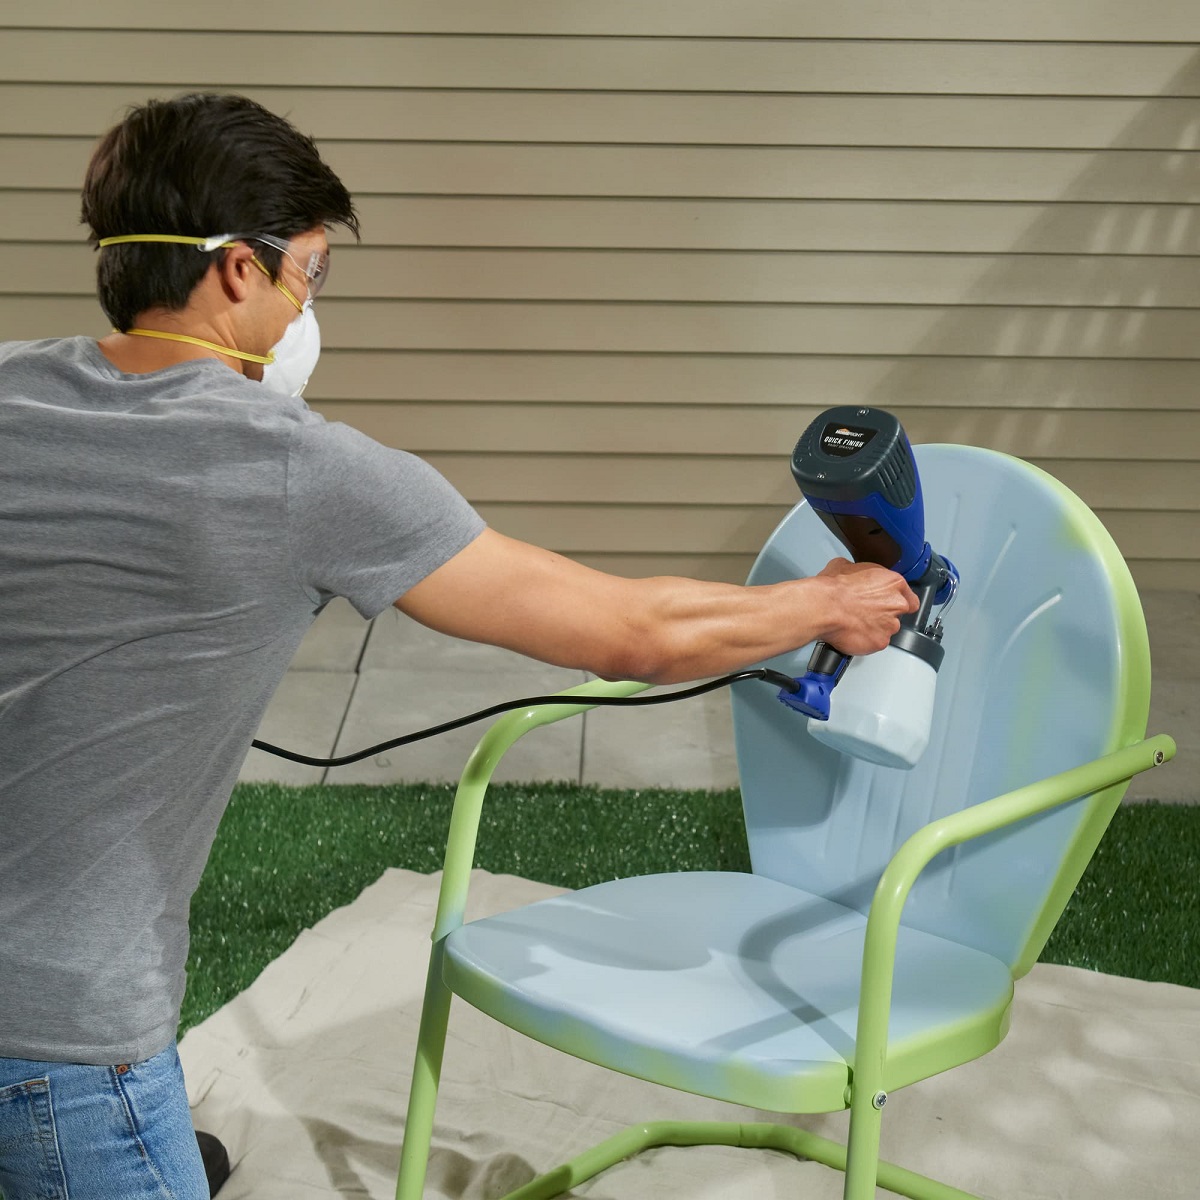
Prepare the paint by stirring it thoroughly to ensure an even consistency. If you are using spray paint, shake the can according to the manufacturer’s instructions to mix the paint and activate the aerosol. Ensure that the painting area is well-ventilated and free from dust or debris that could mar the finish.
When applying the paint, maintain a consistent distance from the furniture, typically 8-12 inches for spray paint, and use smooth, overlapping strokes to achieve even coverage. Start with a light coat of paint, allowing it to dry according to the manufacturer’s recommendations before applying subsequent coats. Multiple thin coats are preferable to a single heavy coat, as they minimize the risk of drips, runs, and uneven coverage.
As you paint, pay close attention to intricate details and hard-to-reach areas, ensuring that every part of the furniture receives a uniform coat of paint. Take your time to achieve a flawless finish that highlights the unique design elements of your outdoor furniture.
After applying the final coat of paint and allowing it to dry completely, inspect the furniture for any touch-ups or areas that may require additional coverage. Once you are satisfied with the evenness and vibrancy of the paint, the revitalized furniture will stand as a testament to your dedication and creativity in the restoration process.
The application of paint breathes new life into your metal outdoor furniture, transforming it into a stunning focal point that enhances your outdoor living space. Whether you opt for a classic color or a bold new hue, the painted finish will protect the furniture from the elements while showcasing your unique style and attention to detail.
Applying a Clear Coat
After painting your metal outdoor furniture, the application of a clear coat serves as the final protective barrier, enhancing the durability and longevity of the newly restored finish. Clear coat not only provides an additional layer of defense against the elements but also imparts a lustrous sheen that elevates the aesthetic appeal of the furniture.
When selecting a clear coat, opt for a high-quality, outdoor-rated clear protective spray designed specifically for metal surfaces. This clear coat will shield the painted finish from UV rays, moisture, and general wear, preserving the vibrancy of the color and the integrity of the paint job.
Prior to applying the clear coat, ensure that the painted surface is completely dry and free from any dust or debris. Choose a well-ventilated area for the application, and consider the weather conditions to ensure optimal drying and curing of the clear coat.
Shake the can of clear coat thoroughly to mix the contents, and then apply a light, even coat of clear protective spray to the entire surface of the furniture. Maintain a consistent distance from the furniture, typically 8-12 inches for spray application, and use smooth, overlapping strokes to achieve uniform coverage.
Allow the first coat of clear coat to dry according to the manufacturer’s instructions before applying additional coats. Multiple thin coats are preferable to a single heavy coat, as they minimize the risk of drips and ensure a smooth, glossy finish that enhances the visual impact of the painted furniture.
As you apply the clear coat, pay special attention to intricate details and hard-to-reach areas, ensuring that every part of the furniture receives a protective layer that complements the painted finish. The clear coat serves as the final touch that seals and safeguards your meticulous restoration work, ensuring that your outdoor furniture remains vibrant and resilient in the face of outdoor elements.
Once the clear coat has dried completely, your metal outdoor furniture will boast a radiant finish that not only captivates the eye but also withstands the rigors of outdoor living. The clear coat serves as a testament to your dedication to preserving and enhancing the beauty of your outdoor oasis, providing a lasting showcase of your craftsmanship and creativity.
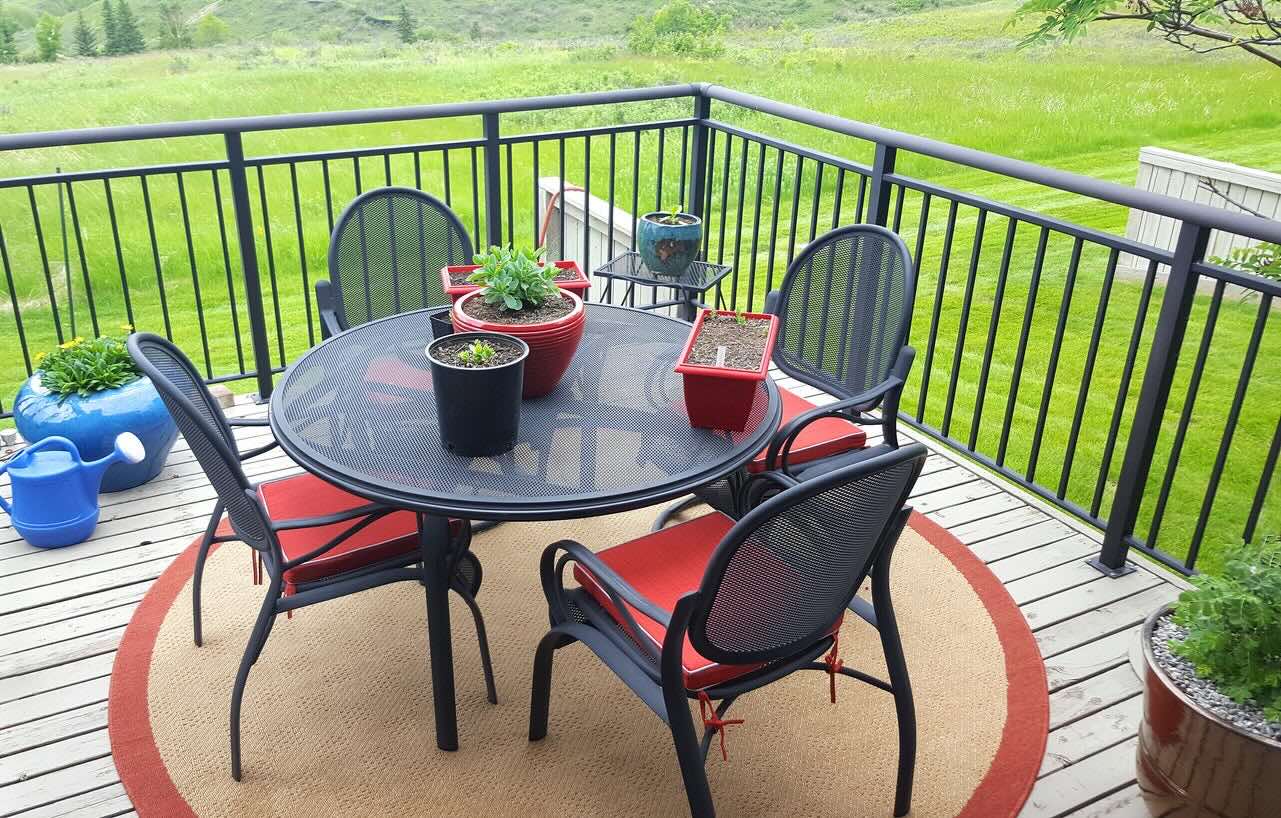
Final Touches and Maintenance Tips
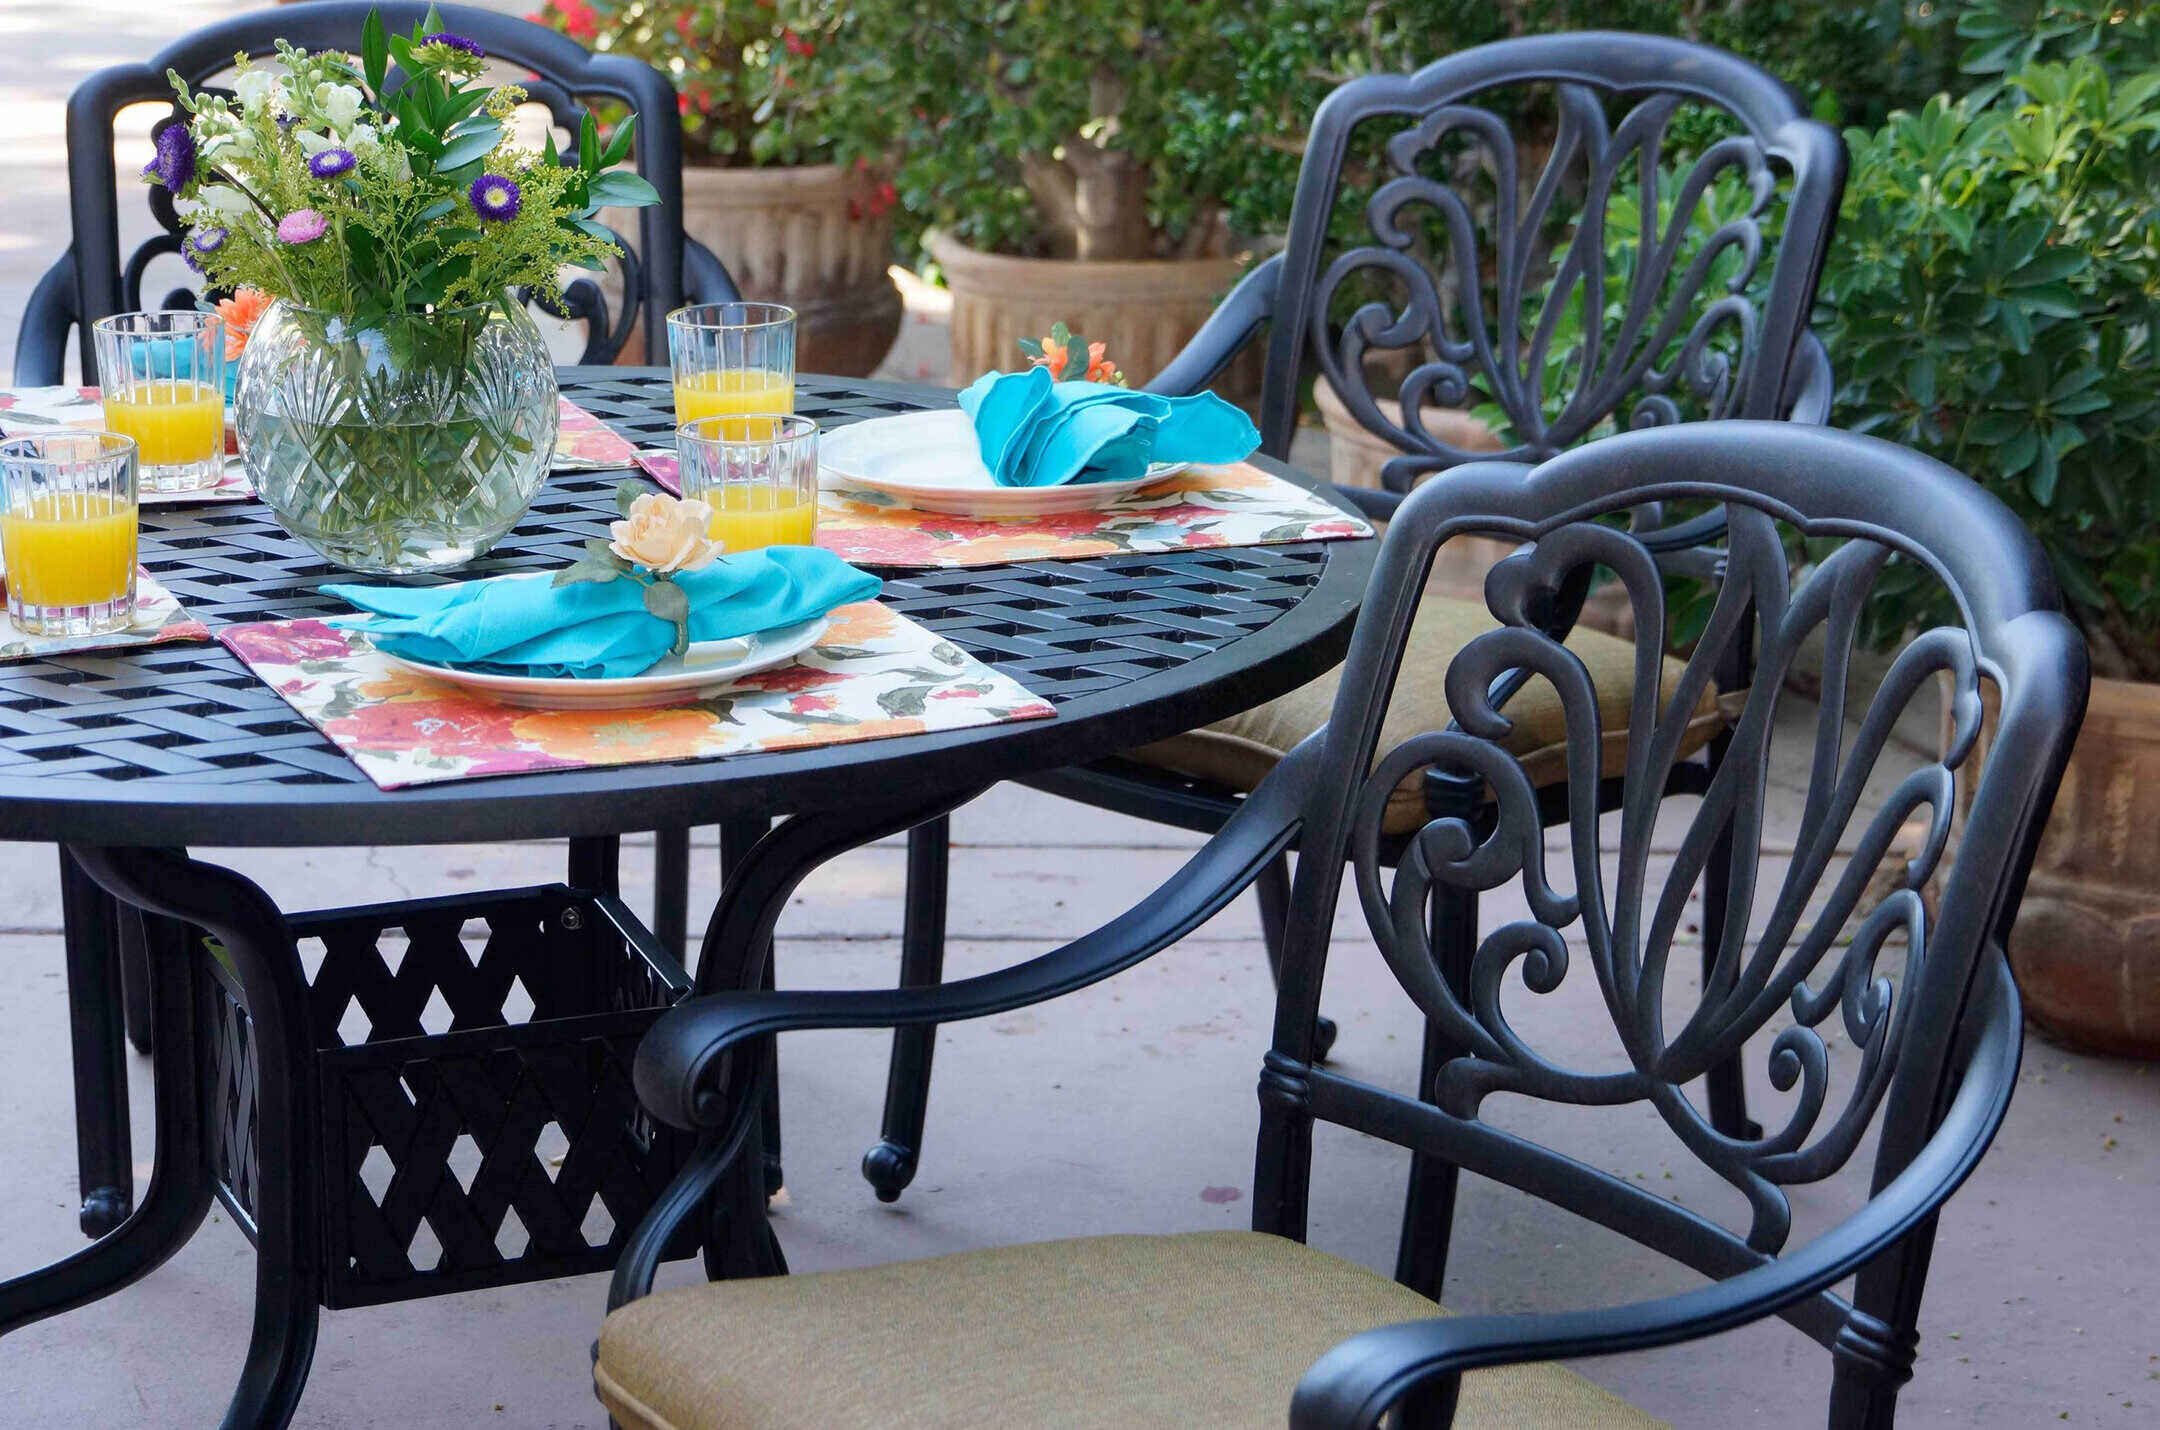
With your metal outdoor furniture beautifully restored, it’s time to add the final touches and implement maintenance strategies that will keep your outdoor oasis looking pristine for years to come. These thoughtful details and ongoing care will ensure that your revitalized furniture remains a source of enjoyment and relaxation in your outdoor living space.
Consider adding cushions or pillows to your seating to enhance comfort and style. Choose fabrics that are designed for outdoor use, as they are durable and resistant to moisture and fading. These accessories not only provide a cozy seating experience but also inject a pop of color and pattern that complements your outdoor decor.
Regular maintenance is essential for preserving the beauty of your restored furniture. Periodically clean the surfaces with a mild detergent and water to remove dust, pollen, and environmental residues. Avoid using abrasive cleaners or tools that could damage the painted finish or clear coat.
Inspect the furniture for any signs of wear, such as chipped paint or scratches, and promptly address these issues to prevent further damage. Touch up the paint as needed, ensuring that the affected areas are cleaned and properly prepared before applying new paint and clear coat.
During periods of inclement weather or when the furniture is not in use, consider covering it with a protective tarp or storing it in a sheltered area to shield it from the elements. This proactive measure will extend the longevity of the restored finish and minimize exposure to moisture and UV rays.
Finally, embrace the opportunity to personalize your outdoor oasis with decorative accents, such as potted plants, outdoor rugs, and ambient lighting. These elements add character and warmth to your outdoor space, creating an inviting environment for relaxation and entertainment.
By attending to these final touches and implementing a consistent maintenance routine, you will ensure that your revitalized metal outdoor furniture remains a cherished feature of your outdoor living space. The investment of time and care in the restoration process will yield long-lasting enjoyment and create a welcoming retreat for you, your family, and guests to savor the beauty of the outdoors.
Frequently Asked Questions about How To Restore Faded Metal Outdoor Furniture
Was this page helpful?
At Storables.com, we guarantee accurate and reliable information. Our content, validated by Expert Board Contributors, is crafted following stringent Editorial Policies. We're committed to providing you with well-researched, expert-backed insights for all your informational needs.

0 thoughts on “How To Restore Faded Metal Outdoor Furniture”