Home>Garden Essentials>Making a Moss Pole for Plants: A Beginner’s Guide


Garden Essentials
Making a Moss Pole for Plants: A Beginner’s Guide
Modified: December 6, 2023
Want to make a moss pole for your plants but don’t know how to begin? Check out this article to discover how, as well as its benefits and maintenance!
(Many of the links in this article redirect to a specific reviewed product. Your purchase of these products through affiliate links helps to generate commission for Storables.com, at no extra cost. Learn more)
Making a do-it-yourself moss pole for your plants is one of the strategies that you can do to ensure that your plants are healthy and growing strong. Sure, there are many available moss poles in the market today, but creating one for your plants is much cheaper, easier, and more fun for beginners and even seasoned gardeners. You will also be able to design it in the way most suitable for the size and type of your plant. After all, you know your plants best!
No more beating around the bush because we’re going to show you how to make a moss pole for your precious plants in a few simple steps as well as how to maintain it, so keep on reading!
What is a Moss Pole and Why Should You Make One for Your Plants
So, what exactly is a moss pole? A moss pole is an upright or vertical stick typically made up of moss, which is a flowerless and spore-bearing plant that thrives in moist areas. Simply put, the main goal of this pole is to mimic the natural habitat of your indoor plants in order to encourage them to grow to their full potential.
Read more: How To Store Moss
Physical Support to Climbing Houseplants
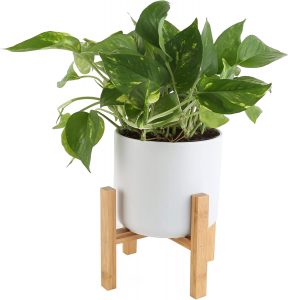
Moss poles cater to any kind of climbing plants, including epiphytes, which are plants that have aerial roots and naturally climb on nearby trees and rocks. Due to the mossy texture of the pole, they serve as a great alternative to these plants’ outdoor environment and become physical support for their growth. The common examples of epiphytes are tropical houseplants such as philodendron, monstera, and pothos.
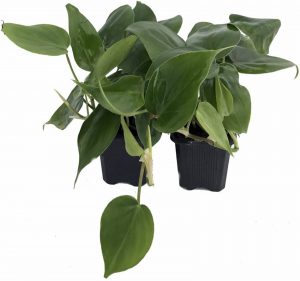
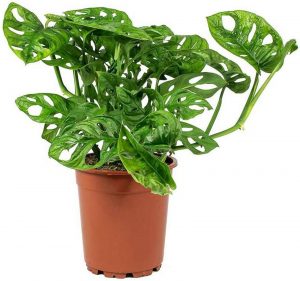
All of these epiphytes, regardless of variety, can trail up to eight inches high without moss poles. With that, adding a moss pole into their pot effectively helps them grow even higher and longer as you like. Doing this also allows you to provide them a vertical, upwards growing space rather than horizontal or sideways.
Supplies Moisture to Plants
The moss’s natural permeability and water retention encourage the plants to produce new roots and climb to the pole. In short, they become an additional food source for climbing plants while also providing the humidity that they require.
Helps Plants Grow To Maturity
As a moss pole acts as an extension of the pot, it aids plant growth by providing a sense of proximity to the sun. Therefore, the plants will adapt to this thought and signal their bodies to improve their height, foliage, and many other characteristics! This is also why the sooner you put a moss pole with your plants, the better. It will help juvenile plants mature faster and grow steadily. Doing so also saves you from maiming the root system of your already developing plants which may affect their growth.
However, if you already have a mature plant that requires a moss pole, don’t worry because the steps we’ll discuss later in this article can help you attach them to your plant’s pot without damaging their roots!
Improves the Look of Your Plants
Installing a moss pole for your unruly plants also helps them look better. By wrapping the stem or the vines of the plants around the moss pole, these sections become practically invisible and merge with the pole. This effectively highlights your plant’s foliage while also allowing you to shape your plant however you want. As such, your plants will look neater and become a better focal point or statement piece in your home.
Types of Commonly-Used Moss for Poles
There are various types of fibers that you can use as moss when making poles. Here are the main examples:
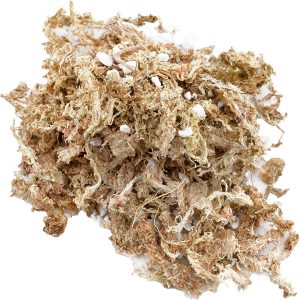
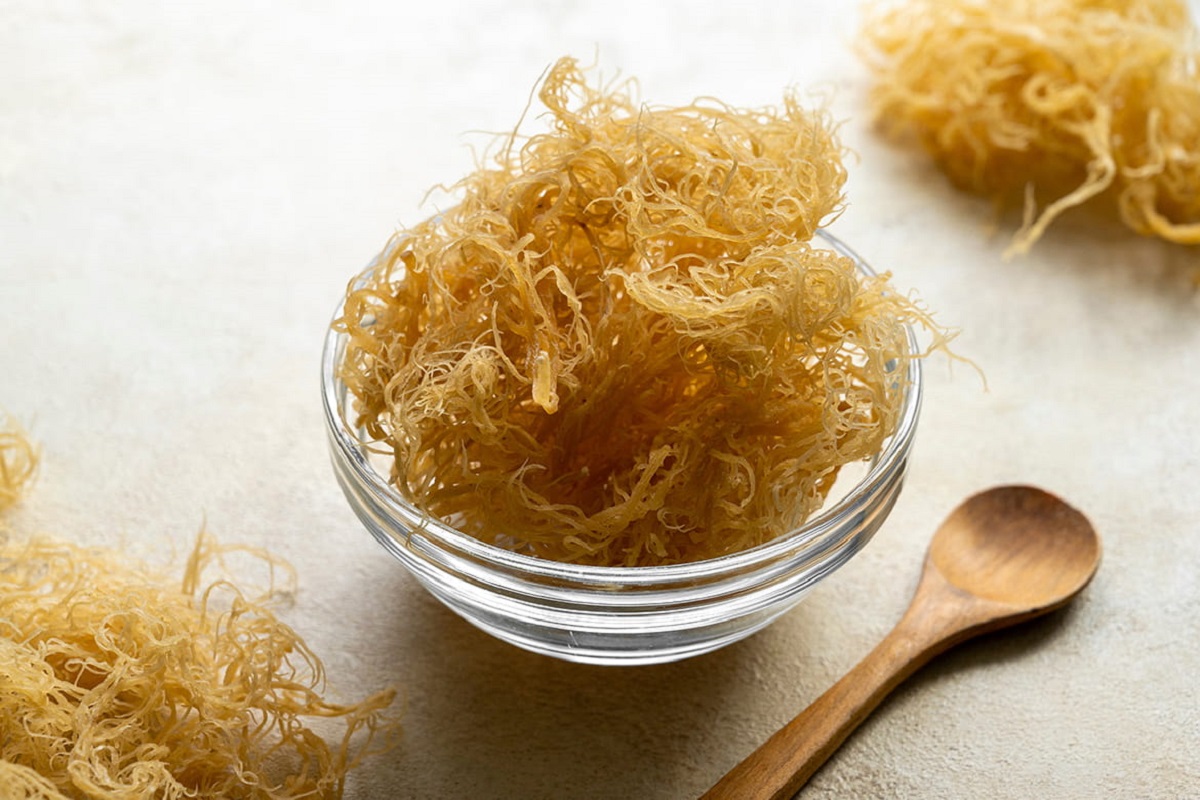
Sphagnum Moss
Sphagnum moss is the most popular kind of moss out there, and for good reasons. Made from natural dry moss, this moss is ideal for plants that require lots of moisture as it retains water and nutrients. It does these things by being highly permeable and its ability to swell when wet.

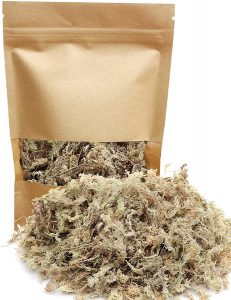
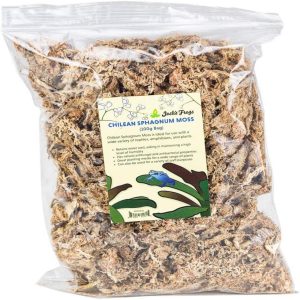
Aside from that, this moss is also resistant to rot and provides good ventilation, making it an ideal soil not only for epiphytes but also for other carnivorous plants. Likewise, sphagnum moss is also ideal as a layering decoration for potted succulents. It is also highly used as a terrarium substrate, particularly for reptiles and amphibians.
Coconut Coir
Coconut coir, or fibers obtained from coconut husks, is another beneficial material that you can use. Though not a true moss and does not retain water as long as sphagnum moss does, coco coir is still regarded as a viable and sustainable alternative to moss. It can also hold moisture, and its fibers are breathable, durable, and thick enough to support epiphytes and aroid roots.
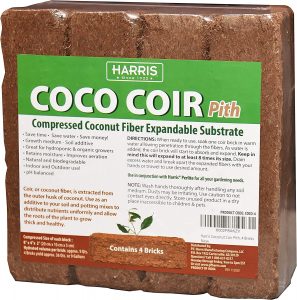
Coco coir is also available as a sheet or a pith. The latter is similar to a brick that needs to be soaked in water for a few minutes before expanding to absorb all of the moisture it requires. When used as a potting mix and as part of your moss pole, the brick becomes loose and will keep the roots of climbing plants hydrated.
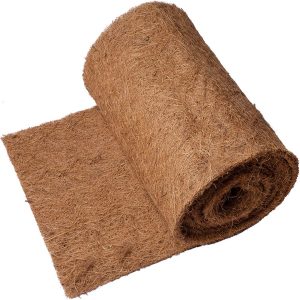
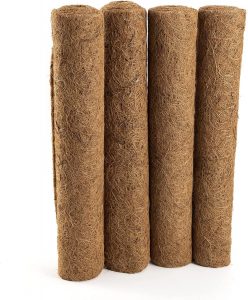
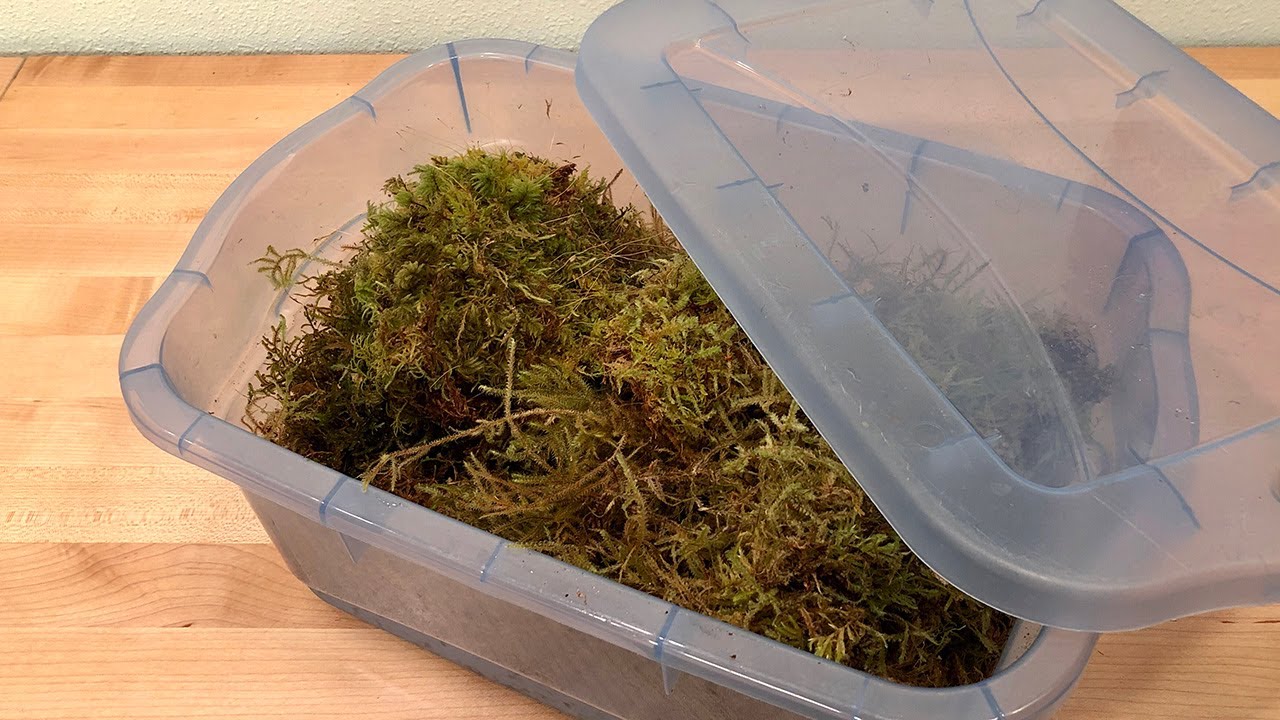
Sheet Moss
Sheet moss shares similarities with both sphagnum moss and coconut coir. For instance, it also has high moisture retention, is easy to use, and is versatile. It is also made of natural moss, but it is in the form of a sheet.
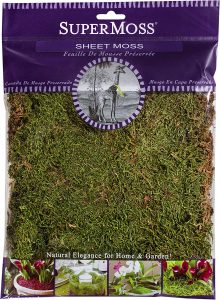

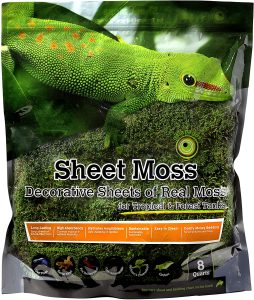
Unlike the two previous types though, this kind of moss is often dyed and available in green. Such a process not only preserves the moss but also makes it more visually appealing, especially when used in terrariums and as a top decorative soil layer for potted plants. This kind of appearance will also work well when used for a moss pole as it will easily blend with the color of your plant’s stem and foliage.
Read more: How To Insulate A Pole Barn Ceiling
How to Make a Moss Pole for Your Plants
Whether you need one for your juvenile plants or your mature unruly plants, creating a moss pole is a quick and easy way to solve the problem. Let’s get started.
Step 1: Gather the Tools and Materials That You’ll Need
Just like with any gardening task, first, you would want to list, prepare, and gather all the basic tools and materials that you will need to make the moss pole. Here are some of them:
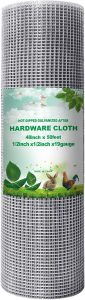
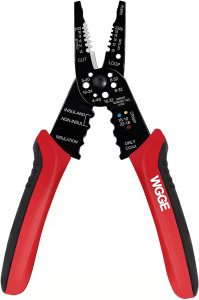

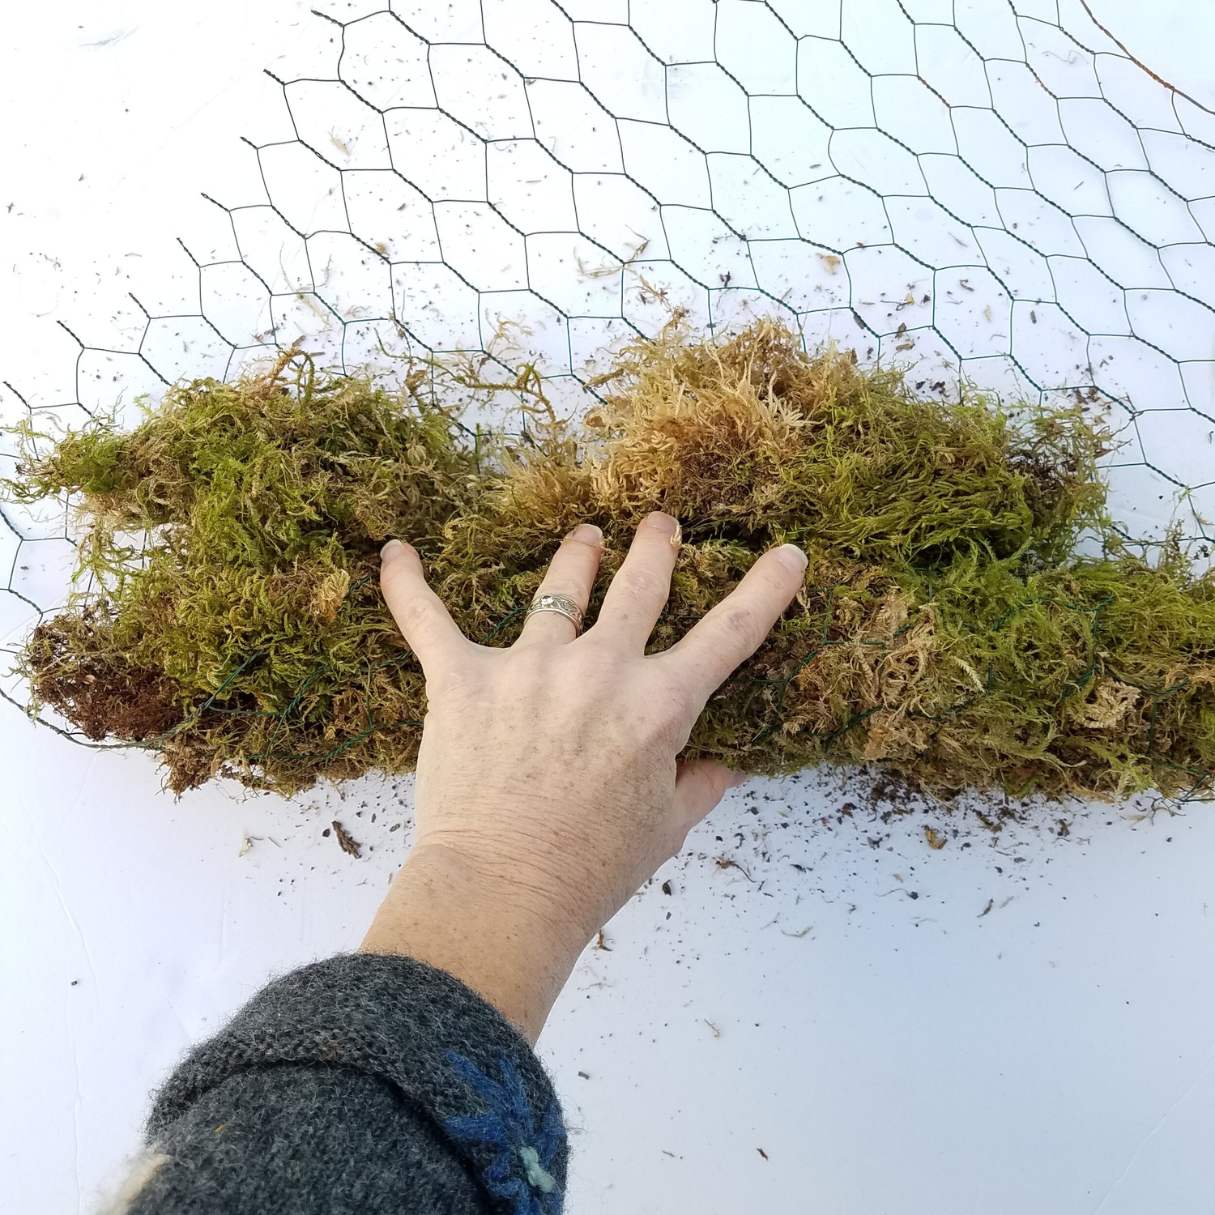
The hardware wire mesh can be any thickness based on your references, but it is best to get one that is at least one-half-inch thick and 19-gauge thick to make rolling and cutting easier. It should also be longer or higher than the plant you’re using it for to give your plant enough room to cling to. You can also use any type of moss you want. Of course, basic tools such as a wire cutter and protective rubber gloves are necessary to make the process smoother and safer.
Step 2: Soak the Moss in Water
Once you have all the tools and materials that you need, start by preparing the moss and soaking it in water. You’ll need a deep and wide enough container or a dish basin for this. With your protective rubber gloves on, fill the basin with the right amount of water to completely submerge the moss.
Allow it to soak for 10 to 15 minutes, or until you’re ready to use it on the pole. Swish the moss around as well to ensure that it absorbs all of the water. Make extra water available so that it can be easily added to the bowl, if necessary, too.
While the moss is pre-soaking, cut the wire mesh using a wire cutter based on the size and width that you prefer, or at least 8 inches taller than the tallest stem or vine that your plant has.
Step 3: Attach the Moss to the Pole
After pre-soaking the moss, proceed with attaching it to the pole. Take note that this step can be a bit messy, so use a protective sheet or a tarp to cover the table that you’re working on.
First, lay the wire mesh on a flat and sturdy surface. Then, take a clump (or a handful) of the soaked moss and squeeze out any excess water from it. Place the moss inside the wire mesh until the entire area is covered, except for the base, which will be inserted into the plant’s soil.
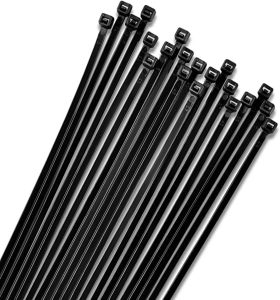
Using the cable zip ties, connect the opposite sides of the wire mesh. Make sure that there are no loose or open ends to prevent the moss from falling out. After that, cut off the tail or the ends of the zip ties using the wire cutter (or scissors) for a neat look.
Read more: How To Store Peat Moss
Step 4: Place the Pole in the Pot and Secure It to the Plant
As soon as the pole is done, you can now add it to the pot. Insert its base deep enough into the soil to keep it upright and stable, while avoiding damaging the plant’s existing roots. Add some potting soil if necessary.
Once the pole is securely lodged in the pot, you’re all set to attach your plant to the pole. You can use zip cable ties to tie down your plants, but you can also use rope, string, twine, and a Velcro strap if you prefer. Ensure that you do this gently and avoid binding the plant too tightly to the pole.
How to Train Your Plants to Climb to the Moss Pole
You’ve already secured your plants to the moss pole, but does that mean they will automatically climb it? Well, not all the time. With that, you would want to direct or make sure that the plant’s nodes or aerial roots can touch the moss itself. Moreover, it is necessary to keep the moss moist to provide humidity. You can mist the moss with a regular pressure sprayer or water it directly with a drip water bottle, or both. Do this as often or as often as necessary as well.
How to Care For Your Moss Pole
Aside from misting and watering the moss pole, another way to keep it moist is to place it in a humid room in your house. Use a room humidifier and keep the pole out of direct sunlight.
Moss poles attached to your outdoor plants or in your covered patio tend to dry out faster than those indoors, so spritz them with water more frequently. Keep the moss poles in less windy areas as well to prevent the moisture from evaporating too quickly and the poles from toppling over. Cats and dogs might try to scratch or touch the pole out of curiosity so make sure to keep an eye out!
Now, when repotting plants that are already supported by a moss pole, never pull out the aerials roots already attached to it. Instead, transfer the plant together with the moss pole. When your plant also outgrows the old moss pole, simply tie a new pole on top of it to give the plant more room to climb. Better yet, propagate the plant by continuously cutting off its top so that it keeps on producing larger foliage. The knobs you cut off can also sprout new roots and be potted up as a new plant!
Frequently Asked Questions about Moss Pole For Plants
-
Read also: 9 Best Single Pole Thermostat For 2025
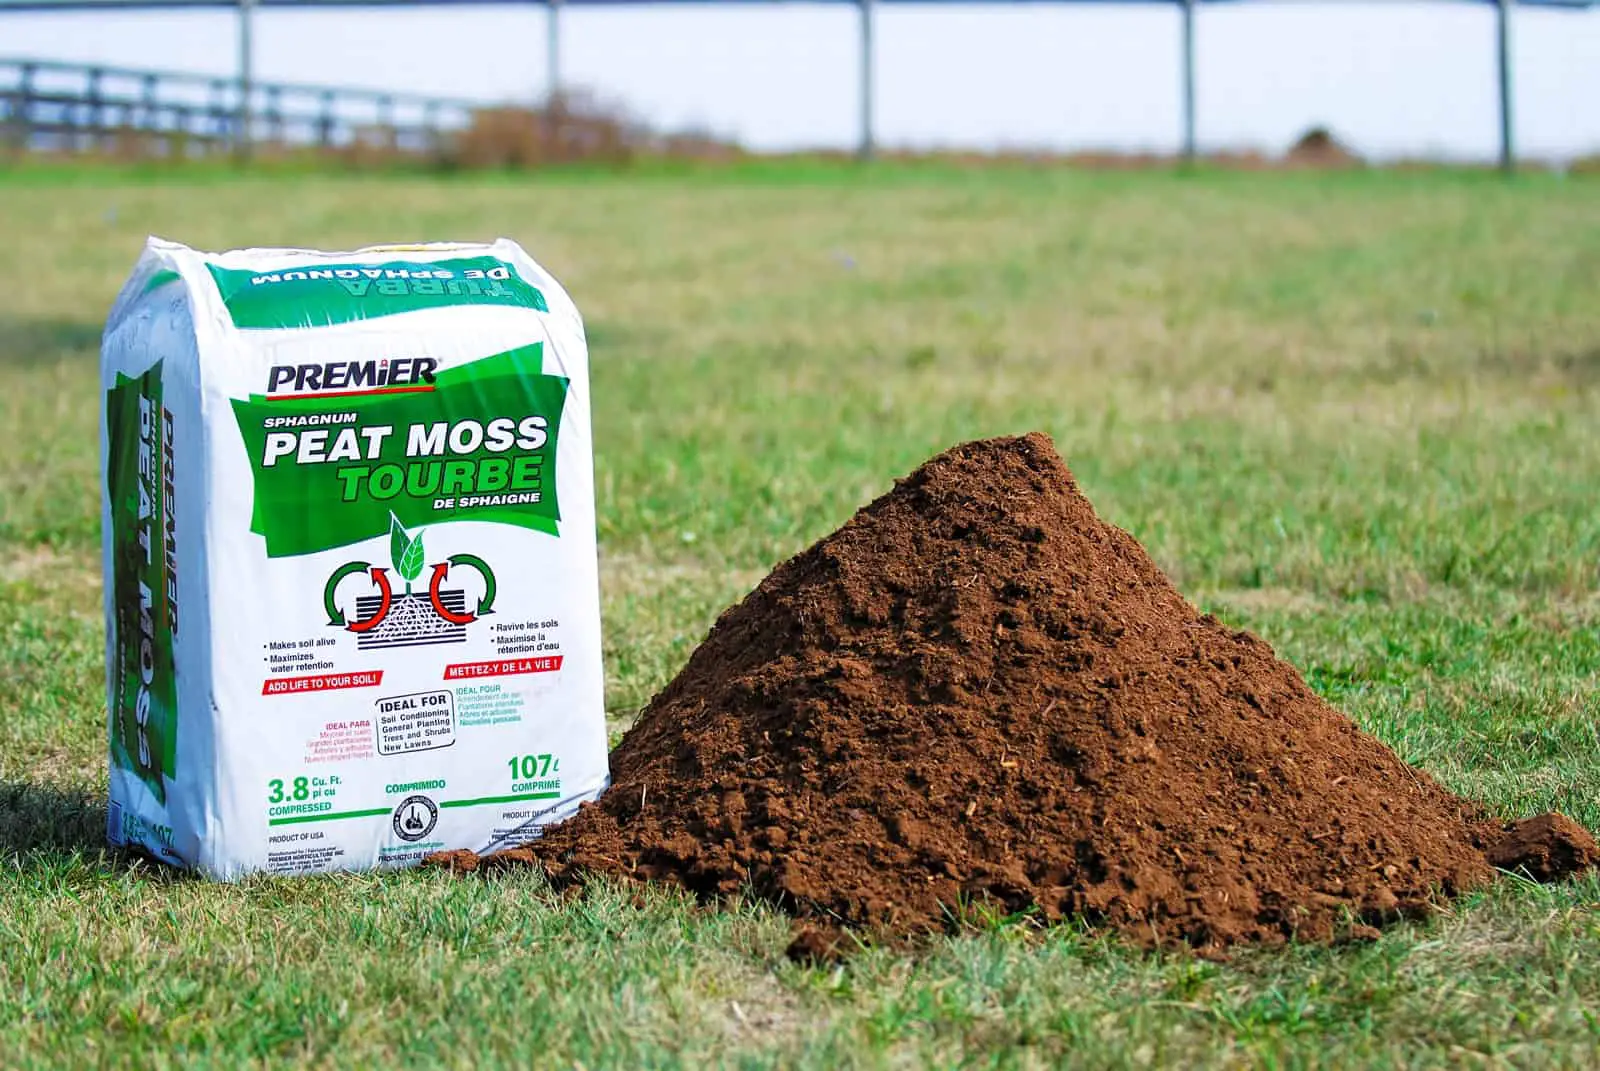
Is peat moss suitable for a moss pole?
No. Although water-retentive, peat moss fibers are too fine and small that they will fall out of even the smallest holes in a wire mesh cloth. Wrapping a peat moss in a cotton or wool cloth so that it can still be used for the pole is futile because the aerial roots of plants will be unable to dig into the cloth’s surface.
-
What is the lifespan of moss poles?
Moss poles can last for at least four to seven years depending on the usage and the materials that it is made of.
-
Can I replace my moss pole?
Replacing your moss pole is possible, but it is a time-consuming and inconvenient task. This is due to the risk of causing severe damage to your plants if you remove the aerial roots that are already attached to the moss pole. You can instead add a new moss pole next to your old one so that the plant’s roots can grip and dig into it as well.
-
Aside from a wire mesh cloth, what other material can I use as the moss pole’s central pole?
There are various materials that you can use as your pole’s central base. This includes a wooden stake, a bamboo stick, a PVC pipe, and a dowel (wooden or plastic). All that you need to do is to cover any of these materials with the fibrous material of your choice, tie them together with string or twine, and you’re all ready to add them to your plant’s pot!
-
Read more: How To Repair Patio Umbrella Poles
What can I do to ensure my moss pole is anchored properly in the pot?
Aside from inserting the pole deep enough into the soil to keep it upright, a good option would be to use a sturdy pot, such as terracotta or cement. Though heavier than plastic, these pots have solid bases that will keep the pole stable and firm. You can also add rocks and pebbles to the soil for added support.
In a Nutshell
A moss pole is indeed a gamechanger when it comes to helping propagate and taking care of your plants due to its remarkable functions. Now that you know all the things and steps needed, as well as some helpful tips, creating your own moss pole will be a walk in the park even for a gardening novice like you! Be a busy bee and start planning your moss pole today!
Can’t get enough gardening tips? Head on over these inspiring garden ideas to discover how to make your new garden livelier!
Was this page helpful?
At Storables.com, we guarantee accurate and reliable information. Our content, validated by Expert Board Contributors, is crafted following stringent Editorial Policies. We're committed to providing you with well-researched, expert-backed insights for all your informational needs.

0 thoughts on “Making a Moss Pole for Plants: A Beginner’s Guide”