Home>Furniture & Design>Outdoor Furniture>How To Restore Wood Outdoor Furniture
Outdoor Furniture
How To Restore Wood Outdoor Furniture
Published: January 11, 2024
Learn how to restore your outdoor wood furniture and bring it back to life. Follow our expert tips for maintaining the beauty and longevity of your outdoor furniture.
(Many of the links in this article redirect to a specific reviewed product. Your purchase of these products through affiliate links helps to generate commission for Storables.com, at no extra cost. Learn more)
Introduction
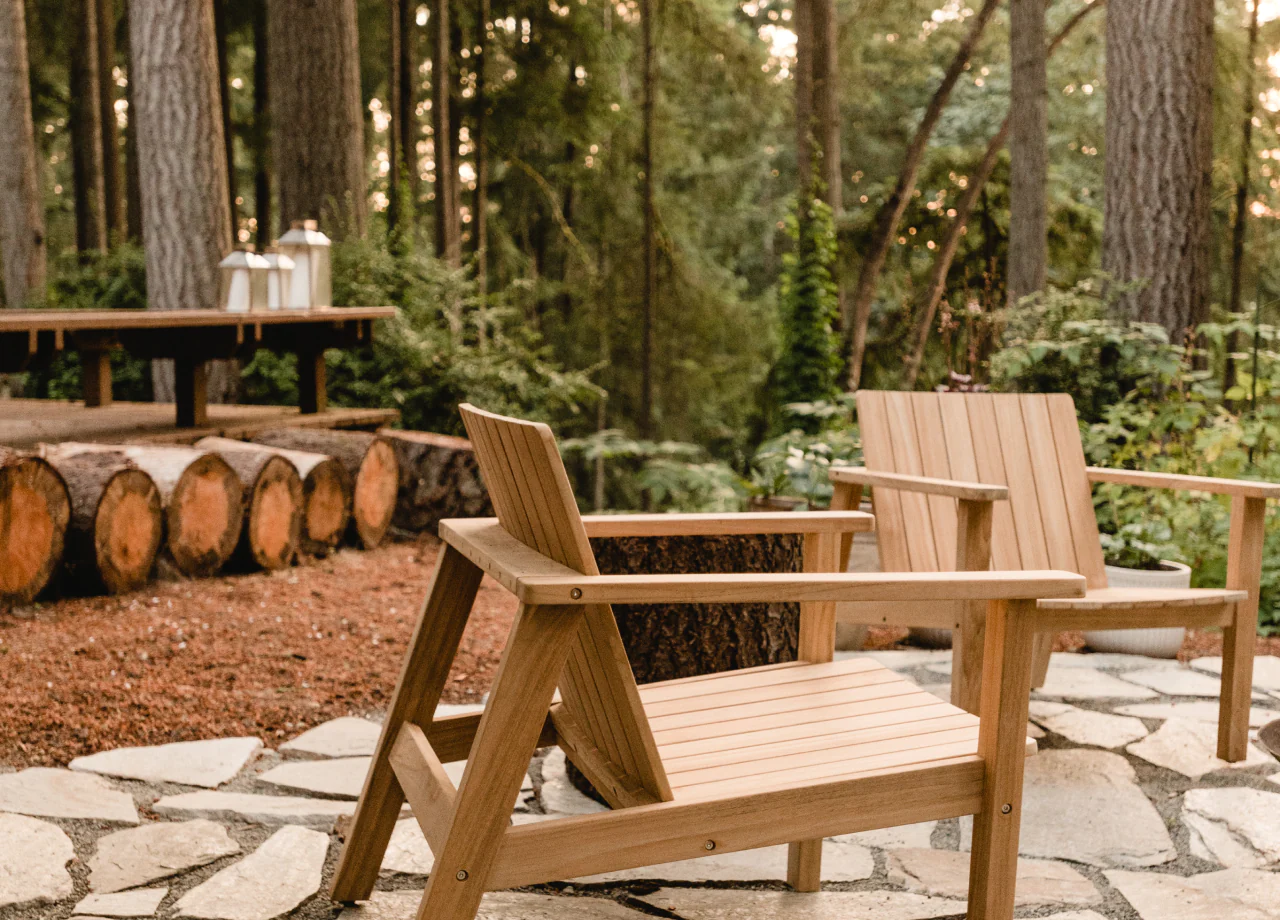
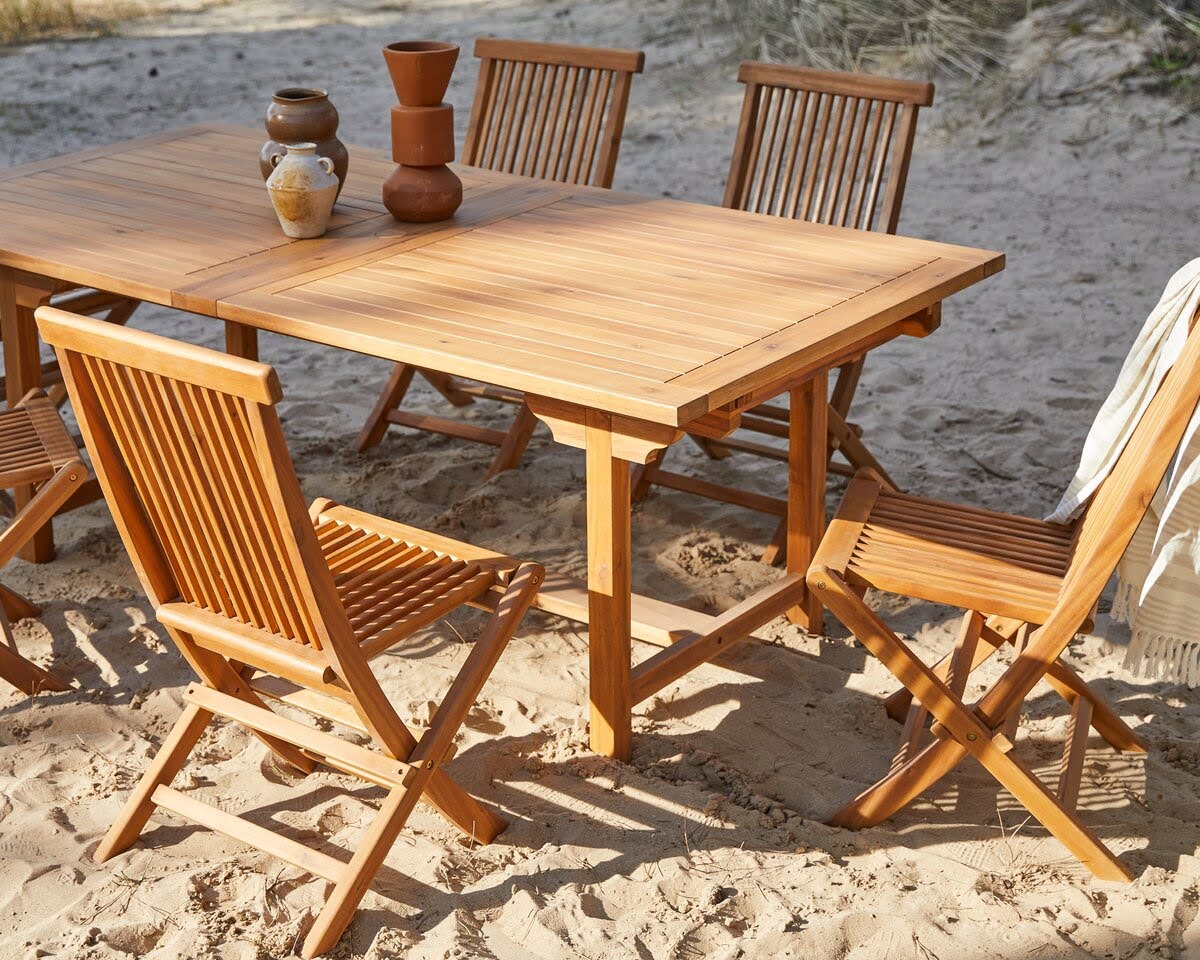
When it comes to outdoor furniture, there's something undeniably charming about wooden pieces. The natural beauty, durability, and timeless appeal of wood make it a popular choice for outdoor furniture. However, exposure to the elements can take a toll on even the sturdiest of wooden furniture, causing it to lose its luster over time. If your outdoor wooden furniture is showing signs of wear and tear, fear not! With the right knowledge and a little elbow grease, you can restore it to its former glory and extend its lifespan for years to come.
In this comprehensive guide, we'll walk you through the process of restoring wood outdoor furniture, from assessing its condition to giving it a fresh new finish. Whether you have a weathered wooden bench, a faded Adirondack chair, or a well-loved picnic table, the steps outlined here will help you revitalize your outdoor oasis. So, roll up your sleeves and get ready to embark on a rewarding journey of restoration and rejuvenation. Your wooden outdoor furniture is about to undergo a remarkable transformation, and you'll be amazed at the results you can achieve with a little care and attention. Let's dive in and bring new life to your cherished outdoor wooden pieces!
Key Takeaways:
- Revive worn-out wooden outdoor furniture by assessing, cleaning, sanding, and applying wood stain or sealant. Enjoy the rewarding process and admire the remarkable transformation of your outdoor oasis.
- Through careful restoration, breathe new life into weathered wood furniture, preserving outdoor history and creating a personalized sanctuary. Embrace sustainability and revitalize your outdoor living space with enduring elegance.
Read more: How To Restore Outdoor Vinyl Furniture
Assessing the Condition of Your Wood Outdoor Furniture
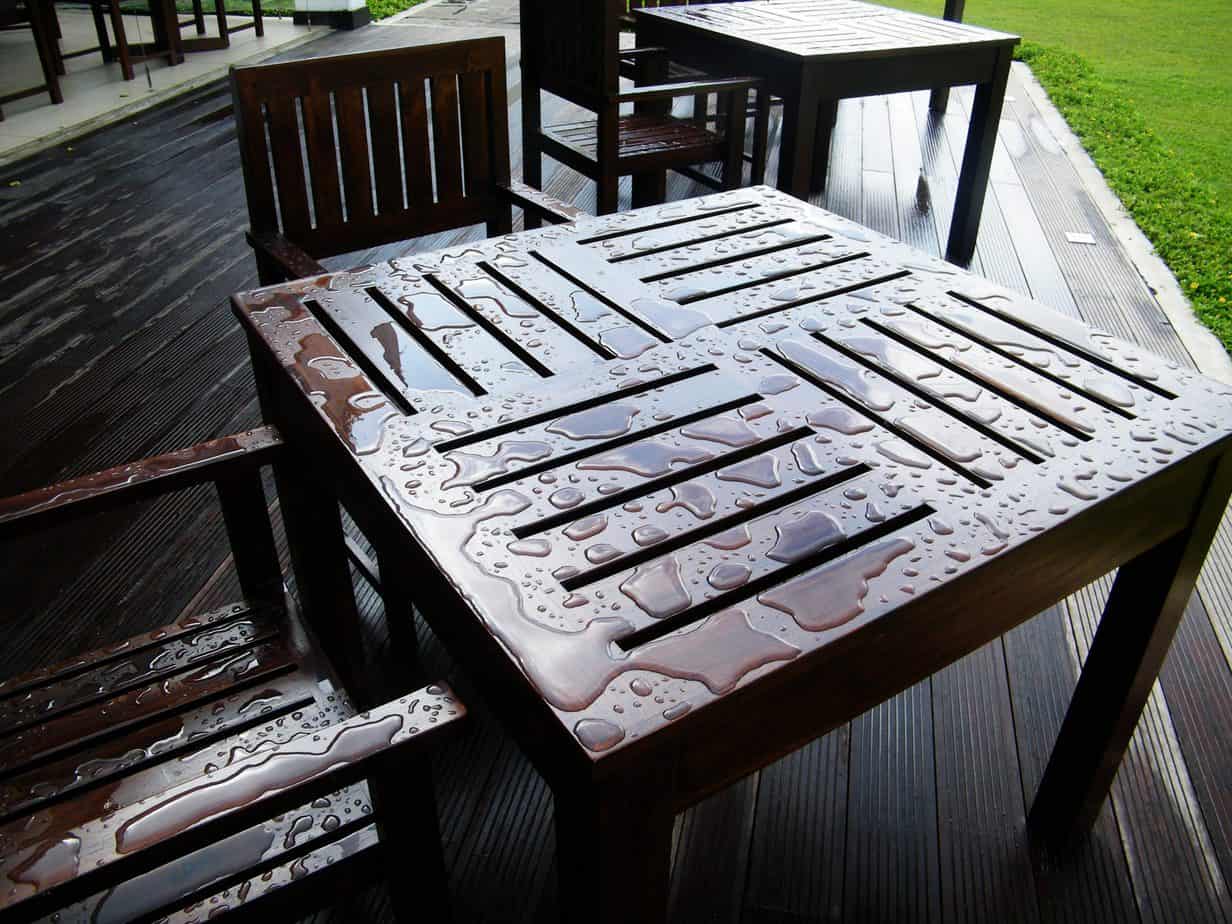
Before diving into the restoration process, it’s crucial to assess the current state of your wood outdoor furniture. Exposure to sunlight, rain, and fluctuating temperatures can cause a range of issues, including fading, discoloration, warping, and wood rot. By thoroughly evaluating the condition of your furniture, you’ll be better equipped to determine the extent of restoration needed and the specific steps to take. Here’s how to assess your wood outdoor furniture:
- Inspect for Damage: Begin by closely examining the entire piece of furniture. Look for visible signs of damage such as cracks, splinters, or areas of decay. Pay attention to joints, legs, armrests, and any intricate details that may have deteriorated over time.
- Evaluate the Finish: Determine the state of the existing finish or coating on the wood. Is it peeling, flaking, or worn down? Understanding the condition of the current finish will guide your approach to refinishing the furniture.
- Check for Rot: Probe the wood with a screwdriver or similar tool to check for soft spots or signs of rot. Focus on areas that are in direct contact with the ground or consistently exposed to moisture.
- Assess Structural Integrity: Test the stability of the furniture by gently rocking or applying pressure to different parts. Loose joints, wobbliness, or structural weaknesses should be noted for repair.
- Take Note of Mildew or Mold: Look for any black or greenish spots on the wood, indicating the presence of mildew or mold. This is especially common in humid climates or if the furniture has been in storage.
By conducting a thorough assessment, you’ll gain a clear understanding of the challenges that lie ahead and can tailor your restoration approach to address the specific needs of your wood outdoor furniture. Whether it’s minor touch-ups or more extensive repairs, being well-informed at this stage will set the stage for a successful restoration process.
Cleaning Your Wood Outdoor Furniture
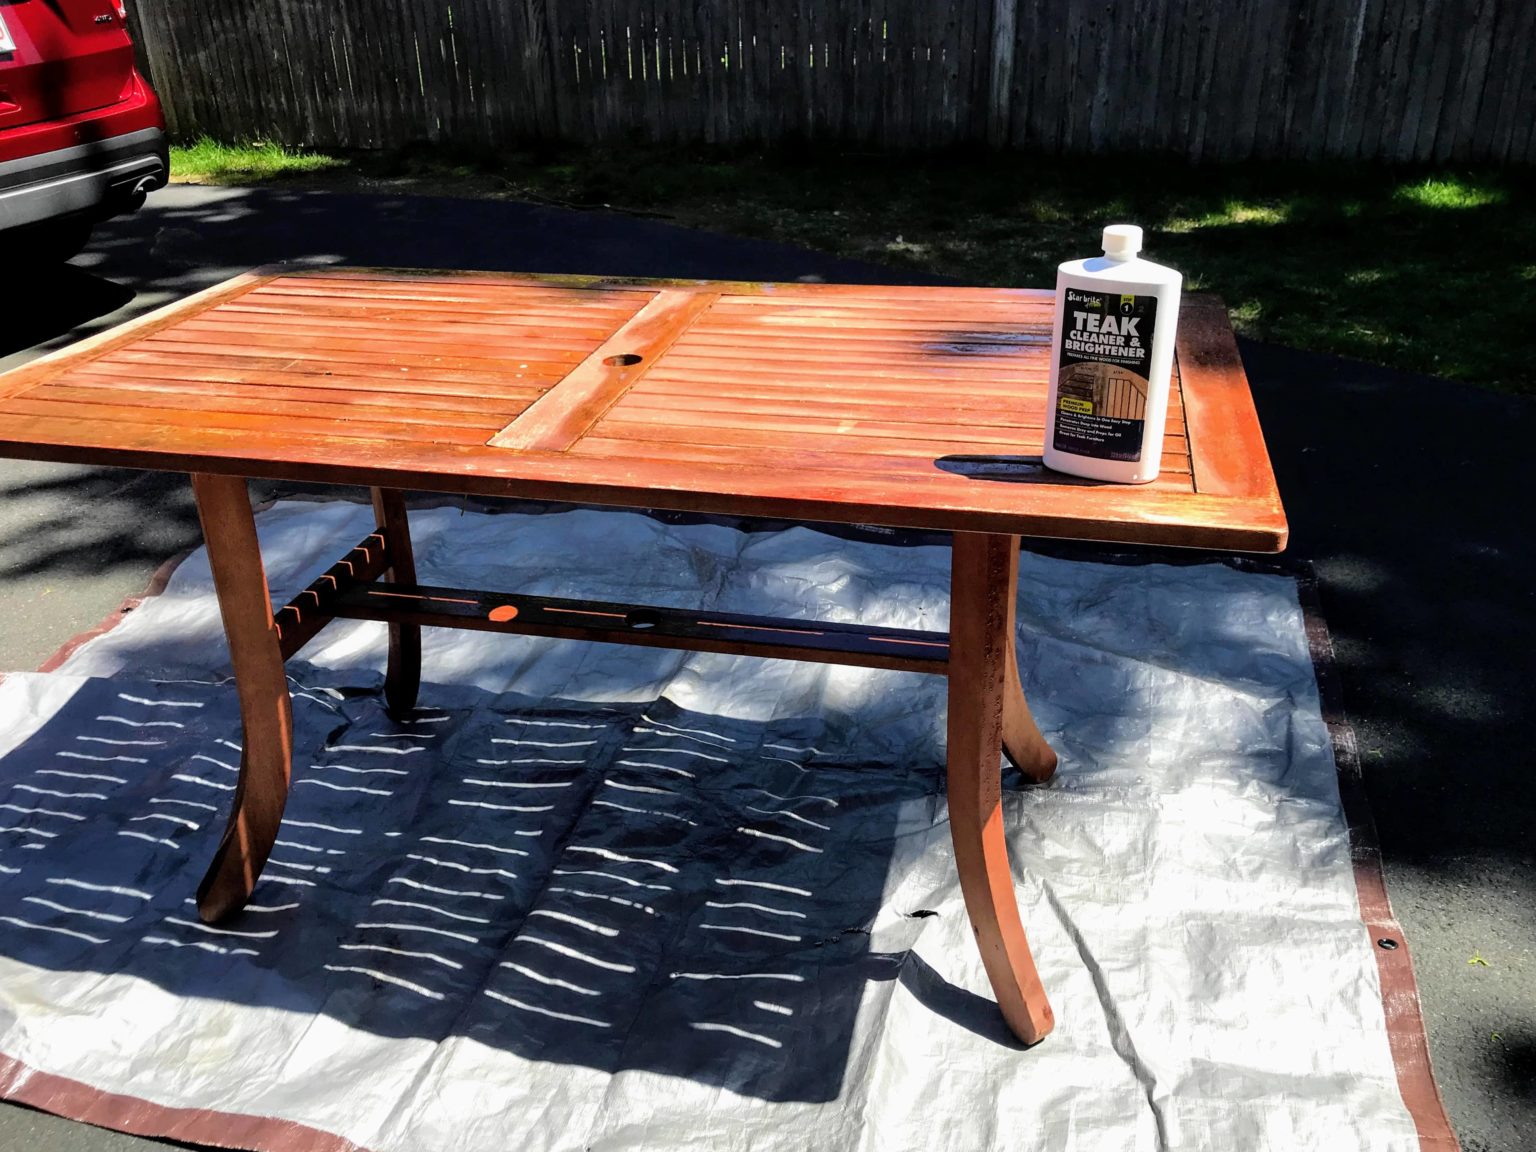
Before delving into the restoration process, it’s essential to start with a clean slate. Over time, outdoor wooden furniture accumulates dirt, grime, pollen, and other environmental debris, which can detract from its natural beauty. A thorough cleaning not only enhances the appearance of the wood but also prepares it for the subsequent restoration steps. Here’s how to effectively clean your wood outdoor furniture:
- Remove Surface Debris: Begin by using a soft-bristled brush or a dry cloth to gently remove any loose dirt, leaves, or cobwebs from the furniture’s surface. Pay attention to crevices, grooves, and intricate details where debris may accumulate.
- Prepare a Cleaning Solution: In a bucket, mix a mild detergent or specially formulated wood cleaner with warm water. Avoid harsh chemicals or bleach, as they can damage the wood or its finish.
- Scrub the Wood: Dip a sponge or soft brush into the cleaning solution and gently scrub the entire surface of the furniture. Work in the direction of the wood grain to avoid causing scratches or abrasions. Focus on areas with visible stains or discoloration.
- Rinse Thoroughly: After cleaning, thoroughly rinse the furniture with clean water to remove any soapy residue. Use a garden hose or a bucket of water, ensuring that all cleaning solution is completely washed away.
- Dry Completely: Allow the wood to dry completely before proceeding to the next restoration step. Ideally, place the furniture in a sunny, well-ventilated area to expedite the drying process.
Once your wood outdoor furniture is clean and dry, you’ll be ready to move on to the next phase of the restoration process. Cleaning not only improves the aesthetics of the furniture but also sets the stage for subsequent steps such as sanding and refinishing. With a little bit of effort and the right cleaning approach, you can unveil the true beauty of your wooden outdoor pieces and prepare them for the transformative restoration that lies ahead.
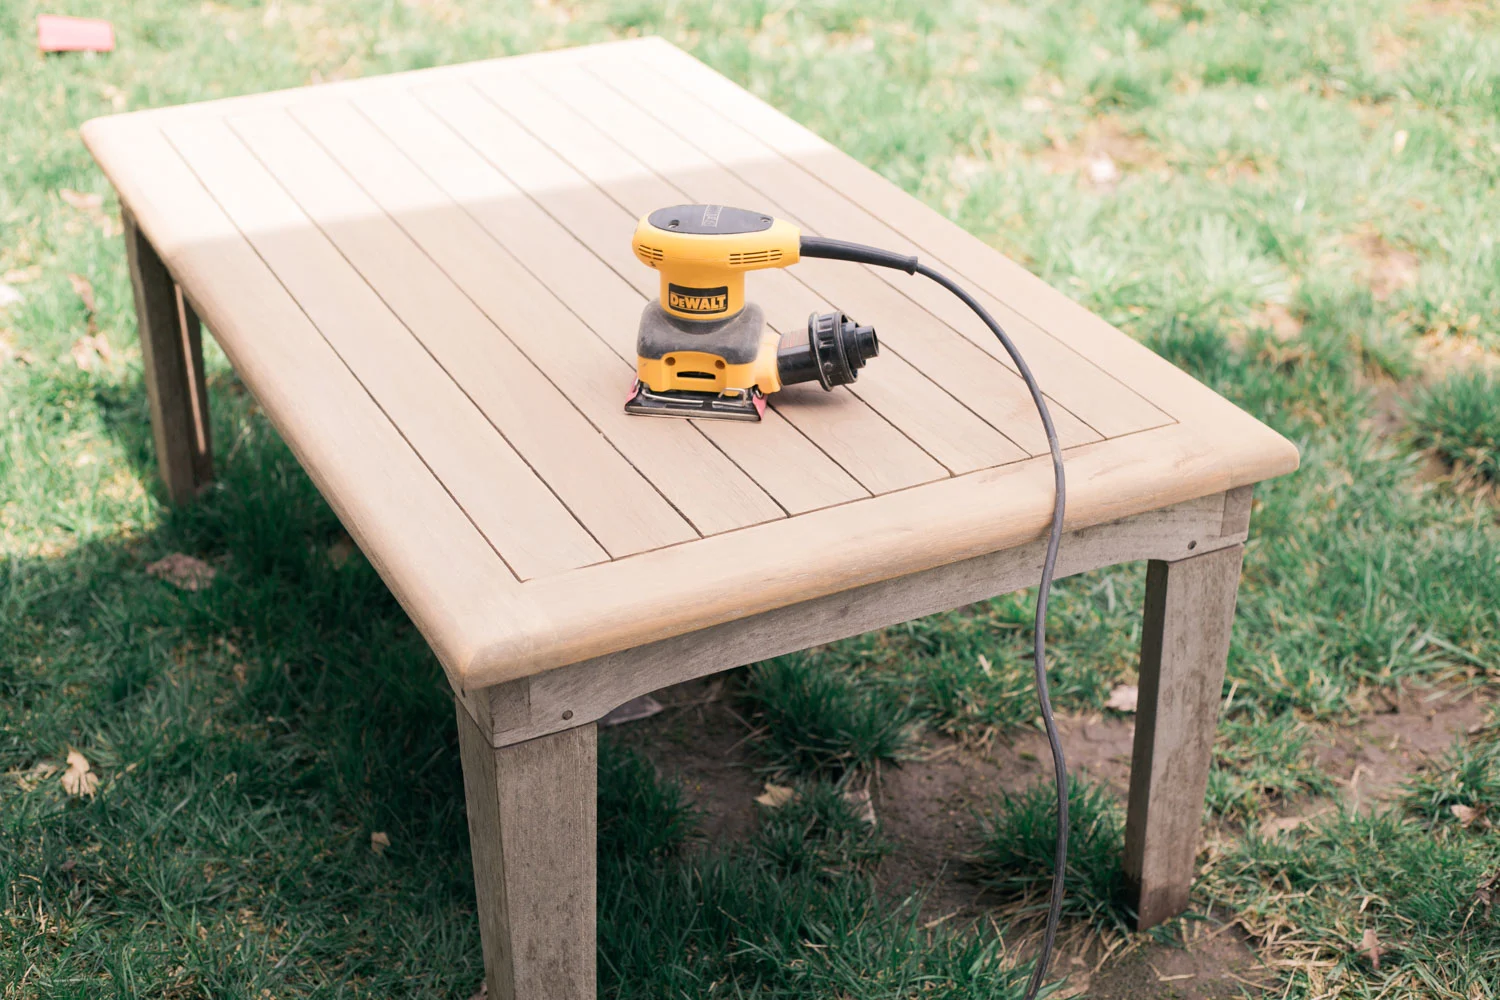
Sanding the Wood
After cleaning the wood outdoor furniture, the next crucial step in the restoration process is sanding. Sanding serves multiple purposes, including smoothing out rough surfaces, removing old finish or paint, and preparing the wood to absorb a new finish or sealant. When done correctly, sanding can breathe new life into weathered wood, revealing its natural grain and restoring its tactile appeal. Here’s how to approach the sanding process for your outdoor furniture:
- Select the Right Sandpaper: Choose the appropriate grit of sandpaper based on the condition of the wood. For initial sanding and removing old finish, start with a coarser grit (around 80-100) and progress to finer grits (150-220) for a smoother finish.
- Work with the Grain: Always sand in the direction of the wood grain to avoid creating visible scratches or blemishes. This technique preserves the natural beauty of the wood and ensures a uniform finish.
- Remove Old Finish: If your furniture has an existing finish or paint that needs to be removed, focus on thoroughly sanding these areas until the wood surface is clean and uniform. Pay attention to intricate or hard-to-reach areas.
- Smooth Rough Spots: Identify any rough or uneven areas on the wood and use the sandpaper to smooth them out. This step helps restore a uniform texture across the entire surface of the furniture.
- Round Edges and Corners: To prevent sharp edges and corners, lightly sand these areas to create a smooth and rounded profile, which enhances both aesthetics and safety.
- Remove Sanding Residue: After sanding, use a clean, damp cloth to wipe away the sanding residue and inspect the wood for any remaining imperfections or rough patches that may require further attention.
By meticulously sanding your wood outdoor furniture, you’re preparing it for the next phase of the restoration process, which involves applying a fresh coat of stain or sealant. The transformative power of sanding lies in its ability to unveil the natural beauty of the wood, setting the stage for a stunning revival of your outdoor furniture.
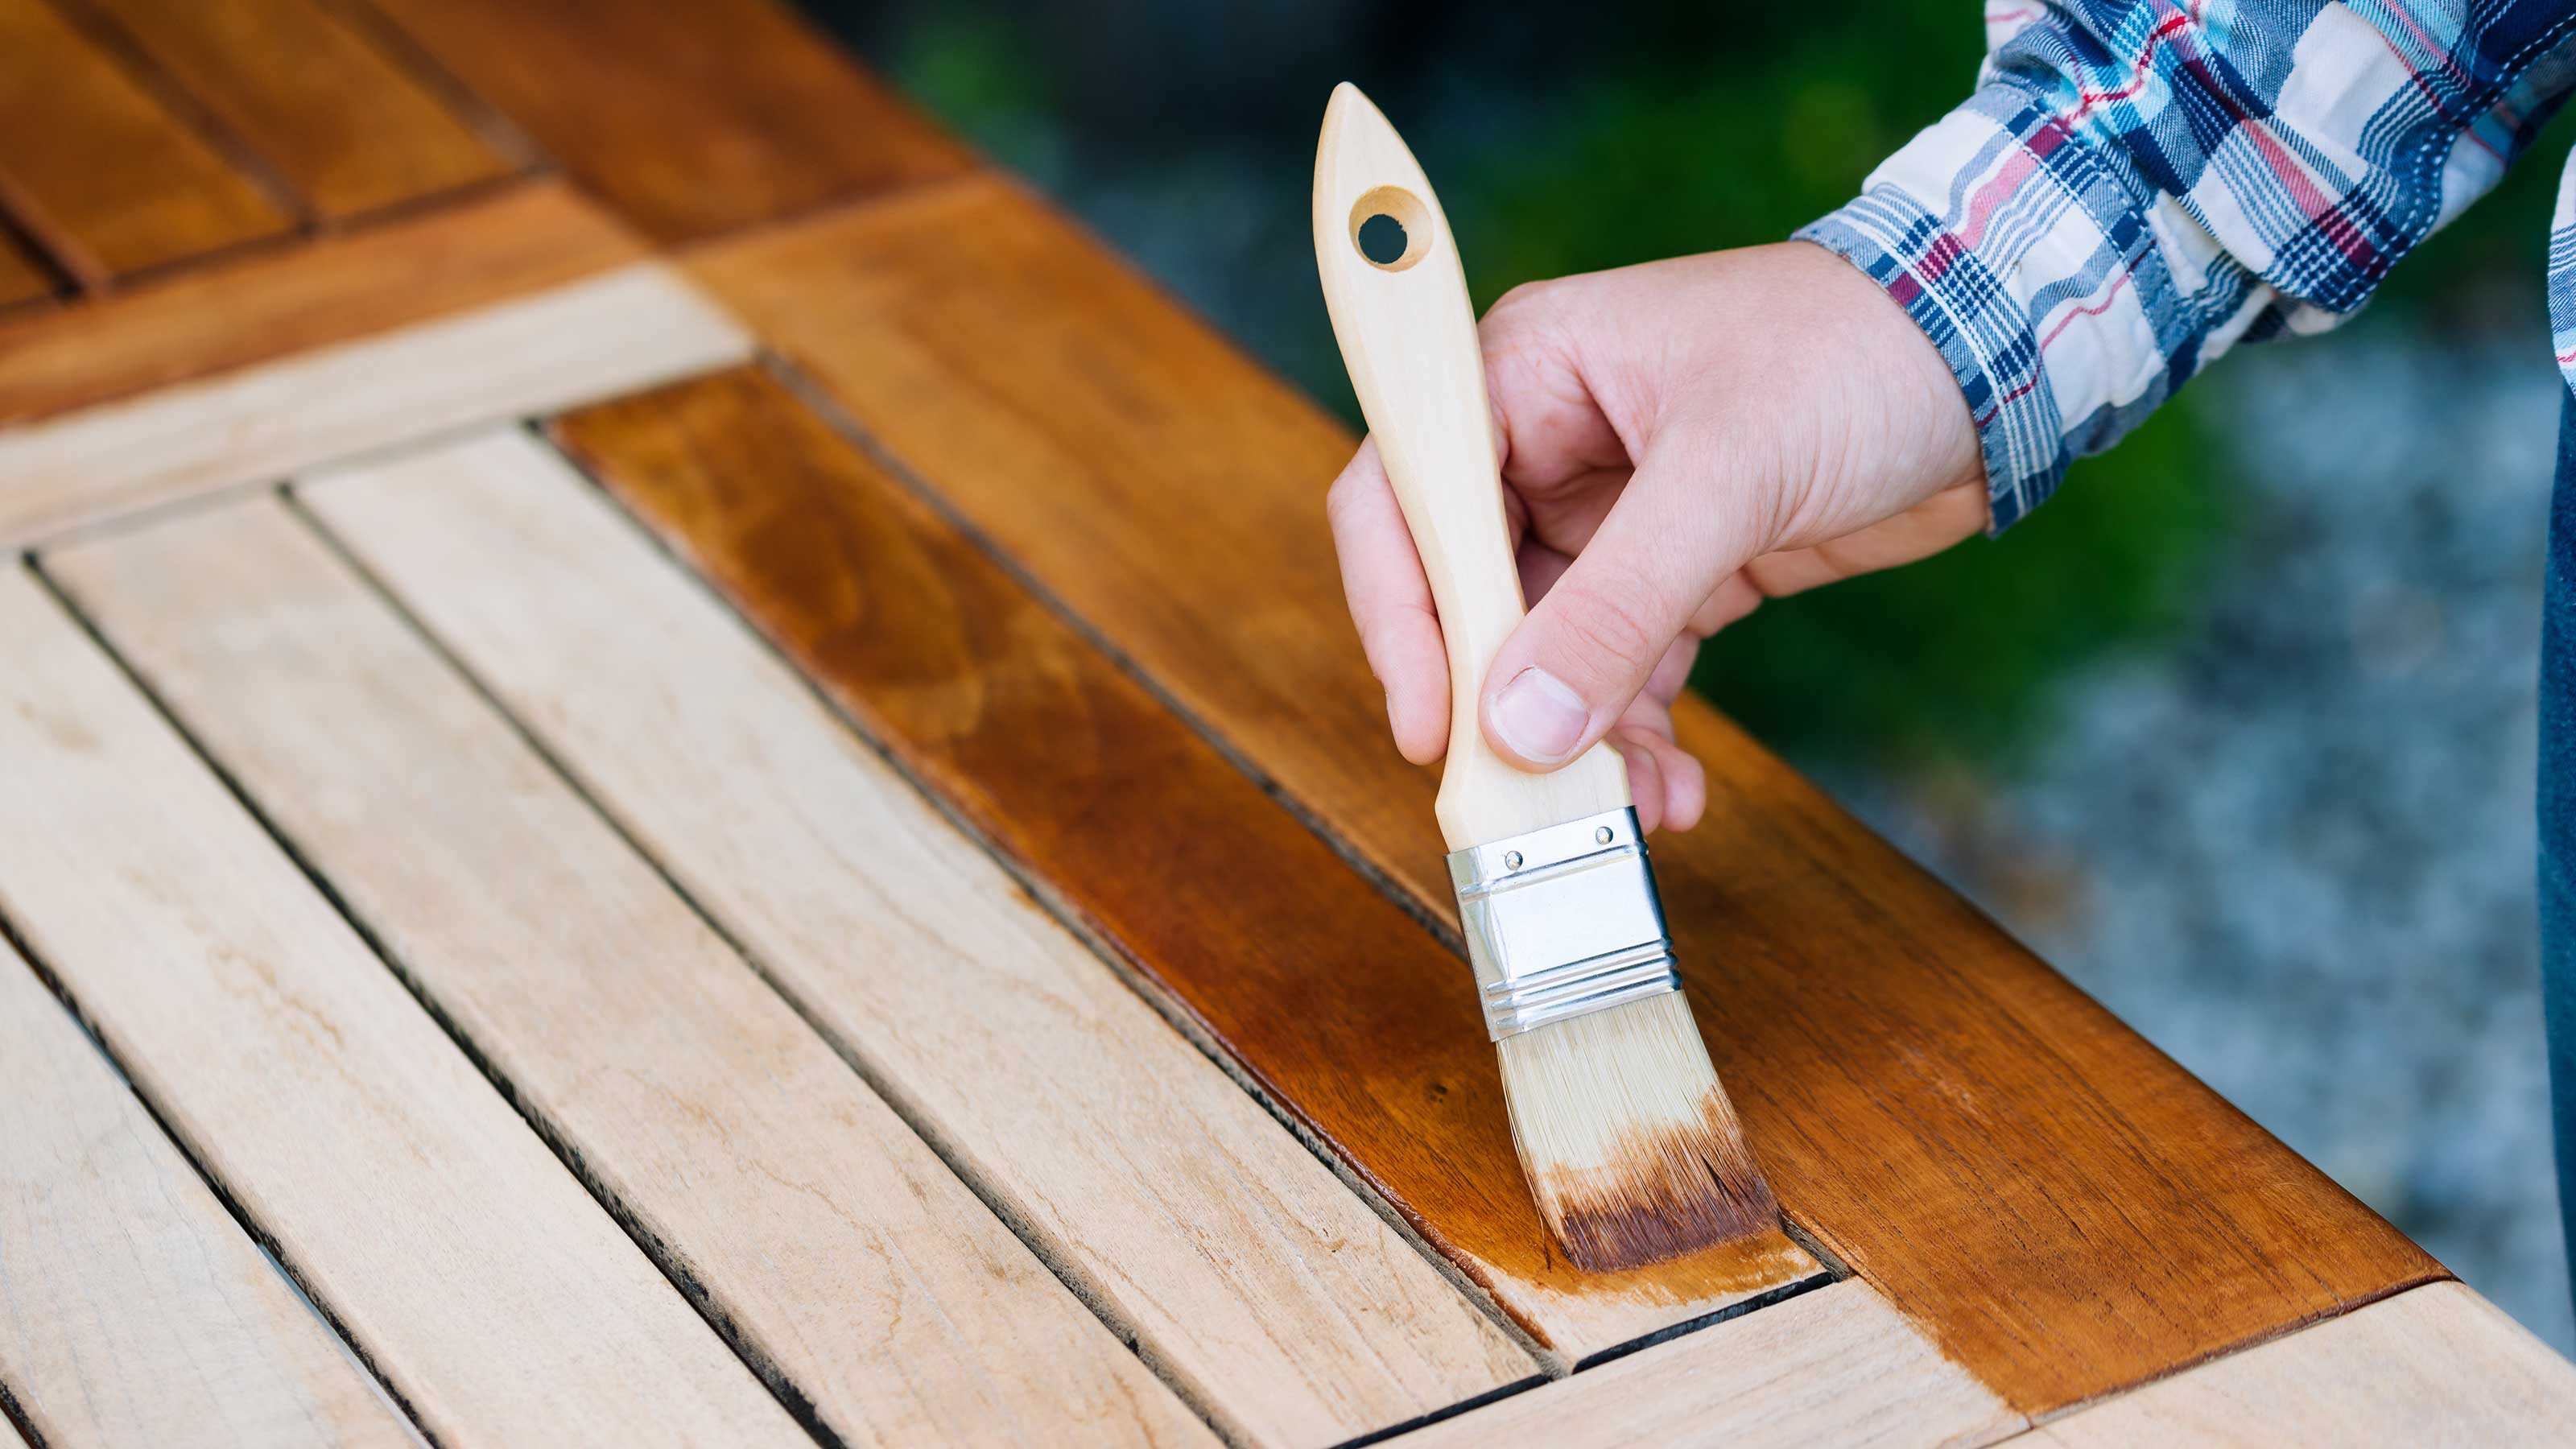
To restore wood outdoor furniture, start by cleaning it with a mild soap and water. Then, sand any rough areas and apply a wood sealer or stain to protect it from the elements.
Applying Wood Stain or Sealant
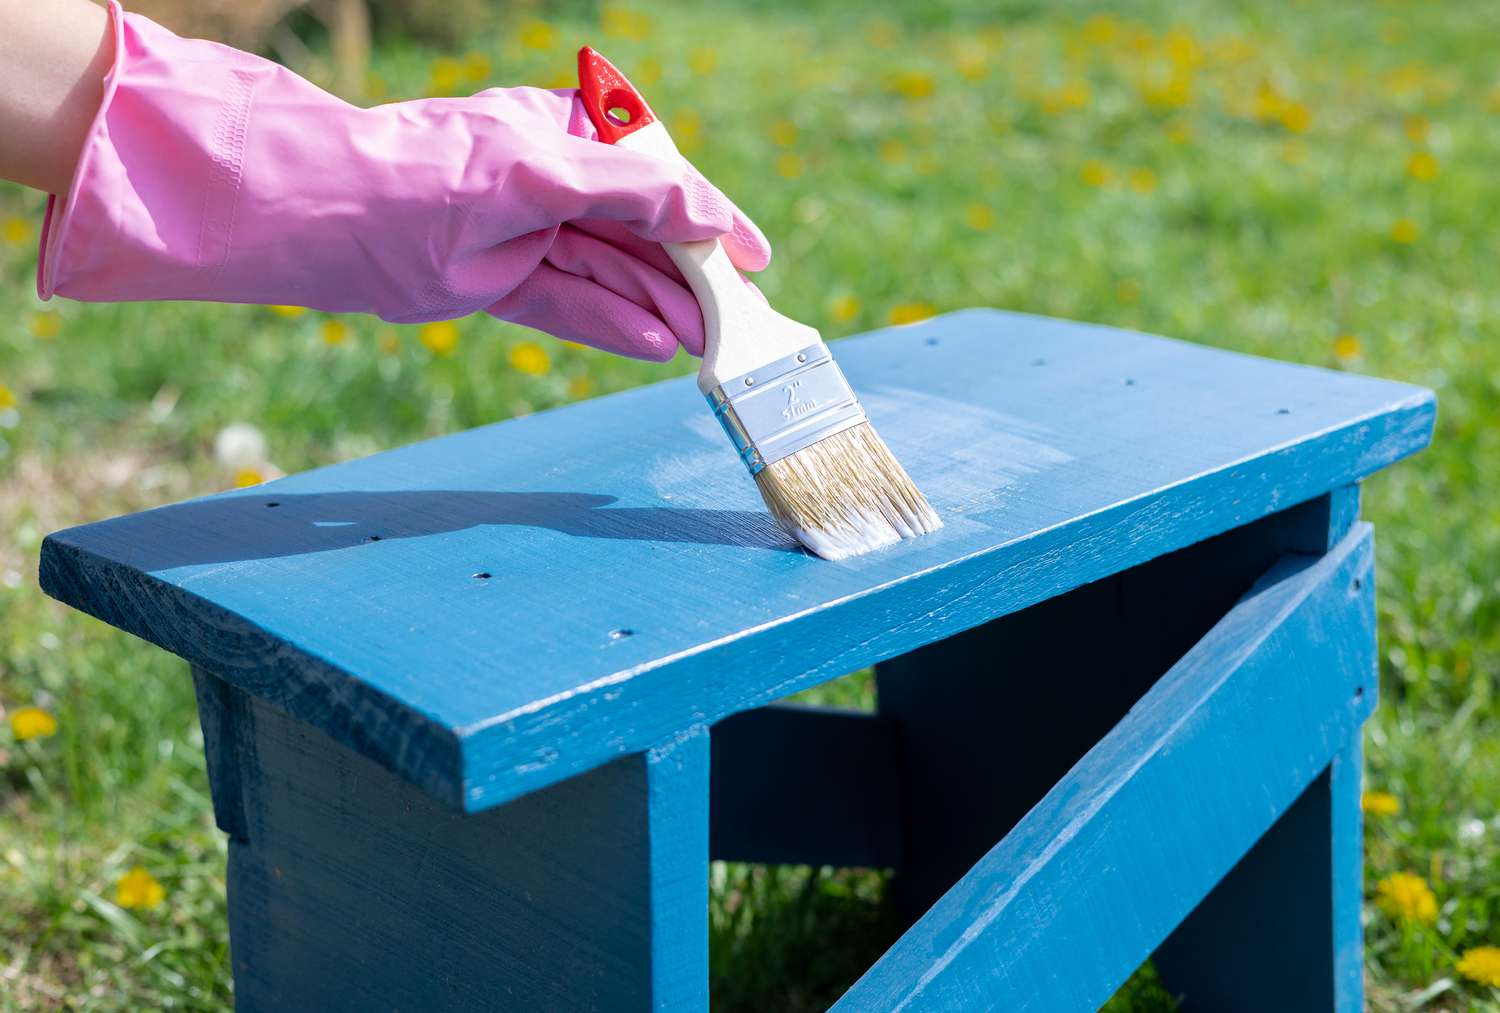
Once the wood outdoor furniture has been thoroughly cleaned and sanded, the application of wood stain or sealant is a pivotal step in the restoration process. Both wood stain and sealant play essential roles in enhancing the aesthetics and durability of the furniture, protecting it from the elements and bringing out the natural beauty of the wood. Whether you prefer a rich, stained finish or a clear, protective sealant, the application process requires attention to detail and a methodical approach. Here’s how to apply wood stain or sealant to your outdoor furniture:
- Choose the Right Product: Select a high-quality wood stain or outdoor sealant that is specifically formulated for the type of wood used in your furniture. Consider factors such as UV protection, water resistance, and the desired finish (clear, semi-transparent, or opaque).
- Prepare the Work Area: Set up a well-ventilated and ideally shaded area for applying the stain or sealant. Protect the surrounding space from drips or spills, and ensure adequate airflow during the application and drying process.
- Apply Evenly: Use a brush, roller, or sprayer to apply the wood stain or sealant evenly across the entire surface of the furniture. Work methodically in manageable sections, following the wood grain to ensure a uniform finish.
- Allow for Absorption: After applying the stain, allow the wood to absorb it for the recommended duration specified by the product manufacturer. This step is crucial for achieving an even color and penetration into the wood fibers.
- Wipe Excess Stain: If applying wood stain, use a clean cloth to wipe away any excess stain that has not been absorbed by the wood. This helps prevent uneven coloring and ensures a consistent finish.
- Multiple Coats (if needed): Depending on the desired depth of color or level of protection, you may opt to apply multiple coats of stain or sealant. Allow each coat to dry completely before applying the next one.
- Protect from Elements: Once the stain or sealant has dried, it’s essential to protect the furniture from exposure to rain or direct sunlight during the curing process. Follow the manufacturer’s recommendations for the optimal curing time.
By applying wood stain or sealant to your outdoor furniture, you’re not only enhancing its visual appeal but also fortifying it against the elements, ensuring that it remains a focal point of your outdoor space for years to come. The careful application of stain or sealant is the final touch that brings the wood back to life, showcasing its natural beauty and protecting it from the rigors of outdoor living.
Read more: How To Restore Faded Metal Outdoor Furniture
Reassembling and Finishing Touches
As the restoration of your wood outdoor furniture nears completion, the reassembly and final touches are the crowning steps that bring the entire process together. Whether you disassembled the furniture for thorough cleaning and refinishing or simply need to add some finishing details, this phase marks the transition from restoration to enjoyment. Here’s how to reassemble your furniture and add those essential finishing touches:
- Inspect Hardware and Joints: Before reassembling the furniture, inspect all hardware, such as screws, bolts, and nuts, to ensure they are in good condition. Tighten or replace any loose or damaged hardware. Check the joints for stability and apply wood glue if necessary.
- Follow Assembly Instructions: If your furniture has specific assembly instructions, carefully follow them to ensure that all components are reattached in the correct order and orientation. Pay attention to any unique features or adjustments.
- Apply Protective Pads: To safeguard your newly restored furniture and the surfaces it will be placed on, consider adding protective pads or glides to the bottom of the legs. This simple addition helps prevent scratches and damage to floors or decks.
- Reattach Cushions or Upholstery: If your outdoor furniture includes cushions or upholstery, reattach them securely, ensuring that they fit snugly and enhance the comfort and aesthetic appeal of the piece.
- Inspect and Touch Up: Take a final look at the entire furniture piece to identify any areas that may require touch-ups or additional refinements. Address any minor imperfections with a small brush or touch-up kit to ensure a flawless finish.
- Clean Surrounding Area: Before placing the furniture in its designated outdoor space, tidy up the surrounding area, removing any debris, leaves, or obstructions that could detract from the visual impact of your newly restored piece.
- Enjoy the Results: With the reassembly and finishing touches complete, it’s time to sit back, relax, and admire the remarkable transformation of your wood outdoor furniture. Take pride in the effort you’ve invested and look forward to enjoying your refreshed outdoor oasis.
By carefully reassembling your wood outdoor furniture and adding those final, thoughtful touches, you’re putting the finishing strokes on a remarkable restoration journey. The attention to detail and care invested in this phase ensure that your outdoor furniture is not only visually stunning but also functional, comfortable, and ready to enrich your outdoor living experience.
Conclusion
Restoring wood outdoor furniture is a gratifying endeavor that allows you to breathe new life into cherished pieces, revitalize your outdoor space, and extend the longevity of your furniture. By following the comprehensive steps outlined in this guide, you’ve embarked on a journey of transformation, taking weathered, worn-down wood and turning it into a source of pride and enjoyment. As you conclude the restoration process, it’s important to reflect on the remarkable results and the impact they will have on your outdoor living experience.
Through careful assessment, meticulous cleaning, precise sanding, artful application of stain or sealant, and thoughtful reassembly, you’ve not only restored the beauty of your wood outdoor furniture but also imbued it with resilience and endurance. The process has allowed you to reconnect with the craftsmanship and natural allure of wood, uncovering its inherent charm and character.
As you place your newly restored furniture in its designated outdoor space, take a moment to appreciate the transformation. The rich, lustrous finish, the smooth, inviting texture, and the renewed structural integrity are testaments to your dedication and the potential inherent in well-crafted wood furniture.
Furthermore, the restoration process serves as a reminder of the value of preservation and the ability to breathe new life into existing resources. By restoring rather than replacing, you’ve contributed to sustainability and minimized waste, all while creating a personalized outdoor sanctuary that reflects your style and commitment to quality.
As you bask in the beauty of your restored wood outdoor furniture, take pride in knowing that you’ve not only preserved a piece of outdoor history but also set the stage for countless moments of relaxation, social gatherings, and enjoyment in the great outdoors. Your efforts have not only rejuvenated the furniture but have revitalized your outdoor living space, infusing it with warmth, charm, and enduring elegance.
Congratulations on successfully restoring your wood outdoor furniture. May your outdoor oasis continue to be a source of joy, comfort, and inspiration for years to come.
Frequently Asked Questions about How To Restore Wood Outdoor Furniture
Was this page helpful?
At Storables.com, we guarantee accurate and reliable information. Our content, validated by Expert Board Contributors, is crafted following stringent Editorial Policies. We're committed to providing you with well-researched, expert-backed insights for all your informational needs.


0 thoughts on “How To Restore Wood Outdoor Furniture”