Home>Ideas and Tips>Backyard Garden Arbor Construction: Elegant Entryway Design

Ideas and Tips
Backyard Garden Arbor Construction: Elegant Entryway Design
Published: September 18, 2024
Learn how to build a garden arbor to create an elegant entryway in your backyard. Follow our step-by-step guide for a beautiful and functional outdoor space.
(Many of the links in this article redirect to a specific reviewed product. Your purchase of these products through affiliate links helps to generate commission for Storables.com, at no extra cost. Learn more)
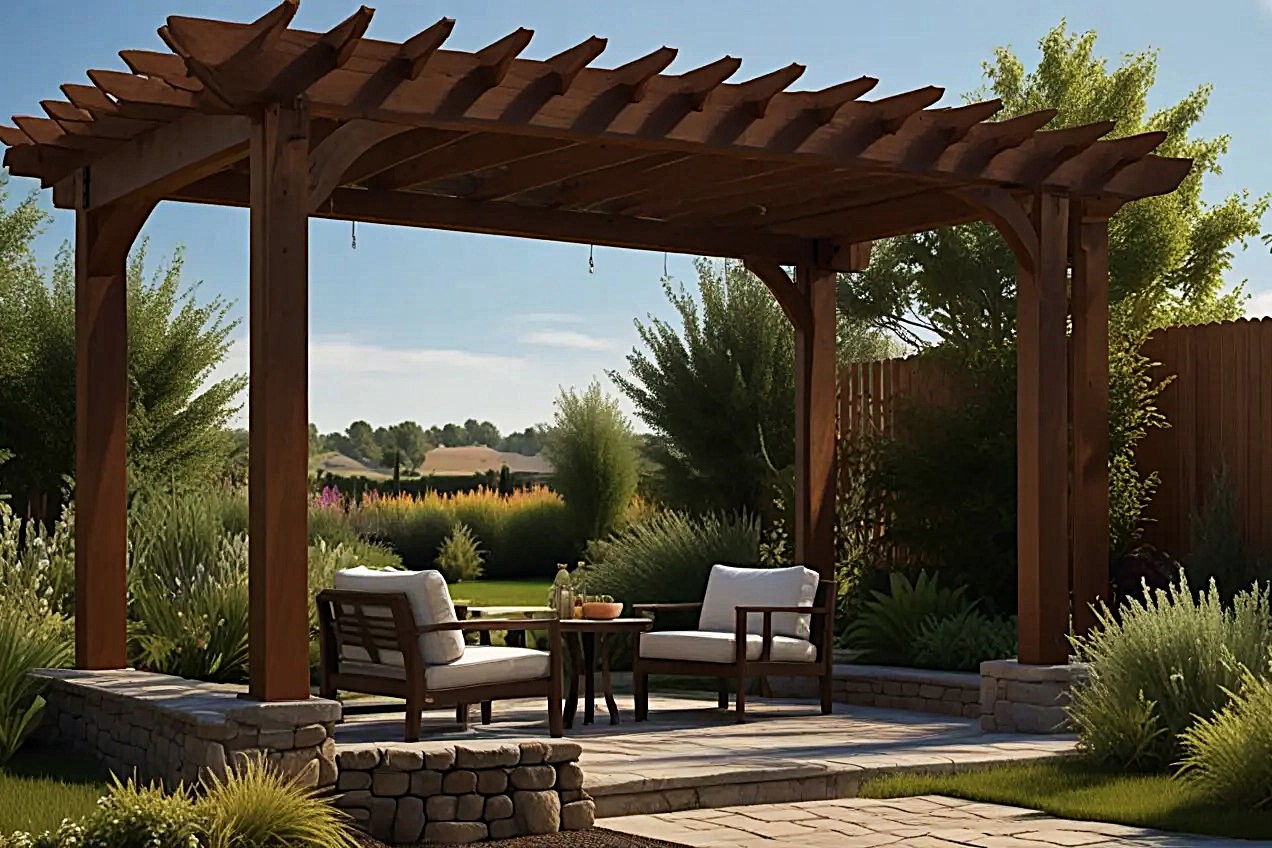
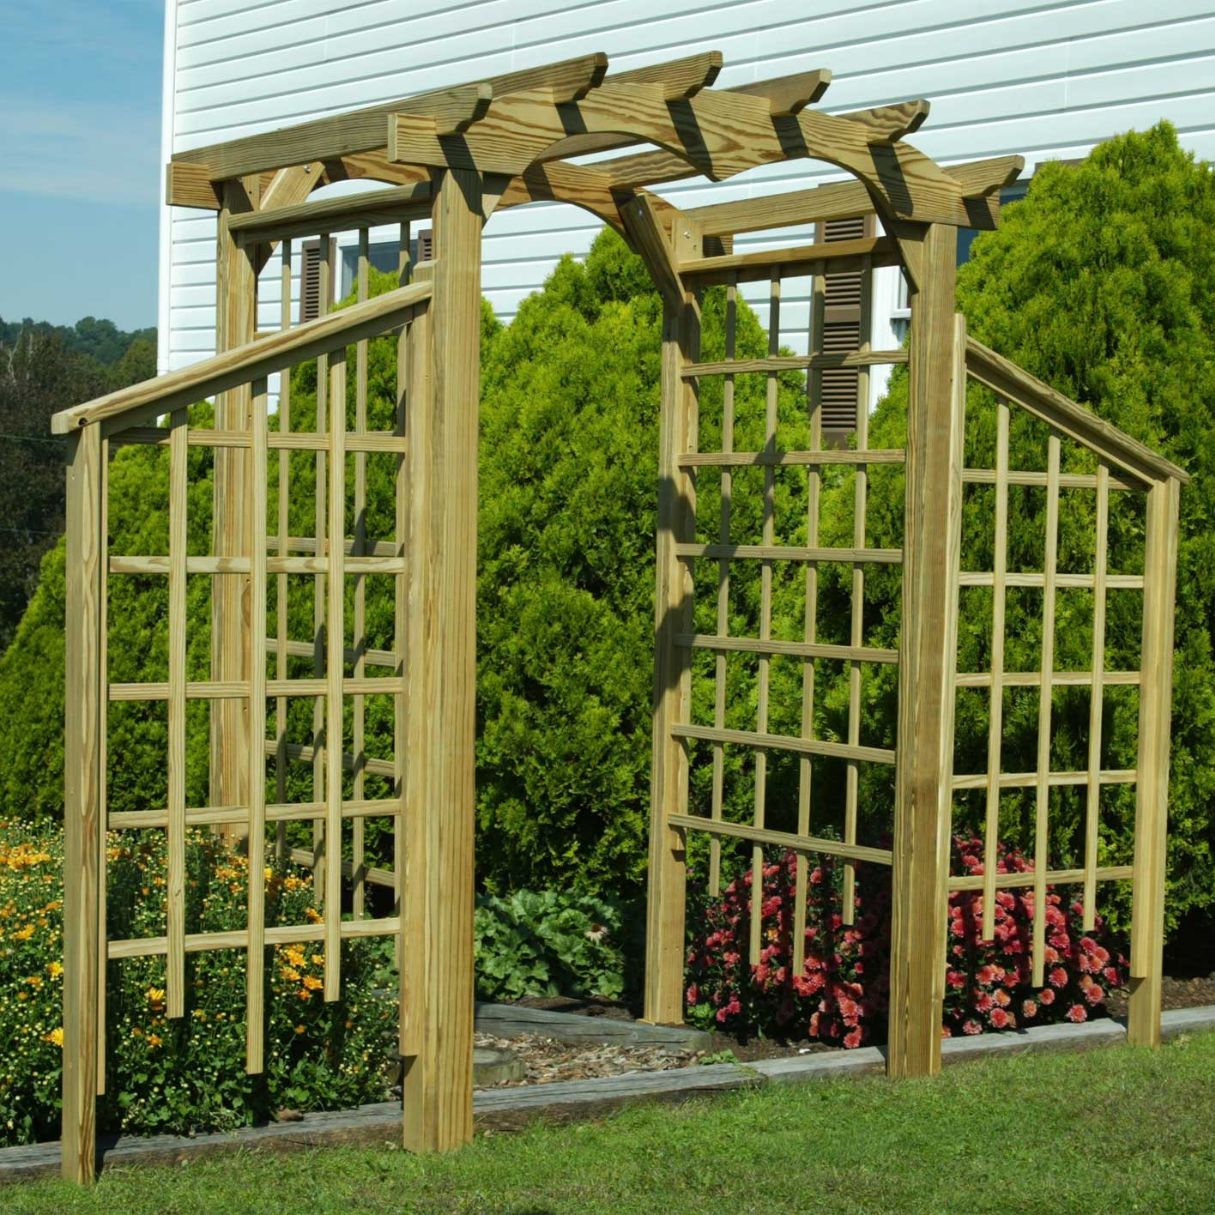
Creating an elegant entryway in your backyard garden is a wonderful way to enhance the beauty and functionality of your outdoor space. One of the most effective ways to achieve this is by building a garden arbor. Arbors are versatile garden structures that can serve multiple purposes, from defining a path to creating a private hideaway. In this article, we will guide you through the process of constructing a classic arbor for your charming outdoor entryway.
Choosing the Right Arbor Style
Before you start building, it's essential to choose an arbor style that blends seamlessly with the surrounding plantings and garden rooms. Arbors come in various designs, each offering unique features and functionalities. Here are a few considerations:
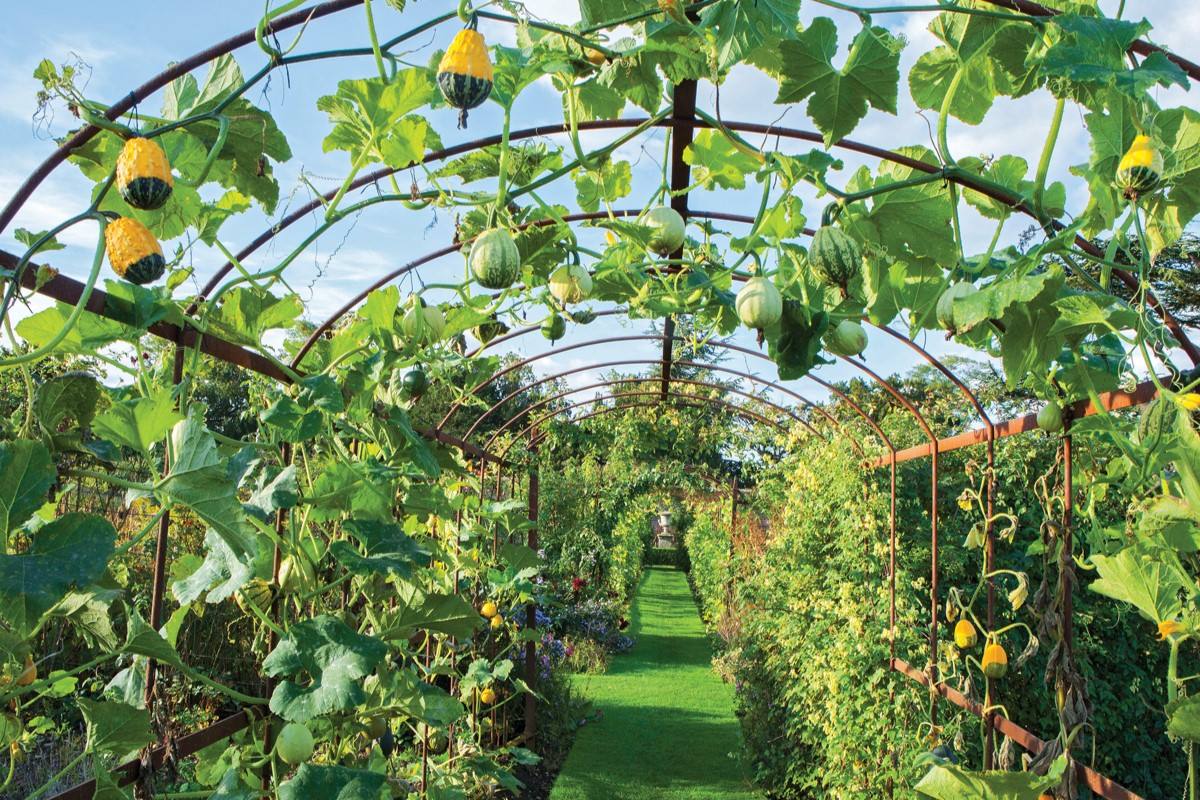
- Arching vs. Straight: Arbors can be either arching or standing straight and squared. An arching arbor adds a pleasing curve to the straight lines of your garden, creating a more visually appealing entrance.
- Material Selection: For durability, select an arbor crafted from pressure-treated wood, metal, or plastic. Each material has its own advantages:
- Pressure-Treated Wood: Provides natural beauty and can be stained or painted to match your garden's aesthetic.
- Metal: Offers durability and can be powder-coated for a variety of colors.
- Plastic: Lightweight and easy to install, but may not be as aesthetically pleasing as wood or metal.
Materials Needed
To build a classic arbor, you will need the following materials:
- Shovel or Posthole Digger: For digging holes for the posts.
- Two 4×4 Posts (11 feet long): These will serve as the vertical supports of your arbor.
- Gravel: To fill the holes before inserting the posts.
- Concrete: To secure the posts in place.
- Two 2x6s (6 feet long): For the crossbeams that define the depth of your arbor.
- Stepladder: For reaching high areas during construction.
- Eight Galvanized Lag Screws: To secure the crossbeams to the posts.
- Framing Square: To ensure accurate alignment of the crossbeams with the posts.
- Jigsaw: For shaping decorative details at the ends of the beams.
- Two 2x6s (7 feet long): Additional beams for further decoration or support.
- Hammer: For driving nails into place.
- Galvanized Nails: For securing the beams to the crossbeams.
- Twenty-six 2×2 Rails (45 inches long): These will form an arbor roof perfect for vining plants.
- Exterior-grade Stain or Paint: To protect and enhance the appearance of your arbor.
- Plants: Vines such as climbing roses, honeysuckle, or jasmine to create a fragrant passageway.
Step-by-Step Instructions
Step 1: Prepare and Set Posts
-
Stake Out the Space: Begin by staking out the space where you want to build your arbor. Ensure that the posts are spaced no more than 6 feet apart for maximum stability. If you want to extend the width of the arbor, increase the beam size to 2×8.
-
Dig Holes: Use a posthole digger or an auger to make holes 2-feet deep. Rent these tools at your local hardware rental store if needed.
-
Fill Holes with Gravel: Pour 6 inches of gravel into each hole.
-
Insert Posts: Insert the 4×4 posts into the holes.
-
Fill with Concrete: Fill each hole with concrete to secure the posts in place.
Step 2: Attach Crossbeams
-
Cut Crossbeams: Cut two 6-foot-long 2x6s into four 3-foot-long crossbeams.
-
Secure Crossbeams: Standing on a stepladder, use lag screws to secure the crossbeams to both sides of each post. Ensure accurate alignment using a framing square before tightening the screws.
Step 3: Shape Beam Ends
-
Design Decorative Details: Using the architecture of your home as a guide, shape the decorative detail at the ends of the 7-foot-long 2×6 beams using a jigsaw.
-
Inspiration from Other Structures: Look to the framing details around your windows and doors for inspiration. Other garden structures like garden sheds, pergolas, or trellises might also offer ideas for your DIY arbor.
Step 4: Attach Beams
-
Secure Beams: Securely attach the beams to the crossbeams by driving at least two galvanized nails through the 2x6s into the ends of the crossbeams.
-
Need Assistance?: You’ll need help with this step. Have your partner or friend hold the loose end of each beam until you nail it into position.
Step 5: Add Arch
-
Design Your Arch: Purely decorative, arching cross pieces installed below the crossbeams add a pleasing curve to your arbor. First, design your arch on a large piece of paper; several sheets of newspaper taped together will work well for this step.
-
Cut Out Arch: Cut out the arch design and secure it to the posts using appropriate fasteners.
Step 6: Install Rails
-
Cut Rails: Cut 2×2 rails to length.
-
Position Rails: Position the first rail carefully, then drive one nail through each end of the rail into the 2×6 beams beneath.
-
Determine Spacing: Lay an extra piece of 2×2 against the first rail to determine spacing for subsequent rails; ensure that each rail extends equally over the beams before nailing in place.
-
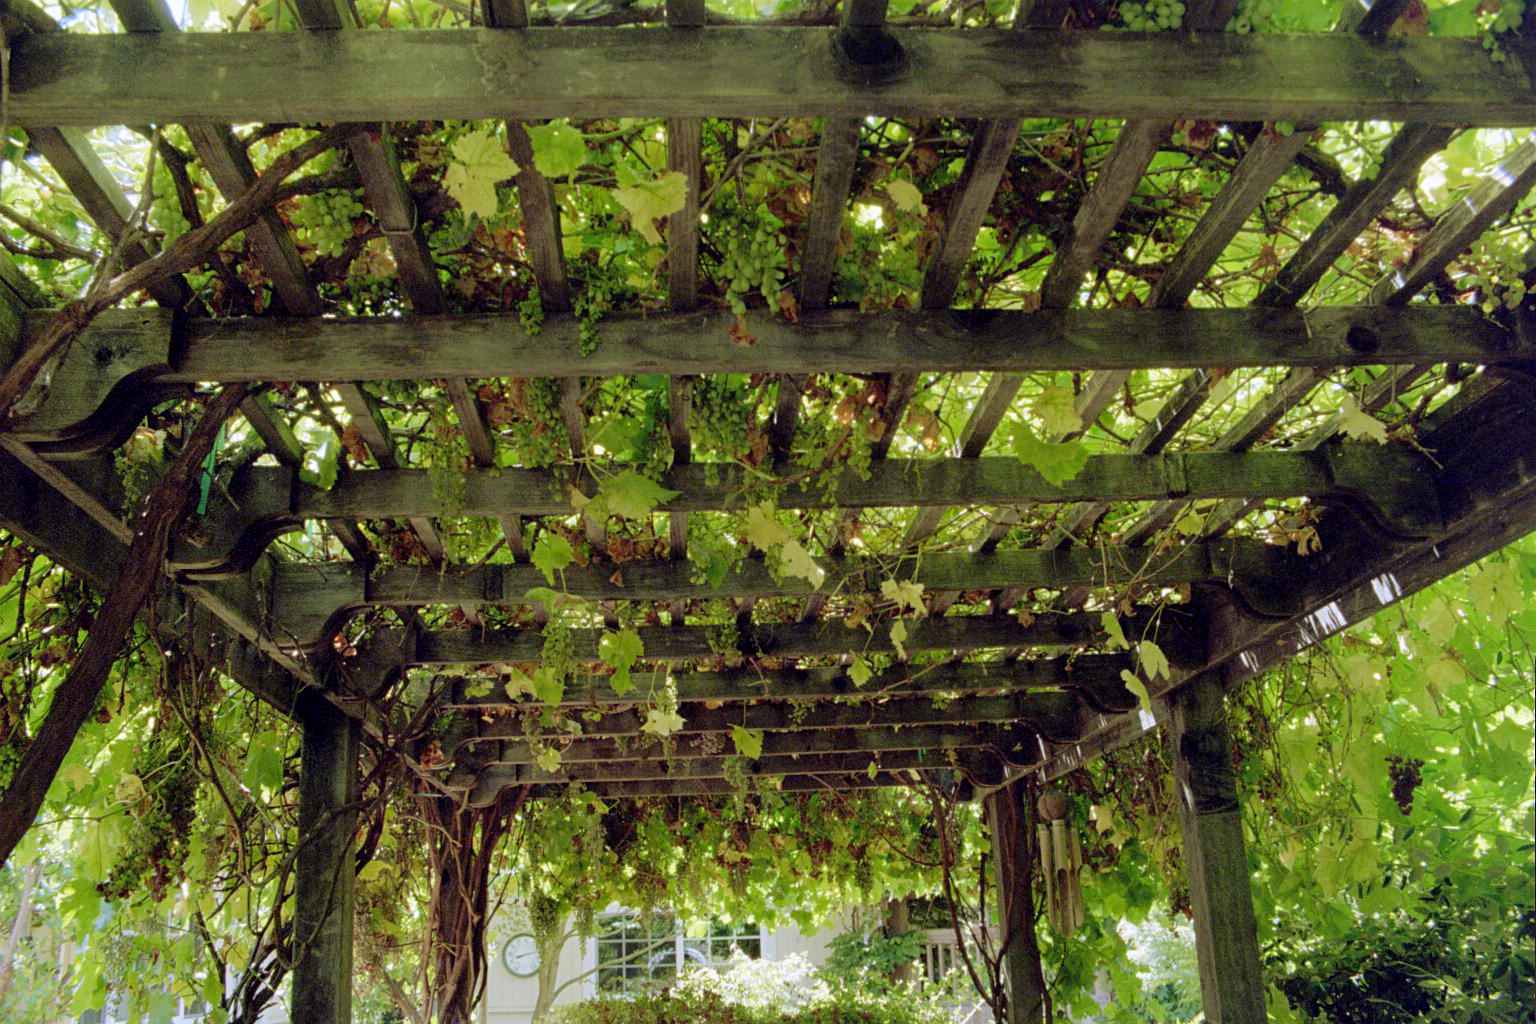
Form Arbor Roof: These rails form an arbor roof perfect for vining plants like climbing roses or honeysuckle.
Step 7: Paint and Plant
-
Stain or Paint: If you have not already done so, stain or paint your design after building an arbor using exterior-grade stain or paint.
-
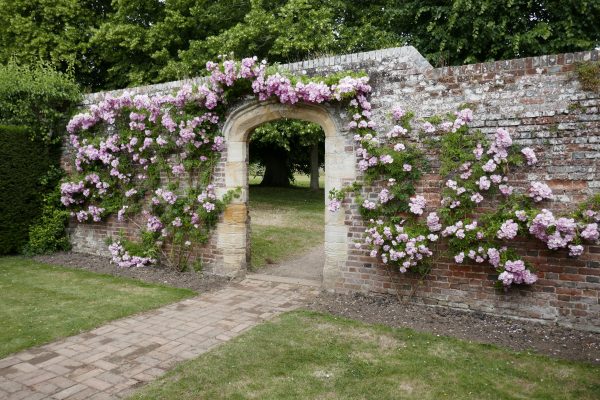
Plant Vines: Plant vines such as climbing roses, honeysuckle, or jasmine to create a fragrant passageway through your arbor.
-
Additional Accents: For extra floral accents, hang a hanging pot from the center of the arch.
Tips for Maintenance
Once your arbor is built and planted with vines, it's essential to maintain it properly to ensure longevity:
-
Regular Cleaning: Clean your arbor periodically to remove debris and dirt that may accumulate on its surface.
-
Pruning Vines: Prune vines regularly to keep them healthy and prevent overgrowth.
-
Protect from Weather: Apply protective coatings like varnish or sealant to protect your arbor from harsh weather conditions such as rain and sunlight.
Conclusion
Building a garden arbor is an excellent way to enhance your backyard's aesthetic appeal while creating a functional entryway. By following these steps and choosing materials that blend with your garden's design, you can create an elegant and charming outdoor space that invites relaxation and enjoyment. Remember to maintain your arbor regularly to ensure it remains beautiful and functional for years to come.
Additional Considerations
Formality and Surprise in Garden Design
When designing your garden arbor, consider incorporating elements of formality and surprise to make it more engaging. For example, you could include a mix of formal hedges and informal vines or add decorative elements like lanterns or statues around the arbor.
Digital Gardening Philosophy
The concept of digital gardening can also inspire your physical garden design. Digital gardens are organized around contextual relationships and associative links rather than time-based structures. This approach encourages continuous growth and evolution, much like a real garden.
Backyard Etymology
Understanding the etymology behind terms like "backyard" can also provide insight into how we perceive our outdoor spaces. The term "backyard" is often used as an adjective when referring to activities like hosting a barbecue, while "back yard" is used as a noun when referring to the physical space itself.
By combining these insights with practical building instructions, you can create a beautiful and functional garden arbor that enhances both the formality and surprise of your backyard garden design.
Was this page helpful?
At Storables.com, we guarantee accurate and reliable information. Our content, validated by Expert Board Contributors, is crafted following stringent Editorial Policies. We're committed to providing you with well-researched, expert-backed insights for all your informational needs.


0 thoughts on “Backyard Garden Arbor Construction: Elegant Entryway Design”