Home>Ideas and Tips>Backyard Stone Oven Construction for Authentic Bread Baking
Ideas and Tips
Backyard Stone Oven Construction for Authentic Bread Baking
Modified: November 2, 2024
Learn how to build a backyard stone oven for authentic bread baking. Discover the steps, benefits, and tips for creating delicious homemade bread.
(Many of the links in this article redirect to a specific reviewed product. Your purchase of these products through affiliate links helps to generate commission for Storables.com, at no extra cost. Learn more)
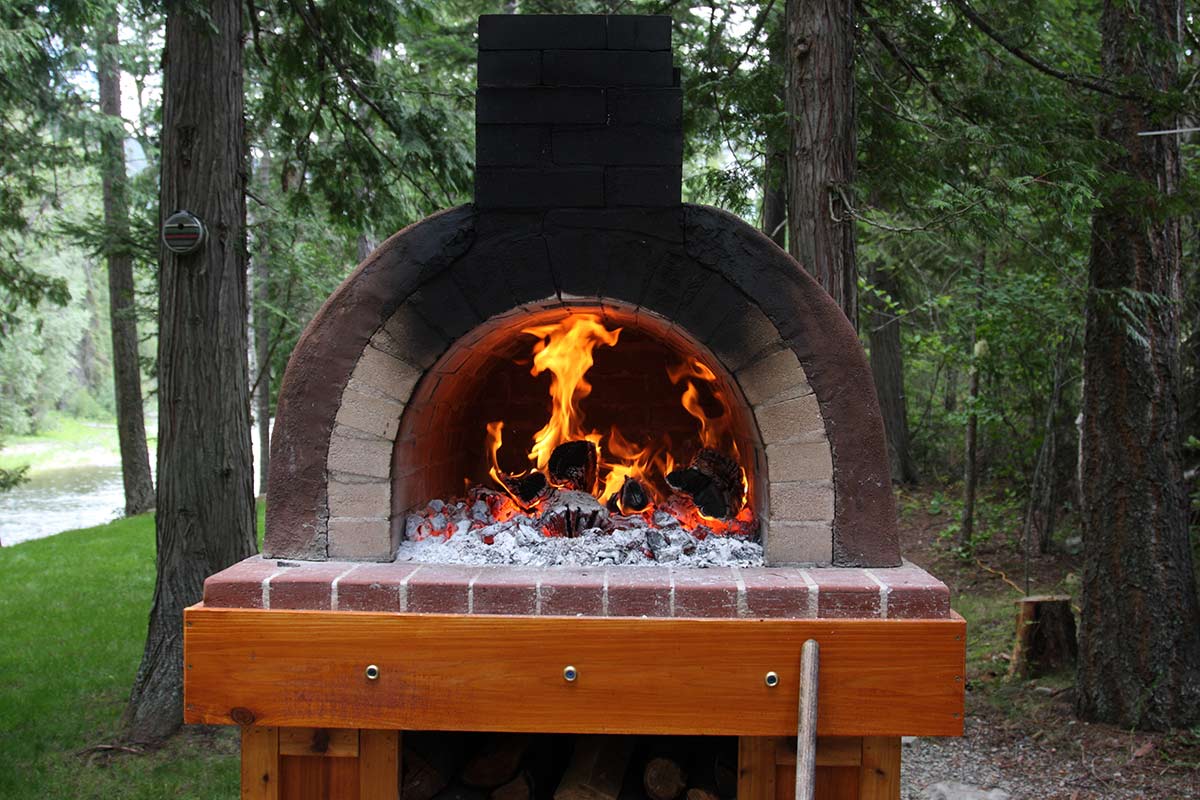
Baking bread in a backyard stone oven is an experience that combines traditional craftsmanship with the joy of creating delicious, authentic bread. The process of building and using such an oven not only enhances your home but also provides a unique way to connect with the community and the art of bread-making. In this article, we will delve into the world of backyard stone oven construction, exploring the steps involved in building one, the benefits of using a stone oven, and the art of baking authentic bread.
The History and Benefits of Stone Ovens
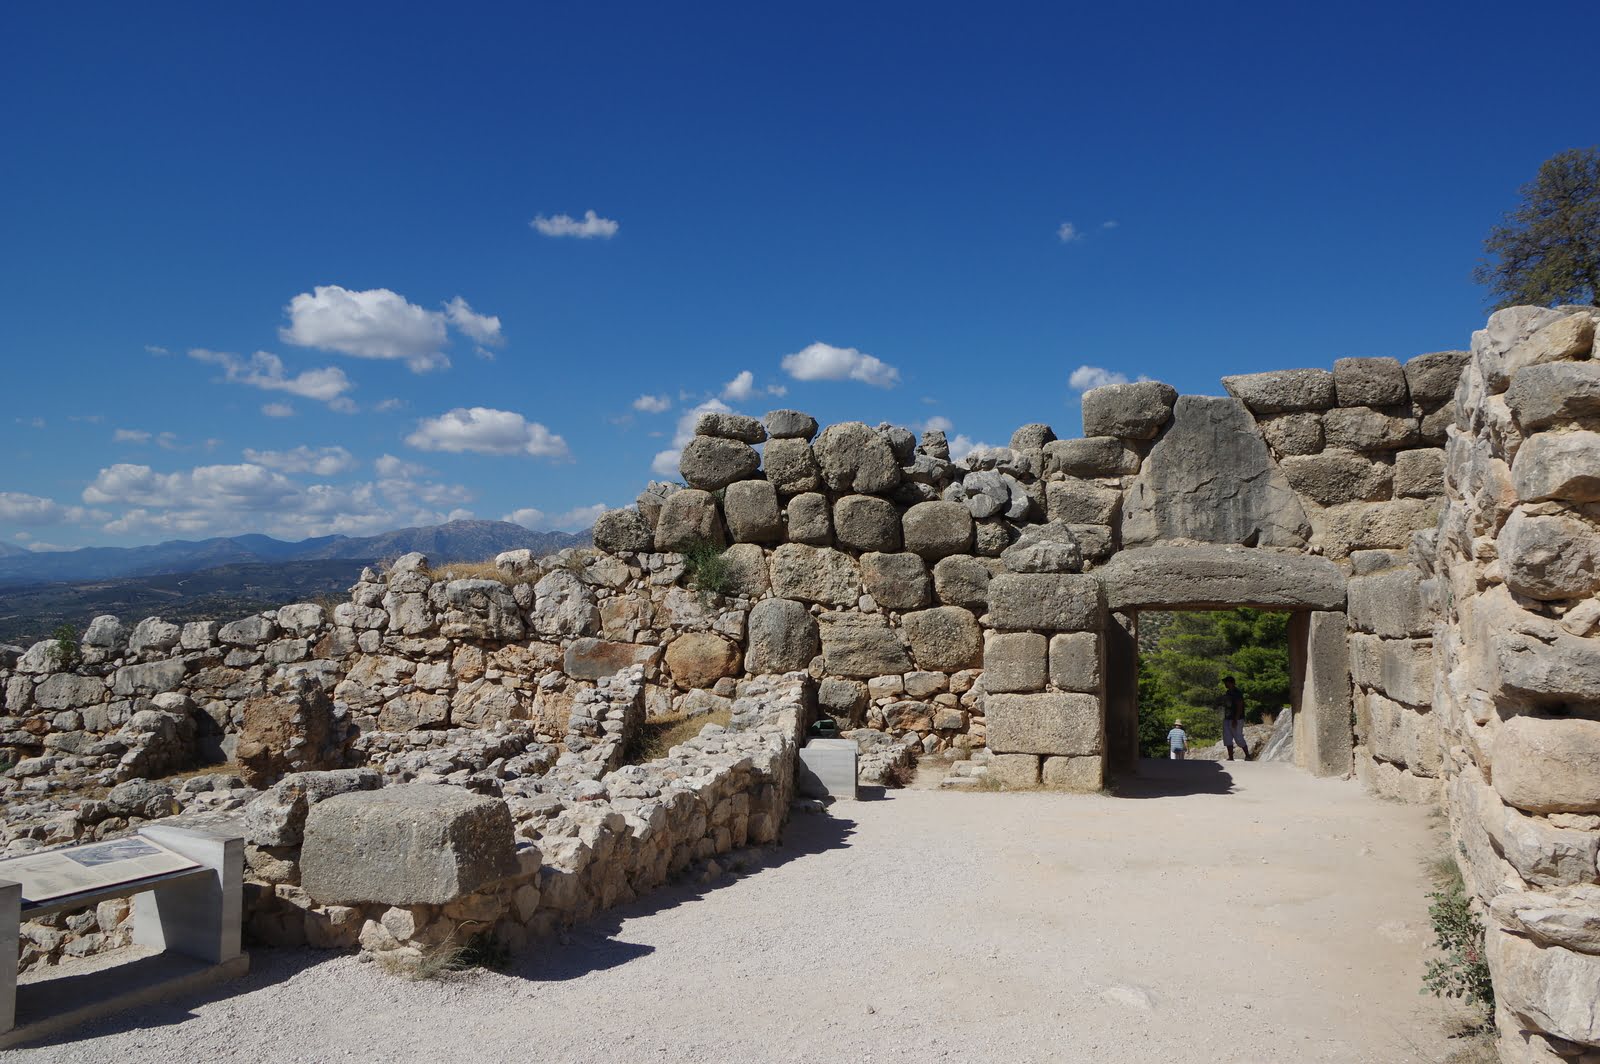
Stone ovens have been a cornerstone of baking for centuries. These ovens were not only used for baking but also for grilling, smoking, and drying food. The versatility and heat retention properties of stone ovens make them ideal for various cooking tasks. Here are some of the key benefits of using a stone oven:
-
Heat Retention: Stone ovens are renowned for their ability to retain heat. This is due to the thermal mass of the stones, which ensures that the oven remains hot for an extended period, allowing for consistent baking.
-
Versatility: Unlike modern convection ovens, stone ovens can be used for a variety of cooking tasks. They are perfect for baking, grilling, smoking, and even drying food.
-
Authentic Flavor: The unique heat distribution and retention properties of stone ovens impart a distinct flavor to the food being baked. This is particularly noticeable in bread, where the Maillard reaction (the chemical reaction between amino acids and reducing sugars) enhances the flavor and aroma.
-
Community Building: Building a stone oven can be a community-driven project. It brings people together, fostering a sense of community and shared accomplishment.
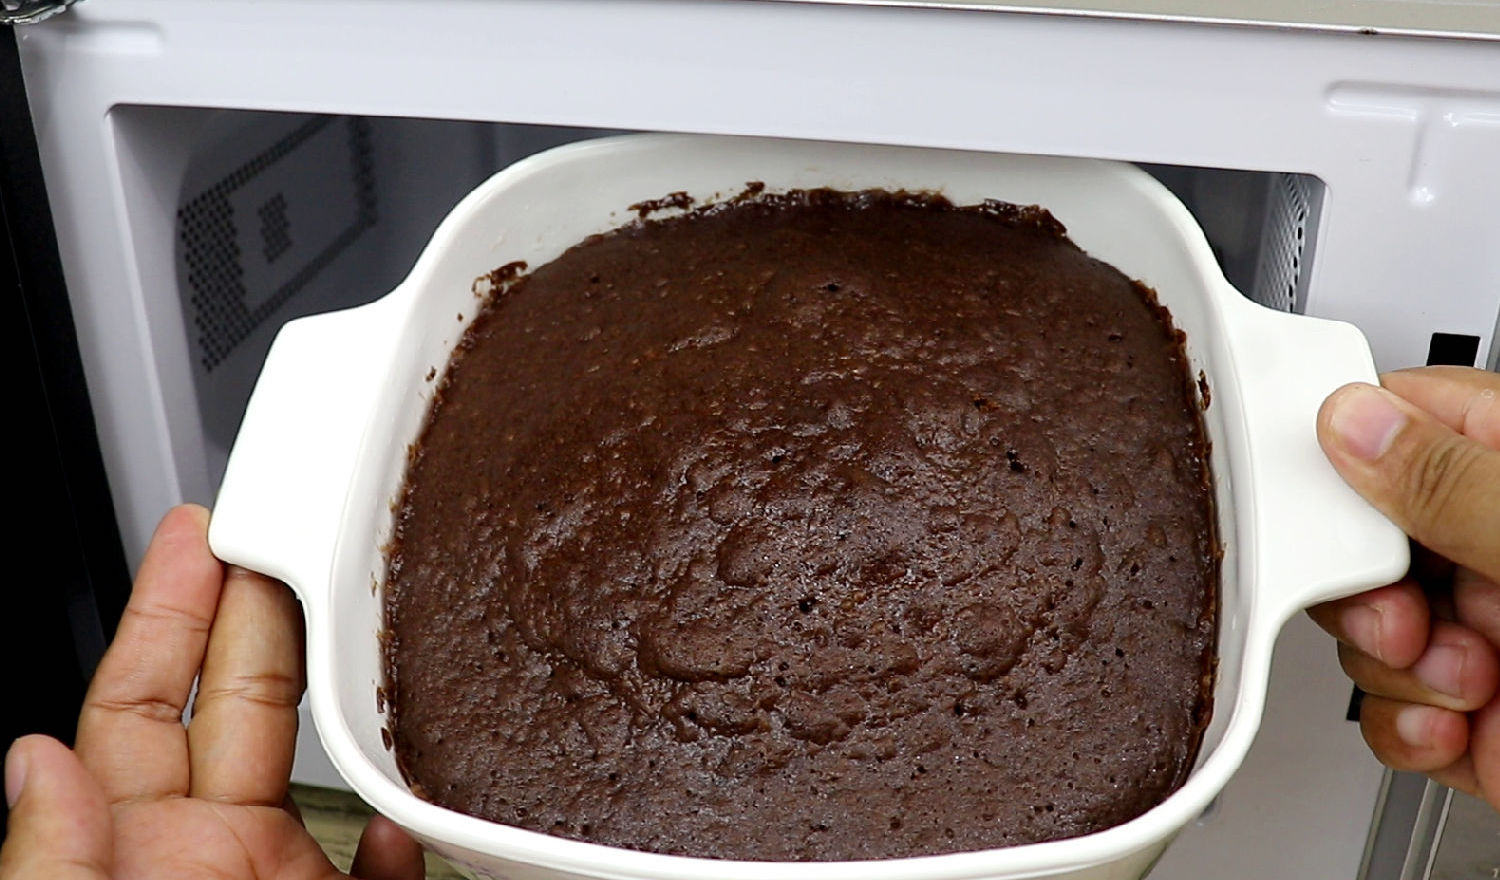
Read more: How To Bake In A Microwave Oven
Planning Your Backyard Stone Oven
Before embarking on your backyard stone oven project, it's essential to plan carefully. Here are some key considerations:
-
Space and Location:
- Ensure that you have sufficient space for the oven. A typical stone oven can be quite large, so it's crucial to choose a location that is both accessible and safe.
- Consider the property line and structural setbacks. In colder climates, you may need to lay a cement foundation to support the oven.
-
Materials:
- The primary material for building a stone oven is, of course, stone. However, you can also use brick or other materials that provide good thermal mass.
- Reclaimed bricks or locally sourced stones can add a unique aesthetic to your oven while reducing waste.
-
Design:
- The design of your oven will depend on its intended use. A barrel-shaped oven like John Murieko’s at Restoration Homestead is ideal for baking multiple loaves at once.
- Consider the dimensions of your oven. A larger oven will allow for more bread to be baked simultaneously but may require more space and materials.
-
Budget:
- Building a stone oven can be a significant investment. Set a realistic budget and plan accordingly. You can opt for off-the-shelf options or build one yourself using local materials.
Building Your Backyard Stone Oven
Building a backyard stone oven is a multi-step process that requires careful planning and execution. Here’s a detailed guide to help you through the process:
Step 1: Preparation
-
Site Selection:
- Choose a flat area with good drainage. Ensure that the site is clear of any debris or obstructions.
-
Excavation:
- Dig a hole that is slightly larger than the dimensions of your oven. The depth will depend on the thickness of the walls and floor of your oven.
-
Foundation:
- Lay a cement foundation if you live in a colder climate or if you want added stability. This will help prevent settling issues over time.
Step 2: Masonry Work
-
Laying Bricks/Stone:
- Start by laying the first layer of bricks or stones around the perimeter of the excavation. Use a level to ensure that the base is even.
- Continue laying bricks/stone in layers, ensuring each layer is level and securely fastened to the previous one.
-
Insulation Layer:
- An insulation layer can be installed over the first layer of arch bricks to provide better heat retention and safety during firing/baking times.
-
Chimney Installation:
- Build a chimney that extends above the roofline to ensure proper ventilation and safety.
Step 3: Finishing Touches
-
Oven Floor and Walls:
- Use thermal mass materials like thick brick or stone for the oven floor and walls to ensure good heat retention.
- Optimize the proportion of mass in the oven floor to the oven walls for optimal heat retention.
-
Door Installation:
- Install a door that can be sealed to contain heat. The door should be made from materials that can withstand high temperatures.
-
Ash Slot Installation:
- Install an ash slot to safely sweep out ashes which fall through it into a metal fire-proof bin below.
Using Your Backyard Stone Oven
Once your stone oven is built, it’s time to start baking Here’s how you can use it:
Preparing for Baking
-
Loading Wood:
- Load wood into the oven from back to front. Light the fire at the front and let it burn all day to thoroughly heat up the firebrick.
-
Heating Up:
- By the end of the day, the fire should have burned down to coals. Close the door to contain heat and let it cool overnight.
-
Morning Preparation:
- Early in the morning, shovel out the coals and mop the oven floor with water to create steam.
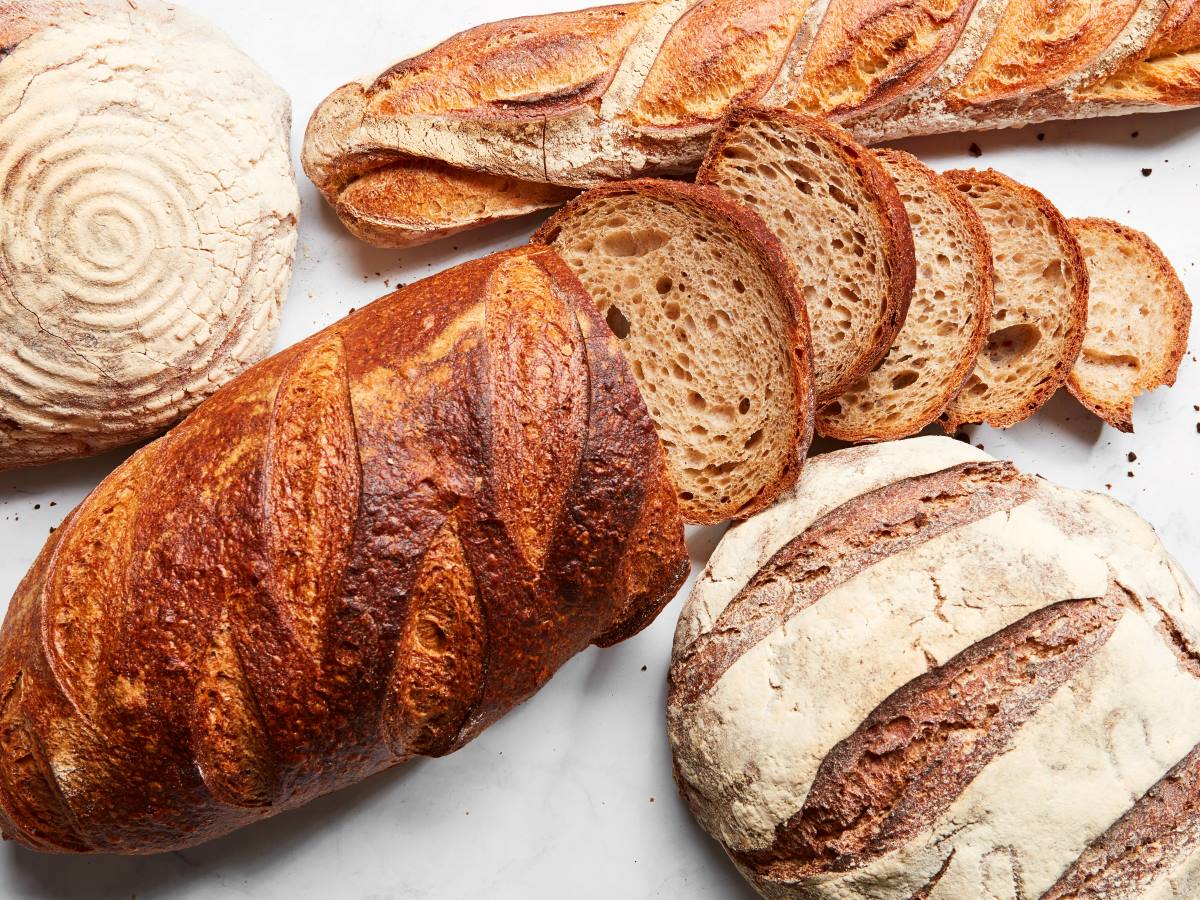
Baking Bread
-
Dough Preparation:
- Prepare dough using natural yeast starters or sourdough techniques for a more authentic flavor.
- Use high hydration dough (close to 98%) which will give off steam during baking, enhancing crust formation.
-
Shaping Loaves:
- Shape loaves into rectangular shapes that fit onto wooden peels designed specifically for your oven.
-
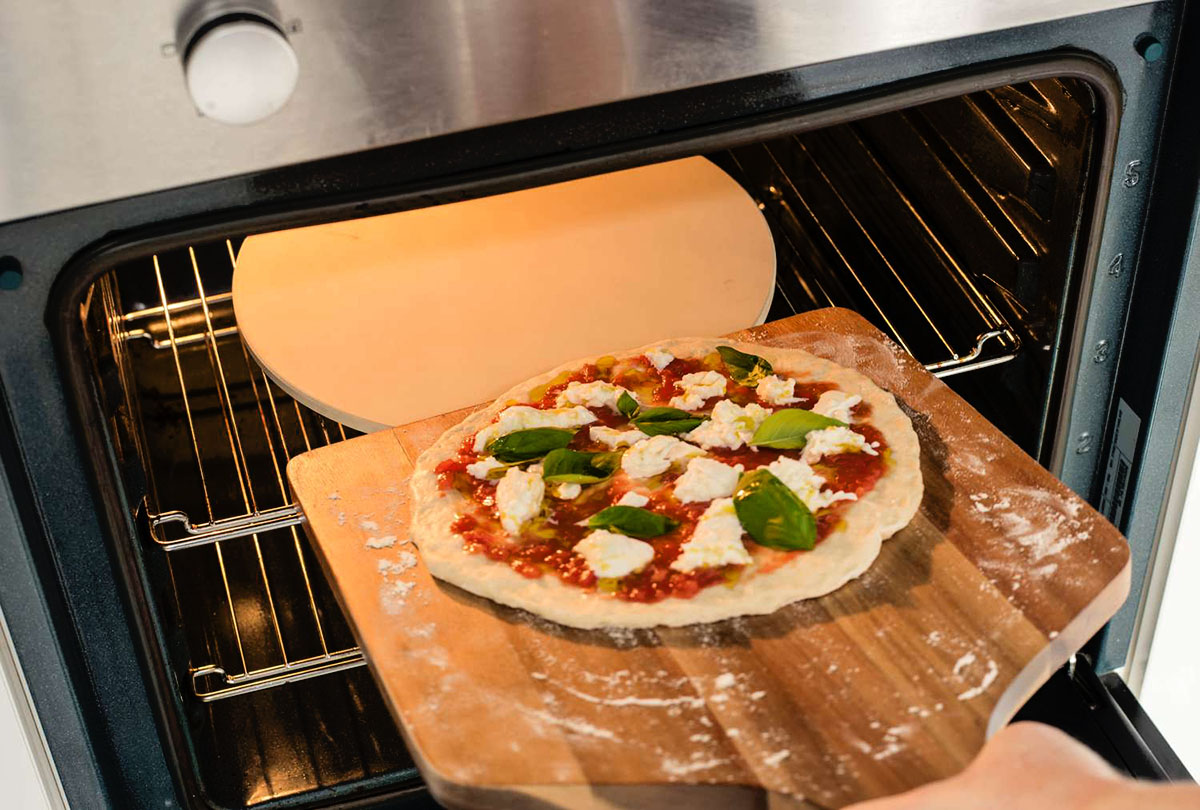
Baking Time:
- Place loaves into the preheated oven at temperatures ranging from 500°F to 600°F (260°C to 315°C). Baking time will vary depending on the size of your loaves but typically ranges from 15-20 minutes.
-
Cooling Loaves:
- Once baked, tip finished loaves into bannetons for cooling. This helps retain moisture and shape while cooling down.
Tips for Authentic Bread Baking
-
Natural Yeast Starters:
- Culturing natural yeast starters gives bread a satisfying taste without commercial additives or preservatives.
-
High Hydration Dough:
- Using high hydration dough enhances crust formation due to steam released during baking.
-
Toasted Sesame Seeds/Sprouted Kamut:
- Modifying basic dough by incorporating toasted sesame seeds or sprouted kamut adds variety in flavor without compromising authenticity.
-
Steam Control:
- Incorporating a mister and wet towel on the oven door increases initial steaming which helps create a crispy crust while maintaining soft interior.
Expanding Your Business
If you plan to expand your bread-baking business, consider selling bread shares in the pattern of Community Supported Agriculture (CSA). This model allows customers to pick up their fresh loaves at your homestead or various locations, fostering a direct connection between consumers and producers.
Conclusion
Building a backyard stone oven is not just about constructing an appliance; it’s about creating a space that fosters community, creativity, and authentic culinary experiences. With careful planning, execution, and practice, you can enjoy delicious homemade bread while sharing this unique experience with friends and family. Whether you're an avid baker or just starting out, a stone oven offers endless possibilities for culinary exploration and enjoyment.
By following these steps and tips, you can create your very own backyard stone oven that will become the heart of your home's culinary activities. Happy baking
Was this page helpful?
At Storables.com, we guarantee accurate and reliable information. Our content, validated by Expert Board Contributors, is crafted following stringent Editorial Policies. We're committed to providing you with well-researched, expert-backed insights for all your informational needs.


0 thoughts on “Backyard Stone Oven Construction for Authentic Bread Baking”