Articles
How To Build A Chimney
Modified: August 22, 2024
Learn how to build a chimney with informative articles that provide step-by-step instructions, expert tips, and safety guidelines for a successful project.
(Many of the links in this article redirect to a specific reviewed product. Your purchase of these products through affiliate links helps to generate commission for Storables.com, at no extra cost. Learn more)
Introduction
Welcome to the comprehensive guide on how to build a chimney. A well-constructed chimney is a crucial component of any home, providing ventilation for fireplaces, wood stoves, and other heating systems. Not only does a chimney ensure the safe expulsion of smoke and gases, but it also adds a charming architectural element to any structure.
Building a chimney may seem like a daunting task, but with careful planning and the right materials, it can be a rewarding and fulfilling project. In this article, we will walk you through the step-by-step process of building a chimney from scratch, ensuring that you have all the necessary information and guidance to complete the project confidently.
Before we delve into the specifics of chimney construction, it is important to note that building codes and regulations vary from region to region. It is essential to familiarize yourself with the local building codes and obtain any necessary permits before proceeding with your project. Additionally, if you are not experienced in working with masonry or construction, it may be advisable to consult with a professional or seek assistance from a qualified contractor.
Now, let’s get started on this exciting journey of building your own chimney!
Key Takeaways:
- Planning and designing your chimney is crucial for safety and functionality. Consider the purpose, location, size, materials, and aesthetics to ensure a successful and charming addition to your home.
- Building a chimney requires careful attention to detail and adherence to safety measures. From laying the bricks to connecting the chimney to your heating appliance, each step contributes to a functional and aesthetically pleasing structure.
Read more: How To Build A Block Chimney
Step 1: Planning and Designing the Chimney
Before you begin building your chimney, it is essential to carefully plan and design its layout. Proper planning will ensure that your chimney meets all safety requirements and functions effectively. Let’s take a closer look at the key considerations during this initial step.
- Determine the Purpose: First and foremost, decide why you need a chimney. Will it be used for a fireplace, wood stove, or other heating appliances? Understanding its purpose will help you determine the size and specifications required.
- Safety Regulations: Research the building codes and regulations specific to your location. These regulations outline the minimum requirements for chimney construction, including clearance distances from combustible materials. Adhering to these regulations is crucial for a safe and compliant chimney.
- Location: Choose the ideal location for your chimney. Consider factors such as convenience, proximity to the heating appliance, and the path of the flue pipe. The chimney should also have proper ventilation and be positioned away from any potential obstructions.
- Size and Height: Determine the appropriate size and height for your chimney. The size typically depends on the heating appliance’s requirements and the volume of smoke it produces. The height is crucial for optimal draft and proper venting of the smoke and gases.
- Materials: Select the materials you will use for constructing your chimney. Common chimney materials include bricks, concrete blocks, or metal components. Choose materials that are durable, fire-resistant, and suitable for your desired design.
- Design and Aesthetics: Consider the overall aesthetic appeal of your chimney. It should blend harmoniously with the architectural style of your home. Additionally, think about any decorative elements you want to incorporate, such as brick patterns or ornamental caps.
Once you have completed the planning and designing phase, you will have a clear vision of your chimney’s specifications. This will serve as the foundation for the subsequent steps in the construction process. Remember, careful planning is the key to a successful chimney build.
Step 2: Gathering Materials and Tools
Now that you have completed the planning and design phase, it’s time to gather the necessary materials and tools for building your chimney. Having all the required items at hand will ensure a smooth construction process. Let’s go through the essential materials and tools you will need:
Materials:
- Bricks or Concrete Blocks: These are the primary building materials for constructing the chimney. Choose high-quality bricks or concrete blocks that are specifically designed for chimney construction. Ensure that they are fire-resistant and capable of withstanding high temperatures.
- Mortar: Mortar is used to bind the bricks or concrete blocks together. Select a mortar mix that is suitable for chimney construction, ensuring it has excellent adhesion and durability.
- Flue Liners: Flue liners are essential for the safe passage of smoke and gases through the chimney. They improve the chimney’s efficiency and help protect the surrounding masonry. There are various types of flue liners available, such as clay, ceramic, or stainless steel. Choose the appropriate liner based on your local building codes and the type of heating appliance you are using.
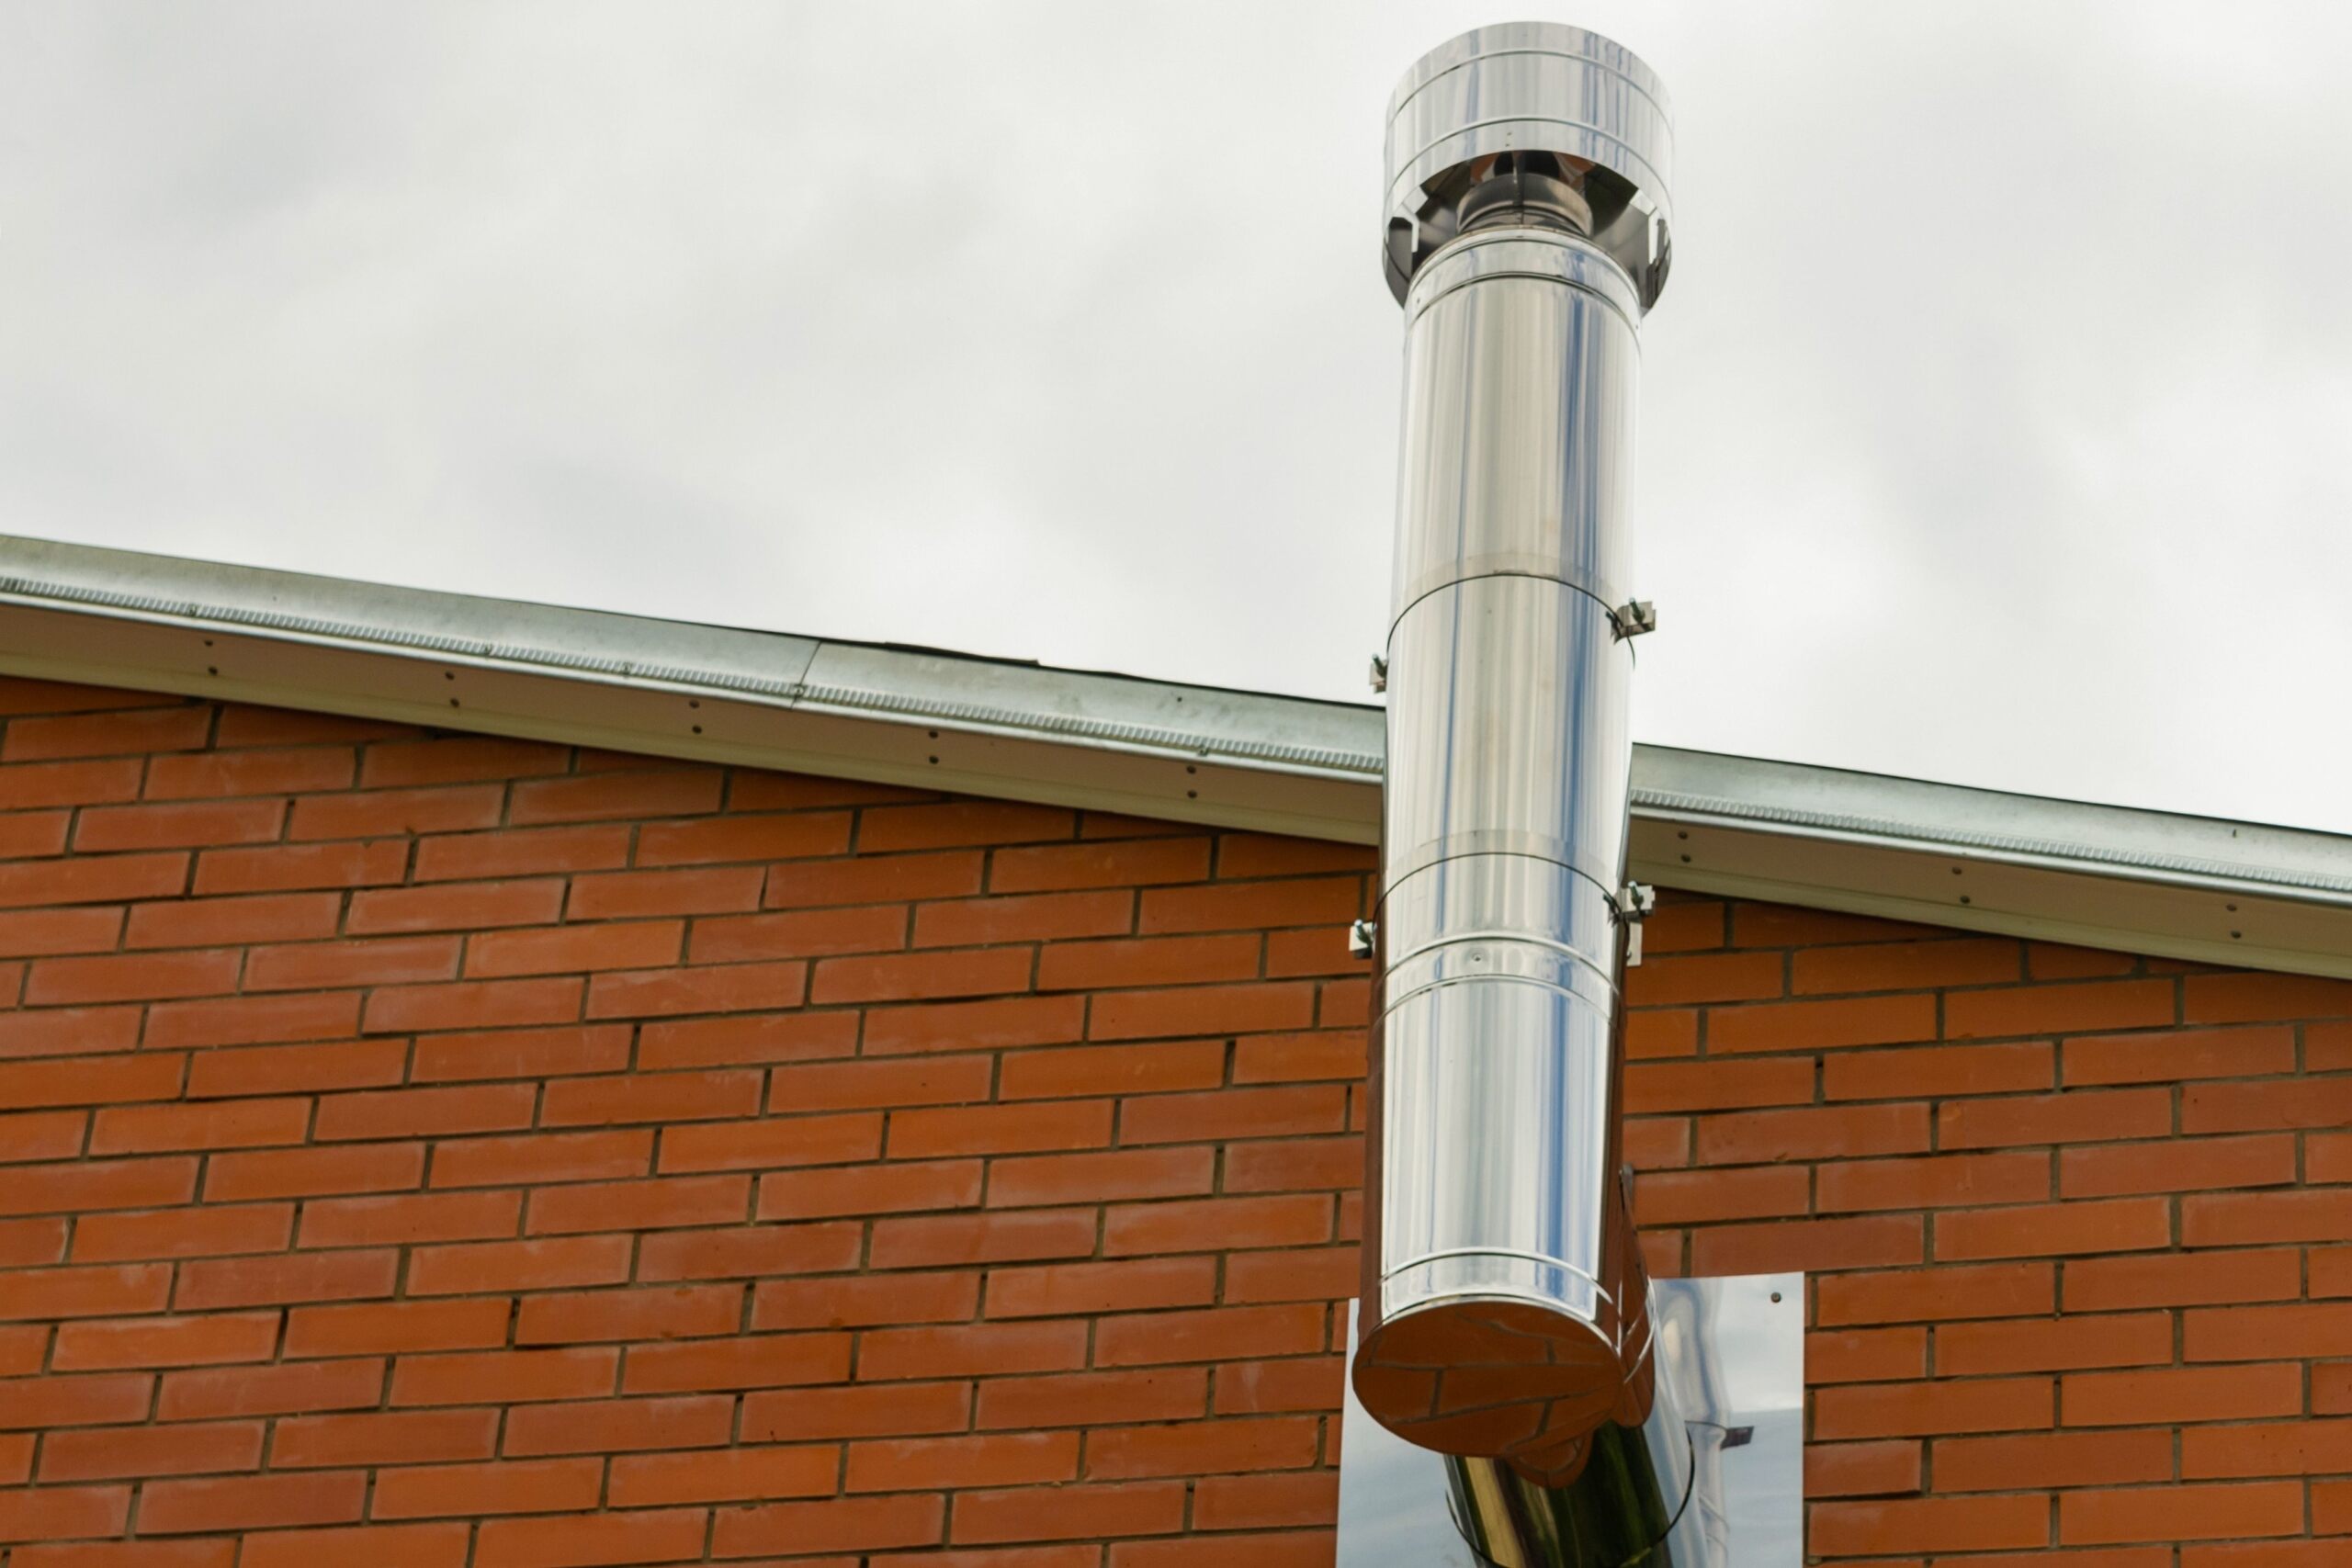
- Chimney Cap: A chimney cap is placed at the top of the chimney to prevent the entry of debris, animals, and rainwater. It also helps improve draft and prevents downdrafts. Look for a chimney cap that fits securely and is made of weather-resistant materials.
- Sealant and Waterproofing: Sealant and waterproofing products are necessary to protect the chimney against water damage and leaks. Ensure that you choose high-quality sealants specifically designed for chimney applications.
- Reinforcement Bars: Depending on the height and design of your chimney, you may need reinforcement bars (rebar) to provide additional structural support. Consult with a professional or structural engineer to determine if rebar is necessary for your specific project.
Tools:
- Trowel: A trowel is used for spreading mortar and placing bricks or blocks. Choose a trowel with a comfortable grip and a sturdy blade.
- Level: A level is essential for ensuring that the chimney structure is perfectly upright and level. Opt for a reliable and accurate level to maintain the chimney’s structural integrity.
- Masonry Saw or Chisel: You may need a masonry saw or chisel to cut or shape bricks or blocks during the construction process. These tools will help you achieve precise and clean cuts.
- Brush and Bucket: A brush and bucket are necessary for cleaning and wetting bricks or blocks, as well as for preparing and applying mortar. Ensure that the brush has stiff bristles for effective cleaning.
- Safety Gear: Don’t forget to prioritize safety by wearing appropriate gear. This includes gloves, safety goggles, a dust mask, and sturdy footwear. Protecting yourself during the construction process is vital.
By gathering all the required materials and tools before starting construction, you can ensure a seamless and efficient building process. Be sure to double-check your inventory to avoid any delays or interruptions during the construction of your chimney.
Step 3: Clearing the Area and Setting the Foundation
With the materials and tools at hand, it’s time to move on to step 3: clearing the area and setting the foundation for your chimney. This step is crucial as it provides a stable base for the chimney structure. Let’s explore the necessary tasks involved:
- Clear the Area: Begin by clearing the area where the chimney will be built. Remove any vegetation, debris, or obstacles that may hinder the construction process. Ensure there is ample space for maneuvering and working comfortably.
- Mark the Foundation: Use stakes and a string to mark the boundaries of the chimney’s foundation. This will help you visualize and ensure the chimney is properly aligned before construction begins.
- Excavate the Foundation: Use a shovel or an excavator to dig a hole for the chimney’s foundation. The depth and size of the hole will depend on your chimney’s design and local building codes. Follow the required specifications closely to ensure a solid foundation.
- Level the Foundation: Once the hole is excavated, use a level to ensure the foundation is level and even. Adjust as needed by adding or removing soil. A stable and level foundation is crucial for the structural integrity of the chimney.
- Add Gravel or Crushed Stone: Place a layer of gravel or crushed stone at the bottom of the foundation hole. This will provide drainage and prevent moisture from accumulating around the chimney base. Ensure the gravel layer is level and compacted.
- Set Concrete Footings: Prepare the concrete mixture according to the manufacturer’s instructions. Pour the concrete into the foundation hole, ensuring it fills the space completely. Use a trowel or a rake to level the concrete and remove any air pockets. Allow the concrete to cure and harden as per the recommended duration.
By clearing the area and setting a proper foundation, you are establishing a solid base for your chimney construction. This is crucial for ensuring stability and longevity. Always adhere to local regulations and building codes during this step to meet safety requirements.
Step 4: Laying the Bricks for the Chimney Base
In step 4, we will be focusing on laying the bricks for the chimney base. This is a critical part of the construction process as it forms the foundation of the chimney structure. Follow these steps to ensure a sturdy and well-built chimney base:
- Prepare the Mortar: Start by preparing the mortar according to the manufacturer’s instructions. Use a large mixing bucket or a mortar box to mix the appropriate ratio of mortar mix and water. Stir the mixture thoroughly until you achieve a smooth consistency.
- Wet the Bricks: Before laying the bricks, wet them with water using a brush or by dipping them in a bucket. Moistening the bricks will prevent them from absorbing moisture from the mortar too quickly, ensuring a stronger bond between the bricks and the mortar.
- Apply Mortar to the Foundation: Using a trowel, apply a layer of mortar to the foundation where the first course of bricks will be placed. Ensure the mortar is evenly spread and about 1 inch thick. This layer of mortar will act as a bed for the bricks.
- Place the First Course of Bricks: Begin laying the first course of bricks on top of the mortar bed. Press each brick firmly into the mortar, ensuring they are level and evenly spaced. Use a level to check for accuracy and adjust as necessary. Make sure to leave enough space for the mortar joints between the bricks.
- Build Up the Subsequent Courses: Continue laying additional courses of bricks on top of the first course, following the same process. Apply mortar to the top of each brick before placing the next one, ensuring they are stacked evenly. Use a masonry saw or chisel to cut bricks to the desired size when needed.
- Create Mortar Joints: As you lay each brick, fill the gaps between them with mortar. Use a jointing tool or a pointed trowel to shape and smooth the mortar joints, ensuring they are uniform in size and appearance. Strike the mortar joints at a slight angle to help with water runoff.
- Double-check Alignment and Levelness: Regularly check the alignment and levelness of the brickwork as you build up the courses. Adjust as necessary by tapping the bricks gently with a rubber mallet or by adding or removing mortar. A level chimney base is crucial for the overall stability of the structure.
- Clean Excess Mortar: Throughout the process, keep an eye out for any excess mortar that may spill onto the bricks. Use a brush or a trowel to remove it before it hardens. Cleaning the excess mortar will result in a neater and more aesthetically pleasing chimney base.
By following these steps and maintaining attention to detail, you will be able to skillfully lay the bricks for the chimney base. Remember to take your time and ensure the stability and levelness of each course before proceeding to the next step.
When building a chimney, make sure to use the appropriate materials such as fire-resistant bricks and mortar. It’s also important to follow local building codes and regulations to ensure safety and compliance.
Read more: How To Build A Brick Chimney
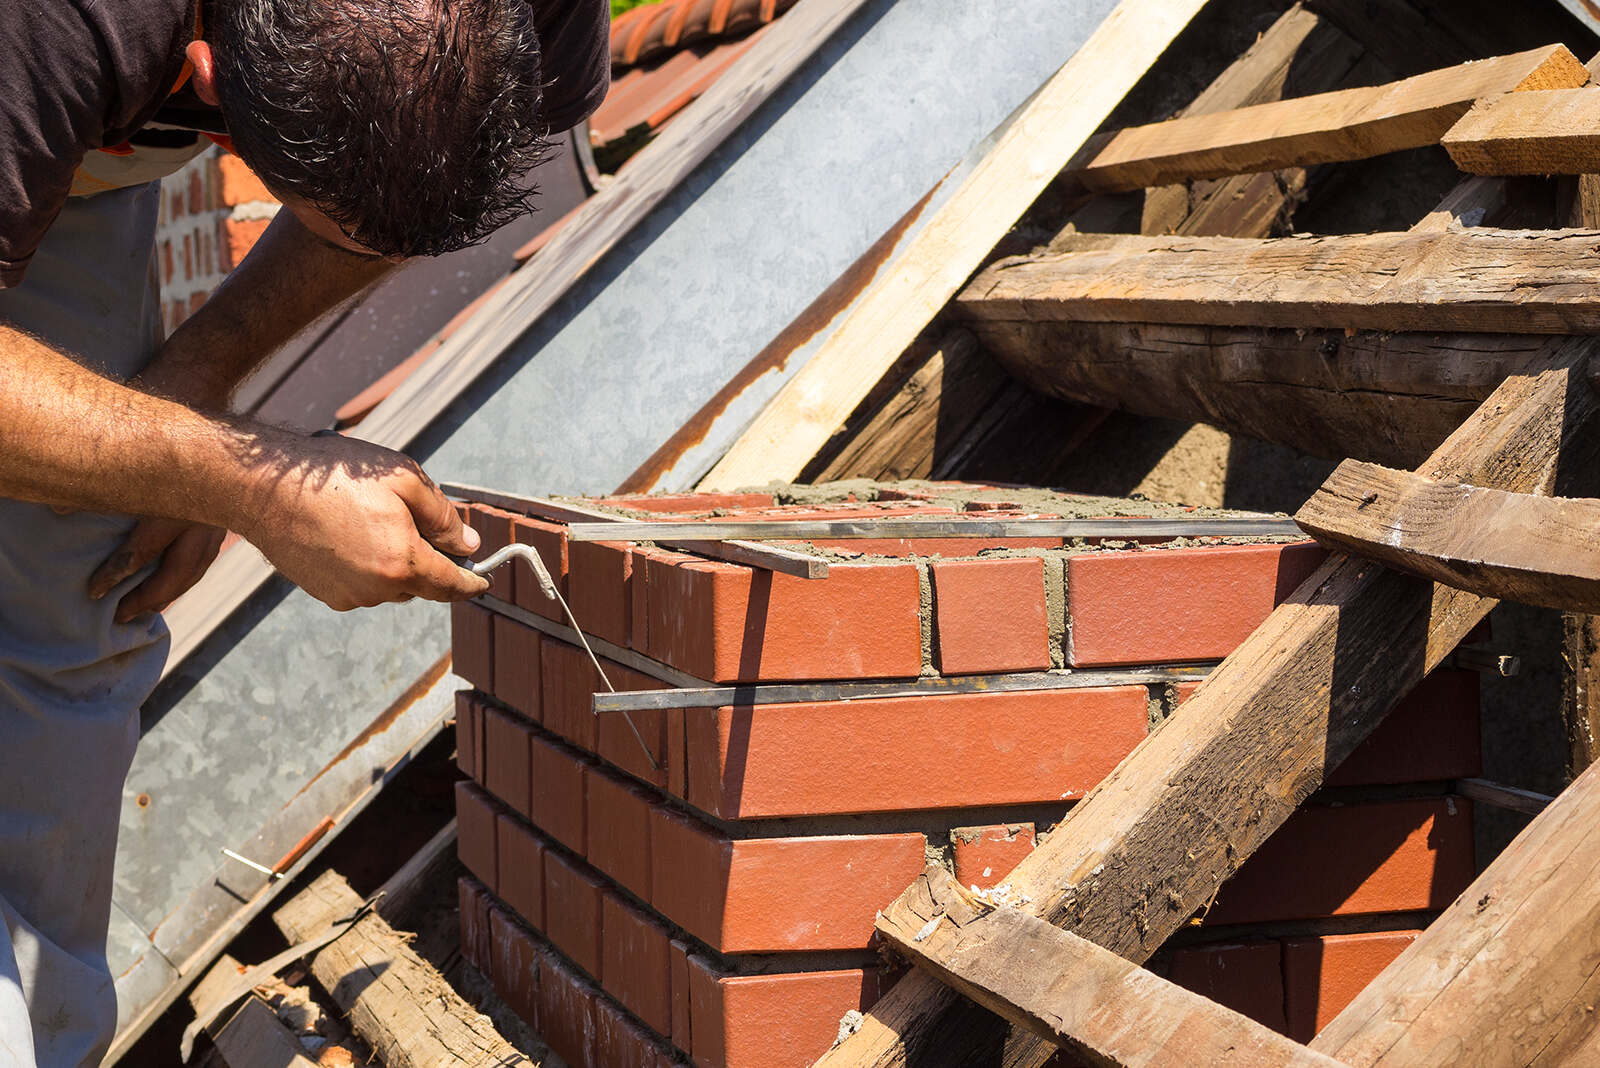
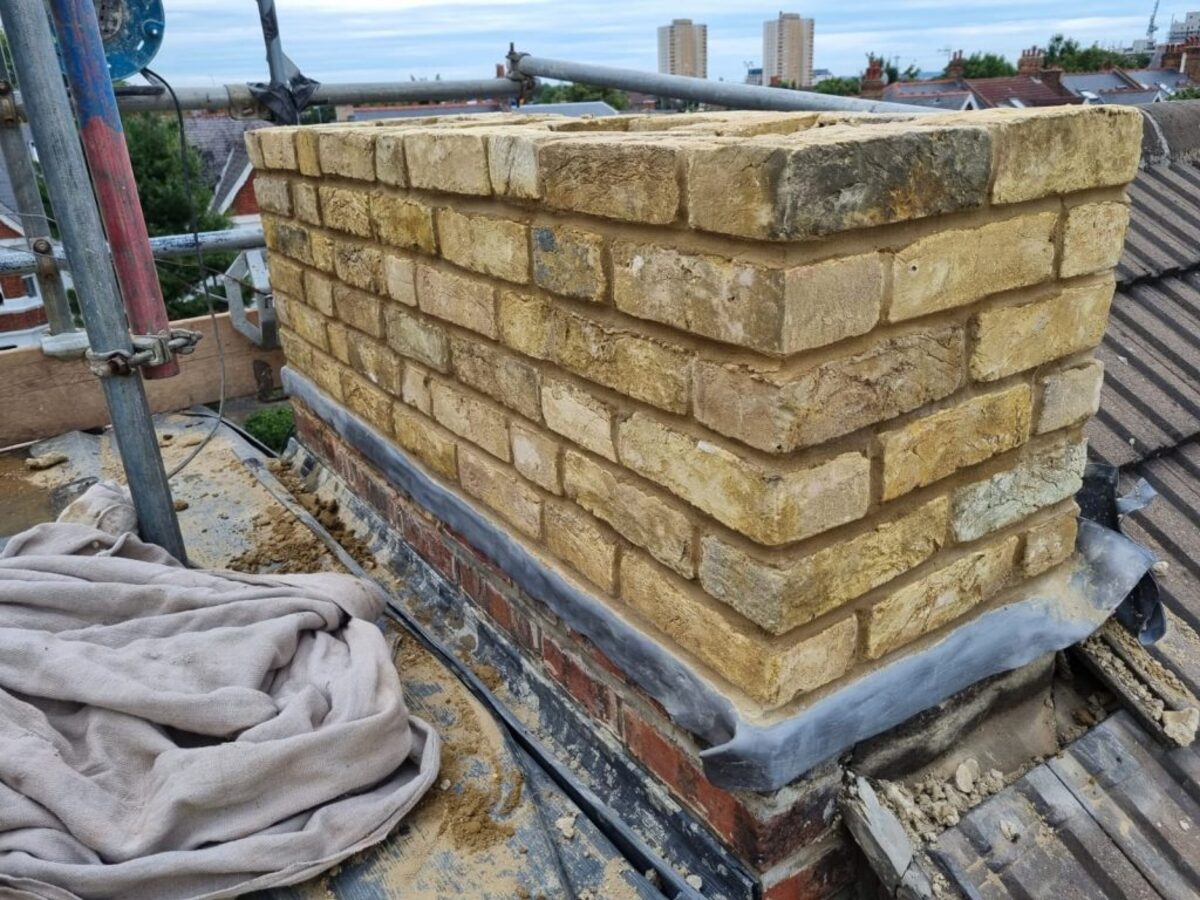
Step 5: Constructing the Chimney Shaft
In step 5, we will be focusing on constructing the chimney shaft, which is the vertical part of the chimney that rises above the base. This step involves building upon the chimney base that we created in the previous step. Follow these guidelines to effectively construct the chimney shaft:
- Prepare the Mortar: Start by preparing the mortar mixture according to the manufacturer’s instructions. Ensure you have a consistent and workable mortar mix for building the chimney shaft.
- Build Up the Courses: Begin by applying a layer of mortar on top of the last course of bricks in the chimney base. Place the first brick of the chimney shaft on this layer of mortar, ensuring it is properly aligned and leveled. Continue building up the courses by stacking bricks on top of each other, making sure to place mortar between each brick.
- Use a String Line: For proper alignment of the chimney shaft, use a string line. Attach the string to the base of the chimney and stretch it vertically to ensure each course of bricks is level and plumb. This will help maintain a straight and upright chimney.
- Check Alignment and Levelness: As you add each course of bricks, regularly use a level to check for alignment and levelness. Adjust as necessary by tapping the bricks with a rubber mallet or adding/removing mortar.
- Create Mortar Joints: Just like in step 4, fill the gaps between the bricks with mortar to create solid mortar joints. Use a jointing tool or a pointed trowel to shape and smooth the mortar joints, ensuring they are of uniform thickness.
- Build in Offset Staggered Pattern: To create a strong and stable chimney shaft, employ an offset staggered pattern. This means that each brick in a course is centered on the gap between the two bricks below it. This pattern enhances the structural integrity of the chimney.
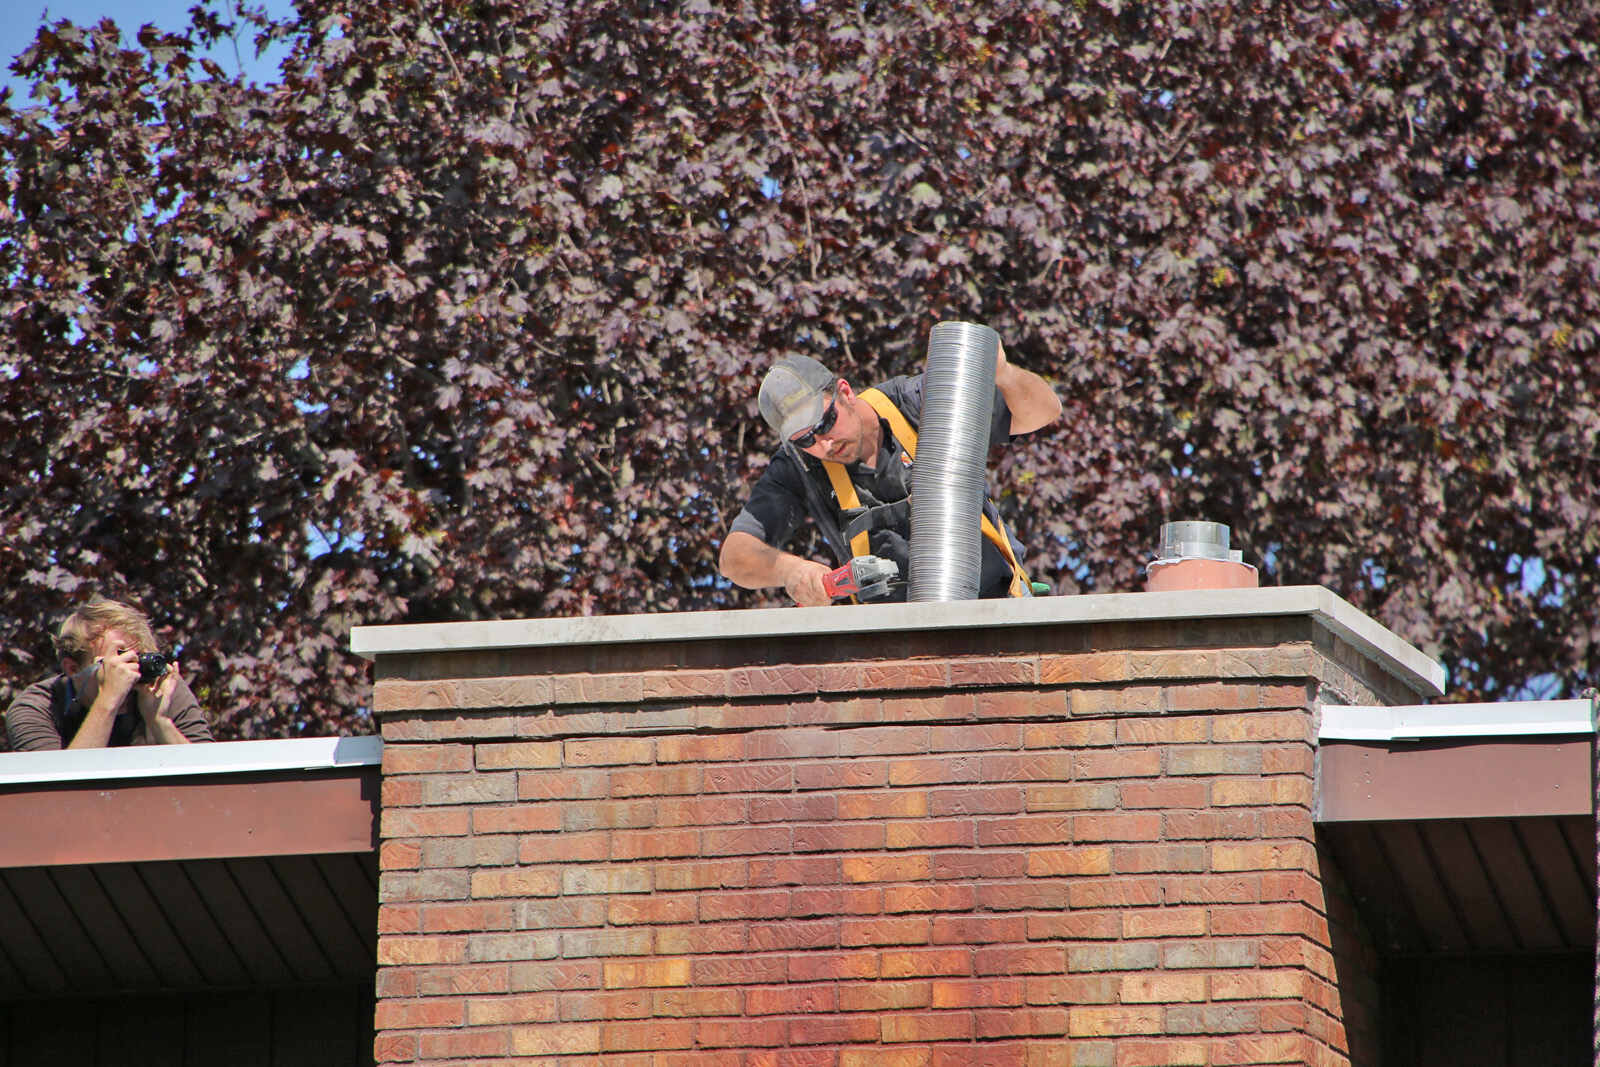
- Insert Flue Liners: Depending on the design of your chimney, you may need to insert flue liners as you construct the chimney shaft. Follow the manufacturer’s instructions for the proper installation of the flue liners. Ensure that they are securely in place and properly aligned with the chimney shaft.
- Continue Building Up the Shaft: Repeat the process of adding mortar, stacking bricks, checking alignment and levelness, and creating mortar joints as you build up the chimney shaft. Take your time to ensure the stability and quality of each course of bricks.
- Periodically Clean Excess Mortar: Throughout the process, be mindful of any excess mortar that might spill onto the bricks. Clean it off using a brush or a trowel before it hardens. This will maintain the neatness and appearance of the chimney shaft.
By following these steps, you will be well on your way to constructing a solid and well-aligned chimney shaft. Remember to take your time, regularly check for alignment and levelness, and ensure the proper installation of flue liners if required.
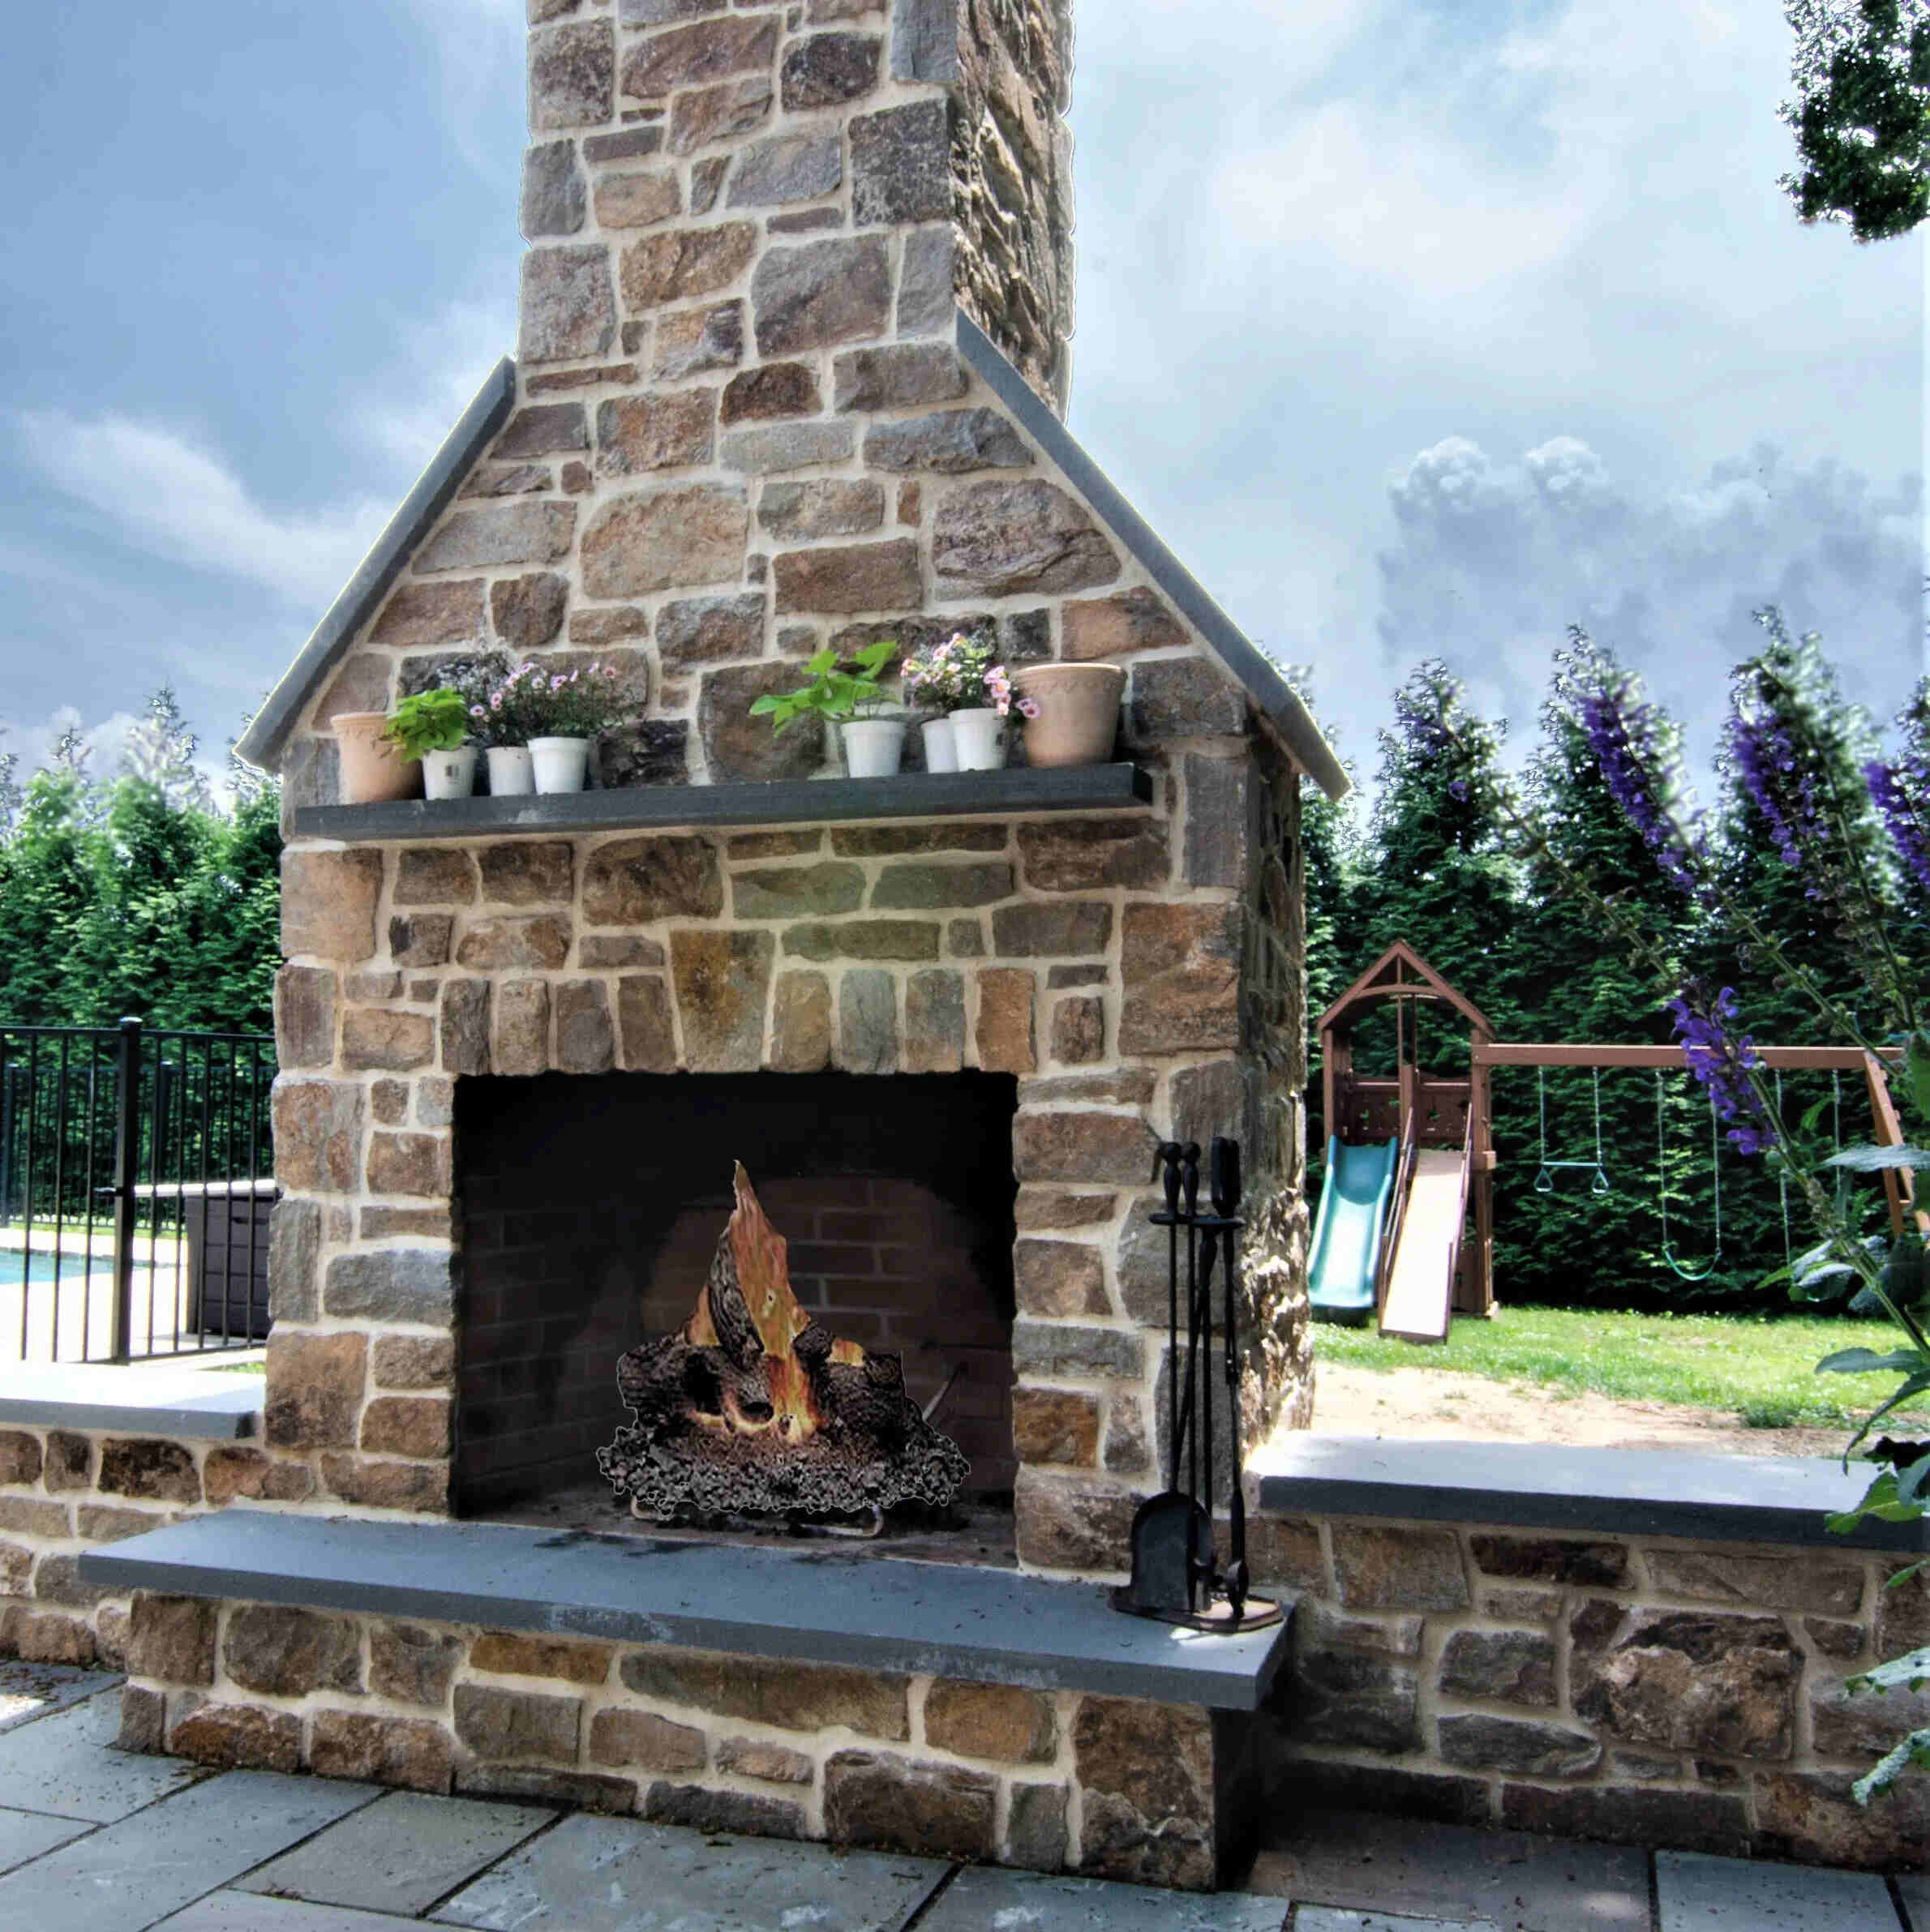
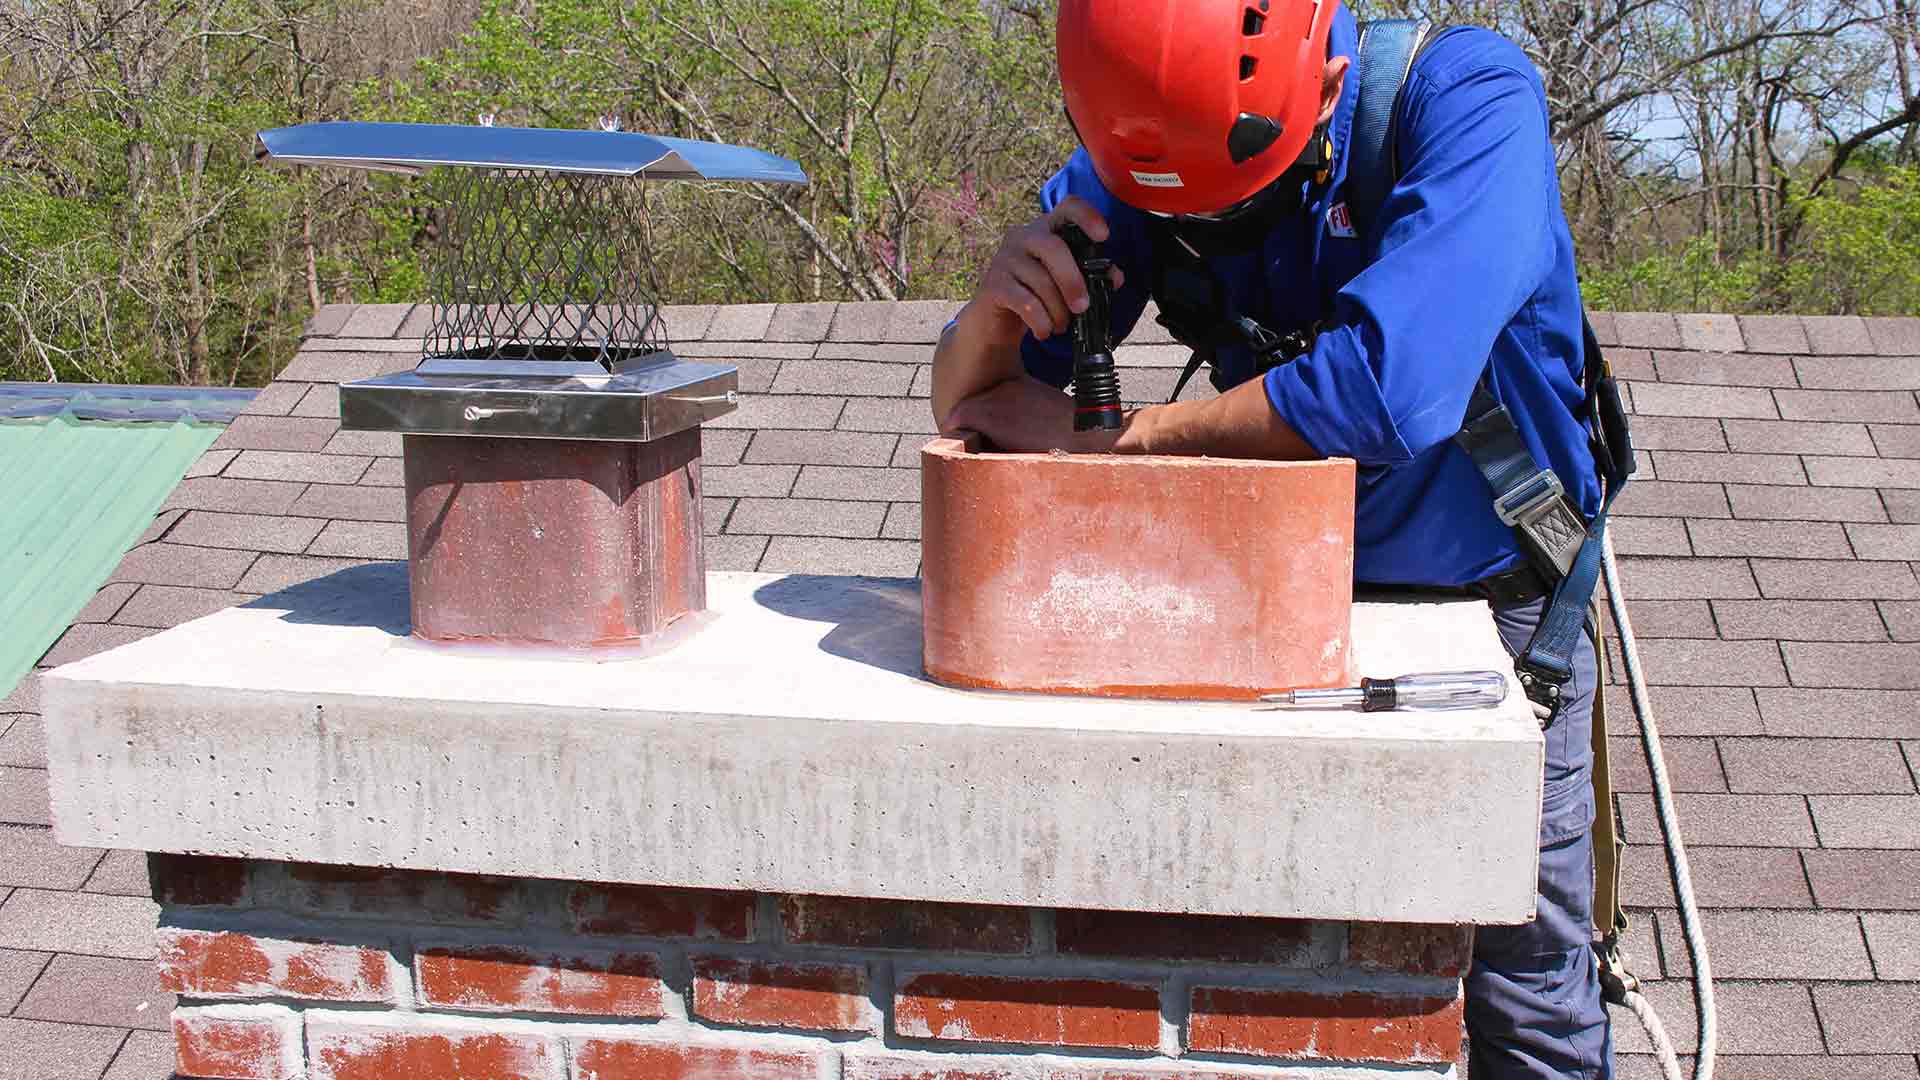
Step 6: Installing a Chimney Cap and Seal
In step 6, we will focus on installing a chimney cap and seal, which are essential for protecting your chimney and preventing unwanted elements from entering. Follow these steps to effectively install a chimney cap and seal:
- Select a Chimney Cap: Choose a chimney cap that matches the dimensions and style of your chimney. Ensure it is made of durable materials, such as stainless steel or copper, to withstand weather conditions and prevent rusting.
- Check Local Codes: Before installing a chimney cap, familiarize yourself with any local building codes or requirements. Some areas may have specific regulations regarding chimney cap installation.
- Measure and Position the Cap: Measure the top opening of your chimney to determine the appropriate size for the chimney cap. Place the cap over the opening to ensure it fits securely and aligns properly with the chimney shaft.
- Secure the Cap: Once you are satisfied with the cap’s position, use screws, clamps, or adhesive recommended by the manufacturer to secure it in place. Ensure a tight and secure attachment to prevent the cap from being dislodged by strong winds.
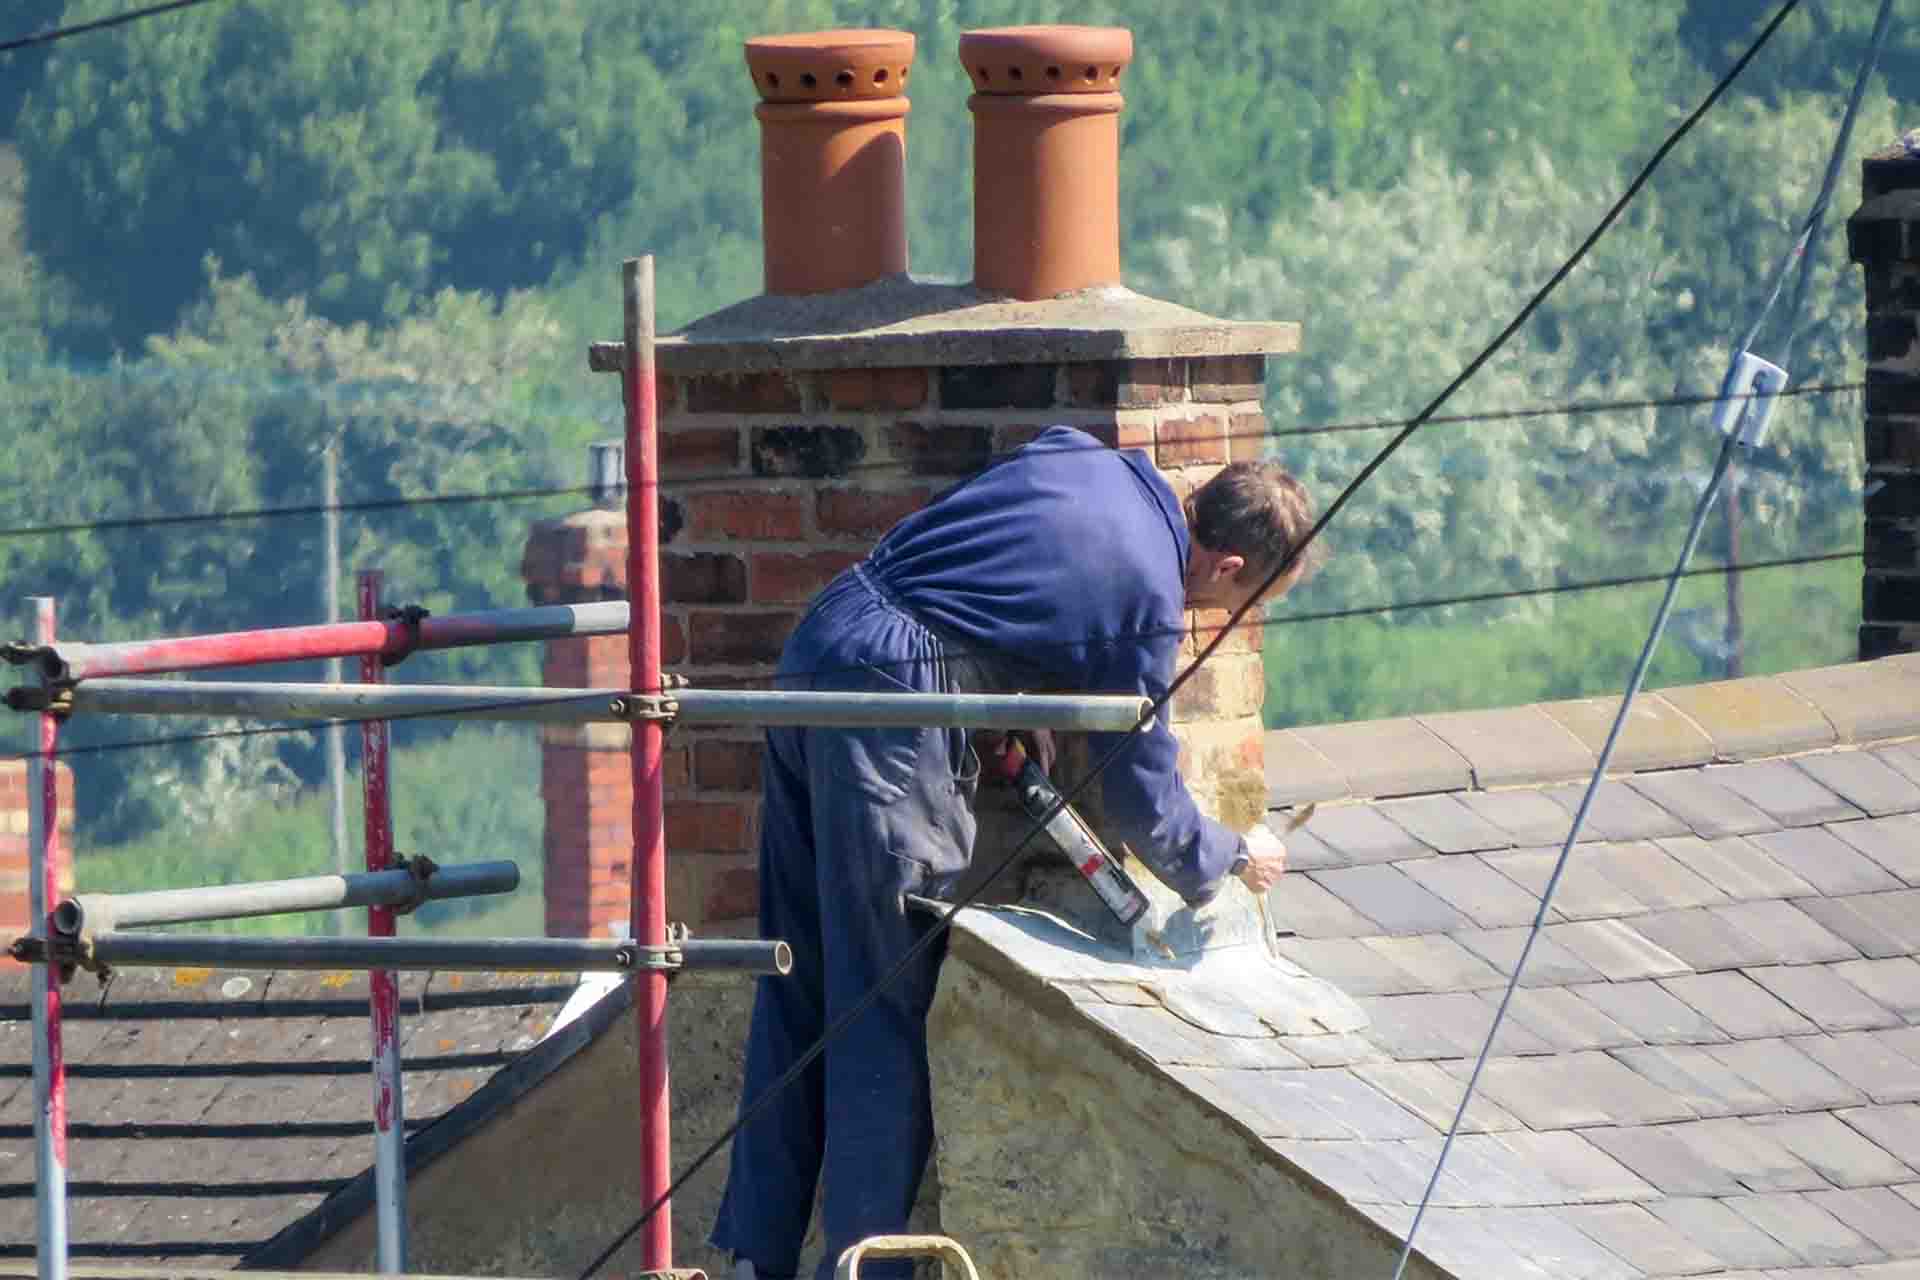
- Install a Chimney Seal: To prevent water from seeping into the chimney, install a chimney seal. This is especially important for areas with frequent rain or snowfall. Apply the sealant around the base of the chimney cap, creating a watertight seal.
- Inspect and Maintain: Regularly inspect the chimney cap and seal to ensure they are in good condition. Look for any signs of damage, such as rust or loose fittings. Perform any necessary repairs or replacements to maintain the functionality and longevity of your chimney cap.
- Consider Additional Features: Depending on your needs and preferences, you may want to consider additional features for your chimney cap. These can include spark arrestors to prevent sparks from escaping, or bird screens to keep pests out of your chimney.
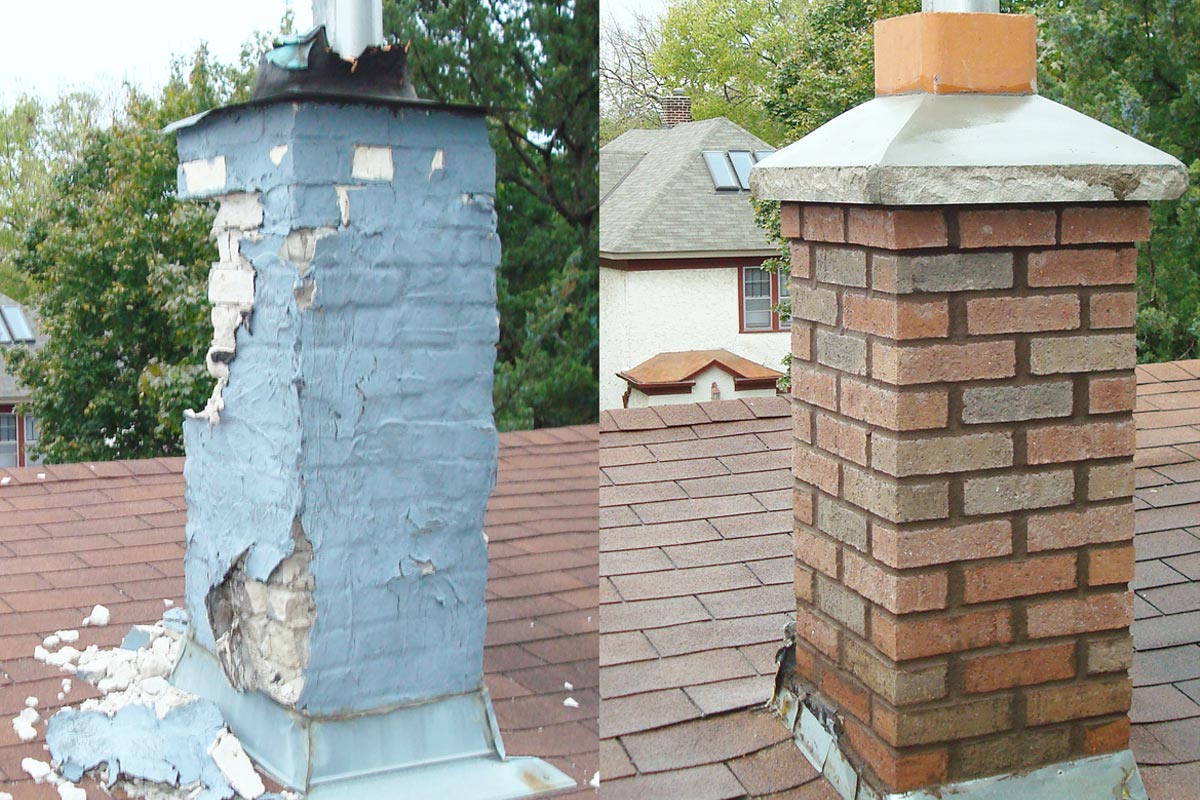
Installing a chimney cap and seal is an important step in protecting your chimney from environmental and wildlife damage. By following these steps and adhering to local building codes, you can ensure the proper installation and functionality of your chimney cap. Regular maintenance and inspections will further enhance the longevity and efficiency of your chimney cap and seal.
Step 7: Connecting the Chimney to the Fireplace or Stove
In step 7, we will focus on connecting the chimney to the fireplace or stove, ensuring proper ventilation and optimal performance. Follow these steps to effectively connect the chimney to your heating appliance:
- Identify the Flue Outlet: Locate the flue outlet on your fireplace or stove. It is usually located at the top or back of the appliance, and it allows the smoke and gases to exit into the chimney.
- Measure and Cut Flue Pipe: Measure the distance from the flue outlet to the chimney opening. Cut a flue pipe to the appropriate length, ensuring a proper fit between the appliance and the chimney.
- Install the Flue Pipe: Attach one end of the flue pipe to the flue outlet of the fireplace or stove. Make sure it fits securely and creates a tight seal to prevent any smoke or gases from escaping into the room. Use clamps or screws recommended by the manufacturer to secure the connection.
- Attach the Flue Liner: If you are using a separate flue liner, connect it to the other end of the flue pipe. Follow the manufacturer’s instructions for proper installation and make sure the connection is secure.
- Insert the Flue Liner into the Chimney: Carefully insert the connected flue pipe and liner into the chimney. Ensure that the flue liner is properly aligned with the chimney shaft and extends above the height of the chimney.
- Secure the Flue Liner: Depending on the design of your chimney, you may need to secure the flue liner using clay or cement. This will provide stability and prevent movement or displacement of the liner.
- Check for Proper Clearance: Verify that the flue pipe and liner have the required clearance from any combustible materials, such as walls or ceilings. Follow the local building codes or manufacturer’s guidelines to ensure proper clearance for a safe installation.
- Perform a Draft Test: Once the chimney is connected to the fireplace or stove, perform a draft test to check the airflow in the chimney. Light a small piece of paper or kindling in the appliance and observe how the smoke is drawn up into the chimney. Proper draft ensures efficient ventilation.
Connecting the chimney to the fireplace or stove is essential for the safe and effective operation of your heating appliance. By following these steps and adhering to the manufacturer’s instructions and local building codes, you can ensure a proper and secure connection. Regular maintenance and inspections will help maintain the integrity and functionality of the chimney and flue system.
Step 8: Finishing Touches and Safety Measures
In the final step of building your chimney, we will focus on adding the finishing touches and implementing essential safety measures. These steps will ensure that your chimney is not only aesthetically pleasing but also safe and efficient. Let’s explore the finishing touches and safety measures:
- Inspect and Clean: Before using your newly built chimney, conduct a thorough inspection to ensure that all components are in proper working condition. Remove any debris or construction residue from the chimney and flue system. This will help prevent blockages and ensure optimal airflow.
- Apply Waterproofing Sealant: Protect your chimney from water damage by applying a high-quality waterproofing sealant. This will help prevent moisture penetration and extend the lifespan of the chimney. Follow the manufacturer’s instructions for proper application techniques.
- Install a Chimney Spark Arrestor: Consider installing a chimney spark arrestor to prevent sparks and embers from escaping the chimney and potentially causing a fire. It is especially important in areas prone to wildfires or if you frequently use the chimney for burning wood.
- Install a Chimney Damper: A chimney damper helps control the airflow and prevents drafts when the fireplace or stove is not in use. It also serves as a barrier against animals and debris entering the chimney. Install a durable and efficient chimney damper to enhance safety and energy efficiency.
- Install Carbon Monoxide Detectors: Place carbon monoxide detectors near your heating appliance and in the rooms adjacent to the chimney. Carbon monoxide is a colorless and odorless gas that can be produced during the combustion process. Detectors will alert you to any dangerous levels of carbon monoxide.
- Regular Chimney Maintenance: Engage in regular chimney maintenance to maintain safety and efficiency. This includes annual chimney inspections by a professional, regular cleaning of creosote buildup (particularly for wood-burning fireplaces), and maintaining a safe clearance between the chimney and any combustible materials.
- Practice Safe Fire Usage: To ensure safe operation of your fireplace or stove, practice safe fire usage. Use only approved fuels, follow manufacturer’s guidelines for operating temperatures and ventilation, and never leave a fire unattended. Educate yourself about proper fire safety practices and teach your family members about chimney and fire safety.
By implementing these finishing touches and safety measures, you will have a fully functional and safe chimney. Regular maintenance and adherence to safety protocols will help ensure the longevity and efficient operation of your chimney for years to come.
Read more: How To Build A Fireplace Chimney
Conclusion
Congratulations! You have reached the end of this comprehensive guide on how to build a chimney. By following the step-by-step instructions and incorporating essential safety measures, you have successfully constructed a functional, safe, and aesthetically pleasing chimney for your home.
Building a chimney may seem like a daunting task, but with careful planning, the right materials, and attention to detail, you can achieve great results. Remember to always adhere to local building codes and regulations, and consult with professionals or experts when needed. Safety should be your utmost priority throughout the construction process.
A well-built chimney not only provides ventilation for your heating appliances but also adds a charming element to your home’s architecture. It enhances the overall aesthetics and functionality of your living space, allowing you to enjoy the warmth and ambiance of a fireplace or stove with peace of mind.
Once your chimney is fully constructed, don’t forget to perform regular maintenance and inspections to ensure its continued efficiency and safety. Keep the chimney and flue system clean, address any issues promptly, and practice safe fire usage to prevent accidents and maintain optimal performance.
Thank you for joining us on this chimney-building journey. We hope this guide has provided valuable insights and guidance, empowering you to successfully build your own chimney. Enjoy the warmth, comfort, and beauty that your new chimney brings to your home for many years to come.
Frequently Asked Questions about How To Build A Chimney
Was this page helpful?
At Storables.com, we guarantee accurate and reliable information. Our content, validated by Expert Board Contributors, is crafted following stringent Editorial Policies. We're committed to providing you with well-researched, expert-backed insights for all your informational needs.

0 thoughts on “How To Build A Chimney”