Home>Ideas and Tips>DIY Guide To Installing A Bathroom Heated Floor Mat

Ideas and Tips
DIY Guide To Installing A Bathroom Heated Floor Mat
Published: August 28, 2024
Learn how to install a bathroom heated floor mat with our step-by-step DIY guide. Enhance comfort and luxury in your bathroom easily and efficiently.
(Many of the links in this article redirect to a specific reviewed product. Your purchase of these products through affiliate links helps to generate commission for Storables.com, at no extra cost. Learn more)
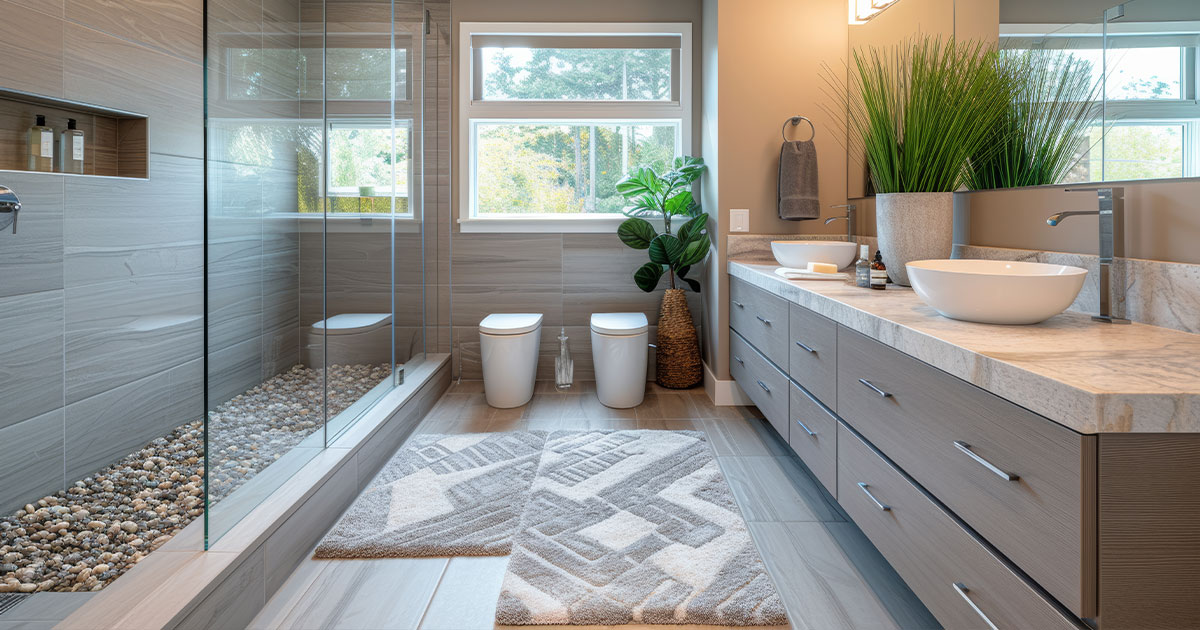
Installing a heated floor mat in your bathroom can be a fantastic way to enhance comfort and luxury. Heated floors have become increasingly popular, especially in bathroom remodels, due to their ability to provide warmth and relaxation. In this guide, we will walk you through the process of installing a heated floor mat in your bathroom, covering all the necessary steps and tips to ensure a successful installation.
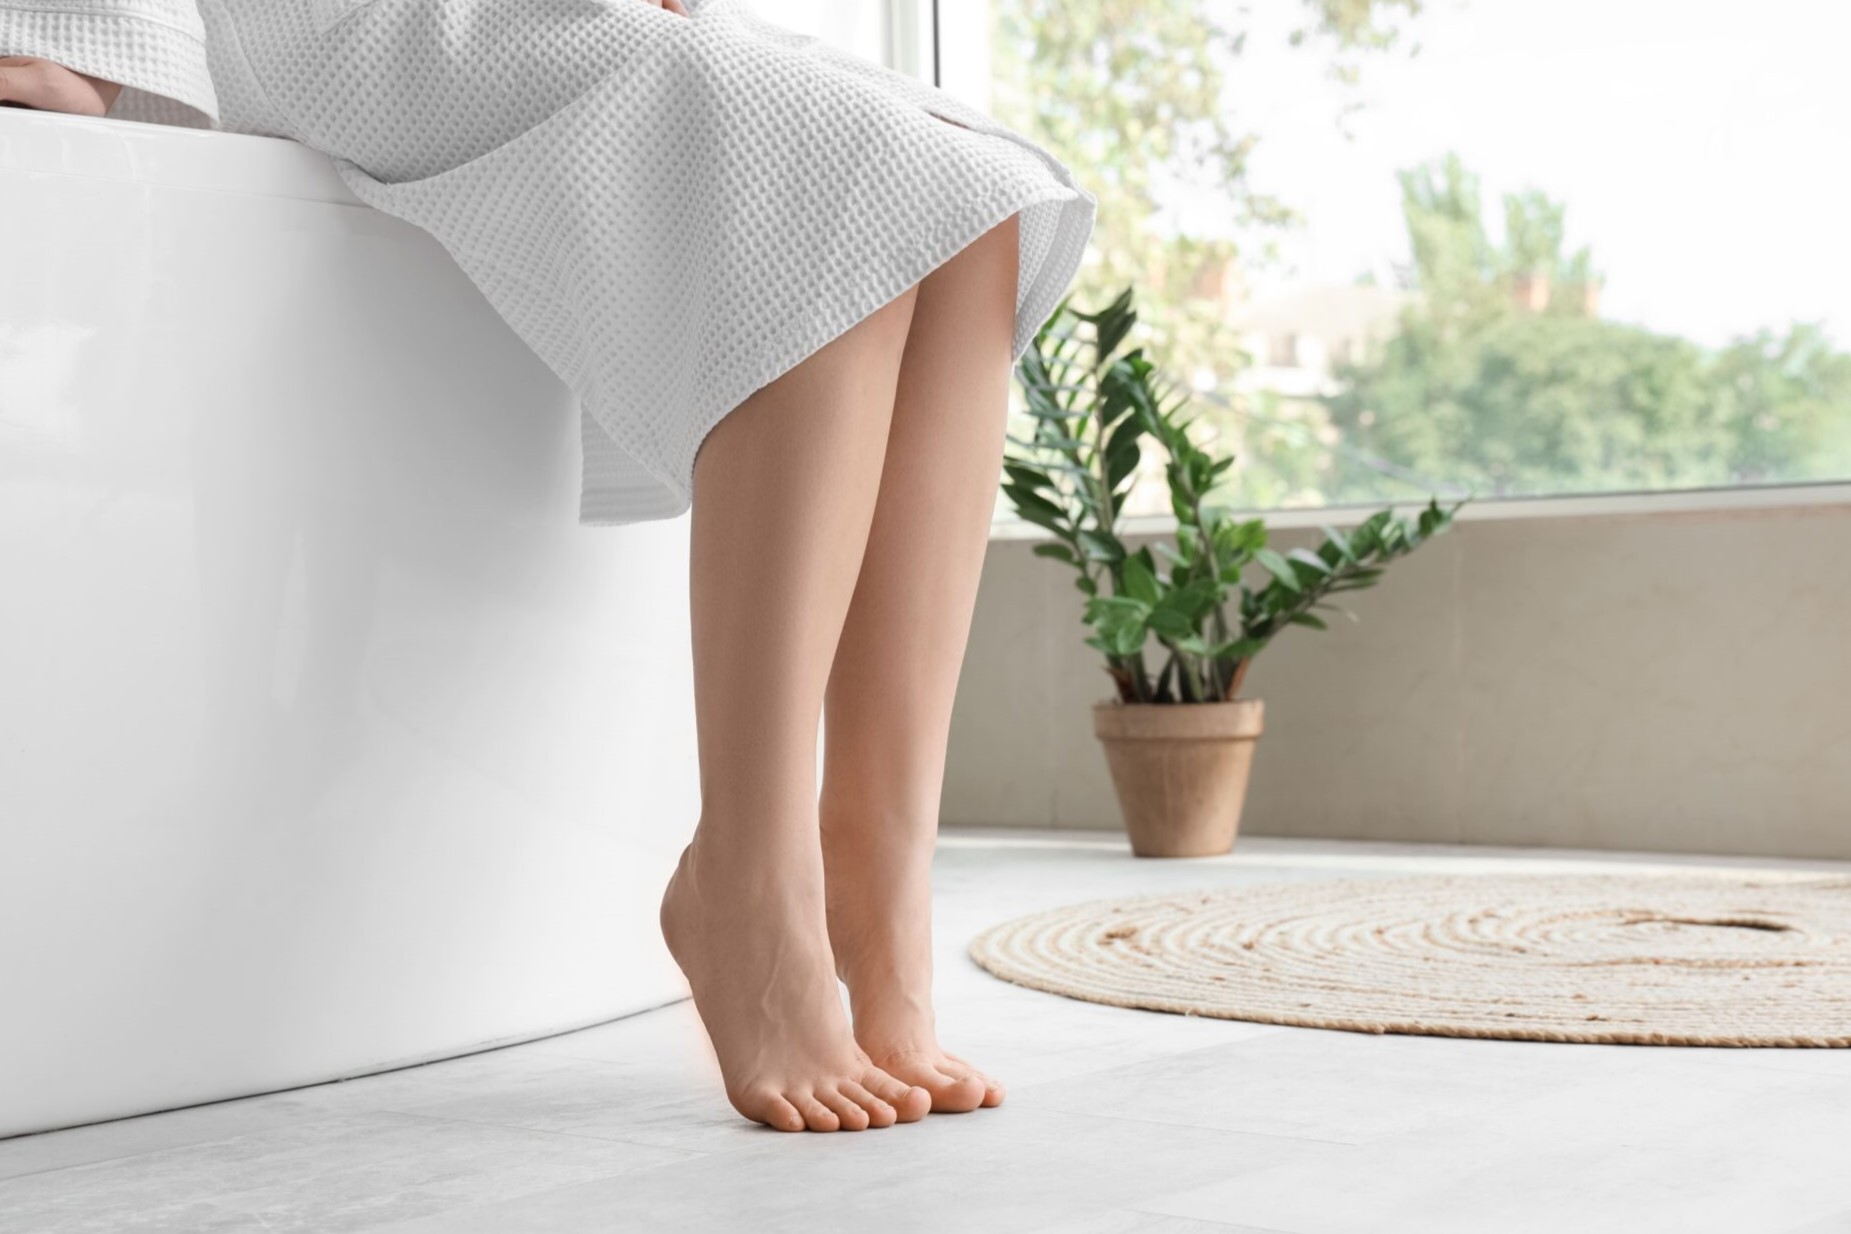
Heated floors are not just a luxury; they are a practical addition to any bathroom. They can help prevent slipping on cold tiles, especially during the winter months. Moreover, they can significantly enhance the comfort and ambiance of your bathroom, making it a more enjoyable space for relaxation and daily routines. In this article, we will focus on installing an electric heated floor mat, which is one of the most common and user-friendly options available.
Before diving into the installation process, let's discuss some of the key benefits of using a heated floor mat:
- Comfort: Heated floors provide warmth underfoot, making your bathroom feel cozy and inviting.
- Safety: By keeping the floor warm, you reduce the risk of slipping and falling.
- Luxury: Heated floors are often considered a luxury feature, which can increase the value of your home.
- Energy Efficiency: Modern heated floor mats are designed to be energy-efficient, using minimal power to maintain a comfortable temperature.
When selecting a heated floor mat, there are several factors to consider:
-
Type of Mat: There are two main types of heated floor mats: those with a fiberglass mesh and those with independent heat cables. The mesh type is more straightforward but less flexible in terms of installation. The cable type offers more flexibility but requires more careful handling during installation.
-
Brand and Quality: Look for reputable brands known for their quality and durability. Brands like SunTouch and Warmup are popular choices due to their reliability and ease of use.
-
Size and Shape: Ensure the mat is large enough to cover the area you want to heat but not so large that it becomes impractical to install. Many mats come in standard sizes, but custom sizes can also be ordered.
-
Power Requirements: Check the power requirements of the mat to ensure it can be safely connected to your electrical system. Most mats require a dedicated 110V electrical line.
Before starting the installation process, it's crucial to prepare your bathroom properly:
-
Clear the Area: Clear the bathroom floor of any furniture, fixtures, or old flooring materials. This will give you a clean slate to work with.
-
Check Electrical Requirements: Ensure that your electrical system can support the additional load of the heated floor mat. If necessary, hire an electrician to install a dedicated electrical line.
-
Measure the Area: Measure the area where you plan to install the heated floor mat. This will help you determine how much mat you need and how to cut it if necessary.
-
Inspect the Subfloor: Inspect the subfloor for any imperfections or unevenness. This is important because any imperfections will translate through to the tile work and potentially cause issues with the heating system.
The first step in installing a heated floor mat is to lay down a backer board. This provides a smooth surface for the mat and helps prevent any damage to the subfloor.
- Cut the Backer Board: Cut the backer board to fit the area where you plan to install the heated floor mat.
- Lay Down the Backer Board: Place the backer board on the subfloor, ensuring it is level and secure.
Once the backer board is in place, you can proceed with installing the heated floor mat:
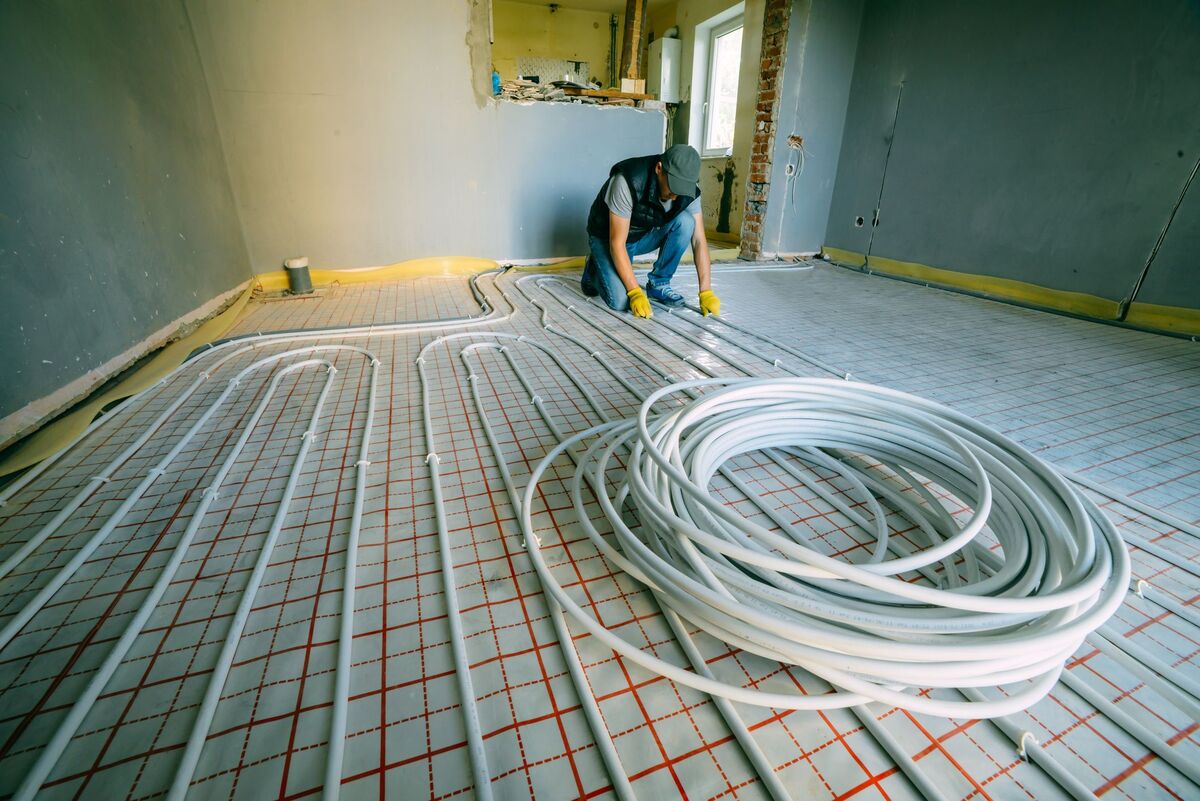
- Cutting the Mat: If necessary, cut the heated floor mat to fit your bathroom floor. Most mats come with a mesh that can be cut but the heat cables are not.
- Laying Out the Mat: Place the mat over the backer board, ensuring it covers the entire area you want to heat.
- Securing the Mat: Use adhesive or tape to secure the mat to the backer board, making sure it is tightly fitted.
Connecting the electrical components is a crucial step that requires some care:
- Locate the Thermostat: Install a thermostat according to the manufacturer’s instructions. This will allow you to control the temperature of your heated floor.
- Connect Wires: Connect the wires from the thermostat to the heating mat, following all safety precautions and manufacturer’s guidelines.
- Test the System: Before laying down tile, test the system to ensure it is working properly and there are no electrical issues.
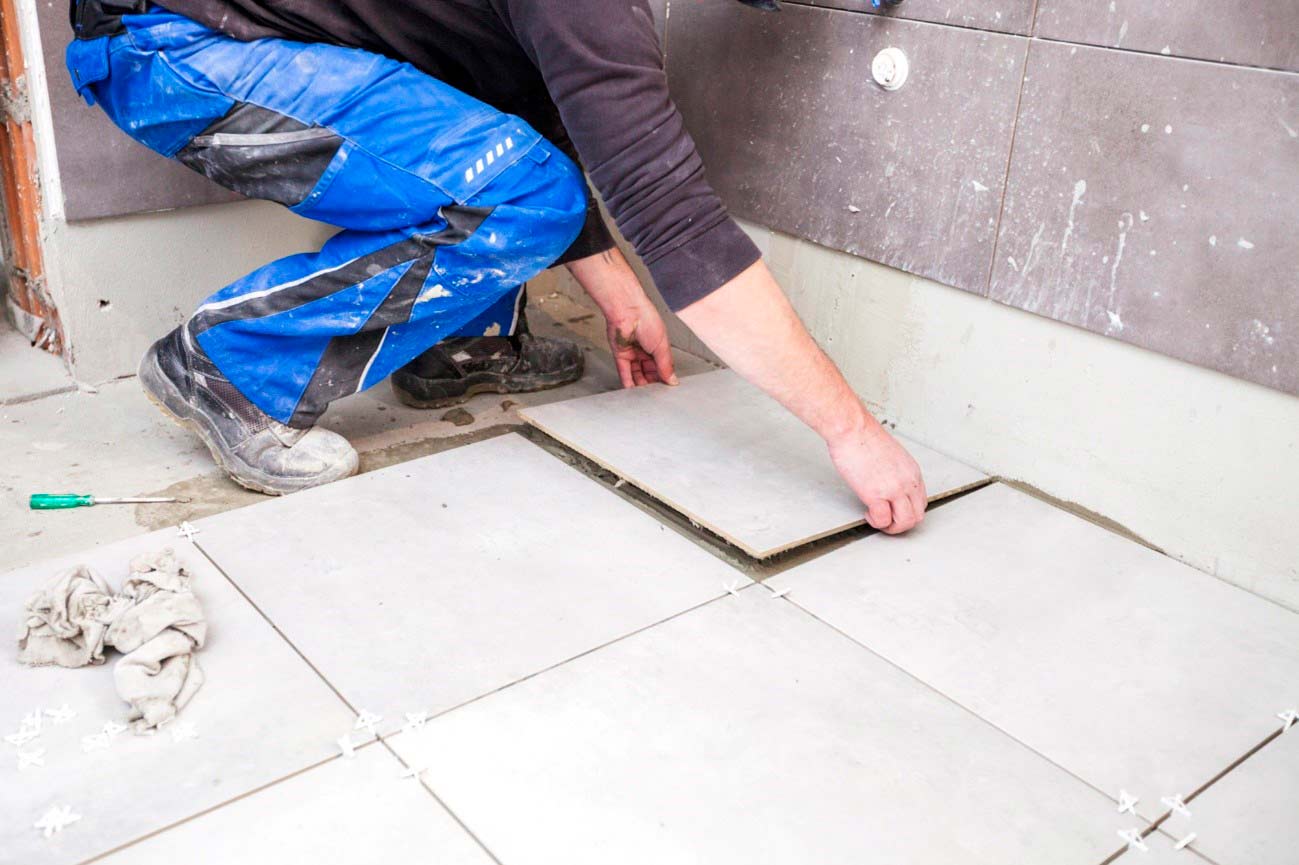
Once you have confirmed that your heated floor system is working correctly, you can proceed with laying down tile:
- Prepare Thinset: Prepare thinset according to manufacturer’s instructions.
- Apply Thinset: Apply thinset over the heated floor mat, ensuring it covers the entire area evenly.
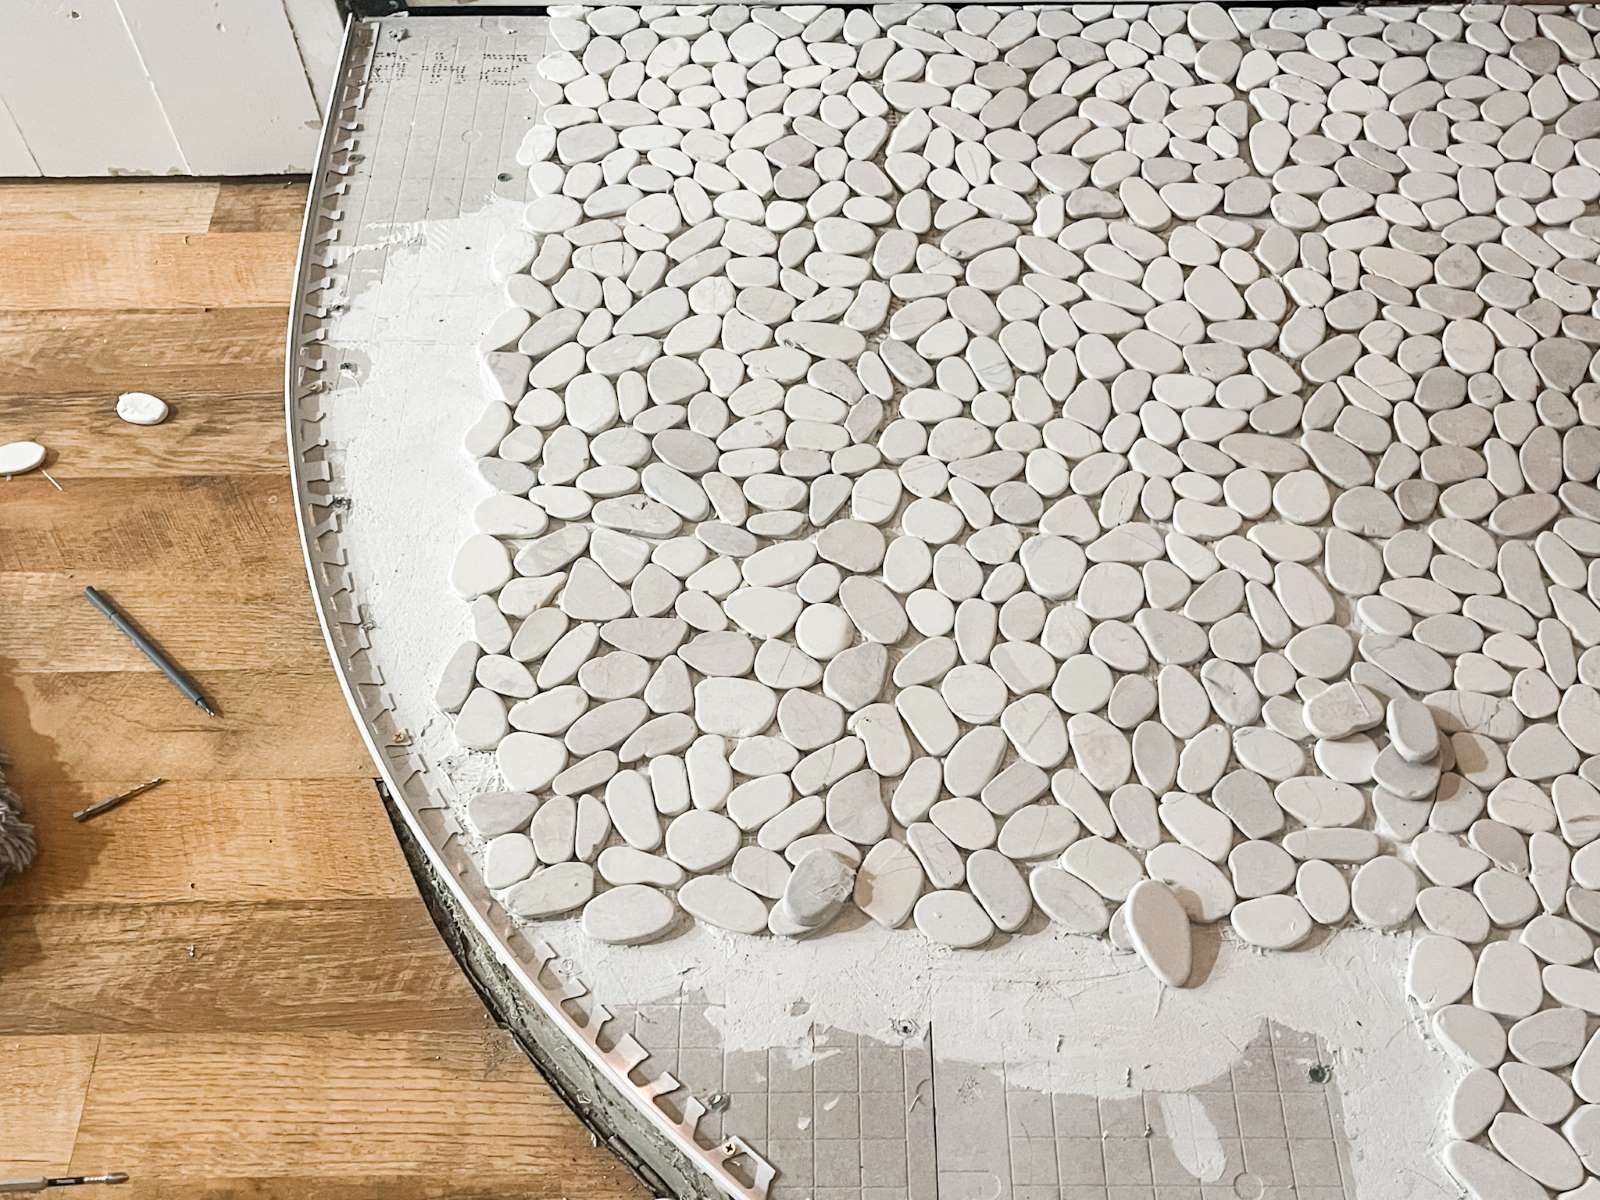
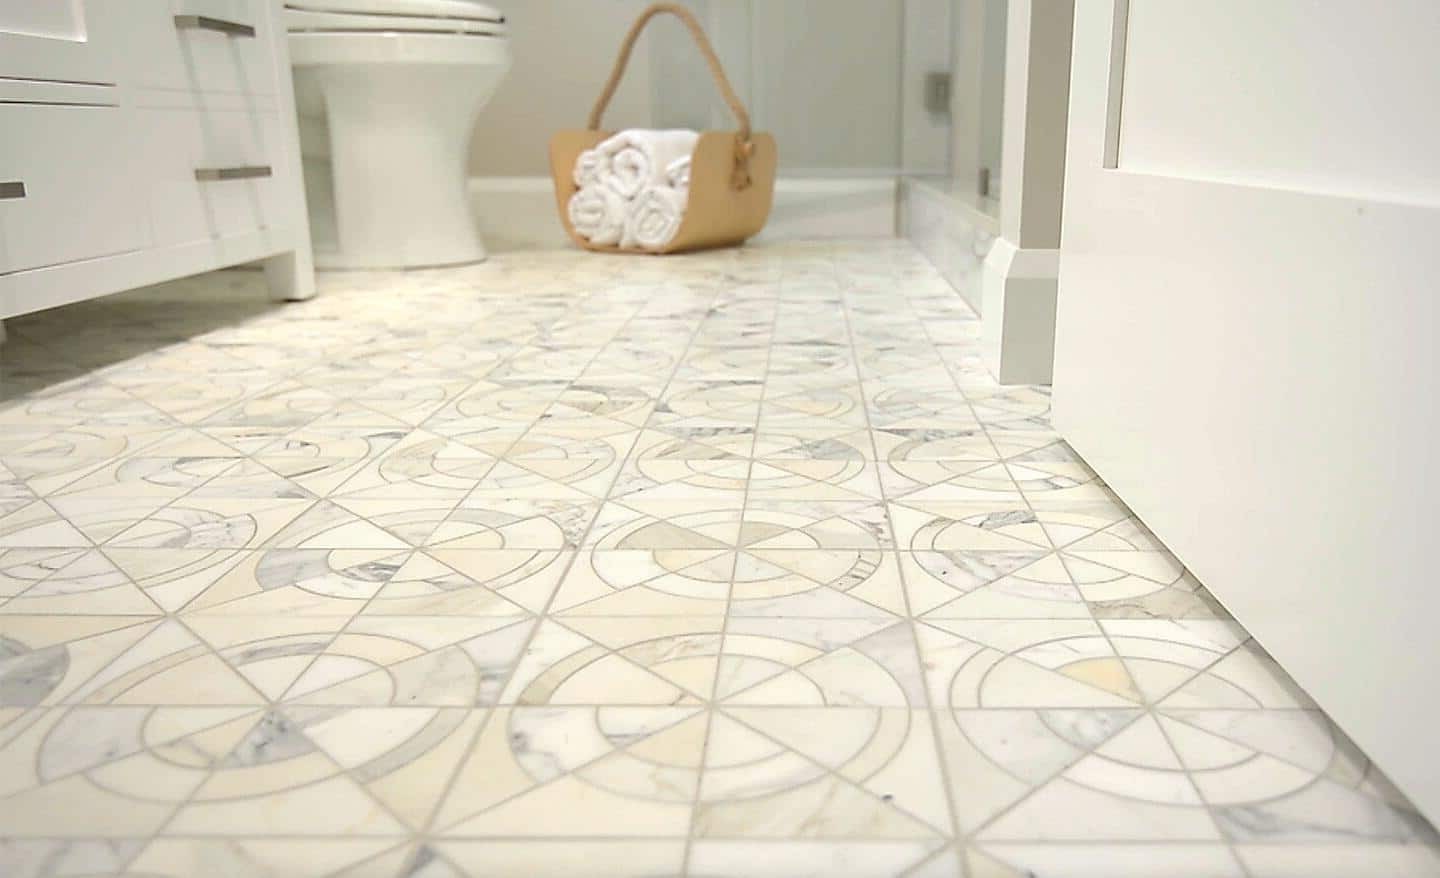
- Lay Down Tile: Lay down tile over the thinset, following standard tile-laying techniques.
After laying down tile, there are a few final touches you need to complete:
- Seal Gaps: Seal any gaps between tiles and the wall using caulk or grout.
- Test Again: Test the system one more time after sealing gaps to ensure everything is working as expected.
- Enjoy Your New Heated Floor
Safety should always be your top priority when working with electrical components:
- Hire an Electrician: If you are not comfortable with electrical work, hire an electrician to rough in a dedicated electrical line for your floor heating system.
- Use Continuity Alarm: Use a continuity alarm like “Loud Mouth” during installation to detect any damage to the heating wire.
Here are some additional tips to keep in mind during installation:
- Keep Wires Tight: Keep wires as tight as possible and close to the floor to ensure efficient heat distribution.
- Avoid Overlapping Coils: Avoid overlapping coils when installing heating mats or cables to prevent cold spots.
- Follow Manufacturer’s Instructions: Follow manufacturer’s instructions closely, especially when installing heating wire, to ensure proper spacing between wires.
After installation, there are a few things you should keep in mind:
- Avoid Turning On Heat Immediately After Laying Tile: Avoid turning on the heat immediately after laying tile as this can ruin the tile adhesive/mortar by accelerating evaporation of moisture.
- Regular Maintenance: Regularly check and maintain your heated floor system to ensure it continues to function efficiently.
Installing a heated floor mat in your bathroom is a rewarding DIY project that can significantly enhance your home's comfort and luxury. By following these steps and tips, you can ensure a successful installation that provides years of warm and cozy enjoyment. Remember to prioritize safety, follow manufacturer’s instructions closely, and enjoy the benefits of having a heated bathroom floor.
For further learning and resources on installing heated floors, consider the following:
- Corvus Construction’s Heated Flooring Guide: Offers detailed do’s and don’ts for DIYers.
- Board & Vellum’s Guide: Provides insights into adding floor heat to your bathroom or house.
- Christie Architecture’s Guide: Discusses the benefits and types of electric heated bathroom floor systems.
By combining these resources with the step-by-step guide provided here, you’ll be well-equipped to tackle your next bathroom renovation project with confidence.
Was this page helpful?
At Storables.com, we guarantee accurate and reliable information. Our content, validated by Expert Board Contributors, is crafted following stringent Editorial Policies. We're committed to providing you with well-researched, expert-backed insights for all your informational needs.




0 thoughts on “DIY Guide To Installing A Bathroom Heated Floor Mat”