Home>Home Appliances>Heating & Cooling>How To Install Heated Floors
Heating & Cooling
How To Install Heated Floors
Modified: January 6, 2024
Learn how to install heated floors for efficient heating and cooling. Follow our step-by-step guide to achieve a comfortable and energy-efficient home.
(Many of the links in this article redirect to a specific reviewed product. Your purchase of these products through affiliate links helps to generate commission for Storables.com, at no extra cost. Learn more)
Introduction
Welcome to the world of luxurious comfort and efficient heating with heated floors. Imagine stepping onto warm, toasty floors on a chilly morning – the epitome of comfort and indulgence. Heated floors, also known as radiant floor heating, offer an innovative and energy-efficient way to keep your living spaces cozy. Whether you're renovating your home or embarking on a new construction project, installing heated floors can elevate the ambiance and add a touch of modernity to any space.
In this comprehensive guide, we will walk you through the step-by-step process of installing heated floors, providing you with the knowledge and confidence to embark on this rewarding home improvement project. From gathering the necessary materials and tools to testing the system, we've got you covered. So, roll up your sleeves and get ready to bring the ultimate in comfort and luxury to your home. Let's dive into the world of radiant floor heating and discover how to transform your living spaces into cozy retreats.
Key Takeaways:
- Installing heated floors involves gathering materials, preparing the subfloor, laying the heating system, flooring material, and connecting the thermostat. Testing the system ensures efficient and luxurious warmth for your home.
- Heated floors offer modern comfort and energy efficiency. The installation process, from gathering tools to testing the system, transforms living spaces into cozy retreats, providing a touch of luxury and sophistication.
Read more: How To Install In Floor Heating In Concrete
Step 1: Gather Materials and Tools
Before diving into the installation process, it’s essential to gather all the necessary materials and tools. Here’s a comprehensive list to ensure you have everything you need:
- Heating System: Depending on your preference and the specific requirements of your space, you can choose between electric radiant heat systems or hydronic (water-based) systems. Each type has its unique advantages, so select the one that best suits your needs.
- Insulation: Insulation boards or reflective insulation will help maximize the efficiency of your heated floors by directing the heat upwards, preventing it from being absorbed by the subfloor.
- Thermostat: Choose a programmable thermostat that allows you to customize heating schedules based on your daily routine, thus optimizing energy usage.
- Flooring Material: Whether you prefer tile, stone, laminate, or engineered wood flooring, ensure that your chosen material is suitable for use with radiant floor heating.
- Adhesive and Grout: If you’re opting for tile or stone flooring, you’ll need suitable adhesive and grout to secure the tiles in place.
- Tools: A comprehensive set of tools will be required, including a trowel, tape measure, utility knife, notched trowel, and a multimeter for testing electrical connections.
By gathering these materials and tools, you’ll be well-prepared to embark on the installation process with confidence. This initial step sets the foundation for a successful and efficient installation of your heated floors.
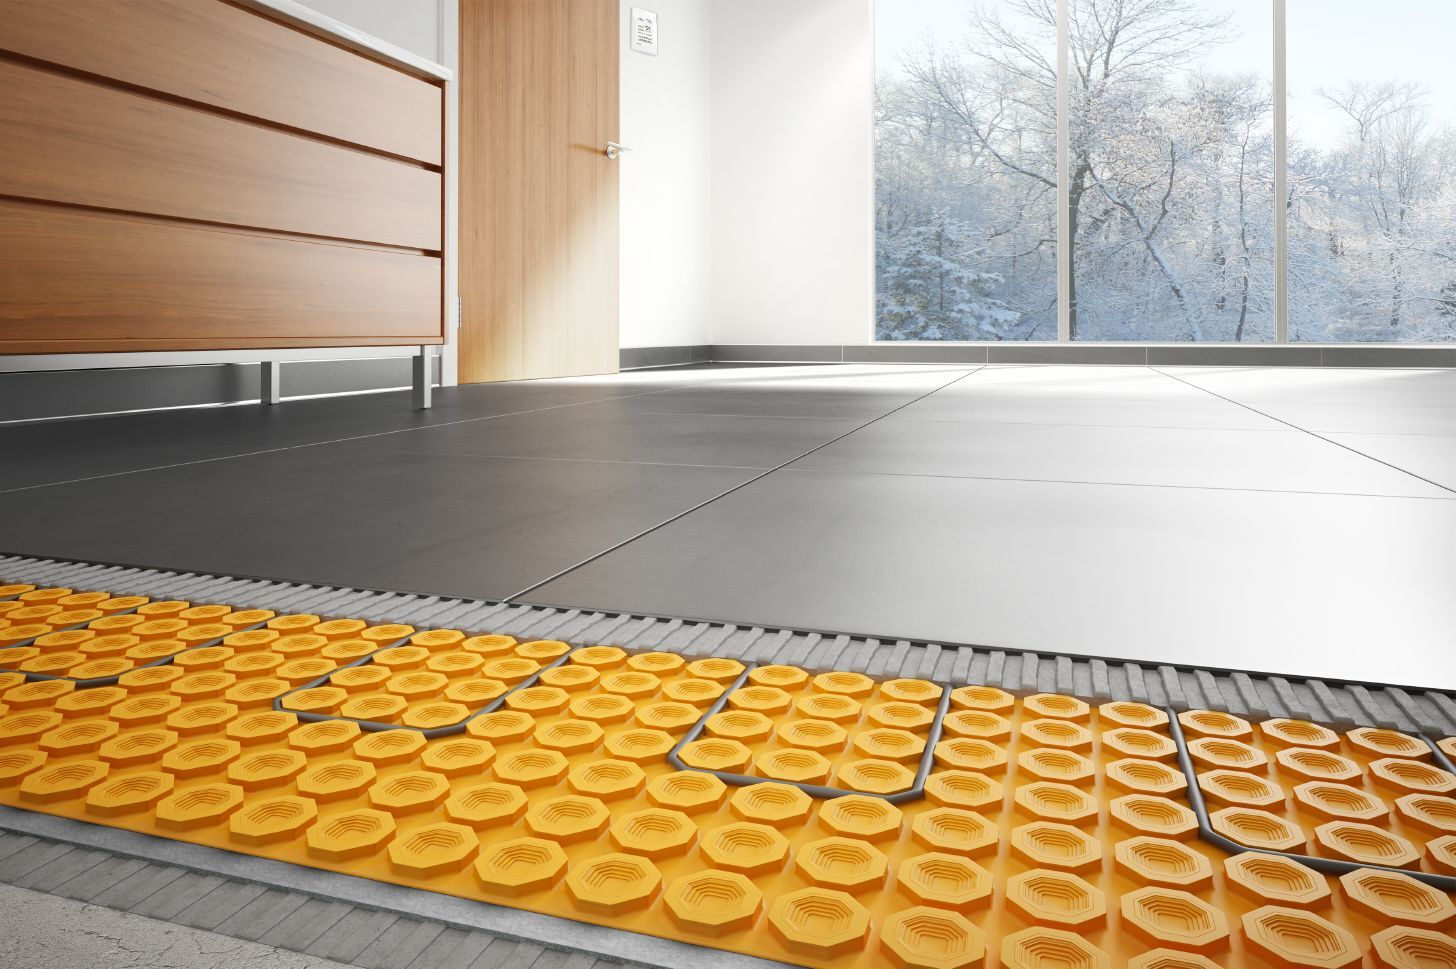
Step 2: Prepare the Subfloor
Preparing the subfloor is a crucial step that sets the stage for the successful installation of heated floors. Follow these essential guidelines to ensure that your subfloor is ready to accommodate the heating system:
- Clean and Level: Start by thoroughly cleaning the subfloor to remove any debris, dust, or uneven patches. A clean and level surface is essential for the proper installation of the heating system.
- Install Insulation: Lay down insulation boards or reflective insulation to enhance the efficiency of the radiant heating system. This step helps prevent heat loss and ensures that the warmth is directed upward, effectively heating the flooring material.
- Check for Moisture: It’s crucial to assess the subfloor for any moisture issues. Address any sources of moisture or leaks before proceeding with the installation to prevent potential damage to the heating system and the flooring material.
- Plan the Layout: Consider the layout of the heating elements based on the dimensions and shape of the room. Ensure that the heating cables or mats are positioned strategically to provide uniform heat distribution across the entire floor space.
- Verify Compatibility: If you’re installing heated floors in a renovation project, confirm that the existing subfloor and flooring material are compatible with the radiant heating system. Consult with a professional if you have any concerns about compatibility.
By meticulously preparing the subfloor, you’ll create an optimal foundation for the installation of the heating system. This step is essential for maximizing the efficiency and performance of your heated floors, ensuring that you can enjoy consistent warmth and comfort throughout your living spaces.
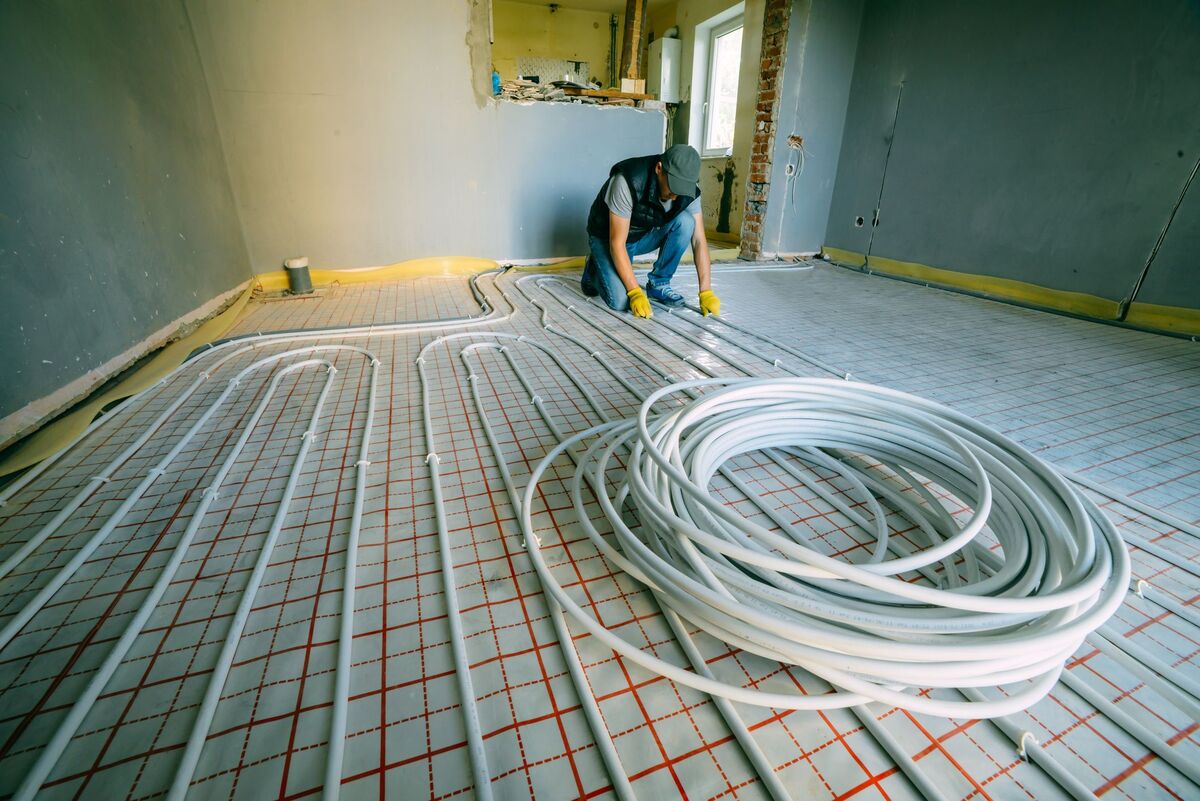
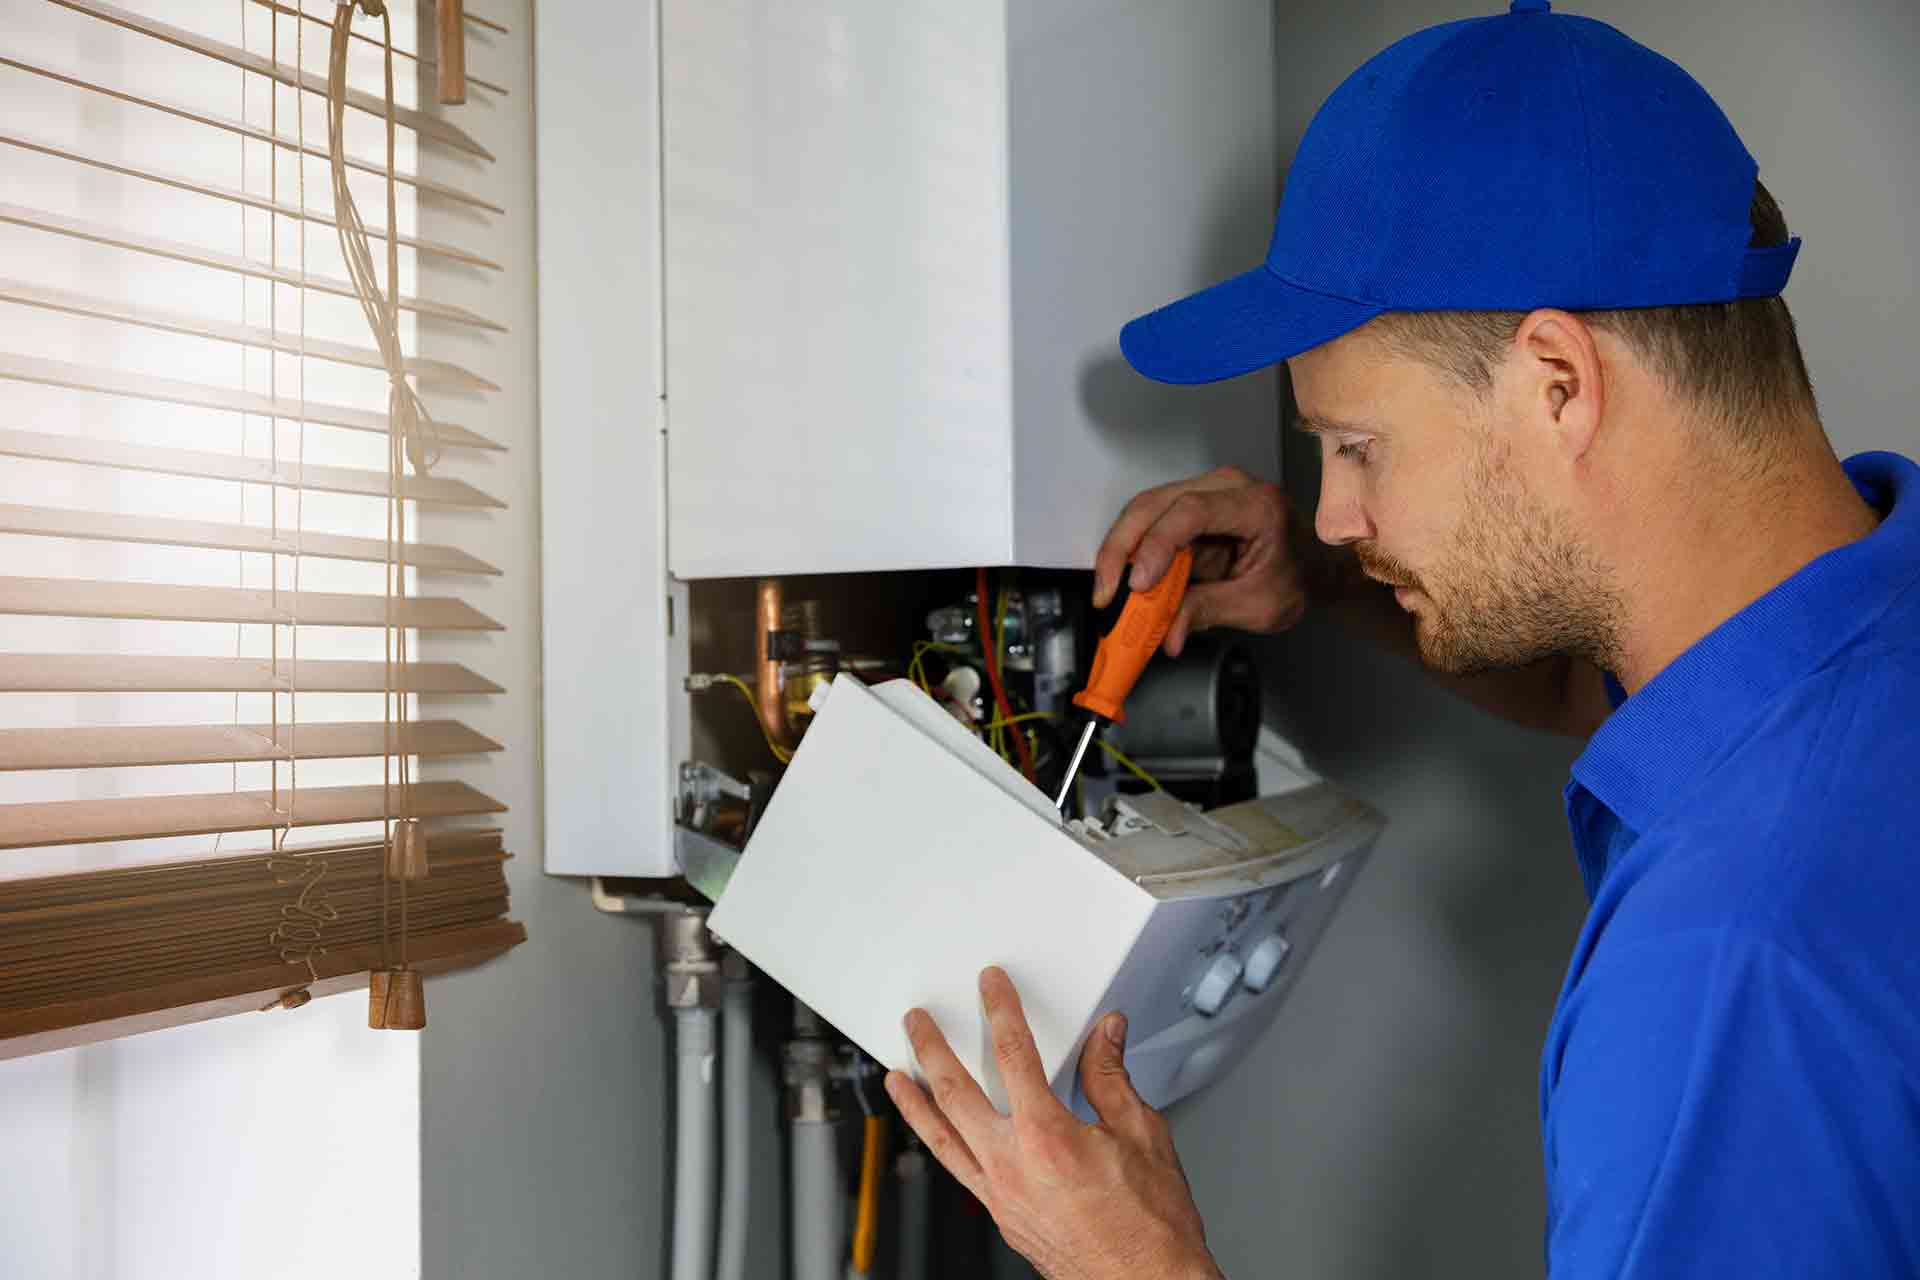
Step 3: Install the Heating System
With the subfloor prepared, it’s time to proceed with the installation of the radiant heating system. Whether you’ve chosen electric radiant heat or a hydronic system, the following steps will guide you through the process:
- Positioning the Heating Elements: Carefully lay out the heating cables or mats according to the predetermined plan. Ensure that the elements are evenly spaced to provide uniform heat distribution across the entire floor surface.
- Securing the Heating Elements: Use suitable adhesives or fastening methods to secure the heating elements in place. This step is crucial for ensuring that the elements remain in position during the subsequent steps of the installation process.
- Electrical Connections: If you’re installing an electric radiant heating system, follow the manufacturer’s guidelines for making electrical connections. It’s essential to adhere to all safety protocols and local electrical codes during this phase of the installation.
- Pressure Testing (Hydronic Systems): If you’ve opted for a hydronic heating system, conduct a pressure test to ensure that the system is free of leaks and functioning as intended. Address any issues before proceeding to the next phase of the installation.
- Verify Compatibility: Double-check that the heating system is compatible with the chosen flooring material. Different types of flooring may have specific requirements for accommodating radiant heating, so confirm that the system is suitable for your selected flooring option.
By following these steps, you’ll successfully install the radiant heating system, setting the stage for the next phase of the installation process. Attention to detail and precision during this step will contribute to the overall performance and efficiency of your heated floors, ensuring a consistently warm and inviting living space.
Before installing heated floors, make sure to properly insulate the subfloor to maximize the efficiency of the system. This will help to reduce heat loss and save energy.
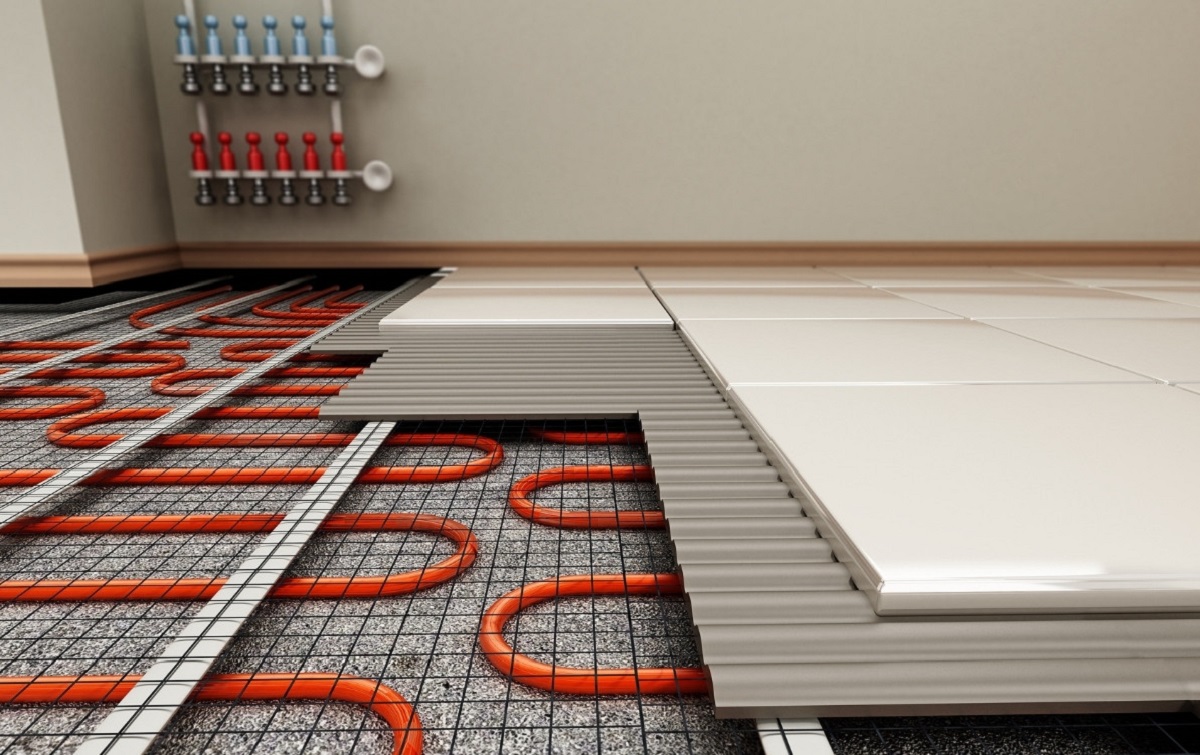
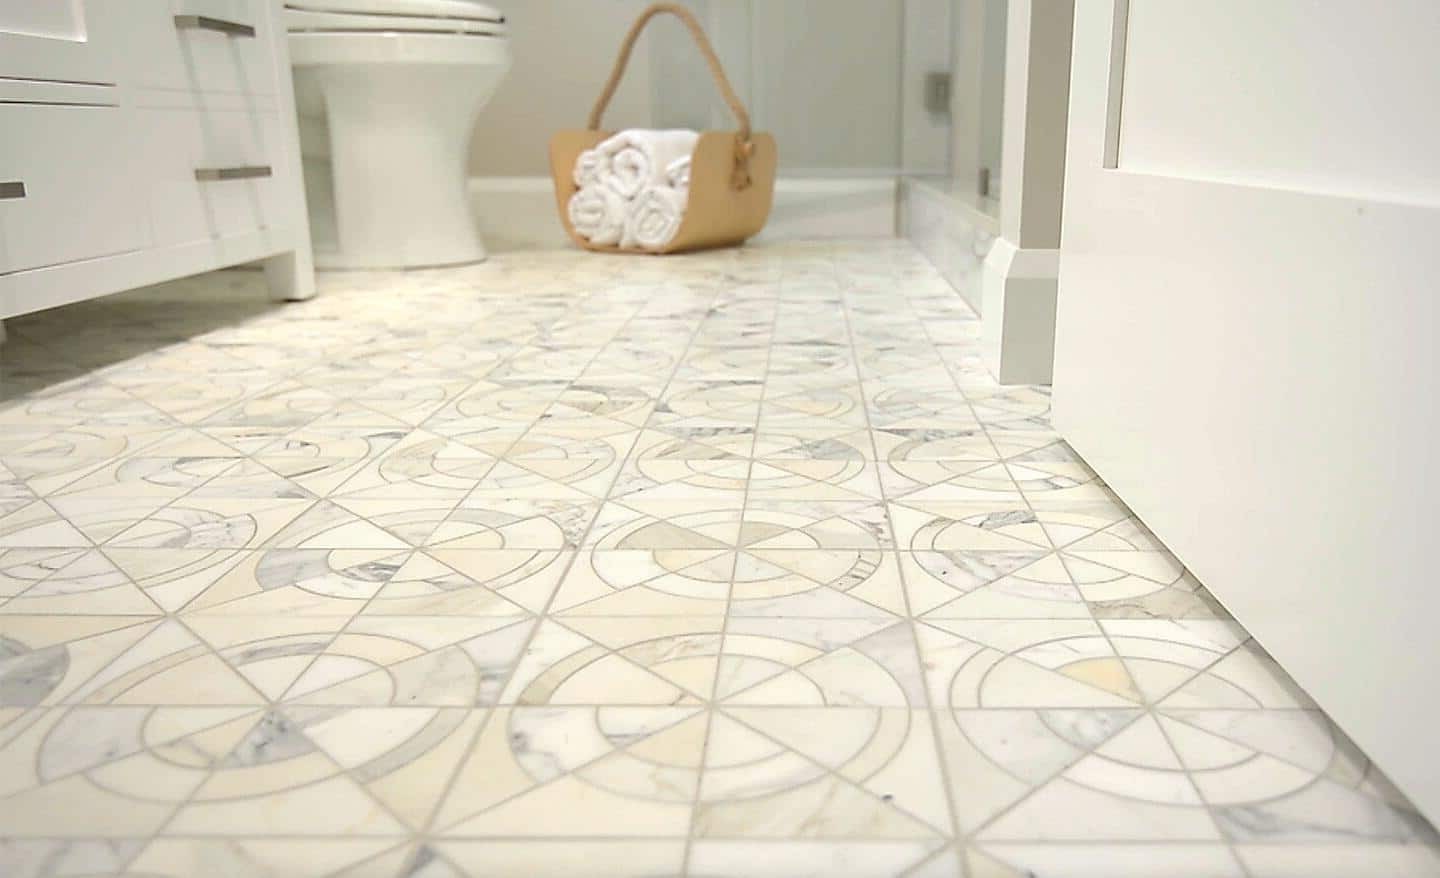
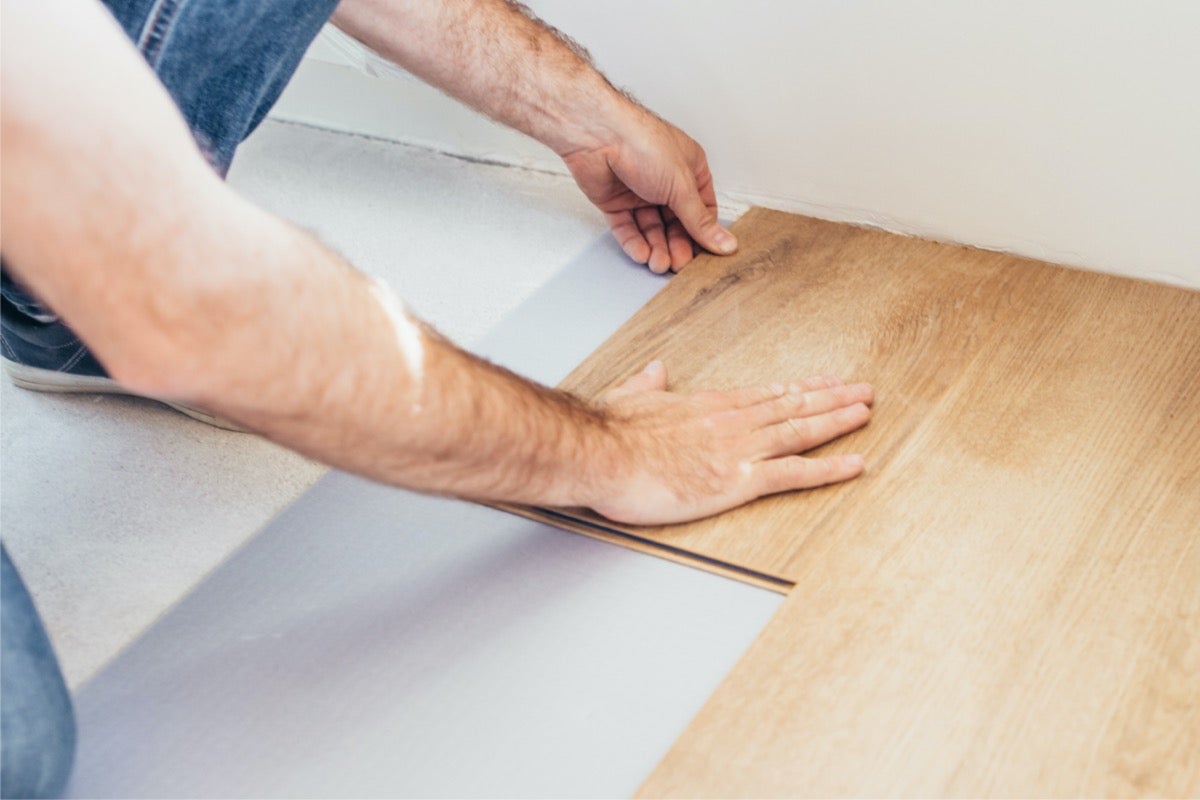
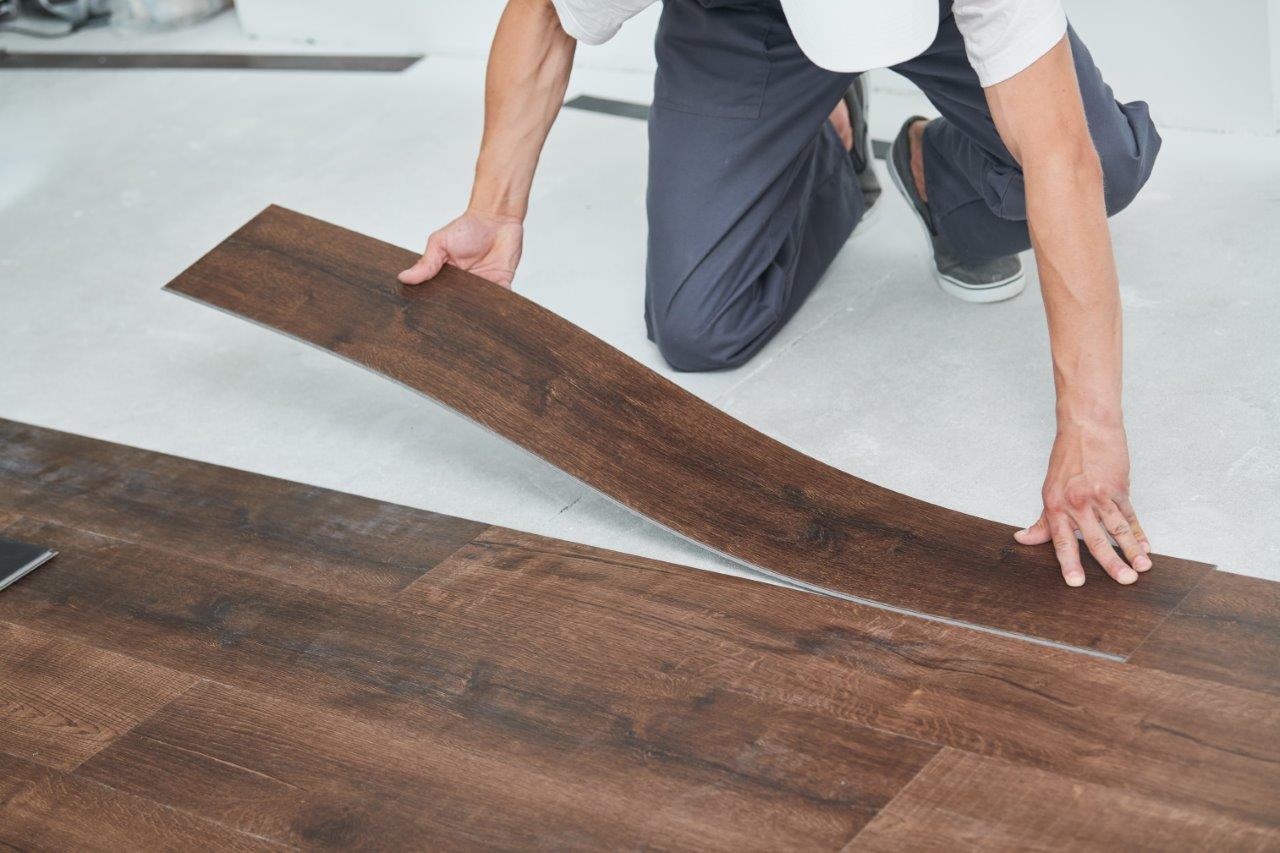
Step 4: Lay the Flooring Material
With the heating system in place, it’s time to proceed with laying the chosen flooring material. Whether you’ve opted for tile, stone, laminate, or engineered wood flooring, the following guidelines will help you navigate this crucial phase of the installation:
- Adhesive Application: If you’re installing tile or stone flooring, apply the appropriate adhesive to secure the tiles in place. Ensure that the adhesive is compatible with both the heating system and the chosen flooring material.
- Positioning the Flooring: Carefully position each tile, plank, or laminate piece, taking care to maintain even spacing and alignment. This meticulous approach is essential for achieving a visually appealing and structurally sound flooring surface.
- Grouting (For Tile and Stone): Once the tiles are in place, apply grout to fill the gaps between them. Properly grouting the tiles not only enhances the aesthetics of the flooring but also contributes to its overall durability and stability.
- Expansion Gaps: Leave appropriate expansion gaps around the perimeter of the room to accommodate any potential movement or expansion of the flooring material. These gaps are essential for preventing buckling or damage due to temperature variations.
- Consult Manufacturer Guidelines: Refer to the manufacturer’s guidelines for the specific flooring material you’re installing. Different types of flooring may have unique requirements for installation over radiant heating systems, so it’s crucial to adhere to the recommended practices.
By meticulously laying the flooring material, you’ll create a seamless and visually stunning surface that complements the efficient heating provided by the radiant floor system. This phase marks a significant milestone in the installation process, bringing you one step closer to experiencing the luxurious comfort of heated floors in your living spaces.
Read more: How To Install Heated Floors On Concrete
Step 5: Connect the Thermostat
As you near the completion of the heated floor installation, it’s time to connect and program the thermostat, providing you with convenient control over the heating system. Follow these essential steps to ensure a seamless integration of the thermostat with your radiant floor heating:
- Mounting the Thermostat: Select an optimal location for mounting the thermostat, ensuring easy access and visibility. The chosen location should allow for proper temperature sensing and control of the heating system.
- Electrical Connections: Follow the manufacturer’s instructions to make the necessary electrical connections for the thermostat. Adhere to all safety protocols and local electrical codes during this phase of the installation.
- Programmable Settings: Take advantage of the thermostat’s programmable features to customize heating schedules based on your daily routine. This capability allows you to optimize energy usage and maintain comfortable temperatures throughout the day.
- Temperature Calibration: Calibrate the thermostat to ensure accurate temperature readings and precise control over the heating system. This step is essential for achieving consistent warmth and comfort in your living spaces.
- User Instructions: Familiarize yourself with the operation of the thermostat and provide clear instructions to household members or occupants. Understanding how to adjust settings and utilize the thermostat’s features will enhance the overall experience of enjoying heated floors.
By connecting and programming the thermostat, you’ll gain the ability to effortlessly manage and regulate the radiant floor heating, creating a comfortable and inviting environment in your home. The thermostat serves as the control center for your heated floors, offering convenience and energy-efficient operation tailored to your lifestyle.
Step 6: Test the Heated Floors
As the final phase of the installation process, testing the heated floors ensures that the system is functioning optimally and ready to provide luxurious warmth and comfort. Follow these essential steps to verify the performance of your radiant floor heating:
- System Activation: Activate the heating system and allow sufficient time for the floors to warm up. Monitor the gradual increase in temperature to ensure that the heating elements are functioning as expected.
- Temperature Uniformity: Assess the entire floor surface to confirm that the heat is evenly distributed. Consistent warmth across the entire area indicates proper installation and optimal performance of the radiant heating system.
- Thermostat Calibration: Verify that the thermostat accurately reflects the temperature of the heated floors. The displayed temperature should align with the actual warmth experienced, indicating precise control over the heating system.
- User Comfort: Encourage household members or occupants to experience the heated floors and provide feedback on their comfort level. Their input can offer valuable insights into the overall satisfaction and performance of the system.
- System Efficiency: Monitor the energy consumption of the radiant floor heating system to ensure that it operates efficiently. Programmable thermostats and energy-saving features contribute to optimizing energy usage while maintaining comfort.
By conducting thorough testing of the heated floors, you’ll gain confidence in the performance and efficiency of the radiant heating system. This final step marks the culmination of your installation journey, allowing you to revel in the luxurious comfort and warmth that heated floors bring to your living spaces.
Conclusion
Congratulations on successfully completing the installation of your heated floors! You’ve embarked on a transformative journey, turning your living spaces into cozy retreats that offer luxurious comfort and efficient warmth. By following the comprehensive steps outlined in this guide, you’ve gained the knowledge and confidence to bring the ultimate in modern heating technology to your home.
As you bask in the comfort of your newly installed heated floors, remember the numerous benefits they offer. From the indulgent sensation of stepping onto warm, toasty surfaces to the energy-efficient operation that optimizes comfort and minimizes energy consumption, your radiant floor heating system represents a significant enhancement to your living spaces.
Embracing the allure of heated floors also adds a touch of modernity and sophistication to your home, elevating its ambiance and creating a welcoming environment for family and guests alike. The seamless integration of the heating system with your chosen flooring material reflects meticulous attention to detail, resulting in a visually stunning and functionally efficient living space.
As you enjoy the luxurious warmth and comfort provided by your heated floors, take pride in the accomplishment of completing this transformative home improvement project. Your dedication to creating a cozy and inviting environment has culminated in the installation of a heating solution that enhances your daily comfort and well-being.
With your radiant floor heating system in place, you can look forward to countless moments of relaxation, warmth, and contentment in your home. Whether it’s a chilly morning or a cool evening, your heated floors will envelop you in a cocoon of comfort, inviting you to savor the simple joys of everyday living.
Thank you for joining us on this journey into the world of radiant floor heating. May your newly installed heated floors bring you endless comfort and delight, enriching your home with the timeless appeal of luxurious warmth.
Frequently Asked Questions about How To Install Heated Floors
Was this page helpful?
At Storables.com, we guarantee accurate and reliable information. Our content, validated by Expert Board Contributors, is crafted following stringent Editorial Policies. We're committed to providing you with well-researched, expert-backed insights for all your informational needs.


0 thoughts on “How To Install Heated Floors”