Articles
How To Adjust Garage Door Chain
Modified: January 8, 2024
Learn how to adjust the garage door chain with our informative articles. Find step-by-step instructions and expert tips to ensure smooth operation.
(Many of the links in this article redirect to a specific reviewed product. Your purchase of these products through affiliate links helps to generate commission for Storables.com, at no extra cost. Learn more)
Introduction
When it comes to garage door maintenance, one essential task is adjusting the garage door chain. The chain is a crucial component of the garage door mechanism, responsible for lifting and lowering the door. Over time, the chain may become loose or tight, affecting the smooth operation of the garage door.
Fortunately, adjusting the garage door chain is a relatively simple task that can be done with a few basic tools and some careful adjustments. This article will walk you through the step-by-step process of adjusting your garage door chain, ensuring that your door operates smoothly and safely.
Before we dive into the details, it’s important to note that different garage door openers may have slight variations in their adjustment mechanisms. Therefore, it is always recommended to consult your manufacturer’s manual for specific instructions pertaining to your particular garage door opener model.
So, let’s get started with gathering the necessary tools and materials before moving on to the adjustment process.
Key Takeaways:
- Regularly adjusting the garage door chain using simple tools and a systematic approach can enhance the overall performance, ensuring smooth and reliable operation of your garage door.
- Fine-tuning the chain adjustment is crucial for achieving optimal performance, requiring incremental adjustments and thorough testing to ensure reliable and safe operation of the garage door.
Read more: How To Lubricate Garage Door Chain
Tools and Materials Needed
Before you begin adjusting the garage door chain, make sure you have the following tools and materials handy:
- Adjustable wrench or pliers
- Socket wrench set
- Ladder or step stool
- Measuring tape
- Marker or pen
- Protective gloves
- Safety goggles
- Rubber mallet (optional)
- Spray lubricant (optional)
Having these tools and materials ready will ensure that you have everything you need to successfully adjust your garage door chain. It’s always a good idea to wear protective gloves and safety goggles to protect yourself from any potential injuries during the adjustment process.
Once you have all the necessary tools and materials, let’s move on to the step-by-step process of adjusting the garage door chain.
Step 1: Prepare the Garage Door
Before you start adjusting the garage door chain, it’s important to prepare the garage door and make sure it’s in a safe and stable position. Follow these steps to prepare the garage door:
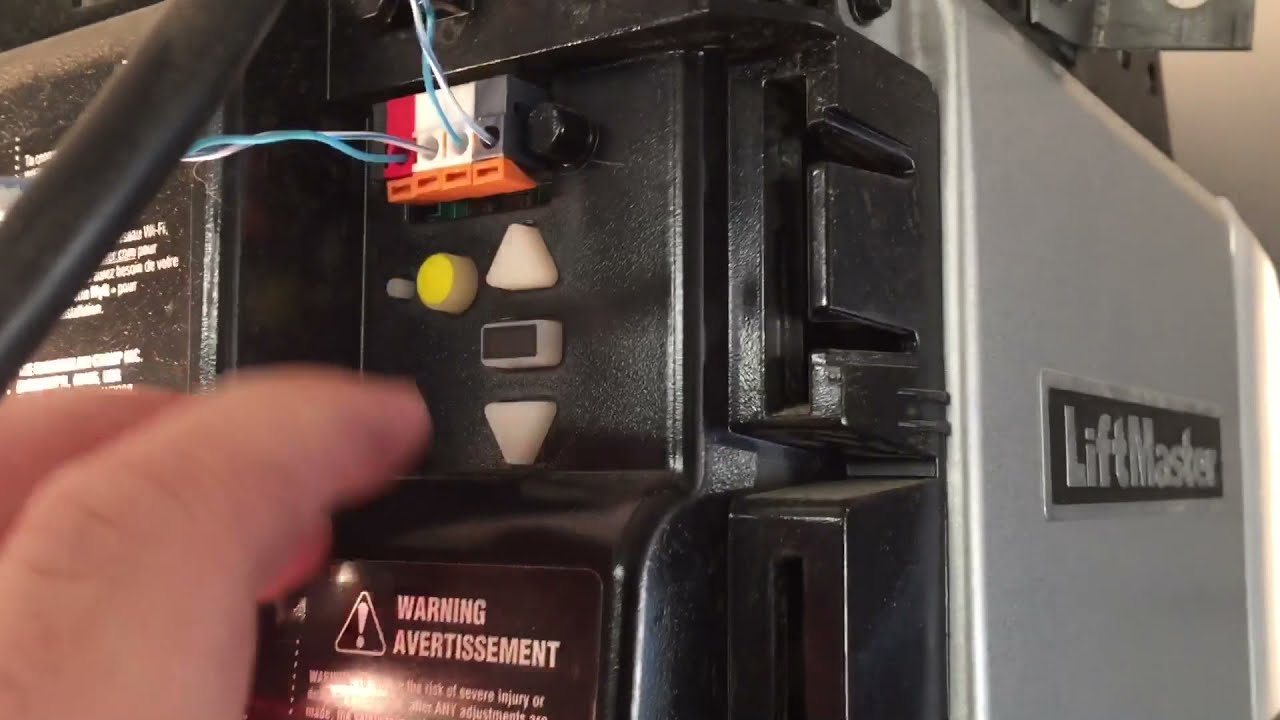
- Disconnect the power: Before working on the garage door, it’s crucial to disconnect the power to avoid any accidental injuries. Locate the power source or turn off the circuit breaker that controls the garage door opener.
- Clear the area: Remove any obstacles or debris from around the garage door. This ensures that you have enough space to maneuver and work safely.
- Secure the door: To prevent the garage door from accidentally closing or opening during the adjustment process, use a pair of vice grips or C-clamps to secure the door in a fully open position.
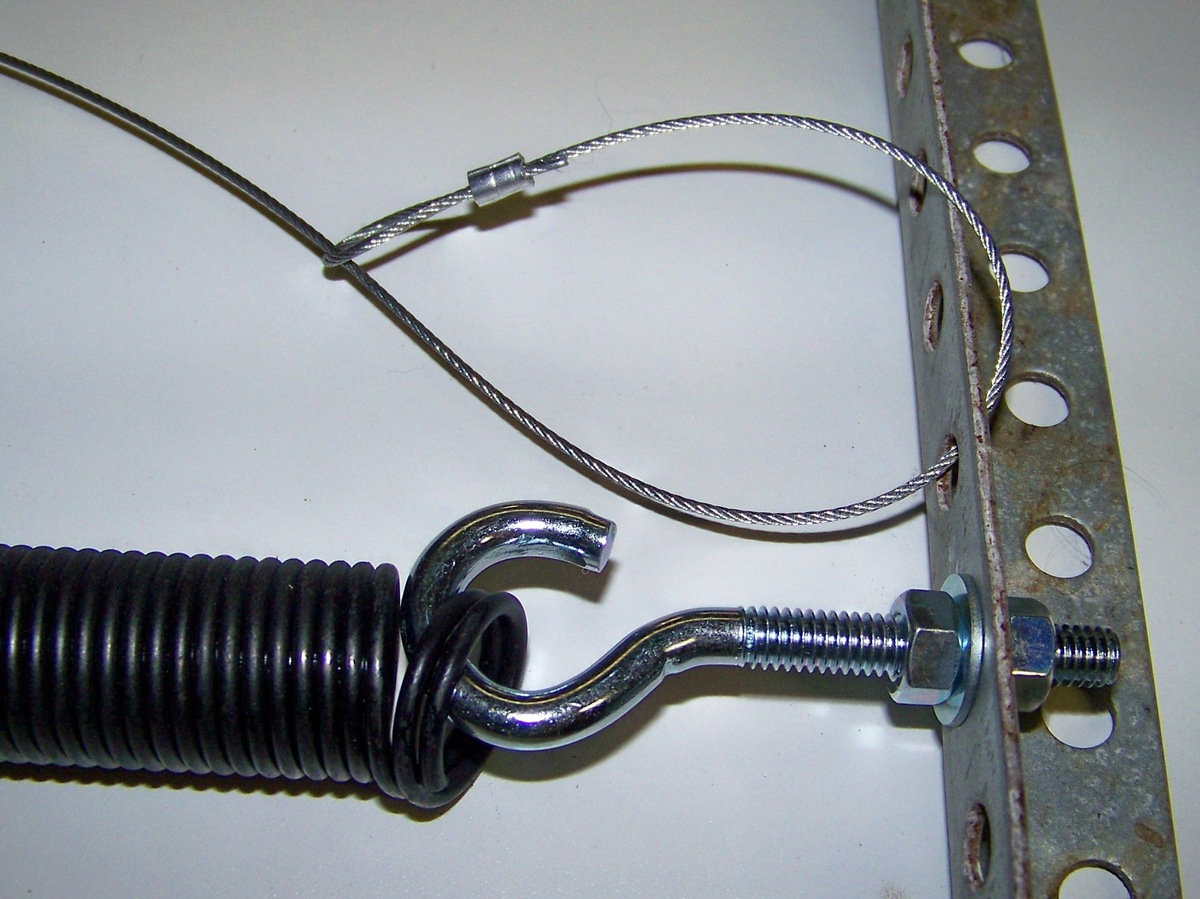
- Inspect the chain: Take a moment to visually inspect the garage door chain. Look for any signs of damage, wear, or excessive slack. If you notice any issues with the chain, such as broken links or excessive sagging, it’s advisable to replace the chain before proceeding with the adjustment.
Once you have completed these preliminary steps, you can move on to locating the chain adjustment points on your garage door opener.
Step 2: Locate the Chain Adjustment Points
To adjust the garage door chain, it’s important to locate the chain adjustment points on your garage door opener. These adjustment points allow you to tighten or loosen the tension in the chain. Follow these steps to locate the chain adjustment points:
- Refer to the manufacturer’s manual: Consult your garage door opener’s manual to find specific instructions and diagrams for locating the chain adjustment points. Different opener models may have varying designs and configurations.
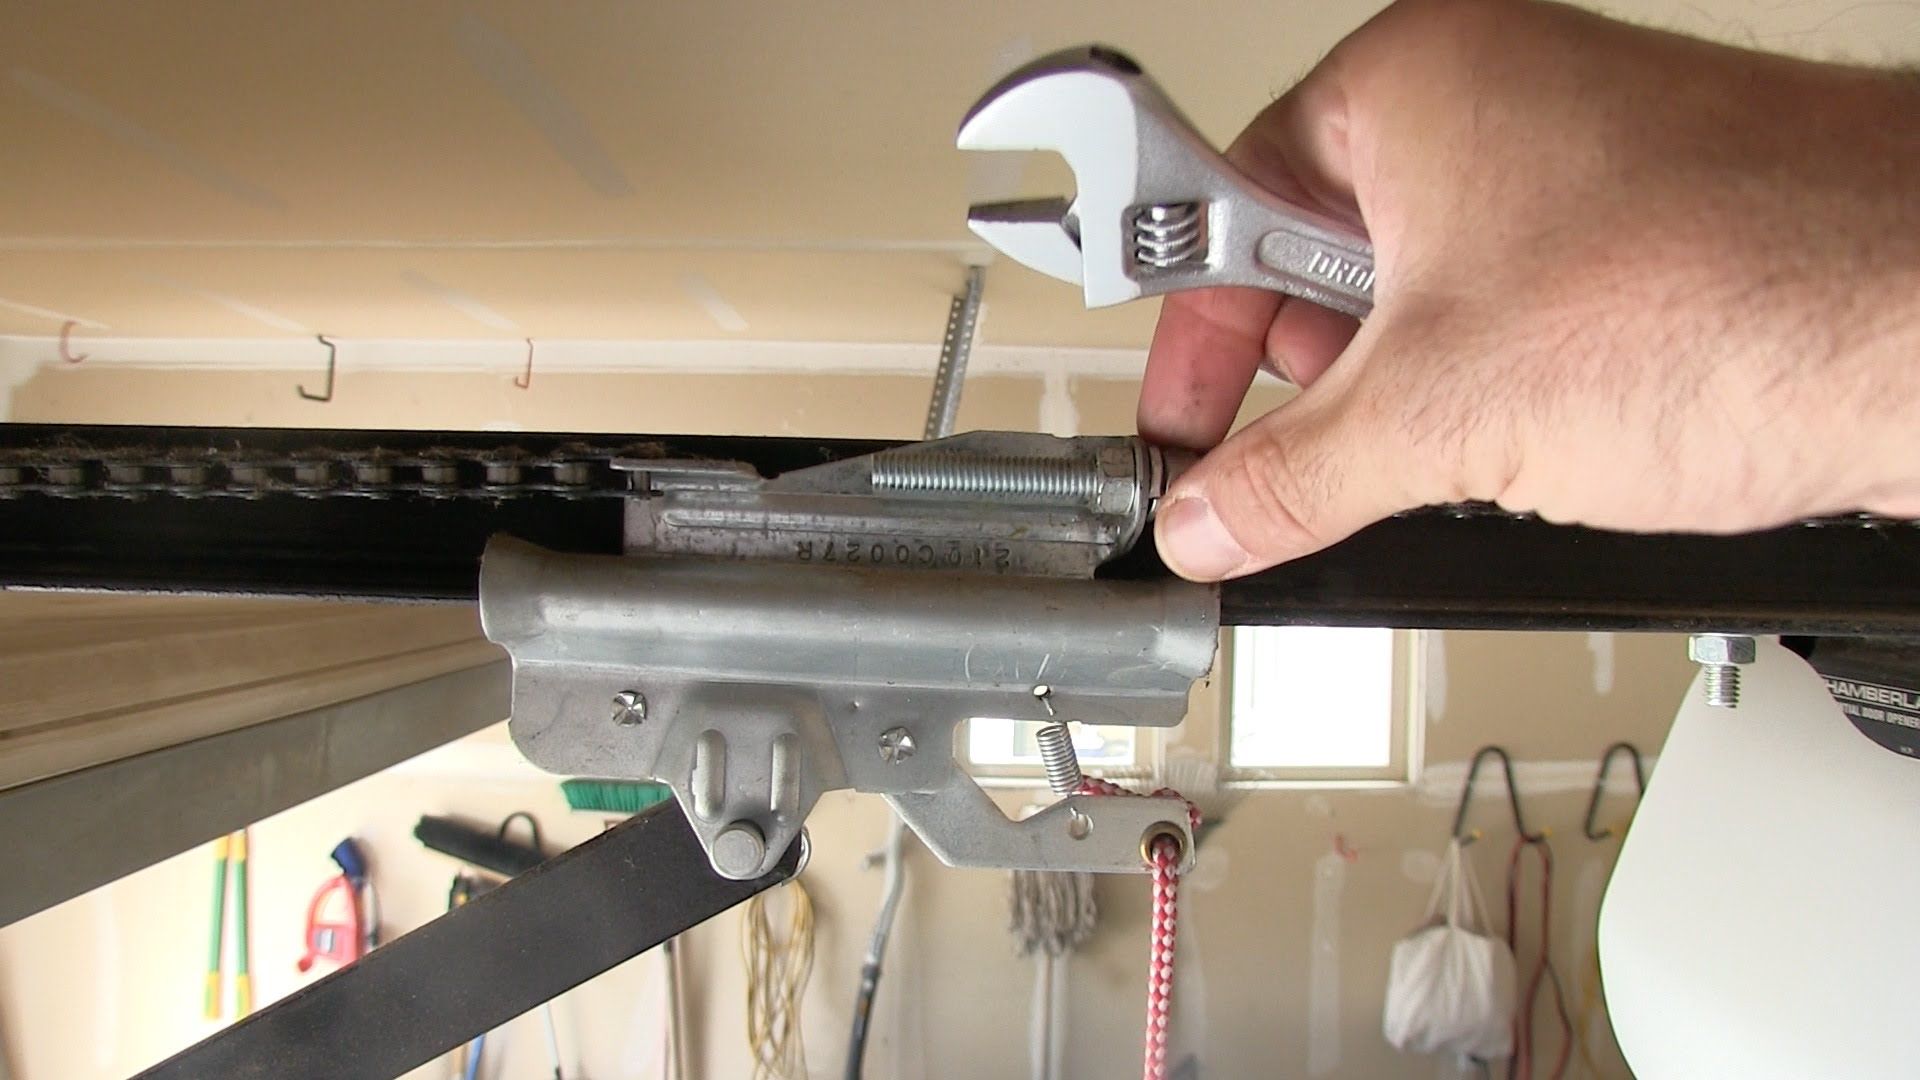
- Find the chain tensioner: In most garage door openers, the chain tensioner is located near the motor unit. It is usually a threaded bolt or screw that can be turned to adjust the tension in the chain.
- Identify the chain tension indicator: Some garage door openers have a chain tension indicator, which is a guide that shows the optimal tension level for the chain. This indicator helps you determine if the chain needs adjustment, based on its position in relation to the guide.
Once you have located the chain adjustment points and familiarized yourself with the tensioner and tension indicator, you can proceed to the next step of adjusting the chain tension.
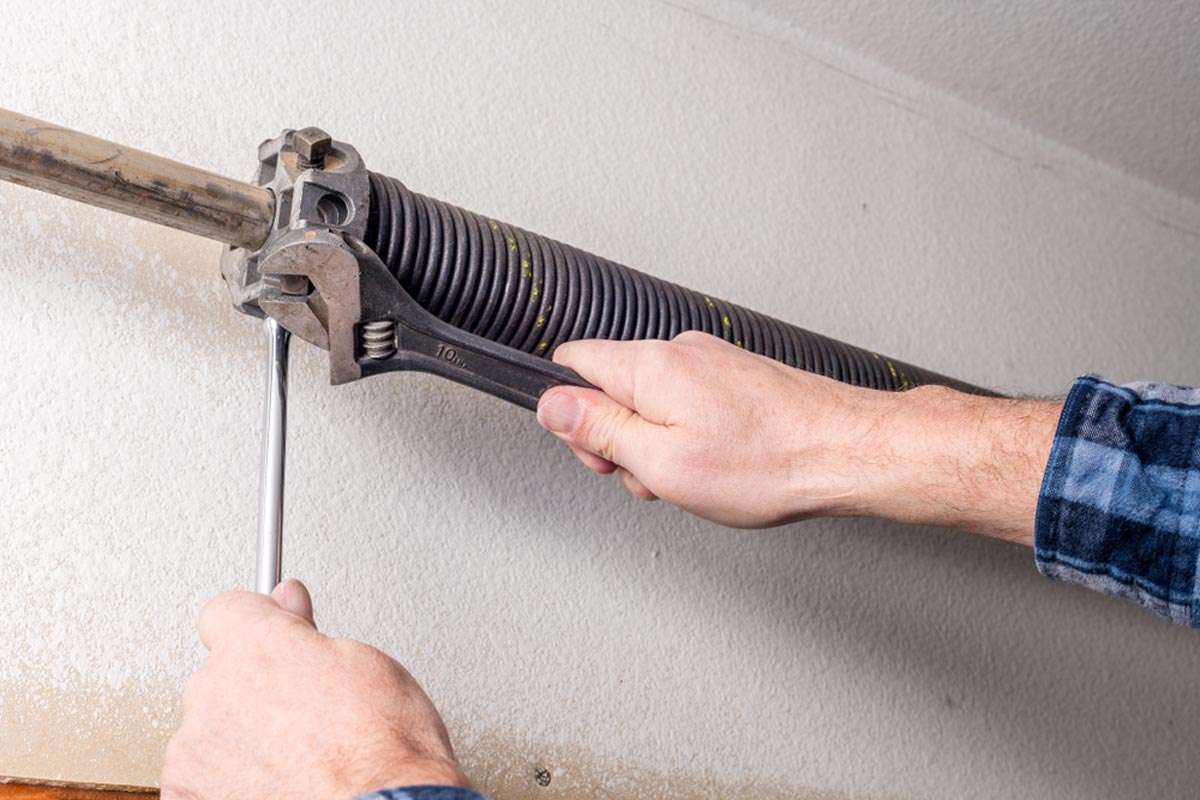
Use a wrench to loosen the nuts on the chain tensioner. Then, adjust the tension by moving the tensioner up or down. Tighten the nuts back up once the desired tension is achieved.
Step 3: Adjust the Chain Tension
Now that you have located the chain adjustment points, it’s time to adjust the tension in the garage door chain. Follow these steps to ensure proper adjustment:
- Position the ladder: Place a ladder or step stool beneath the garage door opener motor unit, ensuring that it is stable and secure.
- Locate the chain tensioner: Identify the threaded bolt or screw that serves as the chain tensioner. Depending on your garage door opener model, this may be on the front, back, or side of the motor unit.
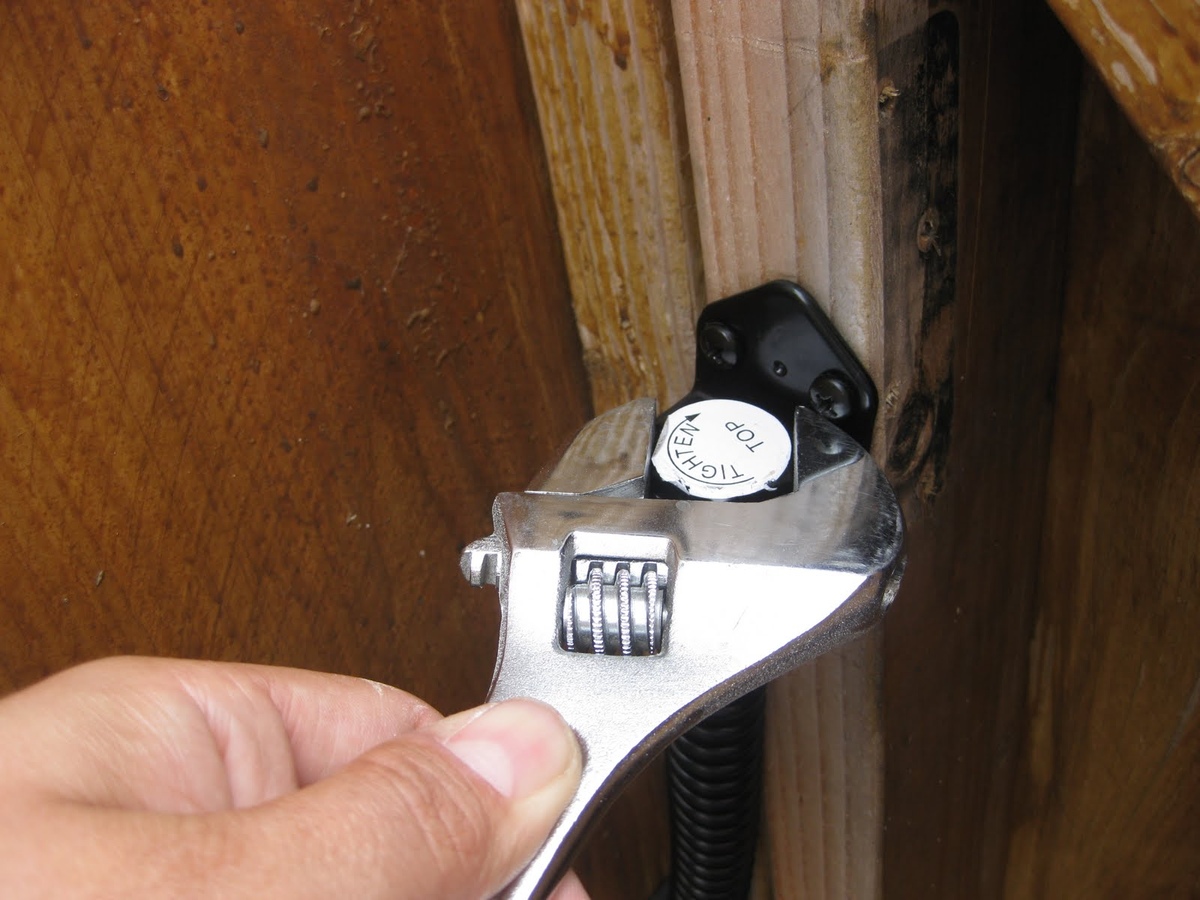
- Loosen the tensioner: Use an adjustable wrench or pliers to loosen the chain tensioner. Turn the bolt or screw counterclockwise to loosen the tension in the chain.
- Adjust the chain tension: With the tensioner loose, adjust the tension in the chain by hand. If the chain is too loose, pull it slightly to create tension. If the chain is too tight, push it gently to relieve some tension.
- Check the tension indicator: Refer to the chain tension indicator, if present, to ensure that the tension is within the recommended range. The indicator should be aligned with the guide or marker on the opener unit.
- Tighten the tensioner: Once you have adjusted the chain tension, use an adjustable wrench or pliers to tighten the tensioner. Turn the bolt or screw clockwise to secure the chain in its new position.
Remember to make small adjustments at a time and test the garage door operation after each adjustment. This allows you to fine-tune the tension and ensure smooth and balanced movement of the door.
Now that you have adjusted the chain tension, it’s time to test the garage door operation in the next step.
Read more: How To Adjust Garage Door Tracks
Step 4: Test the Garage Door Operation
After adjusting the chain tension, it’s crucial to test the garage door operation to ensure everything is working smoothly. Follow these steps to test the garage door:
- Reconnect the power: Before testing the door, remember to reconnect the power to the garage door opener. Restore power by either plugging it back in or turning on the circuit breaker.
- Stand clear and observe: Stand a safe distance away from the garage door and press the remote or wall-mounted control button to activate the door. Observe the door’s movement as it opens and closes.
- Listen for any unusual sounds: Pay attention to any unusual sounds or grinding noises during the door’s operation. These could indicate a problem with the chain tension or other components.
- Check for smooth movement: Watch for any jerky or uneven movements of the garage door. The door should operate smoothly and without any significant vibrations.
- Test the revers
Step 5: Fine-tune the Chain Adjustment (if necessary)
After testing the garage door operation, you may find that some further adjustments are needed to ensure optimal performance. Follow these steps to fine-tune the chain adjustment:
- Assess the door movement: Pay close attention to the garage door’s movement during the testing phase. If you notice any issues, such as excessive slack, tightness, or uneven movement, you may need to make further adjustments.
- Identify the problem: Determine whether the chain needs to be tightened or loosened based on the observed issues. If the door is sagging or operating unevenly, you may need to tighten the chain. If the door is struggling to open or closes abruptly, you may need to loosen the chain.
- Make small adjustments: Use the adjustable wrench or pliers to make small adjustments to the chain tension. Turn the tensioner bolt or screw clockwise to tighten the chain and counterclockwise to loosen it. Test the door’s operation after each adjustment to assess the impact.
- Repeat the testing process: After making adjustments, repeat the testing process described in Step 4 to ensure the garage door is functioning smoothly and without any issues. If necessary, continue fine-tuning the chain adjustment until you achieve the desired performance.
During the fine-tuning process, it’s important to make incremental adjustments and test the door after each one. This approach allows you to gradually find the optimal chain tension for your garage door, ensuring reliable and safe operation.
Once you are satisfied with the garage door’s performance and the chain adjustment, you can conclude the process.
Conclusion
Adjusting the garage door chain is a crucial maintenance task that ensures smooth and reliable operation of your garage door. With the right tools and a systematic approach, you can easily adjust the chain tension and enhance the overall performance of your garage door.
In this article, we discussed the step-by-step process for adjusting the garage door chain. Starting with preparing the garage door and locating the chain adjustment points, we then moved on to adjusting the chain tension and testing the garage door operation. Additionally, we explored the importance of fine-tuning the chain adjustment to achieve optimal performance.
Remember, it’s always essential to consult your garage door opener manufacturer’s manual for specific instructions regarding your particular model. Additionally, if you encounter any difficulties, it is important to seek professional assistance to avoid any damage or injuries.
By regularly adjusting the garage door chain, you can extend the lifespan of your garage door opener and ensure smooth, quiet, and safe operation. So, take the time to inspect and adjust your garage door chain periodically, and enjoy the convenience and reliability of a properly functioning garage door.
Frequently Asked Questions about How To Adjust Garage Door Chain
What are the signs that indicate my garage door chain needs adjustment?Signs that indicate your garage door chain needs adjustment include excessive noise during operation, uneven movement of the door, or the door not opening or closing smoothly. If you notice any of these signs, it’s time to adjust the garage door chain.Can I adjust the garage door chain myself, or do I need to hire a professional?You can definitely adjust the garage door chain yourself if you have the necessary tools and knowledge. However, if you’re not comfortable with DIY projects or if the issue seems complex, it’s best to hire a professional to ensure the job is done correctly.What tools do I need to adjust the garage door chain?To adjust the garage door chain, you’ll need a few basic tools such as a wrench, screwdriver, and possibly a pair of pliers. It’s also a good idea to have some lubricant on hand to ensure smooth operation after the adjustment.How often should I adjust the garage door chain?It’s a good idea to check and potentially adjust your garage door chain at least once a year to ensure it’s in good working condition. However, if you notice any issues with the door’s operation, it’s best to address them promptly by adjusting the chain.Are there any safety precautions I should take when adjusting the garage door chain?Yes, safety is paramount when working on a garage door. Before adjusting the chain, make sure to disconnect the power to the door opener to avoid any accidents. Additionally, always follow the manufacturer’s instructions and guidelines for adjusting the garage door chain to ensure safe and effective results.
Was this page helpful?
At Storables.com, we guarantee accurate and reliable information. Our content, validated by Expert Board Contributors, is crafted following stringent Editorial Policies. We're committed to providing you with well-researched, expert-backed insights for all your informational needs.


0 thoughts on “How To Adjust Garage Door Chain”