Home>Ideas and Tips>DIY Guide To Installing A Bathroom Towel Warming Drawer
Ideas and Tips
DIY Guide To Installing A Bathroom Towel Warming Drawer
Modified: September 2, 2024
Enhance your bathroom with our DIY guide to installing a towel warming drawer. Follow our step-by-step instructions for a luxurious, warm towel experience.
(Many of the links in this article redirect to a specific reviewed product. Your purchase of these products through affiliate links helps to generate commission for Storables.com, at no extra cost. Learn more)
Introduction
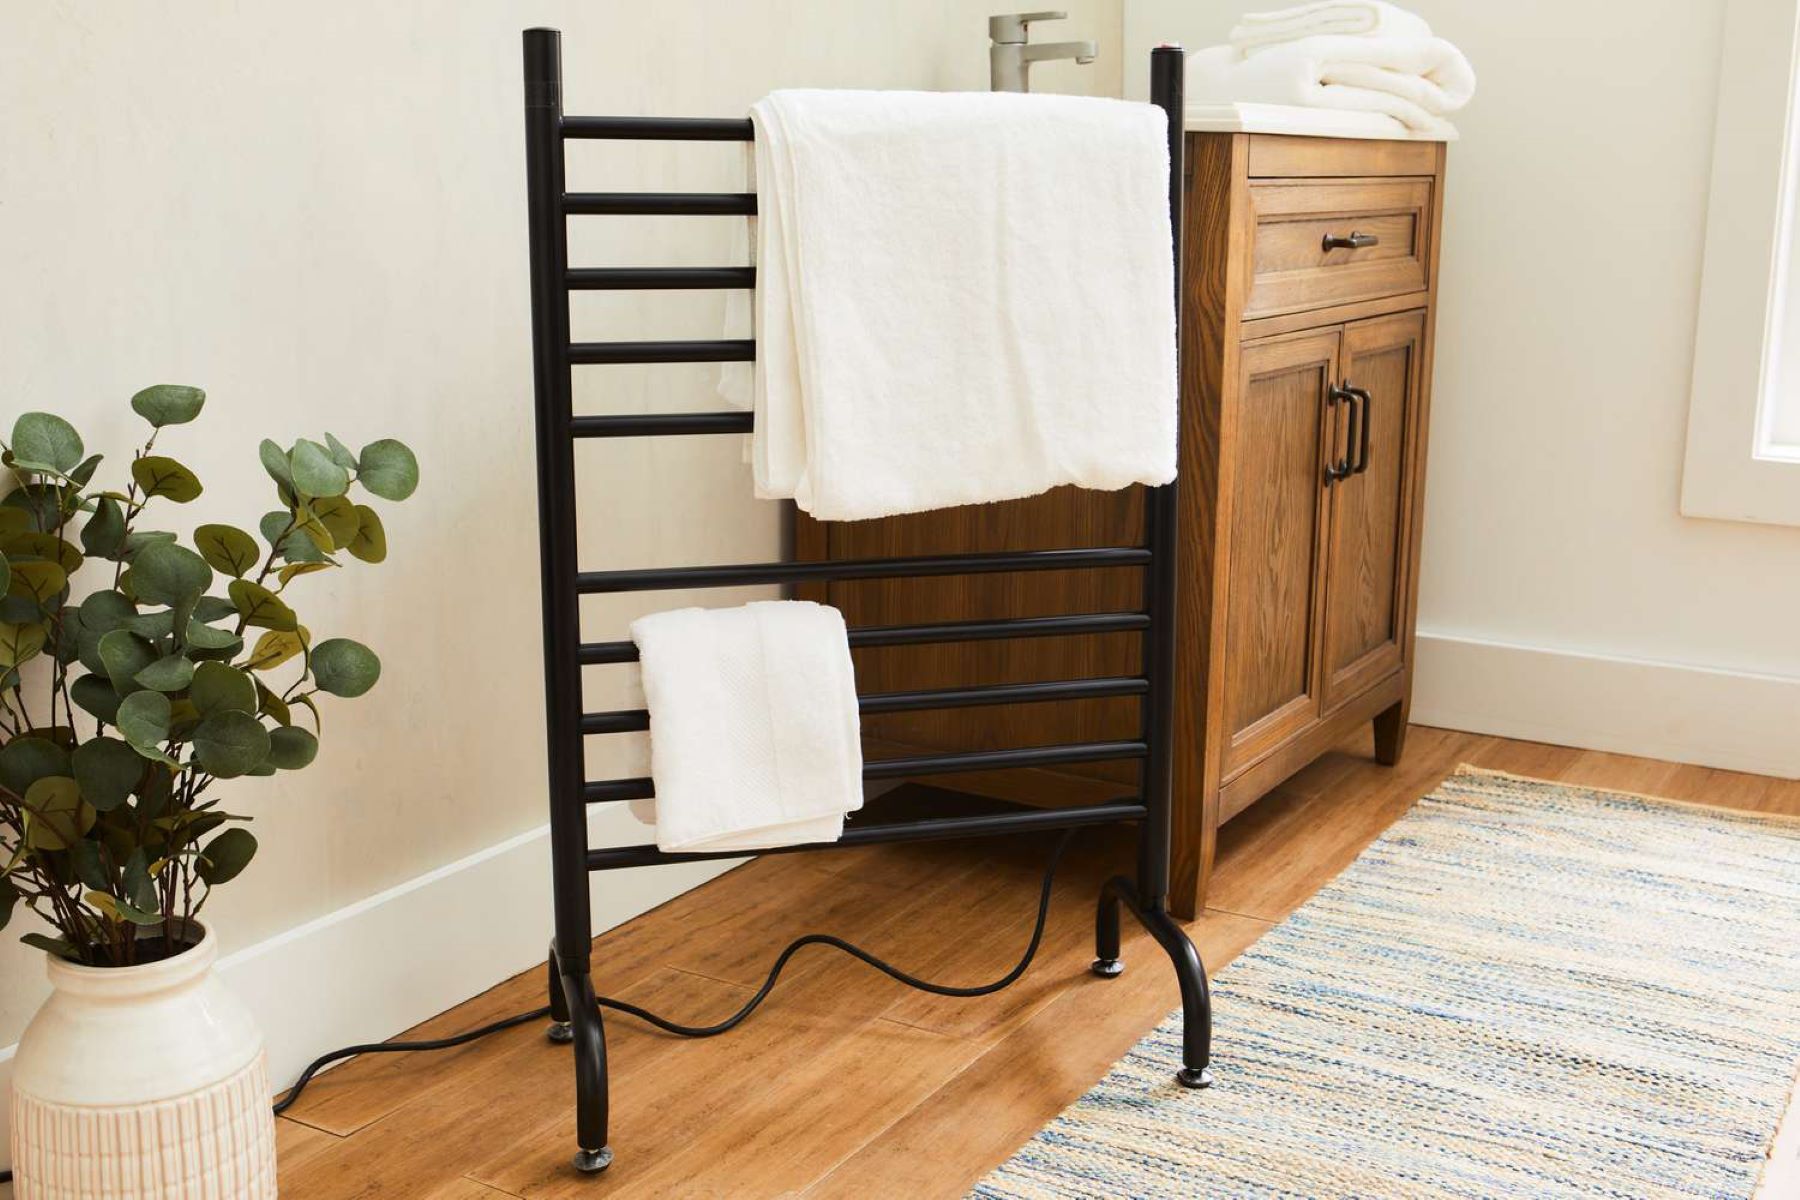
Installing a bathroom towel warming drawer can be a fantastic way to enhance your bathroom experience, especially during the colder months. Not only does it provide warmth and comfort, but it also adds a touch of luxury to your bathroom. In this comprehensive guide, we will walk you through the steps required to install a bathroom towel warming drawer, from preparation to completion.
Materials Needed
Before you begin, it's essential to gather all the necessary materials. Here is a list of what you will need:
- Towel Warming Drawer: This is the main component of your project. You can choose from various models available in the market, ranging from simple to advanced features.
- Power Supply: Ensure that the drawer has a compatible power supply. Most models come with a standard 120V or 240V plug.
- Mounting Hardware: This includes screws, brackets, and any other hardware required for mounting the drawer.
- Cable Management System: To keep your cables organized and hidden from view.
- Drill and Drill Bits: For drilling holes in the wall and drawer.
- Level: To ensure that the drawer is installed level.
- Measuring Tape: For measuring the space where the drawer will be installed.
- Pencil and Marker: For marking the wall and drawer.
- Safety Gloves and Goggles: For protecting yourself during the installation process.
Preparation
-
Choose the Right Location
- The ideal location for a towel warming drawer is near a power outlet and preferably in a corner where it can be easily accessed.
- Measure the space where you plan to install the drawer to ensure it fits comfortably.
-
Plan Your Installation
- Sketch out a rough plan of how you want to install the drawer. Consider the layout of your bathroom and how it will look once installed.
- Decide whether you want to install it above or below the countertop.
-
Turn Off Power
- Before starting any electrical work, turn off the power supply at the main electrical panel or breaker box.
Step-by-Step Installation Guide
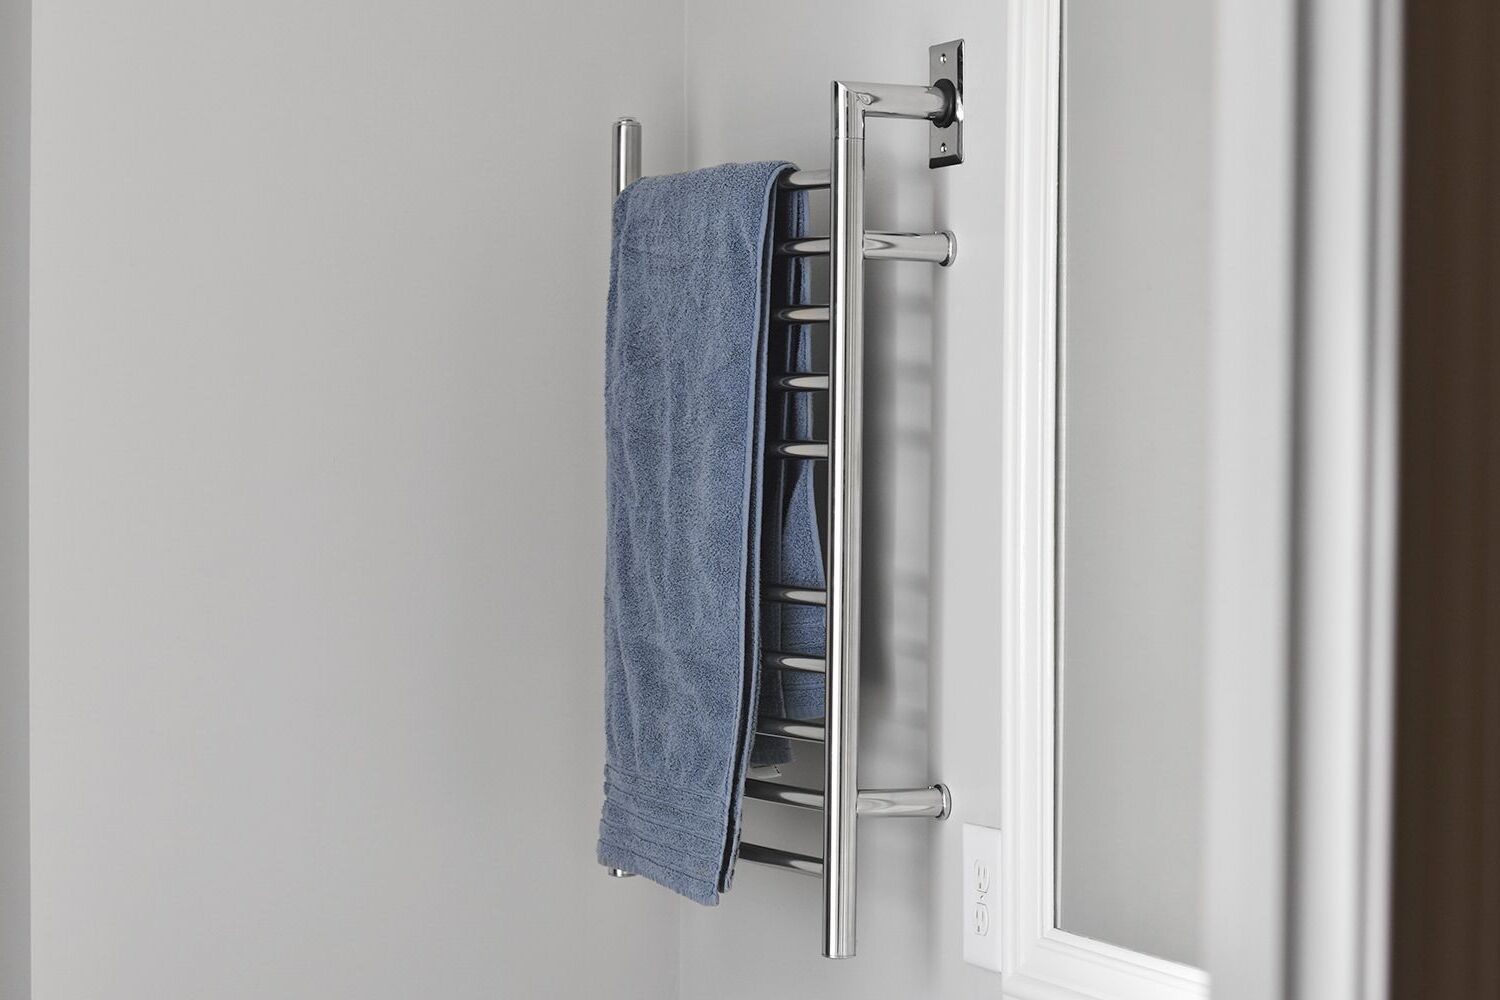
Step 1: Mounting the Drawer
-
Mark the Wall
- Use a pencil to mark the spot where you want to install the drawer. Make sure it is level using a level tool.
-
Drill Pilot Holes
- Use a drill bit to create pilot holes for the screws. The size of the bit should be slightly smaller than the screws.
-
Install Brackets
- Place the mounting brackets on the wall and screw them in place using the pilot holes.
-
Attach Drawer
- Carefully lift the towel warming drawer and attach it to the brackets using screws provided with the drawer.
Step 2: Connecting Power Supply
-
Locate Power Outlet
- Find a suitable power outlet near your installation site.
-
Run Power Cord
- Run the power cord from the outlet to where you have mounted the drawer. Use cable management systems like cable ties or conduit pipes to keep cables organized and hidden from view.
-
Connect Power Supply
- Connect one end of the power cord to the outlet and the other end to the towel warming drawer.
Step 3: Ensuring Safety
-
Check Electrical Connections
- Double-check all electrical connections to ensure they are secure and not loose.
-
Test Drawer
- Plug in the power supply and test the towel warming drawer to ensure it is working correctly.
-
Secure Cables
- Once you've tested it, secure any exposed cables using cable ties or conduit pipes.
Additional Tips
- Regular Maintenance: Regularly clean the drawer to prevent dust buildup and ensure optimal performance.
- Energy Efficiency: Look for energy-efficient models that consume less power while maintaining warmth.
- Aesthetics: Choose a model that complements your bathroom decor to enhance its overall look.
Conclusion
Installing a bathroom towel warming drawer is a DIY project that can be completed with basic tools and some patience. By following these steps carefully, you can enjoy the luxury of warm towels every time you step out of the shower or bath. Remember to always follow safety guidelines when working with electricity, and if you're unsure about any part of the process, consider consulting a professional electrician.
This comprehensive guide should help you through every step of installing a bathroom towel warming drawer. Whether you're looking to add a touch of luxury or simply want to stay warm during colder months, this DIY guide has got you covered
Was this page helpful?
At Storables.com, we guarantee accurate and reliable information. Our content, validated by Expert Board Contributors, is crafted following stringent Editorial Policies. We're committed to providing you with well-researched, expert-backed insights for all your informational needs.


0 thoughts on “DIY Guide To Installing A Bathroom Towel Warming Drawer”