Articles
How To Paint High Exterior Walls
Modified: January 23, 2024
Learn the best techniques for painting high exterior walls with our informative articles. Find expert tips and advice to achieve professional results.
(Many of the links in this article redirect to a specific reviewed product. Your purchase of these products through affiliate links helps to generate commission for Storables.com, at no extra cost. Learn more)
Introduction
Welcome! In this article, we will guide you through the process of painting high exterior walls. Whether you’re a DIY enthusiast or a professional painter, the task of painting tall walls can be daunting. However, with the right tools, materials, and a few helpful tips, you can achieve excellent results and transform the look of your home or building.
Painting high exterior walls requires careful planning, proper preparation, and attention to safety measures. It’s essential to choose the right paint, set up scaffolding or ladders correctly, and apply the paint with precision. By following the steps outlined in this article, you’ll be well-equipped to tackle this challenging task.
Before we jump into the nitty-gritty details, let’s take a look at the tools and materials you’ll need to have on hand.
Key Takeaways:
- Proper preparation, choosing the right paint, and prioritizing safety are crucial for successfully painting high exterior walls. Take your time, work methodically, and enjoy the transformation process.
- Regular breaks, staying hydrated, and maintaining equipment are essential for a smooth painting experience. Plan ahead, protect nearby surfaces, and consider professional help if needed. Happy painting!
Read more: How To Prepare Exterior Walls For Painting
Tools and Materials Needed
Before you begin painting high exterior walls, gather the following tools and materials:
- Extension ladder or scaffolding system: These will provide a stable platform to reach high areas. Make sure they are in good condition and set up securely.
- Paintbrushes and rollers: Choose brushes with long handles and rollers with extension poles to reach high points with ease.
- Drop cloths or plastic sheets: Protect the ground and surrounding areas from paint splatters.
- Painter’s tape: Use it to mask off windows, doors, and other areas you don’t want to paint.
- Primer: Apply primer before painting to ensure better adhesion and a longer-lasting finish.
- Exterior paint: Select a high-quality exterior paint that is suitable for your wall’s material and weather conditions.
- Paint tray: Pour your paint into a tray for easy access while you work.
- Clean rags or paper towels: Use them for wiping surfaces, cleaning brushes, and tidying up any spills.
- Paint thinner: Needed for cleaning brushes and other painting equipment.
- Safety gear: Wear protective goggles, gloves, and a respirator to shield yourself from paint fumes and potential hazards.
Having these tools and materials at your disposal will make the painting process more efficient and effective. Now, let’s move on to the crucial step of preparing the wall before painting.
Preparing the Wall
Properly preparing the wall is vital for achieving a smooth and professional paint job. Follow these steps to ensure your wall is ready for painting:
- Inspect the surface: Check the wall for any signs of damage, such as cracks, loose paint, or mold. Repair any issues and clean the wall thoroughly before proceeding.
- Remove loose paint: Use a scraper or wire brush to remove any loose or peeling paint. Sand the surface lightly to create a smooth base for the new paint.
- Clean the wall: Wash the wall using a mild detergent and water. This will remove dirt, grease, and any remaining debris. Let it dry completely before moving on.
- Apply primer: Priming the wall is essential, especially if it’s a new surface or if you’re changing the color significantly. Apply a coat of primer using a brush or roller and let it dry according to the manufacturer’s instructions.
- Inspect again: Once the primer has dried, inspect the wall for any imperfections. Fill in any cracks or holes with an appropriate filler and sand the surfaces smooth if needed. A smooth and even surface will ensure a professional paint finish.
By properly preparing the wall, you’ll create a solid foundation for the paint to adhere to, resulting in a long-lasting and visually appealing finish. Once the preparation is complete, it’s time to choose the right paint for your project.
Choosing the Right Paint
Choosing the right paint is essential for achieving a durable and attractive finish on your high exterior walls. Consider the following factors when selecting your paint:
- Exterior grade: Ensure that the paint you choose is specifically designed for exterior use. Exterior paints are formulated to withstand the outdoor elements, including sun exposure, rain, and temperature fluctuations.
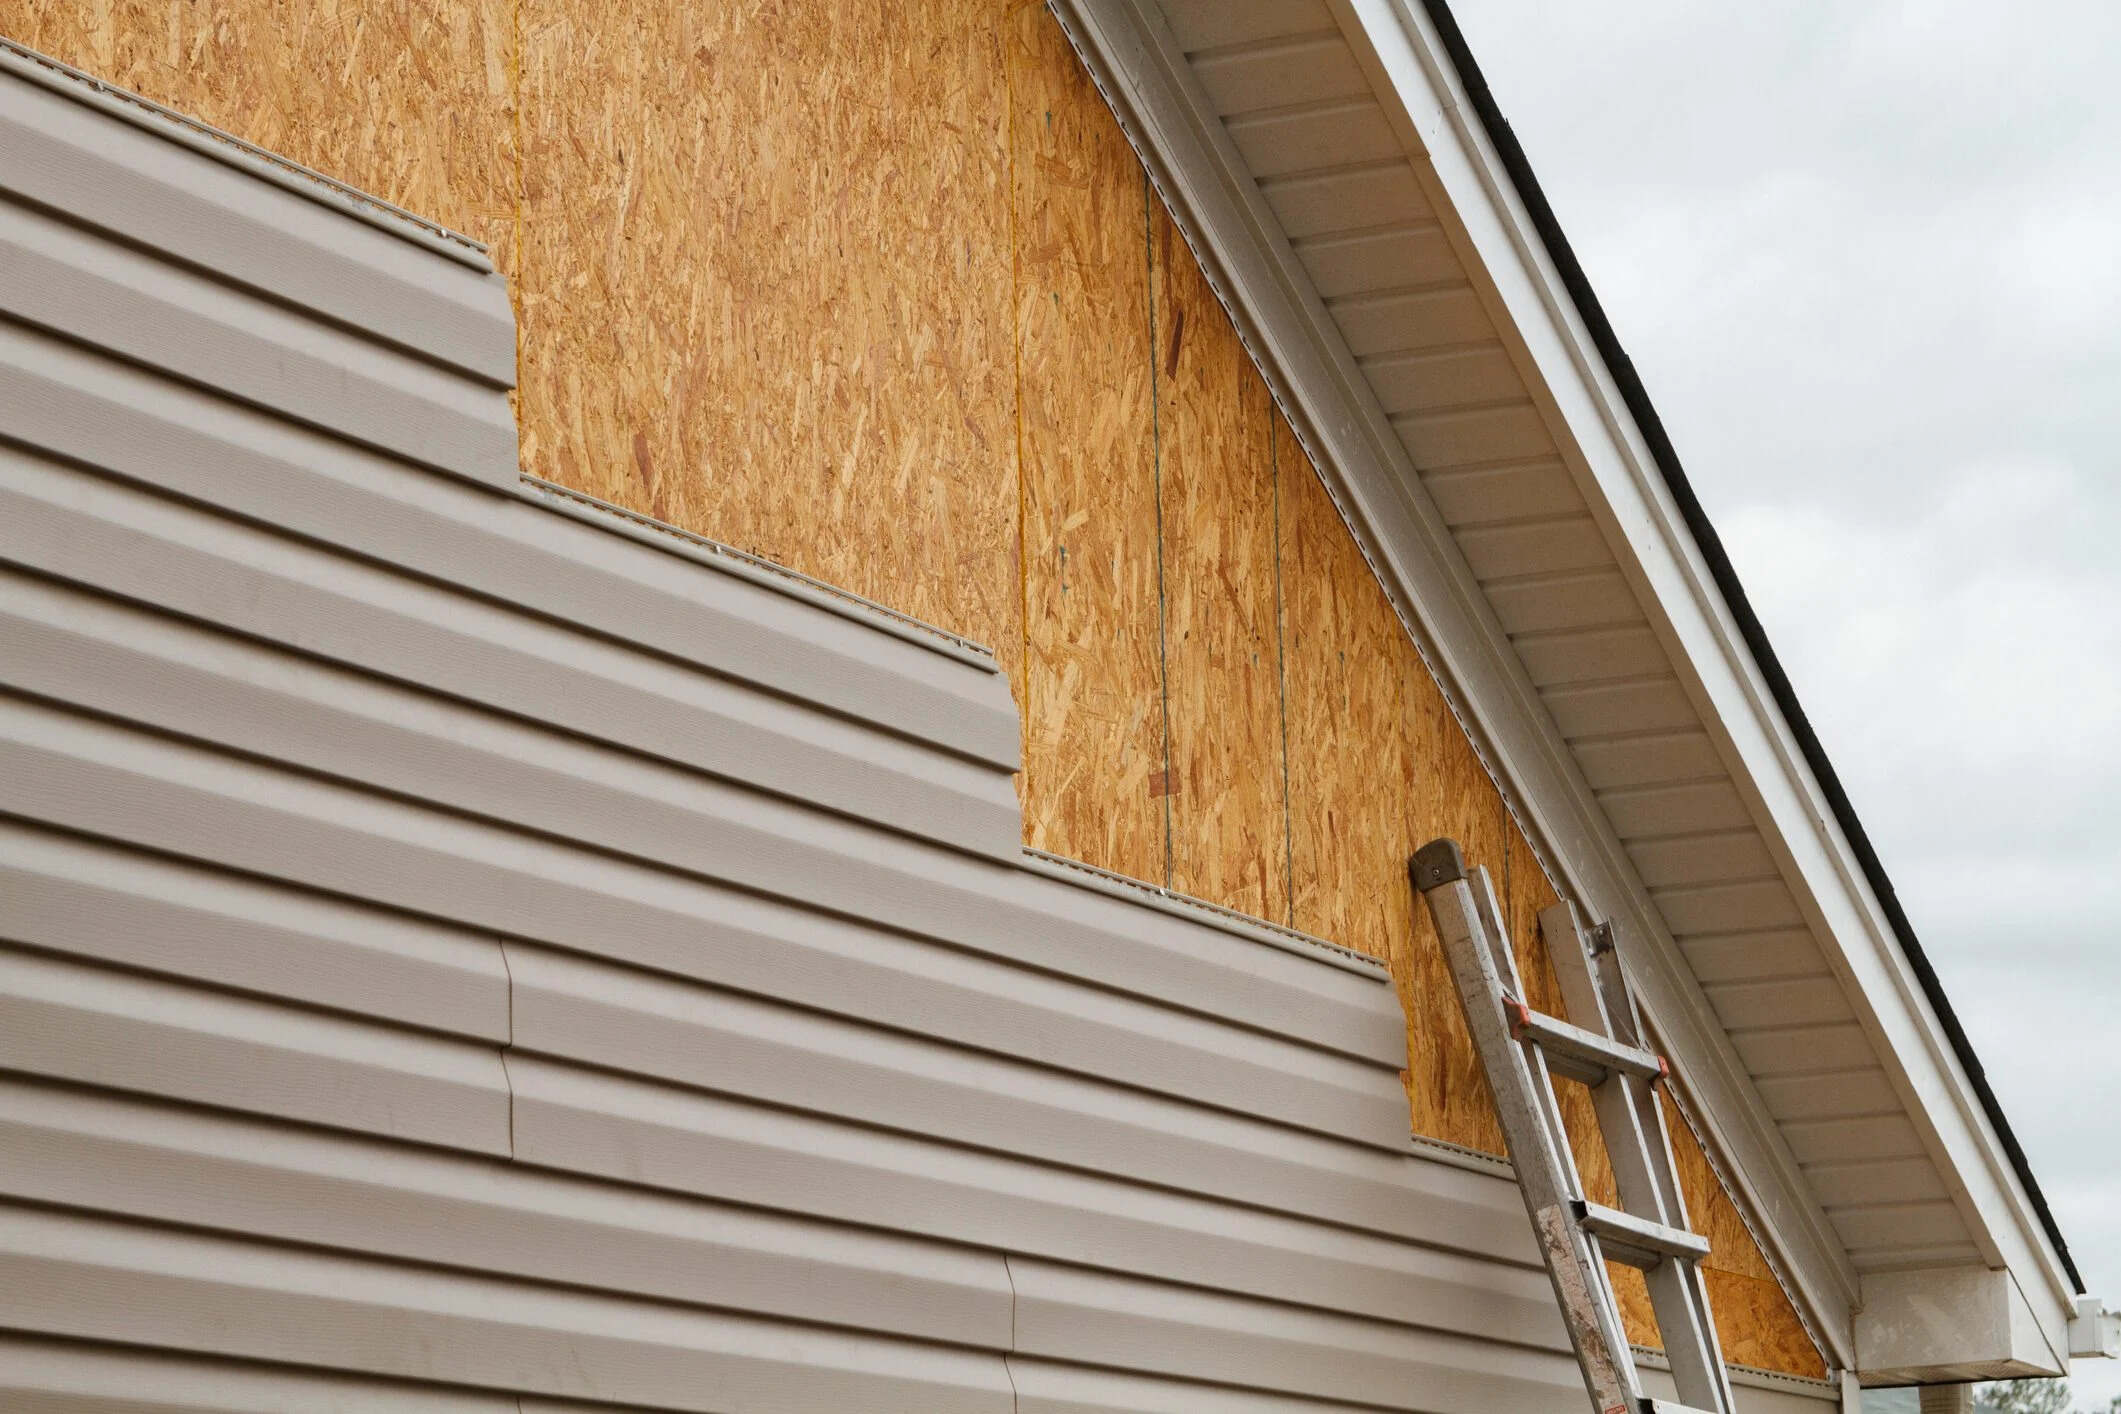
- Surface compatibility: Consider the material of your exterior walls. Different surfaces, such as wood, stucco, or brick, may require different types of paint. Consult with a paint professional or read product labels to determine the best paint for your specific surface.
- Sheen level: Choose the sheen level based on your desired look and the practicality of the surface. Higher sheen finishes, like semi-gloss or glossy, provide added durability and are easier to clean. However, they may also highlight surface imperfections. Flat or matte finishes are more forgiving but may not be as long-lasting.
- Color choice: Select a color that complements the overall aesthetics of your home or building. Consider the surroundings, architectural style, and any color restrictions imposed by homeowners’ associations or local regulations.
- Quality: Invest in high-quality paint to ensure better coverage, color retention, and longevity. Quality paint may cost more upfront but can save you time and money in the long run by requiring fewer touch-ups and repainting.
- Environmentally friendly options: If you’re concerned about the environmental impact of your paint, look for low VOC (volatile organic compounds) or zero VOC paints. These paints have reduced levels of harmful emissions and are better for air quality.
Take your time to research different paint options and consult with experts if needed. Testing paint samples on a small area of your wall can also help you gauge the color and finish before committing to the entire project.
With the right paint selected, it’s time to consider the necessary safety precautions when working at heights.
Safety Precautions
Working at heights can be dangerous, so it’s crucial to prioritize safety throughout the painting process. Here are some key safety precautions to keep in mind:
- Use proper safety equipment: Wear a hard hat, safety goggles, gloves, and a respirator to protect yourself from potential hazards. Long sleeves and pants can also provide additional protection.
- Check the weather conditions: Avoid painting on windy or rainy days, as these conditions can make the surface slippery and increase the risk of accidents. Choose a calm and dry day to ensure optimal safety.
- Secure your footing: Ensure that your ladder or scaffolding is stable and properly positioned. Use level ground or add stabilizers to prevent wobbling. Never overreach or attempt to paint from an unstable position.
- Be aware of power lines: Take note of any nearby power lines and be sure to maintain a safe distance to avoid electrical hazards. If necessary, contact the local utility company to shut off power during the painting process.
- Beware of overhead hazards: Look out for tree branches, roof overhangs, or any other protrusions that may pose a risk. Clear the area around your work zone to prevent accidents caused by falling debris.
- Work with a buddy: Whenever possible, have someone assist you while you work on high exterior walls. They can provide an extra set of eyes and help ensure your safety.
Remember, safety should always come first. Taking the necessary precautions and being vigilant throughout the painting process will help minimize the risk of accidents or injuries.
Now that you’re aware of the safety measures, let’s move on to setting up scaffolding or ladders to reach those high walls.
Setting Up Scaffolding or Ladders
When painting high exterior walls, you’ll need a stable platform to reach elevated areas. Depending on the height and accessibility of your walls, you can choose between setting up scaffolding or using ladders. Here’s how to set them up properly:
1. Scaffolding:
If you’re painting a larger area or need to reach higher points consistently, scaffolding provides a safe and stable platform. Here’s what you need to do:
- Choose the right scaffolding system: Rent or purchase a scaffolding system that is appropriate for your project. Ensure that it’s sturdy, has adjustable height options, and comes with proper safety features.
- Set up the scaffolding on level ground: Make sure the ground is even and stable. Follow the manufacturer’s instructions for assembling and securing the scaffolding properly.
- Secure the wheels (if applicable): If your scaffolding comes with wheels, lock them in place to prevent any movement while you’re working.
- Attach guardrails and toeboards: Install guardrails and toeboards around the platforms to provide additional safety and prevent tools or equipment from falling off the scaffolding.
- Perform a stability check: Before you start using the scaffolding, test its stability by gently shaking it. If it feels loose or wobbly, adjust and secure it further.
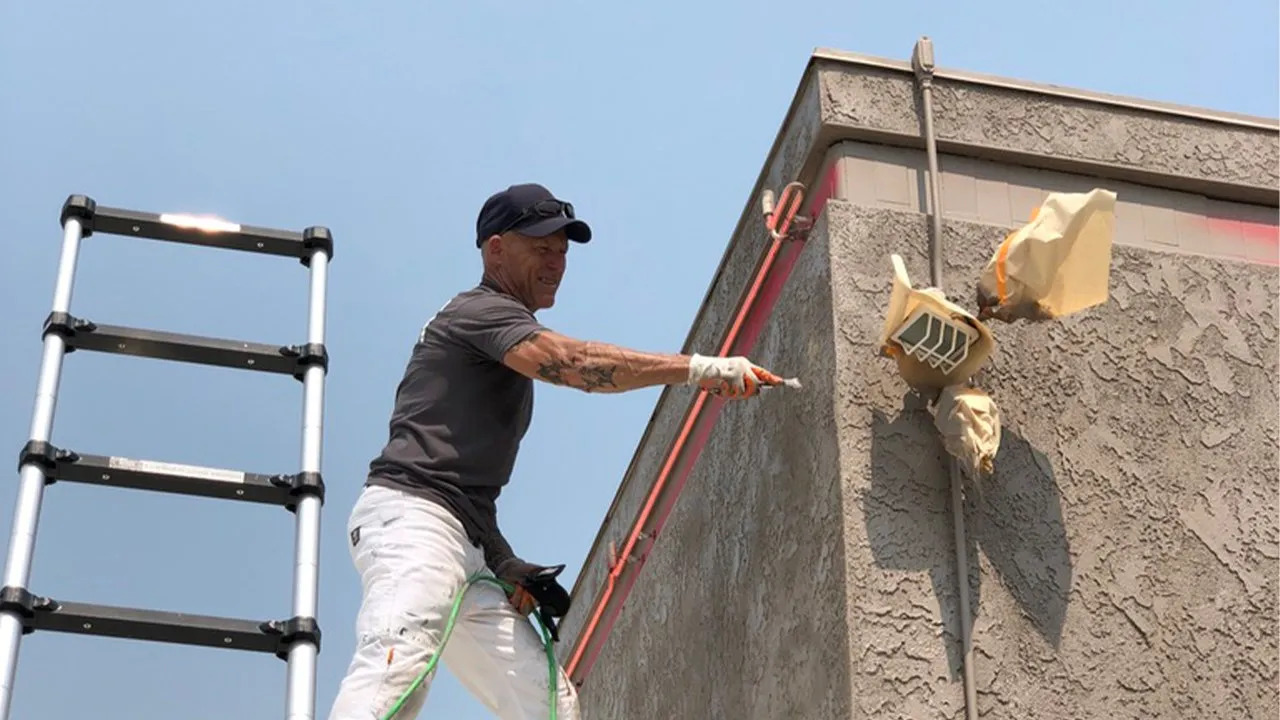
2. Ladders:
If you’re working on smaller areas or for shorter periods of time, ladders can be a suitable option. Follow these steps to ensure ladder safety:
- Choose the right ladder: Use a ladder that is long enough to reach the desired height. Select a sturdy, non-conductive material such as fiberglass for added safety when working near electrical sources.
- Inspect the ladder: Check the ladder for any signs of damage, such as bent or missing rungs, loose bolts, or cracks. Do not use a damaged ladder; instead, repair or replace it before starting the project.
- Place the ladder on stable ground: Set the ladder on a level and solid surface. If necessary, use ladder stabilizers or leg levelers to ensure stability on uneven terrain.
- Secure the ladder: Use ladder locks or braces to secure the ladder and prevent accidental movement during painting.
- Follow the “Three-Point Rule”: Maintain three points of contact with the ladder at all times – two feet and one hand, or two hands and one foot.
Remember to always work within your comfort level and avoid overreaching. If you’re unsure about using scaffolding or ladders safely, consult a professional or seek assistance from experienced individuals.
Now that your setup is secure, let’s move on to the actual painting process, starting from the bottom and working our way up.
Starting at the Bottom
When painting high exterior walls, it’s essential to start from the bottom and work your way up. This method ensures that you have a solid foundation and helps prevent drips and streaks as you progress. Here’s how to begin painting at the bottom:
- Prepare your paint: Stir the paint thoroughly to ensure an even consistency. Pour it into a paint tray for easy access while you work.
- Start with the brush: Dip a paintbrush into the paint, tapping off any excess. Begin by cutting in along the bottom edge of the wall, painting a border around doors, windows, and other edges.
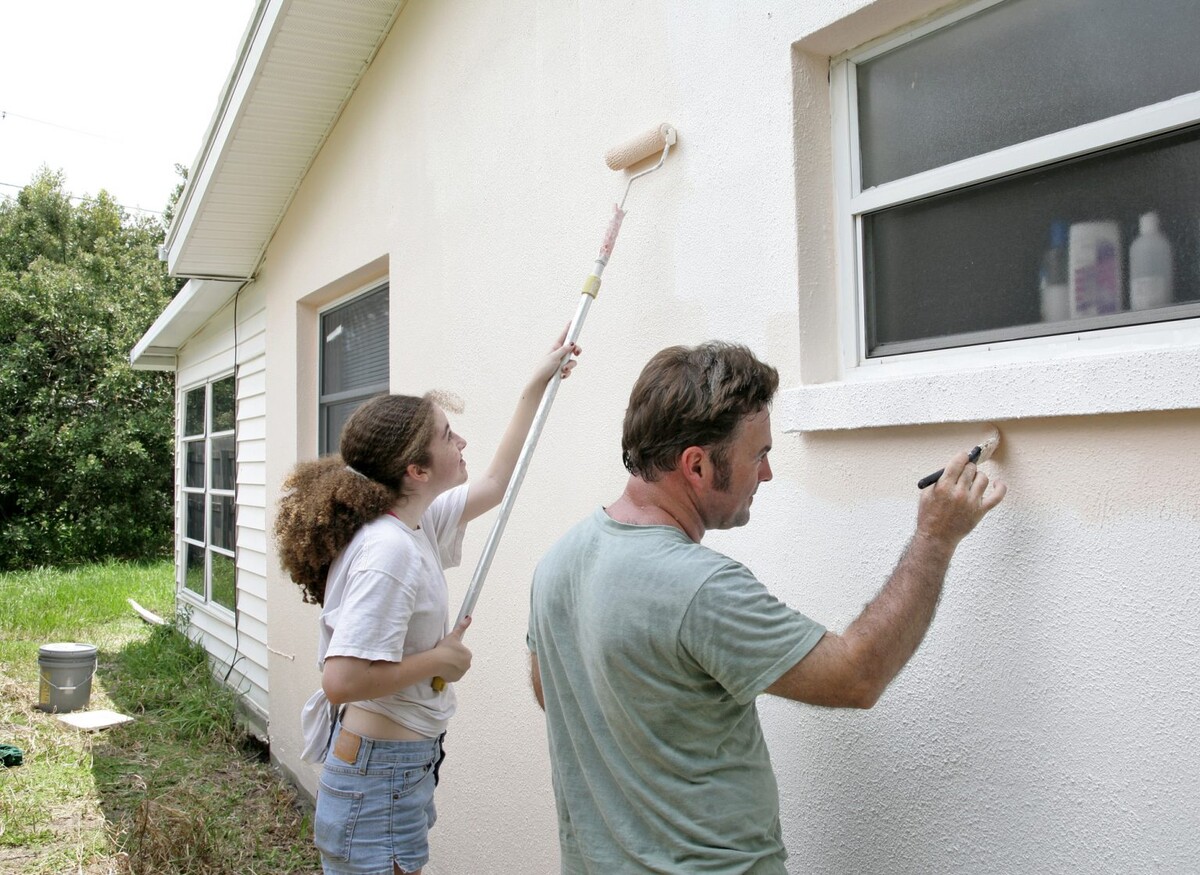
- Blend in with the roller: Use a roller with an extension pole to cover the large surface areas of the wall. Start from the bottom border and work your way up, applying even pressure and overlapping each stroke slightly.
- Maintain a wet edge: To avoid visible lines or lap marks, keep a wet edge by working with wet paint and blending each stroke into the previous one before it dries. This technique ensures a seamless finish.
- Work in manageable sections: Instead of trying to cover the entire wall in one go, divide it into smaller sections. Paint one section at a time, ensuring a consistent application of paint.
- Check for drips or runs: Periodically inspect the wall for any drips or runs. If you notice any, quickly smooth them out with a brush or roller before they dry.
While painting, remember to step back occasionally to assess your work and make necessary adjustments. This will help you maintain a uniform finish and address any potential issues along the way.
As you reach higher areas of the wall, continue using the same bottom-to-top technique. Take your time and work methodically to ensure thorough coverage and a professional result.
Now that you understand the process of applying paint, let’s discuss some additional tips to make your painting experience more efficient and enjoyable.
Use a sturdy extension ladder and a paint roller with an extension pole to reach high exterior walls. Start from the top and work your way down for a smooth finish.
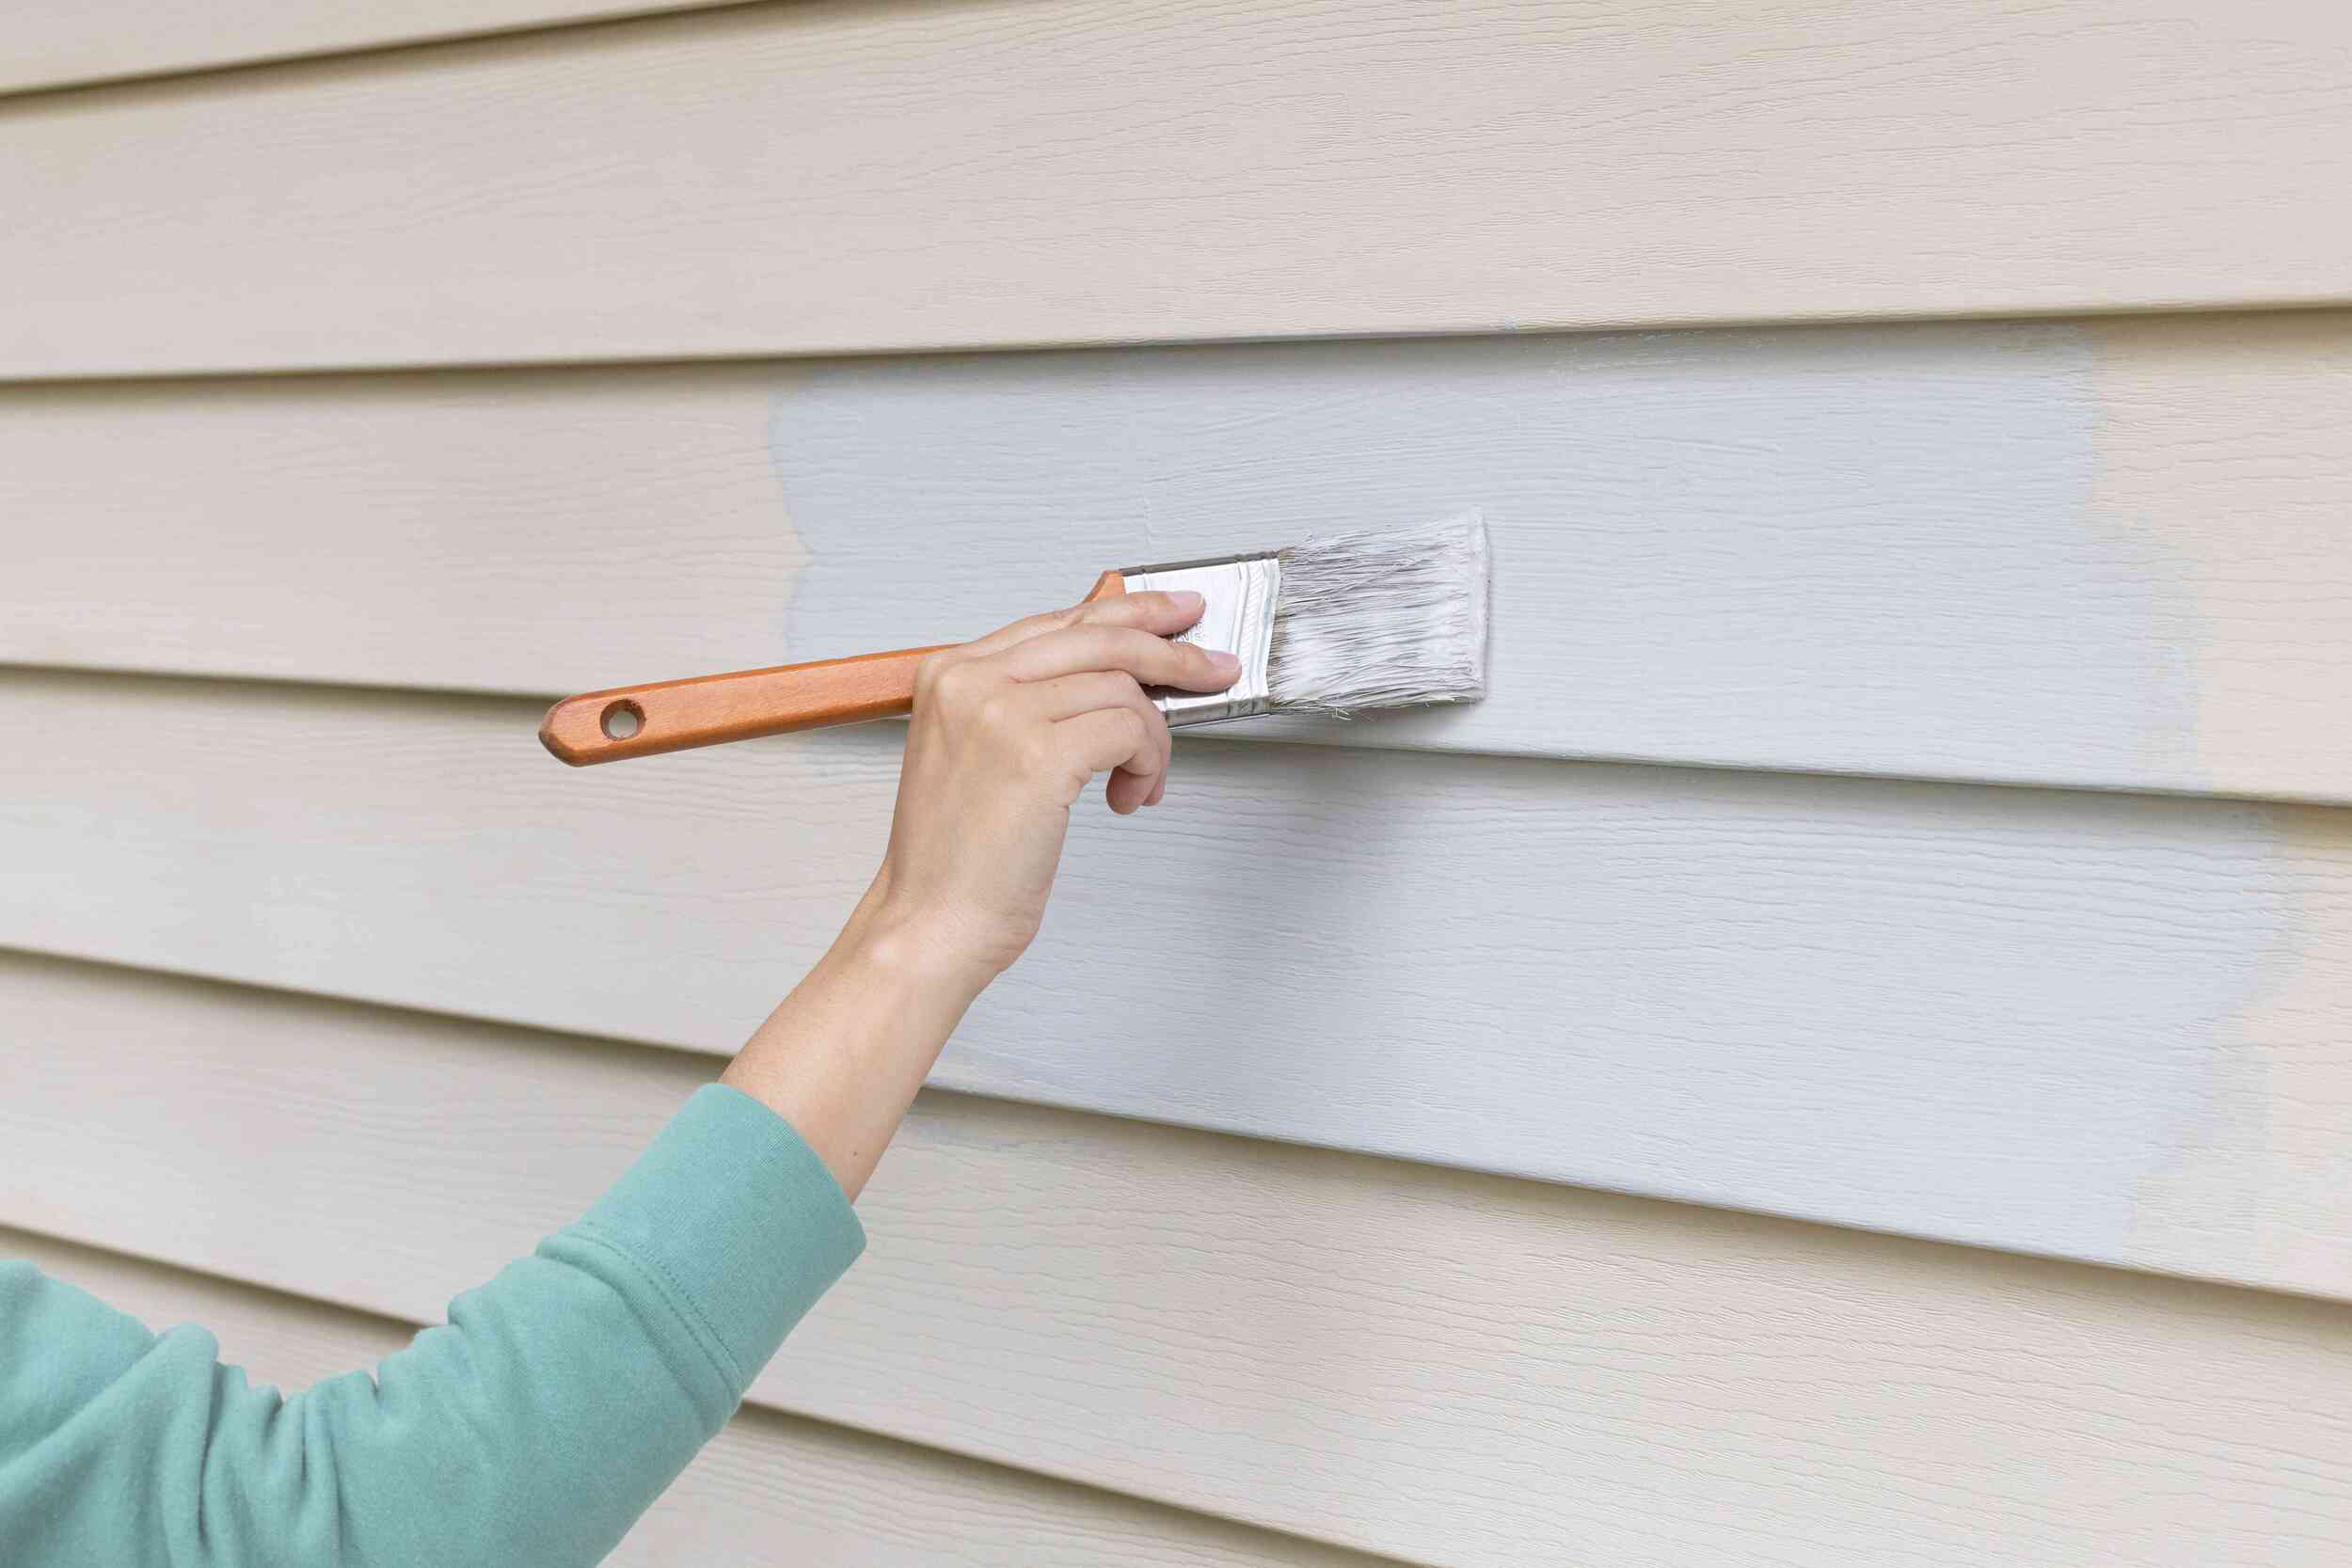
Applying the Paint
Applying the paint properly is key to achieving a smooth and even finish on your high exterior walls. Follow these tips to ensure a successful paint application:
- Use the right tools: Select the appropriate brush or roller for the job. Brushes with long handles and rollers with extension poles are ideal for reaching high areas. Choose tools that are in good condition and appropriate for the type of paint you’re using.
- Work in optimal conditions: Paint in mild weather conditions, preferably when the temperature is between 50 to 85 degrees Fahrenheit, with low humidity. Avoid painting in direct sunlight, as it can cause the paint to dry too quickly and lead to uneven application.
- Apply multiple coats: Depending on the color and coverage you desire, multiple coats may be necessary. Allow each coat to dry thoroughly before applying the next one. Follow the manufacturer’s instructions for the recommended drying time.
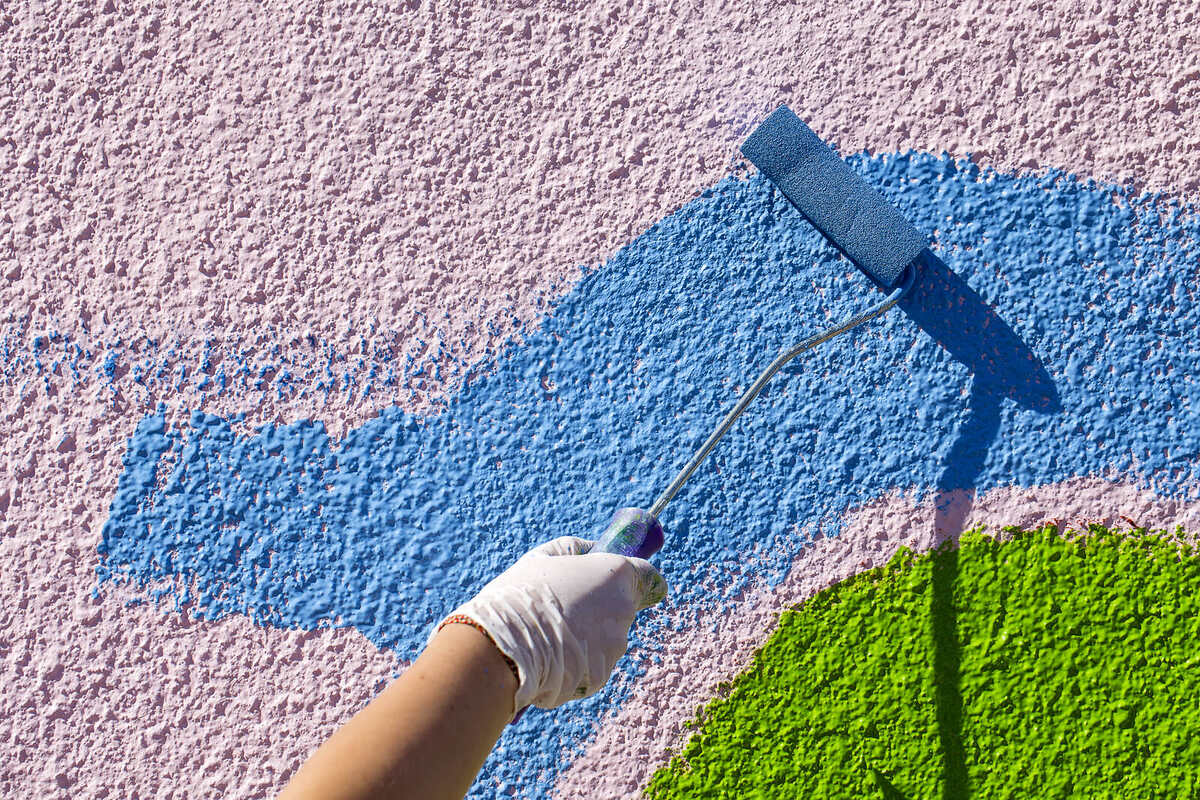
- Use proper technique: When using a brush, apply smooth and even strokes, following the natural contours of the wall. If using a roller, use long, straight strokes to cover larger areas. Keep the roller well-loaded with paint for consistent coverage.
- Blend overlapping areas: When working on larger walls, it’s common for paint to overlap in certain sections. To avoid visible lines, lightly feather the edges of these overlapping areas with a brush or roller to blend the paint seamlessly.
- Be mindful of drips or splatters: Pay attention to any drips, splatters, or excess paint and address them immediately. Use a brush or roller to smooth out any imperfections before they dry.
- Take breaks and assess your work: Painting high exterior walls can be physically demanding, so remember to take regular breaks to rest and hydrate. During these breaks, step back and assess your work to ensure consistency and make any necessary touch-ups.
By following these tips, you’ll be able to apply paint effectively and achieve a professional-looking finish on your high exterior walls. Remember to take your time, work methodically, and maintain a steady pace throughout the painting process.
Now that you’re well on your way to completing the painting project, it’s important to prioritize your safety and well-being while working at heights.
Taking Breaks and Staying Hydrated
Painting high exterior walls can be physically demanding work, so it’s crucial to take regular breaks and stay hydrated. Here are some tips to help you maintain your energy and well-being throughout the painting process:
- Plan your breaks: Schedule regular breaks into your painting routine. Aim to take short breaks every hour or so to rest your muscles and recharge.
- Stay hydrated: Drink plenty of water to keep yourself hydrated, especially if you’re painting on a hot day. It’s essential to replenish fluids and prevent dehydration.
- Take shelter from the sun: If possible, set up a shaded area near your work zone where you can take breaks and protect yourself from direct sunlight. This will help you stay cool and reduce the risk of heat-related illnesses.
- Listen to your body: Pay attention to any signs of fatigue or discomfort. If you start feeling tired or experience muscle strain, it’s a clear indication that you need a break.
- Stretch and move around: During breaks, take the opportunity to stretch your muscles and get some gentle exercise. This will help prevent stiffness and improve blood circulation.
- Protect your skin: Apply sunscreen, wear a wide-brimmed hat, and cover exposed areas of your skin to protect yourself from the sun’s harmful rays.
- Take care of your joints: Painting high walls may require repetitive movements and strain on your joints. Use proper lifting techniques and consider wearing knee pads or using knee pads to reduce stress on your knees.
Remember, your well-being is just as important as the quality of the paint job. Taking breaks and staying hydrated will help you maintain your focus, energy, and overall performance during the painting process.
Once you’ve completed the painting, it’s time to clean up and properly store your equipment.
Cleaning Up and Storing Equipment
Properly cleaning up and storing your painting equipment is essential for maintaining its longevity and ensuring that it’s ready for future use. Follow these steps to effectively clean up and store your equipment:
- Clean brushes and rollers immediately: After you finish painting, clean your brushes and rollers promptly to prevent the paint from drying and hardening. Use the appropriate cleaning agent for the type of paint you used (water for latex paint, paint thinner for oil-based paint).
- Remove excess paint: Scrape or shake off any excess paint from the brushes and rollers before cleaning them. This will make the cleaning process more efficient.
- Soak brushes and rollers: Fill a bucket or sink with the cleaning agent and soak your brushes and rollers for a few minutes. Gently agitate the bristles or nap to remove any remaining paint. Repeat this process until the water or cleaning agent runs clear.
- Rinse and dry: Rinse the brushes and rollers thoroughly with clean water to remove any residue from the cleaning agent. Shake off the excess water and let them air dry completely in a well-ventilated area.
- Store brushes properly: Once dry, store brushes by hanging them or placing them flat in their original packaging or protective covers. This will help maintain the shape of the bristles and prevent damage.
- Wrap and store rollers: After cleaning and drying, wrap rollers in plastic or aluminum foil to prevent them from drying out or collecting dust. Store them in a cool and dry place to maintain their integrity.
- Clean other equipment: Wipe down your paint trays, extension poles, and any other tools used during the painting process. Remove any paint residue and allow them to dry completely before storing.
- Dispose of paint materials responsibly: Dispose of any leftover paint, empty cans, and other paint-related materials according to local regulations. Many communities have specific guidelines for proper disposal.
By properly cleaning and storing your equipment, you’ll extend its lifespan and ensure that it’s in good condition for future paint projects.
Before we conclude, let’s review some final tips and considerations to keep in mind for successfully painting high exterior walls.
Final Tips and Considerations
As you wrap up your painting project on high exterior walls, here are some final tips and considerations to keep in mind:
- Plan ahead: Proper planning is essential for a successful paint job. Consider factors such as weather conditions, timing, and the availability of equipment and materials.
- Take color samples: Before committing to a specific color, consider taking color samples and testing them on a small area of the wall. This will give you a better idea of how the color will look in different lighting conditions.
- Protect nearby surfaces: Use drop cloths or plastic sheets to cover and protect nearby surfaces, such as windows, doors, and landscaping. This will prevent accidental paint splatters and make cleanup easier.
- Inspect your work: Once the paint has dried, take the time to inspect your work. Look for any missed spots, drips, or imperfections and address them accordingly. Touch up as needed to ensure a flawless finish.
- Maintain your paintwork: Regular maintenance is key to preserving your painted walls. Consider periodic cleaning and touch-ups to keep them looking fresh and vibrant.
- Consider professional help: If the task of painting high exterior walls seems overwhelming or if you lack the necessary expertise, don’t hesitate to seek professional help. Hiring a reputable painting contractor can ensure a high-quality and hassle-free result.
Remember, painting high exterior walls requires careful planning, attention to detail, and safety precautions. By following these tips and considerations, you’ll be well-equipped to tackle the project and achieve a visually appealing and long-lasting finish.
Now that you have a comprehensive understanding of how to paint high exterior walls, it’s time to put your knowledge into action and transform the look of your home or building. Best of luck with your painting endeavor!
If you have any further questions or require additional guidance, feel free to reach out. Happy painting!
Read more: How To Frame Exterior Walls
Conclusion
Congratulations! You’ve reached the end of this comprehensive guide on painting high exterior walls. By following the steps outlined in this article, along with the safety precautions and tips provided, you’re well-prepared to tackle this challenging task and achieve professional results.
We started by discussing the essential tools and materials you’ll need, emphasizing the importance of using the right equipment for the job. Then, we explored the crucial steps of preparing the wall, choosing the right paint, and taking safety precautions when working at heights. Setting up scaffolding or ladders correctly and starting at the bottom were crucial steps in ensuring a smooth painting process.
We also covered the importance of applying the paint properly, including using the right technique, maintaining a wet edge, and working in manageable sections. Additionally, we highlighted the significance of taking breaks, staying hydrated, and paying attention to your body’s needs throughout the painting process.
Cleaning up and storing your equipment properly was emphasized to prolong their lifespan and ensure they’re ready for future use. Lastly, we shared some final tips and considerations to keep in mind, including planning ahead, protecting nearby surfaces, maintaining your paintwork, and considering professional help if needed.
With this knowledge and guidance, you’re now equipped to take on the challenge of painting high exterior walls with confidence. Remember to prioritize safety, take your time, and enjoy the transformation that will elevate the appearance of your home or building.
If you have any further questions or need additional assistance, don’t hesitate to reach out. Happy painting!
Frequently Asked Questions about How To Paint High Exterior Walls
Was this page helpful?
At Storables.com, we guarantee accurate and reliable information. Our content, validated by Expert Board Contributors, is crafted following stringent Editorial Policies. We're committed to providing you with well-researched, expert-backed insights for all your informational needs.


0 thoughts on “How To Paint High Exterior Walls”