Articles
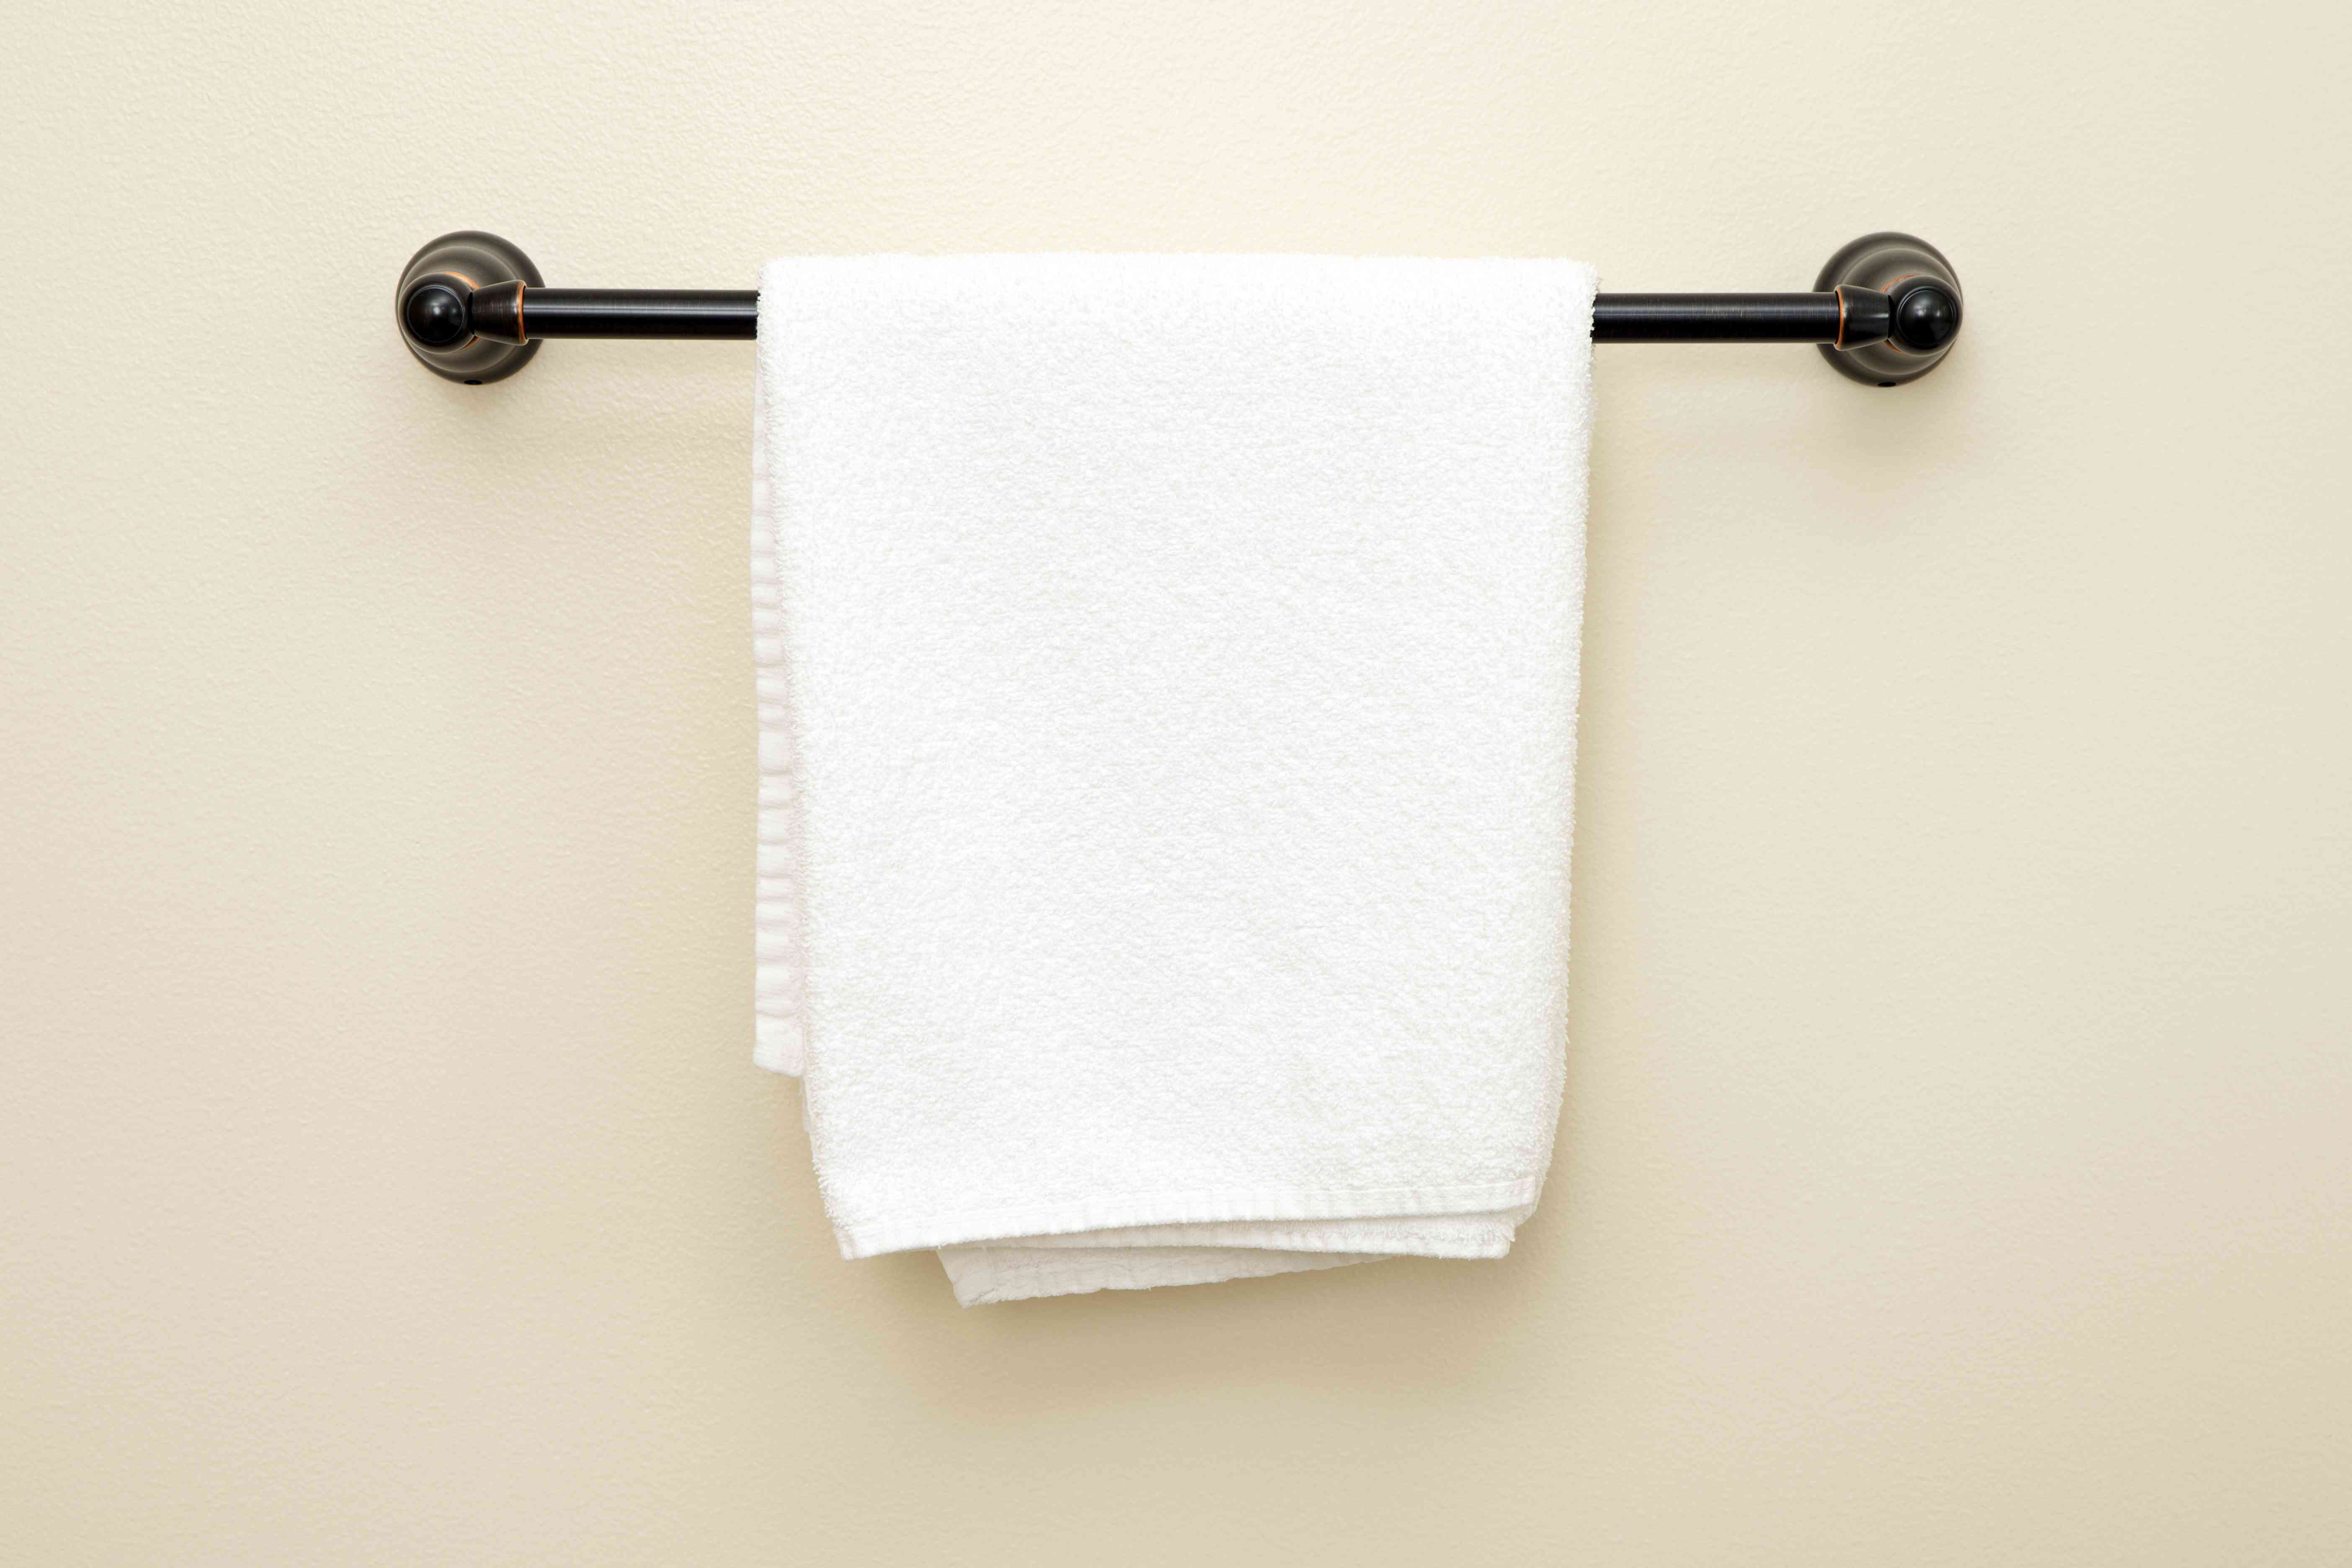
How To Install A Moen Towel Bar
Modified: October 20, 2024
Learn how to install a Moen towel bar with our step-by-step guide. Read our informative articles for expert tips and tricks on towel bar installation.
(Many of the links in this article redirect to a specific reviewed product. Your purchase of these products through affiliate links helps to generate commission for Storables.com, at no extra cost. Learn more)
Introduction
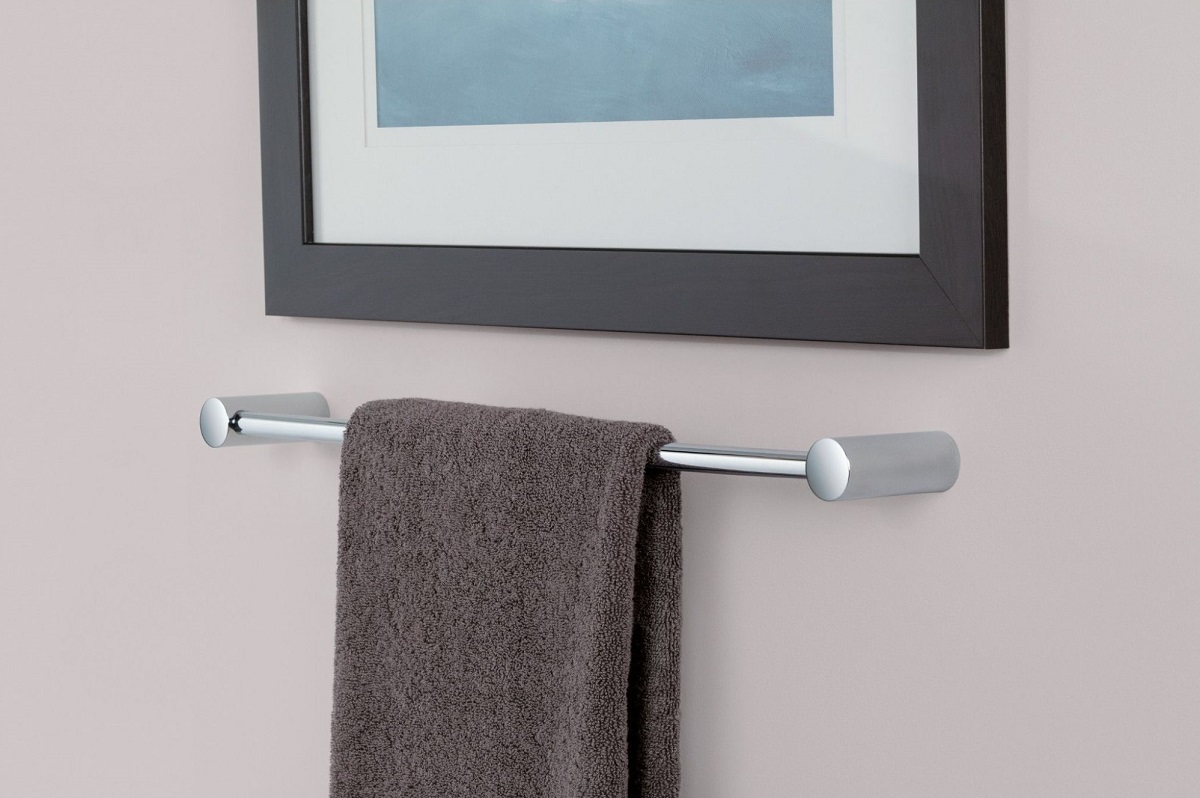
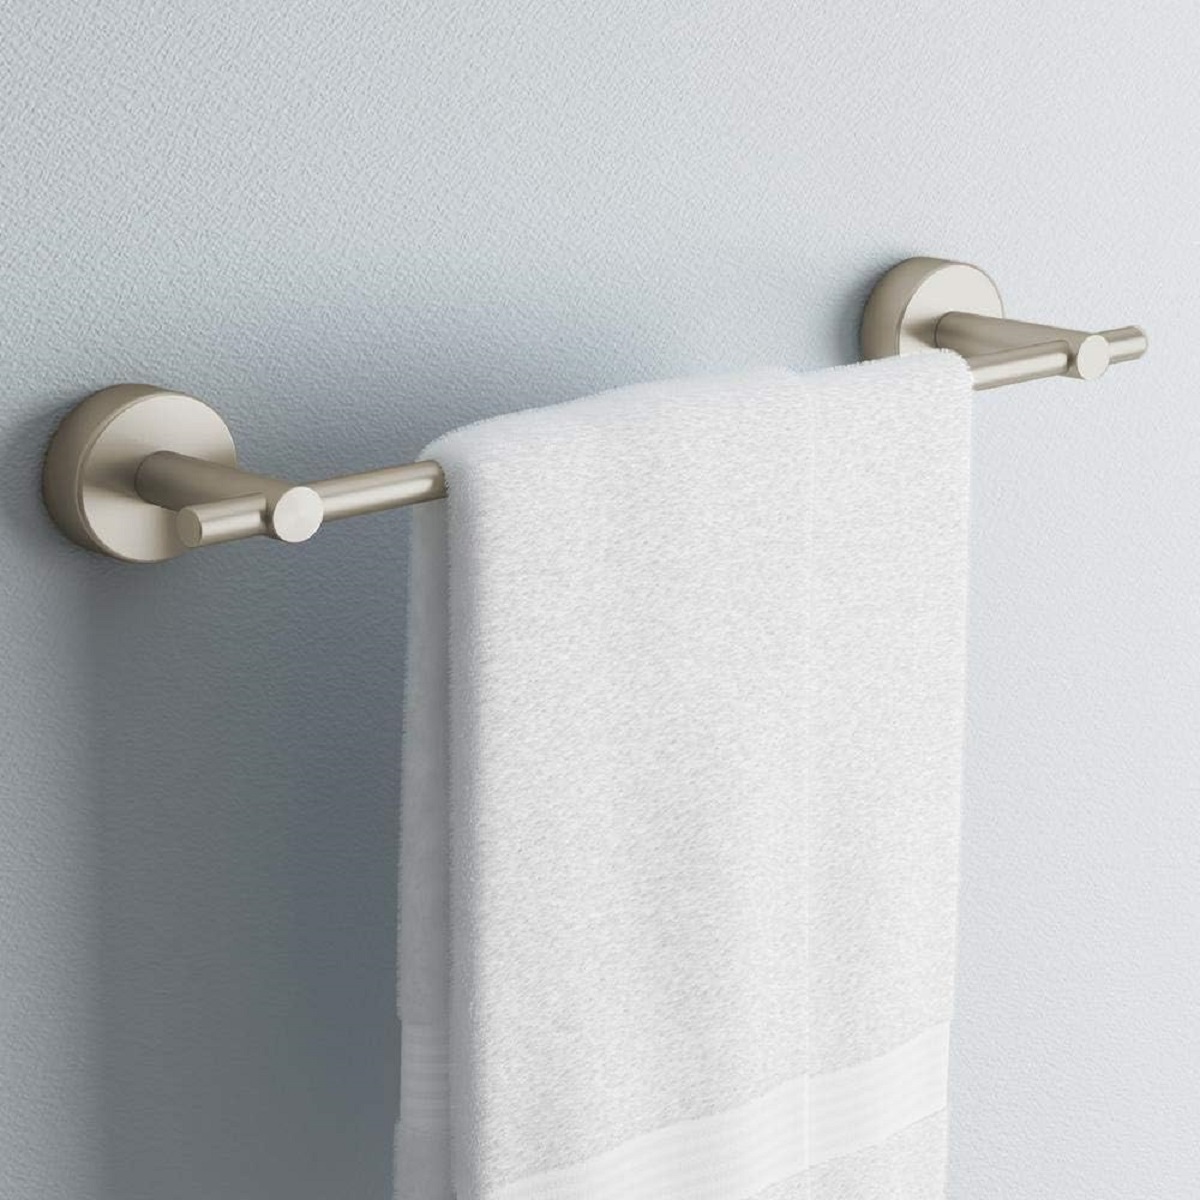
Welcome to our step-by-step guide on how to install a Moen towel bar. Whether you’re looking to update your bathroom decor or simply need a convenient place to hang your towels, installing a towel bar is a practical and stylish solution. With Moen’s renowned quality and reliability, you can trust that your towel bar will not only look great but also withstand the test of time.
In this article, we will walk you through the installation process, providing detailed instructions and tips along the way. You don’t need to be an experienced DIYer to tackle this project – with the right tools and a little guidance, you’ll have your towel bar securely installed in no time.
Before we dive into the installation steps, let’s quickly go over the tools and materials you’ll need:
Key Takeaways:
- Installing a Moen towel bar is a straightforward DIY project that can transform your bathroom into a more functional and organized space. With the right tools, materials, and attention to detail, you can enjoy the benefits of a secure and stylish towel bar for years to come.
- By following the step-by-step guide and testing the towel bar for strength and stability, you can ensure a successful installation. Moen’s quality and durability, combined with proper installation techniques, provide a practical and elegant solution for hanging towels in your bathroom.
Read more: How To Remove Moen Brantford Towel Bar
Tools and Materials:
- Measuring tape
- Pencil or marker
- Drill
- Screwdriver
- Level
- Wall anchors
- Towel bar and mounting hardware (included in the Moen towel bar package)
Now that you have your tools ready, let’s move on to the installation process. Remember, always follow the manufacturer’s instructions specific to your Moen towel bar model, as some steps may vary.
Step 1: Gather the necessary tools and materials
Before you begin the installation process, it’s important to gather all the tools and materials you’ll need. By having everything ready, you can work efficiently and ensure a smooth installation.
Here’s a list of the tools and materials you’ll need:
- Measuring tape: Use a measuring tape to determine the ideal placement for your towel bar.
- Pencil or marker: Marking the wall will help you accurately drill the necessary holes.
- Drill: You’ll need a drill to create the holes for the mounting brackets and anchors.
- Screwdriver: A screwdriver will be used to secure the mounting brackets and attach the towel bar.
- Level: A level will ensure that your towel bar is straight and properly aligned.
- Wall anchors: If you’re not able to mount the towel bar directly into a stud, use wall anchors to provide extra support.
- Towel bar and mounting hardware: These items will be included in the Moen towel bar package.
Once you have all the necessary tools and materials, you’re ready to move on to the next step of the installation process. Make sure to read the manufacturer’s instructions that come with your Moen towel bar for any specific requirements or recommendations.
Now that you have everything prepared, let’s move on to measuring and marking the placement of the towel bar.
Step 2: Measure and mark the placement of the towel bar
Before you start drilling any holes, it’s important to measure and mark the placement of your towel bar. This will ensure that it is installed at the desired height and in the correct position. Follow these steps to accomplish this:
- Locate the wall where you plan to install the towel bar. Consider the height that is comfortable for reaching towels easily.
- Using a measuring tape, measure the desired height and make a light mark on the wall with a pencil or marker.
- Using a level, extend the mark across the wall to ensure that it is straight and level.
- Measure the length of your towel bar and determine the distance between the two mounting brackets that will support it.
- Transfer this measurement to the wall, making sure the brackets are evenly spaced from the center mark.
- Double-check your measurements and adjust if necessary to ensure the towel bar will be level and centered.
By taking the time to accurately measure and mark the placement of your towel bar, you’ll achieve a professional-looking installation. It’s also important to consider the size of your towels and the available wall space when determining the height and positioning.
Once you have marked the placement, you’re ready to move on to the next step: preparing the mounting brackets.
Step 3: Prepare the mounting brackets
Before you can install the towel bar, you’ll need to prepare the mounting brackets. Follow these steps to ensure the brackets are ready for installation:
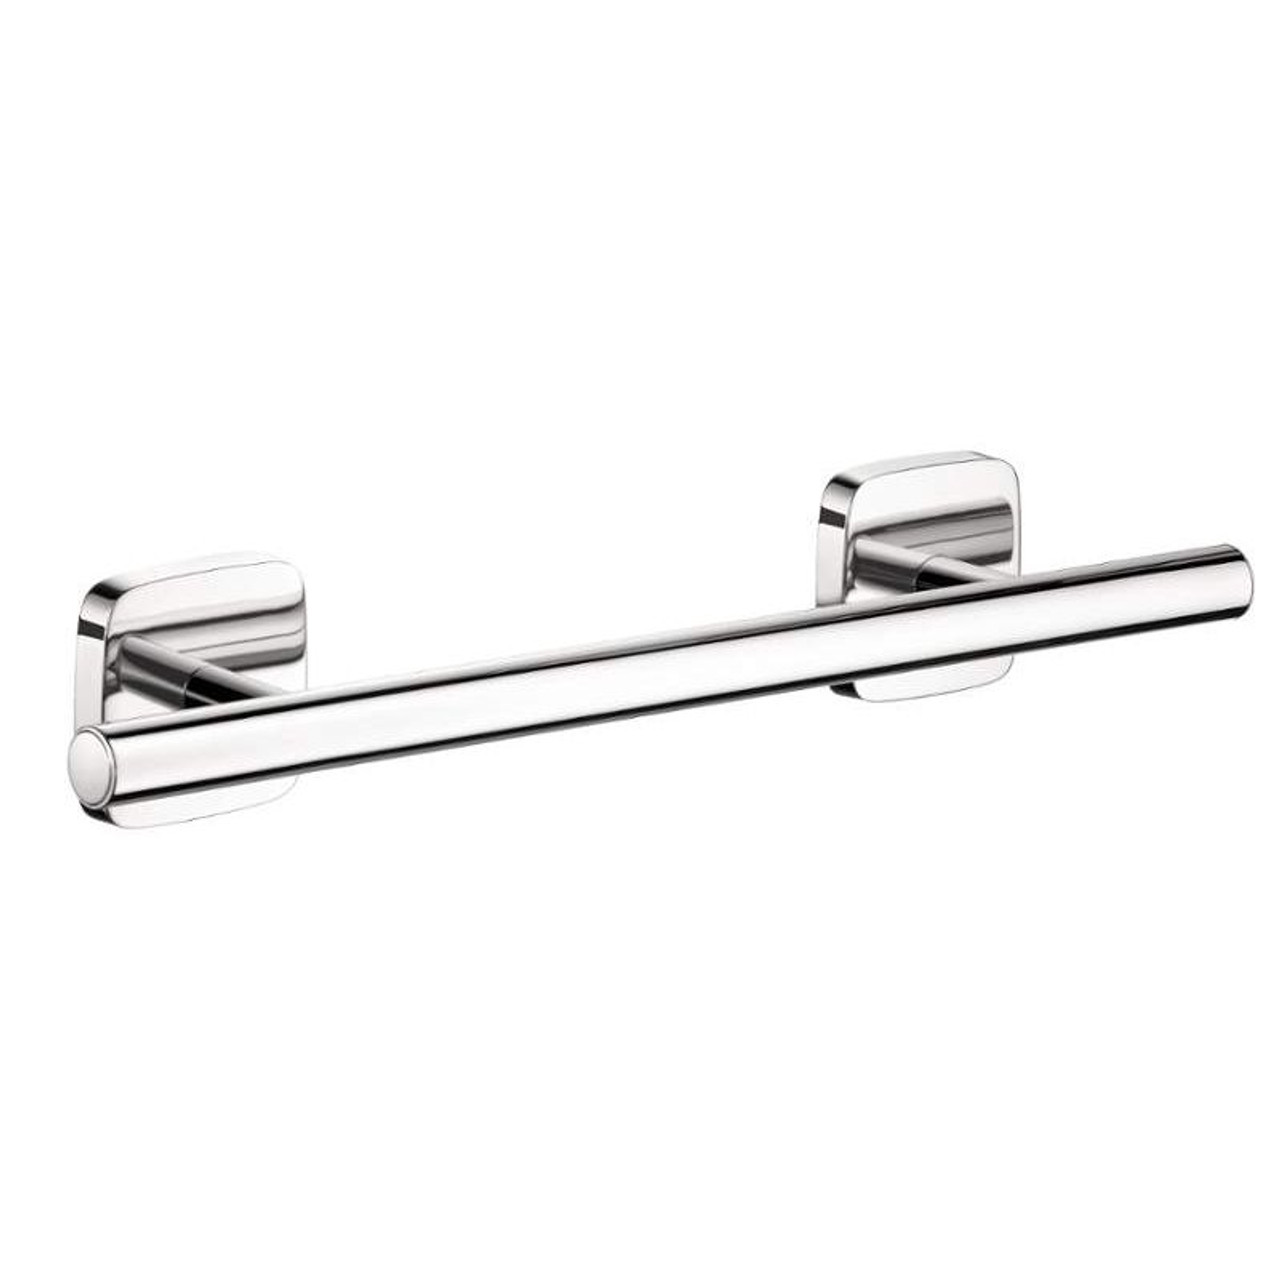
- Take out the mounting brackets from the packaging. Typically, Moen towel bars come with two brackets, one for each end of the towel bar.
- Inspect the brackets to ensure they are in good condition and free from any defects.
- Examine the brackets to determine the orientation for proper installation. There may be specific instructions or markings on the brackets to guide you.
- If your mounting brackets have adjustable arms, adjust them according to the measurements you marked on the wall. This will ensure the towel bar sits at the correct distance and level.
- Ensure that the mounting screws are securely tightened onto the brackets. If they are loose, tighten them using a screwdriver.
By properly preparing the mounting brackets, you’ll have a solid foundation for your towel bar installation. Take your time to ensure that the brackets are adjusted correctly and all screws are tightened securely.
With the mounting brackets ready, it’s time to move on to the next step: drilling the holes for the towel bar.
Read more: How To Tighten Your Moen Towel Bar
Step 4: Drill the holes
Now that you have prepared the mounting brackets, it’s time to drill the holes for the towel bar. Follow these steps to safely and accurately drill the necessary holes:
- Position the first mounting bracket against the wall, aligning it with the marked placement.
- Using a pencil or marker, make small marks through the screw holes in the bracket onto the wall. This will indicate where you need to drill.
- Repeat this process with the second mounting bracket.
- Double-check the positioning of the brackets and the accuracy of the pencil marks.
- Choose the appropriate drill bit size based on the provided instructions or the size of the wall anchors you plan to use.
- Attach the drill bit to your drill securely.
- Hold the drill perpendicular to the wall and carefully drill the holes at the marked locations. Apply steady pressure and avoid excessive force to prevent damaging the wall surface.
- Remove any debris or dust left behind from the drilling.
It’s essential to take your time and drill the holes accurately. Properly aligned holes will ensure a secure and sturdy installation for your towel bar.
Once the holes are drilled, you’re ready to move on to the next step: inserting the drywall anchors.
When installing a Moen towel bar, make sure to use a level to ensure it is straight. Also, use the provided template for accurate placement of the mounting brackets.
Step 5: Insert the drywall anchors
After drilling the holes, the next step in installing your Moen towel bar is to insert the drywall anchors. These anchors provide additional support and stability, especially when mounting the towel bar onto drywall. Follow these steps to correctly insert the drywall anchors:
- Take the drywall anchors that are provided with your Moen towel bar.
- Choose the appropriate anchor size based on the size of the drilled holes and the weight capacity of the towel bar.
- Insert the pointed end of the anchor into the drilled hole. Apply gentle pressure and twist the anchor clockwise until it is flush with the wall surface.
- Repeat this process for each drilled hole.
- Ensure that the anchors are securely in place and will provide a stable foundation for the mounting brackets.
Inserting the drywall anchors is crucial for a secure towel bar installation, especially when mounting on drywall. These anchors help distribute the weight evenly and prevent the screws from damaging the drywall over time.
With the drywall anchors inserted, you’re ready to move on to the next step: installing the mounting brackets.
Step 6: Install the mounting brackets
Now that you have drilled the holes and inserted the drywall anchors, it’s time to install the mounting brackets. These brackets will provide the support for your towel bar. Follow these steps to properly install the mounting brackets:
- Take one of the mounting brackets and align it with the corresponding holes and drywall anchor.
- Insert the screws provided with the Moen towel bar into the holes of the bracket.
- Using a screwdriver, tighten the screws into the drywall anchors. Ensure they are securely fastened, but avoid over-tightening to prevent damage to the brackets or wall.
- Repeat this process for the second mounting bracket, ensuring it is level and aligned with the other bracket.
- Double-check the stability of the installed brackets by gently pulling on them. If they feel secure and do not move, you’re ready to move on to the next step.
Proper installation of the mounting brackets is essential for the stability of your towel bar. Ensure that they are securely fastened and level to provide a sturdy base for hanging towels.
With the mounting brackets installed, it’s time to move on to the next step: attaching the towel bar.
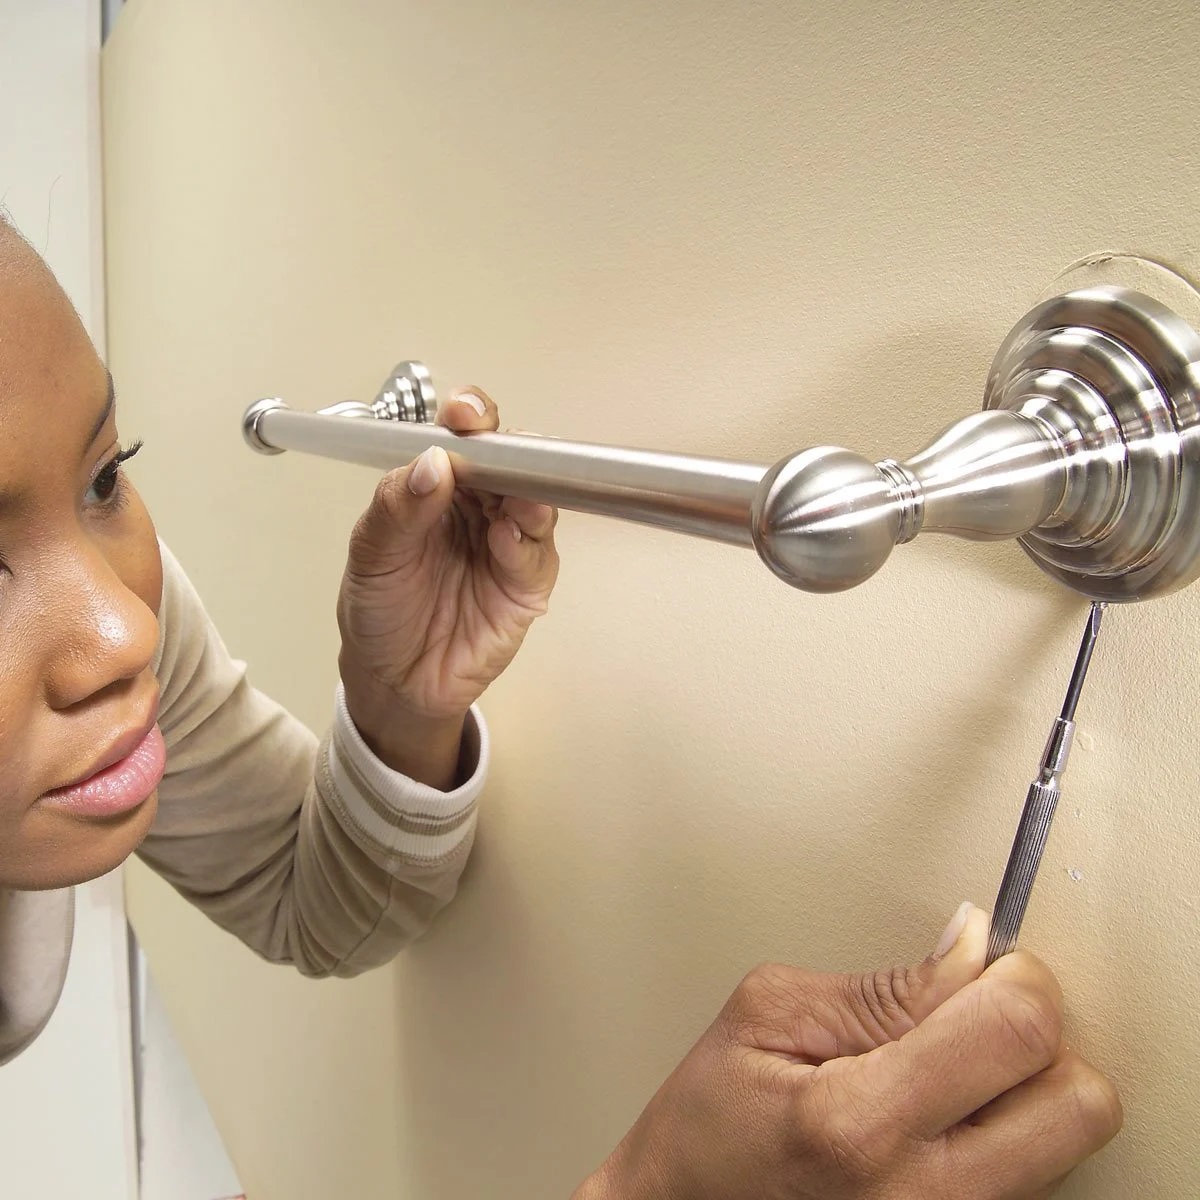
Step 7: Attach the towel bar
Now that the mounting brackets are securely installed, it’s time to attach the towel bar. Follow these steps to correctly attach the towel bar to the mounting brackets:
- Take the Moen towel bar and locate the openings on each end that align with the mounting brackets.
- Position one end of the towel bar onto the corresponding mounting bracket.
- Slide the towel bar into place by aligning the openings on the other end with the second mounting bracket.
- Ensure that the towel bar is level by using a bubble level. Adjust if needed by slightly repositioning the bar.
- Once the towel bar is level, tighten the set screws on each end using a screwdriver. These set screws will securely hold the towel bar in place.
- Double-check that the towel bar is firmly attached to both mounting brackets. Give it a gentle tug to test its stability.
Attaching the towel bar is the exciting part, as it brings your installation project close to completion. Take care to ensure that the towel bar is level and securely attached, so you can confidently hang your towels without any worries.
With the towel bar attached, it’s time for the final step: testing the towel bar.
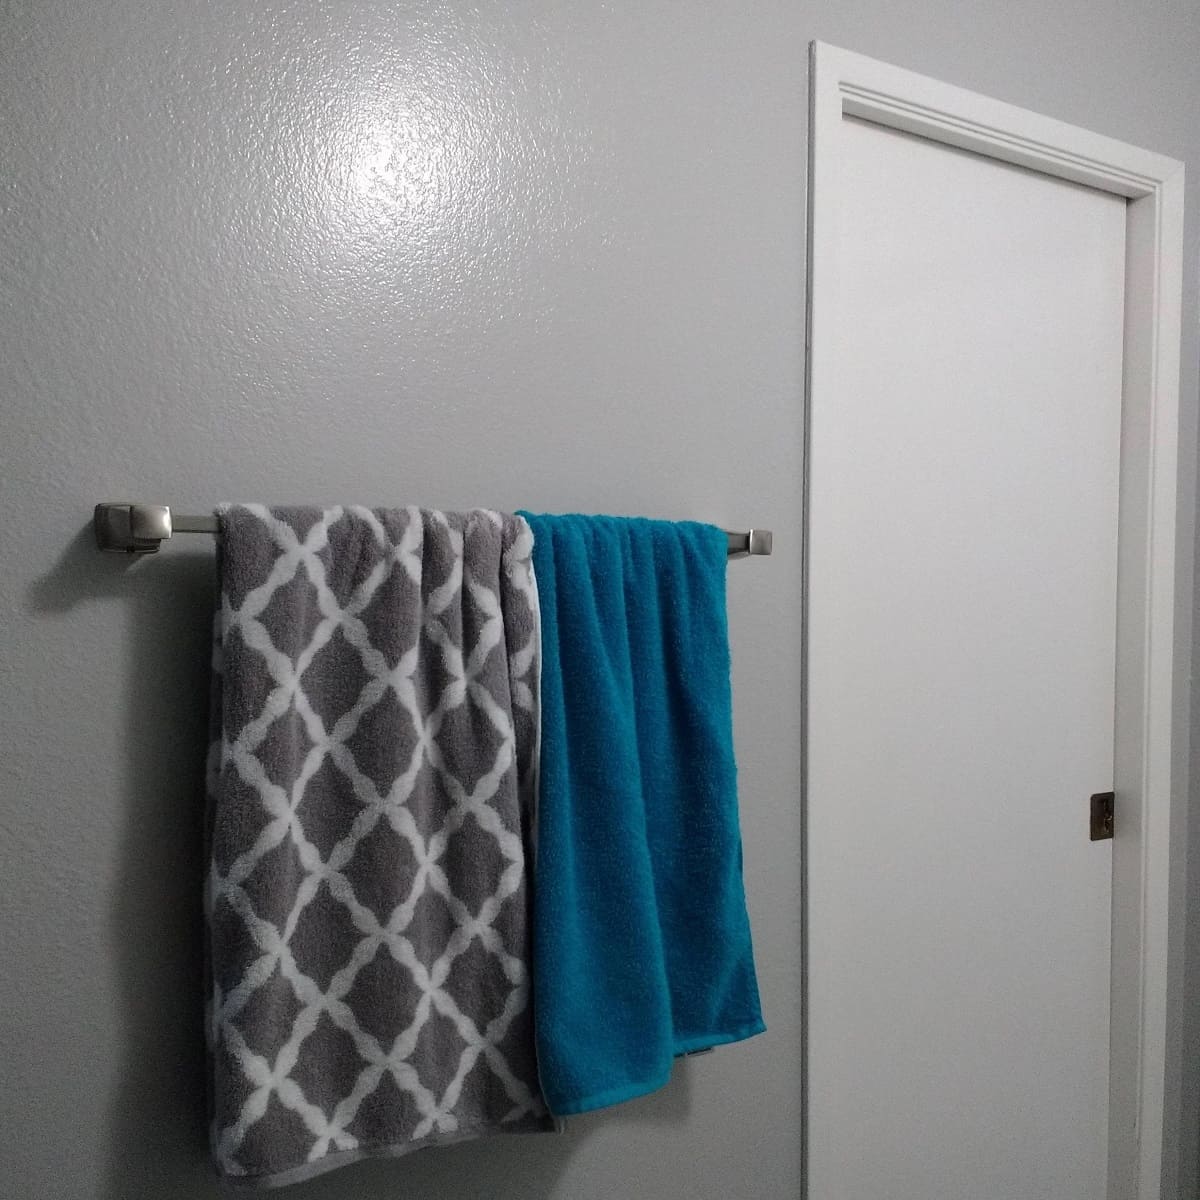
Step 8: Test the towel bar
Congratulations on reaching the final step of your Moen towel bar installation! Now it’s time to test the towel bar to ensure it is firmly in place and ready to hold your towels. Follow these steps to properly test the towel bar:
- Gently hang a towel on the towel bar to test its strength and stability.
- Apply some pressure to the towel bar by pulling down on the towel. This will simulate the weight and usage it will endure.
- Check that the towel bar remains securely attached to the mounting brackets and does not shift or come loose.
- Repeat this process with a few more towels to ensure the towel bar can hold multiple towels without any issues.
- If the towel bar passes the test and stays securely in place, congratulations! Your Moen towel bar is successfully installed and ready for use.
- If you notice any issues or instability during testing, double-check the mounting brackets, screws, and towel bar attachment. Make any necessary adjustments or tighten any loose components.
By testing the towel bar after installation, you can ensure that it is strong and capable of holding your towels securely. This step provides peace of mind and helps prevent any future accidents or incidents.
With the towel bar successfully tested, you have completed the installation process! Enjoy your newly installed Moen towel bar and the convenience it brings to your bathroom.
If you have any further questions or concerns, always refer to the manufacturer’s instructions or consult a professional for assistance.
Happy towel hanging!
Conclusion
Congratulations! You have successfully completed the installation of your Moen towel bar. By following the step-by-step guide in this article, you have transformed your bathroom into a more functional and organized space.
Installing a towel bar may seem like a daunting task, but with the right tools, materials, and guidance, it can be a straightforward and rewarding DIY project. Moen towel bars not only provide a practical solution for hanging towels but also add a touch of elegance to your bathroom decor.
Remember to gather all the necessary tools and materials before getting started. Measure and mark the placement of the towel bar accurately to ensure a proper installation. Preparing the mounting brackets, drilling the holes, inserting the drywall anchors, and installing the brackets are crucial steps for a secure and sturdy towel bar.
Attaching the towel bar itself and testing its strength and stability are the final steps to ensure the successful installation. By following these steps and paying attention to detail, you can enjoy the benefits of your Moen towel bar for years to come.
Keep in mind that if you encounter any difficulties or have specific variations in your Moen towel bar model, always consult the manufacturer’s instructions or seek professional assistance for guidance.
Thank you for choosing Moen, a trusted brand known for its quality and durability. We hope this guide has been helpful in making the installation process smooth and enjoyable.
Now it’s time to sit back, relax, and enjoy the convenience and style of your newly installed Moen towel bar. Happy towel hanging!
Frequently Asked Questions about How To Install A Moen Towel Bar
Was this page helpful?
At Storables.com, we guarantee accurate and reliable information. Our content, validated by Expert Board Contributors, is crafted following stringent Editorial Policies. We're committed to providing you with well-researched, expert-backed insights for all your informational needs.


0 thoughts on “How To Install A Moen Towel Bar”