Home>Ideas and Tips>DIY Guide To Installing A Kitchen Pantry Pull-Out System
Ideas and Tips
DIY Guide To Installing A Kitchen Pantry Pull-Out System
Modified: November 2, 2024
Enhance your kitchen's functionality with our DIY guide to installing a pull-out pantry system. Step-by-step instructions for a more organized and accessible pantry.
(Many of the links in this article redirect to a specific reviewed product. Your purchase of these products through affiliate links helps to generate commission for Storables.com, at no extra cost. Learn more)
Introduction
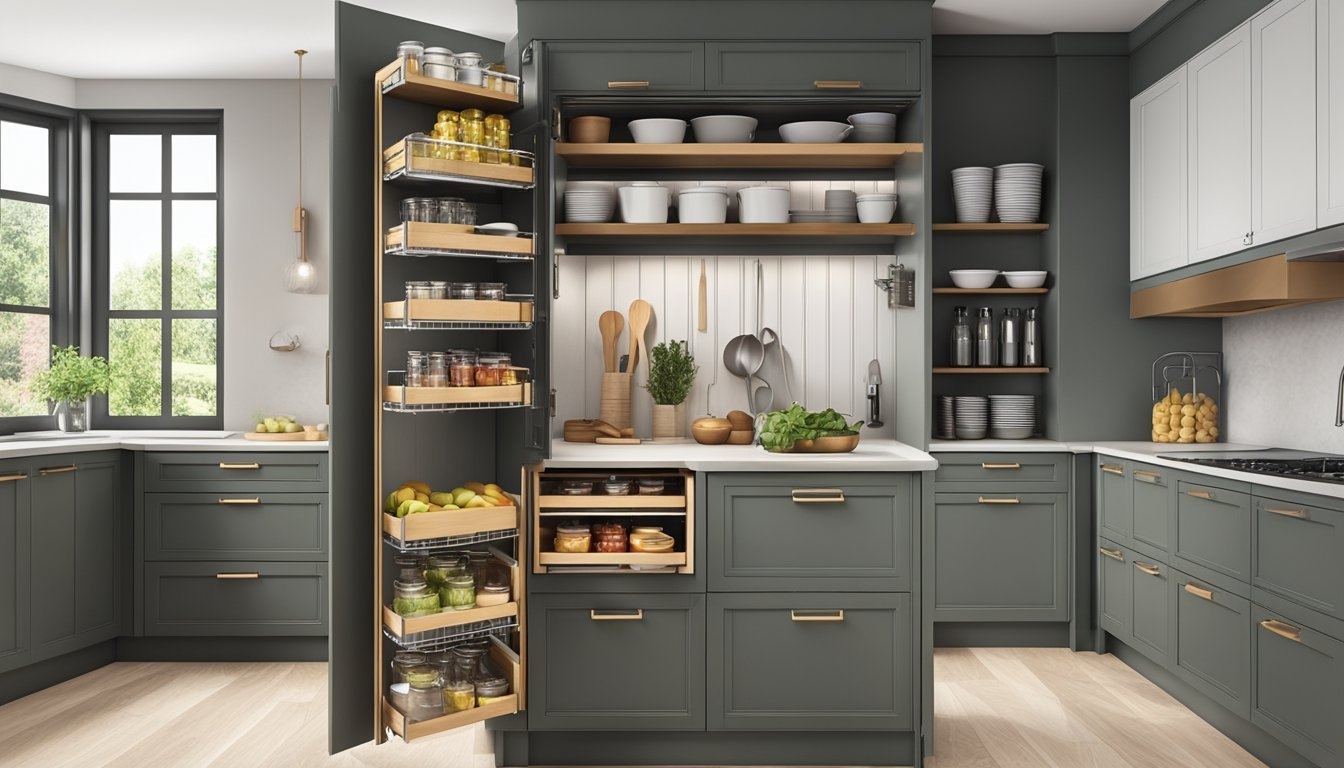
A well-organized pantry is essential for any home, especially for those who enjoy cooking or have a large family. Traditional pantry shelves often leave items hidden and hard to reach, which can lead to wasted space and forgotten items. A pull-out pantry system addresses these issues by providing easy access to all your stored items, making it easier to find what you need quickly.
Benefits of a Pull-Out Pantry System
Improved Organization: By using pull-out drawers and shelves, you can keep your pantry items neatly organized and easily accessible.
Increased Space Utilization: These systems help maximize the use of your pantry space by making the most of every inch.
Enhanced Accessibility: Pull-out shelves and drawers allow you to reach items without having to bend or stretch, reducing strain on your back.
Customization: You can tailor the system to fit your specific needs, whether it's for storing heavy items or keeping smaller items like spices and canned goods.
Materials Needed
Before starting your project, gather the necessary materials:
- Drawer Slides: Choose from basic or full extension slides, depending on how far you want your drawers to pull out.
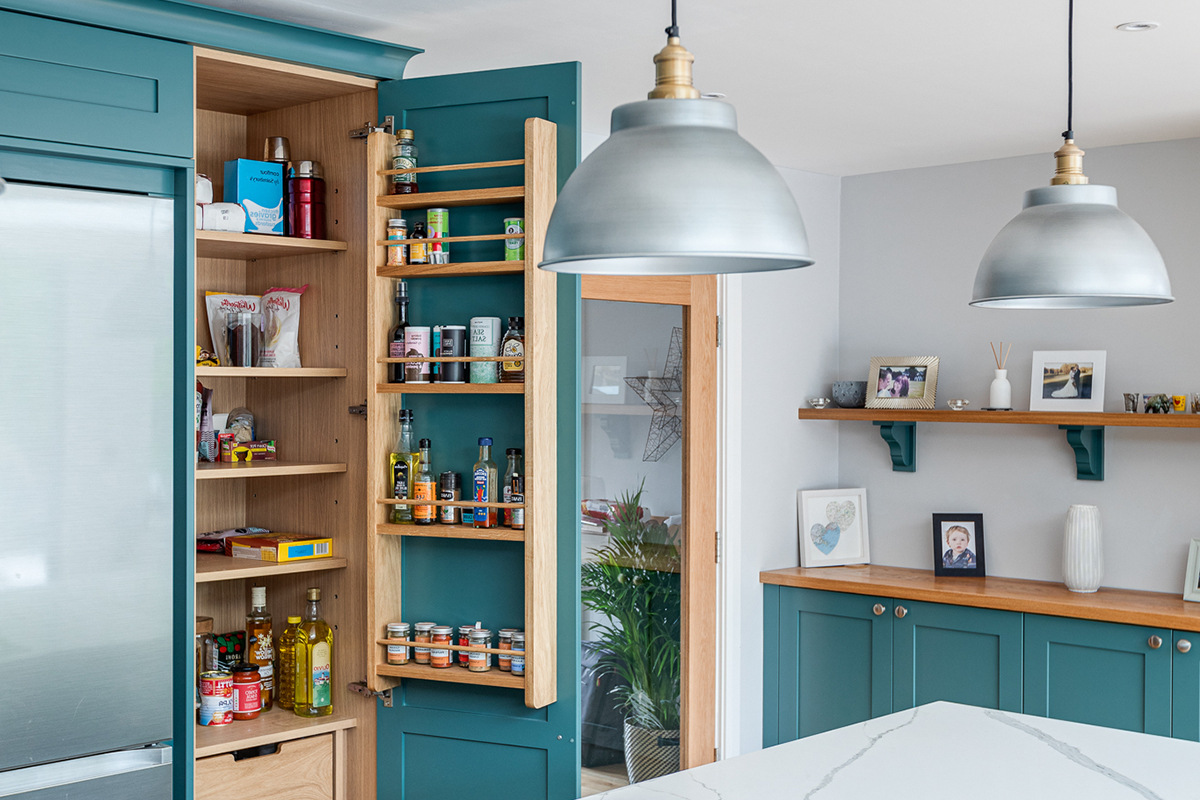
- Shelves: Decide on the type of shelves you need—sloping sides for stability, low sides for easy label reading, or high sides for storing heavy containers.
- Wood or Material for Shelves: Use scrap wood or melamine for the shelves to keep costs low.
- Hardware: Soft-close hardware is recommended for a smooth and quiet operation.
- Tools: Drill, saw, measuring tape, level, and any other necessary tools for assembling and installing the system.
Step-by-Step Guide
Step 1: Plan Your System
Before you begin, determine how you want your drawers and shelves to function:
- Weight Capacity: Consider the weight of the items you will be storing. Some slides are designed to handle heavier loads than others.
- Slide Type: Decide between basic or full extension slides. Full extension slides allow you to pull the drawers all the way out, while basic slides stop short of the full extension.
- Soft Close: Choose whether you want soft-close hardware, which ensures the drawers and shelves pull back quietly by themselves.
- Depth of Drawer/Cabinet: Ensure the slides you choose fit the depth of your drawer or cabinet. Slides come in various depths, typically ranging from 16 inches to 22 inches.
Step 2: Measure Your Pantry
Measure your pantry to determine the best size for your pull-out system:
- Width and Height: Note the width and height of your pantry cabinet.
- Door Size: Measure the size of your pantry door to ensure proper fitment.
- Clearance: Check for any obstacles such as hinges or protruding doors that might interfere with the installation.
Step 3: Remove Existing Shelves
Clear out your pantry by removing existing shelves and any junk that may be stored there:
- Remove Shelves: Take down all existing shelves from your pantry.
- Clear Junk: Clear out any items from the pantry floor and walls.
Step 4: Prepare the Pantry
Prepare the pantry for installation by marking the center line and measuring for slide placement:
- Mark Center Line: Use a template provided with your slide kit or draw a center line on your pantry wall.
- Measure Slide Placement: Measure from the center line to mark where you will install the slides.
Step 5: Install Drawer Slides
Install the drawer slides according to the manufacturer's instructions:
- Attach Slides: Attach one end of the slide to the top of the pantry shelf and the other end to the bottom of the drawer.
- Secure Slides: Ensure that the slides are securely attached to prevent them from tipping forward or out when extended.
Read more: How To Organize A Pull Out Pantry
Step 6: Build Custom Drawers/Shelves
Build custom drawers or shelves using scrap wood or melamine:
- Cut Wood/Material: Cut wood or melamine to size for your drawers or shelves.
- Assemble Drawers/Shelves: Assemble the drawers or shelves using screws or nails.
Step 7: Attach Drawers/Shelves to Slides
Attach the drawers or shelves to the installed slides:
- Attach Drawer/Shelf: Attach one end of the drawer or shelf to one end of the slide.
- Secure Attachment: Ensure that this attachment is secure so that it does not come loose over time.
Step 8: Install Additional Features (Optional)
If desired, install additional features such as soft-close hardware or adjustable baskets:
- Soft Close Installation: Install soft-close hardware according to manufacturer’s instructions.
- Basket Installation: Install adjustable baskets if using a sliding basket kit like Dispensa.
Tips for Installation
Here are some additional tips to ensure a successful installation:
- Use Right Slides: Stick to roller slides for simplicity and ease of installation.
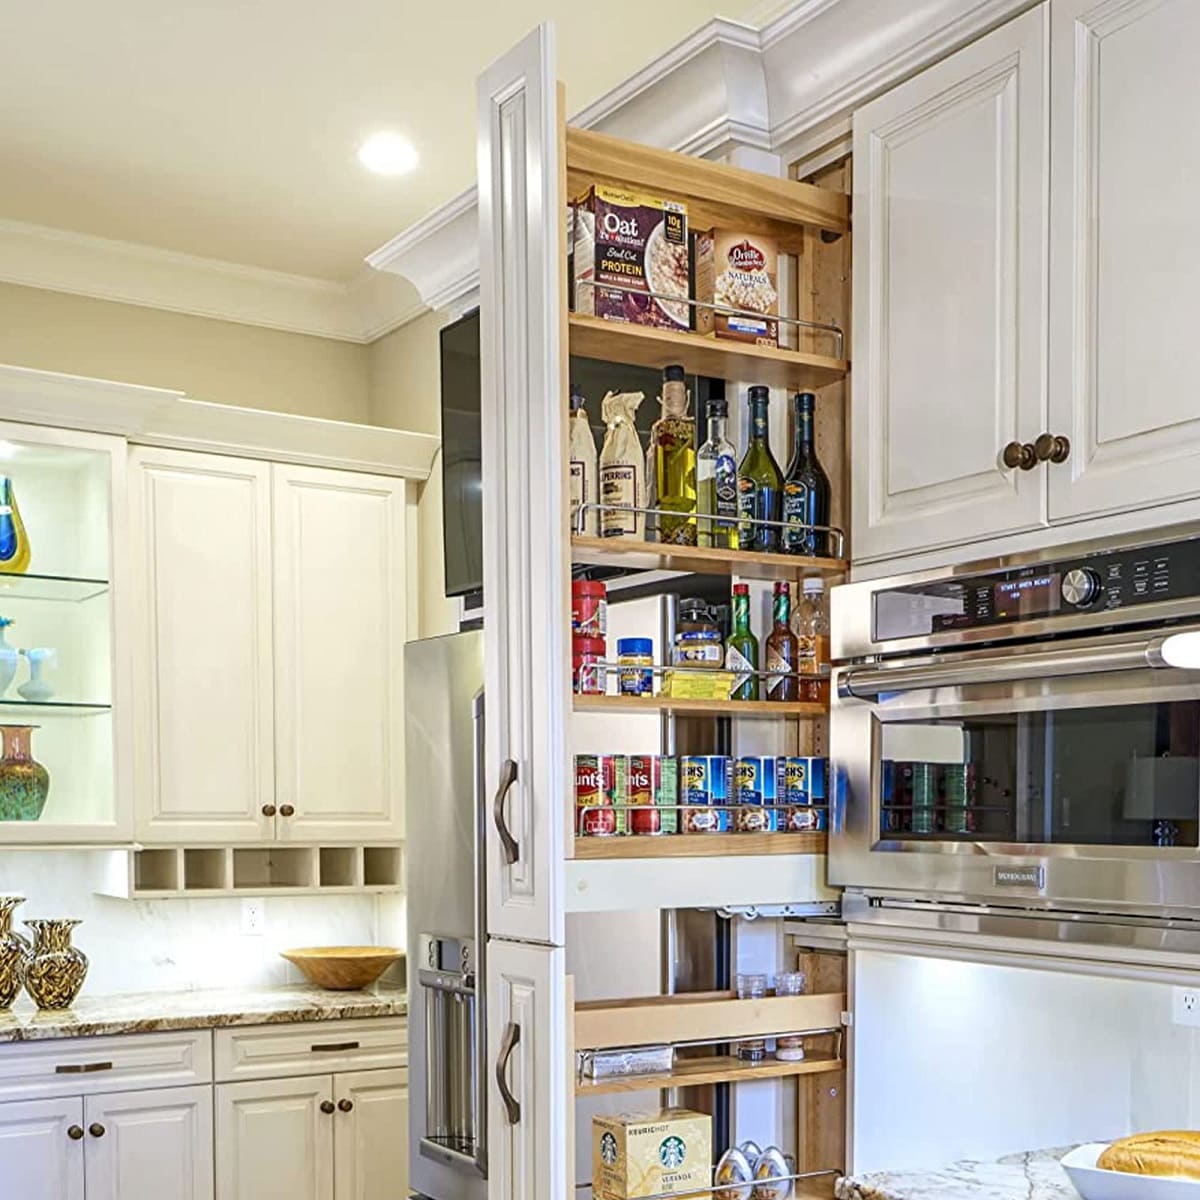
- Start at Bottom: Start with the bottom shelves/drawers first as they provide the most benefit in terms of accessibility.
- Watch for Obstacles: Be mindful of protruding hinges and doors that might interfere with slide installation.
- Avoid Mistakes: Use a story stick or mark measurements on scrap wood to avoid measurement errors.
Conclusion
Installing a pull-out pantry system is a rewarding DIY project that can significantly enhance your kitchen's functionality and organization. By following these steps and tips, you can create a custom pull-out system tailored to your specific needs, ensuring that every inch of your pantry space is utilized efficiently. Whether you're looking to store heavy items or keep smaller items like spices and canned goods easily accessible, this guide provides you with all the necessary information to achieve a well-organized and accessible pantry.
References
- Thrifty Decor Chick – "How to Make DIY Pull Out Pantry Shelves and Drawers" (2022)
- Mitre 10 Easy As DIY – "How to Install a Pull Out Pantry" (2015)
- Richelieu – "Sliding Basket Kit for Wall Units" (2014)
- Family Handyman – "10 Tips for Installing Pull Out Pantry Shelves" (2024)
- YouTube Tutorial – "How To Install Sliding Shelves In Kitchen Pantry Cabinet" (2021)
By following this comprehensive guide, you'll be able to transform your pantry into a more efficient and organized space that makes cooking and meal preparation easier than ever before.
Was this page helpful?
At Storables.com, we guarantee accurate and reliable information. Our content, validated by Expert Board Contributors, is crafted following stringent Editorial Policies. We're committed to providing you with well-researched, expert-backed insights for all your informational needs.


0 thoughts on “DIY Guide To Installing A Kitchen Pantry Pull-Out System”