Home>Ideas and Tips>DIY Guide To Installing A Kitchen Pot Rack
Ideas and Tips
DIY Guide To Installing A Kitchen Pot Rack
Published: September 19, 2024
Learn how to install a kitchen pot rack with our DIY guide. Maximize storage space and keep cookware within easy reach.
(Many of the links in this article redirect to a specific reviewed product. Your purchase of these products through affiliate links helps to generate commission for Storables.com, at no extra cost. Learn more)
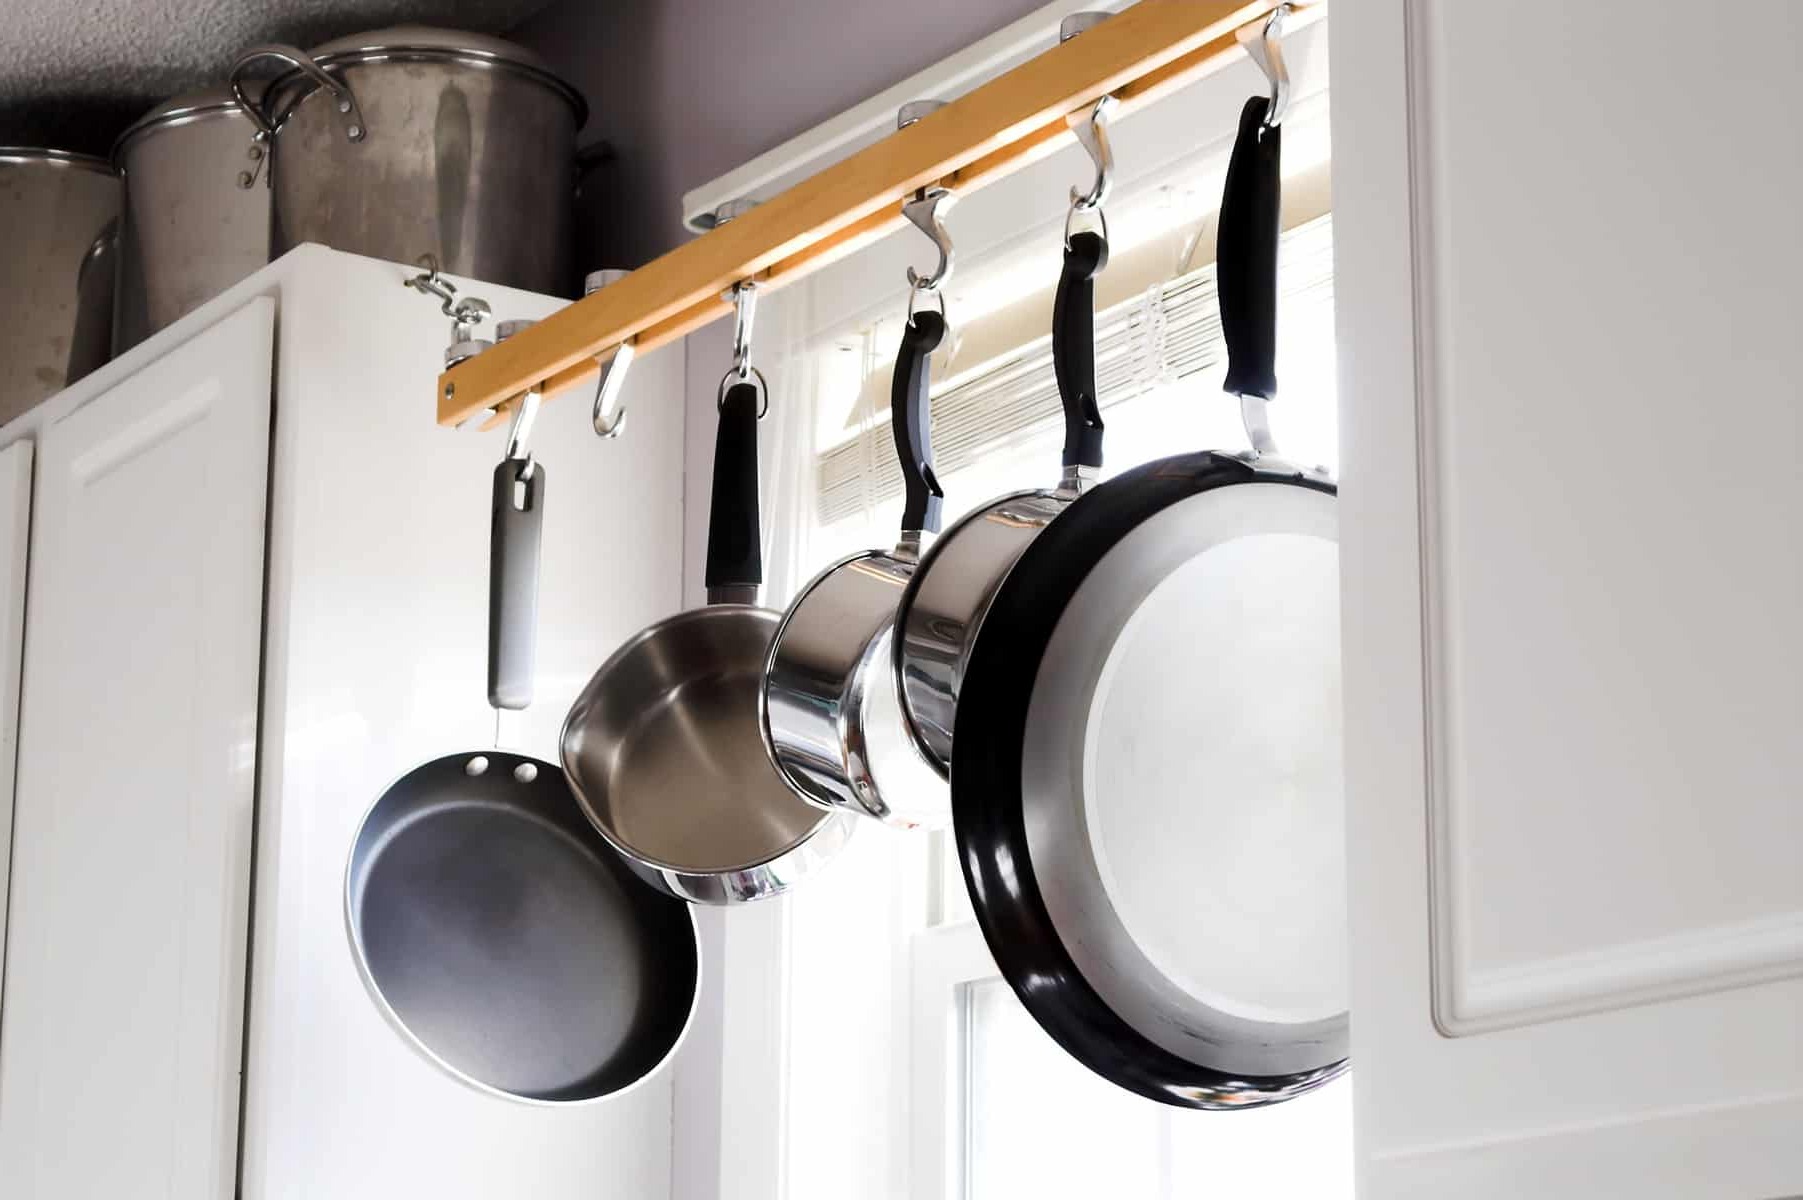
Installing a kitchen pot rack is a fantastic way to maximize your kitchen's storage space while keeping your cookware within easy reach. Whether you're looking to free up cabinet space or simply add a touch of elegance to your kitchen, a pot rack is an excellent solution. In this comprehensive guide, we'll walk you through the steps to install a hanging pot rack, including choosing the right spot, selecting the perfect rack, and securing it to your ceiling.
Choosing the Right Spot
Before you start installing your pot rack, it's crucial to choose the right spot in your kitchen. Here are some key considerations:
- Accessibility: The pot rack should be placed in an area where you do most of your cooking and prep work. This ensures that your utensils are always close at hand.
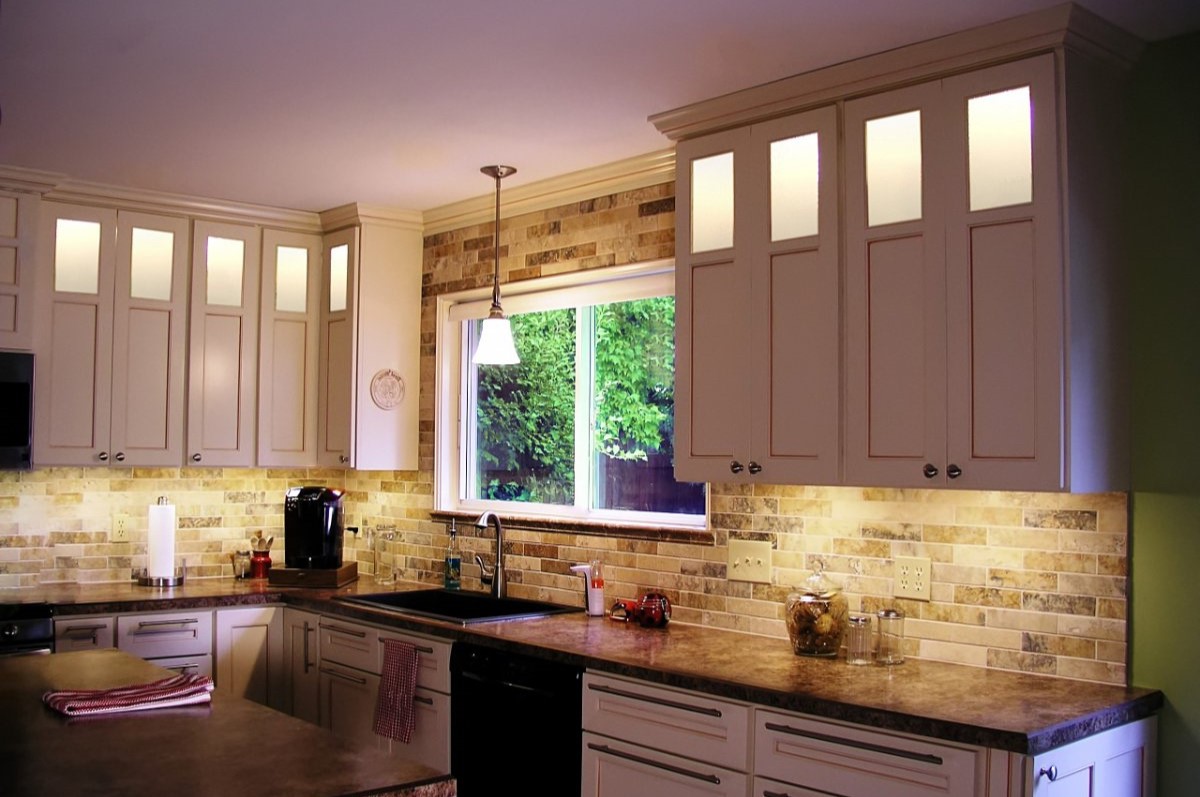
- Clearance: Make sure the pot rack doesn't block ceiling lights or natural light sources. Some iron racks can be quite large, so ensure they don't obstruct views into other rooms.
- Functionality: Consider where you'll be hanging frequently used items like colanders, pots, and utensils. Hanging them above the kitchen island or sink can be particularly useful as it keeps them within easy reach and allows them to drip dry directly into the sink.
Step-by-Step Guide to Choosing the Right Spot
- Identify Your Cooking Area: Think about where you do most of your cooking and prep work. This could be over a kitchen island, sink, or counter area.
- Measure Your Space: Measure the height of your ceiling and the space where you plan to install the rack. This will help you determine how much space you have available for hanging.
- Consider the Size of Your Rack: Choose a pot rack that fits the size of your kitchen and is aesthetically pleasing. You'll be looking at it nearly every day, so it should complement your kitchen's style.
Selecting the Perfect Rack
Choosing the right pot rack involves considering several factors including size, material, and style. Here are some tips to help you select the perfect rack:
- Material: Wrought iron pot racks are popular due to their durability and stylish appearance. However, you can also opt for other materials like stainless steel or wooden racks.
- Size: Ensure that the rack is large enough to hold all your cookware but not so large that it overwhelms the space.
- Style: Choose a rack that fits your kitchen's style. For example, a rustic iron rack might add a charming touch to a traditional kitchen while a sleek stainless steel rack could be more suitable for modern kitchens.
Step-by-Step Guide to Choosing the Perfect Rack
- Research Different Types of Racks: Look at various types of pot racks available in the market, including wrought iron, stainless steel, and wooden racks.
- Measure Your Cookware: Measure the size of your pots and pans to ensure that the rack can accommodate them comfortably.
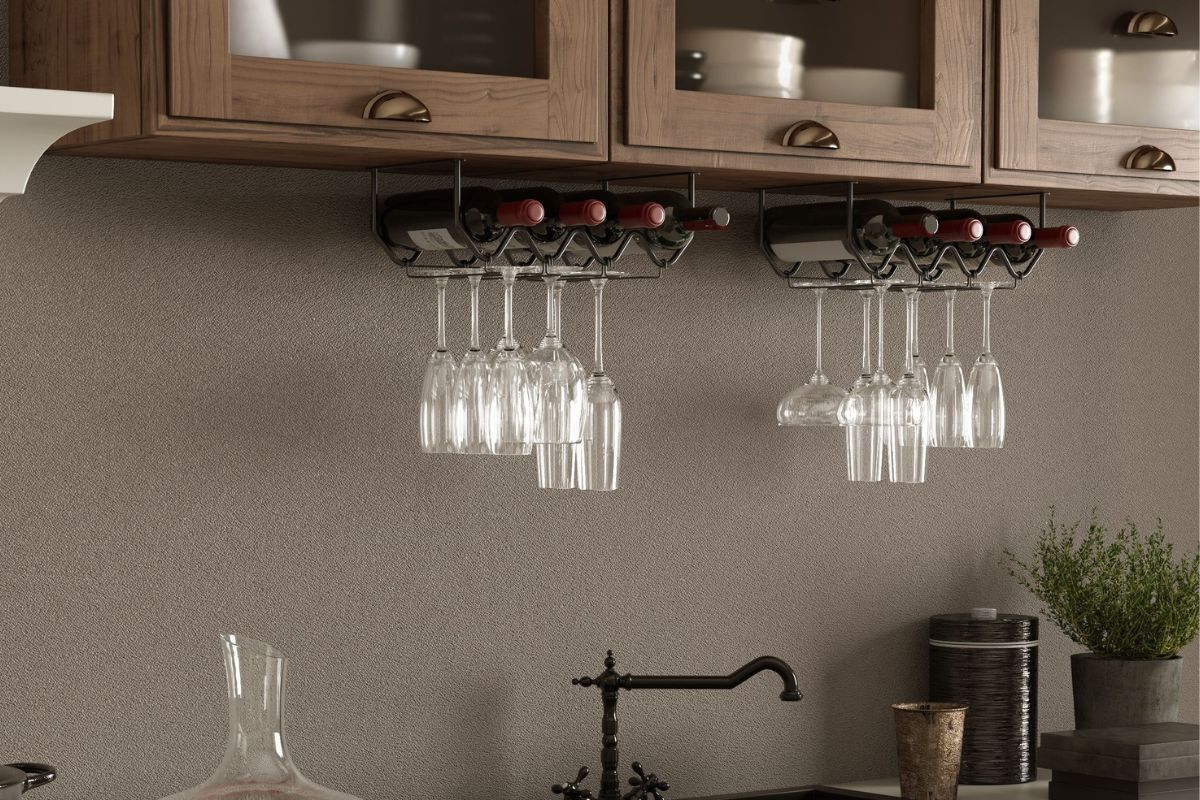
- Consider Additional Features: Some racks come with additional features like hooks for hanging utensils or baskets for storing spices. Think about what features would be most useful for you.
Securing the Pot Rack to the Ceiling
Securing the pot rack to the ceiling is a crucial step that requires careful planning and execution. Here’s how you can do it:
Method 1: Using Ceiling Joists
- Locate Ceiling Joists: Use a stud finder to locate the ceiling joists or wooden beams in your ceiling. You can also look for nails or nail heads in the drywall.
- Mark the Joist: Once you've located the joist, mark its location with a pencil or place a line of masking tape running along it.
- Drill Pilot Holes: Drill pilot holes into the ceiling where you marked the joist, making sure they are not larger than your ceiling hooks.
- Attach Chains: Attach chains to the hooks on the pot rack and then lift it up, attaching it to the chains.
Method 2: Using Toggle Bolts
- Determine Weight Capacity: Determine how much weight your ceiling anchors can support and select an appropriate size drill bit to ensure a safe and successful installation.
- Mark Installation Spot: Mark where you intend to hang the rack using a template made from tracing the rack onto cardboard and cutting small holes where the chains fall.
- Drill Hole for Toggle Bolt: Using a power drill, create a hole where you marked the location of the hook, ensuring it is slightly smaller than the toggle bolt.
- Insert Toggle Bolt: Insert the toggle bolt into the hole and fold it open, then use a screwdriver to tighten it until it is snug against the ceiling.
- Attach Chains: Attach chains to the hooks on the pot rack and then lift it up, attaching it to the chains.
Additional Tips for Securing
- Use Heavy-Duty Anchors: If necessary, use heavy-duty anchors in the wall before installing your shelf or pot rack.
- Check Ceiling Type: Ensure that your ceiling type can support the weight of your pot rack and any additional items you plan to hang from it.
DIY Pot Rack Installation
If you're looking for a more budget-friendly option or want to customize your pot rack according to your specific needs, consider building one yourself. Here’s how you can do it:
Materials Needed
- Screws (1 1/2 inches for pot rack and 3-inch screws for attaching base to ceiling)
- Wood Glue (Gorilla glue)
- 12 Pack Heavy Duty S Hooks
- Wood Plugs (same diameter as countersink bit)
- 8 feet of 3/16 inch zinc-plated proof coil chain
- 8 D-ring anchors (1 1/2 inch)
- 1 1/2 inch screw-in hooks (to hang pots and pans)
- 8 threaded chain links (3/4 inch)
- Tools Required: Mitre saw, drill, countersink bit, stud finder, Kreg Jig System
Step-by-Step Guide to Building a DIY Pot Rack
- Cut Frame Pieces: Cut frame pieces from 2×3 lumber according to your desired dimensions.
- Attach Frame Pieces: Attach frame pieces together using countersunk screws and wood glue.
- Attach Hooks: Attach hooks or S-hooks to the frame pieces where you want them to hang.
- Attach Chains: Attach chains to the hooks on the frame.
- Hang Rack: Hang the rack securely using D-ring anchors or toggle bolts.
Customizing Your Pot Rack
One of the best things about building or installing a pot rack is that you can customize it according to your specific needs and kitchen layout. Here are some tips for customizing:
- Adjust Length: Adjust the length of your pot rack to fit perfectly over your kitchen island or sink.
- Add Hooks: Add additional hooks or baskets for hanging utensils or storing spices.
- Choose Material: Choose materials that fit your kitchen's style, such as wrought iron for a traditional look or stainless steel for a modern look.
Conclusion
Installing a kitchen pot rack is an excellent way to maximize storage space while keeping your cookware within easy reach. By following these steps—choosing the right spot, selecting the perfect rack, and securing it to the ceiling—you can create a functional and stylish addition to your kitchen. Whether you choose to buy a pre-made rack or build one yourself, remember that customization is key to making it fit perfectly into your unique kitchen layout.
With these tips and guides, you'll be well on your way to creating a clutter-free kitchen that is both functional and aesthetically pleasing. Happy cooking
Was this page helpful?
At Storables.com, we guarantee accurate and reliable information. Our content, validated by Expert Board Contributors, is crafted following stringent Editorial Policies. We're committed to providing you with well-researched, expert-backed insights for all your informational needs.


0 thoughts on “DIY Guide To Installing A Kitchen Pot Rack”