Home>Ideas and Tips>DIY Guide To Installing A Kitchen Sink With Touchless Faucet
Ideas and Tips
DIY Guide To Installing A Kitchen Sink With Touchless Faucet
Modified: September 2, 2024
Learn how to install a kitchen sink with a touchless faucet in this comprehensive DIY guide. Enhance your kitchen's functionality and aesthetics today!
(Many of the links in this article redirect to a specific reviewed product. Your purchase of these products through affiliate links helps to generate commission for Storables.com, at no extra cost. Learn more)
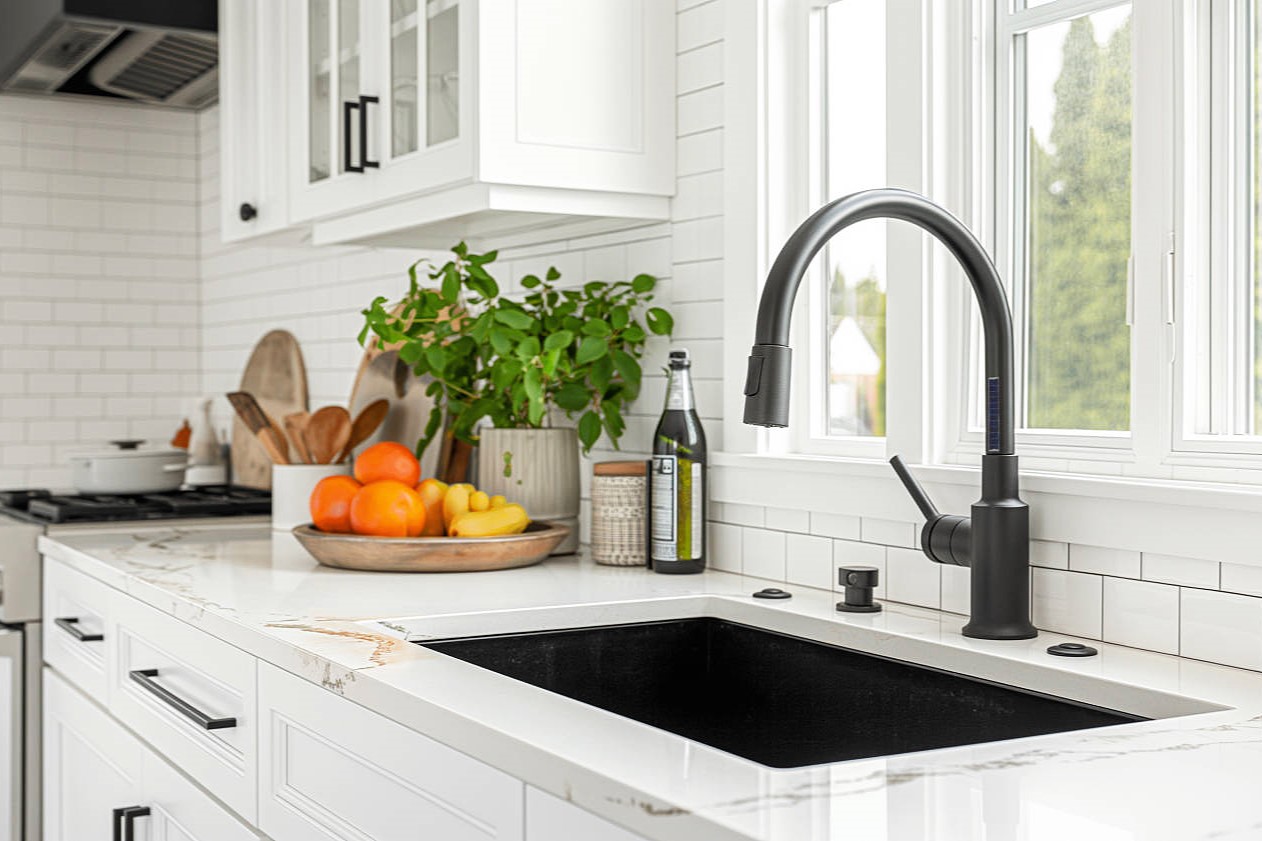
Installing a kitchen sink with a touchless faucet can be a rewarding DIY project that enhances both the functionality and aesthetic appeal of your kitchen. This guide will walk you through each step of the process, from preparation to final installation, ensuring that you have all the necessary tools and information to complete the job successfully.
Choosing the Right Touchless Faucet
Before diving into the installation process, it's crucial to choose the right touchless faucet for your kitchen. Here are some key considerations:
-
Type of Faucet: Decide whether you want a single-handle or double-handle faucet. Single-handle faucets are often more convenient and easier to install, while double-handle faucets provide more precise control over hot and cold water.
-
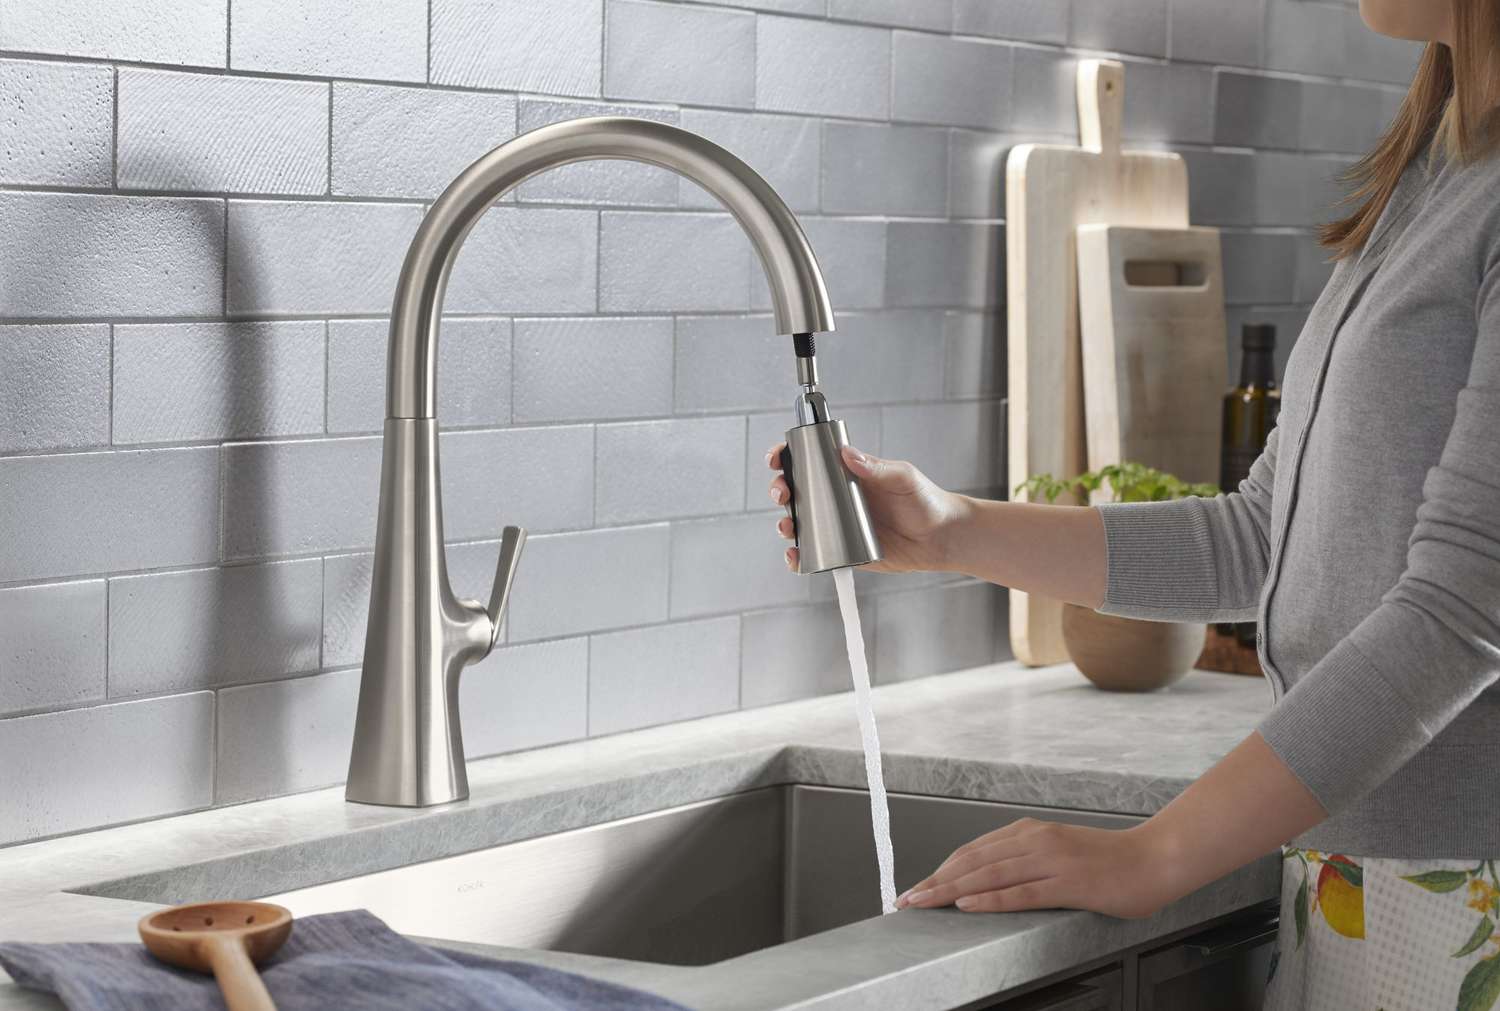
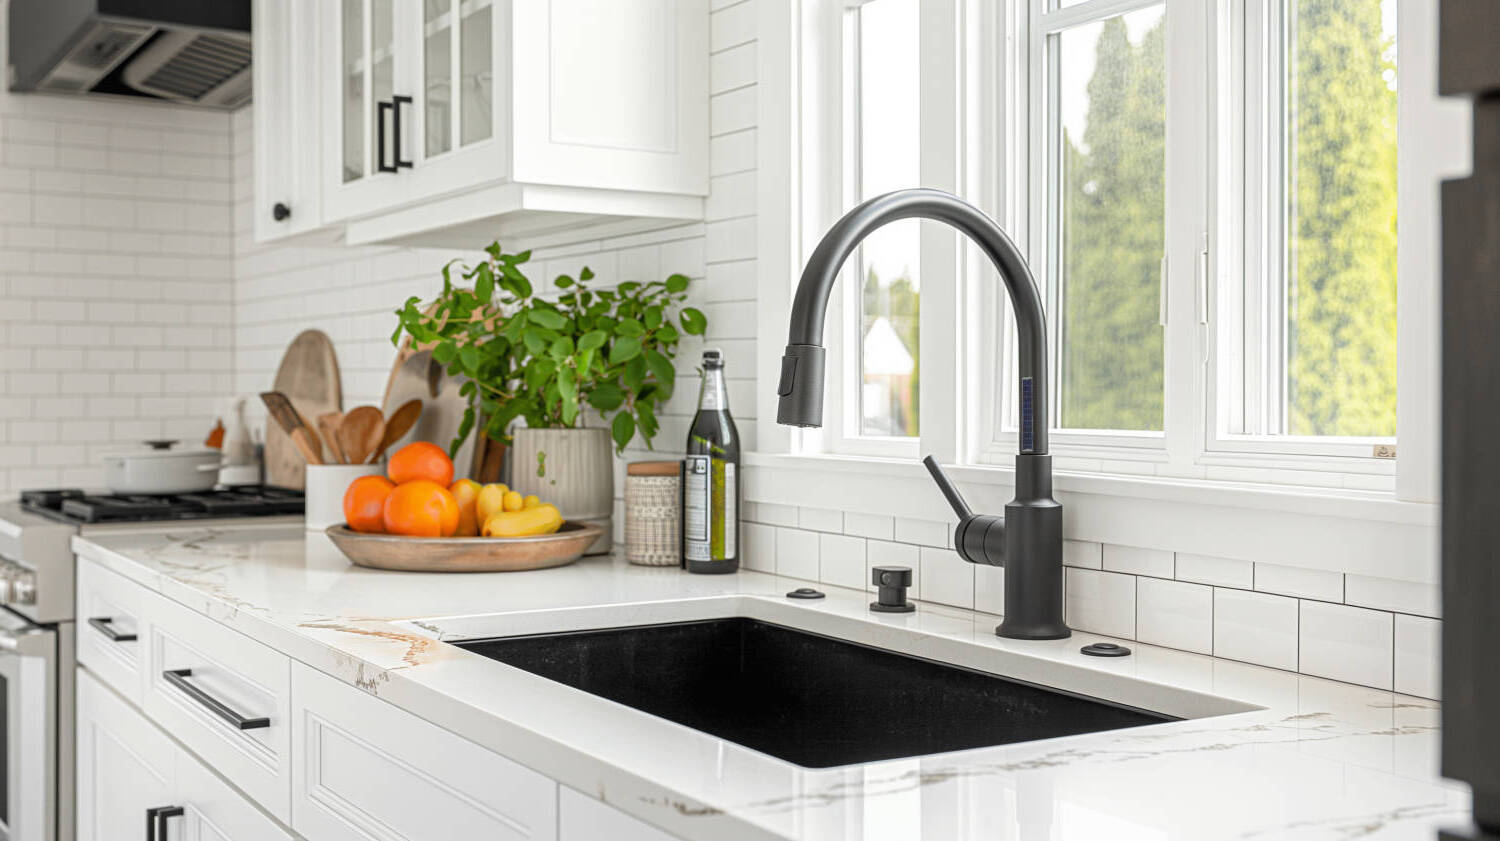
Design Aesthetic: Think about the design aesthetic of your kitchen. Consider the shape, silhouettes, and scale of the faucet. A unique and sculptural faucet can make a significant impact on the overall look of your kitchen.
-
Features: Think about the features you need. Some touchless faucets come with smart-touch technology, pot fillers, or full down hoses. These features can enhance functionality but may require additional installation steps.
-
Power Requirements: Some touchless faucets need a separate AC power outlet. If this is the case, you may need to hire an electrician to ensure the installation is done safely and correctly.
Tools and Materials Needed
To install a touchless kitchen faucet, you'll need the following tools and materials:
Tools Required
- Adjustable Wrench: For disconnecting and reconnecting water supply lines.
- Basin Wrench: A specialized tool for loosening nuts under the sink.
- Phillips-Head Screwdriver: For tightening and loosening screws.
- Cordless Drill: For drilling holes if necessary.
- Bucket and Towels: For catching water and cleaning up spills.
Materials Required
- Touchless Faucet: The new faucet you've chosen.
- Rubber Gasket: For sealing the faucet to the sink.
- S/S Gasket: For additional sealing if required.
- Fixing Nut: For securing the faucet to the sink.
- Deck Plate: If your sink has multiple holes, a deck plate may be needed to cover them.
- Inline Filters: To ensure clean water supply.
- Battery Box: For powering the faucet (if battery-operated).
- Transformer Plug: If necessary for powering the faucet.
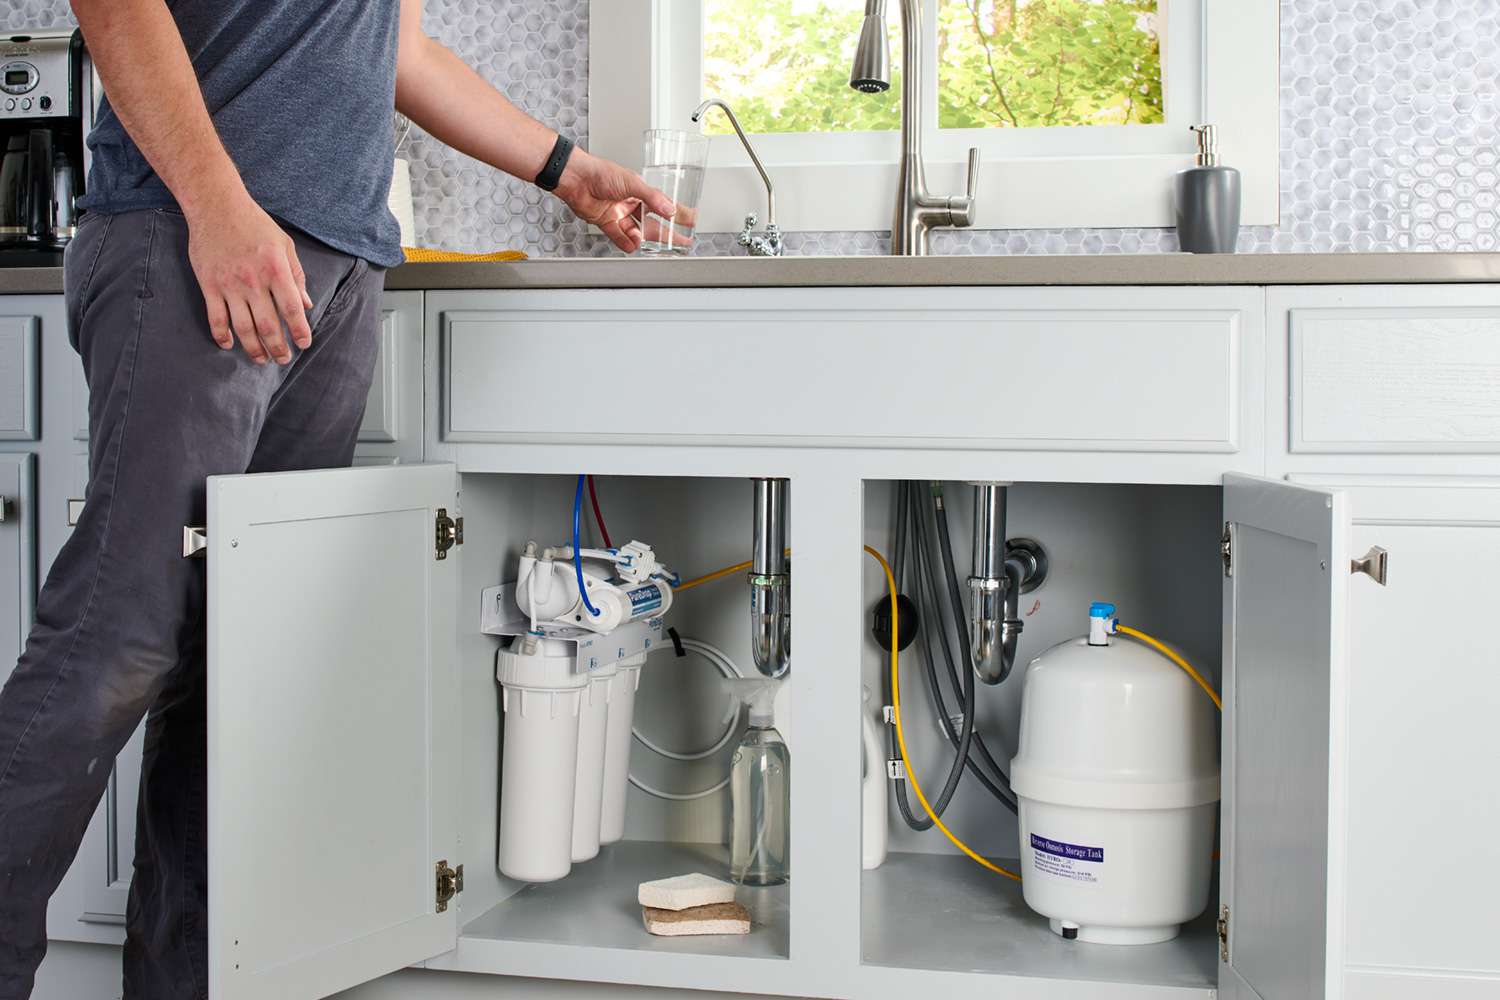
Preparation Before Installation
Before starting the installation process, it's essential to prepare your workspace and ensure you have all necessary tools and materials.
-
Clear the Area Under the Sink:
Clear out all products and supplies under the sink to ensure easy access. -
Turn Off Power (If Applicable):
If your faucet requires a power outlet, turn off the power to it before proceeding. -
Check the Sink Holes:
Determine how many holes your existing sink uses and ensure that your new faucet fits accordingly. A one-hole faucet can work in a two-hole sink but not vice versa. -
Gather Tools and Materials:
Collect all necessary tools and materials, including an adjustable wrench, basin wrench, Phillips-head screwdriver, cordless drill (if needed), bucket, towels, rubber gasket, S/S gasket, fixing nut, deck plate (if necessary), inline filters, battery box (if applicable), and transformer plug (if necessary).
Step-by-Step Installation Guide
Step 1: Shut Off Water Supply
-
Turn Off Hot and Cold Water Supply Valves:
Reach underneath the cabinet and turn both hot and cold water supply valves clockwise to shut off the water supply completely. If you don't have stop valves already installed, you'll need to turn off the water to the entire house. -
Open Faucet Handles:
Open up the faucet handles to relieve any pressure in the lines.
Step 2: Disconnect Old Faucet
-
Disconnect Water Supply Lines:
Use a basin wrench to disconnect both water-supply lines from the underside of the sink. This may require some effort due to the angle and position of these lines. -
Remove Old Faucet:
Once disconnected, pull out and discard the old faucet. If it's secured with a large locknut from underneath or threaded rod with a nut securing it to a mounting plate, loosen these nuts first before removing it.
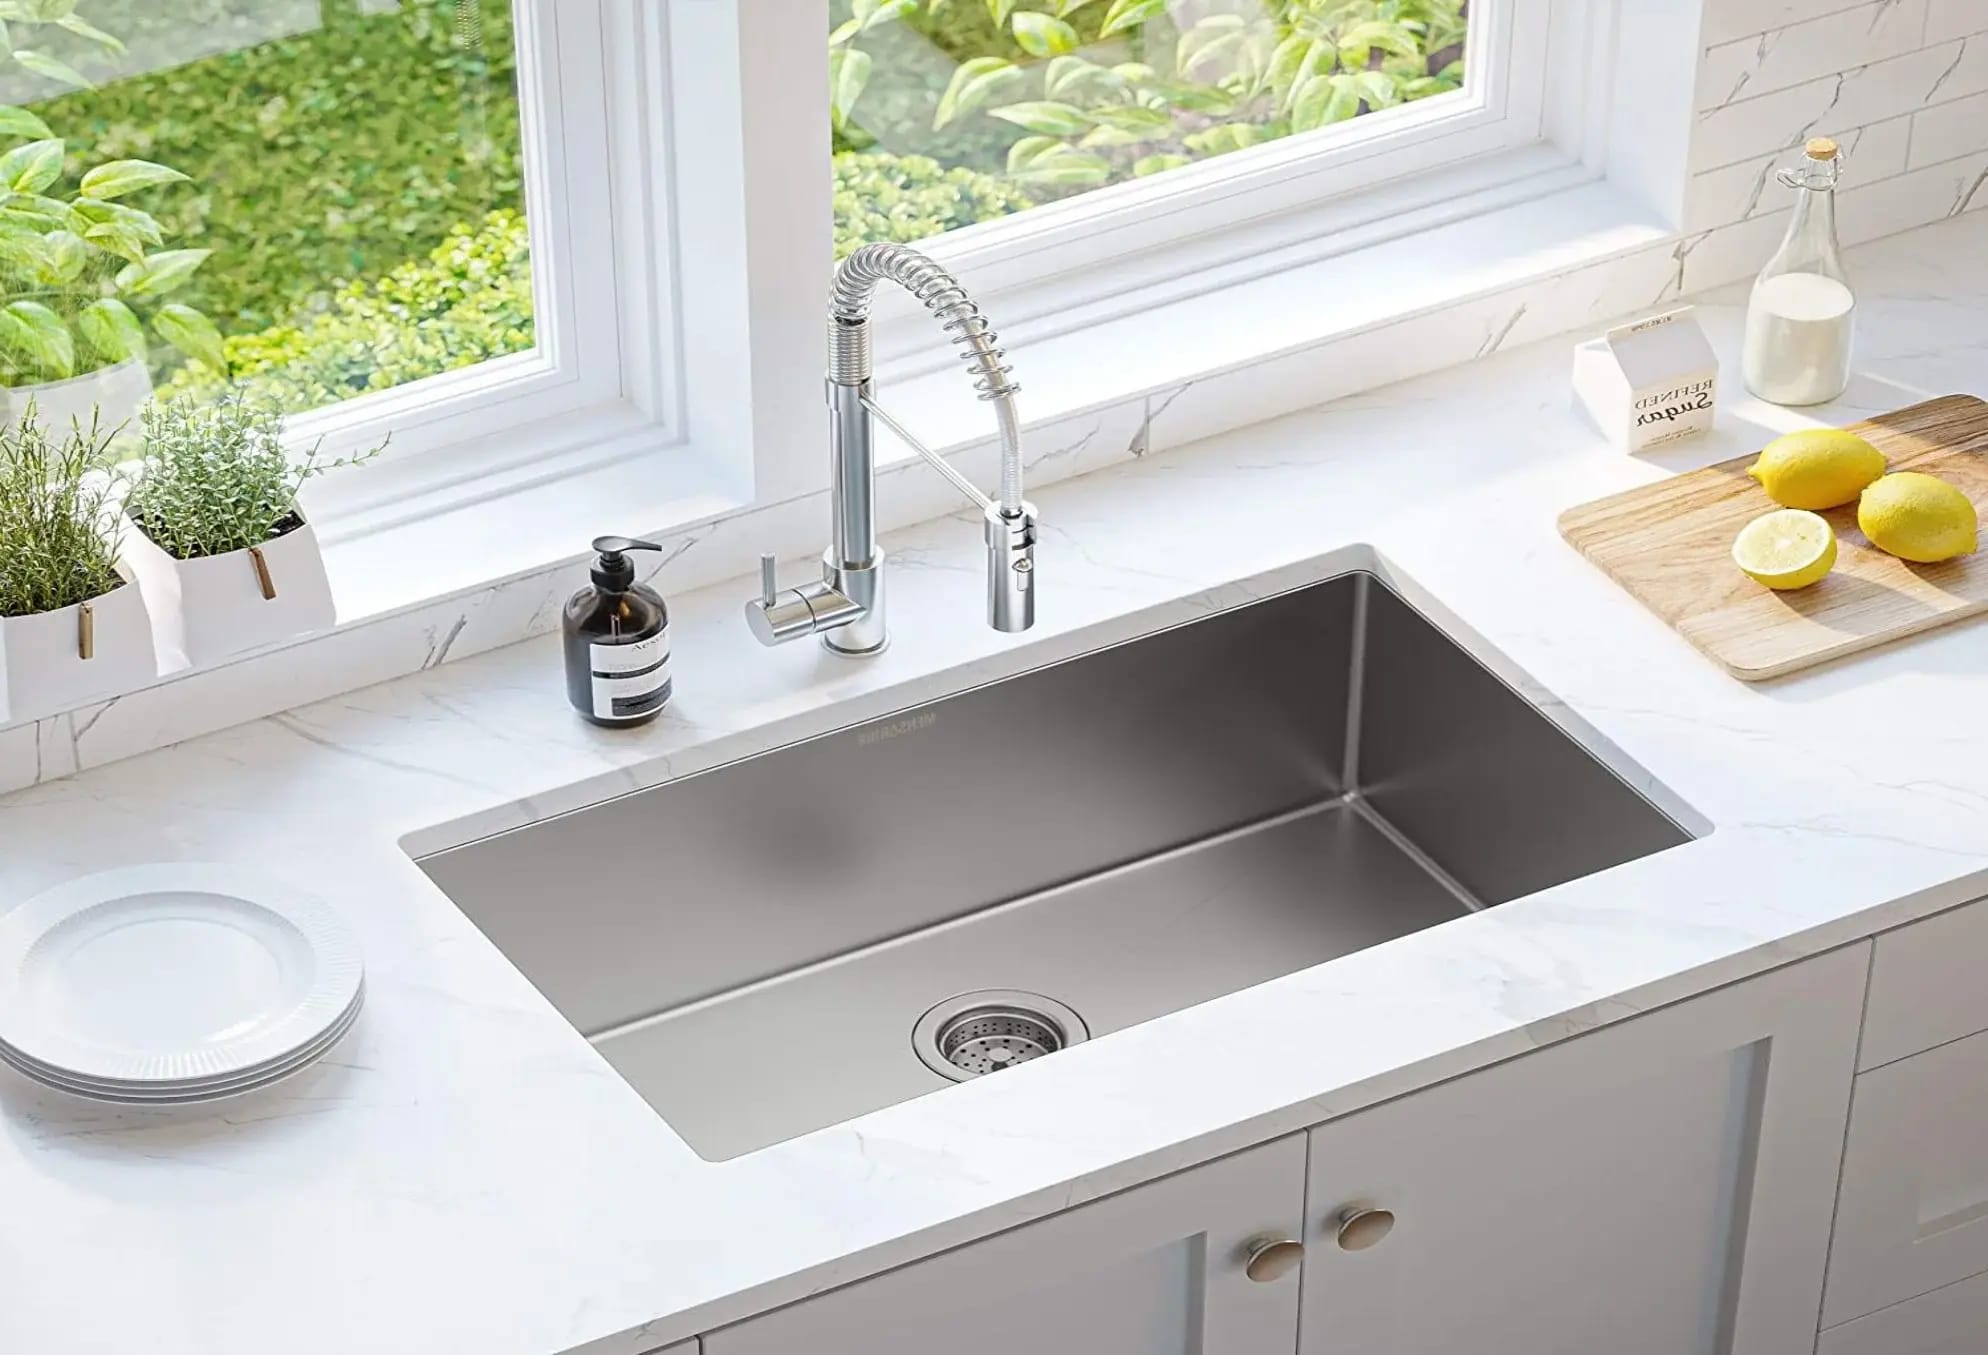
Step 3: Prepare Sink Surface
- Scrub Away Dirt and Mineral Deposits:
Scrub away any dirt or mineral deposits on the sink surface that may have accumulated over time. This ensures a clean surface for installation.
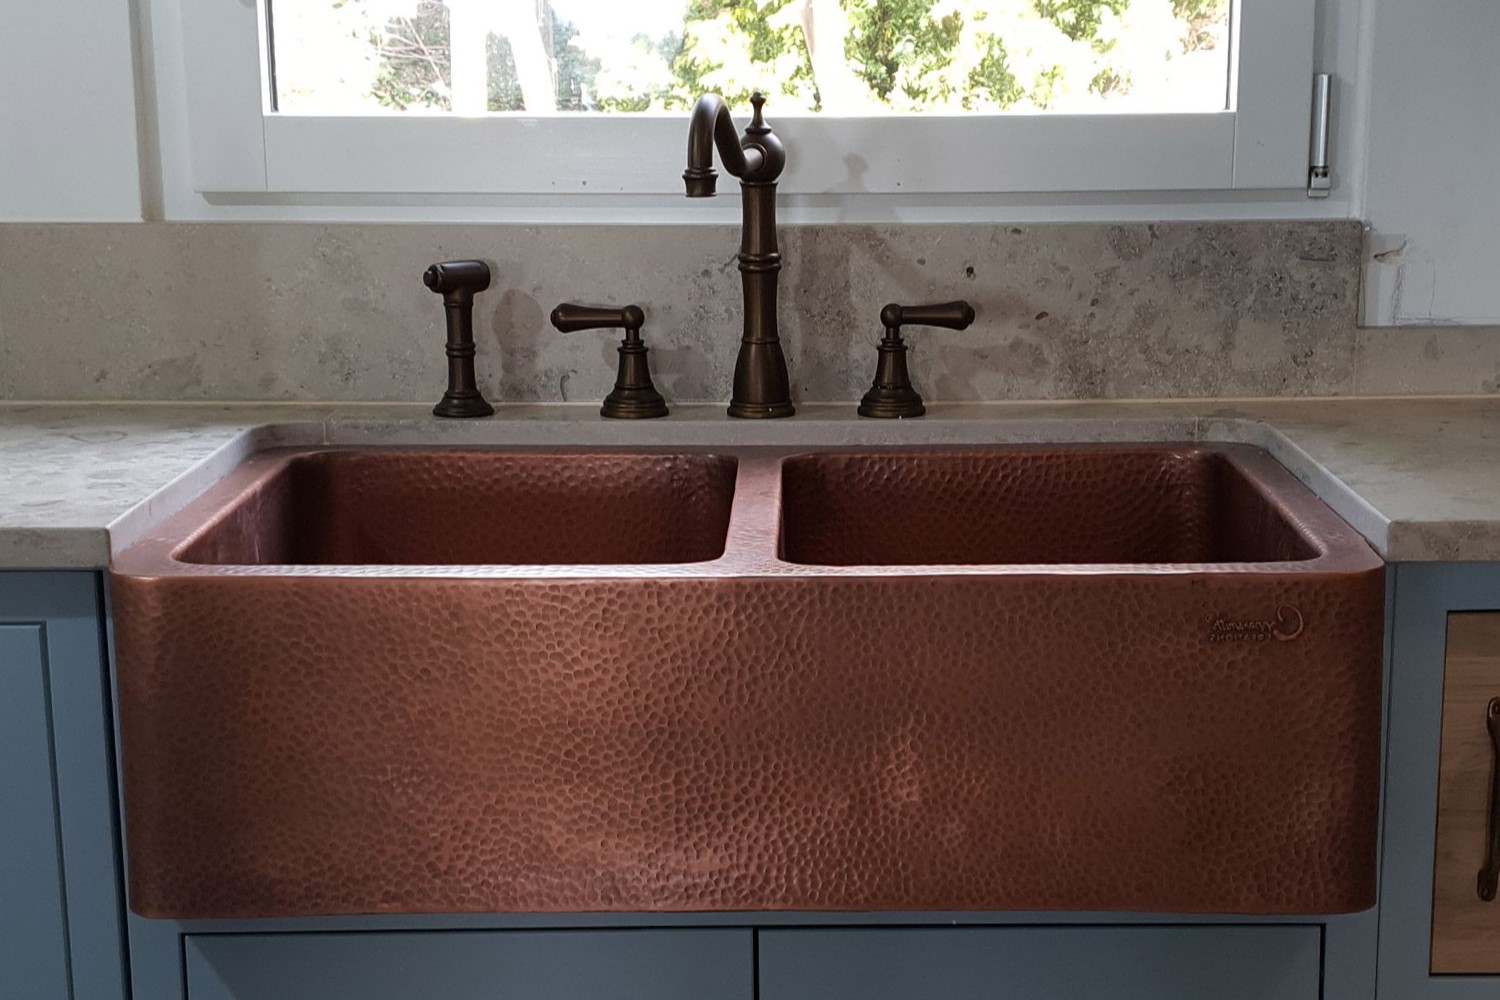
Read more: DIY Guide To Installing A Farmhouse Sink
Step 4: Install Deck Plate (If Necessary)
- Convert Multiple-Hole Sink to One-Hole:
If your sink has multiple holes but your new faucet only requires one hole, use a deck plate to cover up excess holes. Apply a thin bead of plumber’s putty to the bottom of the deck plate before installing it.
Step 5: Install New Faucet
-
Insert Supply Lines Through Deck Plate or Sink Hole:
Insert both supply lines through either the deck plate hole or directly into one of your existing sink holes if applicable. -
Assemble Faucet Components:
From underneath:- Rubber washer
- Brass washer
- Threaded locknut w/set screws
Hand tighten threaded locknut then use screwdriver to tighten set screws around it until snug but not overtightened.
Step 6: Connect Water Supply Lines
-
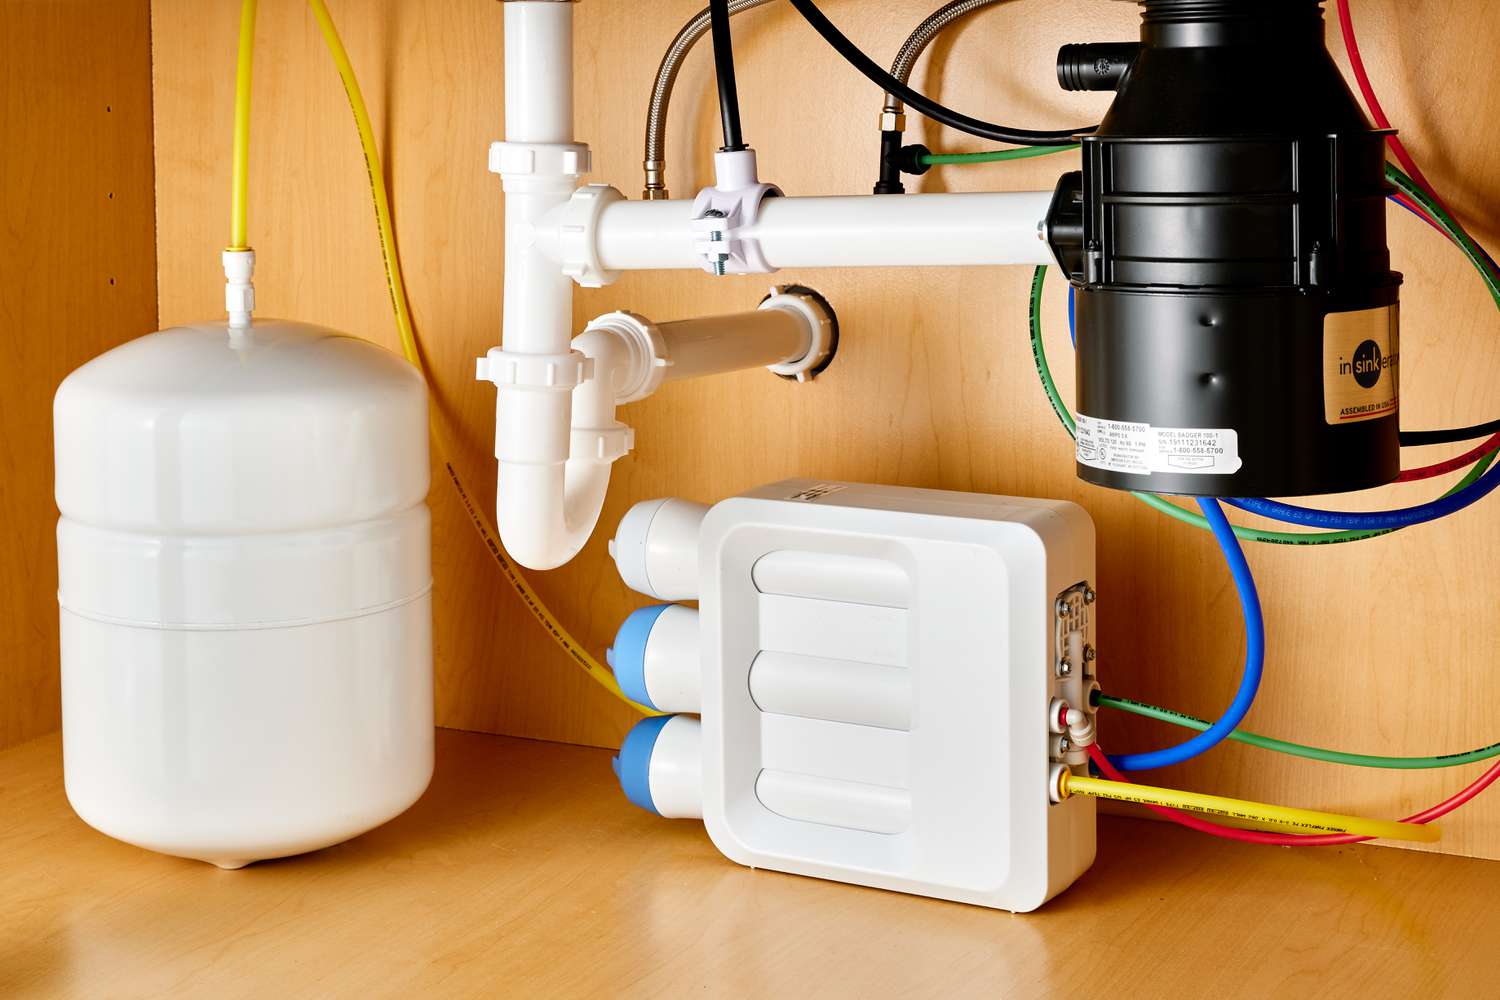
Install Inline Filters:
Ensure inline filters are installed in proper direction without using sealant on threads. -
Connect Hot & Cold Water Supply Lines:
Install hot & cold water supply lines corresponding shut-off valves under sink using adjustable wrench until snug but not overtightened.
Pro Tip: If supply lines are too long create loop shorten length.
Step 7: Power Up Your Touchless Faucet
- Install Battery Box (If Applicable):
Take out battery box from control box install four pieces AA alkaline batteries correctly then insert back into control box if necessary plug transformer into socket if required.
Step 8: Test Installation
- Turn On Water Supply:
Turn on hot & cold shut-off valves check leaks near filters valves remove protective film sensor eye wave hand front sensor test water flow temperature adjust mixing valve lever accordingly.
Final Touches
After completing all steps above ensure everything works smoothly without leaks or issues adjust any settings needed like water temperature sensor sensitivity according manufacturer instructions provided with product documentation included packaging box new touchless kitchen faucet purchased installed successfully following detailed guide outlined above this comprehensive DIY guide should help homeowners successfully install their own kitchen sink equipped state-of-the-art touchless faucet enhancing both functionality aesthetics their beloved kitchen space
Was this page helpful?
At Storables.com, we guarantee accurate and reliable information. Our content, validated by Expert Board Contributors, is crafted following stringent Editorial Policies. We're committed to providing you with well-researched, expert-backed insights for all your informational needs.


0 thoughts on “DIY Guide To Installing A Kitchen Sink With Touchless Faucet”