Home>Ideas and Tips>DIY Guide To Installing A Kitchen Tile Backsplash With Glass Accent Tiles
Ideas and Tips
DIY Guide To Installing A Kitchen Tile Backsplash With Glass Accent Tiles
Modified: October 20, 2024
Learn how to install a stunning kitchen tile backsplash with glass accent tiles. Follow our step-by-step DIY guide for professional results.
(Many of the links in this article redirect to a specific reviewed product. Your purchase of these products through affiliate links helps to generate commission for Storables.com, at no extra cost. Learn more)
Introduction
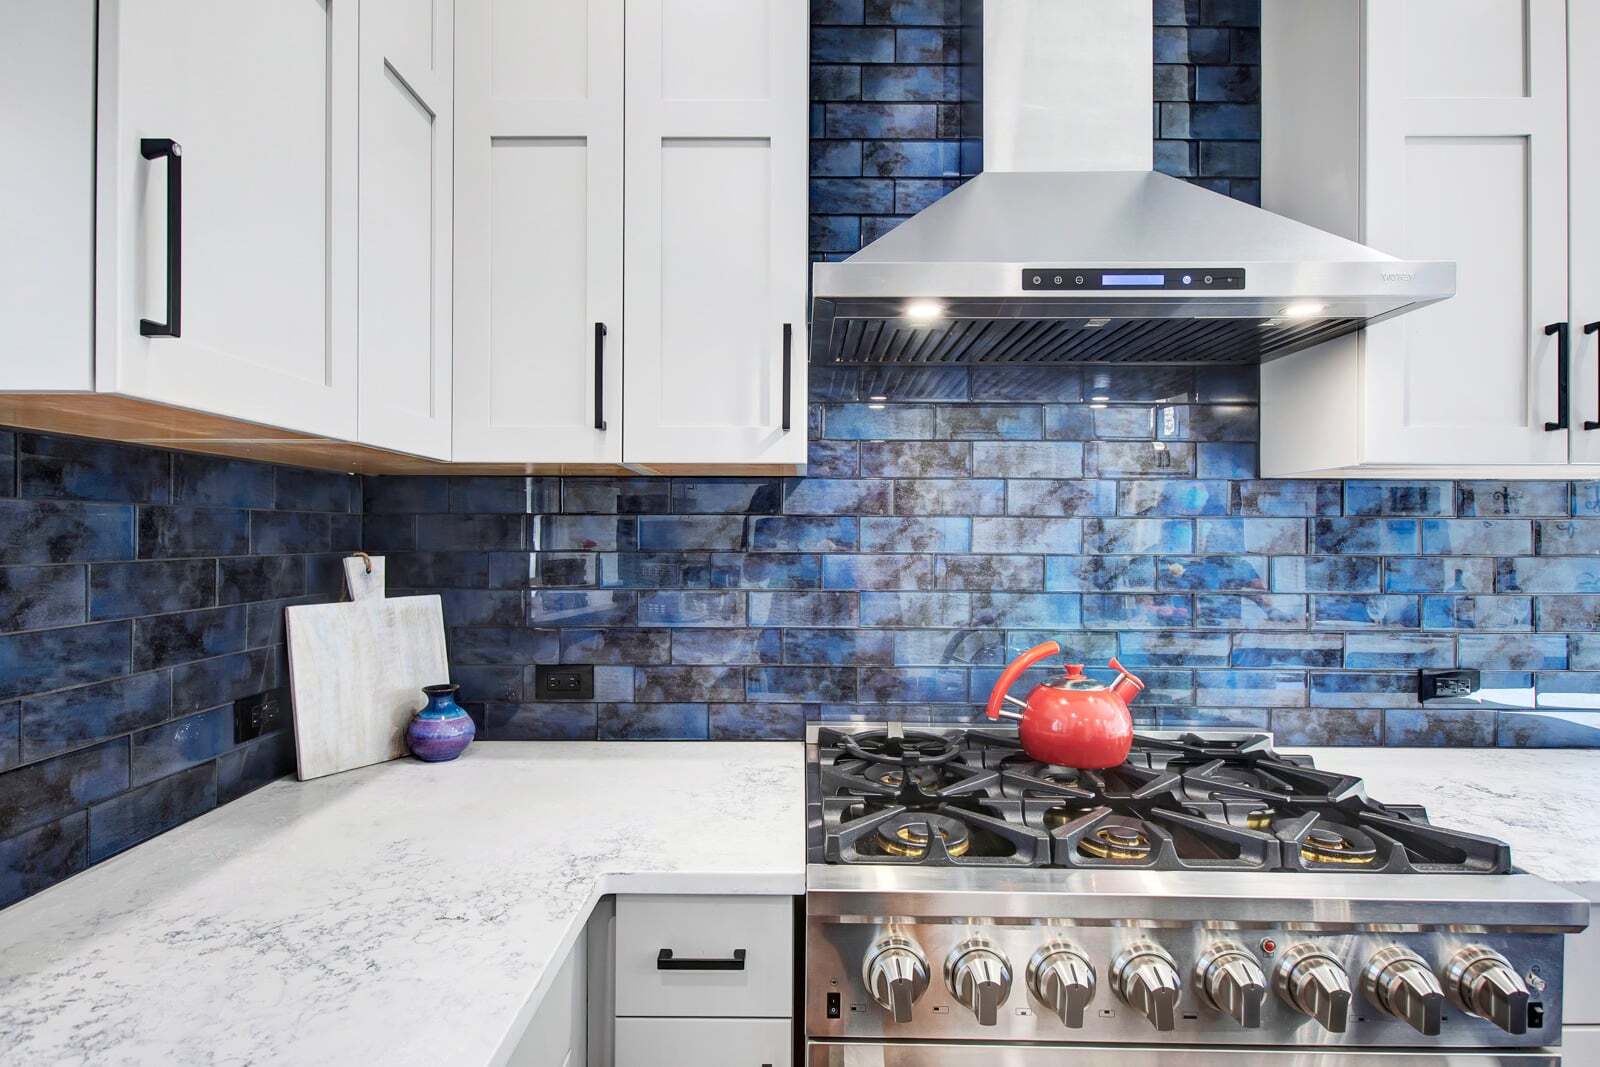
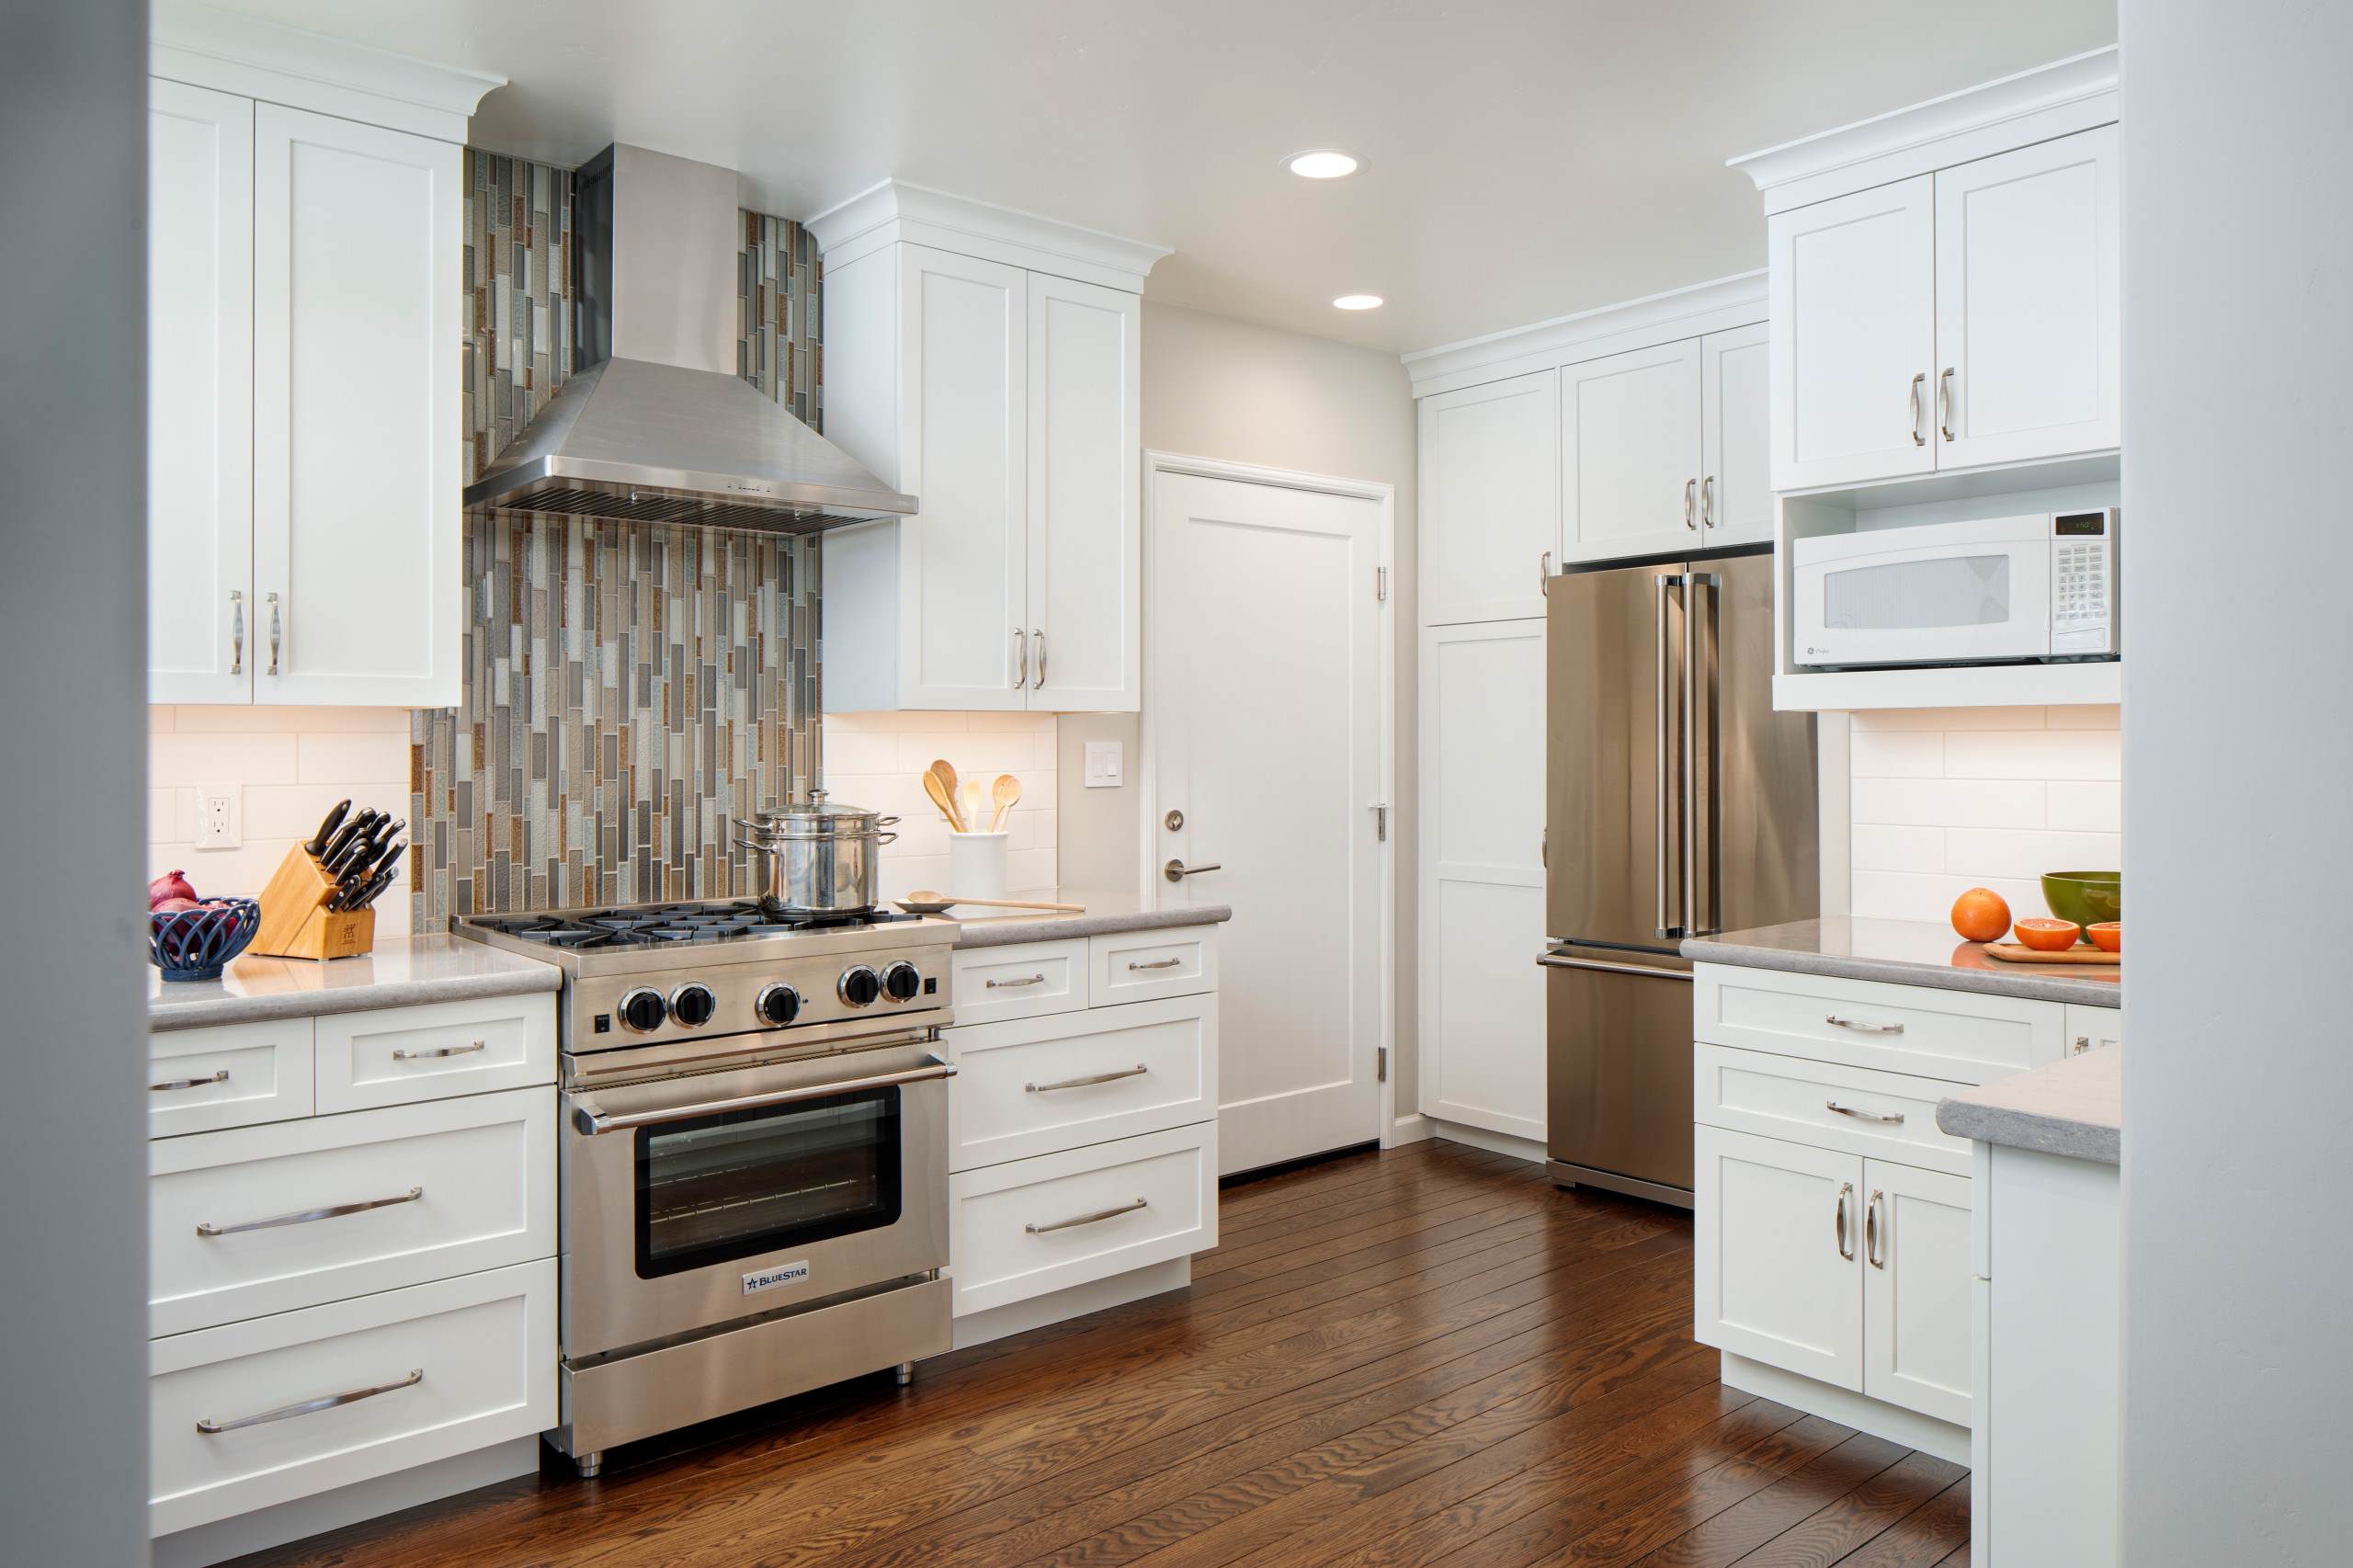
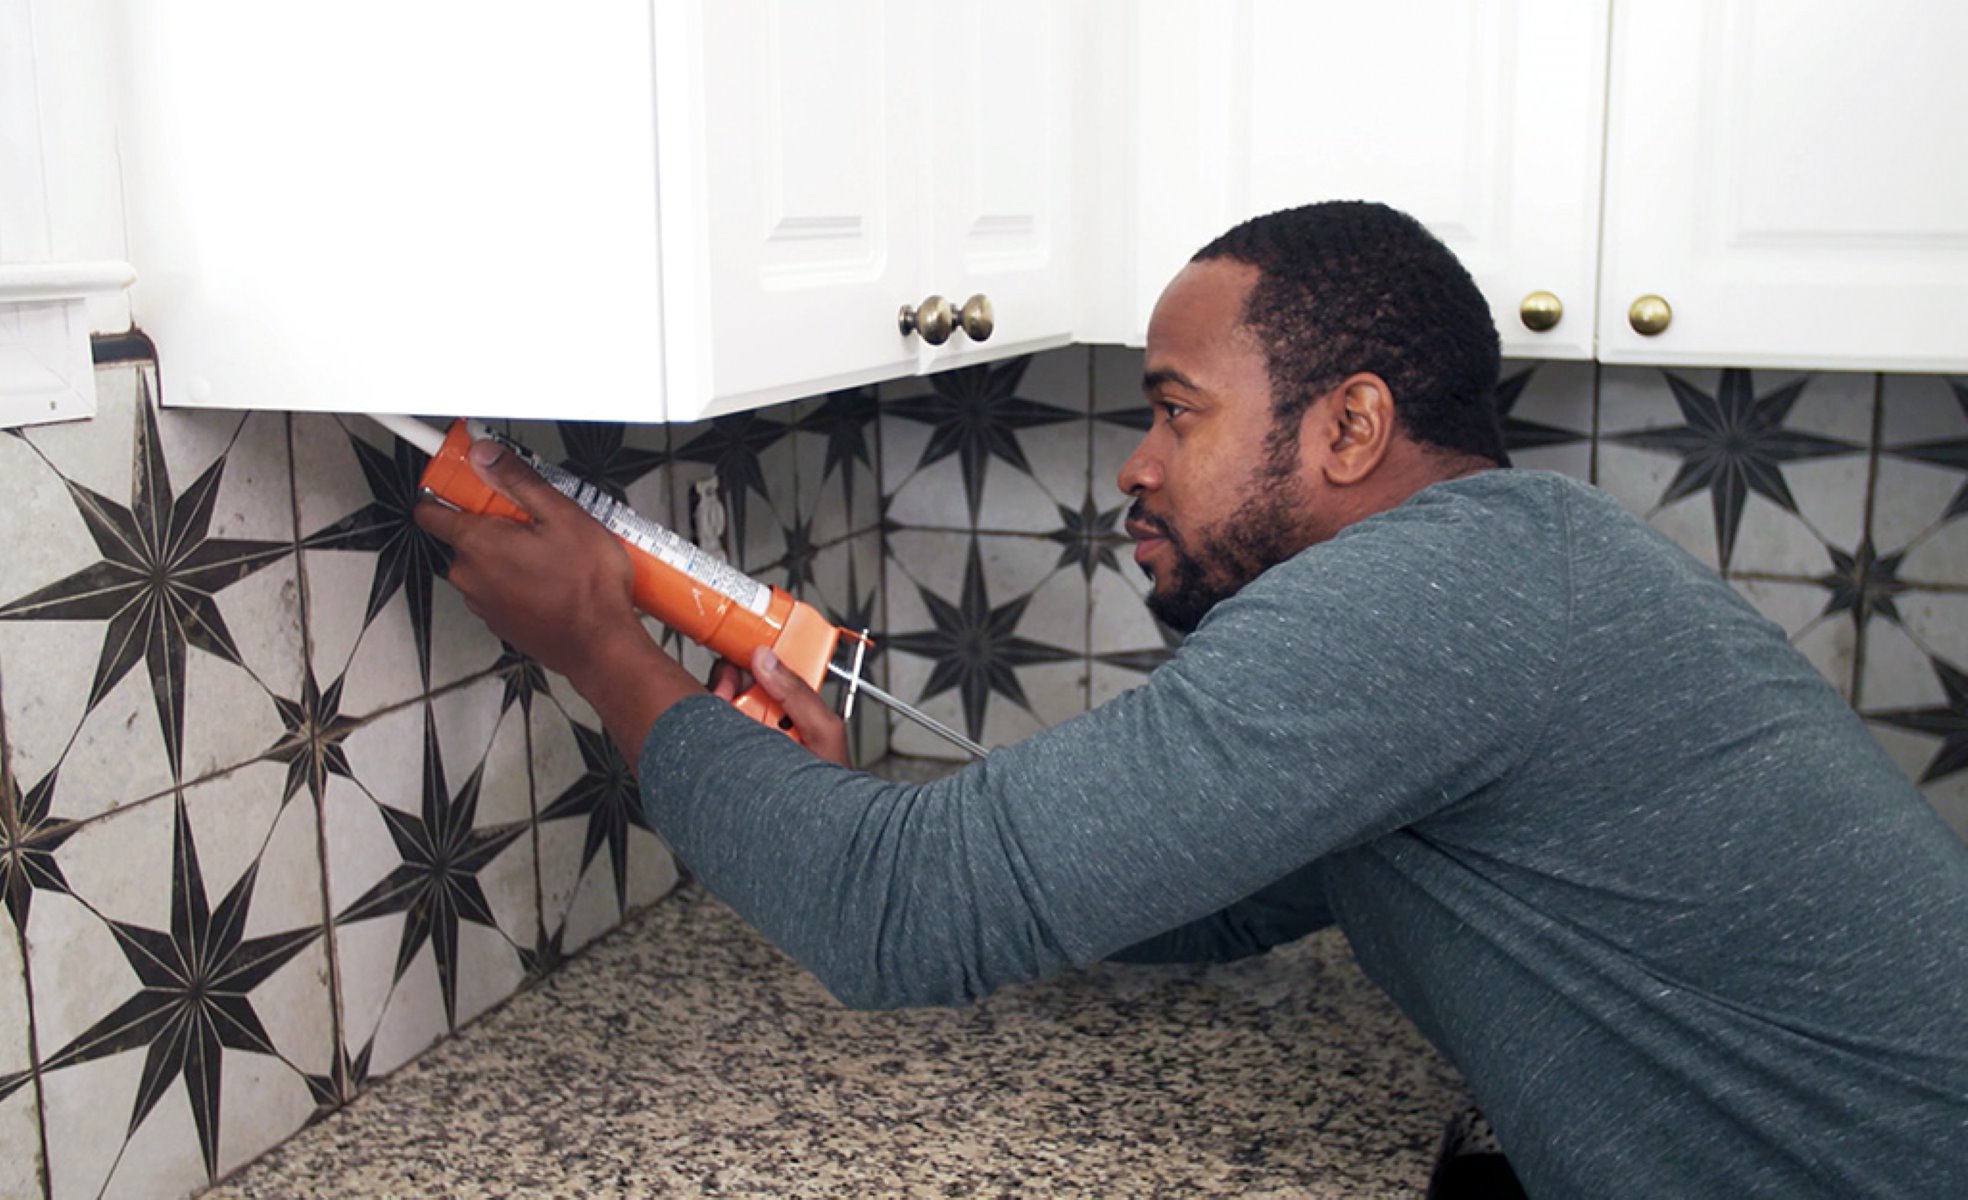
Installing a kitchen tile backsplash is a fantastic way to enhance the aesthetic appeal and functionality of your kitchen. Not only does it protect your walls from water and grease splatters, but it also provides an opportunity to express your creativity through various colors, textures, and materials. In this article, we will guide you through a step-by-step DIY process for installing a kitchen tile backsplash using glass accent tiles. This project is suitable for homeowners with medium to intermediate skill levels and can be completed in a day.
Tools and Materials Needed
Before you begin, it's essential to gather all the necessary tools and materials. The specific tools and materials required may vary depending on the type of tile you choose, but here are the common ones needed for a glass tile backsplash installation:
Tools
- Level: Ensures that the tiles are straight and level.
- Bucket: For mixing mortar.
- 1/8″ tile spacers: Maintains even spacing between tiles.
- Tape measure: For measuring the wall and tiles.
- Wet saw: For cutting glass tiles.
- Sponge: For cleaning excess mortar.
- Grinding stone: For polishing cut edges of tiles.
- Rubi cutter: A manual cutter for precise tile cuts.
- Safety glasses: Protects your eyes from debris.
- 3/16″ square-notched trowel: For applying thin-set mortar.
- Float: For spreading and smoothing out mortar.
- Painter’s tape: For marking installation areas and protecting countertops.
Materials
- Thinset: A specialized mortar for glass tiles, modified with polymer or latex to ensure proper adhesion.
- Glass tiles: The main material for your backsplash, including accent tiles.
- Unsanded grout: For filling gaps between tiles, ensuring a smooth finish.
- Polyurethane: Optional for sealing the grout lines.
- Speed square: For ensuring accurate cuts and measurements.
Preparing the Wall
Before you start installing your glass tile backsplash, it's crucial to prepare the wall surface. Here’s how you can do it:
-
Clean the Wall: Ensure the wall is free from any dirt, dust, or old adhesive. Use a mild detergent and water to clean the surface thoroughly.
-
Inspect for Imperfections: Check the wall for any bumps or unevenness. If necessary, use spackle to fill in any imperfections and sand the area smooth.
-
Measure the Area: Measure from the bottom of the cabinet to the top area of your countertop to determine how many rows of tiles you will need. Include one-eighth-inch grout lines in your measurements to ensure accurate spacing.
-
Draw Gridlines: Use a level and a tape measure to draw gridlines on the wall where you plan to install the tiles. This will help you achieve straight and even installation.
-
Protect Countertops: Apply painter’s tape along the edges of your countertops to protect them from mortar and grout spills during installation.
Creating a Thin-set Mixture
To apply the glass tiles, you need to create a thin-set mixture. Here’s how you can do it:
-
Mix Mortar: Add mortar to water in little quantities until you achieve a creamy peanut butter-like consistency. This ensures that the mortar is not too runny or too thick.
-
Wait for Setting: Allow the mortar to set for about 30 minutes before applying it to the wall.
-
Apply Thin-set: Using a 3/16-inch notched trowel, apply the thin-set to the wall in smooth, even strokes. Make sure to apply only as much adhesive as you can tile in about 10-15 minutes, as it dries quickly.
-
Clean as You Work: Have a sponge and water close by to clean up any excess mortar as you work.
Setting the Glass Tiles
Now it’s time to set the glass tiles on the thin-set mixture:
-
Start from Bottom Rows: Begin installing tiles from the bottom rows and work your way up. This ensures that any excess mortar drips down and doesn’t interfere with the upper rows.
-
Press and Twitch Tiles: Press each glass tile firmly into the mortar, ensuring it is flat, level, and plumb. Use tile spacers to maintain even spacing between tiles.
-
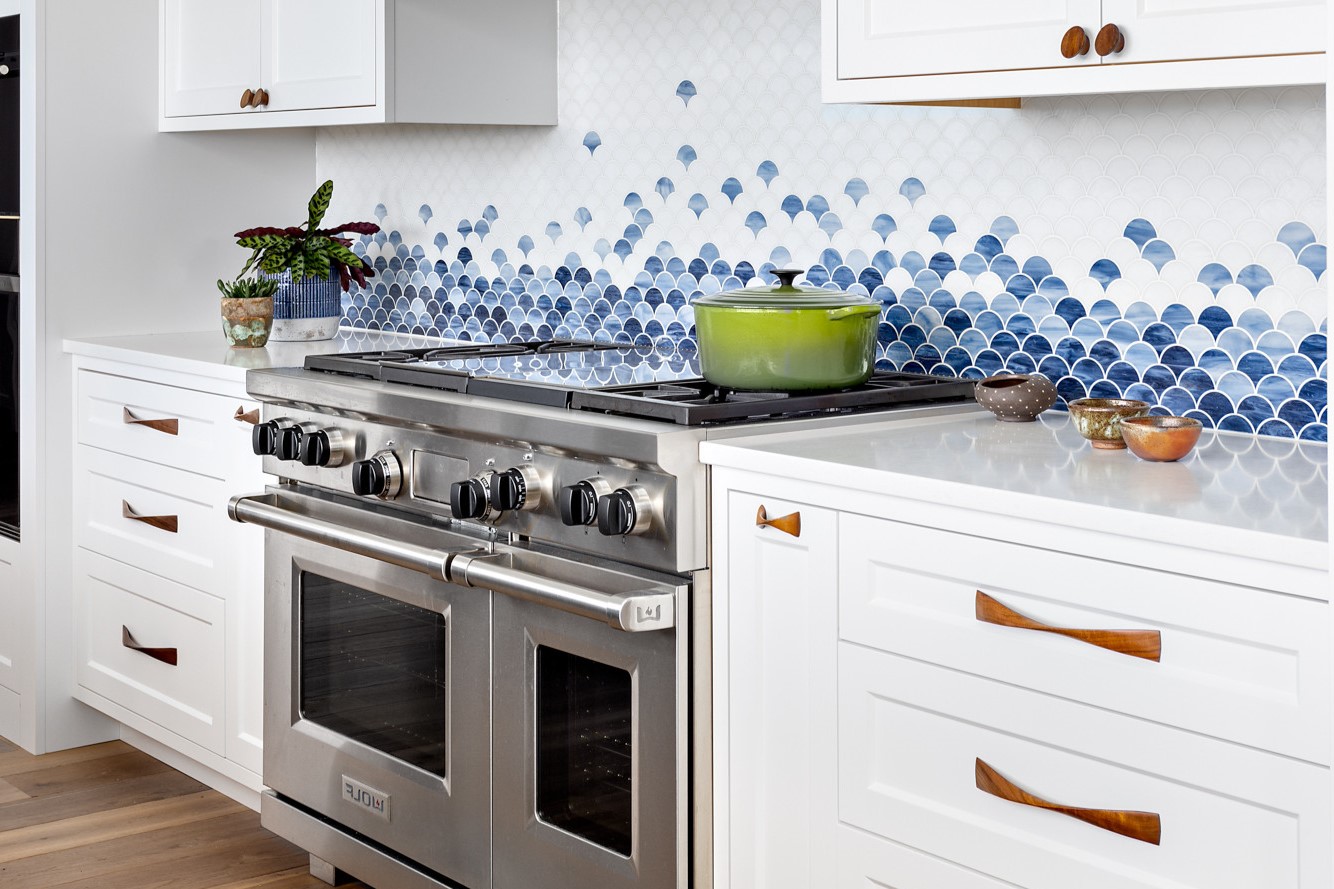
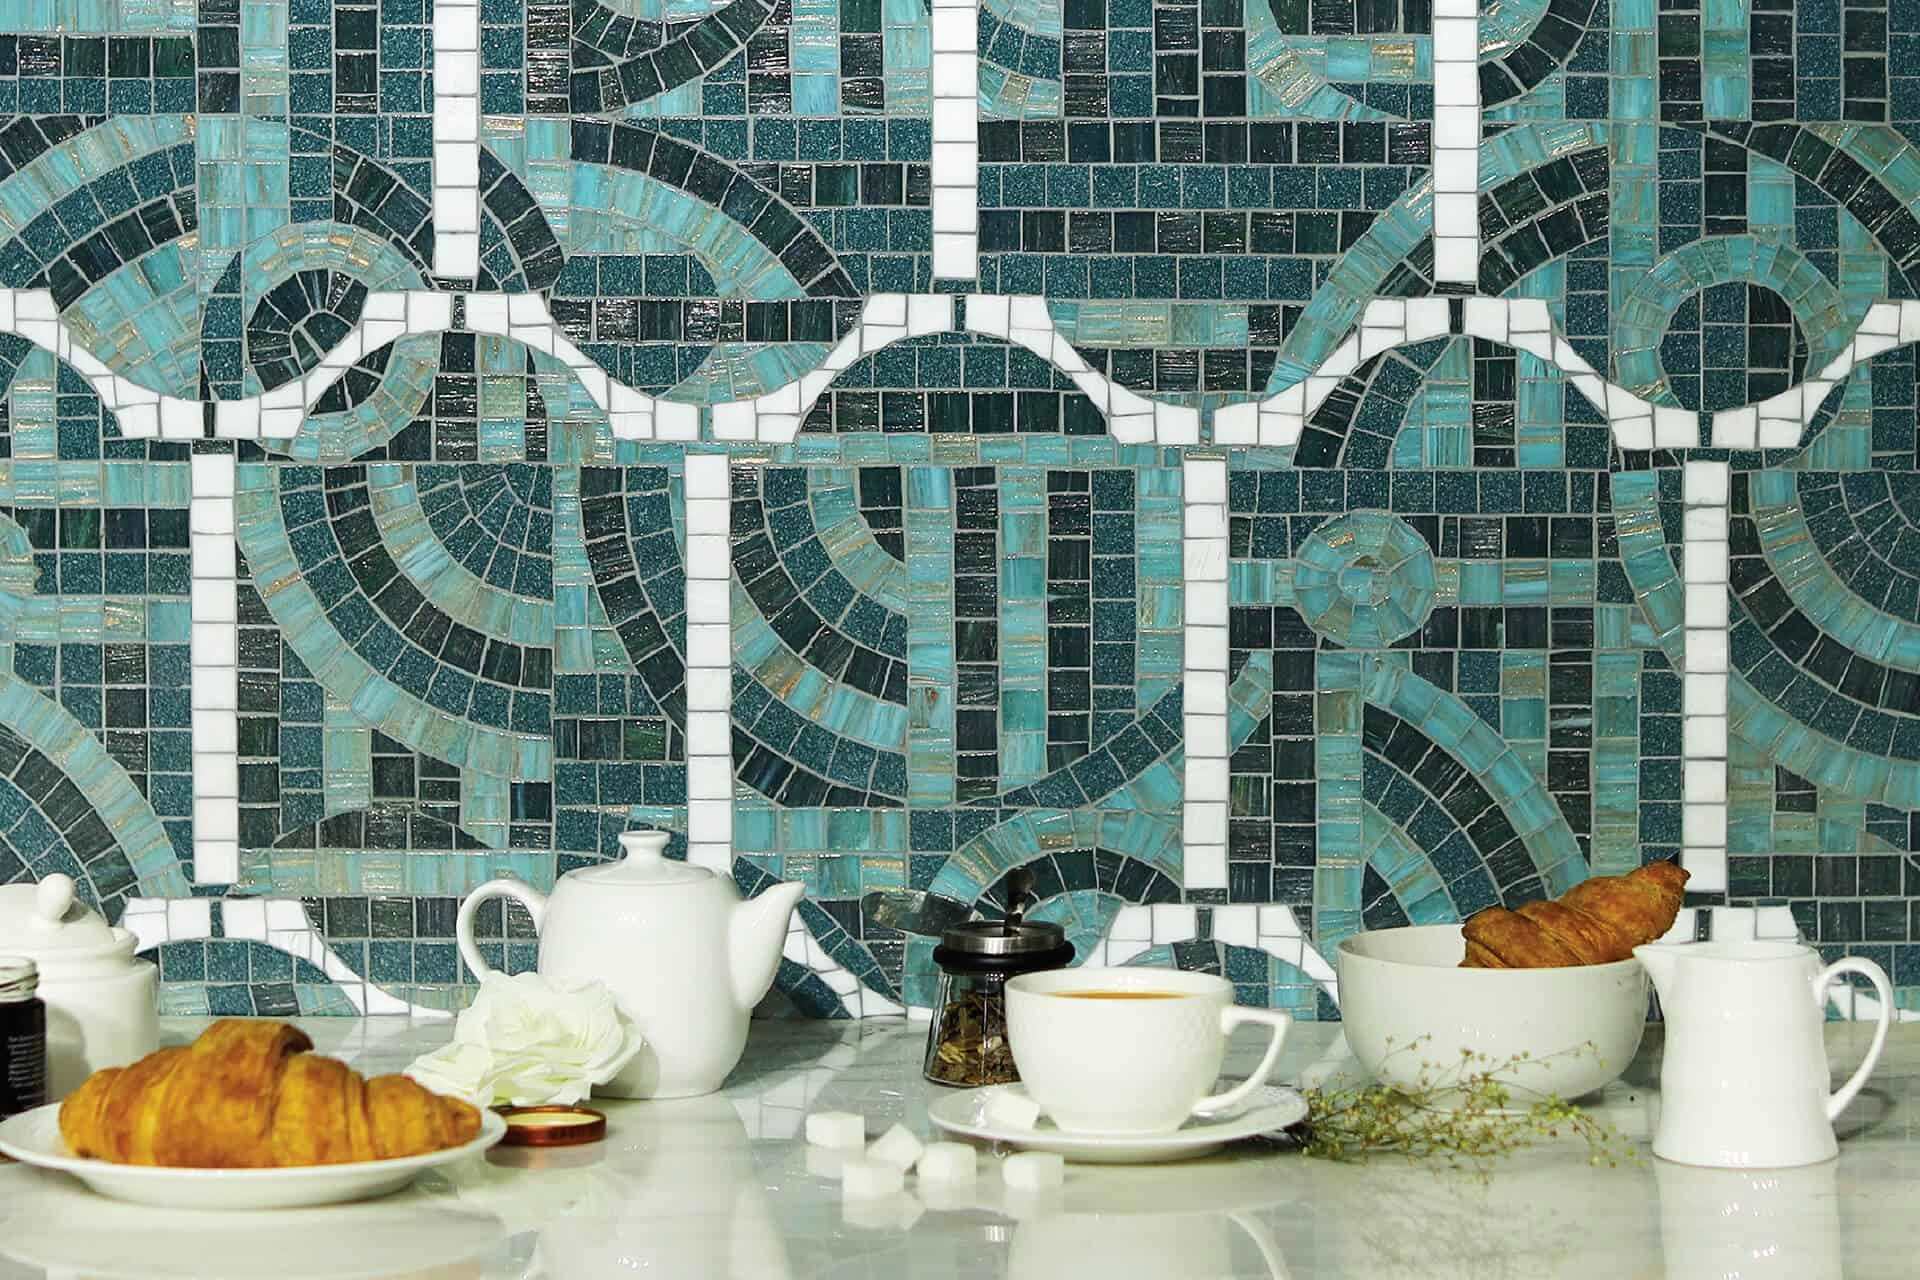
Add Accent Tiles: Incorporate accent tiles strategically to enhance the visual appeal of your backsplash. Make sure these tiles are also pressed firmly into place.
-
Maintain Vertical and Horizontal Lines: Use a level to ensure that both vertical and horizontal lines are maintained throughout the installation process.
Cutting and Polishing Tiles
If there are any areas where tiles need to be cut, follow these steps:
-
Use Rubi Cutter: Use a Rubi cutter to manually cut the glass tiles. Place the tile on the cutter, set the tile cutter stop to the exact width needed, put the blade down, and score the glass tile in a smooth motion. Pull down the handle of the cutter to cut through the tile.
-
Polish Edges: Use a grinding stone to polish the edges of cut tiles, ensuring they are smooth and even.
Applying Grout
Once all tiles are in place, it’s time to apply grout:
-
Prepare Grout Area: Ensure that all desired areas are fully covered with tiles before applying grout. Allow the mortar to set as recommended by the manufacturer—usually about 24 hours.
-
Apply Grout: Use a rubber grout float working diagonally across the tile to apply premixed grout into the joints until they are full. Force grout into gaps firmly but avoid overfilling them.
-
Remove Excess Grout: Use clean water and a damp sponge to remove excess grout from between tiles. Repeat this process until all grout haze is removed from tile surfaces.
-
Allow Grout to Set: Let the grout set according to manufacturer’s instructions—usually between 7-10 minutes before cleaning off any remaining haze.
Final Touches
After grouting, inspect your work for any imperfections or areas needing additional attention:
-
Clean Tiles Thoroughly: Use clean water each time until tile surfaces are free of grout residue.
-
Seal Grout Lines (Optional): If desired, apply polyurethane over grout lines for added protection against stains.
-
Inspect for Cracks: Check tiles regularly for any signs of cracking or loosening over time.
-
Maintenance Tips: Regularly clean your backsplash with mild non-abrasive cleaners and soft cloths to maintain its appearance over years.
Conclusion
Installing a kitchen tile backsplash with glass accent tiles is a rewarding DIY project that can significantly enhance your kitchen’s aesthetic appeal while providing functional protection against water and grease splatters. By following these detailed steps and using appropriate tools and materials, you can achieve professional-looking results without needing extensive tile-setting experience.
Remember always follow safety guidelines when working with power tools like wet saws or grinders, wear protective gear such as safety glasses and gloves, and ensure proper ventilation in your workspace area especially when using chemicals like thinset mortar or grout.
With patience and attention to detail, you'll be able to create stunning glass tile backsplash that adds elegance sophistication making your kitchen truly unique space where memories are made every day
Was this page helpful?
At Storables.com, we guarantee accurate and reliable information. Our content, validated by Expert Board Contributors, is crafted following stringent Editorial Policies. We're committed to providing you with well-researched, expert-backed insights for all your informational needs.


0 thoughts on “DIY Guide To Installing A Kitchen Tile Backsplash With Glass Accent Tiles”