Home>Ideas and Tips>DIY Guide To Installing A Vessel Sink


Ideas and Tips
DIY Guide To Installing A Vessel Sink
Modified: October 26, 2024
Learn how to install a vessel sink with our step-by-step DIY guide. Enhance your bathroom's look with easy-to-follow instructions and expert tips.
(Many of the links in this article redirect to a specific reviewed product. Your purchase of these products through affiliate links helps to generate commission for Storables.com, at no extra cost. Learn more)
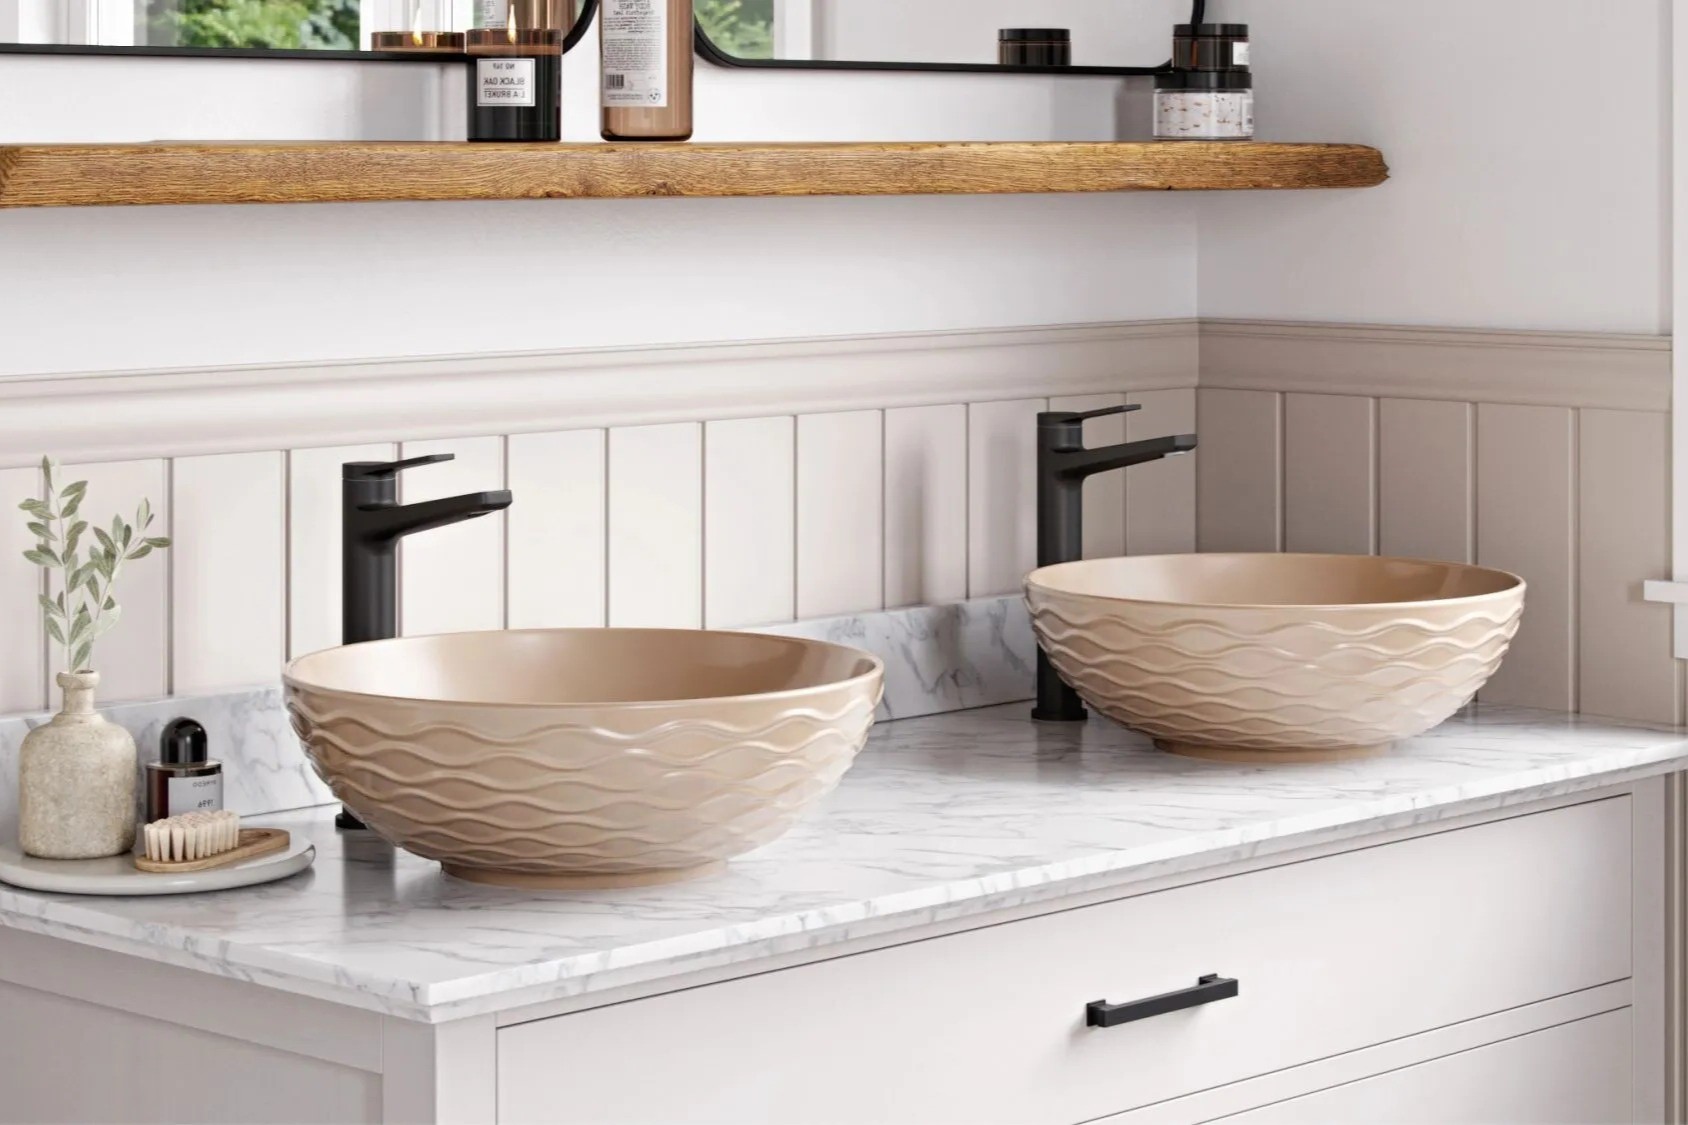
Installing a vessel sink is a great way to enhance the aesthetic appeal of your bathroom without breaking the bank. These sinks sit atop your countertop, creating a unique and stylish focal point that can elevate the entire look of your bathroom. In this comprehensive guide, we will walk you through the steps involved in installing a vessel sink, from choosing the right sink and vanity to completing the final touches.
Step 1: Choosing the Right Vessel Sink
Before you begin the installation process, it's crucial to choose the right vessel sink for your bathroom. Here are some factors to consider:
- Material: Vessel sinks come in various materials such as glass, stone, copper, and even bamboo. Each material has its own unique characteristics and advantages. For example, glass sinks are sleek and modern, while stone sinks offer a natural, elegant look.
- Style: The style of your sink should complement the overall design of your bathroom. Consider the shape, color, and size of the sink to ensure it fits perfectly with your existing fixtures.
- Height: The height of the sink is also important. It should be comfortable for users of all heights. Generally, most vessel sink drains have a 1.5-inch diameter, so if you're using the "above counter method," you simply need to ensure that the sink is at a height that allows for easy use by all family members.
Read more: How To Install A Vessel Sink
Step 2: Choosing the Right Vanity
Your vanity is the base upon which your vessel sink will sit. Here are some considerations for choosing the right vanity:
- Style: Like the sink, the style of your vanity should complement your bathroom's design. Traditional cabinets and countertops are easy to install but may not offer the unique look you're aiming for. Consider floating or wall-mount vanities for a modern twist.
- Material: The material of your vanity should be durable and resistant to moisture. Wood, stone, and glass are popular choices.
- Modification: If you're using an existing vanity, you may need to modify it to accommodate the vessel sink. This could involve drilling holes for the drain and faucet.
Step 3: Preparing Your Vanity Top
Before installing the vessel sink, you need to prepare your vanity top:
- Inspect Your Vanity Top: Check your vanity top for any signs of excessive wear or damage. If it's old or damaged, consider replacing it to ensure a secure and watertight installation.
- Measure and Mark: Measure the front edge of your sink to ensure it aligns perfectly with the countertop. Mark the center line of your sink where the faucet will be installed.
- Clean the Area: Clean the area where you'll be installing the sink to ensure there's no dust or debris that could interfere with the adhesive.
Step 4: Applying Adhesive
To attach the vessel sink to your vanity countertop, you'll need clear silicone adhesive:
- Apply Silicone Adhesive: Apply a bead of silicone adhesive around the entire perimeter of the sink's base.
- Position the Sink: Carefully position the sink over the drain hole, ensuring it's level and aligned with your marks.
- Allow Sealant to Set: Allow the sealant to set for 30-60 minutes before proceeding with further installation steps.
Step 5: Installing the Drain
Installing a drain is a crucial step in completing your vessel sink installation:
- Choose Your Drain Type: Decide on the type of drain you need. For most vessel sinks, a pop-up drain is recommended as it provides easy access for cleaning.
- Install Rubber Washer: Install the rubber washer on the drain body.
- Attach Drain Body: Place the drain body into the drain opening in the sink.
- Attach Mounting Nut: From underneath the sink, attach the concave washer (with the narrow end up), plastic washer, and mounting nut to the drain body.
- Tighten Mounting Nut: Tighten the mounting nut with an adjustable wrench until snug.
- Thread Tailpiece: Thread the tailpiece onto the drain body and hand-tighten the nut.
- Add Tailpiece Extension (if needed): Depending on the orientation of your new vessel sink drain, you may need to add a tailpiece extension or cut away plumbing from the trap.
Step 6: Installing Faucet and Water Supply Lines
Once you've installed your drain, it's time to connect your faucet and water supply lines:
- Install Faucet Handle: Mount your faucet handle according to the manufacturer's instructions.
- Attach Water Lines: Attach hot and cold water lines to your faucet handle.
- Tighten Water Lines: Tighten these lines slowly while checking for leaks.
- Test Faucet: Open both hot and cold valves and check for leaks around the faucet handle.
Step 7: Final Touches
After installing your faucet and water supply lines, it's time for some final checks:
- Check Drain for Leaks: Fill the basin with water and check for leaks around the tailpiece nut or bottom of the sink.
- Adjust as Needed: If you find any leaks, tighten the relevant parts until they're secure.
- Remove Wooden Blocks (if used): If you used wooden blocks for support during installation, remove them now.
Additional Tips and Considerations
Using Adhesives Correctly
When using adhesives like silicone sealant or super glue, make sure you follow these tips:
- Clean Surfaces: Ensure both surfaces are clean and free from dust or debris.
- Apply Correct Amount: Apply just enough adhesive to avoid excess which can be messy and difficult to clean up.
- Allow Drying Time: Allow enough time for the adhesive to dry completely before proceeding with further steps.
Using Mounting Rings (if necessary)
Some vessel sinks require mounting rings for added stability, especially glass sinks:
- Check Manufacturer's Instructions: Refer to your sink's manufacturer instructions regarding mounting rings.
- Apply Adhesive: Apply adhesive around the mounting ring according to manufacturer's instructions.
Troubleshooting Common Issues
Common issues during installation include leaks around the drain or faucet handle:
- Check Tightness: Ensure all connections are tightened properly.
- Inspect Sealants: Check if sealants have dried completely or if there's excess sealant causing leaks.
Conclusion
Installing a vessel sink is a rewarding DIY project that can transform your bathroom into a stylish and functional space. By following these steps and considering the tips provided, you'll be able to achieve professional-looking results without the need for professional help. Remember always to follow safety guidelines when working with adhesives and plumbing fixtures, and don't hesitate to seek professional assistance if you encounter any issues during the process.
Final Check
Before inviting guests into your newly renovated bathroom, perform one final check:
- Inspect All Connections: Ensure all connections are secure and there are no leaks.
- Test Faucet and Drain: Test both the faucet and drain to ensure they're functioning properly.
With these steps and considerations in mind, you'll be well on your way to enjoying a beautifully renovated bathroom featuring a stunning vessel sink
Was this page helpful?
At Storables.com, we guarantee accurate and reliable information. Our content, validated by Expert Board Contributors, is crafted following stringent Editorial Policies. We're committed to providing you with well-researched, expert-backed insights for all your informational needs.





0 thoughts on “DIY Guide To Installing A Vessel Sink”