Home>Articles>How To Lay Laminate Wood Flooring For An Affordable Home Makeover
Articles
How To Lay Laminate Wood Flooring For An Affordable Home Makeover
Modified: August 27, 2024
Learn how to lay laminate wood flooring in your home for an affordable and stunning makeover. Our articles provide step-by-step instructions and tips for a successful DIY project.
(Many of the links in this article redirect to a specific reviewed product. Your purchase of these products through affiliate links helps to generate commission for Storables.com, at no extra cost. Learn more)
Introduction
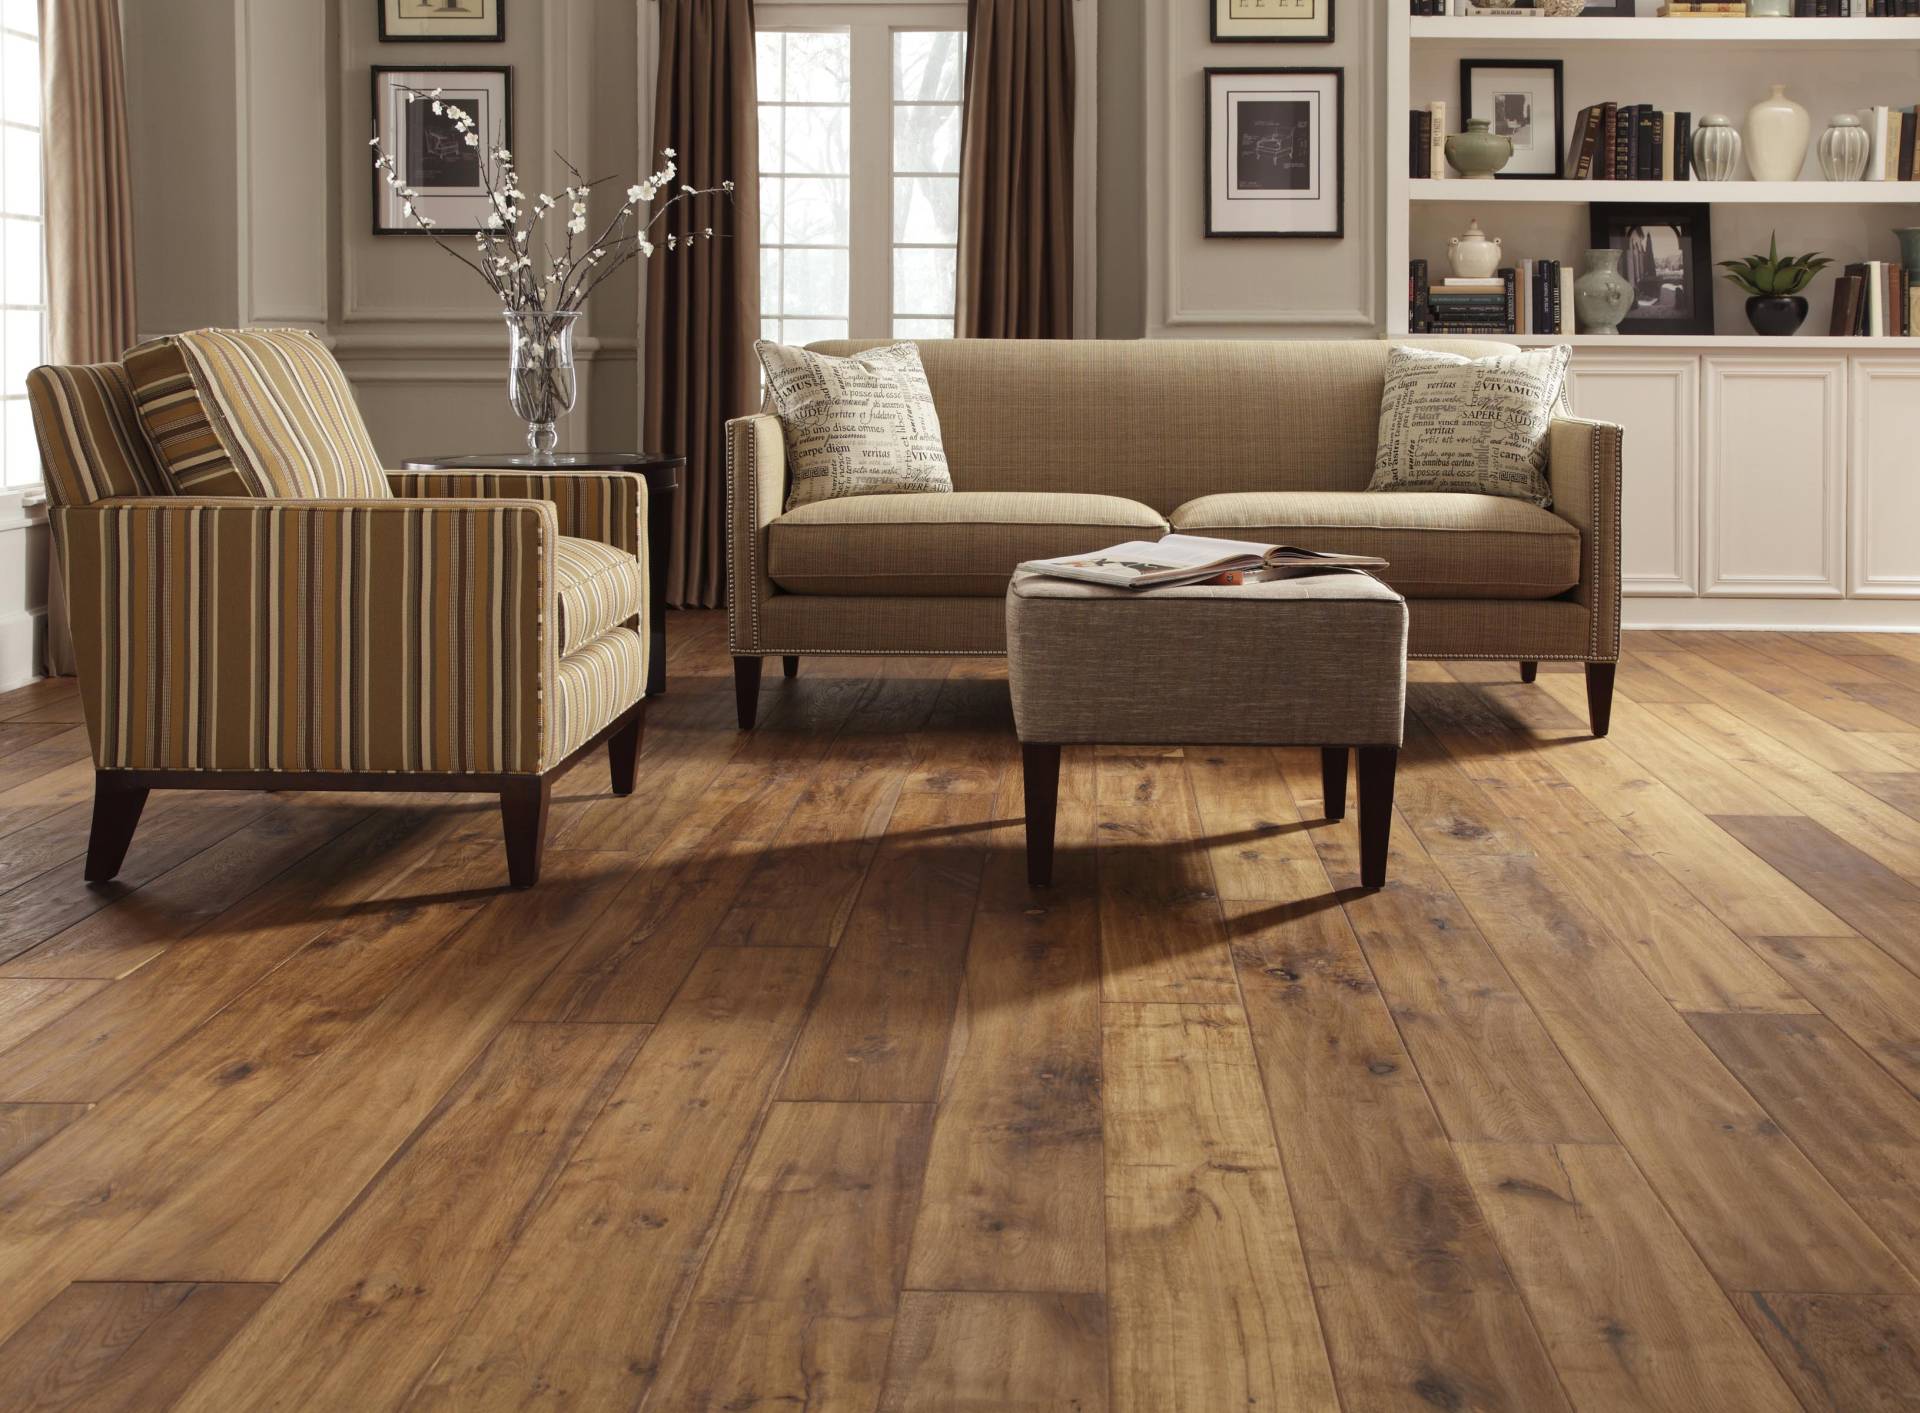
Laminate wood flooring is a fantastic option for homeowners looking to give their homes a fresh, updated look without breaking the bank. This affordable and easy-to-install flooring option has become increasingly popular due to its durability, wide range of styles, and low maintenance requirements.
In this article, we will guide you through the process of laying laminate wood flooring, helping you achieve a professional-looking result that will transform your home. From choosing the right flooring to the finishing touches, we will cover every step of the process to ensure your project is a success.
Whether you are a seasoned DIY enthusiast or a beginner looking to take on your first flooring project, this guide will provide you with the knowledge and confidence to tackle the task. So, let’s dive in and discover how to lay laminate wood flooring for an affordable home makeover.
Key Takeaways:
- Transform your home affordably with laminate wood flooring. Choose the right style, prepare the subfloor, and plan the layout for a professional-looking result. Enjoy the satisfaction of a DIY project that adds value to your space.
- Keep your laminate wood flooring looking beautiful and long-lasting with regular cleaning and maintenance. Protect from scratches, avoid excess water, and take precautions for a polished and complete appearance.
Read more: How To Lay Laminate Floor
Choosing the Right Laminate Wood Flooring
When it comes to choosing laminate wood flooring, there are a few factors to consider to ensure you select the right option for your home. Here are some key points to keep in mind:
- Style: Laminate wood flooring comes in a variety of styles and finishes, including different wood grains, colors, and textures. Consider the existing decor and aesthetic of your home to choose a style that complements your space.
- Quality: Look for laminate flooring that is of high quality and durable. Check for factors such as thickness, AC rating, and warranty. A higher AC rating indicates better durability, and a longer warranty gives you added peace of mind.
- Budget: Determine your budget for the project and choose flooring within that range. Laminate wood flooring is a cost-effective option compared to solid wood floors, but prices can still vary. Compare different brands and options to find the best value for your money.
- Installation: Consider the installation method of the laminate flooring. Some come with click-lock or glueless systems, while others require adhesive. Choose a method that suits your DIY skills and preferences.
- Moisture Resistance: Take into account the moisture levels in the area where the flooring will be installed. If it’s a high-moisture area like a bathroom or basement, opt for laminate flooring specifically designed to withstand moisture.
By considering these factors, you can select laminate wood flooring that not only enhances the aesthetics of your home but also meets your practical needs. Take your time to compare options and consult with flooring professionals if needed, ensuring you make an informed decision.
Preparing the Subfloor
Before installing laminate wood flooring, it’s crucial to prepare the subfloor properly. The subfloor serves as the foundation for the flooring and ensures a smooth and stable surface. Follow these steps to prepare the subfloor:
- Clean the Subfloor: Start by removing any existing flooring, including carpet, tiles, or hardwood. Sweep or vacuum the subfloor to remove any dirt, dust, or debris.
- Check for Moisture: Use a moisture meter to check the moisture levels of the subfloor. Laminate flooring requires a dry subfloor, so ensure that the moisture levels are within the manufacturer’s recommended range.
- Repair Damages: Inspect the subfloor for any damages such as cracks, uneven areas, or protruding nails. Repair any issues by filling cracks with a suitable filler and sanding down any high spots.
- Level the Subfloor: Use a leveling compound to even out any uneven areas of the subfloor. This will prevent uneven flooring and ensure a seamless installation.
- Install a Vapor Barrier: In areas with high humidity or moisture, it’s essential to install a vapor barrier over the subfloor. This will help protect the laminate flooring from moisture damage.
By taking the time to properly prepare the subfloor, you will create an optimal surface for the installation of laminate wood flooring. This will help ensure the durability and longevity of your new flooring, as well as provide a smooth and professional finish.
Acclimating the Laminate Flooring
Once the subfloor is prepared, it’s important to acclimate the laminate flooring before installation. Acclimation allows the flooring to adjust to the temperature and humidity conditions of the room, minimizing the risk of warping or buckling after installation. Follow these steps to acclimate the laminate flooring:
- Unbox the Flooring: Remove the laminate flooring from its packaging, but do not immediately install it. Allow the flooring to sit in the room where it will be installed for at least 48 hours. This gives the planks time to adjust to the temperature and humidity levels of the space.
- Create Space: Clear a designated space in the room for the laminate flooring to acclimate. Place the planks horizontally and stack them loosely to allow for proper air circulation.
- Maintain Ideal Conditions: During the acclimation period, it’s important to maintain the room conditions as close as possible to the normal living conditions. Keep the temperature and humidity levels similar to how they will be once the flooring is installed.
- Ensure Proper Air Circulation: Avoid placing heavy objects on top of the stacked flooring and ensure that air can circulate around the planks freely. This will allow for even acclimation throughout the entire batch of flooring.
Acclimating the laminate flooring is a crucial step in the installation process as it allows the planks to adjust to the environment, reducing the risk of issues such as shrinking or expanding after installation. By following these steps, you can ensure a successful and long-lasting installation of your laminate wood flooring.
Planning the Layout
Before starting the installation of the laminate wood flooring, it’s essential to plan the layout to achieve a visually pleasing and efficient result. Here are some steps to help you plan the layout:
- Measure the Room: Start by measuring the dimensions of the room where the laminate flooring will be installed. Calculate the square footage to determine how much flooring you will need to purchase.
- Consider the Plank Direction: Determine the direction in which you want the planks to run. This will depend on factors such as the size of the room and the natural light sources. In most cases, it’s recommended to lay the planks parallel to the longest wall to create a sense of depth.
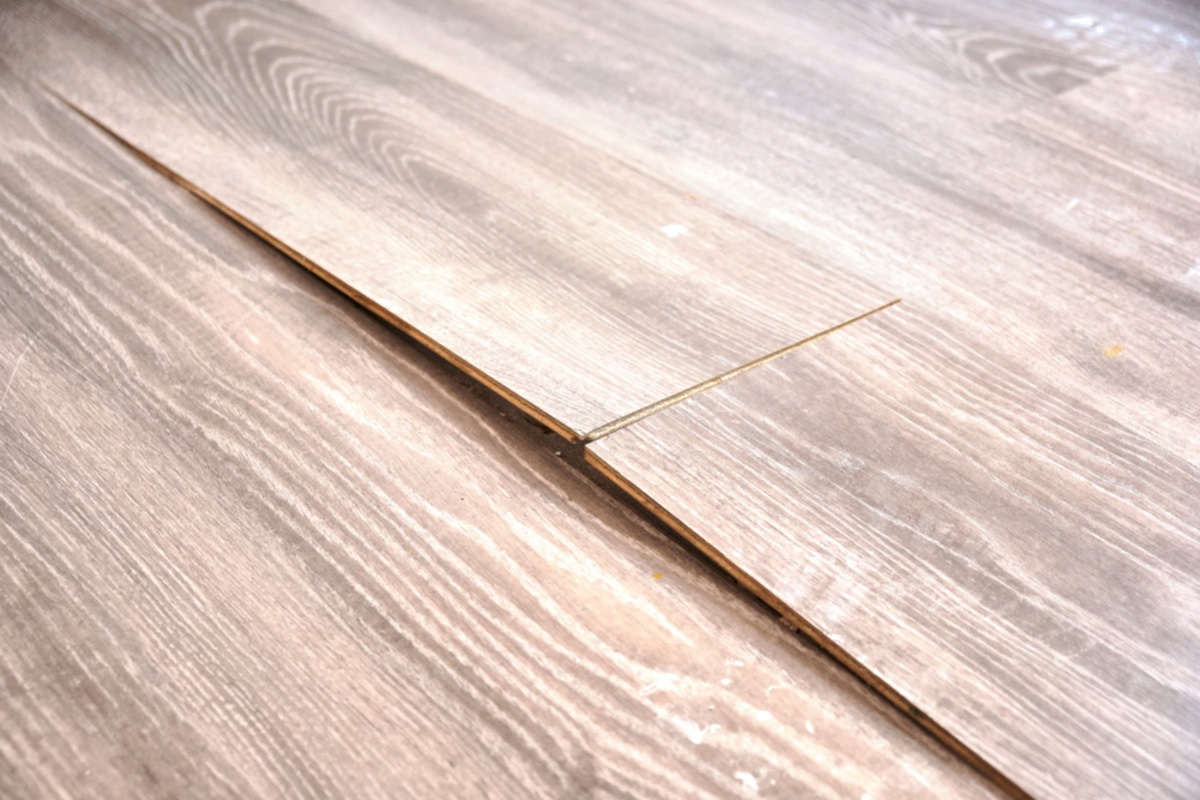
- Plan for Expansion Gaps: Laminate flooring needs room to expand and contract with changes in temperature and humidity. Plan to leave a small expansion gap, typically around 1/4 inch, around the perimeter of the room and any fixed objects like walls, doorways, and kitchen islands.
- Consider Doorways and Transitions: Decide how you want to handle doorways and transitions between different flooring areas. You may need to use transition strips or undercut door jambs to create a smooth and seamless transition between rooms.
- Create a Layout Grid: Using a chalk line or straightedge, create a layout grid on the subfloor. This will help you visualize the placement of the planks and ensure a balanced and symmetrical layout.
- Account for Obstacles: Take into account any obstacles in the room such as cabinets, built-in furniture, or vents. Plan accordingly to cut and fit the planks around these obstacles for a neat and professional finish.
By carefully planning the layout of your laminate wood flooring, you can create a visually appealing design and ensure an efficient installation process. Don’t be afraid to experiment with different layouts or seek advice from experts to achieve the desired result for your space.
Read more: Laminate Wood Flooring
Installing the Underlayment
Before laying the laminate wood flooring, it’s important to install an underlayment. The underlayment serves several purposes, including providing a moisture barrier, sound insulation, and cushioning for a more comfortable feel underfoot. Follow these steps to install the underlayment:
- Prepare the Subfloor: Ensure that the subfloor is clean, dry, and free from debris. Any remaining adhesive or uneven areas should be addressed before installing the underlayment.
- Roll Out the Underlayment: Start at one corner of the room and roll out the underlayment across the entire floor. Allow the underlayment to slightly overlap at the edges. Trim any excess with a utility knife.
- Secure the Underlayment: Secure the underlayment to the subfloor by using duct tape or adhesive as recommended by the manufacturer. Ensure that the underlayment lays flat and is free from wrinkles or gaps.
- Seal the Seams: If the underlayment comes with seams, use a suitable seam sealer to seal any gaps. This will further enhance the moisture resistance and create a more stable surface for the laminate flooring.
- Trim Around Obstacles: Use a utility knife to carefully trim the underlayment around any obstacles such as doorways or vents. This will ensure a clean and precise installation.
Installing the underlayment is a crucial step as it provides a stable and comfortable base for the laminate flooring. Ensure that the underlayment is properly installed and secured to create an optimal surface for the subsequent installation steps.
When laying laminate wood flooring, be sure to acclimate the planks to the room’s temperature and humidity for at least 48 hours before installation to prevent warping.
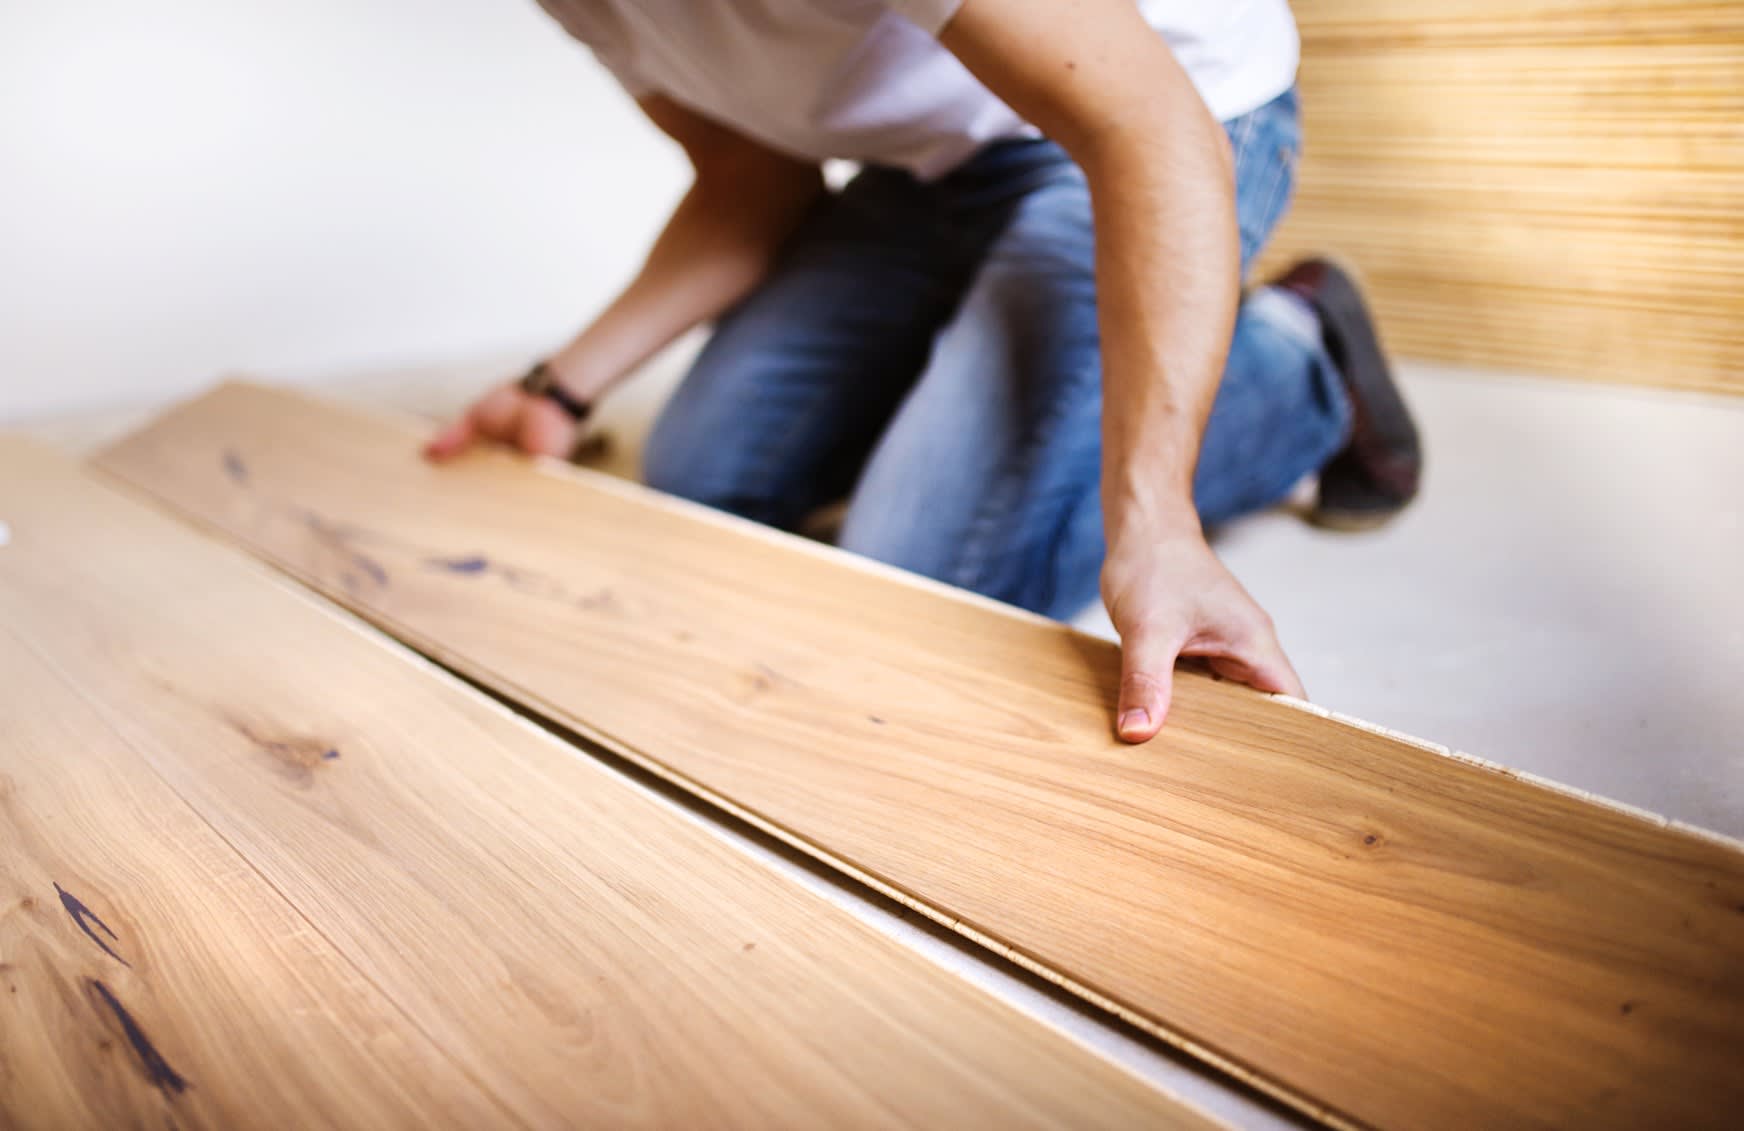
Cutting and Installing the First Row
With the underlayment in place, it’s time to start laying the laminate wood flooring. The first row is especially important as it sets the foundation for the rest of the installation. Follow these steps to cut and install the first row:
- Measure and Cut: Measure the length of the wall where you will start the installation. Leave a 1/4 inch gap for expansion, and then mark and cut the planks accordingly using a miter saw or a laminate cutter.
- Apply Spacers: Place spacers against the wall to maintain the 1/4 inch expansion gap. This will allow the laminate flooring to expand and contract without causing any issues.
- Apply Adhesive (if applicable): If your laminate flooring requires adhesive, apply a small amount to the side groove of the first plank. Be sure to follow the manufacturer’s instructions for the specific adhesive you are using.
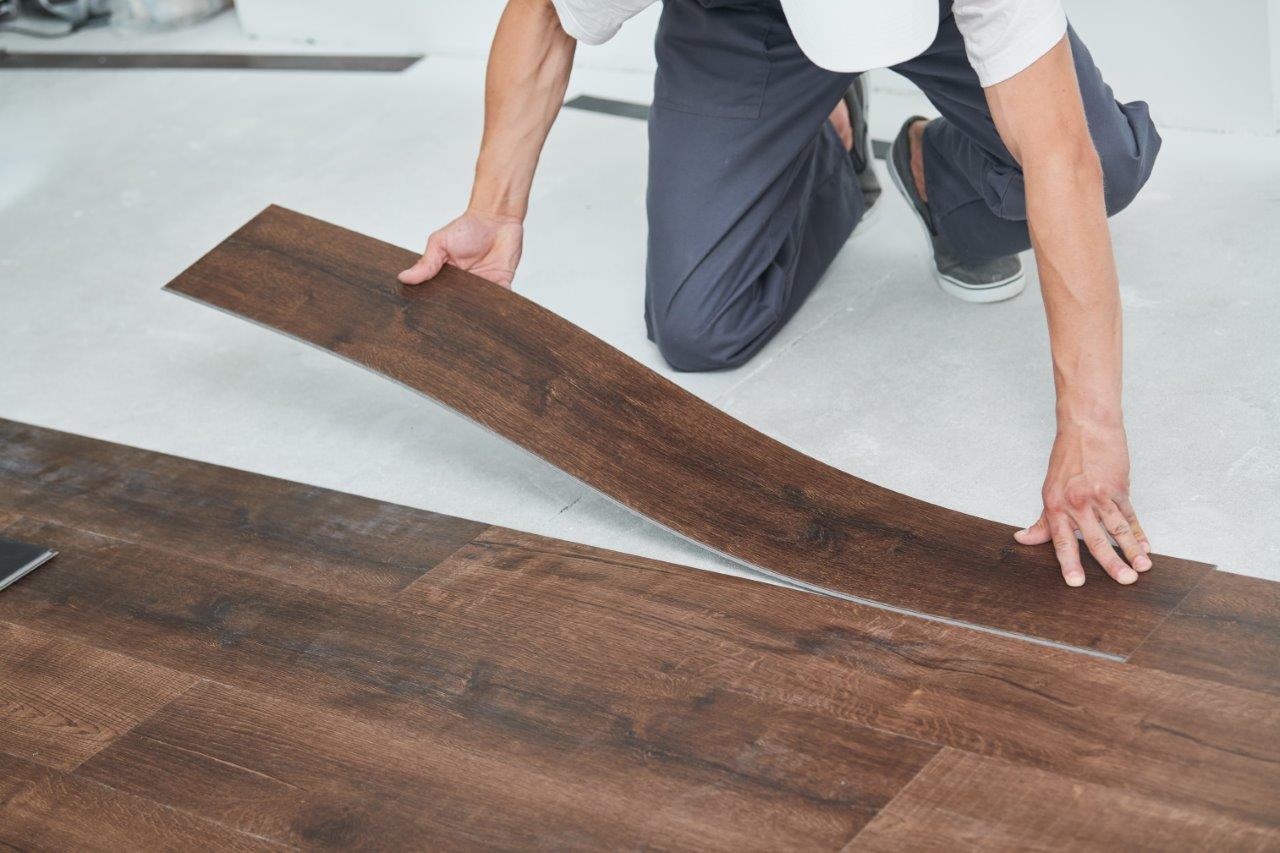
- Fit the First Plank: With the adhesive applied (if necessary), insert the tongue edge of the first plank into the groove of the next plank at a 45-degree angle. Gently lower the plank to the underlayment, ensuring it is firmly pressed against the spacers.
- Tap the Plank Into Place: Use a tapping block and a mallet to gently tap the first plank into place. This will ensure a tight fit and help to eliminate any gaps between the planks.
- Continue Installing the First Row: Repeat the process of measuring, cutting, applying adhesive (if needed), and installing the remaining planks in the first row. Use the manufacturer’s recommended stagger pattern, typically starting with a full plank and then a half plank, for a more visually appealing result.
By carefully cutting and installing the first row of laminate wood flooring, you will create a solid and straight foundation for the rest of the installation process. Take your time to ensure a precise fit and proper alignment, as this will set the tone for the entire project.
Installing the Remaining Rows
With the first row laid down, you can now proceed to install the remaining rows of laminate wood flooring. Follow these steps for a smooth installation process:
- Prepare the Planks: Before installing each new row, measure and cut the first plank to ensure a staggered pattern. Remember to leave the necessary expansion gap on all sides.
- Apply Adhesive (if applicable): If your laminate flooring requires adhesive, apply a small amount to the side groove of the plank before inserting it into the previous row’s groove. Follow the manufacturer’s instructions for the adhesive application.
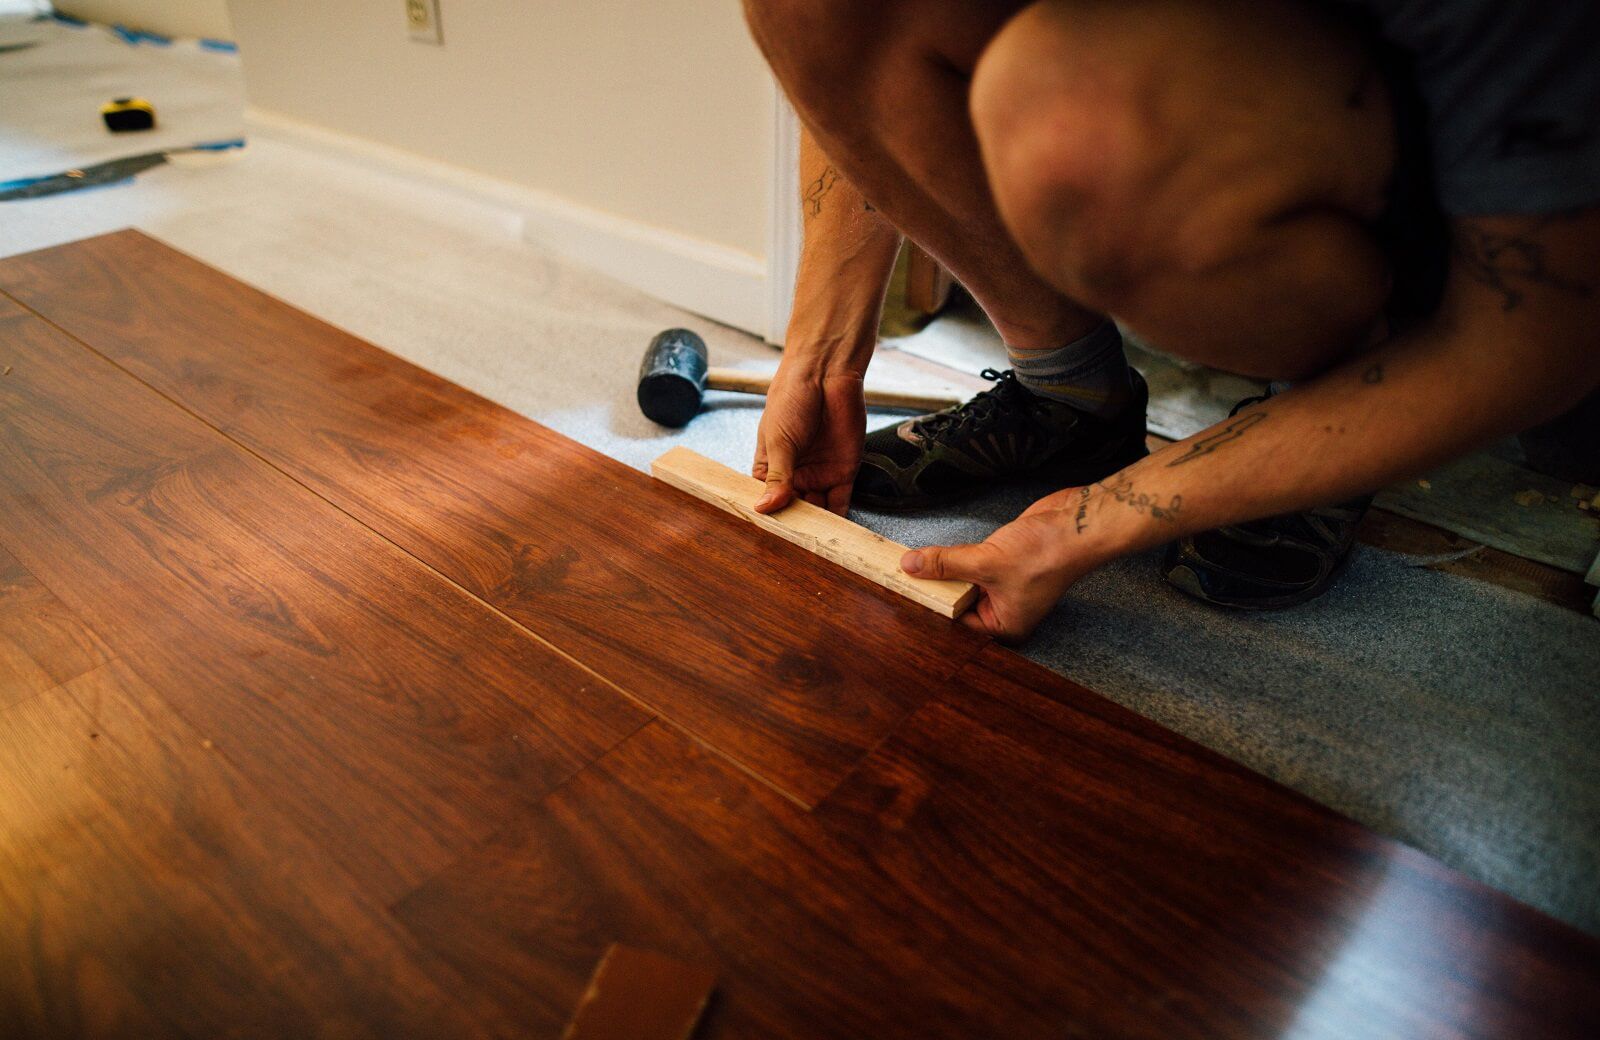
- Insert and Lock the Planks: Insert the tongue of the new plank into the groove of the previous row’s plank at a 45-degree angle. Gently lower the new plank, ensuring the short end is connected first before pressing the long edge down. Use a tapping block and mallet to secure the planks together.
- Use the Pull Bar: As you progress with each row, you may encounter situations where the tapping block cannot fit due to space constraints. In such cases, a pull bar can be used to secure the planks by fitting it into the groove and tapping it into place.
- Ensure Proper Alignment: Regularly check the alignment and straightness of the planks while installing each row. Use a carpenter’s square or straightedge to ensure a consistent and professional look.
- Continue Installing Rows: Repeat the process of measuring, cutting, applying adhesive (if needed), and installing the remaining rows of laminate wood flooring. Remember to maintain the necessary expansion gaps and stagger the planks to achieve an aesthetically pleasing layout.
By following these steps, you can efficiently install the remaining rows of laminate wood flooring. Take your time to ensure a snug fit, properly aligned planks, and a clean finish. As you progress, the installation process will become more familiar and straightforward.
Cutting and Installing the Last Row
As you near the completion of your laminate wood flooring installation, it’s time to cut and install the last row. This step requires precision and attention to detail to ensure a seamless and professional finish. Follow these steps to tackle the final row:
- Measure and Cut: Measure the remaining space between the previous row and the wall, accounting for the necessary expansion gap. Using a miter saw or laminate cutter, cut the planks to fit the width of the space.
- Apply Adhesive (if applicable): If adhesive is required for the last row, apply it to the side groove of the planks before inserting them into the previous row’s groove. Follow the manufacturer’s instructions for adhesive application.
- Insert and Lock the Planks: Insert the cut planks into place, connecting the tongue into the groove of the previous row at a 45-degree angle. Carefully lower the planks, ensuring a snug fit and firm connection. Use a pull bar and tapping block to secure the planks in place.
- Tap and Secure: Use a tapping block and mallet to tap along the length of the last row, ensuring all planks are tightly locked together. This will help eliminate any gaps and ensure a seamless look.
- Trim any Excess: If needed, trim the planks along the length to fit perfectly against the wall. Use a fine-toothed saw or a laminate cutter to achieve a clean and precise cut.
Installing the last row of laminate wood flooring requires patience and precision. Take your time to ensure a perfect fit, tightly connected planks, and a professional finish. With careful attention, the last row will seamlessly blend with the rest of the flooring, completing your project with a polished look.
Read more: How To Lay Tile On Wood Floor
Finishing Touches: Trim and Moldings
Trim and moldings play a vital role in giving your laminate wood flooring a polished and finished appearance. They not only add aesthetic value but also serve functional purposes by covering expansion gaps and providing a smooth transition between different areas. Follow these steps to complete the finishing touches:
- Measure and Cut: Measure the length of the walls where trim or moldings will be installed. Use a miter saw or a coping saw to cut the trim pieces to the appropriate length, ensuring precise and clean cuts.
- Install Baseboards: Begin by installing baseboards along the perimeter of the room, covering the expansion gap between the flooring and the walls. Attach the baseboards securely to the wall using finishing nails or a suitable adhesive.
- Add Quarter Round or Shoe Molding: To further enhance the finished look, consider installing quarter round or shoe molding along the baseboard’s top edge. This molding covers any remaining gaps and adds a decorative touch.
- Install Transition Strips: If there are areas where the laminate flooring meets a different type of flooring, install transition strips to create a smooth and seamless transition. This could be between rooms, doorways, or areas where the flooring changes material.
- Paint or Stain: If desired, paint or stain the trim and moldings to match the color of your laminate flooring or the overall aesthetic of your space. This will give a cohesive and unified look to your flooring project.
- Fill Nail Holes: After installation, fill any nail holes with wood putty or a similar filler. Sand down the filled areas to create a smooth surface, and touch up with paint or stain as needed.
Completing the finishing touches with trim and moldings will elevate the overall appearance of your laminate wood flooring. Take care to ensure accurate measurements, proper installation, and attention to detail to achieve a professional and polished look.
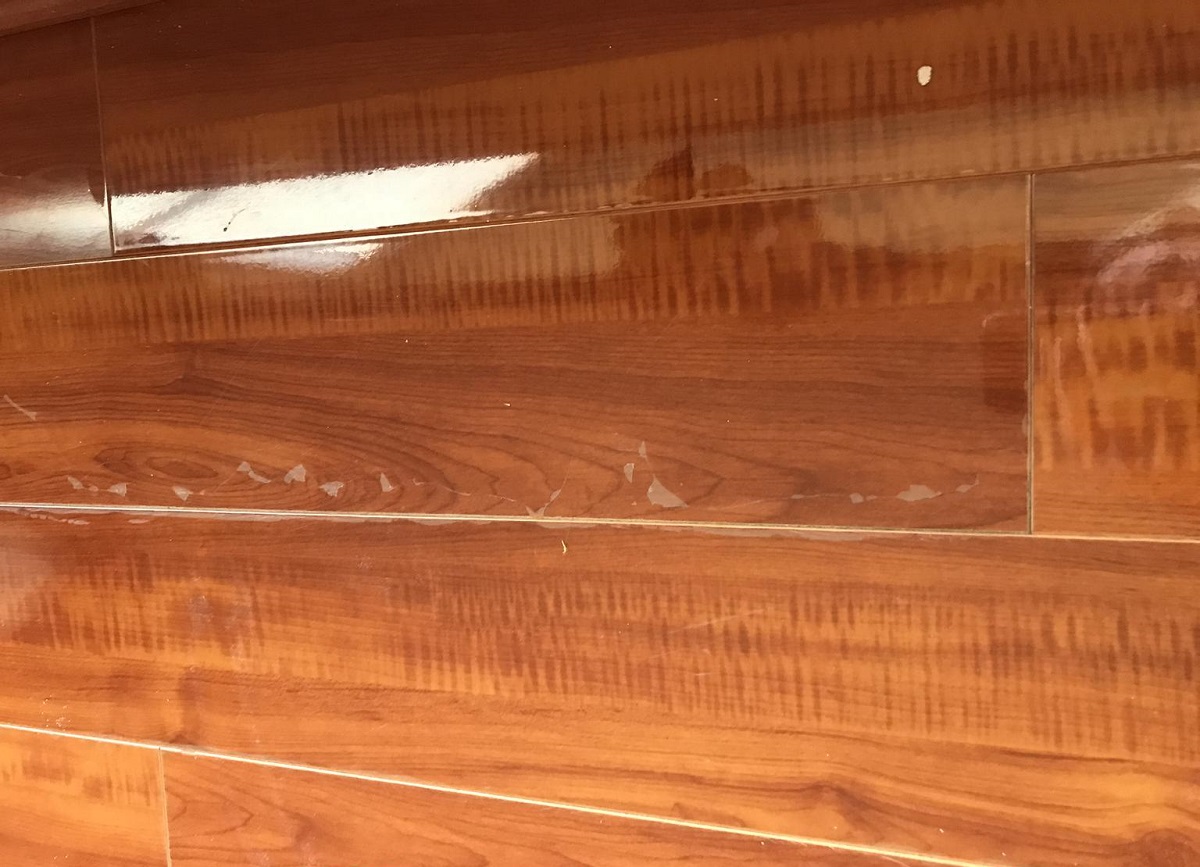
Cleaning and Maintaining Laminate Wood Flooring
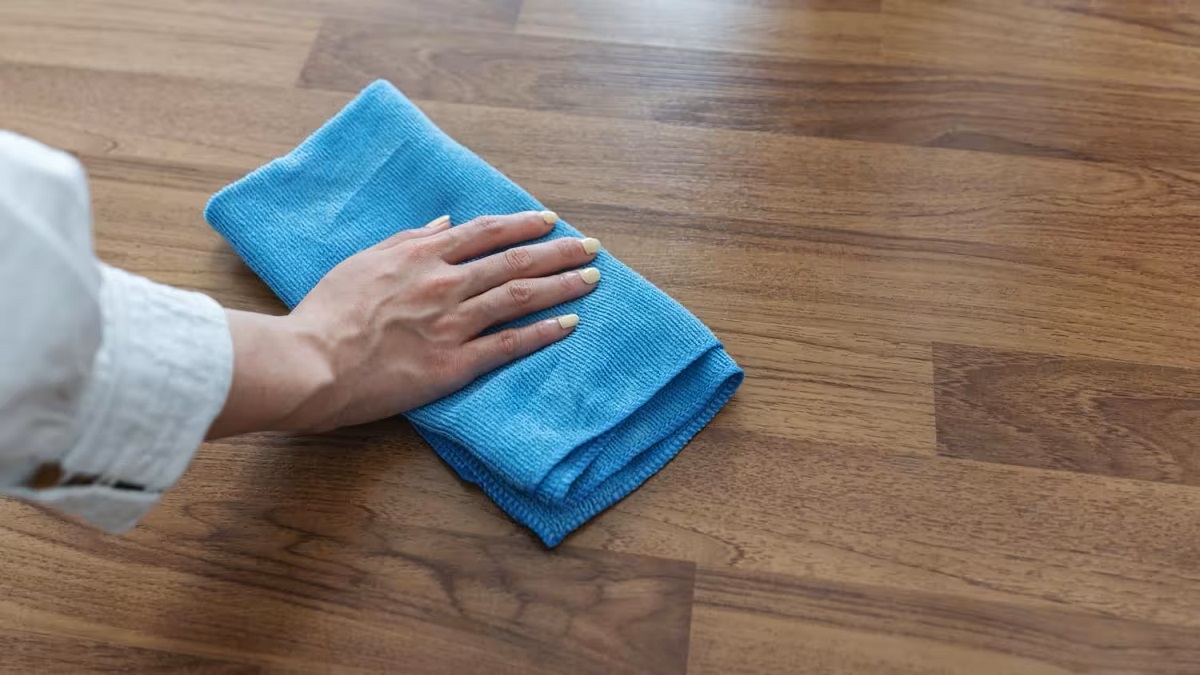
Proper cleaning and maintenance are essential to keep your laminate wood flooring looking beautiful and in optimal condition for years to come. Follow these tips to ensure the longevity and cleanliness of your flooring:
- Sweep or Vacuum Regularly: Remove any dust, dirt, or debris from the surface of the flooring by sweeping or vacuuming regularly. Use a soft-bristle broom or a vacuum cleaner with a brush attachment to prevent scratching.
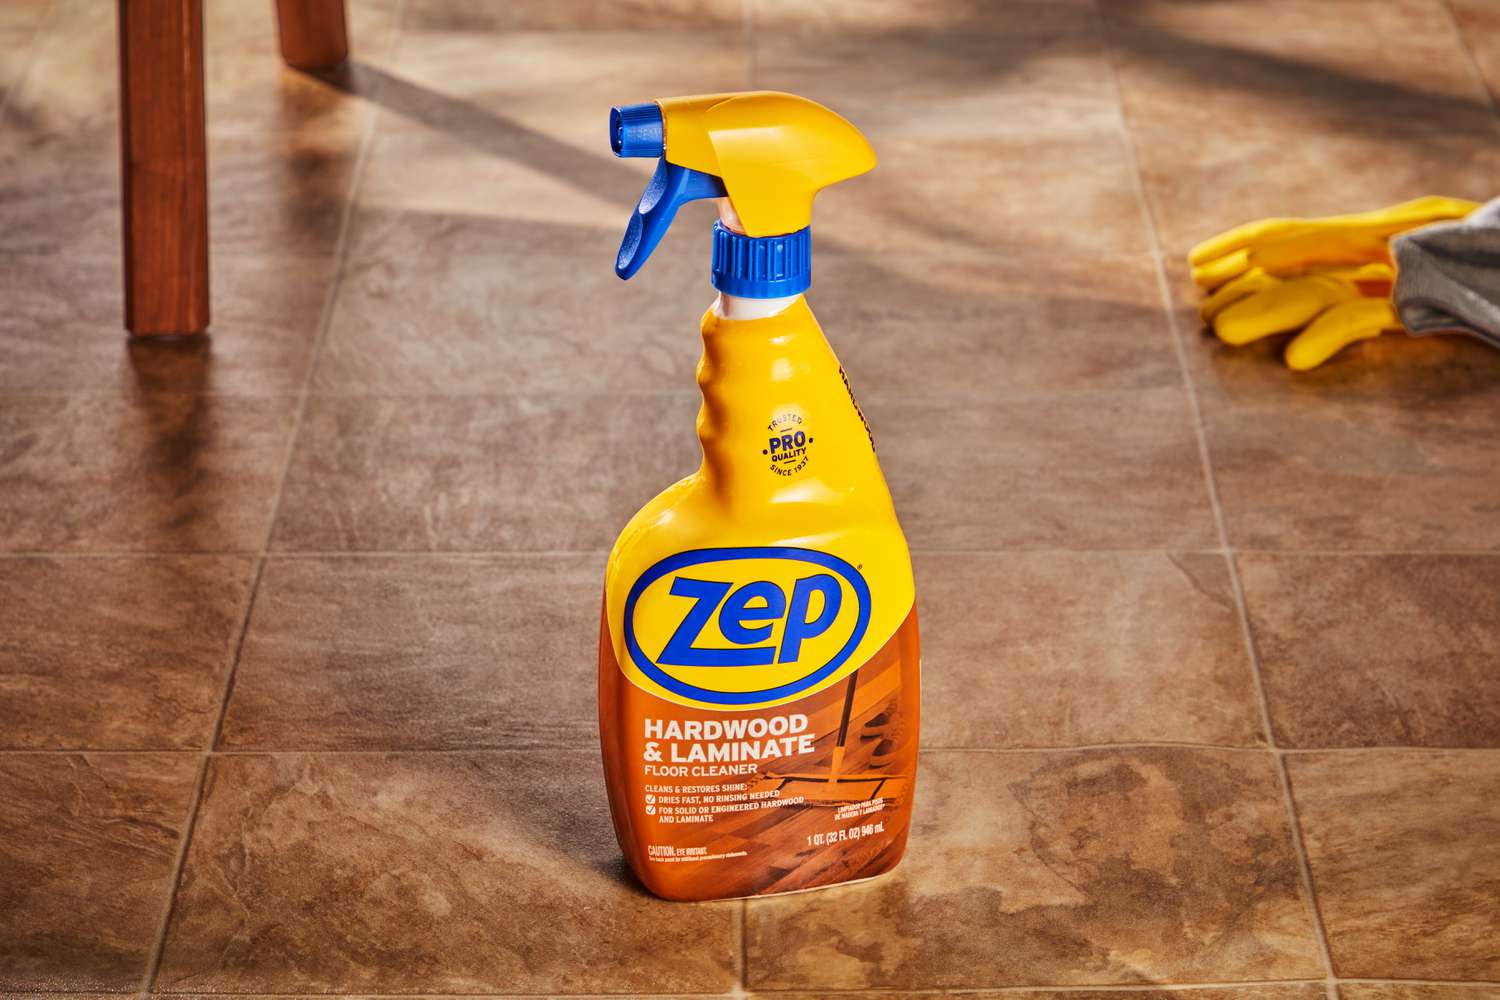
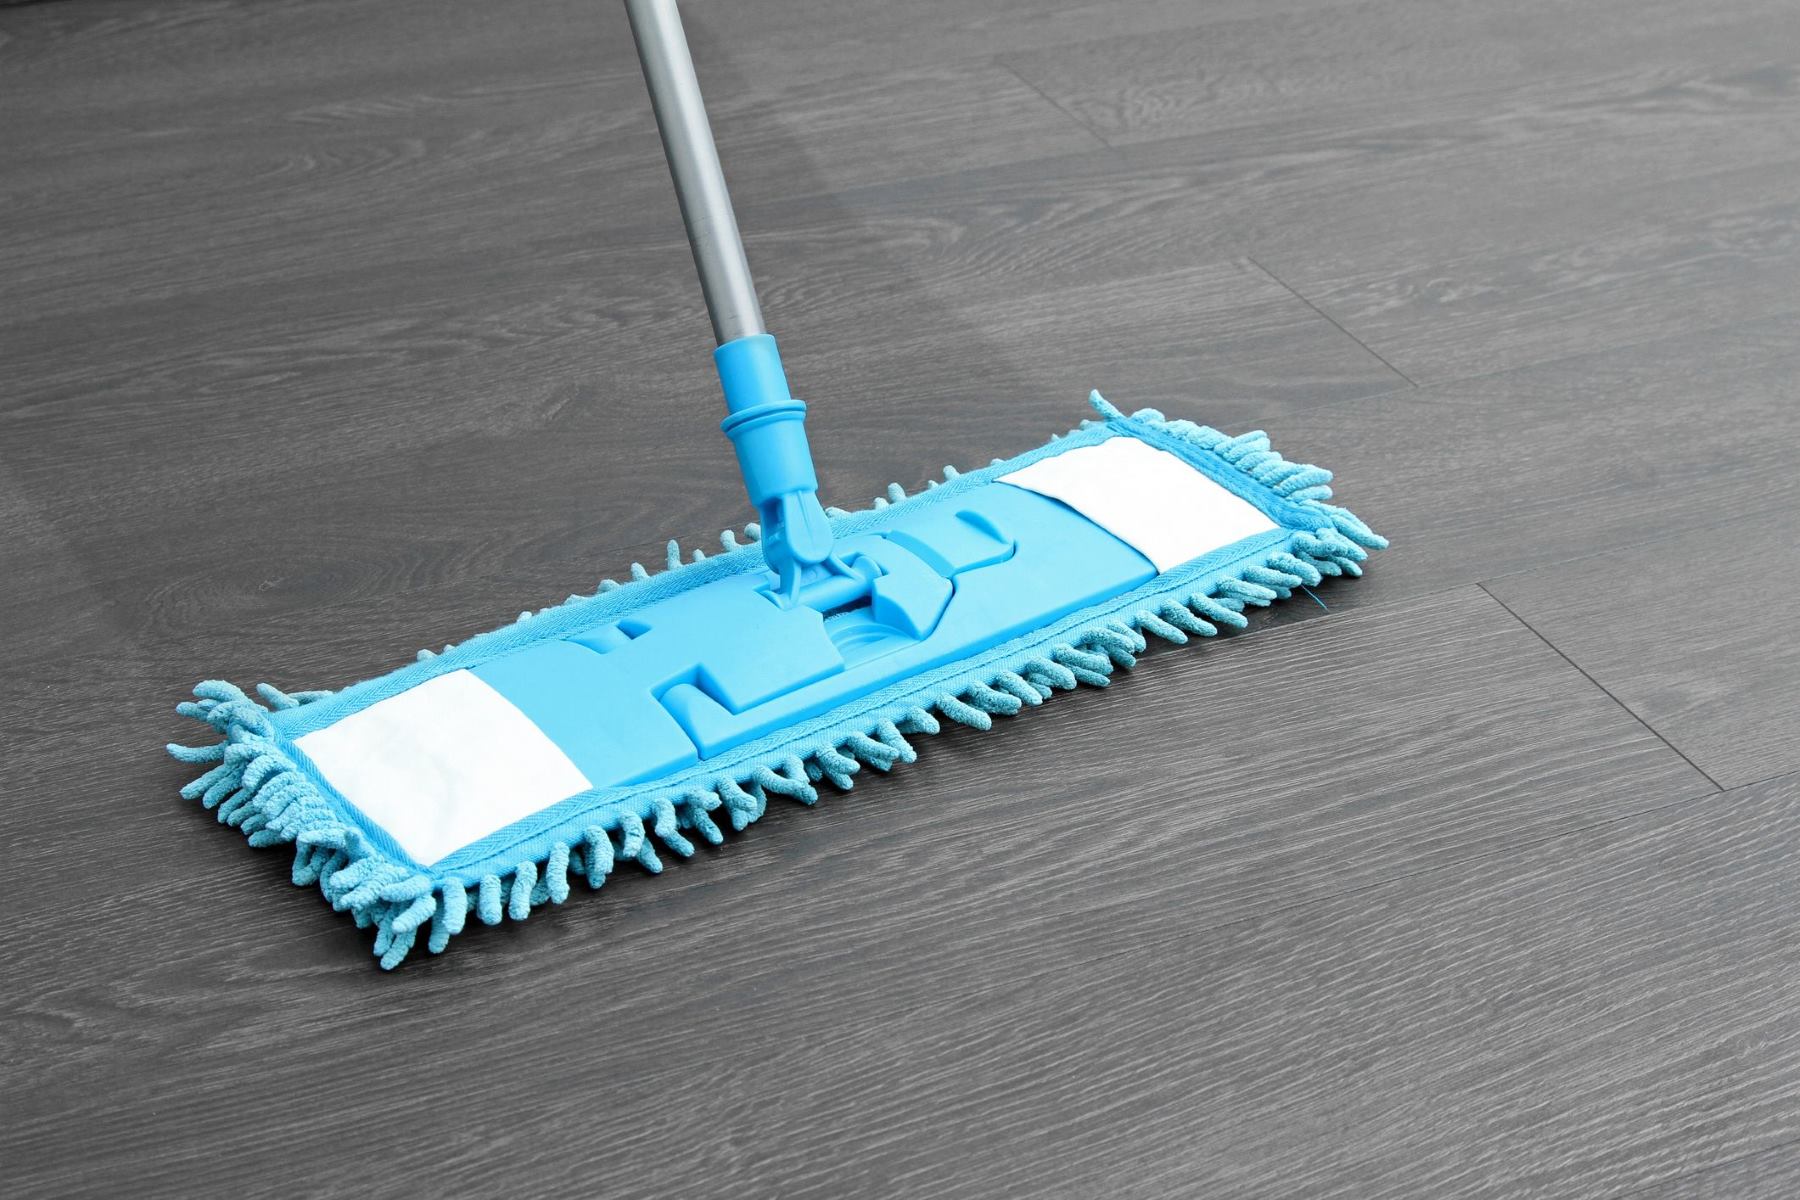
- Use a Damp Mop: For more thorough cleaning, dampen a mop with water or a mild laminate-specific cleaner. Wring out the excess moisture to avoid saturating the flooring, as excessive water can cause damage.
- Avoid Excess Water: Although laminate flooring is resistant to moisture, it’s important to clean up spills promptly. Avoid excessive amounts of water on the floor, as it can seep into the seams and cause swelling or warping.
- Protect from Scratches: Place felt pads or furniture glides under chair legs and furniture to prevent scratches when moving or sliding them. Avoid dragging heavy furniture across the floor to further minimize the risk of damage.
- Avoid Harsh Cleaning Agents: Avoid using abrasive cleaners, scouring pads, or harsh chemicals on laminate flooring. These can cause discoloration, dullness, or even damage to the protective layer of the flooring.
- Pet Care: Trim your pet’s nails regularly to prevent scratching the surface of the laminate flooring. Wipe up any pet accidents immediately to avoid stains and odors.
- Protect from Direct Sunlight: Direct sunlight can cause fading and discoloration of the laminate flooring over time. Consider using blinds or curtains to protect the floor from prolonged exposure to sunlight.
- Use Entrance Mats: Place entrance mats at the doorways to trap dirt and moisture before it reaches the laminate flooring. This will help prevent unnecessary wear and tear.
- Periodic Deep Cleaning: Occasionally, it may be necessary to perform a deeper cleaning to remove stubborn stains or buildup. Follow the manufacturer’s instructions for deep cleansers or consult with a professional for guidance.
By following these cleaning and maintenance practices, you can keep your laminate wood flooring looking its best and extend its lifespan. Regular care and attention will help preserve the beauty and functionality of your flooring investment for years to come.
Conclusion
Congratulations! You have now learned how to lay laminate wood flooring for an affordable home makeover. Armed with the right knowledge and techniques, you can transform the look and feel of your space without breaking the bank.
By choosing the right laminate wood flooring, preparing the subfloor, acclimating the flooring, carefully planning the layout, and following the installation steps, you can achieve a professional-looking result. Remember to pay attention to the finishing touches by installing trim and moldings to give your flooring a polished and complete appearance.
Regular cleaning and maintenance are key to keeping your laminate wood flooring looking its best. Sweeping or vacuuming regularly, using a damp mop for deeper cleaning, and taking precautions to protect the flooring from scratches and excess moisture will help prolong its lifespan and maintain its beauty.
With your newly installed laminate wood flooring, you can enjoy a fresh and updated look in your home. Not only will you have a beautiful space, but you will also have the satisfaction of completing a DIY project that adds value and appeal to your living environment.
Remember, if at any point during the installation process you feel uncertain or overwhelmed, don’t hesitate to seek professional guidance or assistance. With proper care and attention, your laminate wood flooring will continue to enhance your home for years to come.
Happy flooring, and enjoy your transformed space!
Frequently Asked Questions about How To Lay Laminate Wood Flooring For An Affordable Home Makeover
Was this page helpful?
At Storables.com, we guarantee accurate and reliable information. Our content, validated by Expert Board Contributors, is crafted following stringent Editorial Policies. We're committed to providing you with well-researched, expert-backed insights for all your informational needs.
0 thoughts on “How To Lay Laminate Wood Flooring For An Affordable Home Makeover”