
Articles
How To Install A Vessel Sink
Modified: October 28, 2024
Learn how to install a vessel sink with these helpful articles. Step-by-step instructions and expert tips to ensure a seamless installation process.
(Many of the links in this article redirect to a specific reviewed product. Your purchase of these products through affiliate links helps to generate commission for Storables.com, at no extra cost. Learn more)
Introduction
Welcome to our guide on how to install a vessel sink. Vessel sinks have become increasingly popular in modern bathroom designs due to their unique and stylish appearance. These sinks sit on top of the countertop or vanity, creating a striking focal point in any bathroom. If you’re ready to upgrade your bathroom with a vessel sink, this step-by-step installation guide will help you through the process. Whether you’re a seasoned DIY enthusiast or a beginner, with the right tools and a little patience, you’ll have your new vessel sink installed in no time.
Before we dive into the installation process, let’s briefly discuss the tools and materials you’ll need to have on hand:
– Adjustable wrench
– Channel locks
– Screwdriver
– Plumber’s tape
– Silicone sealant
– PVC pipe cutter
– PVC cement
– Teflon tape
– Level
– Bucket or towel to catch water
– Safety glasses and gloves
Now that you have your tools ready let’s get started on installing your vessel sink!
Key Takeaways:
- Installing a vessel sink requires careful preparation, precise positioning, and thorough testing to ensure a secure and leak-free installation. Following each step diligently will result in a stylish and functional addition to your bathroom.
- The installation process involves essential steps such as applying silicone sealant, connecting the drainpipe, and securing the sink. Attention to detail and patience are key to achieving a successful vessel sink installation that enhances your bathroom’s aesthetic appeal.
Read more: DIY Guide To Installing A Vessel Sink
Tools and Materials Needed
Before diving into the installation process, it’s important to gather all the necessary tools and materials. Here’s a comprehensive list of what you’ll need:
Tools:
- Adjustable wrench
- Channel locks
- Screwdriver
- Plumber’s tape
- PVC pipe cutter
- PVC cement
- Teflon tape
- Level
- Bucket or towel to catch water
- Safety glasses and gloves
Materials:
- Vessel sink
- Mounting ring
- Silicone sealant
- Drainpipe and fittings
The adjustable wrench and channel locks will help you tighten and secure various connections throughout the installation. The screwdriver may be needed to remove any existing fixtures or to tighten screws, depending on your situation.
Plumber’s tape, also known as Teflon tape, is used to create a watertight seal on threaded connections, preventing leaks. This is crucial for ensuring a successful installation without any water damage.
A PVC pipe cutter is essential for customizing the drainpipe to fit the specific dimensions of your vessel sink. The PVC cement is used to securely bond the different pieces of the drainpipe together.
Don’t forget to wear safety glasses and gloves throughout the installation process to protect yourself from any potential injuries.
Once you have gathered all the necessary tools and materials, you’ll be ready to move on to the next step: preparing the area for installation.
Step 1: Prepare the Area
Before installing your vessel sink, it’s important to ensure that the area is properly prepared. Follow these steps to get started:
- Turn off the water supply: Locate the shut-off valves underneath the sink or near your main water supply and turn them off. This will prevent any water flow while you’re working on the installation.
- Clear the countertop or vanity: Remove any items from the area, such as toiletries, soap dispensers, or decorative objects that may obstruct the installation process.
- Disconnect the existing sink: If you have a previous sink installed, disconnect it by loosening the nuts securing the water supply lines and drainpipe. Use an adjustable wrench or channel locks to do this. Place a bucket or towel beneath the sink to catch any residual water.
- Clean the countertop or vanity: Thoroughly clean the countertop or vanity surface where the vessel sink will be placed. Use a non-abrasive cleaner to remove any dirt, grime, or residue.
- Check the countertop compatibility: Ensure that the countertop or vanity is suitable for installing a vessel sink. It should be able to support the weight of the sink and provide a stable surface. If necessary, reinforce the area underneath to ensure proper support.
By preparing the area beforehand, you’ll create a clean and organized workspace for the installation process. This will make the installation much easier and ensure a successful outcome. Once the area is prepared, you can move on to the next step: installing the mounting ring.
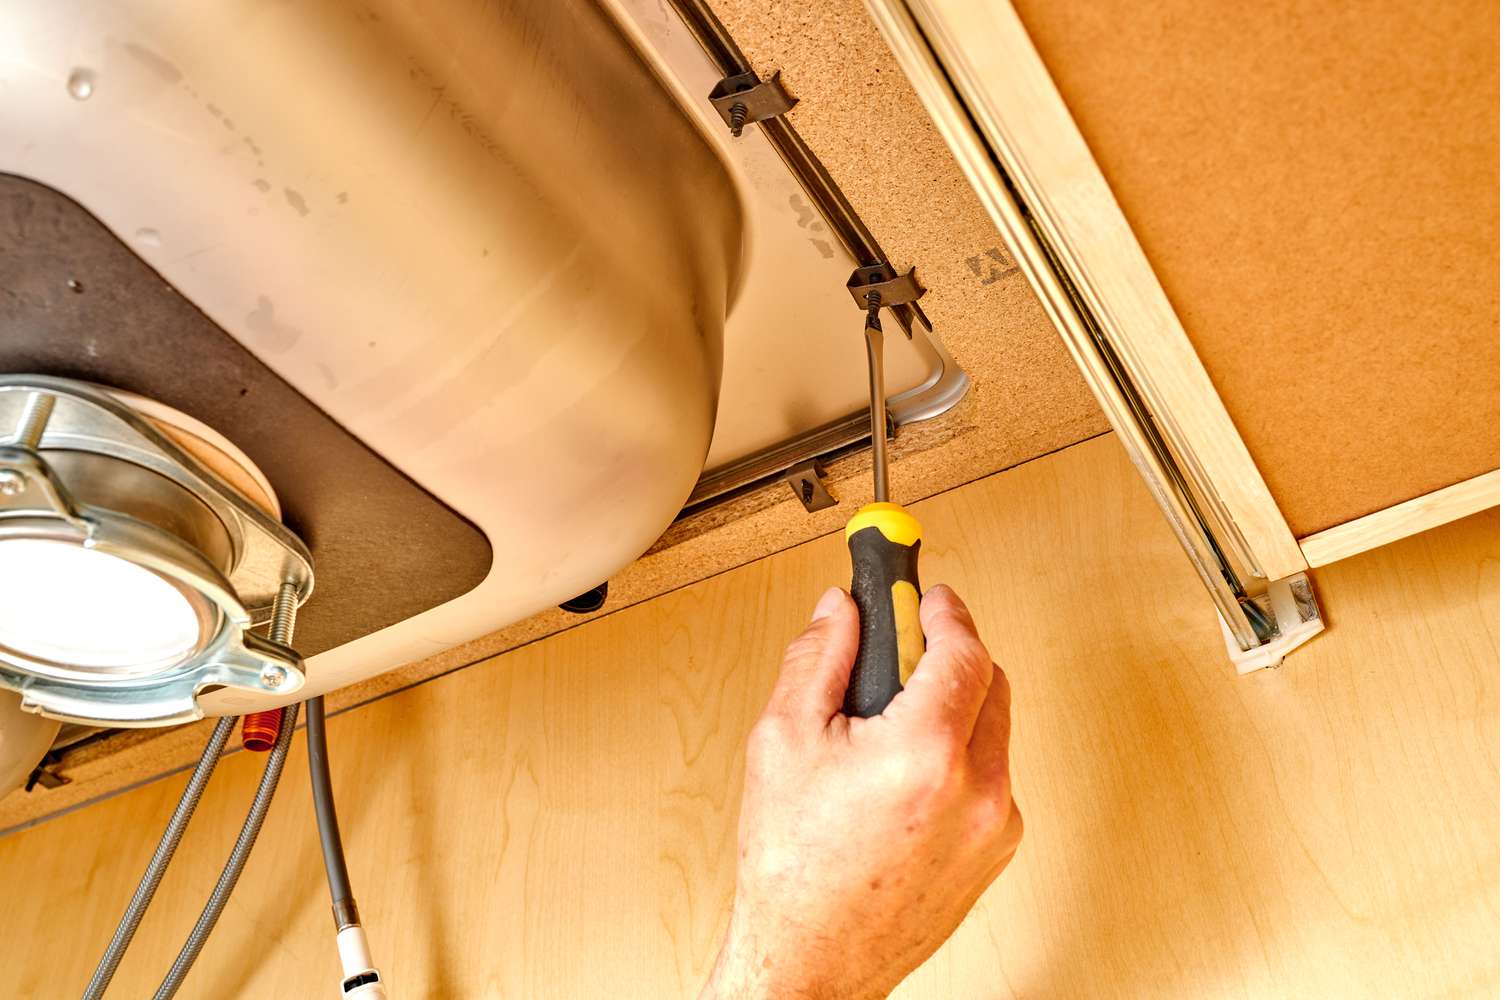
Step 2: Install the Mounting Ring
Installing the mounting ring is an essential step in securing your vessel sink to the countertop or vanity. Follow these steps to correctly install the mounting ring:
- Apply plumber’s tape: Before installing the mounting ring, wrap plumber’s tape around the threads on the drain opening of the sink. This will create a tight seal and prevent leaks.
- Position the mounting ring: Place the mounting ring on the countertop or vanity surface, aligning it with the drain opening. Make sure it is centered and level.
- Tighten the mounting ring: With the mounting ring in position, insert the mounting screws or bolts through the holes in the ring and tighten them using a screwdriver or wrench. Ensure that the mounting ring is securely fastened to the countertop or vanity.
- Check for stability: Give the mounting ring a gentle wobble to ensure that it is firmly attached and stable. If there is any movement, tighten the screws or bolts further until the ring is secure.
The mounting ring provides stability and support for the vessel sink, preventing it from shifting or rocking. It is crucial to install it correctly to ensure a secure and long-lasting installation. Once the mounting ring is in place, you can proceed to the next step: applying silicone sealant.
Step 3: Apply Silicone Sealant
Applying silicone sealant is an important step in the installation process as it creates a watertight seal between the vessel sink and the countertop or vanity. Follow these steps to apply silicone sealant:
- Clean the surface: Ensure that the area around the mounting ring and the top of the countertop or vanity is clean and free from any debris or moisture. Use a non-abrasive cleaner and a clean cloth to wipe the surfaces thoroughly.
- Apply the silicone sealant: Squeeze a bead of silicone sealant around the outer edge of the mounting ring. Start at one side and continue all the way around, maintaining a consistent bead of sealant. Use enough to create a tight seal but avoid excessive amounts that may squeeze out and be visible.
- Spread the sealant: Use your finger or a small putty knife to spread the sealant evenly along the entire circumference of the mounting ring. This will help ensure a uniform seal and proper adhesion.
- Remove excess sealant: Immediately wipe away any excess sealant using a clean cloth or paper towel. This will help create a neat and professional-looking finish.
- Allow the sealant to cure: Follow the manufacturer’s instructions regarding the curing time for the silicone sealant. This typically ranges from 24 to 48 hours. Avoid using the sink or applying any pressure until the sealant is fully cured.
The silicone sealant acts as a waterproof barrier, preventing water from seeping between the vessel sink and the countertop. It is crucial to apply the sealant properly to ensure a leak-free installation. Once the silicone sealant has cured, you can move on to the next step: positioning the vessel sink.
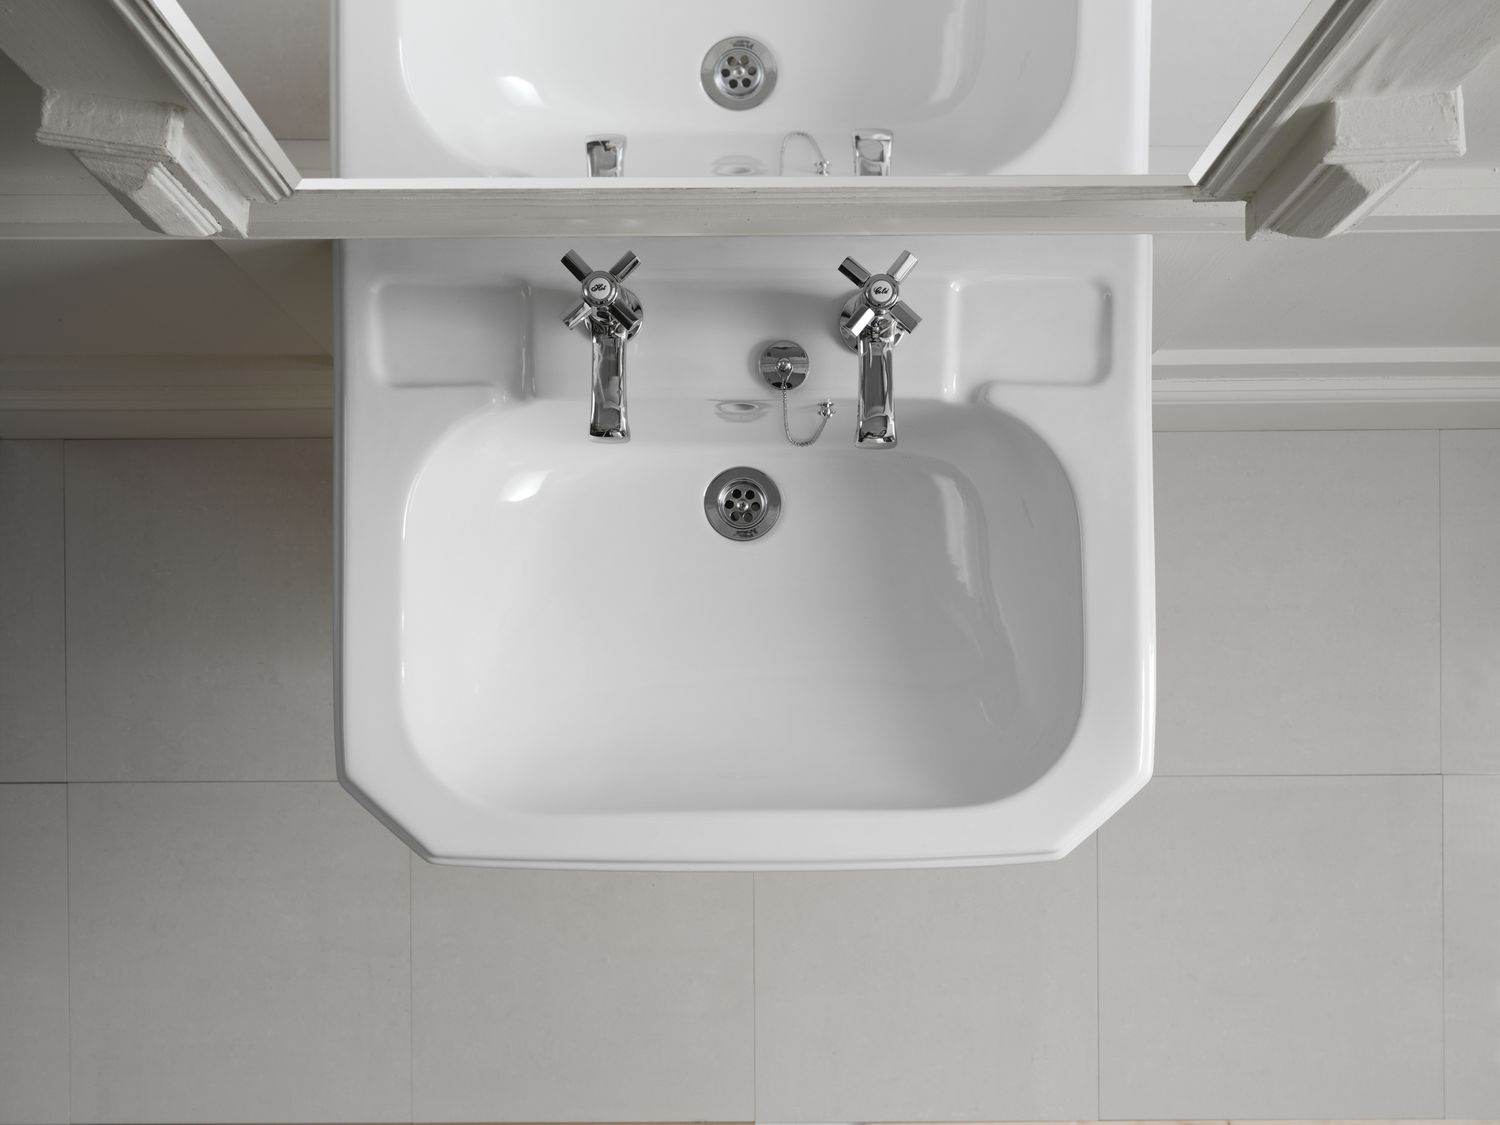
Step 4: Position the Vessel Sink
Now that the mounting ring and silicone sealant are in place, it’s time to position the vessel sink onto the countertop or vanity. Follow these steps to properly position the sink:
- Locate the sink’s drain opening: Turn the vessel sink upside down and locate the drain opening on the bottom. Ensure that the drain opening aligns with the mounting ring’s drain opening.
- Add silicone sealant to the sink’s bottom: Apply a small amount of silicone sealant around the drain opening on the bottom of the sink. This will provide an additional layer of sealant between the sink and the mounting ring, further ensuring a watertight seal.
- Place the sink onto the mounting ring: Carefully place the vessel sink onto the mounting ring, ensuring that the drain opening on the sink aligns with the drain opening on the mounting ring. Gently press the sink down to ensure it is securely seated on the mounting ring.
- Adjust the sink if necessary: Take a moment to adjust the position of the sink, making sure it is centered and level. Use a level to ensure the sink is balanced and not tilted in any direction.
- Wipe away any excess sealant: If any silicone sealant squeezed out during the installation, use a clean cloth or paper towel to wipe it away. This will create a clean and finished appearance.
Positioning the vessel sink correctly is crucial for not only achieving an aesthetically pleasing look but also ensuring a proper fit and seal. Take your time during this step to ensure the sink is aligned and balanced. Once the sink is positioned, you can move on to the next step: connecting the drainpipe.
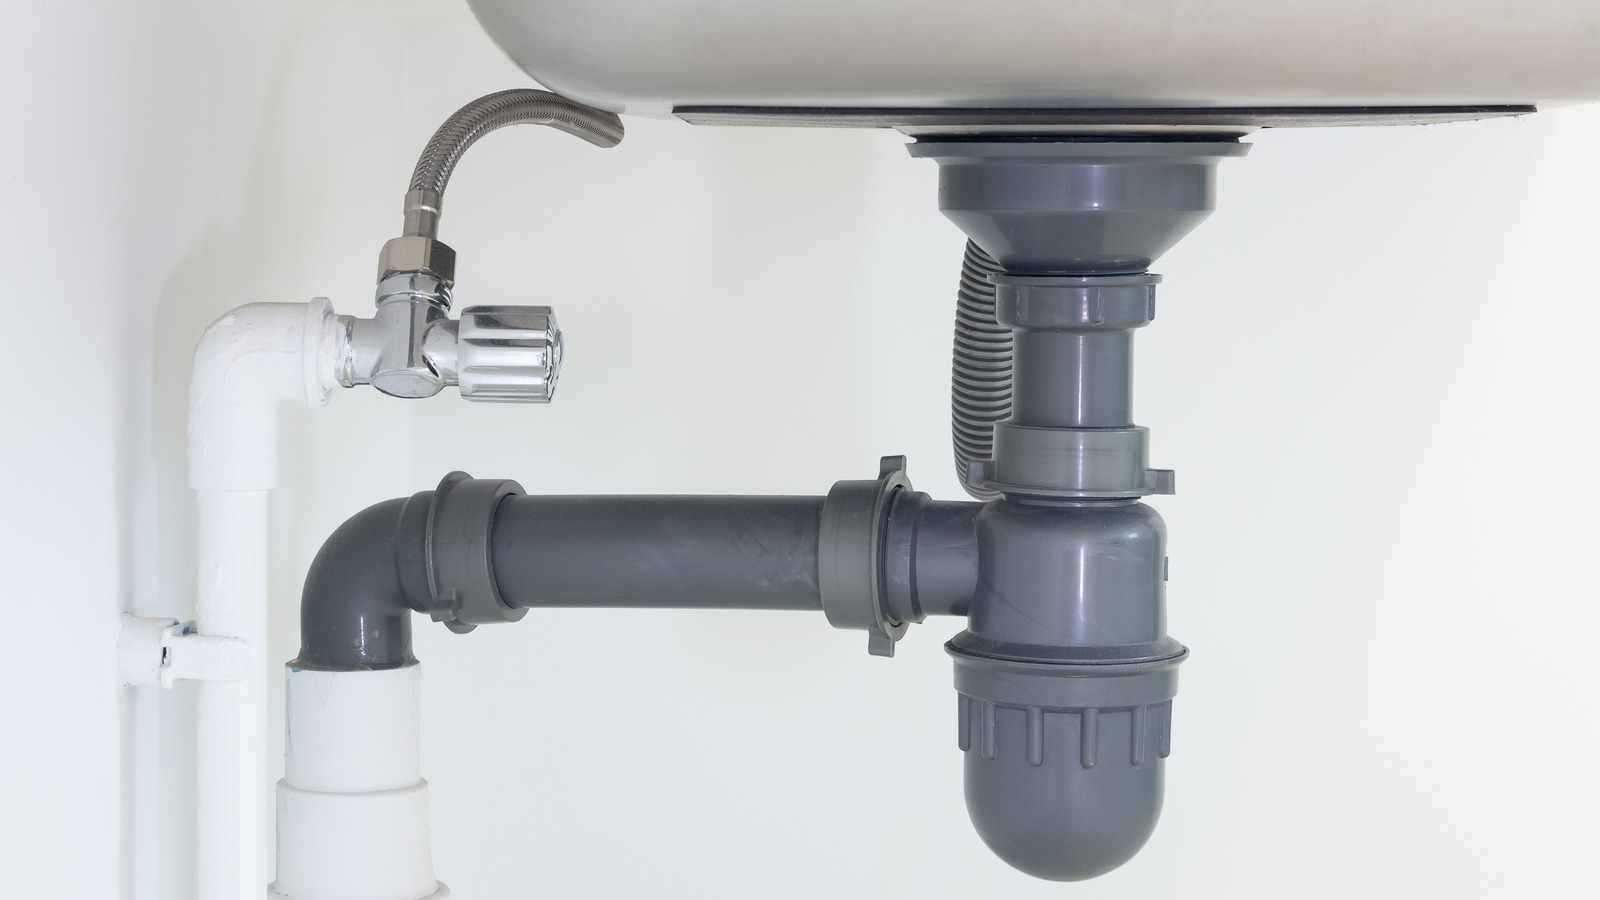
Step 5: Connect the Drainpipe
Connecting the drainpipe is a crucial step in the installation process to ensure proper drainage from the vessel sink. Follow these steps to connect the drainpipe:
- Measure and cut the drainpipe: Measure the distance between the bottom of the sink’s drain opening and the main drainage pipe. Use a PVC pipe cutter to cut a piece of drainpipe to the appropriate length. Ensure that the cut is clean and straight.
- Apply PVC cement: Apply a layer of PVC cement to the inside of the drainpipe and the outside of the drain opening on both the sink and the main drainage pipe. Make sure to work quickly as the PVC cement sets fast.
- Insert the pipe into the drain opening: Insert one end of the drainpipe into the sink’s drain opening and press it firmly to create a secure connection.
- Connect the other end to the main drainage pipe: Slide the other end of the drainpipe into the main drainage pipe. Ensure that it fits snugly and is securely connected.
- Tighten the connections: Use a wrench or channel locks to tighten any slip nuts or compression fittings in the drainpipe connection. This will ensure a tight and leak-free seal.
- Wrap Teflon tape: Wrap Teflon tape around any threaded connections to create a watertight seal. This is important for preventing leaks.
Connecting the drainpipe correctly is essential for proper drainage and to prevent any water leaks. Take your time to ensure that the connections are secure and tight. Once the drainpipe is connected, you can move on to the next step: checking for leaks.
When installing a vessel sink, make sure to measure the height of the sink and the countertop to ensure a proper fit. Also, use a silicone adhesive to secure the sink in place and prevent leaks.
Read also: 10 Amazing Vessel Sink for 2025
Step 6: Check for Leaks
After connecting the drainpipe, it’s important to check for any leaks to ensure a properly functioning vessel sink. Follow these steps to check for leaks:
- Turn on the water supply: Slowly turn on the water supply valves underneath the sink or near your main water supply. This will allow water to flow through the drainpipe and sink.
- Observe for leaks: Carefully observe the connections in the drainpipe and the vessel sink for any signs of leaks. Pay close attention to the areas where the drainpipe connects to the sink and the main drainage pipe.
- Check for dripping or pooling water: Look for any dripping water or pooling water around the sink or underneath the countertop. These are indications of leaks and should be addressed immediately.
- Inspect the connections: Use your hand to feel for any moisture or dampness around the connections. This can also be a sign of a leak.
- Make necessary adjustments: If you notice any leaks or signs of water damage, immediately turn off the water supply and make the necessary adjustments. This may involve tightening connections, reapplying sealant, or replacing faulty parts.
- Repeat the leak test: After making adjustments, repeat the leak test by turning on the water supply again and observing for any leaks. Continue this process until no leaks are detected.
Checking for leaks is a crucial step to ensure the proper functioning of your vessel sink. It’s important to address any leaks or potential issues as soon as possible to prevent water damage or further complications. Once you’ve confirmed that there are no leaks, you can proceed to the next step: securing the sink.
Step 7: Secure the Sink
Securing the sink is necessary to ensure that it remains stable and firmly in place. Follow these steps to properly secure your vessel sink:
- Check the stability of the sink: Gently push and wiggle the sink to check its stability. If the sink feels loose or moves excessively, it needs to be secured.
- Locate the sink’s mounting holes: Look for pre-drilled mounting holes on the bottom of the sink. These holes are designed for securing the sink to the countertop or vanity.
- Insert the mounting screws or bolts: Insert the mounting screws or bolts through the mounting holes on the sink and align them with the corresponding holes on the countertop or vanity.
- Tighten the screws or bolts: Use a screwdriver or wrench to tighten the screws or bolts, securing the sink to the countertop or vanity. Make sure not to overtighten as it may cause damage to the sink or countertop.
- Check for stability: After securing the sink, test its stability once again by gently pushing and wiggling it. The sink should feel secure and not move or shift.
Securing the sink ensures that it remains in place, even with regular use. This step is essential for preventing any accidental movement or damage to the sink. Once you’ve secured the sink, you can move on to the final step: testing the sink.
Step 8: Test the Sink
Testing the sink is the final step in the installation process to ensure that it is functioning properly and free from any issues. Follow these steps to test your vessel sink:
- Turn on the water supply: Open the water supply valves fully to allow water to flow into the sink.
- Check for proper drainage: Observe the water flow as it drains from the sink. Ensure that it is draining quickly and efficiently without any backups or slow draining.
- Test the faucets or handles: Turn on the faucets or handles and observe the water flow. Make sure that the water flows smoothly and that there are no leaks around the handles or spout.
- Check for any leaks: Examine all the connections, including the drainpipe and the water supply lines, for any signs of leaks. Feel for any moisture around the connections and inspect for dripping or pooling water.
- Ensure proper sealing: Verify that the silicone sealant around the sink and mounting ring is intact and properly sealed. Check for any gaps or cracks and reapply sealant if necessary.
- Wipe away any excess water: Use a clean cloth or towel to wipe away any excess water around the sink, countertop, or vanity. This will prevent water damage and keep the area clean and dry.
By testing the sink, you can address any potential issues such as leaks or drainage problems before they escalate. If you encounter any problems during the testing process, take the necessary steps to resolve them, whether it involves adjusting connections, resealing, or seeking professional assistance.
Once you have tested the sink and confirmed that it is functioning properly, congratulations! You have successfully installed your vessel sink. Enjoy the aesthetic appeal and functionality it brings to your bathroom.
If you have any concerns or further questions about your vessel sink installation, it’s always a good idea to consult a professional plumber for guidance.
Conclusion
Congratulations on successfully installing your vessel sink! By following the step-by-step guide we’ve provided, you have transformed your bathroom with a stylish and functional addition. A vessel sink not only adds a touch of elegance to your space but also creates a unique focal point that enhances the overall aesthetic.
Throughout the installation process, we covered important steps such as preparing the area, installing the mounting ring, applying silicone sealant, positioning the sink, connecting the drainpipe, checking for leaks, securing the sink, and testing its functionality. Each of these steps is crucial in ensuring a smooth and successful installation.
Remember, safety is always a priority when working on any plumbing project. Ensure that you have the necessary tools, exercise caution, and follow the manufacturer’s instructions for any materials or products used.
Now that your vessel sink is installed, take a moment to admire your handiwork. Enjoy the benefits of a sink that not only serves its functional purpose but also adds charm and character to your bathroom. You can now confidently use your vessel sink without worrying about leaks or stability.
If you have any concerns or questions about your vessel sink installation, don’t hesitate to seek professional assistance. A licensed plumber can provide guidance and address any issues that may arise.
We hope this installation guide has been helpful in achieving the bathroom of your dreams. Enjoy your new vessel sink and the beauty it adds to your home!
Frequently Asked Questions about How To Install A Vessel Sink
Was this page helpful?
At Storables.com, we guarantee accurate and reliable information. Our content, validated by Expert Board Contributors, is crafted following stringent Editorial Policies. We're committed to providing you with well-researched, expert-backed insights for all your informational needs.


0 thoughts on “How To Install A Vessel Sink”