Home>Ideas and Tips>DIY Lanterns With A Farmhouse Touch For Your Porch

Ideas and Tips
DIY Lanterns With A Farmhouse Touch For Your Porch
Published: November 3, 2024
Create charming DIY farmhouse lanterns for your porch with our easy-to-follow tutorials. Add rustic elegance and cozy lighting to your outdoor space.
(Many of the links in this article redirect to a specific reviewed product. Your purchase of these products through affiliate links helps to generate commission for Storables.com, at no extra cost. Learn more)
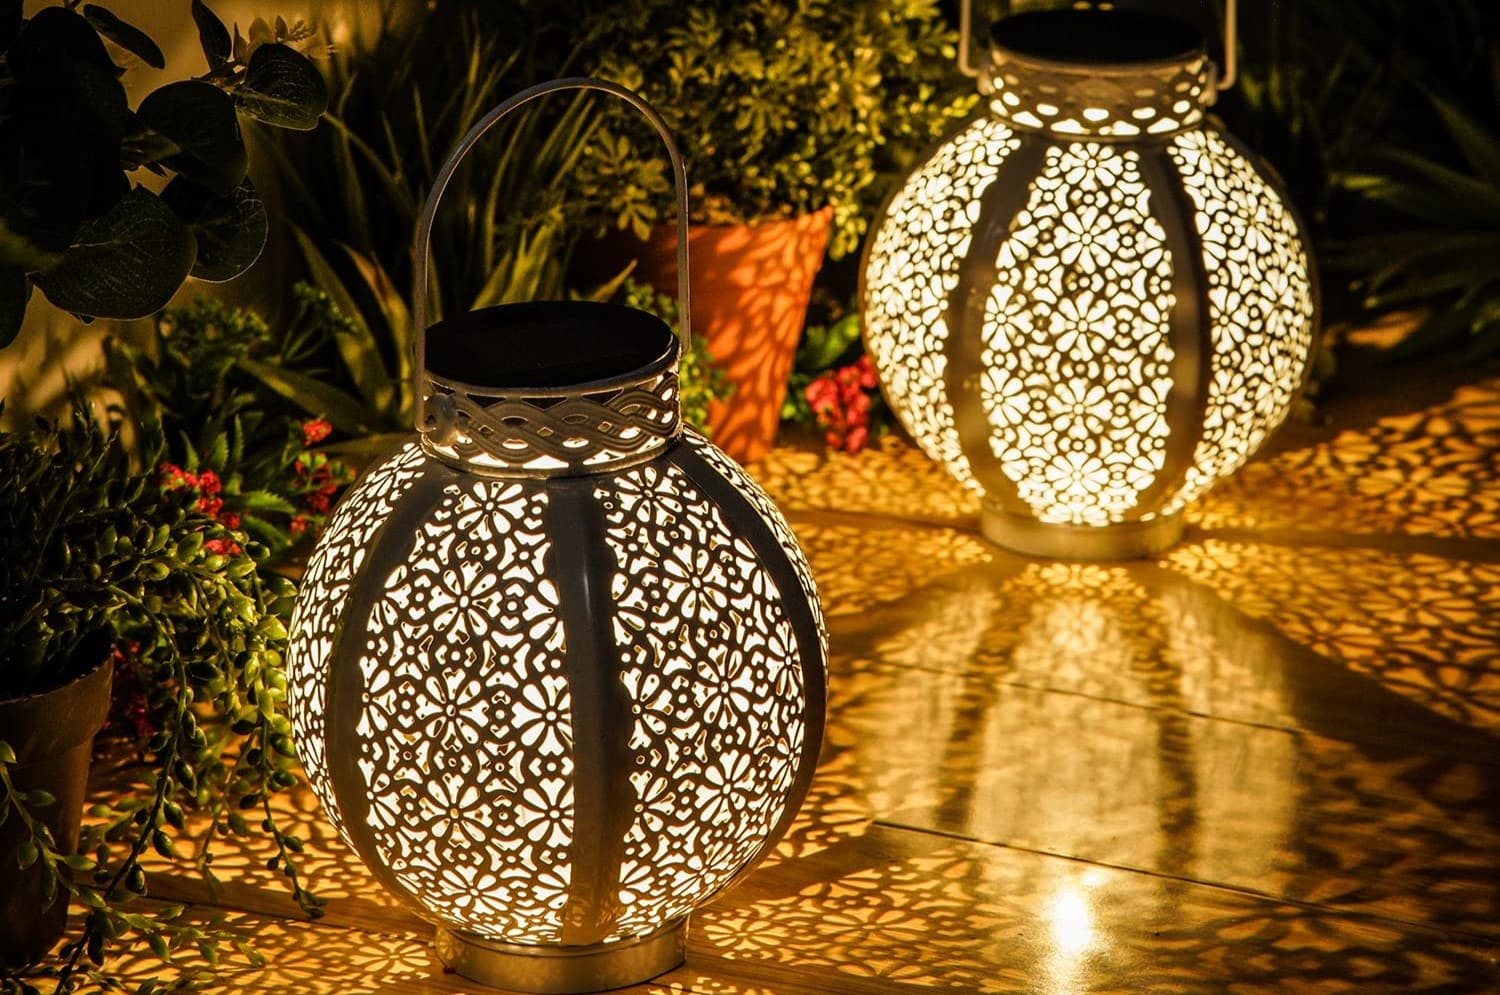
Creating a charming and inviting porch can be as simple as adding a few well-crafted DIY lanterns. These lanterns not only provide light but also add a touch of rustic elegance to your outdoor space. In this article, we will guide you through the process of making your own farmhouse-style lanterns using various materials and techniques. Whether you're a seasoned DIY enthusiast or just starting out, these projects are designed to be beginner-friendly and fun.
Why Choose Farmhouse-Style Lanterns?
Farmhouse-style lanterns are popular for several reasons. They evoke a sense of nostalgia and warmth, making them perfect for creating a cozy atmosphere on your porch. The rustic look of these lanterns can be achieved using natural materials like wood, which adds to their charm. Additionally, farmhouse-style lanterns are versatile and can be easily customized to fit any season or holiday theme.
Materials Needed
Before we dive into the tutorials, let's list the materials you'll need for each project:
General Materials
- Wood: 1×6, 1×8, or 1×10 boards for the base
- Square Dowels: 3/4" square dowel pieces for the frame
- Wood Stain: For adding color and protection to the wood
- Sandpaper: For smoothing out the wood surfaces
- Nails/Hot Glue: For assembling the lanterns
- Decorative Items: Greenery, candles, nautical rope, etc.
Specific Materials for Each Project
-
Project 1: Simple Wood Lantern
- 1×6, 1×8, or 1×10 boards
- 3/4" square dowel pieces
- Miter saw
- Tape measure
- Table saw (or buy square dowels)
- 18 Gauge Brad Nailer
-
Project 2: Modern Farmhouse Lanterns
- Decor signs from Dollar Tree (4.25" square)
- Ceramic pieces from Dollar Tree
- Sandpaper
- Hot glue
- E6000 adhesive
- White chalk paint
- Antique wax
- Battery-operated LED candles
-
Project 3: High-End Wood Lanterns
- Tumbling tower blocks
- Small wood beads
- Paint sticks
- Nautical rope
- Hot glue
- E6000 adhesive
-
Project 4: Dollar Store Farmhouse Lanterns
- Decorative signs from Dollar Tree (4.25" square)
- Race car tracks from Dollar Tree (or Family Dollar)
- Wood round decor pieces from Dollar Tree
- Sandpaper
- Fine grit sandpaper
- Waverly's chalk paint in truffle color
- Apple Barrels acrylic paint in khaki color
- Battery-operated LED candles
Tutorial 1: Simple Wood Lantern
Creating a simple wood lantern is an excellent starting point for beginners. This project requires minimal tools and materials but yields a beautiful result.
Step-by-Step Instructions
-
Cut the Base: Cut your board to the desired size for your lantern. For a small lantern, use a 1×6 board; for a medium-sized lantern, use a 1×8 board; and for a large lantern, use a 1×10 board.
-
Rip the Frame Pieces: If you have access to a table saw or prefer to buy pre-cut square dowels, you can skip this step. Otherwise, rip your board into 3/4" wide pieces and cut them into the required lengths for your lantern frame.
-
Assemble the Frame: Use a miter saw to cut precise angles for your frame pieces if needed. Assemble the frame using nails or hot glue. For added stability, you can rest the base on a piece of 3/4" material to create feet.
-
Add Decorative Touches: Once the frame is assembled, you can add decorative touches like sanding the edges and applying wood stain with a foam brush.
-
Attach the Top Pieces: Use brad nails or hot glue to attach the top pieces of your lantern frame.
-
Finish with Sandpaper and Stain: Sand everything with 120 grit sandpaper and apply wood stain if desired.
Free Plans
For easy-to-follow instructions and free plans, check out the tutorial on Ana White's website.
Tutorial 2: Modern Farmhouse Lanterns
Modern farmhouse lanterns are perfect for adding a touch of elegance to your porch while maintaining a rustic charm.
Step-by-Step Instructions
-
Prepare the Frames: Use decor signs from Dollar Tree as the base of your lanterns. Sand all sides of these frames with sandpaper to ensure better paint adhesion.
-
Attach Ceramic Pieces: Attach ceramic pieces to create a double column effect on each corner of your lantern.
-
Assemble the Base: Place the frames with indentions on them at the bottom of a tray where they will rest on top of another part of the tray. Hold them in place with hot glue.
-
Fill Gaps with E6000: Since these pieces are not long enough to meet at all corners, fill in gaps using E6000 adhesive.
-
Create Handles: Use plastic shower curtain holders from Dollar Tree as handles for your lanterns by cutting them out with wire cutters or tin snips and attaching them with hot glue.
-
Paint and Distress: Paint all parts with white chalk paint and distress them using antique wax for an aged look.
-
Add Candles: Place battery-operated LED candles inside for lighting.
Read more: 19 Tips For Farmhouse Lighting In Every Room
Tips and Variations
- Seasonal Decorations: Change out decorations inside the lanterns according to seasons or holidays.
- Color Options: Paint in different colors or use various types of paint for unique effects.
Tutorial 3: High-End Wood Lanterns
Creating high-end wood lanterns involves more intricate designs but yields stunning results.
Step-by-Step Instructions
-
Prepare Blocks: Use tumbling tower blocks and small wood beads to create intricate designs.
-
Assemble Corner Pieces: Glue five pairs of blocks together like sandwich cookies and let them dry before gluing them end-to-end to form corner pieces.
-
Attach Vertical Pieces: Glue these corner pieces together to form vertical pieces that give height to your lantern.
-
Add Decorative Touches: Use paint sticks as decorative pieces on top of your lanterns and attach them using wood glue.
-
Finish with Nautical Rope: Wrap nautical rope around these decorative pieces for finishing touches.
-
Add Greenery or Candles: Place greenery rings or battery-operated candles inside for lighting.
Read more: 19 Tips For Farmhouse Lighting In Every Room
Tips and Variations
- Custom Designs: Experiment with different block sizes or shapes for unique designs.
- Seasonal Themes: Change out decorations inside according to seasons or holidays.
Read more: Exotic Moroccan Touches For Your Home
Tutorial 4: Dollar Store Farmhouse Lanterns
Using dollar store items can be incredibly cost-effective while still achieving beautiful results.
Step-by-Step Instructions
-
Prepare Decor Signs: Use decorative signs from Dollar Tree as bases for your lanterns.
-
Sand Frames: Sand all sides of these frames with fine grit sandpaper for better paint adhesion.
-
Attach Ceramic Pieces: Attach ceramic pieces on each corner using hot glue for a double column effect.
-
Assemble Base: Place frames with indentions at bottom part of tray where they will rest on top part held by hot glue.
-
Fill Gaps with E6000: Fill gaps between corners using E6000 adhesive since pieces aren't long enough meet all corners perfectly yet still look great overall appearance wise too!
6 . **Create Handles Using Plastic Shower Curtain Holders From Dollar Tree By Cutting Them Out Using Wire Cutters Or Tin Snips Then Attaching Them Using Hot Glue As Well!
7 . Paint All Parts Using Waverly's Chalk Paint In Truffle Color Then Distress Them Using Apple Barrels Acrylic Paint In Khaki Color For An Aged Look Effectively Too!
8 . Add Battery Operated LED Candles Inside For Lighting Purposes Only Here!
Tips And Variations Here Too!
- Change Out Decorations Inside According To Seasons Or Holidays Easily Enough Here Too!
- Paint In Different Colors Or Use Various Types Of Paint For Unique Effects Here Too!
Conclusion
Creating DIY lanterns with a farmhouse touch is not only fun but also rewarding when you see them light up your porch. Whether you choose simple wood lanterns or more intricate designs using dollar store items, these projects are perfect for adding charm and warmth to any outdoor space. Remember to always follow safety guidelines when working with power tools and materials, and don't hesitate to experiment with different materials and designs to make your lanterns truly unique. Happy crafting!
By following these tutorials and tips, you'll be able to create beautiful farmhouse-style lanterns that will enhance the ambiance of your porch while adding a personal touch through handmade craftsmanship. Whether you're looking for a quick weekend project or something more elaborate, there's something here for everyone. So grab your tools, get creative, and let's bring some farmhouse charm to your porch
Was this page helpful?
At Storables.com, we guarantee accurate and reliable information. Our content, validated by Expert Board Contributors, is crafted following stringent Editorial Policies. We're committed to providing you with well-researched, expert-backed insights for all your informational needs.







0 thoughts on “DIY Lanterns With A Farmhouse Touch For Your Porch”