Articles
How To Make Tab Valances
Modified: October 23, 2024
Learn how to make tab valances with our informative articles. Discover tips, tricks, and step-by-step instructions for creating beautiful window treatments.
(Many of the links in this article redirect to a specific reviewed product. Your purchase of these products through affiliate links helps to generate commission for Storables.com, at no extra cost. Learn more)
Introduction
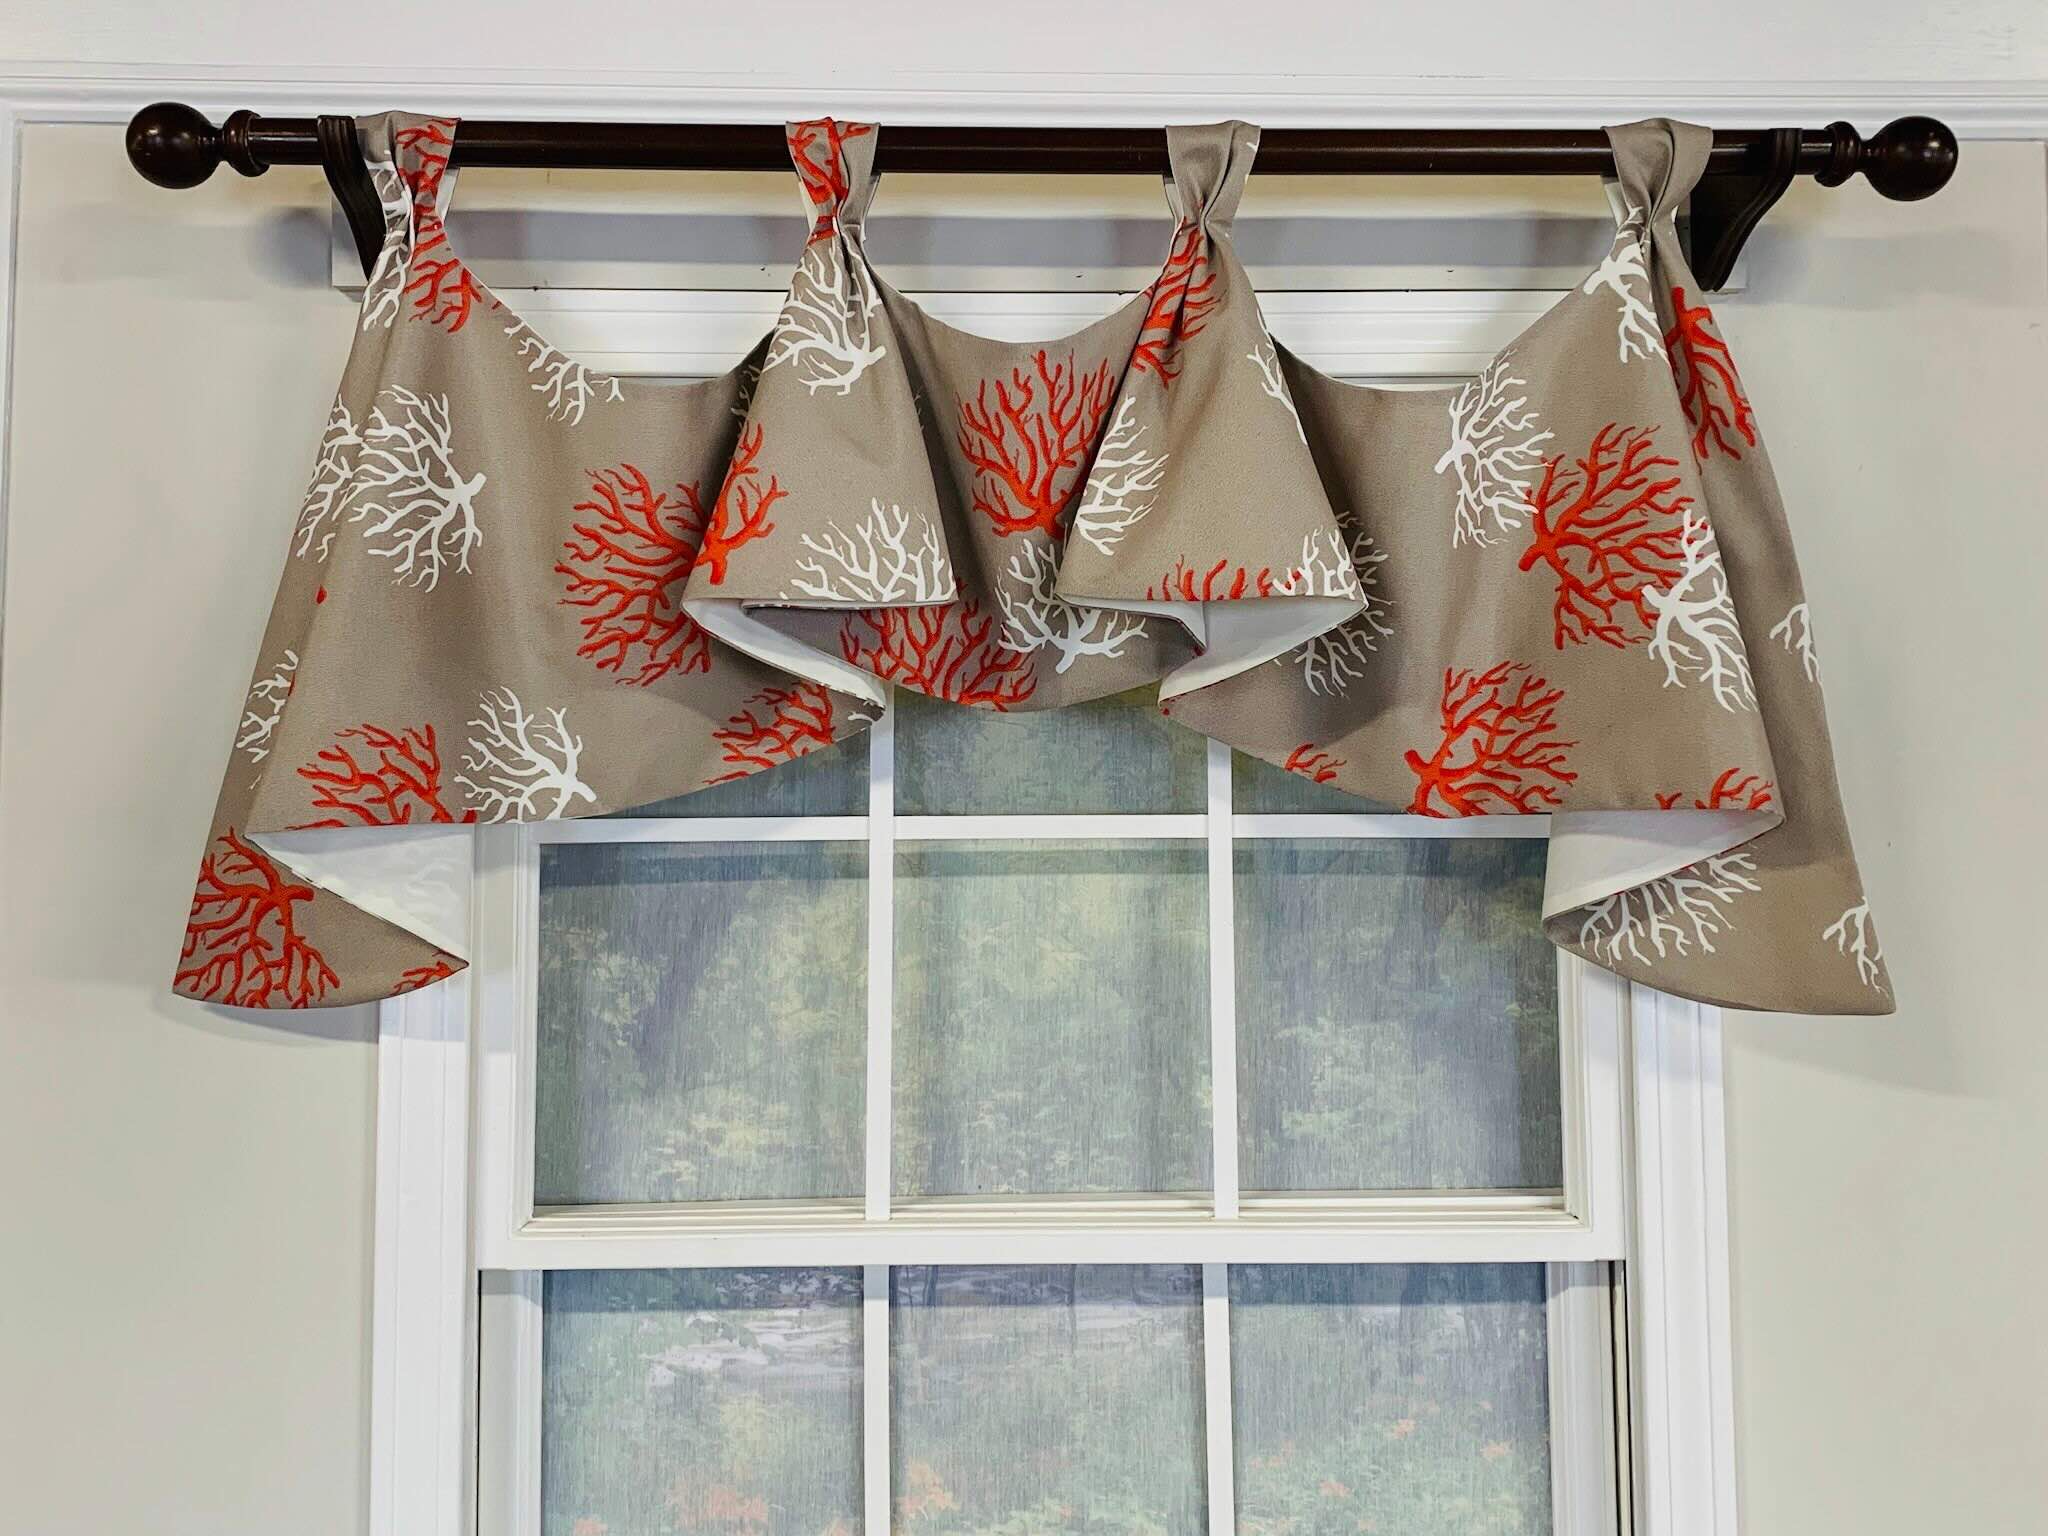
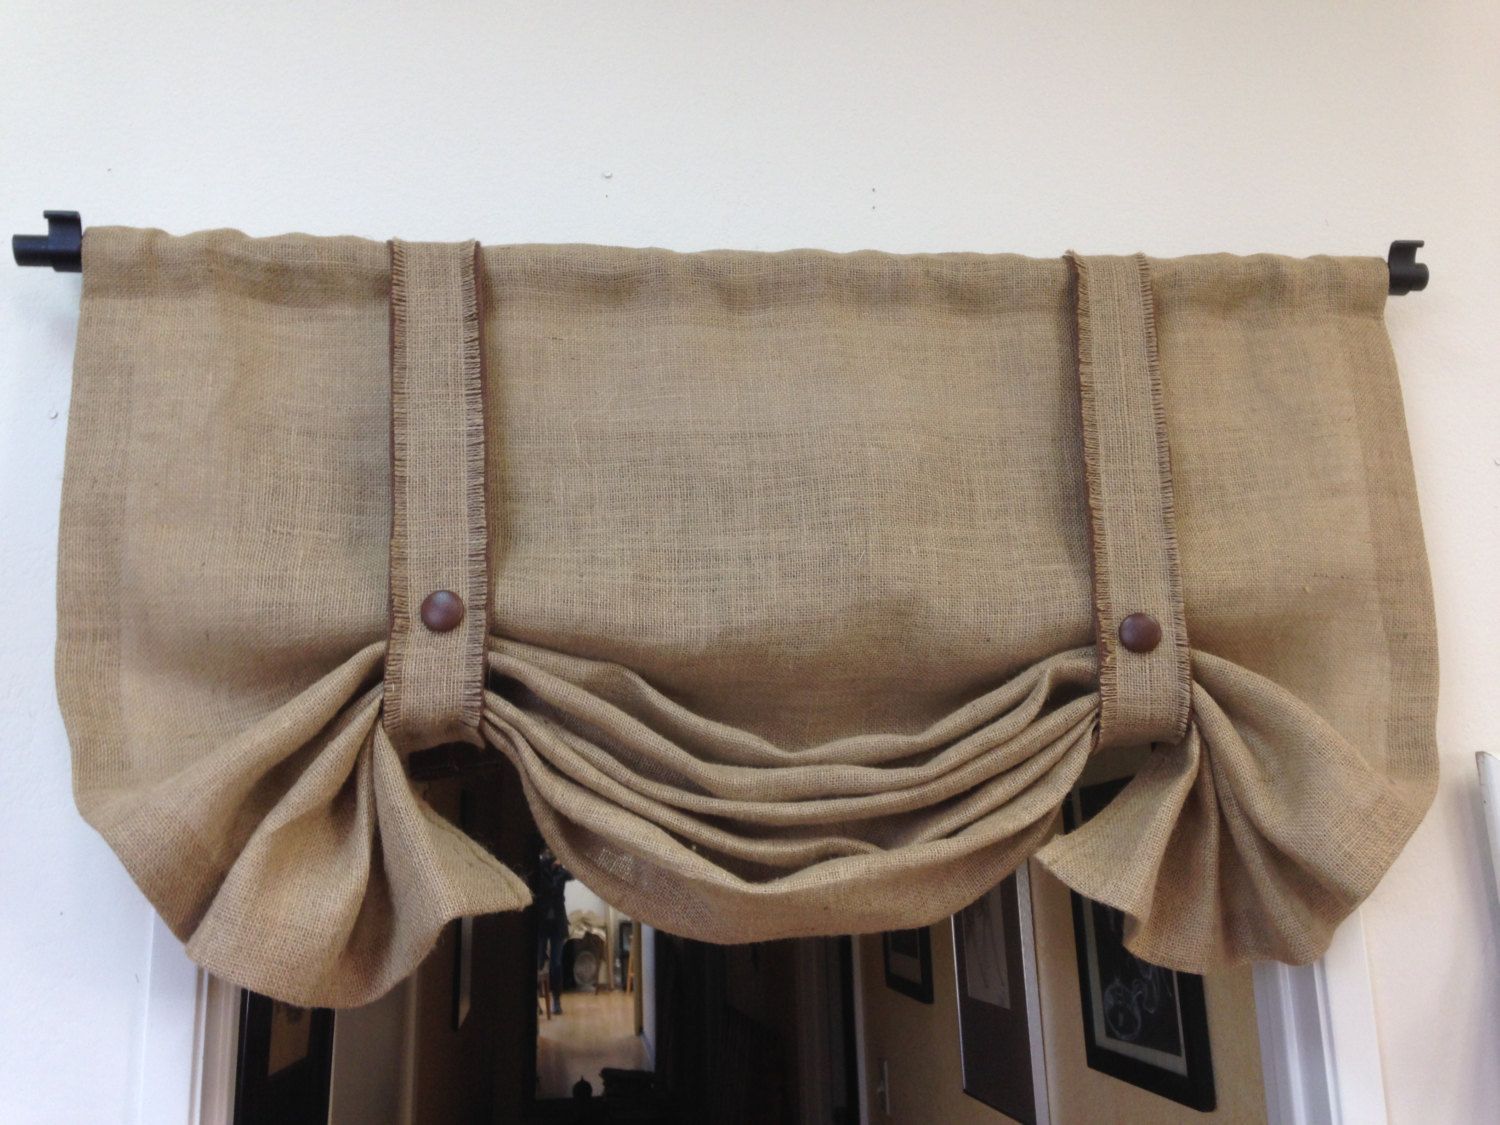
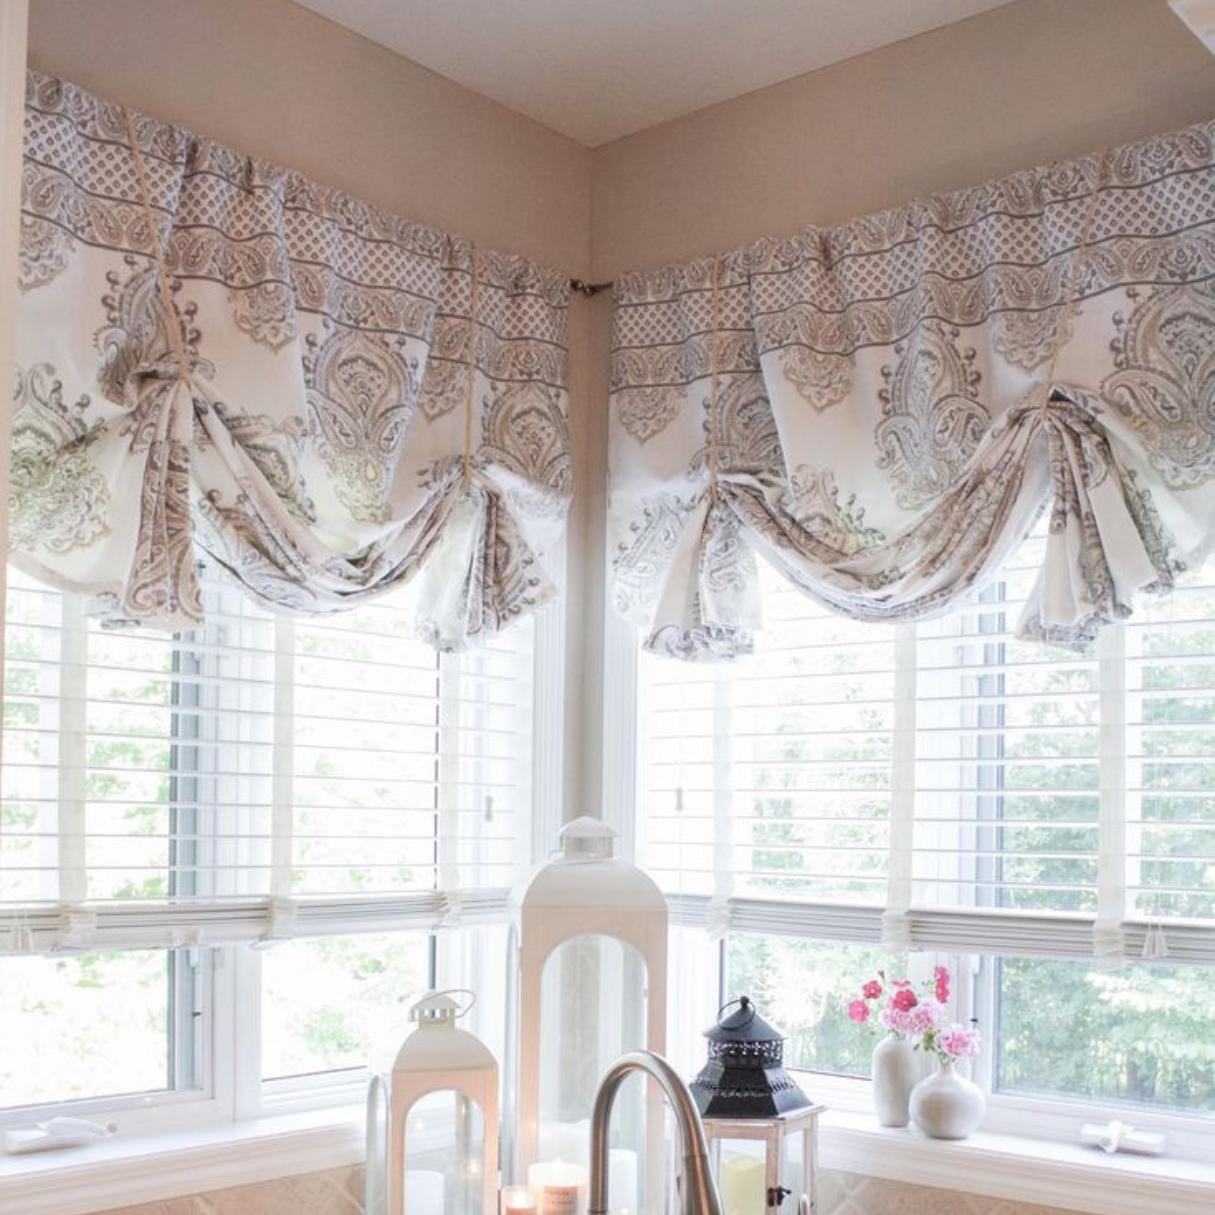
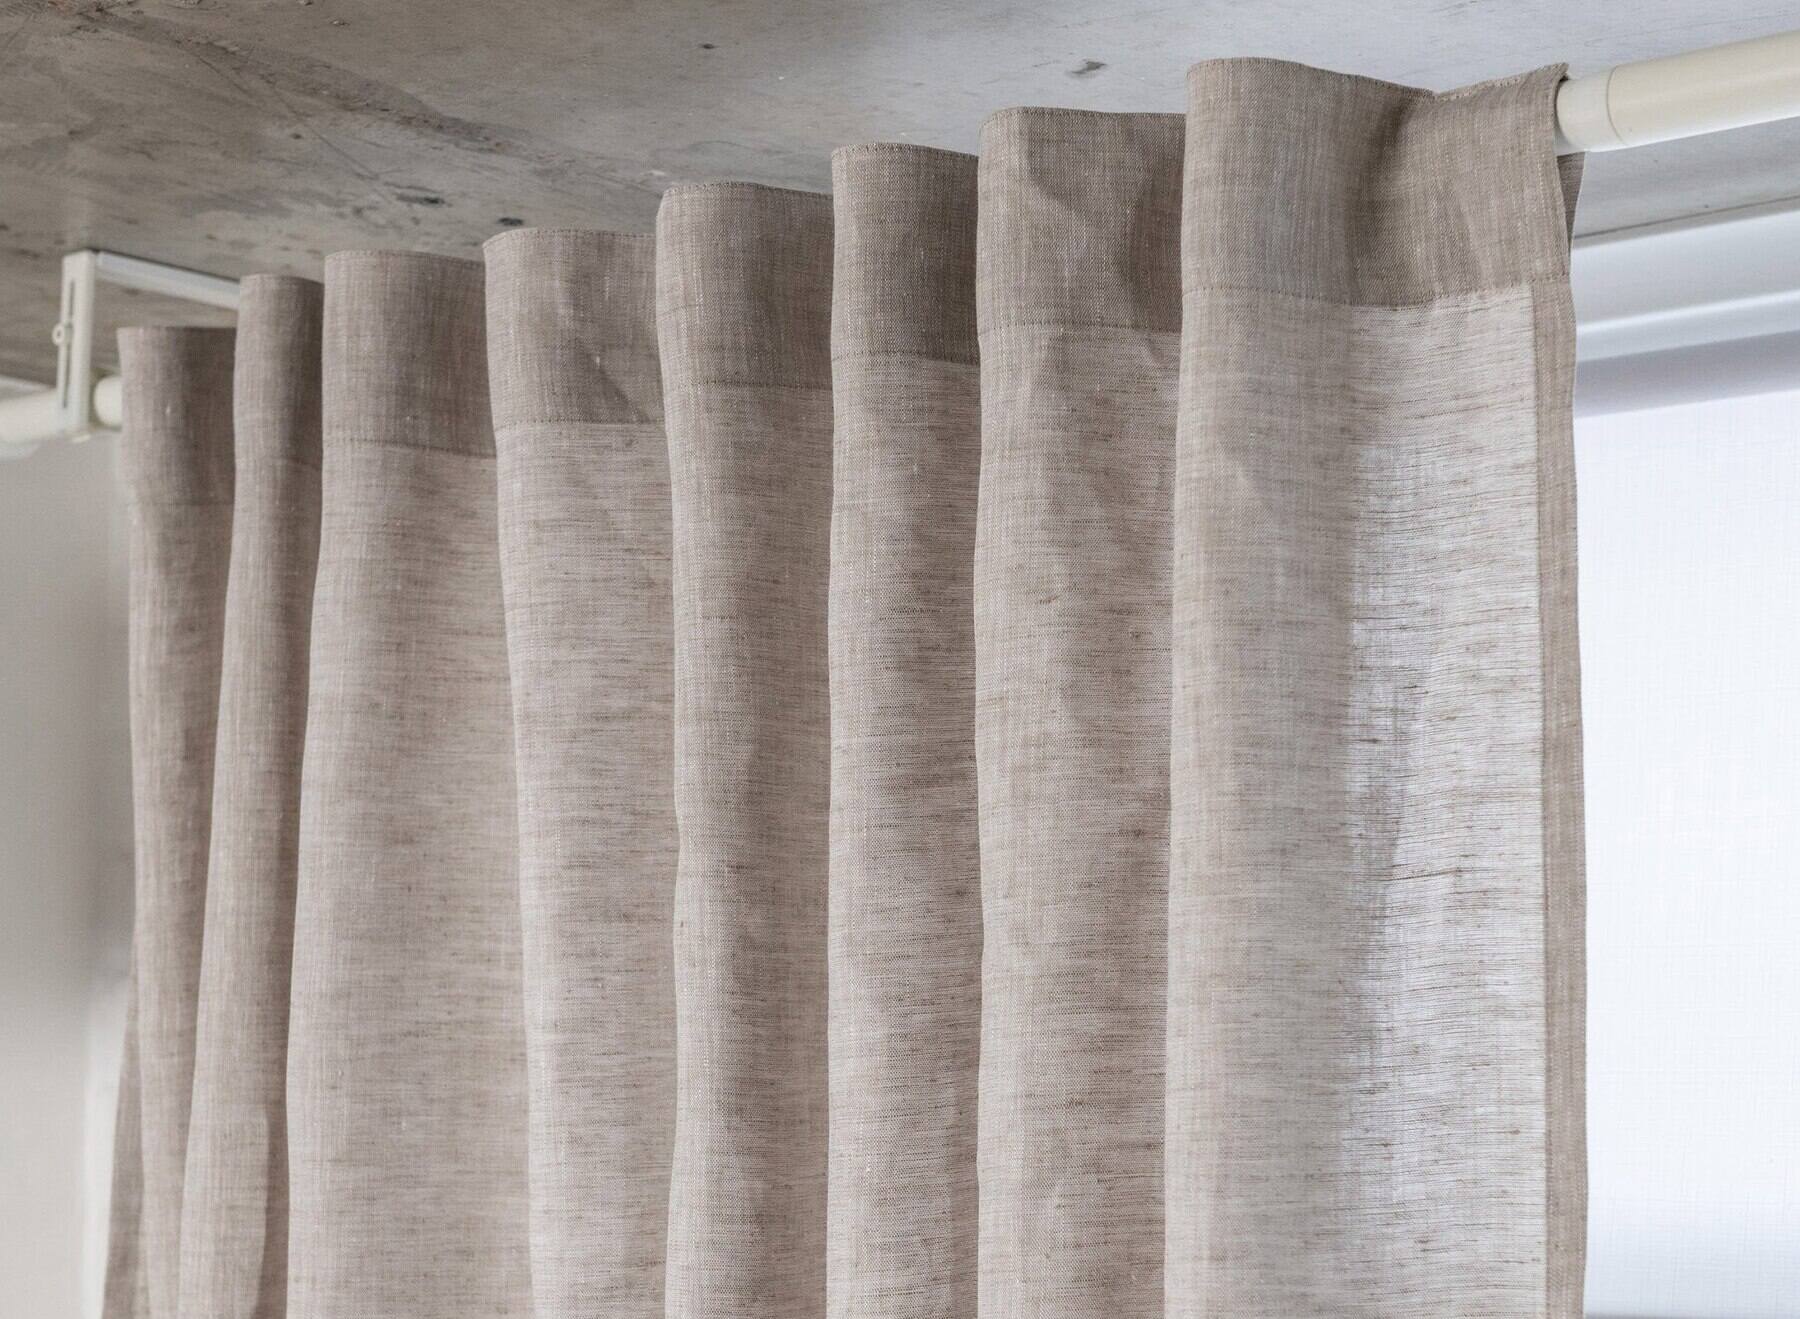
Tab valances are a popular choice for adding a touch of elegance and functionality to your windows. These versatile window treatments provide a clean and modern look, and they can be easily customized to match any decor style. Whether you’re a DIY enthusiast or a beginner, making tab valances is a fun and rewarding project that you can easily tackle at home.
In this article, we’ll guide you through the step-by-step process of making tab valances. From measuring your windows and selecting the perfect fabric to sewing the tabs and attaching the valance to the curtain rod, we’ll provide you with all the information you need to create beautiful window dressings that will transform the look of any room.
So, gather your materials and let’s get started on creating stunning tab valances that will add style and functionality to your windows.
Key Takeaways:
- Transform your windows with elegant and functional tab valances. Follow the step-by-step guide to create customized window dressings that perfectly fit your style and decor.
- Enjoy the satisfaction of creating beautiful tab valances that reflect your personality and enhance your living space. Unleash your creativity and revitalize your home decor today!
Read more: How To Make Window Valances
Materials Needed
Before you begin making tab valances, it’s important to gather all the necessary materials. Here’s a list of items you’ll need:
- Fabric of your choice – Measure the width and length of your window to determine how much fabric you’ll need.
- Measuring tape – This will help you accurately measure the dimensions of your window.
- Pins – Used for securing fabric layers together during the sewing process.
- Scissors – A good pair of fabric scissors will make cutting the fabric easier and more precise.
- Sewing machine – While you can hand-sew the valance if you prefer, a sewing machine will make the process faster and more efficient.
- Thread – Choose a thread color that matches or complements your fabric.
- Ruler or straight edge – Helpful for measuring and marking fabric lines.
- Pencil or fabric marker – Used for marking fabric for cutting and sewing lines.
- Curtain rod – The valance will be attached to this, so make sure you have a suitable curtain rod to hang your finished valance.
- Optional: Trim or embellishments – If desired, you can use trim or other decorative elements to enhance the look of your valance.
Ensure that you have all these materials on hand before you begin, as it will make the process smoother and more enjoyable. Once you have everything ready, you can move on to the next step of measuring your window.
Step 1: Measuring the Window
The first step in creating your tab valance is accurately measuring the dimensions of your window. This will ensure that your valance fits perfectly and looks proportional to the window size. Follow these steps to measure your window:
- Using a measuring tape, measure the width of your window from outside edge to outside edge. Write down this measurement.
- Next, measure the desired length of your valance. This can vary depending on personal preference and the style you’re aiming for. Consider if you want the valance to hang just above the window frame or extend lower for a cascade effect. Write down this measurement as well.
- If your window has a curtain rod already installed, measure the distance from the bottom of the rod to the top of the window frame. This will help determine the drop length of the valance, which is the distance from the top edge of the valance to the bottom edge.
- Take note of any obstacles, such as window latches or handles, that may affect the placement of the valance. This will ensure that your valance hangs properly and does not obstruct any functional elements of the window.
Once you have these measurements, you’ll have a clear idea of the width, length, and drop length of your tab valance. These dimensions will be crucial in cutting the fabric and creating a perfectly fitting valance.
Now that you have measured your window, it’s time to move on to the next step: choosing the perfect fabric for your tab valance.
Step 2: Choosing the Fabric
Selecting the right fabric for your tab valance is an important step in the creative process. The fabric you choose will not only determine the overall look and style of your valance but also its durability and functionality. Here are some factors to consider when choosing fabric for your tab valance:
- Weight and Drape: Consider the weight and drape of the fabric. Lighter weight fabrics such as cotton or linen create a soft and airy look, while heavier fabrics like velvet or brocade add a touch of luxury.
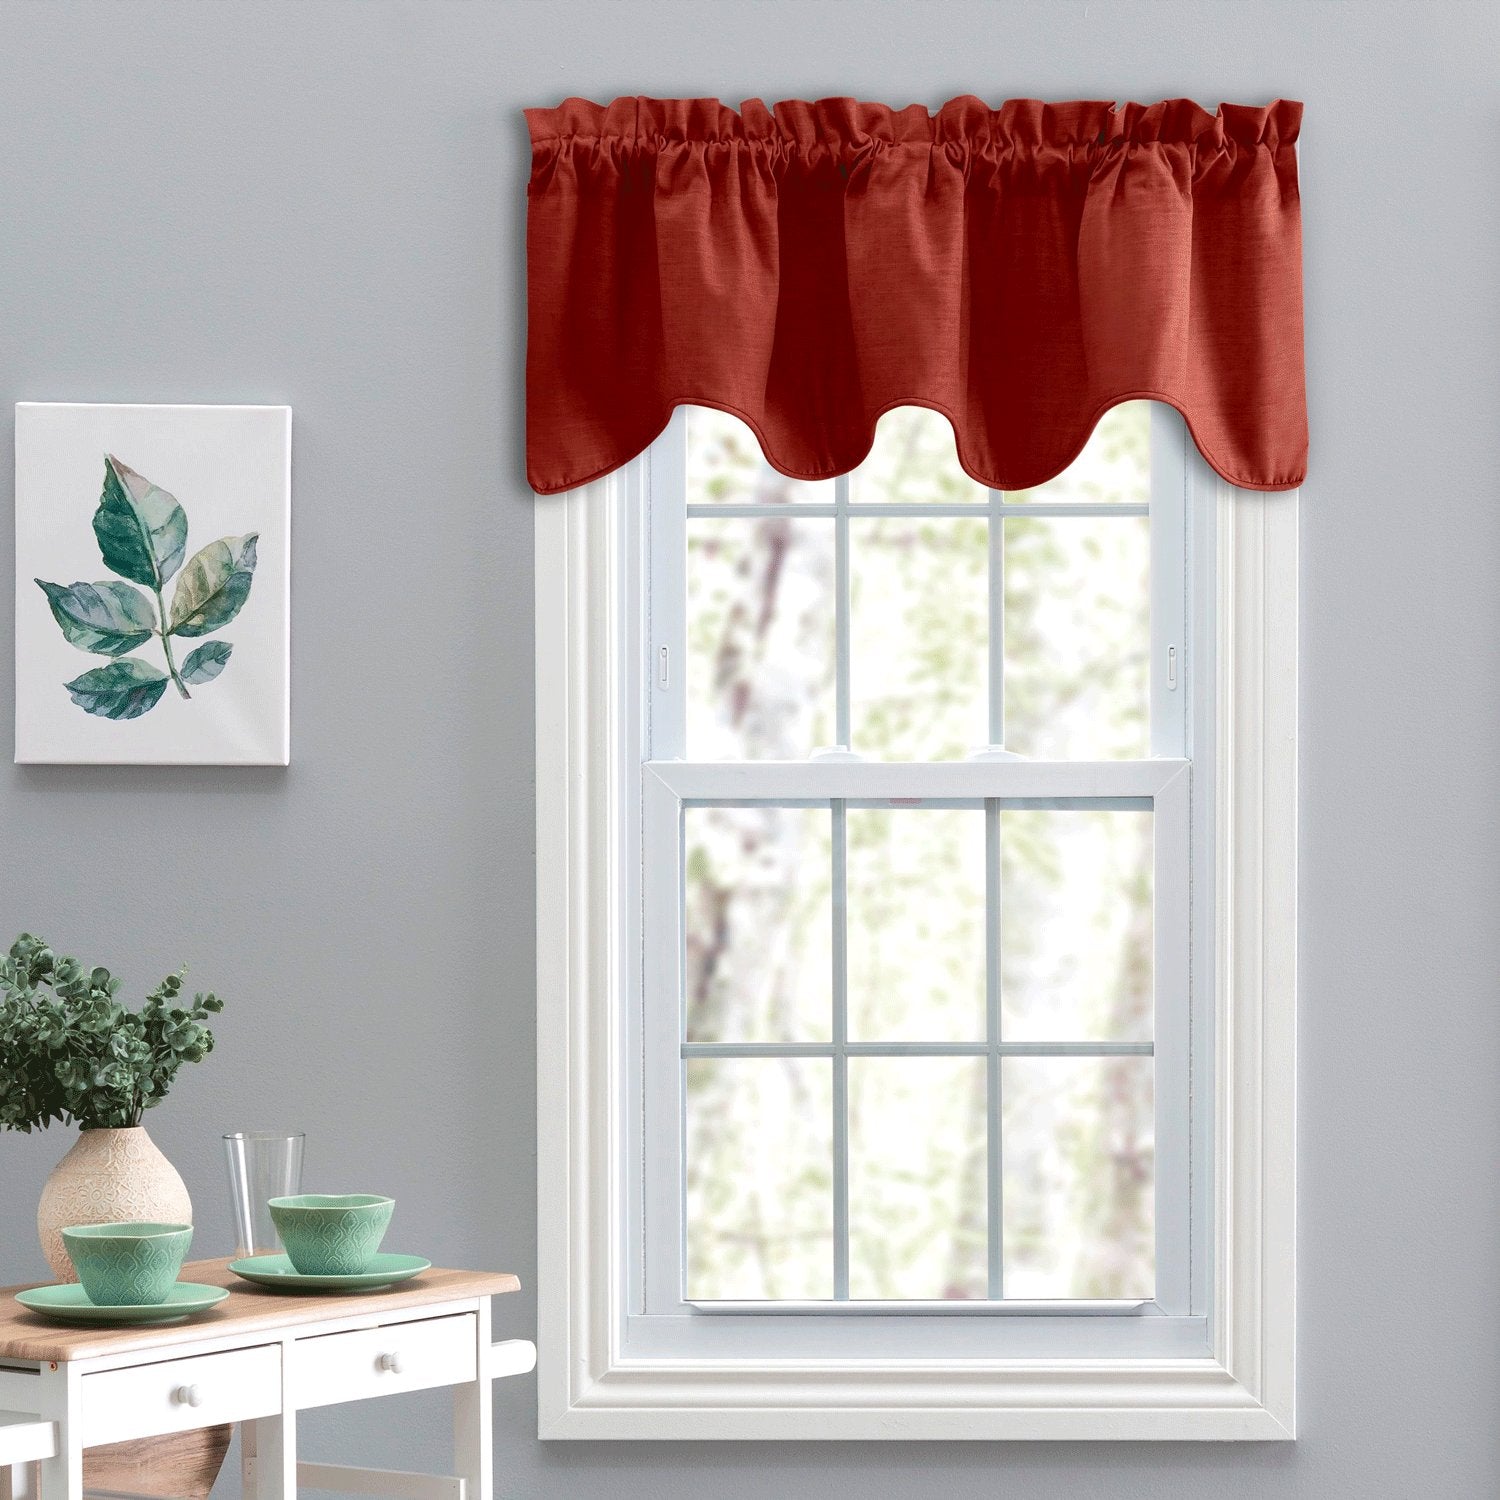
- Pattern and Color: Think about the pattern and color of the fabric. Choose a pattern that complements your existing decor or makes a statement. Consider the color scheme of the room and how the fabric will interact with the natural light in the space.
- Functionality: Consider the practicality of the fabric. If your valance will be exposed to direct sunlight, choose a fabric that is fade-resistant. If you want privacy or light control, select a fabric with a heavier weave or back it with a lining material.
- Maintenance: Take note of the fabric’s care instructions. Some fabrics may require dry cleaning, while others can be easily machine washed. Choose a fabric that suits your lifestyle and is easy to maintain.
Once you have considered these factors, visit a fabric store or browse online to find the perfect fabric for your tab valance. Don’t be afraid to ask for samples or swatches to ensure the fabric looks and feels good in person.
With the fabric selection completed, it’s time to move on to the next step: cutting the fabric for your tab valance.
Step 3: Cutting the Fabric
Now that you have chosen the perfect fabric for your tab valance, it’s time to cut the fabric to the appropriate dimensions. Follow these steps to ensure accurate cutting:
- Prepare your workspace by clearing any clutter and laying out your fabric flat on a table or cutting mat.
- Using your measurements from Step 1, mark the width and length of the valance on the fabric using a pencil or fabric marker. Use a ruler or straight edge to ensure straight and even lines.
- Add an additional allowance of a few inches on each side of the width measurement to account for hems and seams. This will provide a clean and finished look to your valance.
- Carefully cut along the marked lines using fabric scissors. Take your time to ensure precise cutting, as this will affect the overall appearance of your valance.
It’s also important to note that if you want a fuller and more gathered look for your valance, you can increase the width measurement and cut multiple fabric panels to sew together. This will create extra volume and texture in the final valance design.
Once you have cut the fabric according to your measurements, you’re ready to move on to the next step: creating the tabs for your tab valance.
When making tab valances, be sure to measure your window accurately and add a few inches to the width for fullness. This will ensure a professional and polished look for your finished valance.
Read more: How To Make Waterfall Valances
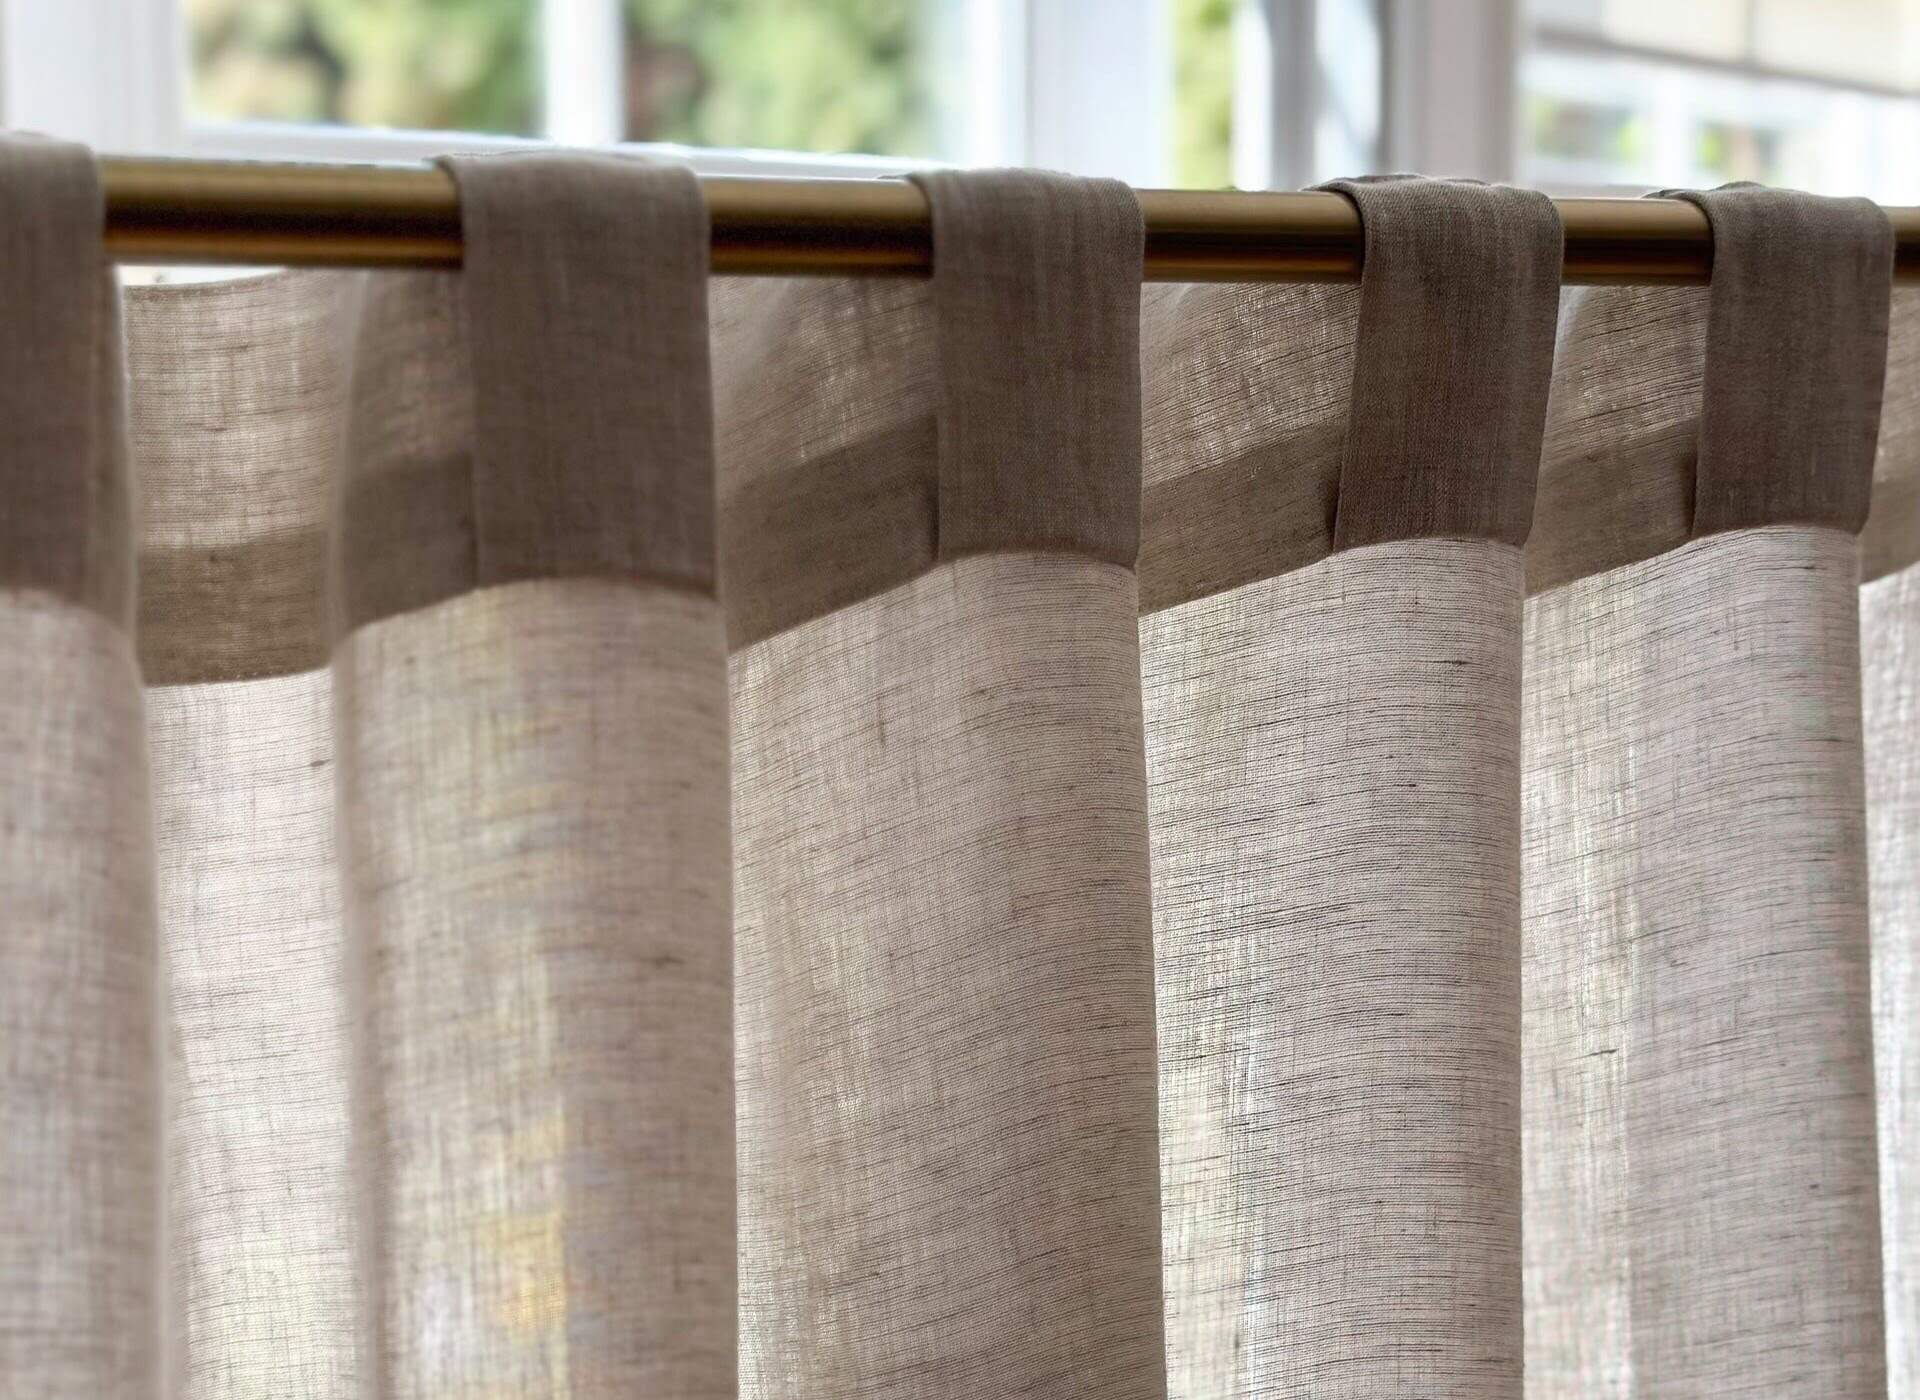
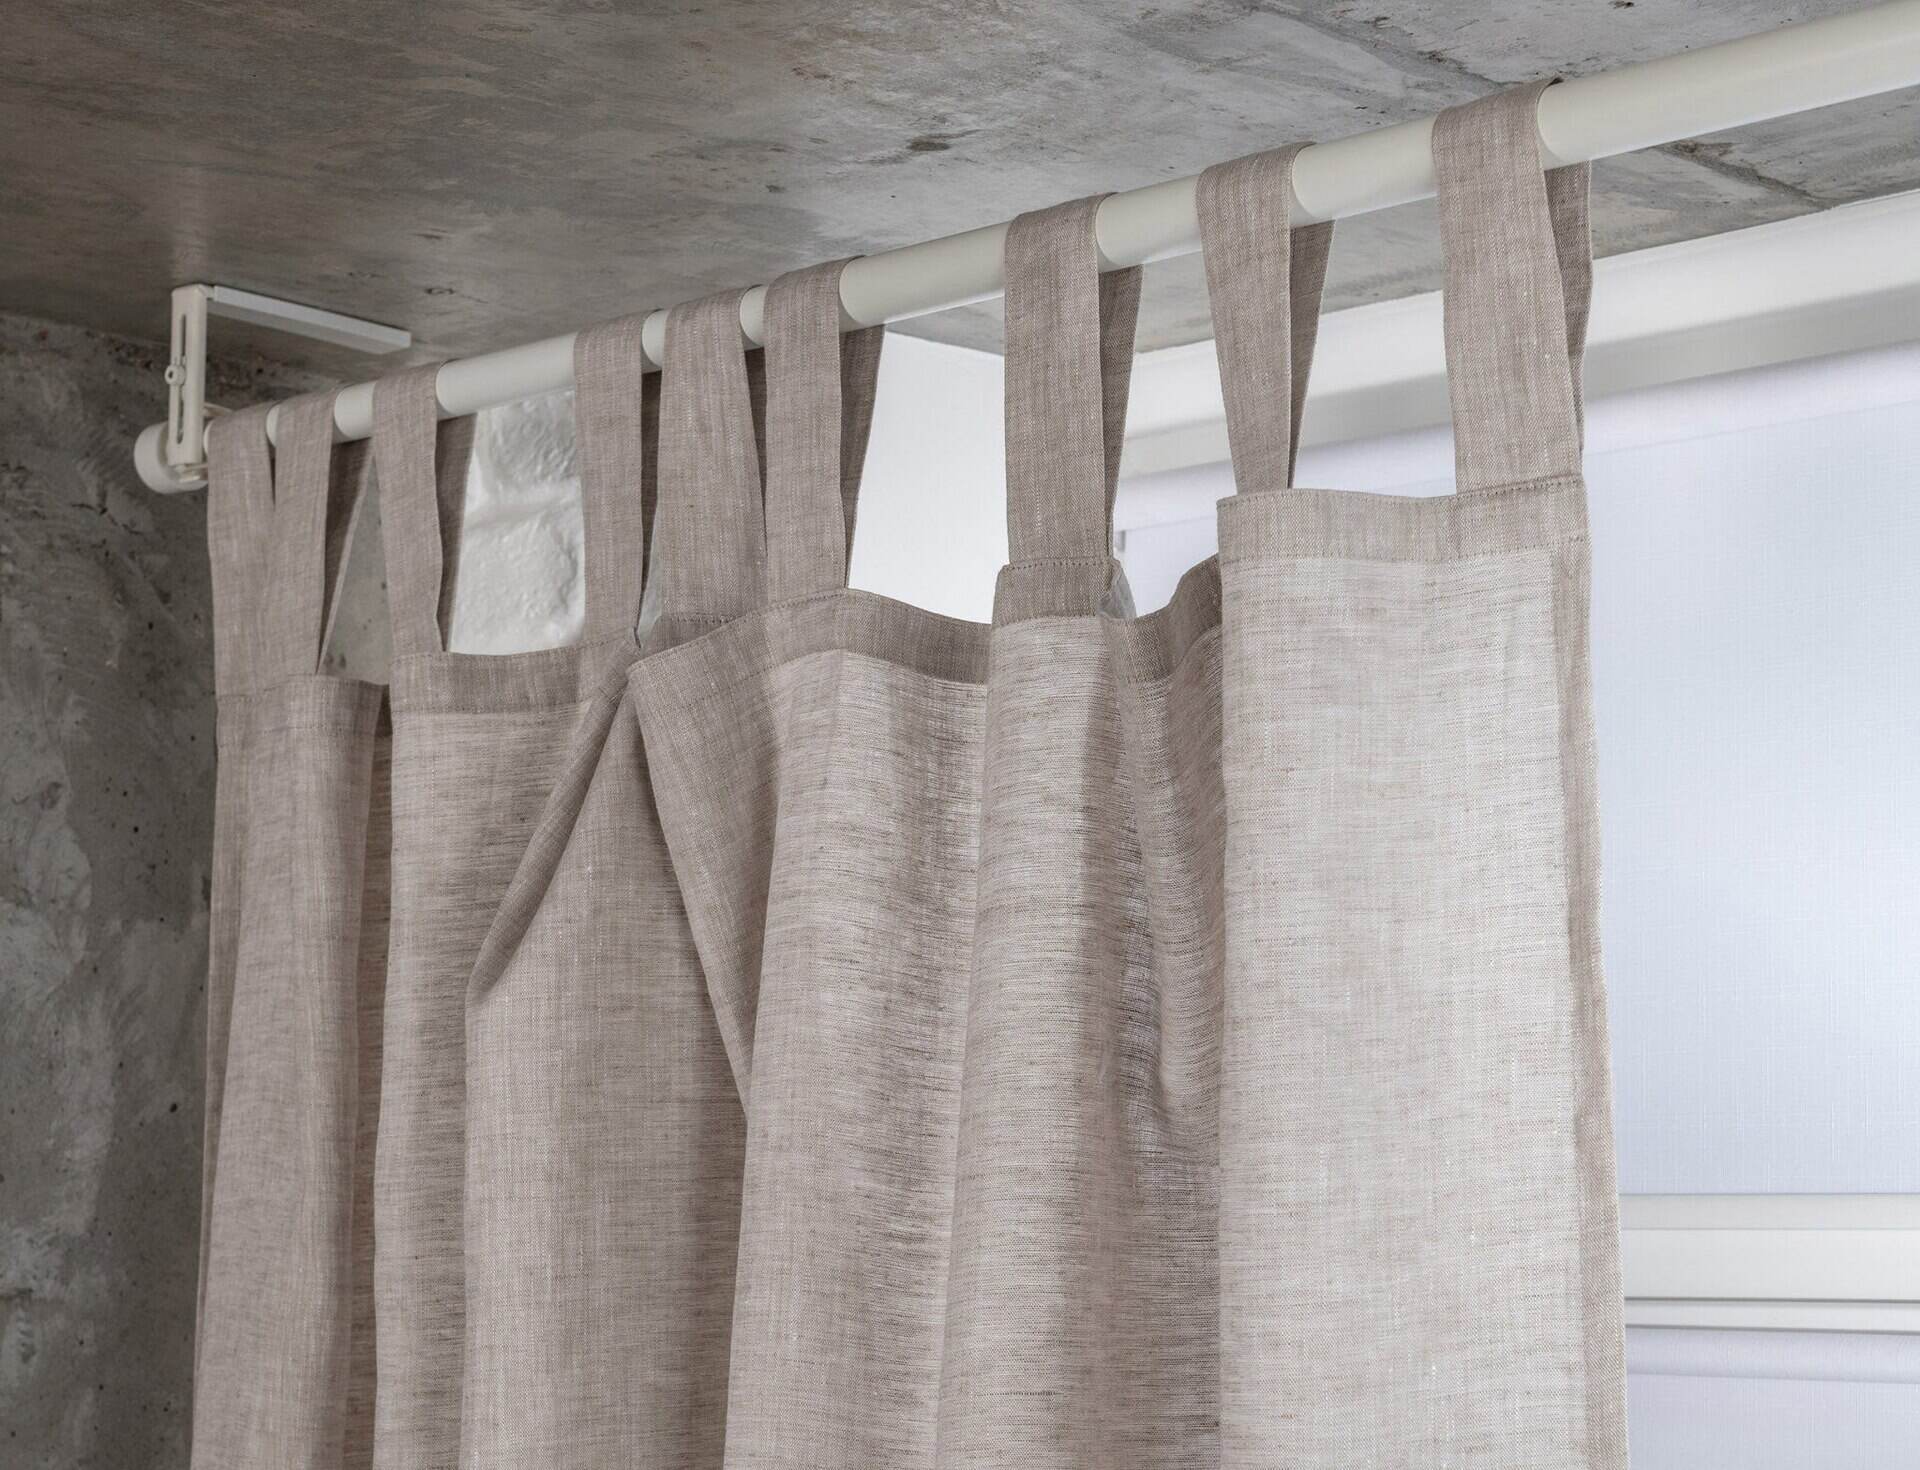
Step 4: Creating the Tabs
The tabs are an essential component of the tab valance as they will be used to hang the valance on the curtain rod. Follow these steps to create the tabs:
- Measure the desired length and width of each tab. The length should be sufficient to loop around the curtain rod, while the width will vary depending on personal preference and the style you want to achieve.
- Mark the measurements for each tab on the fabric using a pencil or fabric marker. Remember to add a seam allowance on all sides of the tab.
- Carefully cut along the marked lines to create individual fabric pieces for each tab. Use fabric scissors to ensure clean and precise cuts.
- Fold each tab piece in half lengthwise, with the right sides of the fabric facing each other. Pin the sides together to hold them in place.
- Using a sewing machine or needle and thread, sew along the open side of each tab, leaving the folded end open. Alternatively, you can use a serger or overlocker for a clean finish.
- Trim any excess fabric and remove the pins. Turn each tab right-side out, using a pencil or chopstick to push out the corners for a crisp finish.
- Press each tab with an iron to create a neat and flat appearance. This will make it easier to attach the tabs to the valance.
Once you have created all the tabs, set them aside and proceed to the next step: sewing the tabs onto the valance.
Step 5: Sewing the Tabs onto the Valance
Now that you have the tabs ready, it’s time to sew them onto the valance. Follow these steps to attach the tabs:
- Lay the fabric valance flat on your workspace, with the right side facing up.
- Position the tabs evenly along the top edge of the valance, spacing them out according to your preference. Pin them in place to secure them temporarily.
- Using a sewing machine or needle and thread, sew a straight line across the top edge of the valance, attaching the tabs as you go. Make sure to stitch securely, backstitching at the beginning and end of each tab for extra strength.
- Remove the pins and carefully trim any loose threads.
It’s important to ensure that the tabs are securely attached to the valance, as they will bear the weight of the valance when it is hung on the curtain rod. Take your time to sew each tab carefully, maintaining even spacing and alignment.
With the tabs securely sewn onto the valance, you’re now ready to move on to the next step: attaching the valance to the curtain rod.
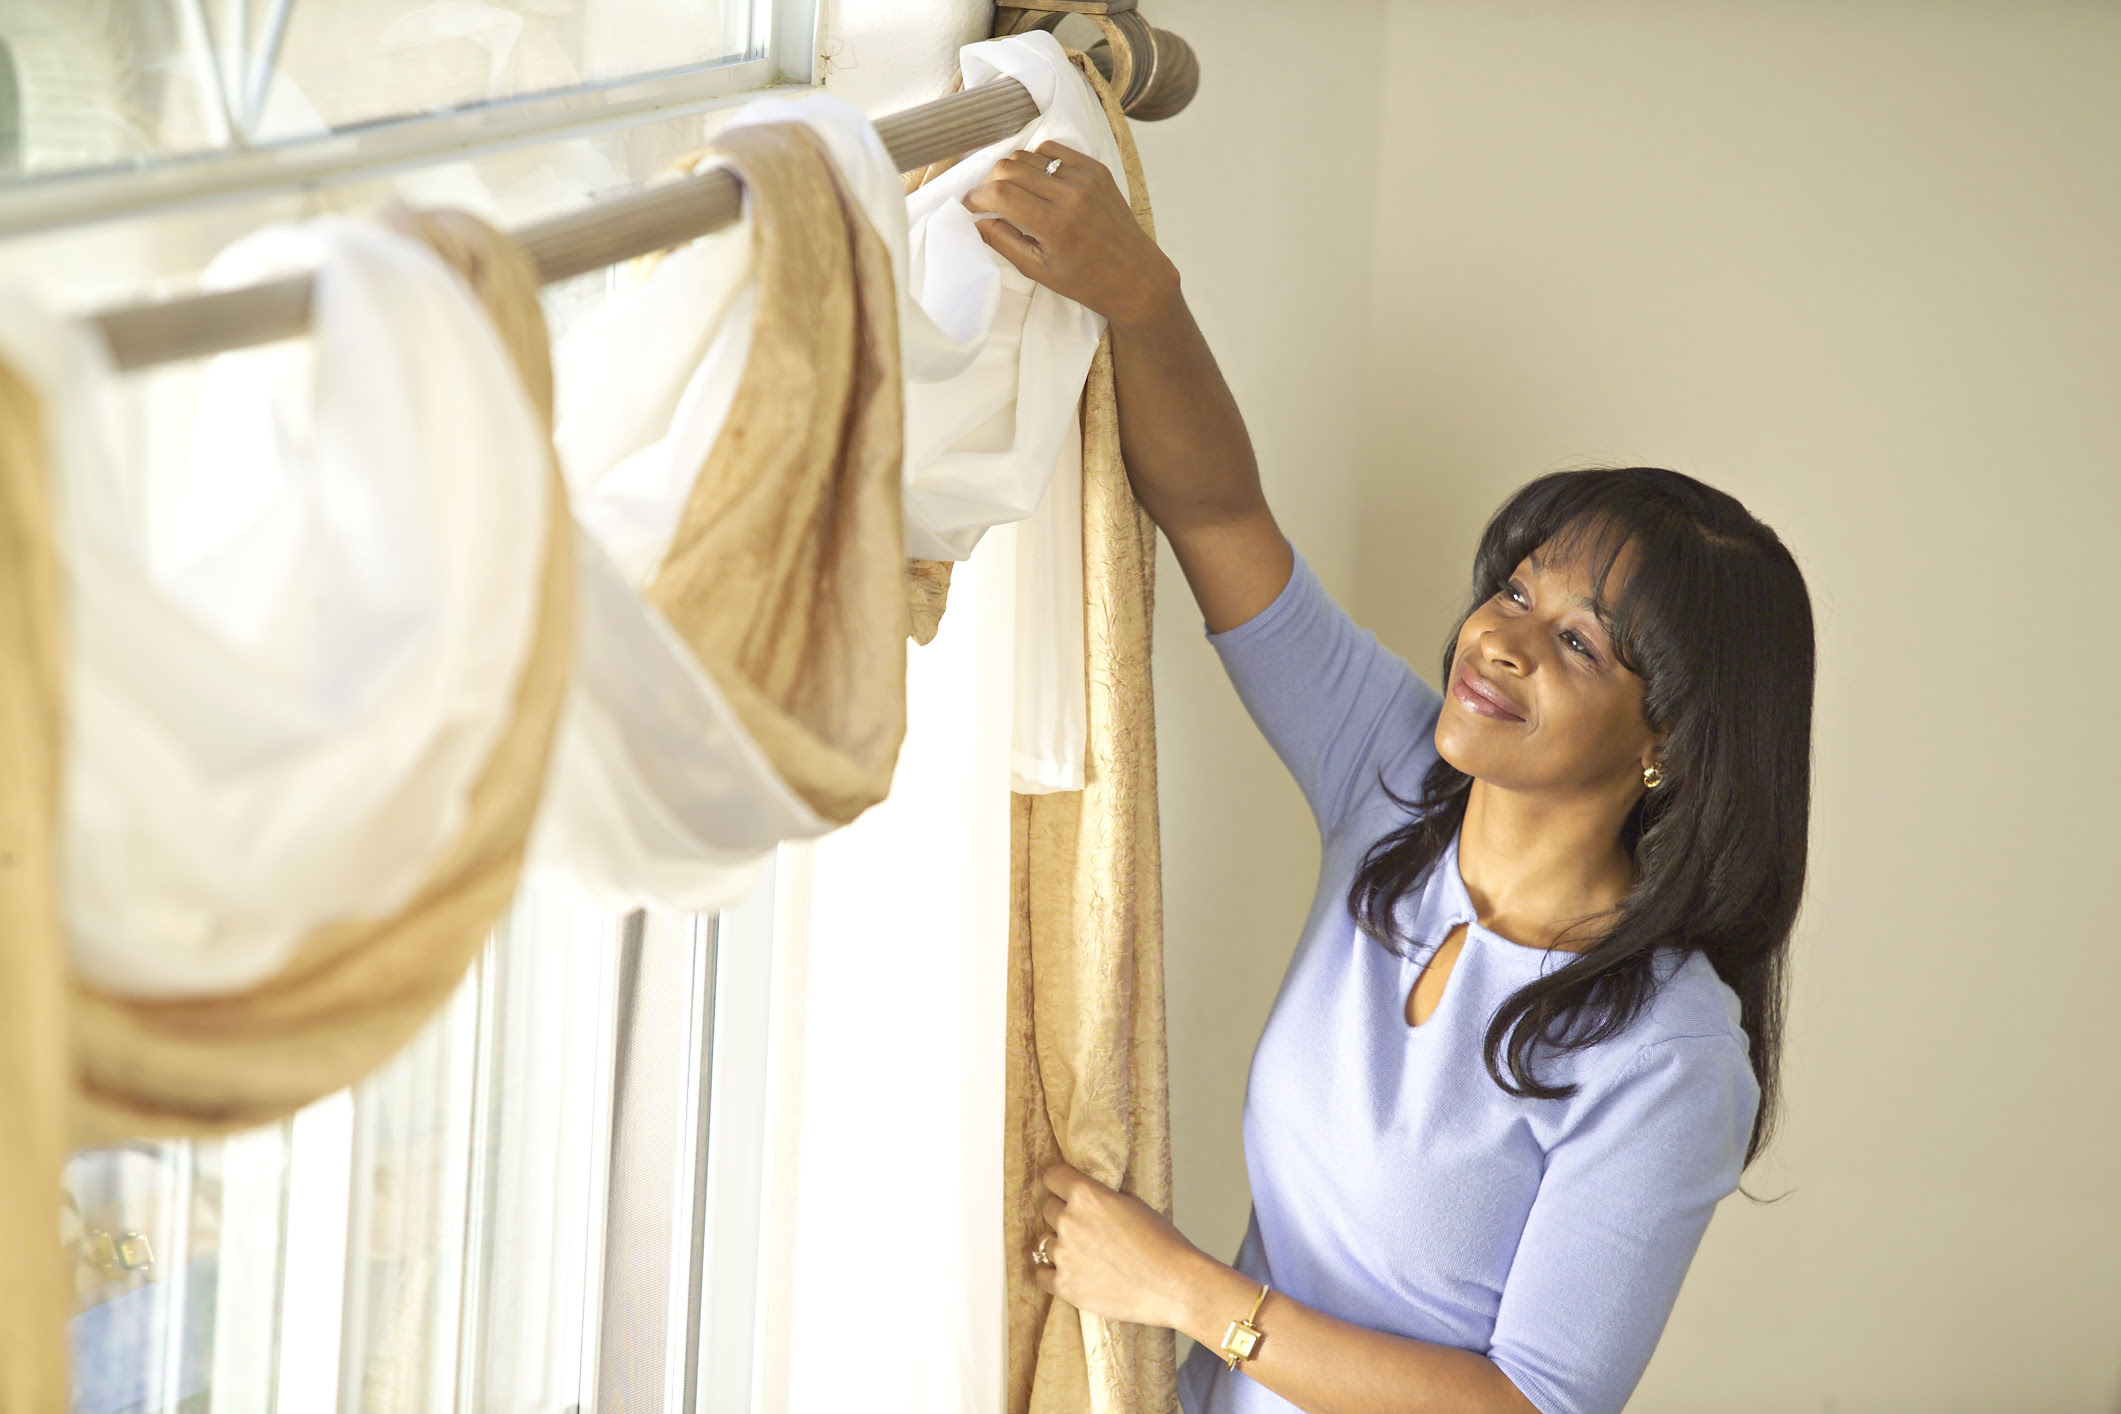
Step 6: Attaching the Valance to the Curtain Rod
With the tabs sewn onto the valance, it’s time to hang your tab valance on the curtain rod. Follow these steps to attach the valance:
- Hold the valance up to the curtain rod, ensuring that the tabs are facing downward.
- Starting from one end, slide each tab through the curtain rod’s opening, one tab per rod pocket or space.
- Continue sliding each tab until the valance is evenly distributed across the curtain rod. Adjust the spacing and arrangement of the tabs as needed to achieve the desired look.
- Step back and assess the placement of the valance. Make any necessary adjustments to ensure it hangs evenly and covers the desired area of the window.
Once you’re satisfied with the placement of the valance on the curtain rod, step back and admire your handiwork. Your tab valance is now successfully attached to the curtain rod and ready to enhance the beauty of your window.
If you want to add a decorative touch or further personalize your valance, you can move on to the optional step of adding embellishments.
Congratulations! You’ve made it through the major steps of creating and hanging your tab valance. Now it’s time to add the finishing touches and make it truly unique to your style and taste.
Step 7: Optional Embellishments
Adding embellishments to your tab valance can elevate its look and make it even more visually appealing. This step is optional, but if you’re looking to customize and personalize your valance, here are a few ideas to consider:
- Trim: Adding a decorative trim along the bottom edge of the valance can provide a stylish finish. Choose a trim that complements the fabric and enhances the overall design of your valance.
- Contrasting Fabric: If you want to add dimension to your valance, consider incorporating a contrasting fabric by creating bands or stripes. This can create a visually interesting pattern and make your valance stand out.
- Embellishments: Decorative elements like buttons, beads, or tassels can be sewn or glued onto the valance to add a touch of luxury or playfulness. Make sure they are securely attached and evenly spaced for a polished look.
- Embroidery or Applique: For those who enjoy sewing or embroidery, consider adding intricate designs or delicate appliques to your valance. This can add a unique and personal touch to your window treatment.
Remember to consider the overall style and theme of your room when selecting and adding embellishments. You want them to complement the existing decor and create a harmonious visual impact. Take your time and experiment with different ideas until you achieve the desired result.
Once you have added the optional embellishments, step back and admire your completed tab valance. You have successfully created a beautiful and customized window treatment that adds style and functionality to your space.
Congratulations on completing your tab valance project! Now it’s time to enjoy the fruits of your labor and appreciate the transformed look of your windows.
Read more: How To Make Cornice Valances
Conclusion
Creating tab valances is a rewarding and enjoyable DIY project that allows you to add a touch of elegance and functionality to your windows. By following the step-by-step process outlined in this article, you can make beautiful window dressings that perfectly fit your style and decor.
From measuring your window to selecting the right fabric, cutting and sewing the pieces together, attaching the tabs, and hanging the valance on the curtain rod, each step is essential in creating a professional-looking valance. Optional embellishments can further enhance the visual appeal and customize your valance to suit your taste.
Whether you’re a seasoned DIY enthusiast or a beginner, this project is accessible and can be completed with basic sewing skills and tools. Take your time, pay attention to detail, and don’t be afraid to experiment with different fabrics, patterns, and embellishments to create a valance that truly reflects your personality and enhances your living space.
Now that you have learned how to make tab valances, you can transform the look of your windows and revitalize your home decor. Enjoy the satisfaction of creating something beautiful with your own hands and the compliments you’ll receive from friends and family.
So, gather your materials, unleash your creativity, and start making your own tab valances today!
Frequently Asked Questions about How To Make Tab Valances
Was this page helpful?
At Storables.com, we guarantee accurate and reliable information. Our content, validated by Expert Board Contributors, is crafted following stringent Editorial Policies. We're committed to providing you with well-researched, expert-backed insights for all your informational needs.
0 thoughts on “How To Make Tab Valances”