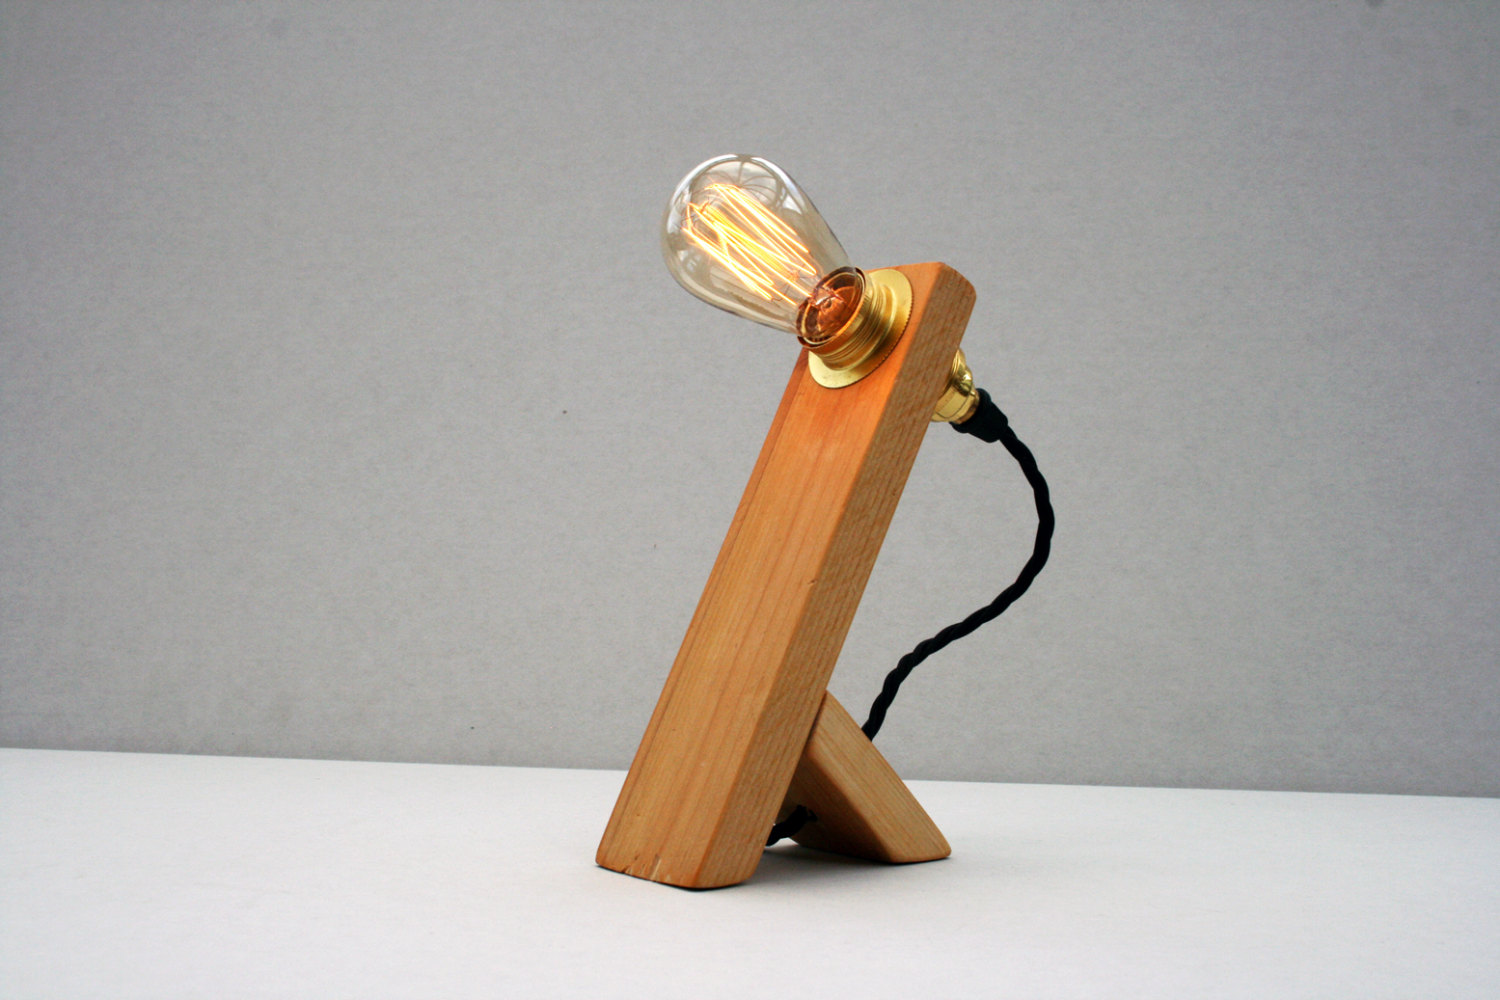
Furniture
How To Make A Lantern Into A Lamp
Modified: October 19, 2024
Learn how to transform a lantern into a stylish lamp that adds a touch of elegance to your furniture collection. Discover step-by-step instructions and unleash your creativity today!
(Many of the links in this article redirect to a specific reviewed product. Your purchase of these products through affiliate links helps to generate commission for Storables.com, at no extra cost. Learn more)
Introduction
Welcome to the world of DIY lamps! If you have an old lantern lying around that you no longer use, why not give it a new lease on life by transforming it into a unique and stylish lamp? Converting a lantern into a lamp is a fun and creative project that allows you to showcase your personal style while repurposing an item that may otherwise go to waste.
In this article, we will guide you through the step-by-step process of making a lantern into a lamp. From preparing the lantern to wiring the lamp and adding a lampshade, we will cover all the necessary steps to turn your lantern into a functional and eye-catching lighting fixture.
Before we dive into the transformation process, let’s take a look at the supplies you will need for this project.
Key Takeaways:
- Transforming a lantern into a lamp is a fun and sustainable DIY project that breathes new life into old items, adding unique charm to any living space.
- By repurposing and creatively transforming old items, you can contribute to a more sustainable and environmentally friendly lifestyle while showcasing your personal style.
Read more: How To Make A Floor Lamp
Supplies Needed
Before you begin the process of converting your lantern into a lamp, it’s important to gather all the necessary supplies. Here’s a list of items you will need:
- A lantern – Choose one that suits your style and fits the desired size for your lamp.
- A light bulb socket – Make sure it is compatible with the type of bulb you plan to use.
- Wire cutters – Essential for cutting and stripping wires.
- Electrical wire – Opt for a wire long enough to reach from the socket to the plug.
- A plug – Ensure it is suitable for the electrical outlets in your area.
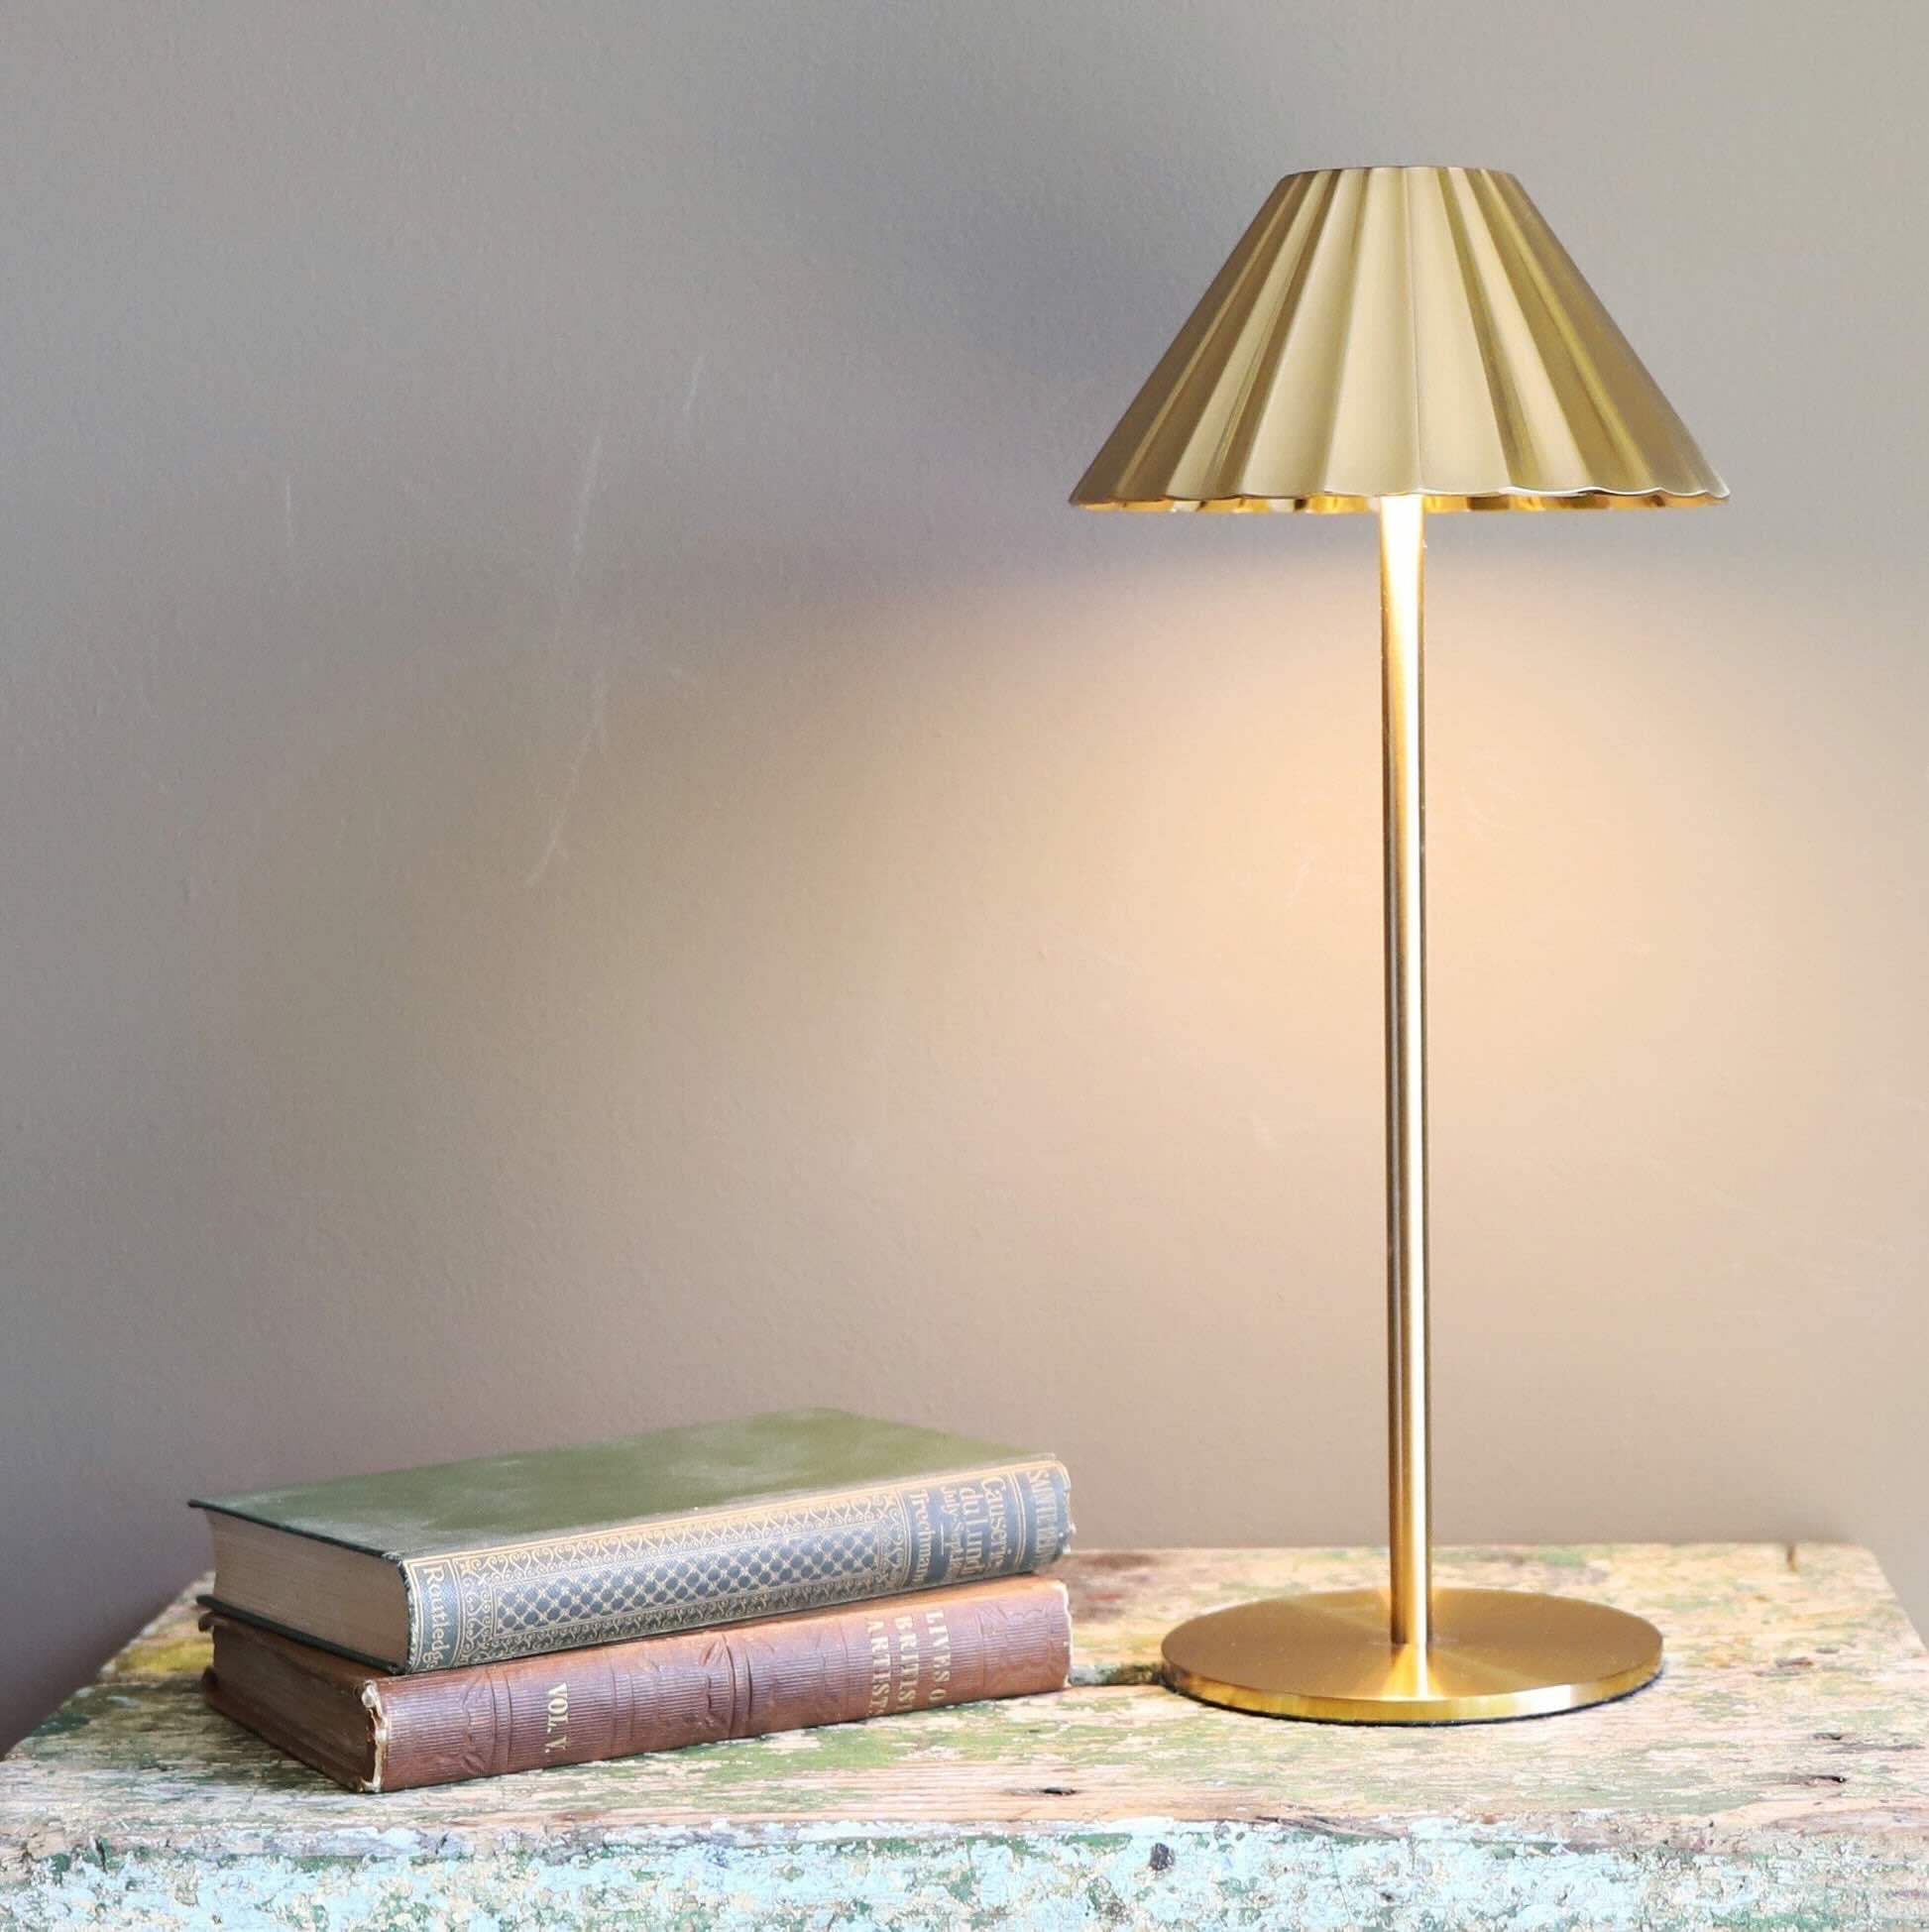
- A lampshade – Select one that complements the style of your lantern and fits the size of your lamp.
- A drill – Needed for creating any necessary holes in the lantern for wiring.
- Screws – These will be used to secure the light bulb socket and other components.
- A screwdriver – Necessary for tightening screws.
- A wire stripper – If you don’t have wire cutters with a built-in stripping function.
- Optional: Paint or spray paint – If you want to give your lantern a fresh coat of color.
Once you have gathered these supplies, you’re ready to start the transformation process. So let’s get started with step 1: preparing the lantern.
Step 1: Preparing the Lantern
The first step in converting your lantern into a lamp is to properly prepare the lantern itself. Follow these steps to ensure your lantern is ready for its transformation:
- Clean the lantern: Start by giving your lantern a thorough cleaning. Remove any dust, dirt, or grime that may have accumulated over time. This will ensure a fresh and polished look for your finished lamp.
- Remove any existing fuel source: Most lanterns are designed to burn fuel, such as oil or gas. To convert it into a lamp, you will need to remove the fuel source. Depending on the type of lantern you have, this may involve unscrewing or detaching the fuel container or wick.
- Inspect the lantern for any repairs: Take a close look at your lantern to identify any parts that may need repair or replacement. Check for loose screws, cracks in the glass or metal, or any other damage. Make any necessary repairs before moving on to the next step.
- Optional: Paint or spray paint the lantern (if desired): If you want to give your lantern a fresh look or match it to your home decor, this is the time to apply a coat of paint. Use a paint designed for metal or glass surfaces, or choose spray paint for an easy and even application. Be sure to follow the manufacturer’s instructions and allow the paint to dry completely.
Once you have prepared your lantern, it will be ready for the next step: removing the fuel source. Let’s move on to step 2.
Step 2: Removing the Fuel Source
Now that you have prepared your lantern, it’s time to remove the fuel source. This step is crucial in converting your lantern into an electric lamp. Follow these steps to safely remove the fuel source:
- Ensure the lantern is completely cooled down: If you have recently used the lantern or it is still warm, allow it to cool down completely before attempting to remove the fuel source. This will prevent any accidental burns or injuries.
- Unscrew or detach the fuel container: Depending on the type of lantern you have, there may be a screw or latch that secures the fuel container. Unscrew or detach the container carefully, keeping it upright to prevent any spills or leaks.
- Remove the wick (if applicable): Some lanterns have a removable wick that needs to be taken out. Unscrew or gently pull out the wick from its holder. If it’s a replaceable wick, you can keep it aside for future use.
- Clean the fuel container and wick holder: Before setting aside the fuel container and wick holder, clean them thoroughly to remove any residual fuel or soot. Use a mild soap and water solution or a designated cleaner for metal or glass surfaces. Rinse and dry them completely before moving on to the next step.
Once you have successfully removed the fuel source, your lantern is ready to be transformed into an electric lamp. The next step is to attach the light bulb socket. Let’s move on to step 3.
Step 3: Attaching the Light Bulb Socket
Now that you have removed the fuel source from your lantern, it’s time to attach the light bulb socket. This step will allow you to add a light bulb and create a functional lamp. Follow these steps to securely attach the light bulb socket:
- Choose the appropriate location: Decide where you want to position the light bulb socket inside the lantern. You may need to drill a hole or create a small opening if there isn’t already a suitable spot for the socket.
- Mark the location: Once you have chosen the location, use a marker or pencil to mark the exact spot where the socket will be attached. Ensure the marking is clear and visible.
- Prepare the lantern for the socket: If you need to drill a hole or create an opening, do so carefully according to the size and specifications of the light bulb socket. Use appropriate safety measures, such as wearing protective eyewear.
- Attach the light bulb socket: Place the light bulb socket in the designated location and secure it using screws. Ensure the socket is tightly and securely fastened to prevent any movement or instability.
- Ensure proper wiring alignment: Check that the wiring inside the socket aligns correctly with any openings or channels in the lantern. This will ensure a seamless connection between the lamp base and the light bulb.
- Confirm the socket stability: Gently tug on the socket to ensure it is secure and doesn’t move or wobble. If necessary, tighten the screws further for added stability.
With the light bulb socket securely attached, you’re now ready to move on to the next step: wiring the lamp. Let’s proceed to step 4.
To turn a lantern into a lamp, remove the fuel source and replace it with a battery-operated LED light. This will make the lantern safe for indoor use and provide a soft, ambient light.
Read more: How To Make A Vase Into A Lamp
Step 4: Wiring the Lamp
Once you have attached the light bulb socket, it’s time to wire the lamp. This step is crucial in ensuring the functionality and safety of your converted lantern. Follow these steps to properly wire your lamp:
- Measure and cut the electrical wire: Begin by measuring the distance from the light bulb socket to the plug location. Add a few extra inches to the measurement for flexibility. Using wire cutters, carefully cut the electrical wire to the appropriate length.
- Strip the ends of the wire: Using a wire stripper, strip off approximately 1/2 inch of insulation from both ends of the electrical wire. This will expose the inner wires for proper connection.
- Connect the wires to the light bulb socket: Identify the positive (hot) wire and negative (neutral) wire. Typically, the hot wire is black or marked with a colored tape, while the neutral wire is white or marked with a different color. Attach the hot wire to the inner socket terminal labeled “hot” or “+” and the neutral wire to the terminal labeled “neutral” or “-“. Secure the connections tightly.
- Insert the wire through the lantern: Carefully thread the wire through any holes or channels in the lantern to keep it concealed. Take your time to ensure a neat and organized appearance.
- Attach the plug to the other end of the wire: Strip the ends of the wire connected to the plug. Attach the hot wire to the brass terminal and the neutral wire to the silver terminal. Tighten the screws to secure the wires in place.
- Double-check the connections: Before proceeding, double-check that all connections are tight and secure. Ensure there are no exposed wires or loose connections in the lamp.
Once you have successfully wired your lamp, you’re ready to move on to the next step: adding a lampshade. Let’s proceed to step 5.
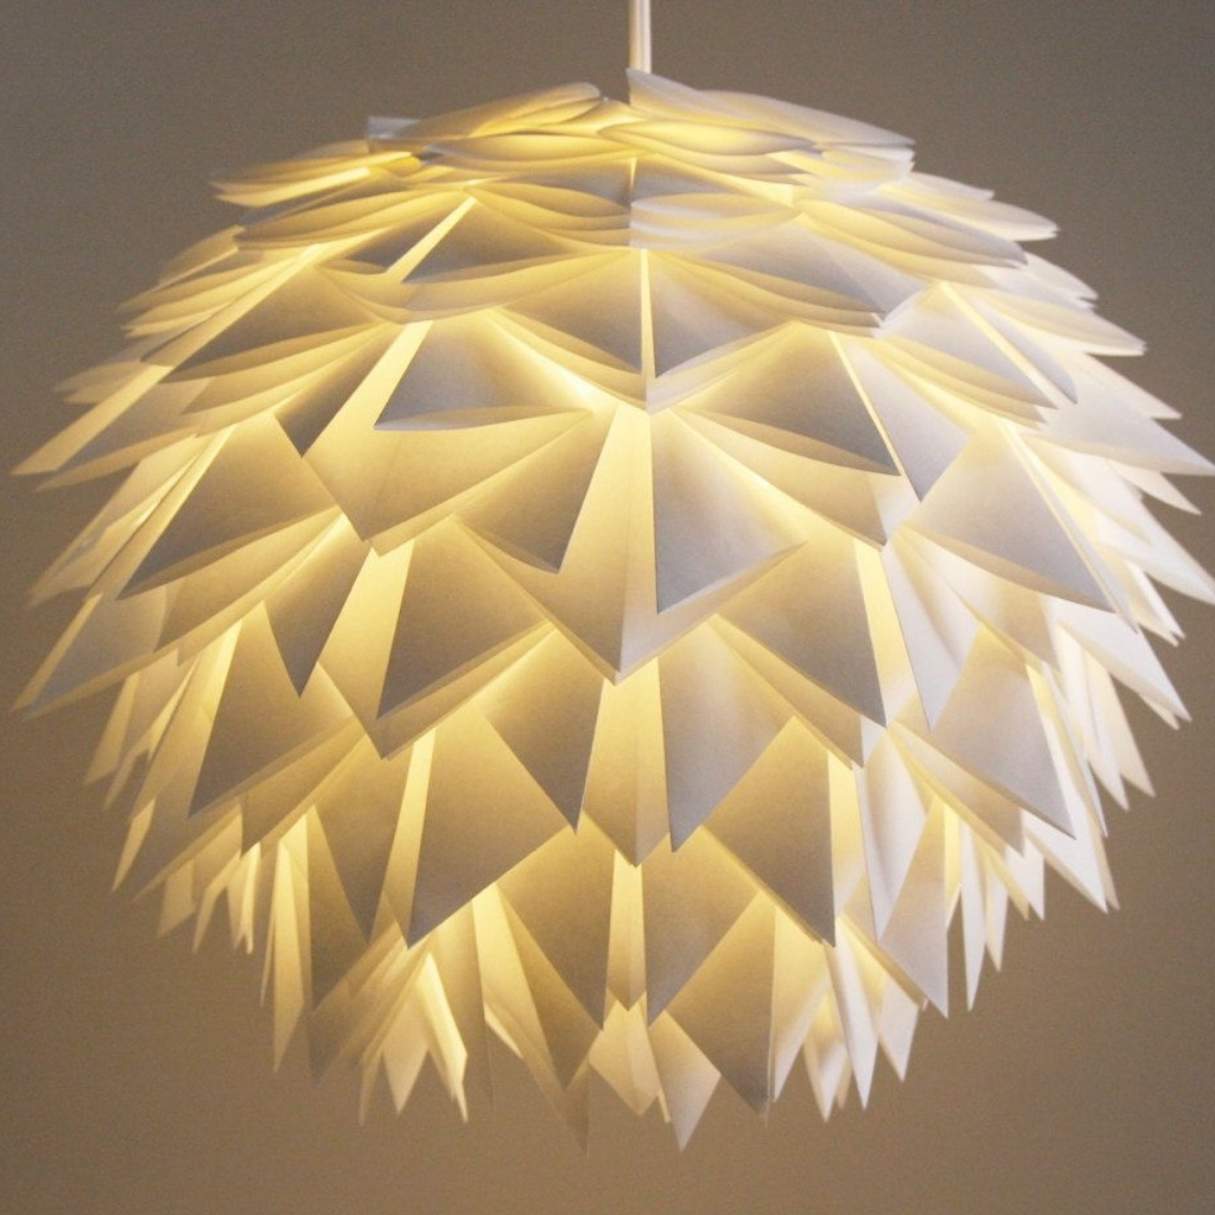
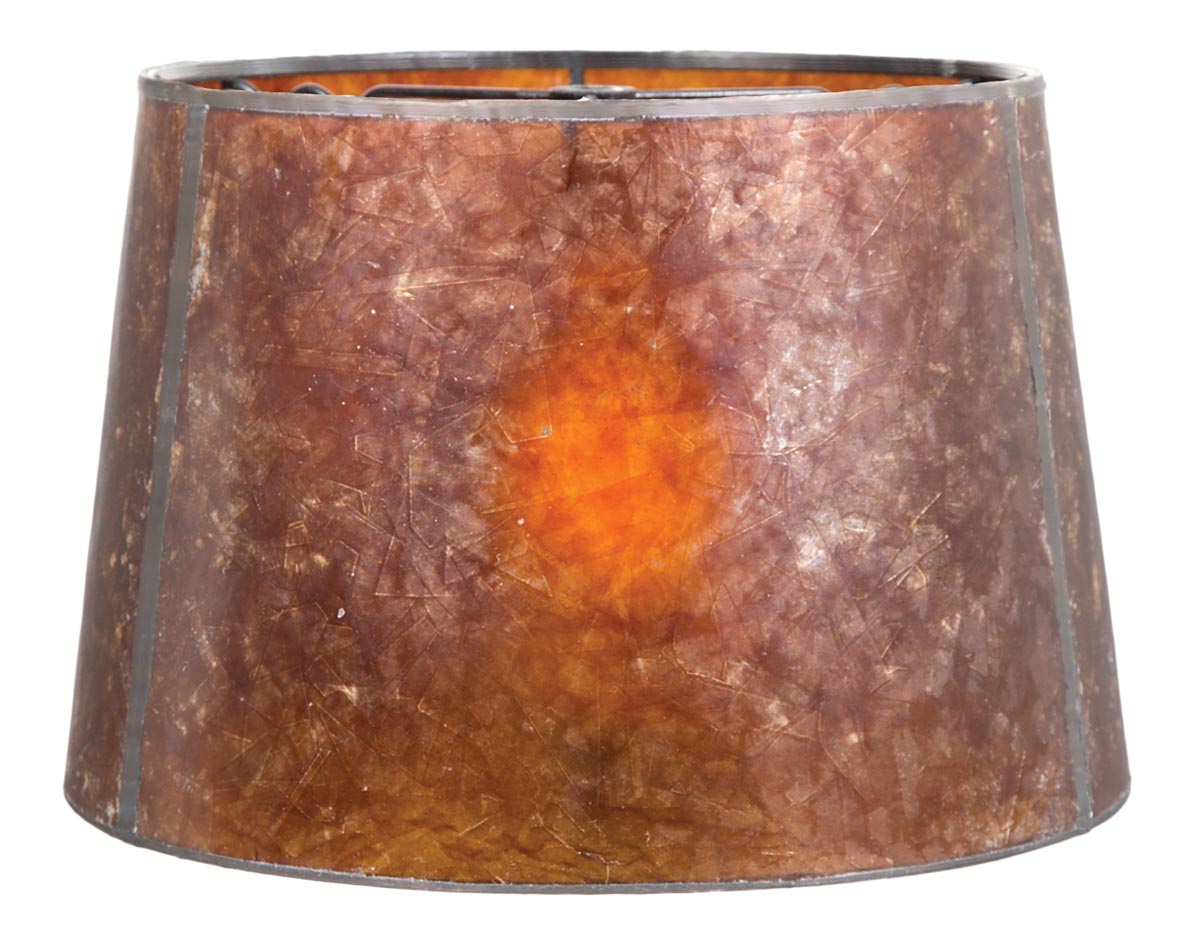
Step 5: Adding a Lampshade
Now that you have wired your lamp, it’s time to add a lampshade. The lampshade not only adds functionality by diffusing and directing the light, but it also enhances the overall aesthetic appeal of your converted lantern. Follow these steps to add a lampshade:
- Select the right size and style: Choose a lampshade that fits the dimensions of your lantern and complements its design. Consider the shape, color, and material of the lampshade to ensure it matches your desired aesthetic.
- Place the lampshade on the light bulb socket: Carefully position the lampshade over the light bulb socket. Ensure it sits securely and evenly on the socket, with the opening facing downward.
- Adjust the lampshade if needed: Take a step back and assess the placement of the lampshade. Make any necessary adjustments to ensure it is straight and centered on the lamp. Step back and observe the overall appearance to ensure it meets your expectations.
- Secure the lampshade: Depending on the style of your lantern and lampshade, you may need to use additional methods to secure the lampshade in place. This can include clips, screws, or other fastening mechanisms. Follow the instructions that came with your lampshade or refer to any included hardware.
With the lampshade securely added, your converted lantern is complete, and you’re ready to move on to the final step: testing and final touches. Let’s proceed to step 6.
Step 6: Testing and Final Touches
After completing the previous steps, it’s time to test your newly converted lantern lamp and add any final touches to perfect its appearance. Follow these steps to ensure your lamp is functional and visually appealing:
- Insert a light bulb: Screw in a light bulb that is compatible with your light bulb socket. Choose a bulb that matches the wattage and type recommended for your specific socket.
- Plug in the lamp: Insert the plug into a nearby electrical outlet. Ensure the outlet is functioning correctly by testing it with another device.
- Flip the switch: Turn on the lamp switch, and the light bulb should illuminate. If not, double-check the wiring connections and make sure the light bulb is properly screwed in.
- Adjust the lighting: If necessary, experiment with different light bulbs or wattages to achieve your desired level of brightness and ambiance. Consider using a dimmer switch or installing a smart bulb for added convenience.
- Inspect and make final adjustments: Take a close look at your converted lantern lamp and make any final adjustments. Ensure the lampshade is straight, the wiring is neatly concealed, and the entire lamp is free from any visible flaws or imperfections.
- Personalize your lamp: To give your converted lantern lamp a unique and personalized touch, consider adding decorative elements or accents. This can include trimmings, ribbons, or even painting designs on the lantern itself. Let your creativity shine!
Congratulations! You have successfully transformed your lantern into a functional and stylish lamp. Enjoy the warm glow and unique charm that your converted lantern lamp brings to your living space.
Remember to periodically check the lamp’s wiring and connections for any signs of wear or damage. Safety should always be a top priority when dealing with electrical devices.
Thank you for joining us on this DIY journey. We hope you found this guide helpful and inspiring. Happy crafting!
Conclusion
Converting a lantern into a lamp is a creative and rewarding DIY project that allows you to breathe new life into an old and unused item. By following the step-by-step process outlined in this article, you have successfully transformed your lantern into a functional and stylish lamp that can brighten up any space in your home.
Throughout the process, you have learned how to prepare the lantern, remove the fuel source, attach the light bulb socket, wire the lamp, add a lampshade, and perform final testing and adjustments. Each step is crucial in ensuring the functionality and safety of your converted lantern lamp.
By repurposing items and engaging in DIY projects like this, you contribute to a more sustainable and environmentally friendly lifestyle. Instead of discarding old items, you have found a creative way to give them a new purpose and extend their lifespan.
Remember, safety should always be a priority when dealing with electrical components. If you are unfamiliar with electrical work, it is advisable to seek assistance from a professional or someone with experience in electrical wiring.
Now that you have completed your converted lantern lamp, take a step back and admire the unique charm it brings to your living space. Enjoy the warm glow and personalized touch it adds to your home decor.
We hope this guide has inspired you to explore more DIY projects and unleash your creativity. Happy crafting!
Frequently Asked Questions about How To Make A Lantern Into A Lamp
Was this page helpful?
At Storables.com, we guarantee accurate and reliable information. Our content, validated by Expert Board Contributors, is crafted following stringent Editorial Policies. We're committed to providing you with well-researched, expert-backed insights for all your informational needs.