Home>Ideas and Tips>Home Theater Screen Installation: Optimal Viewing Experiences
Ideas and Tips
Home Theater Screen Installation: Optimal Viewing Experiences
Published: September 23, 2024
Learn how to choose the right screen material and install it for an optimal home theater experience. Elevate your viewing with our expert tips.
(Many of the links in this article redirect to a specific reviewed product. Your purchase of these products through affiliate links helps to generate commission for Storables.com, at no extra cost. Learn more)
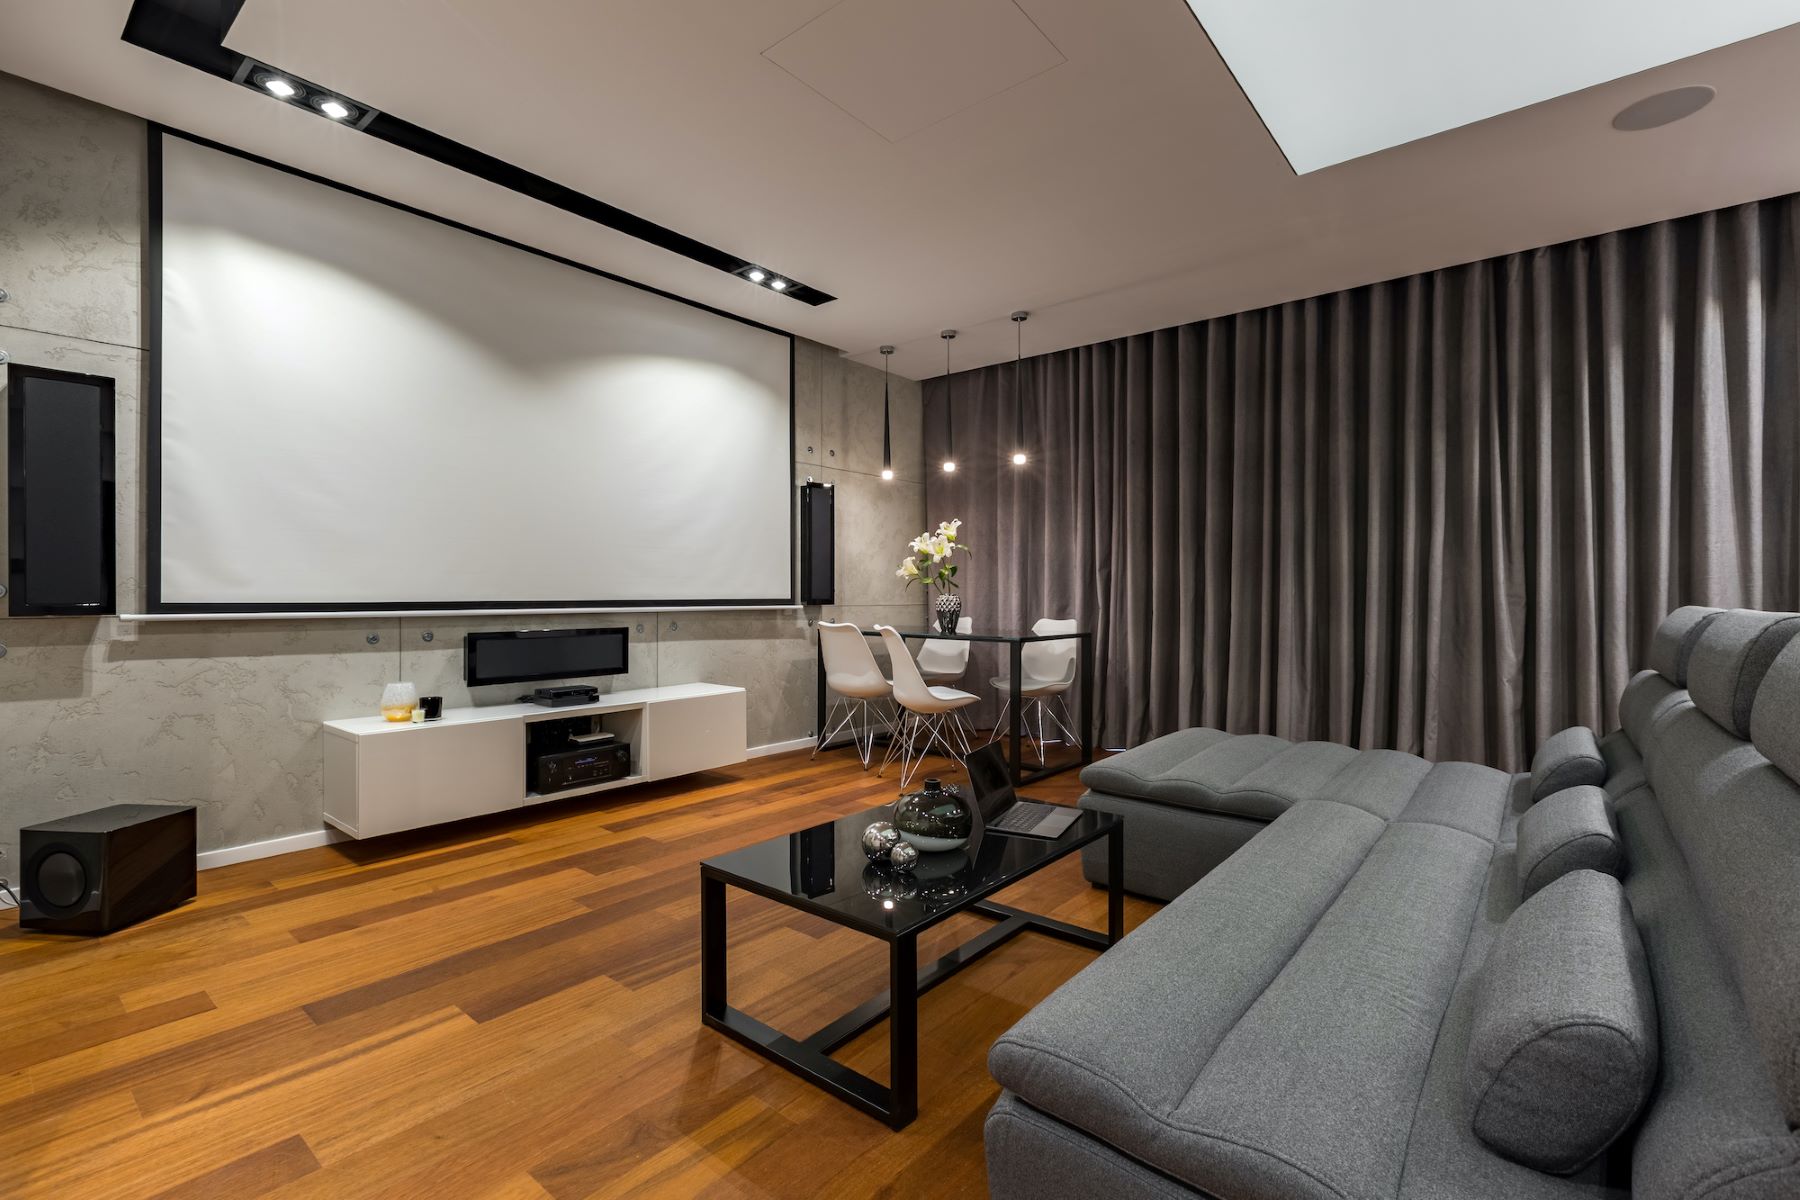
Creating an immersive home theater experience is not just about the projector or the speakers; it is equally important to choose the right screen and install it correctly. A well-designed and properly installed screen can elevate your viewing experience, making it feel more like a cinematic spectacle than just watching a movie at home. In this article, we will delve into the factors that influence the selection of a home theater screen, how to choose the right screen material, and the optimal installation techniques to ensure a comfortable and visually stunning experience.
Choosing the Right Screen Material
When selecting a screen for your home theater, one of the most critical decisions you'll make is choosing the right screen material. The material you choose will significantly impact the brightness, contrast, and overall visual quality of your projection. Here are some key considerations:
Gain and Viewing Angle
Screen manufacturers offer a variety of screen formulations with different gains (light reflectivity). Higher gain screens are brighter but have a narrower viewing angle. This means that if you sit off-center or at an angle, the image may appear distorted or washed out. Understanding the room where the projector will be used is crucial in determining which screen material to use. For example, if you have a room with controlled ambient light, a higher gain screen might be suitable. However, if the room has a lot of uncontrolled light, a lower gain screen could be more effective in maintaining image quality.
Matte White vs High Contrast Gray
Matte White: A standard matte white finish with a gain of 1 (no additional gain) is about as simple as it gets. This type of screen works well in rooms with minimal ambient light and is often used for its neutrality in color representation. However, it may not be the best choice if you're looking for enhanced contrast ratios.
High Contrast Gray: For projectors with low native contrast ratios, a high contrast gray screen can significantly improve the image quality. These screens keep the brighter areas of the image about the same as with a matte white but make dark areas appear darker, enhancing overall contrast.
Projector Technology
Different projector technologies have varying requirements for screen materials. For instance:
-
LCOS Projectors: These projectors, such as JVC's D-ILA and Sony SXRD models, have better contrast ratios than LCD and DLP projectors. However, they often produce less brightness. In this case, a matte white or white screen with moderate gain (no higher than 1.3) would improve on-screen brightness and be an excellent pairing.
-
Single-Chip DLP Projectors: These projectors are generally very bright but have lower contrast ratios. In such cases, a grey screen can improve detail in the darker parts of the image. Some manufacturers offer grey screens that do not reduce visible brightness while still improving contrast.
Factors to Consider When Choosing a Screen Size
Choosing the right screen size is also crucial for an optimal viewing experience. Here are some key factors to consider:
Room Size and Dimensions
The physical space where the screen will be placed is essential to consider. A large screen in a small room can be overwhelming, while a small screen in a large room might lead to a less immersive experience. Ensure that the screen complements the dimensions of the space.
Viewing Distance
The projection ratio between the screen and the viewer is crucial. If you sit too close to a large screen, you might strain your eyes, while sitting too far from a small screen could reduce the impact. The recommended viewing distance varies based on screen size but generally falls between 8 and 10 feet for a 150-inch screen.
Viewing Angle
Screens have optimal viewing angles. Placing the screen at an angle that is too wide or narrow can result in distorted or less vibrant images. Ensure that the screen is positioned to provide a comfortable viewing angle for everyone in the room.
Content-Type
Consider the type of content you'll be primarily viewing. For detailed content like spreadsheets or design work, a larger screen might be beneficial. If it's mainly for casual TV watching, a moderate-sized screen could suffice.
Resolution
Higher resolutions on larger screens offer sharper images. However, this decision should depend on the shape and size of the room. Higher resolutions require more precise placement and alignment to avoid visual distortion.
Budget
Larger screens with advanced features tend to be more expensive. Set a budget that aligns with your preferences and needs to narrow down the options. Having a clear budget at the start keeps you in check at each step of crafting your own home theater.
Optimal Screen Mounting Techniques
Properly mounting your projector screen is essential for an immersive viewing experience. Here are some tips to ensure a comfortable and visually stunning setup:
Eye Level Alignment
The average person's eyes are between 42-50 inches from the floor when seated. A safe “sweet spot” to work with is about a 48” average. Your eye level should align with the boundary line between the top 2/3 and bottom 1/3 of the screen. This alignment minimizes eye, head, or neck movement required to take in everything happening on the screen.
Comfort and Perception
Comfort and perception greatly enhance your viewing experience. A properly mounted screen prevents you from encountering perceived visual distortion. The image appears naturally as your eyes would see it in real time, preventing unnecessary neck and eye fatigue from disrupting your ability to sit through the feature presentation.
Ergonomic Considerations
The performance of your AV gear may be essential to your quest for the ultimate residential audio-visual experience, but never forget the ergonomic value. You wouldn’t enjoy your wine while sitting on an asphalt road; similarly, don’t punish your body with an improperly mounted screen. Do it right, and enjoy it all.
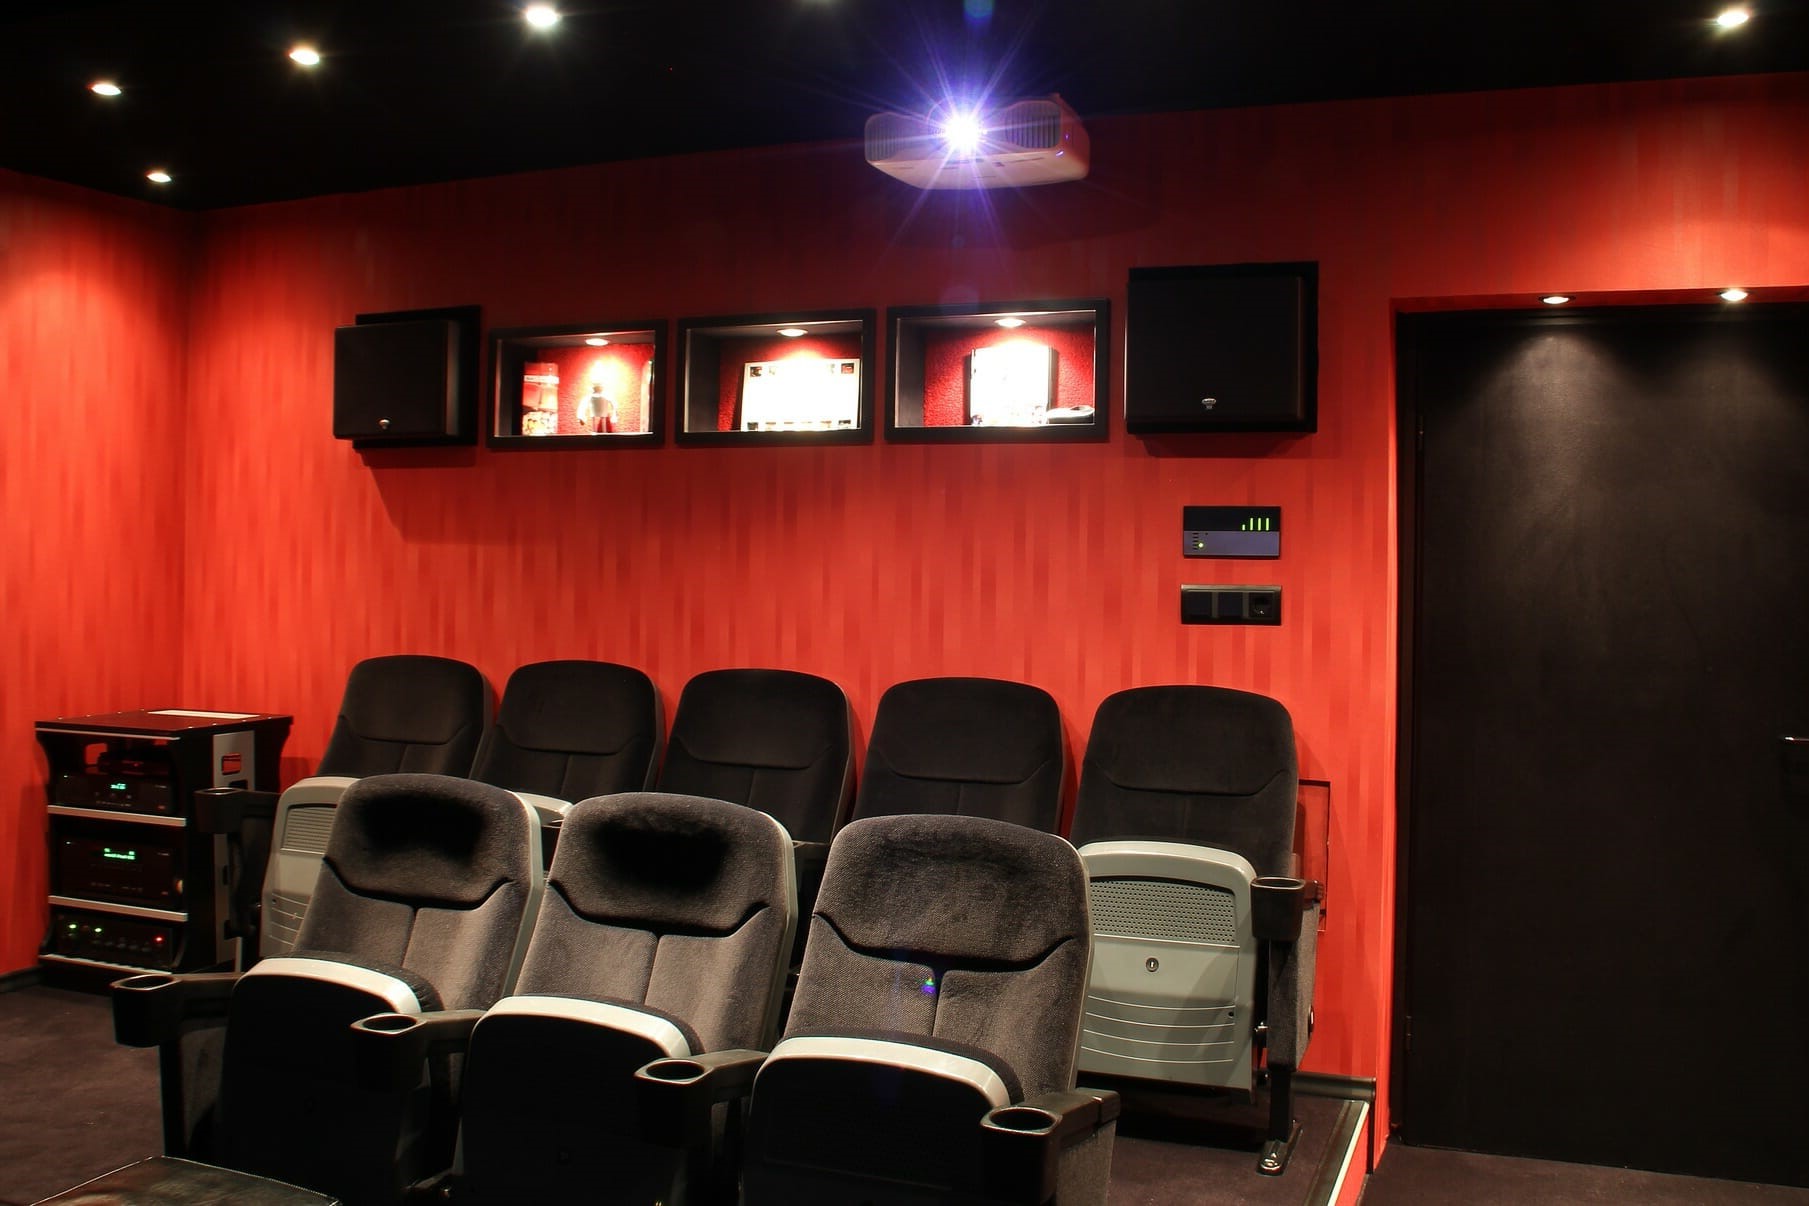
Best Practices for Home Theater Layout
Creating an optimal home theater layout involves more than just the screen and projector. Here are some best practices to consider:
Room Acoustics
Optimizing room acoustics is crucial for an immersive audio experience. The flattest theoretical response should be about 38% from the front or rear wall. For example, if you have a dedicated room that is 12’ wide and 20’ long, the TV/screen should go on the short wall to optimize for room acoustics. Assuming the TV is on the 12’ wall and you’re sitting about 40% away from the wall on which the TV is mounted, you’d be about 8’ away from the wall.
Screen Placement
The ideal layout places seats for an unobstructed view, focusing on the center of the screen. Avoid placing the screen directly in the middle if possible; instead, position it slightly off-center to account for human vision's natural tendency to look at the center of an image.
Viewing Distance Variations
Deciding on the optimal viewing distance can be subjective but generally falls within a range. For example, sitting 12 feet away from a 107-inch screen can be more impressive than watching on a 27-inch computer monitor even at an optimal viewing angle. However, there is an experiential benefit to moving a viewing distance from 12 feet to 15 feet or even to 20 feet away. The sense of scale and grandeur increases with larger screens, making it feel more cinematic.
Conclusion
Creating an optimal home theater experience involves a careful balance of room dimensions, technology nuances, and personal preferences. By choosing the right screen material and size, ensuring proper mounting techniques, and optimizing room acoustics, you can elevate your viewing experience to new heights. Remember that it’s not just about size; it’s about creating an immersive haven for your favorite films and shows. With these insights, you'll be well on your way to turning your home into the ultimate entertainment destination.
By following these guidelines and considering the factors outlined above, you can create a home theater that provides an unparalleled viewing experience. Whether you're aiming for a cozy setup or a grand cinematic spectacle, understanding how to choose the right screen material and install it correctly will make all the difference in your quest for the perfect home theater.
Was this page helpful?
At Storables.com, we guarantee accurate and reliable information. Our content, validated by Expert Board Contributors, is crafted following stringent Editorial Policies. We're committed to providing you with well-researched, expert-backed insights for all your informational needs.

0 thoughts on “Home Theater Screen Installation: Optimal Viewing Experiences”