Home>Technology>Home Entertainment Systems>How To Install Projector Screen On Wall
Home Entertainment Systems
How To Install Projector Screen On Wall
Modified: October 21, 2024
Learn how to easily install a projector screen on your wall to enhance your home entertainment system. Follow our step-by-step guide for a seamless setup.
(Many of the links in this article redirect to a specific reviewed product. Your purchase of these products through affiliate links helps to generate commission for Storables.com, at no extra cost. Learn more)
Introduction
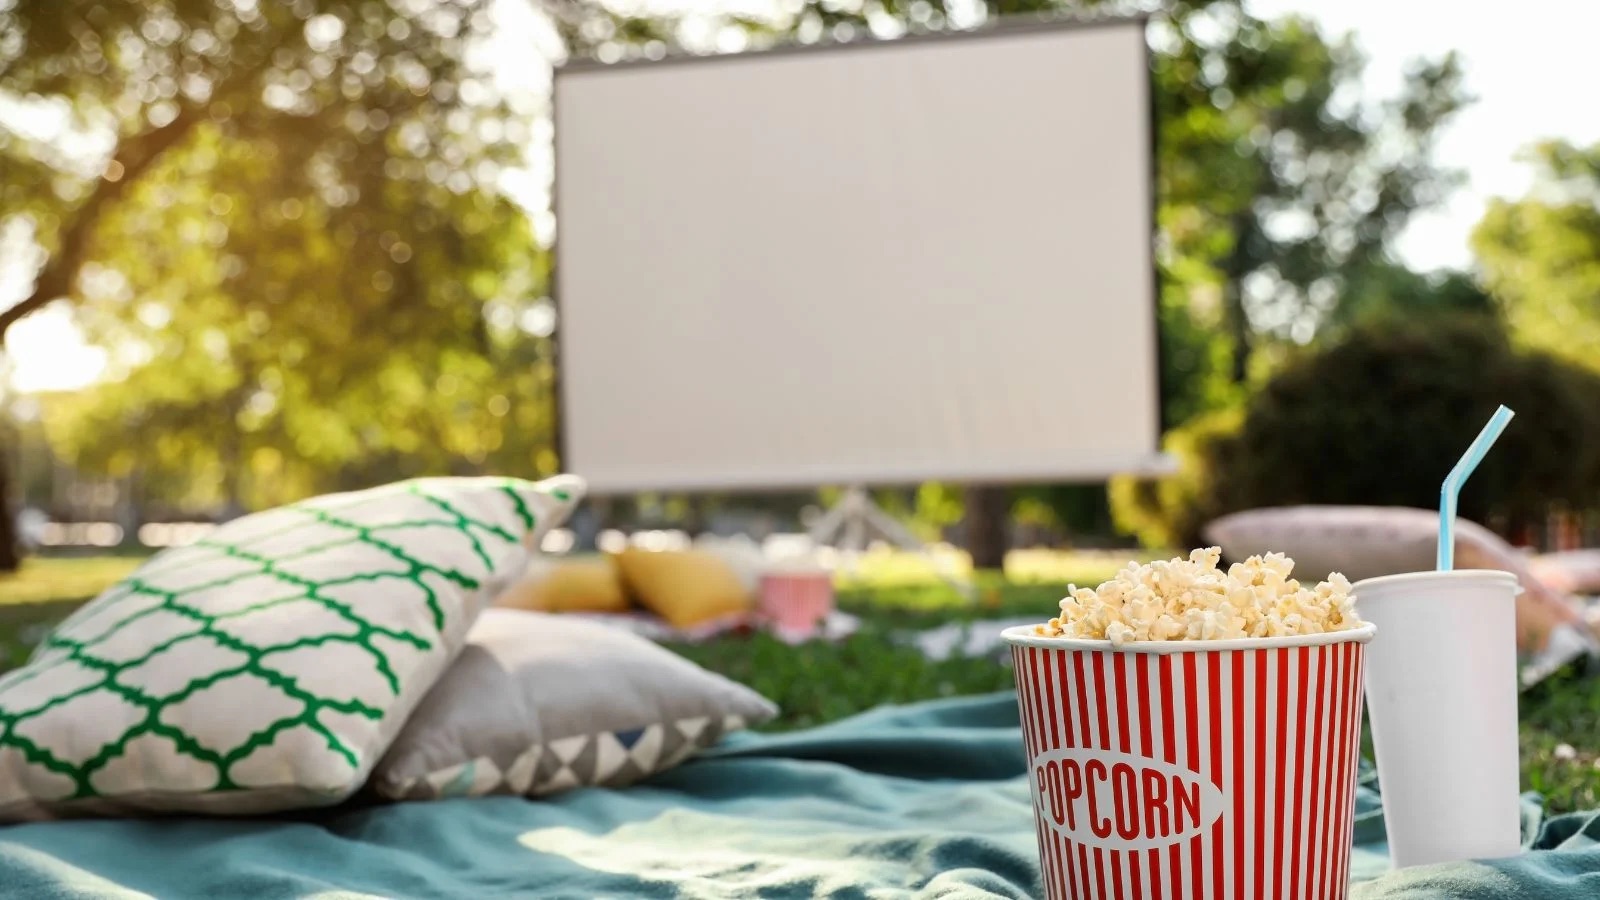
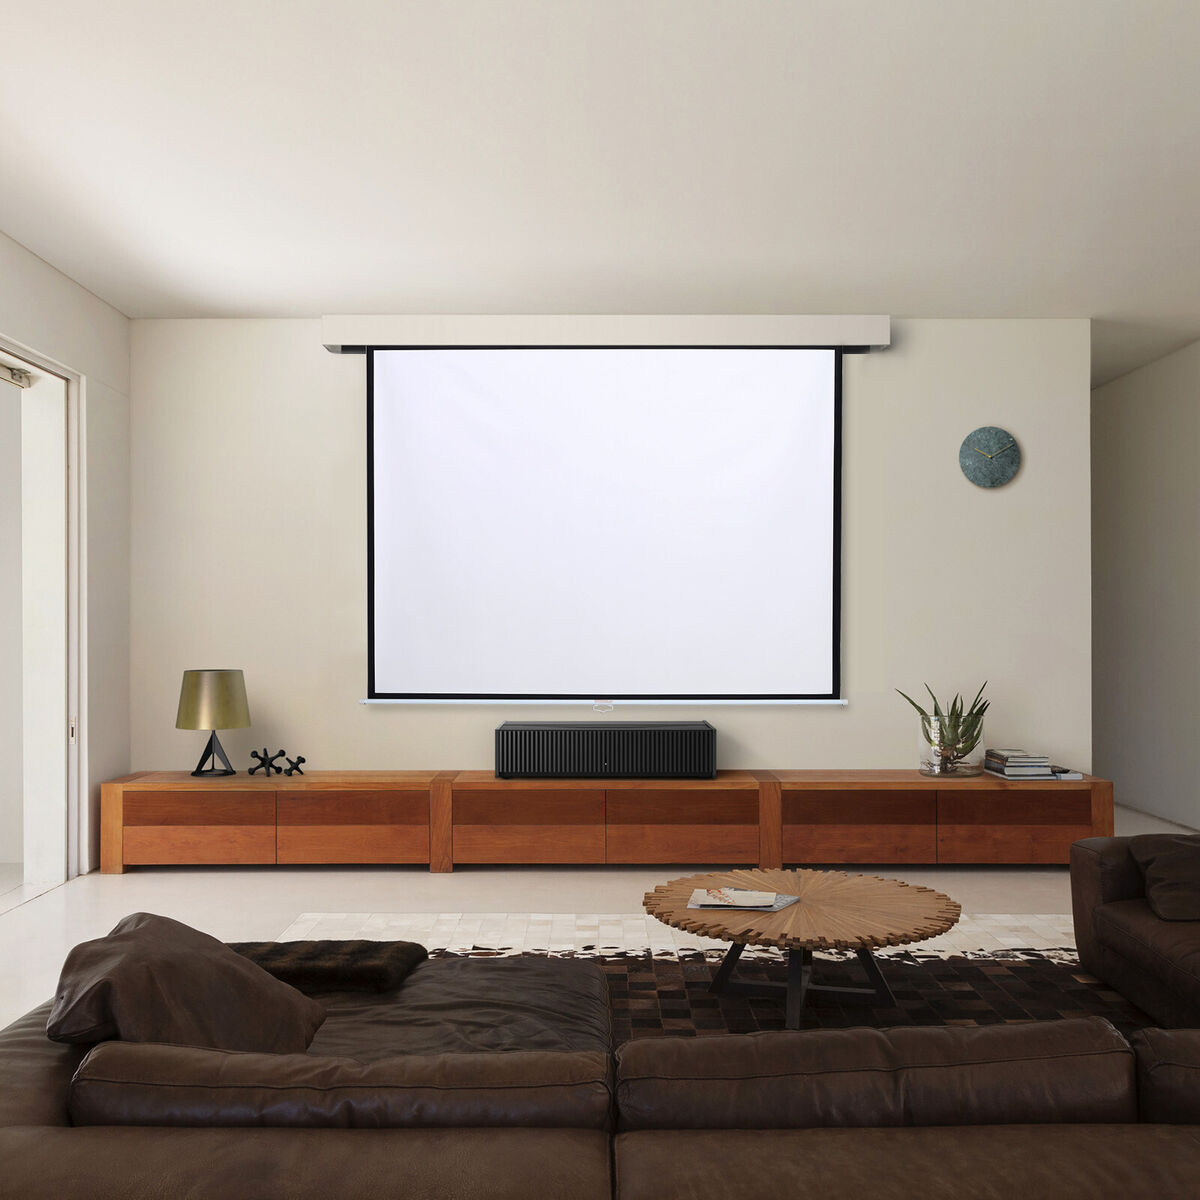
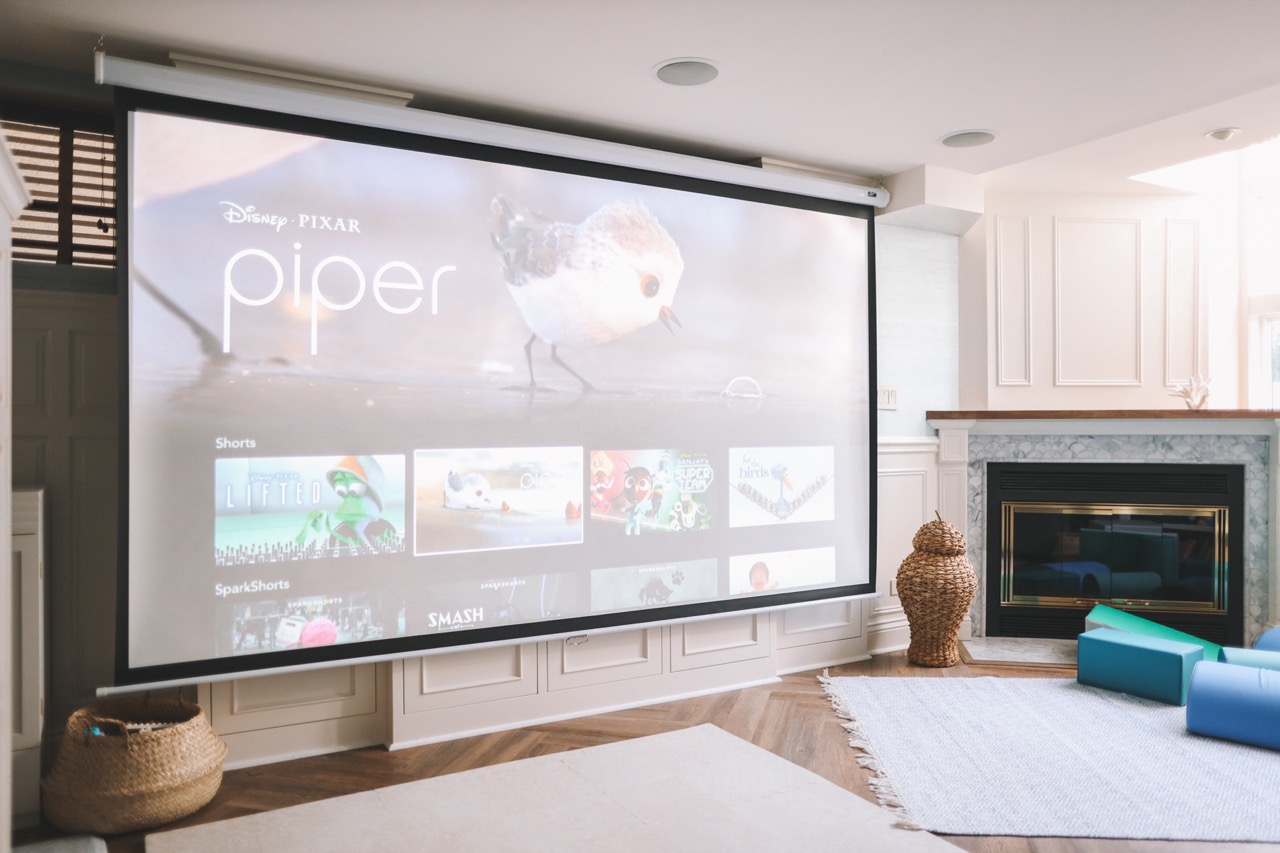
So, you've decided to elevate your home entertainment experience by installing a projector screen on your wall. Congratulations! This decision opens up a world of cinematic possibilities within the comfort of your own home. Whether you're a movie buff, a sports fanatic, or a gaming enthusiast, a projector screen can take your viewing experience to the next level.
Imagine the thrill of watching your favorite films on a large, high-definition screen, or the immersive feeling of being right in the midst of a thrilling sports event. With a projector screen, you can bring the magic of the big screen directly into your living space. Not only does it provide a larger viewing area compared to a traditional television, but it also offers a more authentic and immersive experience, making every movie night or game day truly special.
In this comprehensive guide, we will walk you through the process of installing a projector screen on your wall. From selecting the ideal location to mounting the screen with precision, we'll cover each step in detail, ensuring that you have all the information you need to successfully complete this project. By the end of this guide, you'll be well-equipped to transform your entertainment area into a captivating home theater environment that will impress family and friends alike.
Before we dive into the practical aspects of installation, it's important to gather the necessary tools and materials. Having the right equipment at your disposal will streamline the installation process and ensure a professional and secure outcome. So, let's take a look at the essential items you'll need to bring your projector screen installation to life.
Key Takeaways:
- Elevate your home entertainment with a projector screen for immersive movie nights, sports events, and gaming experiences. Follow the guide for a seamless installation process and create a captivating home theater environment.
- Carefully select the ideal location, measure and mark the wall space, and securely attach the screen for optimal viewing. Test and adjust the setup to ensure a seamless and captivating home theater experience.
Tools and Materials
Before embarking on your projector screen installation journey, it's crucial to gather the tools and materials required for the job. Having the right equipment at hand will not only make the process more efficient but also contribute to the overall quality and stability of the installation. Here's a comprehensive list of the essential items you'll need:
Tools:
- Stud finder: This tool is essential for locating the wooden studs within your wall, which are crucial for securely mounting the projector screen brackets.
- Level: A level will help ensure that the projector screen is mounted perfectly straight, preventing any tilting or misalignment issues.
- Tape measure: Accurate measurements are key to a successful installation, so a reliable tape measure is a must-have tool.
- Power drill: You'll need a power drill to create pilot holes and secure the mounting brackets to the wall.
- Screwdriver: Depending on the type of screws used for the brackets, a screwdriver or screw gun will be necessary for fastening them securely.
- Pencil: Marking the precise locations for drilling and mounting is crucial, and a pencil will allow you to make accurate markings on the wall.
- Step ladder: For reaching higher areas of the wall, a sturdy step ladder will be essential for safe and convenient access.
Materials:
- Projector screen brackets: These brackets are specifically designed to securely hold the projector screen in place on the wall.
- Mounting screws: High-quality screws that are appropriate for the type of wall you have (drywall, plaster, etc.) will be necessary for attaching the brackets securely.
- Projector screen: Of course, you'll need the projector screen itself, which should be chosen based on the size and specifications that best suit your viewing area and preferences.
- Wall anchors (if needed): Depending on the wall material and the weight of the projector screen, wall anchors may be required to provide additional support and stability.
By ensuring that you have all the necessary tools and materials ready, you'll be well-prepared to proceed with the installation process smoothly and confidently. With these items in hand, you're one step closer to bringing the magic of the big screen into your home.
Choosing the Right Location
Before diving into the physical installation of your projector screen, it’s crucial to carefully consider and select the optimal location for its placement. The chosen location will significantly impact your viewing experience, so it’s essential to take several factors into account when making this decision.
Consider Viewing Angle and Distance:
When choosing the location for your projector screen, consider the viewing angle and the distance from the seating area. The screen should be positioned at a height and angle that allows for comfortable and unobstructed viewing from various seating positions in the room. Additionally, the distance between the screen and the seating area should be appropriate for the screen size and the resolution capabilities of your projector, ensuring a clear and immersive viewing experience.
Assess Ambient Light Conditions:
Take note of the ambient light conditions in the room where the projector screen will be installed. Ideally, the chosen location should minimize the impact of natural and artificial light sources, as excessive glare or brightness can detract from the quality of the projected image. Consider positioning the screen away from direct sunlight and bright overhead lighting to optimize the viewing environment.
Account for Wall Space and Obstructions:
Evaluate the available wall space and identify any potential obstructions that could affect the placement of the projector screen. Ensure that the selected location provides ample wall space for the screen and allows for unobstructed viewing. Consider the placement of furniture, decor, and other fixtures in the room to ensure that the screen will be the focal point of the viewing area.
Factor in Acoustic Considerations:
In addition to visual considerations, take into account the acoustic properties of the chosen location. If you have a sound system or speakers integrated with your home entertainment setup, ensure that the placement of the projector screen complements the audio experience. Avoid positioning the screen in a way that may negatively impact sound quality or disrupt the overall audio-visual harmony of the space.
By carefully evaluating these factors and considerations, you can confidently select the ideal location for your projector screen. Once the location is determined, you can proceed to the next steps of measuring and marking the precise placement of the screen on the wall, bringing you one step closer to creating your personalized home theater experience.
Read more: How To Split Screen On A Projector
Measuring and Marking
With the location for your projector screen selected, the next crucial step in the installation process is to accurately measure and mark the precise placement of the screen on the wall. This step is essential for ensuring that the screen is mounted securely and aligned correctly, resulting in a professional and visually appealing installation.
Measure the Wall Space:
Begin by using a tape measure to determine the dimensions of the wall space where the projector screen will be mounted. Take precise measurements of the height and width of the area to establish the exact placement of the screen. This step is crucial for positioning the screen centrally and ensuring that it fits perfectly within the designated space.
Mark the Mounting Height:
Based on the measurements and the desired positioning of the screen, use a pencil to mark the mounting height on the wall. This mark will indicate the level at which the top of the screen will be positioned once installed. Using a level to ensure accuracy, create a straight and clearly visible line or mark to guide the placement of the screen brackets.
Locate and Mark Stud Positions:
Utilize a stud finder to locate the wooden studs within the wall, as these studs will serve as the secure anchor points for mounting the projector screen brackets. Once the studs are located, mark their positions on the wall with a pencil. This step is critical for ensuring the stability and weight-bearing capacity of the mounting points.
Read more: How To Make A Projector Screen
Mark Bracket Placement:
Based on the measurements and stud positions, mark the specific locations where the mounting brackets will be installed. Use the dimensions of the brackets to determine the precise placement, ensuring that the brackets are evenly positioned and aligned for secure attachment to the wall.
Double-Check Measurements and Marks:
Before proceeding to the mounting phase, double-check all measurements and marks to ensure accuracy and alignment. Use the level to confirm that the marked lines and positions are straight and level, making any necessary adjustments as needed to guarantee a precise and professional installation.
By meticulously measuring and marking the wall space for the projector screen installation, you lay the foundation for a seamless and visually pleasing outcome. With the precise placement established, you can confidently proceed to the next steps of mounting the brackets and attaching the screen, bringing you closer to the realization of your home theater vision.
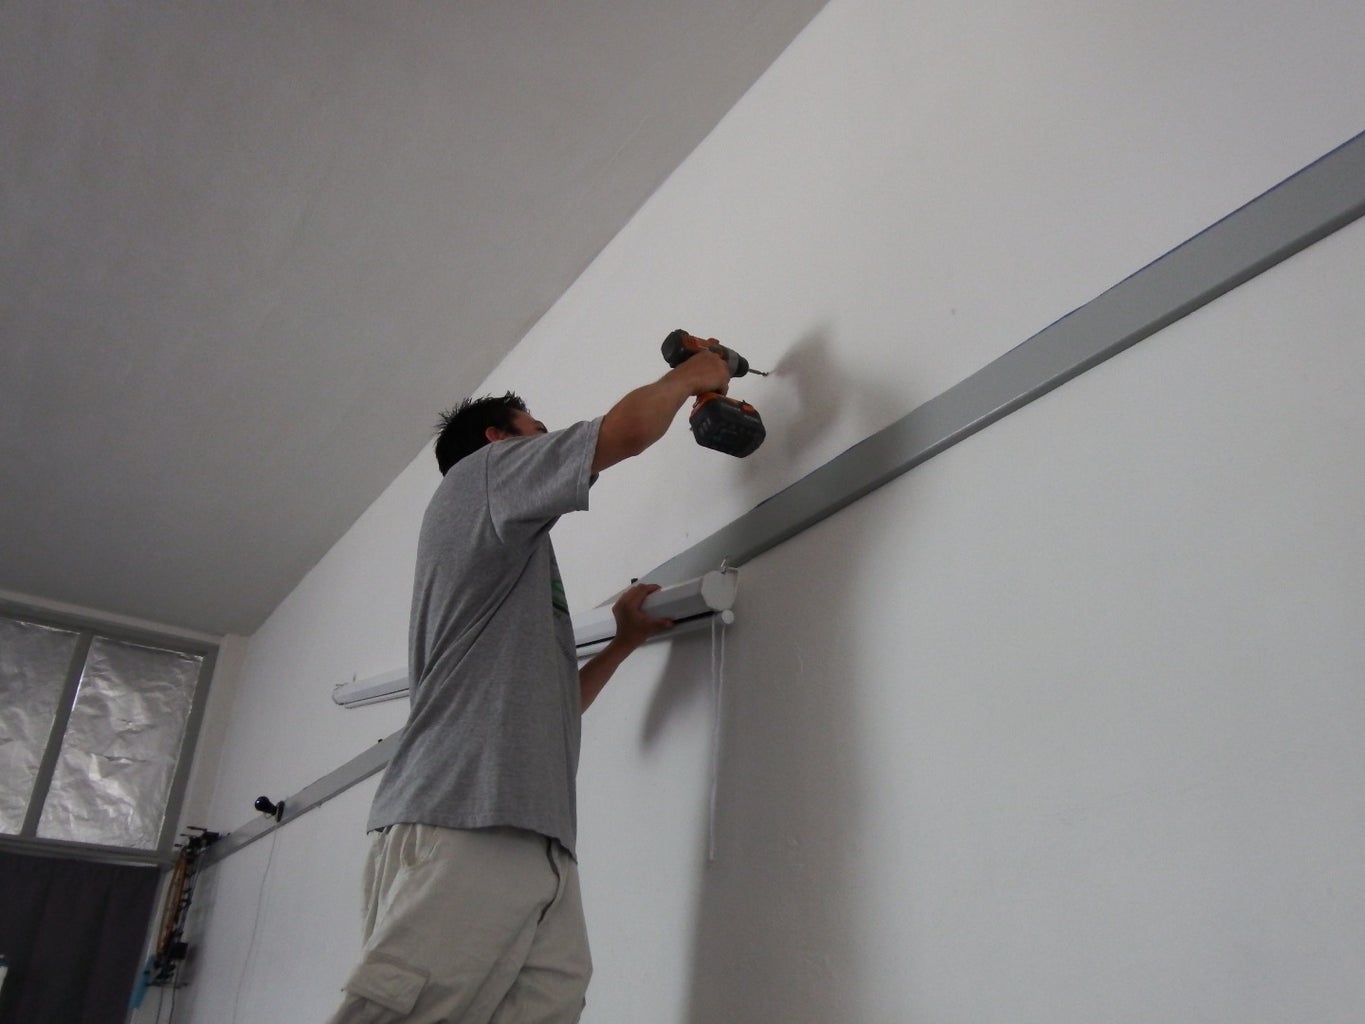
Mounting the Brackets
With the wall space measured, marked, and prepared, it’s time to proceed with mounting the brackets that will securely hold your projector screen in place. Properly installing the brackets is essential for ensuring the stability and reliability of the screen’s mounting, so attention to detail and precision are key during this phase of the installation process.
Pre-Drilling Pilot Holes:
Using a power drill equipped with an appropriate drill bit, carefully pre-drill pilot holes at the marked locations for the brackets. The pilot holes will facilitate the insertion of mounting screws and help prevent damage to the wall during the installation process. Ensure that the pilot holes are drilled to the appropriate depth for the mounting screws.
Read more: How To Choose A Projector Screen
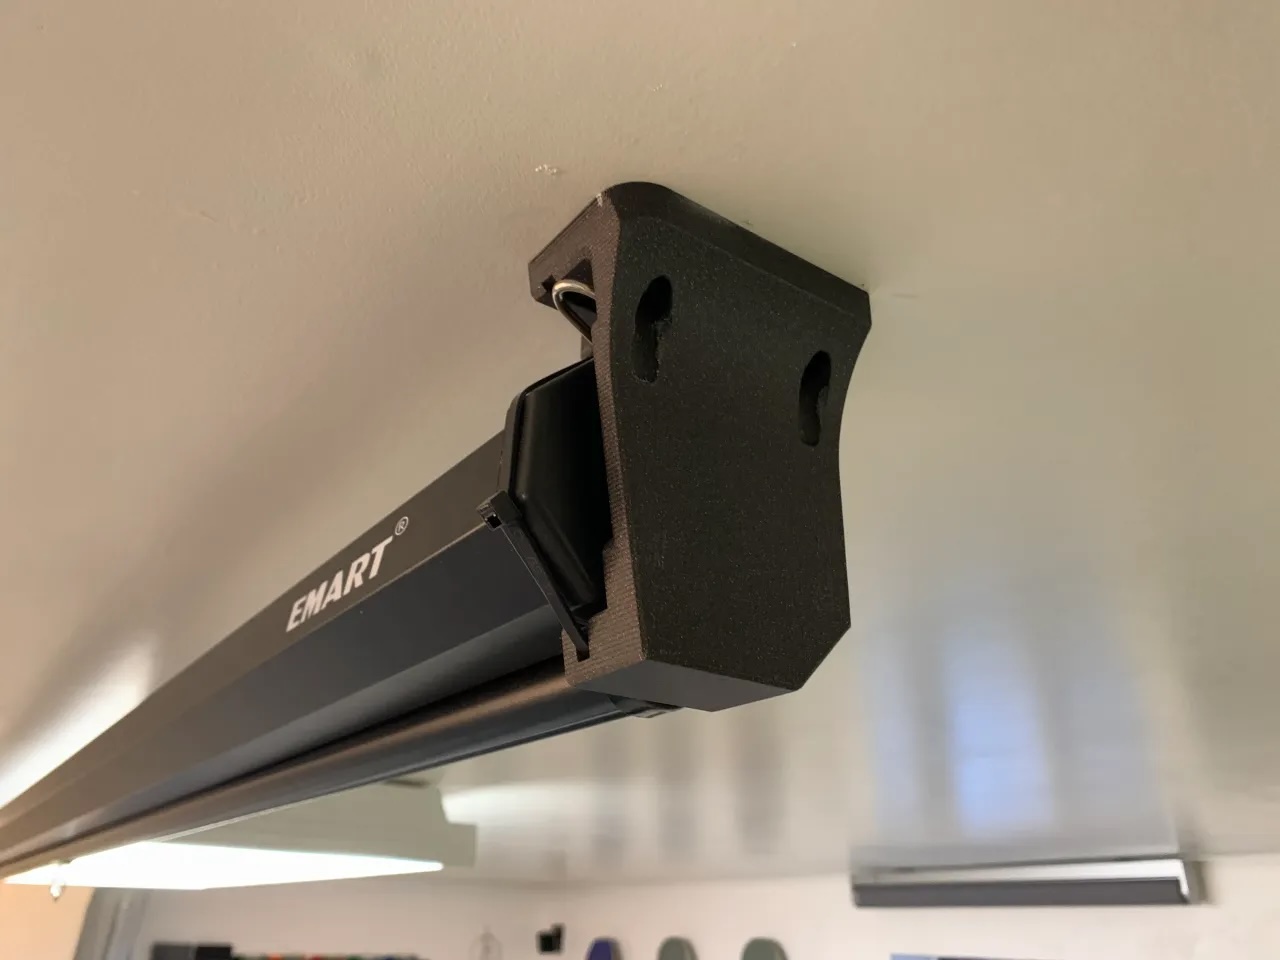
Attaching the Brackets:
Align the brackets with the pilot holes and securely attach them to the wall using the designated mounting screws. Depending on the design of the brackets, you may need to use a screwdriver or screw gun to fasten the screws tightly, ensuring that the brackets are firmly anchored to the wall. Confirm that the brackets are level and securely positioned before proceeding.
Verifying Stability and Alignment:
Once the brackets are mounted, verify the stability and alignment of each bracket by gently applying pressure and checking for any signs of movement or misalignment. The brackets should remain firmly in place and level, providing a solid foundation for the projector screen. Make any necessary adjustments to ensure that the brackets are securely installed and ready to support the weight of the screen.
Testing Weight-Bearing Capacity:
If your projector screen is particularly large or heavy, consider performing a weight-bearing test to confirm the stability of the brackets. Apply a controlled amount of pressure or weight to the brackets to ensure that they can support the anticipated load of the screen without any signs of strain or instability. This step is especially important for larger screens or installations on non-standard wall surfaces.
Final Checks and Adjustments:
Before proceeding to attach the projector screen, perform a final inspection of the mounted brackets. Confirm that all screws are securely fastened, the brackets are level and aligned, and the wall surface remains undamaged. Make any final adjustments as needed to ensure that the brackets are in optimal condition for supporting the projector screen.
With the brackets securely mounted and verified for stability, you’re now prepared to proceed with the final steps of attaching the projector screen to the wall-mounted brackets. The careful and precise installation of the brackets sets the stage for the successful completion of your projector screen installation, bringing you one step closer to enjoying immersive and captivating entertainment experiences in your home.
Read more: How To Freeze A Projector Screen
Attaching the Screen
With the brackets securely mounted on the wall, the time has come to attach the projector screen, bringing your home theater vision to life. This phase of the installation process requires attention to detail and careful handling to ensure that the screen is securely and accurately positioned for optimal viewing and stability.
Aligning the Screen with the Brackets:
Carefully lift the projector screen and align it with the mounted brackets on the wall. Ensure that the screen is positioned evenly and centrally between the brackets, allowing for a balanced and visually appealing placement. Take your time to achieve precise alignment, as this will contribute to the overall aesthetic and functionality of the installation.
Engaging the Brackets with the Screen:
Depending on the design of the projector screen and brackets, engage the screen with the brackets by following the manufacturer’s instructions. This may involve sliding the screen onto the brackets, securing the screen in place with locking mechanisms, or utilizing other attachment methods specified by the screen’s design. Confirm that the screen is securely and firmly attached to the brackets.
Verifying Stability and Levelness:
Once the screen is attached to the brackets, verify its stability and levelness by gently testing for any signs of movement or misalignment. Apply light pressure to the screen and ensure that it remains securely in place without tilting or shifting. Use a level to confirm that the screen is perfectly level and aligned, making any necessary adjustments to achieve optimal positioning.
Read more: What Is Gain In A Projector Screen
Testing Retraction and Extension (if applicable):
If your projector screen is equipped with retractable or motorized features, test the functionality of these mechanisms to ensure smooth and reliable operation. Engage the screen’s retractable function, if applicable, and verify that it extends and retracts smoothly without any issues. Confirm that the screen operates as intended, providing seamless deployment for your viewing needs.
Final Quality Checks:
Perform a comprehensive inspection of the attached projector screen, confirming that it is securely positioned, level, and free from any visible defects or imperfections. Check for any signs of strain or instability in the mounting, and address any issues promptly to ensure a professional and reliable installation. With the screen securely attached, you’re now ready to proceed with testing and adjusting the setup for optimal performance.
By successfully attaching the projector screen to the wall-mounted brackets, you’ve reached a significant milestone in the installation process, bringing the captivating allure of a home theater experience one step closer to reality. With the screen securely in place, you can proceed to the final steps of testing and adjusting the setup, paving the way for immersive and unforgettable entertainment experiences in your home.
Testing and Adjusting
With the projector screen securely attached to the wall and the installation process nearing completion, it’s time to conduct thorough testing and make any necessary adjustments to ensure that your home theater setup delivers an optimal viewing experience. This phase involves testing the functionality of the screen, adjusting its positioning as needed, and fine-tuning the overall setup to achieve the best possible results.
Screen Deployment and Retraction Test:
If your projector screen is retractable or motorized, engage the deployment and retraction mechanisms to test their functionality. Verify that the screen extends smoothly and retracts seamlessly, without any hesitations or irregularities. Ensure that the screen operates reliably, providing effortless deployment for your viewing convenience.
Read more: Which Is The Best Screen For A Projector?
Image Alignment and Focus Check:
If your projector screen is paired with a projector, project an image onto the screen and assess its alignment and focus. Adjust the projector’s positioning and focus settings as needed to ensure that the projected image covers the entire screen area and remains sharp and clear. Fine-tune the image alignment for optimal viewing from your seating area.
Audio-Visual Integration Testing:
If your home entertainment setup includes audio components, such as speakers or a sound system, test the integration of audio with the projected visuals. Play a sample of audio content and verify that the sound complements the visual experience, creating a harmonious and immersive audio-visual environment. Adjust the audio settings as necessary to achieve balanced and impactful sound.
Light and Ambient Conditions Assessment:
Observe the impact of ambient light and room conditions on the projected image. Assess the visibility and clarity of the image under different lighting conditions, including natural daylight and artificial lighting. Consider implementing room darkening solutions or adjusting lighting settings to optimize the viewing environment for the best visual results.
Seating Position Optimization:
Evaluate the seating positions in the room and ensure that they provide optimal viewing angles and comfort for enjoying the projected content. Arrange seating to accommodate clear and unobstructed views of the screen, making any adjustments to seating arrangements or furniture placement as needed to enhance the viewing experience for all occupants.
Read more: How Does A Projector Screen Work
Final Calibration and Adjustment:
Based on the testing and assessments, make any final calibration and adjustments to the projector, screen, and audio-visual setup. Fine-tune the settings to achieve the best possible image quality, audio performance, and overall viewing experience. Take the time to ensure that every aspect of your home theater setup is optimized for enjoyment.
By conducting thorough testing and making necessary adjustments, you’re actively fine-tuning your home theater environment to deliver an immersive and captivating entertainment experience. With the setup tested, adjusted, and optimized, you’re now ready to enjoy the fruits of your labor, indulging in unforgettable movie nights, thrilling sports events, and immersive gaming experiences from the comfort of your own home.
Conclusion
Congratulations on successfully completing the installation of your projector screen, bringing the magic of the big screen directly into your home. By following the comprehensive guide provided, you’ve embarked on a journey that has transformed your entertainment space into a captivating home theater environment, ready to deliver immersive and unforgettable viewing experiences.
Throughout the installation process, you’ve carefully selected the ideal location for the projector screen, ensuring optimal viewing angles, minimal ambient light interference, and an immersive audio-visual setup. By meticulously measuring, marking, and mounting the brackets, you’ve laid the foundation for a secure and professional installation, setting the stage for a seamless integration of the projector screen into your home entertainment system.
Attaching the screen to the securely mounted brackets represented a pivotal moment, bringing your vision of a personalized home theater to fruition. By testing and adjusting the setup, fine-tuning the audio-visual integration, and optimizing the viewing environment, you’ve ensured that your home theater is primed to deliver an exceptional entertainment experience for you and your guests.
As you settle into your newly enhanced entertainment space, take the time to revel in the immersive experiences that await you. Whether it’s the thrill of a blockbuster movie, the excitement of a live sports event, or the immersive world of gaming, your home theater setup is poised to deliver captivating moments and lasting memories.
Remember, the installation of a projector screen is not just about creating a viewing area; it’s about crafting a space where entertainment comes alive, where stories unfold in vivid detail, and where shared experiences become truly memorable. Your dedication to creating a captivating home theater environment has opened the door to countless moments of joy, excitement, and togetherness with family and friends.
Now, as you immerse yourself in the captivating world of home entertainment, bask in the knowledge that your home theater setup is a testament to your commitment to quality, comfort, and the pursuit of exceptional experiences. From movie nights to game days, your projector screen installation has set the stage for countless moments of entertainment and enjoyment in the comfort of your home.
So, sit back, relax, and let the magic of your home theater unfold, knowing that you’ve created a space where entertainment knows no bounds, and where every viewing experience is an adventure waiting to be embraced.
Frequently Asked Questions about How To Install Projector Screen On Wall
Was this page helpful?
At Storables.com, we guarantee accurate and reliable information. Our content, validated by Expert Board Contributors, is crafted following stringent Editorial Policies. We're committed to providing you with well-researched, expert-backed insights for all your informational needs.


0 thoughts on “How To Install Projector Screen On Wall”