Articles
How To Drywall Under Stairs
Modified: May 6, 2024
Learn how to properly drywall under stairs with our informative articles, providing step-by-step instructions and helpful tips for a flawless finish.
(Many of the links in this article redirect to a specific reviewed product. Your purchase of these products through affiliate links helps to generate commission for Storables.com, at no extra cost. Learn more)
Introduction
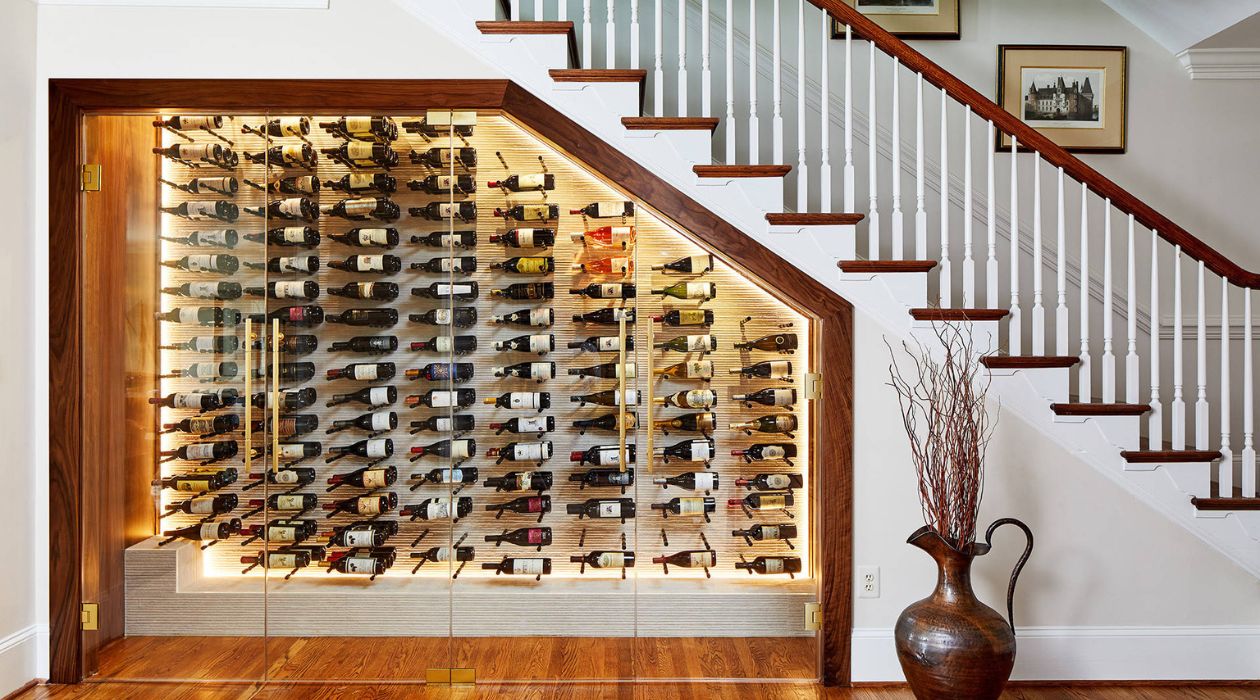
Drywall is a versatile and commonly used material for interior wall construction. It provides a smooth and durable surface that can be easily painted or decorated. When it comes to areas with tight spaces, like under stairs, drywall installation may seem challenging. However, with the right techniques and tools, you can successfully drywall under stairs and create a polished and finished look.
In this article, we will guide you through the step-by-step process of drywalling under stairs. Whether you are renovating your home or undertaking a DIY project, these instructions will help you achieve professional-looking results. So, let’s get started!
Key Takeaways:
- Transform tight spaces with professional drywalling under stairs using the right tools and techniques for a polished and durable finish.
- Attention to detail, patience, and final touches elevate the space, creating a visually appealing and functional area under the stairs.
Read more: How To Utilize Space Under Stairs
Step 1: Gather the necessary materials and tools
Before you begin the process of drywalling under stairs, it’s important to gather all the materials and tools you will need. This will ensure that you have everything on hand and minimize interruptions during the installation process. Here’s a list of the essentials:
- Drywall panels: Measure the area under the stairs to determine the quantity and size of drywall panels required.
- Screws: Choose drywall screws that are suitable for your project. Make sure they are long enough to secure the drywall panels to the framing.
- Utility knife: A sharp utility knife will be used to cut the drywall panels to the desired size.
- Tape measure: Accurate measurements are crucial for a precise fit. Use a tape measure to measure the dimensions of the area where the drywall will be installed.
- Drill: A good quality drill will be needed to secure the drywall panels to the framing with screws.
- Screwdriver: A screwdriver may be required to tighten or adjust screws during the installation process.
- Trowel or putty knife: These tools will be used to apply joint compound and smooth out the surface of the drywall.
- Sanding block or sandpaper: After the joint compound is dry, you will need a sanding block or sandpaper to smooth out any imperfections in the drywall surface.
- Primer and paint: Once the drywall is installed and finished, you will need primer and paint to achieve a polished and aesthetically pleasing look.
- Protective gear: Safety should always be a priority. Wear gloves, goggles, and a mask when working with drywall to protect yourself from dust and debris.
With these materials and tools at hand, you’ll be well-prepared to start the drywall installation process under stairs.
Step 2: Measure and mark the drywall panels
Accurate measurements are crucial for a seamless and professional-looking drywall installation under stairs. Before cutting the drywall panels, take precise measurements of the area where they will be installed. Here’s how to do it:
- Start by determining the dimensions of the space under the stairs. Use a tape measure to measure the height, width, and depth of the area.
- Transfer the measurements onto the drywall panels. Use a pencil to mark the dimensions on the backside of the drywall.
- Consider any obstacles or irregularities in the space, such as pipes or electrical wires. Make markings on the drywall to accommodate these obstructions, ensuring that you leave enough space for them.
- Double-check your measurements and markings to ensure accuracy. It’s better to be precise from the beginning to avoid any costly mistakes later on.
Once you have measured and marked the drywall panels, you are ready to move on to the next step of the installation process. Taking the time to measure carefully will help ensure a proper fit and make the installation process much smoother.
Step 3: Cut the drywall panels to size
With the measurements and markings in place, it’s time to cut the drywall panels to fit the space under the stairs. Follow these steps to ensure accurate cuts:
- Using a sharp utility knife, score the drywall along the marked lines on the backside of the panel. Apply firm pressure to create a shallow cut.
- Once the score lines are in place, carefully snap the drywall panel along the lines. Hold the panel firmly with one hand while applying gentle pressure to break it along the score line.
- After snapping the panel, use the utility knife to cut through the paper backing on the other side. Make sure to cut along the edge of the snapped line for a clean and straight cut.
- Repeat this process for each drywall panel until you have all the necessary pieces cut to size.
It’s important to note that cutting drywall can create a lot of dust and debris. To minimize mess, consider placing the drywall on a flat surface, such as sawhorses or a workbench, and wearing a dust mask to protect yourself.
Once all the drywall panels are cut to size, you are ready to proceed to the next step: installing blocking and support for the drywall under the stairs.
Step 4: Install blocking and support for the drywall
Before you can attach the drywall panels, it’s important to provide proper support and blocking to ensure a secure and stable installation. Follow these steps:
- Identify the framing studs or joists in the area where the drywall will be installed. These will serve as the anchor points for attaching the drywall.
- Measure and mark the locations of the studs or joists on the walls and ceiling. It’s important to know where the support is to avoid any gaps or sagging in the drywall.
- Install blocking between the studs or joists to provide additional support. Cut 2×4 boards to the appropriate length and attach them horizontally between the vertical studs or joists using screws or nails.
- Ensure that the blocking is installed at regular intervals to support the edges and corners of the drywall panels.
- Inspect the blocking to make sure it is level and securely fastened. Adjust as needed.
By installing blocking and support, you create a solid foundation for the drywall under the stairs. This prevents any flexing or movement and ensures a smooth and even surface for the installation.
With the blocking and support in place, you are now ready to move on to the next step: attaching the drywall panels to the walls and ceiling under the stairs.
Read more: How To Build Storage Under Stairs
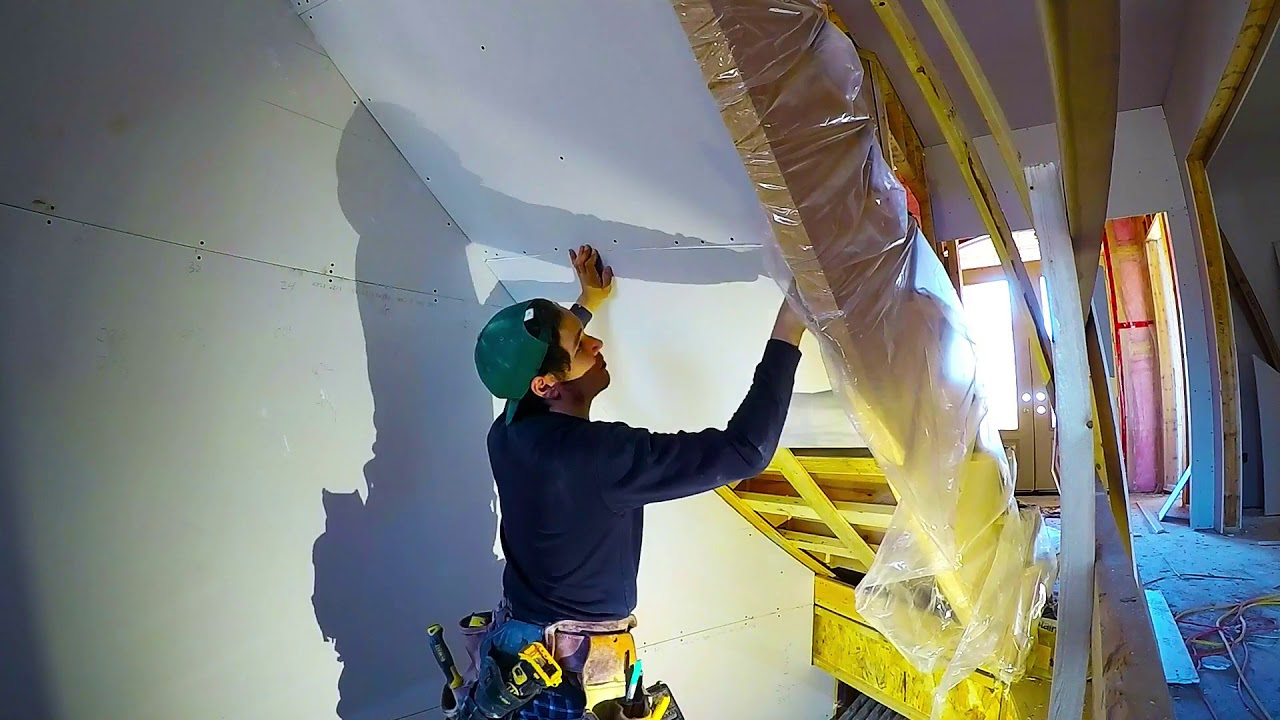
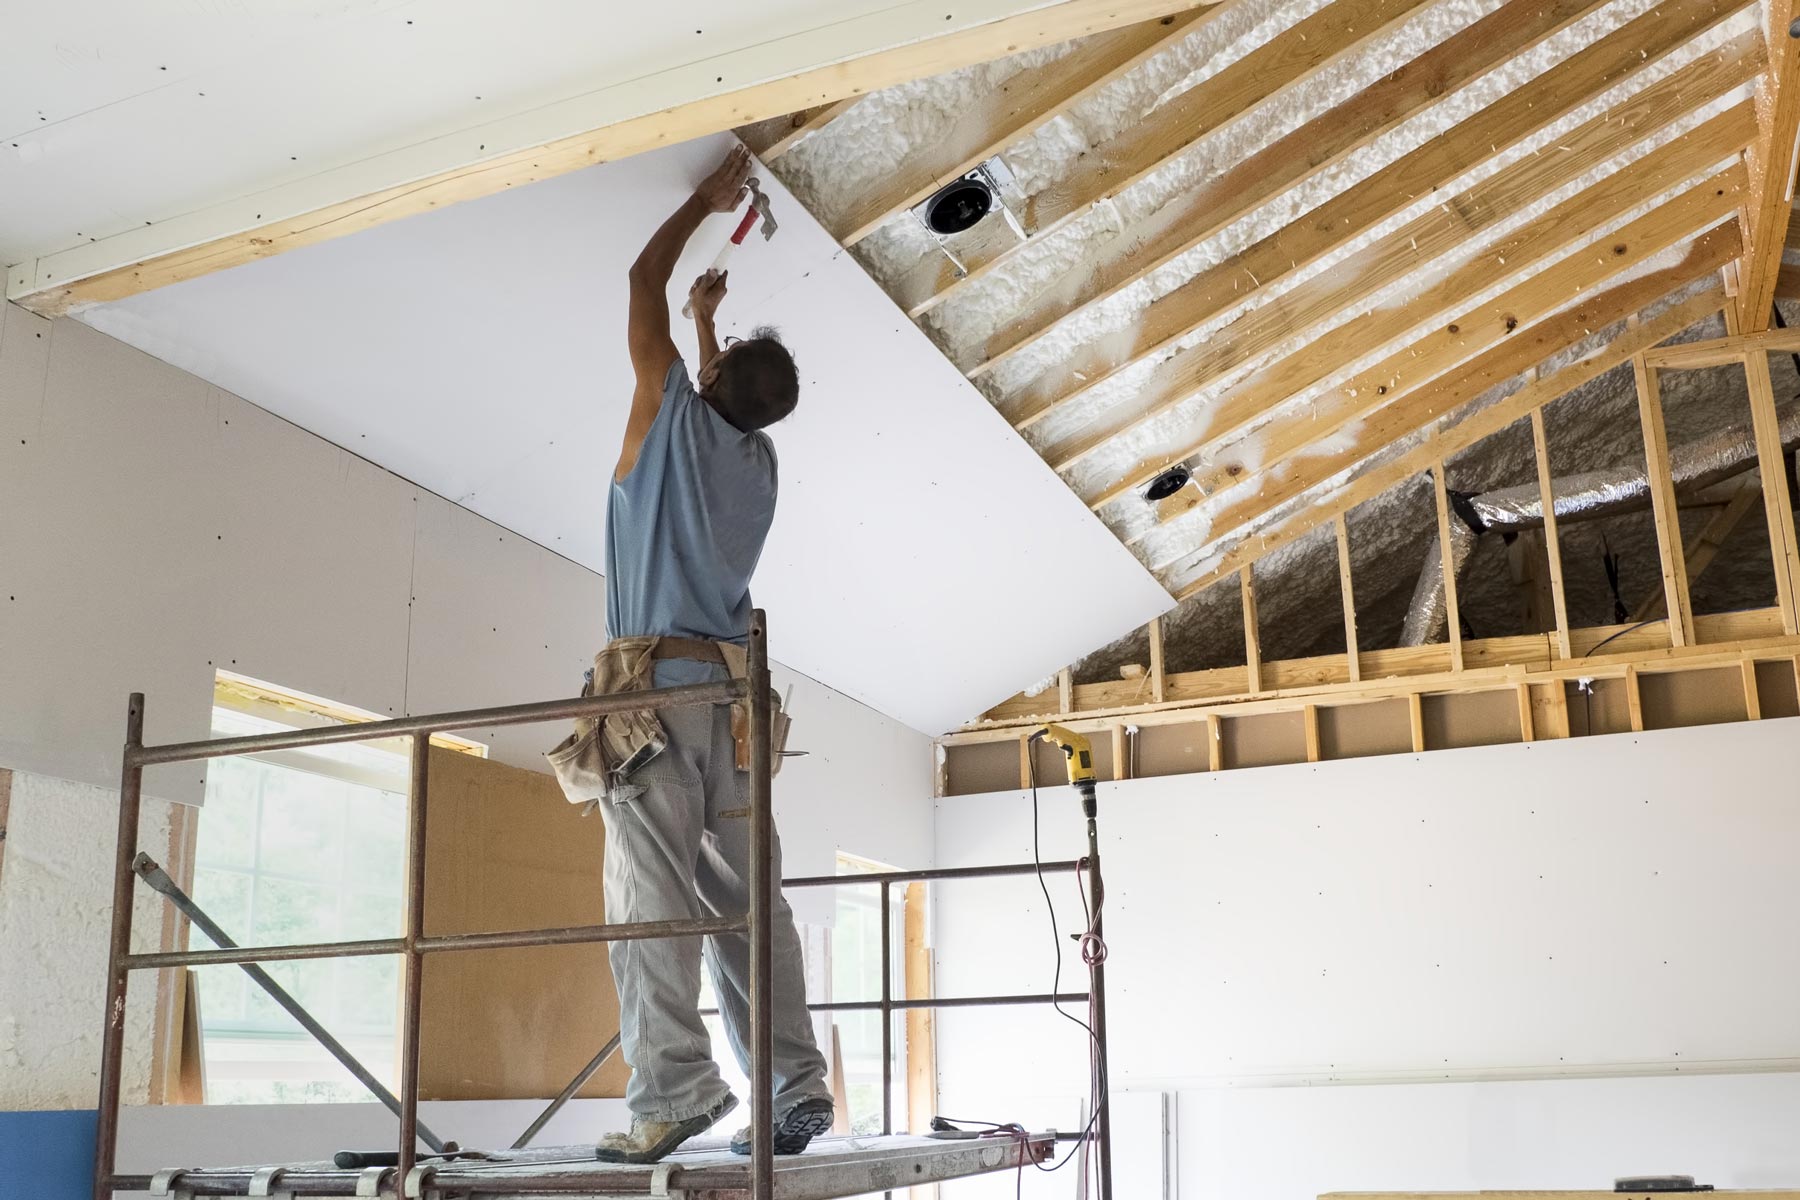
Step 5: Attach the drywall panels to the walls and ceiling
With the proper support in place, it’s time to attach the cut drywall panels to the walls and ceiling under the stairs. Follow these steps to ensure a secure and professional installation:
- Start with the walls. Position the first drywall panel against the wall, making sure it fits snugly into place. Use a drill and drywall screws to secure the panel to the framing studs. Space the screws approximately 12 inches apart along the edges and 16 inches apart in the center of the panel.
- Continue installing the remaining drywall panels on the walls, ensuring that they fit tightly together. Stagger the seams between the panels to reduce the risk of visible joints and cracks.
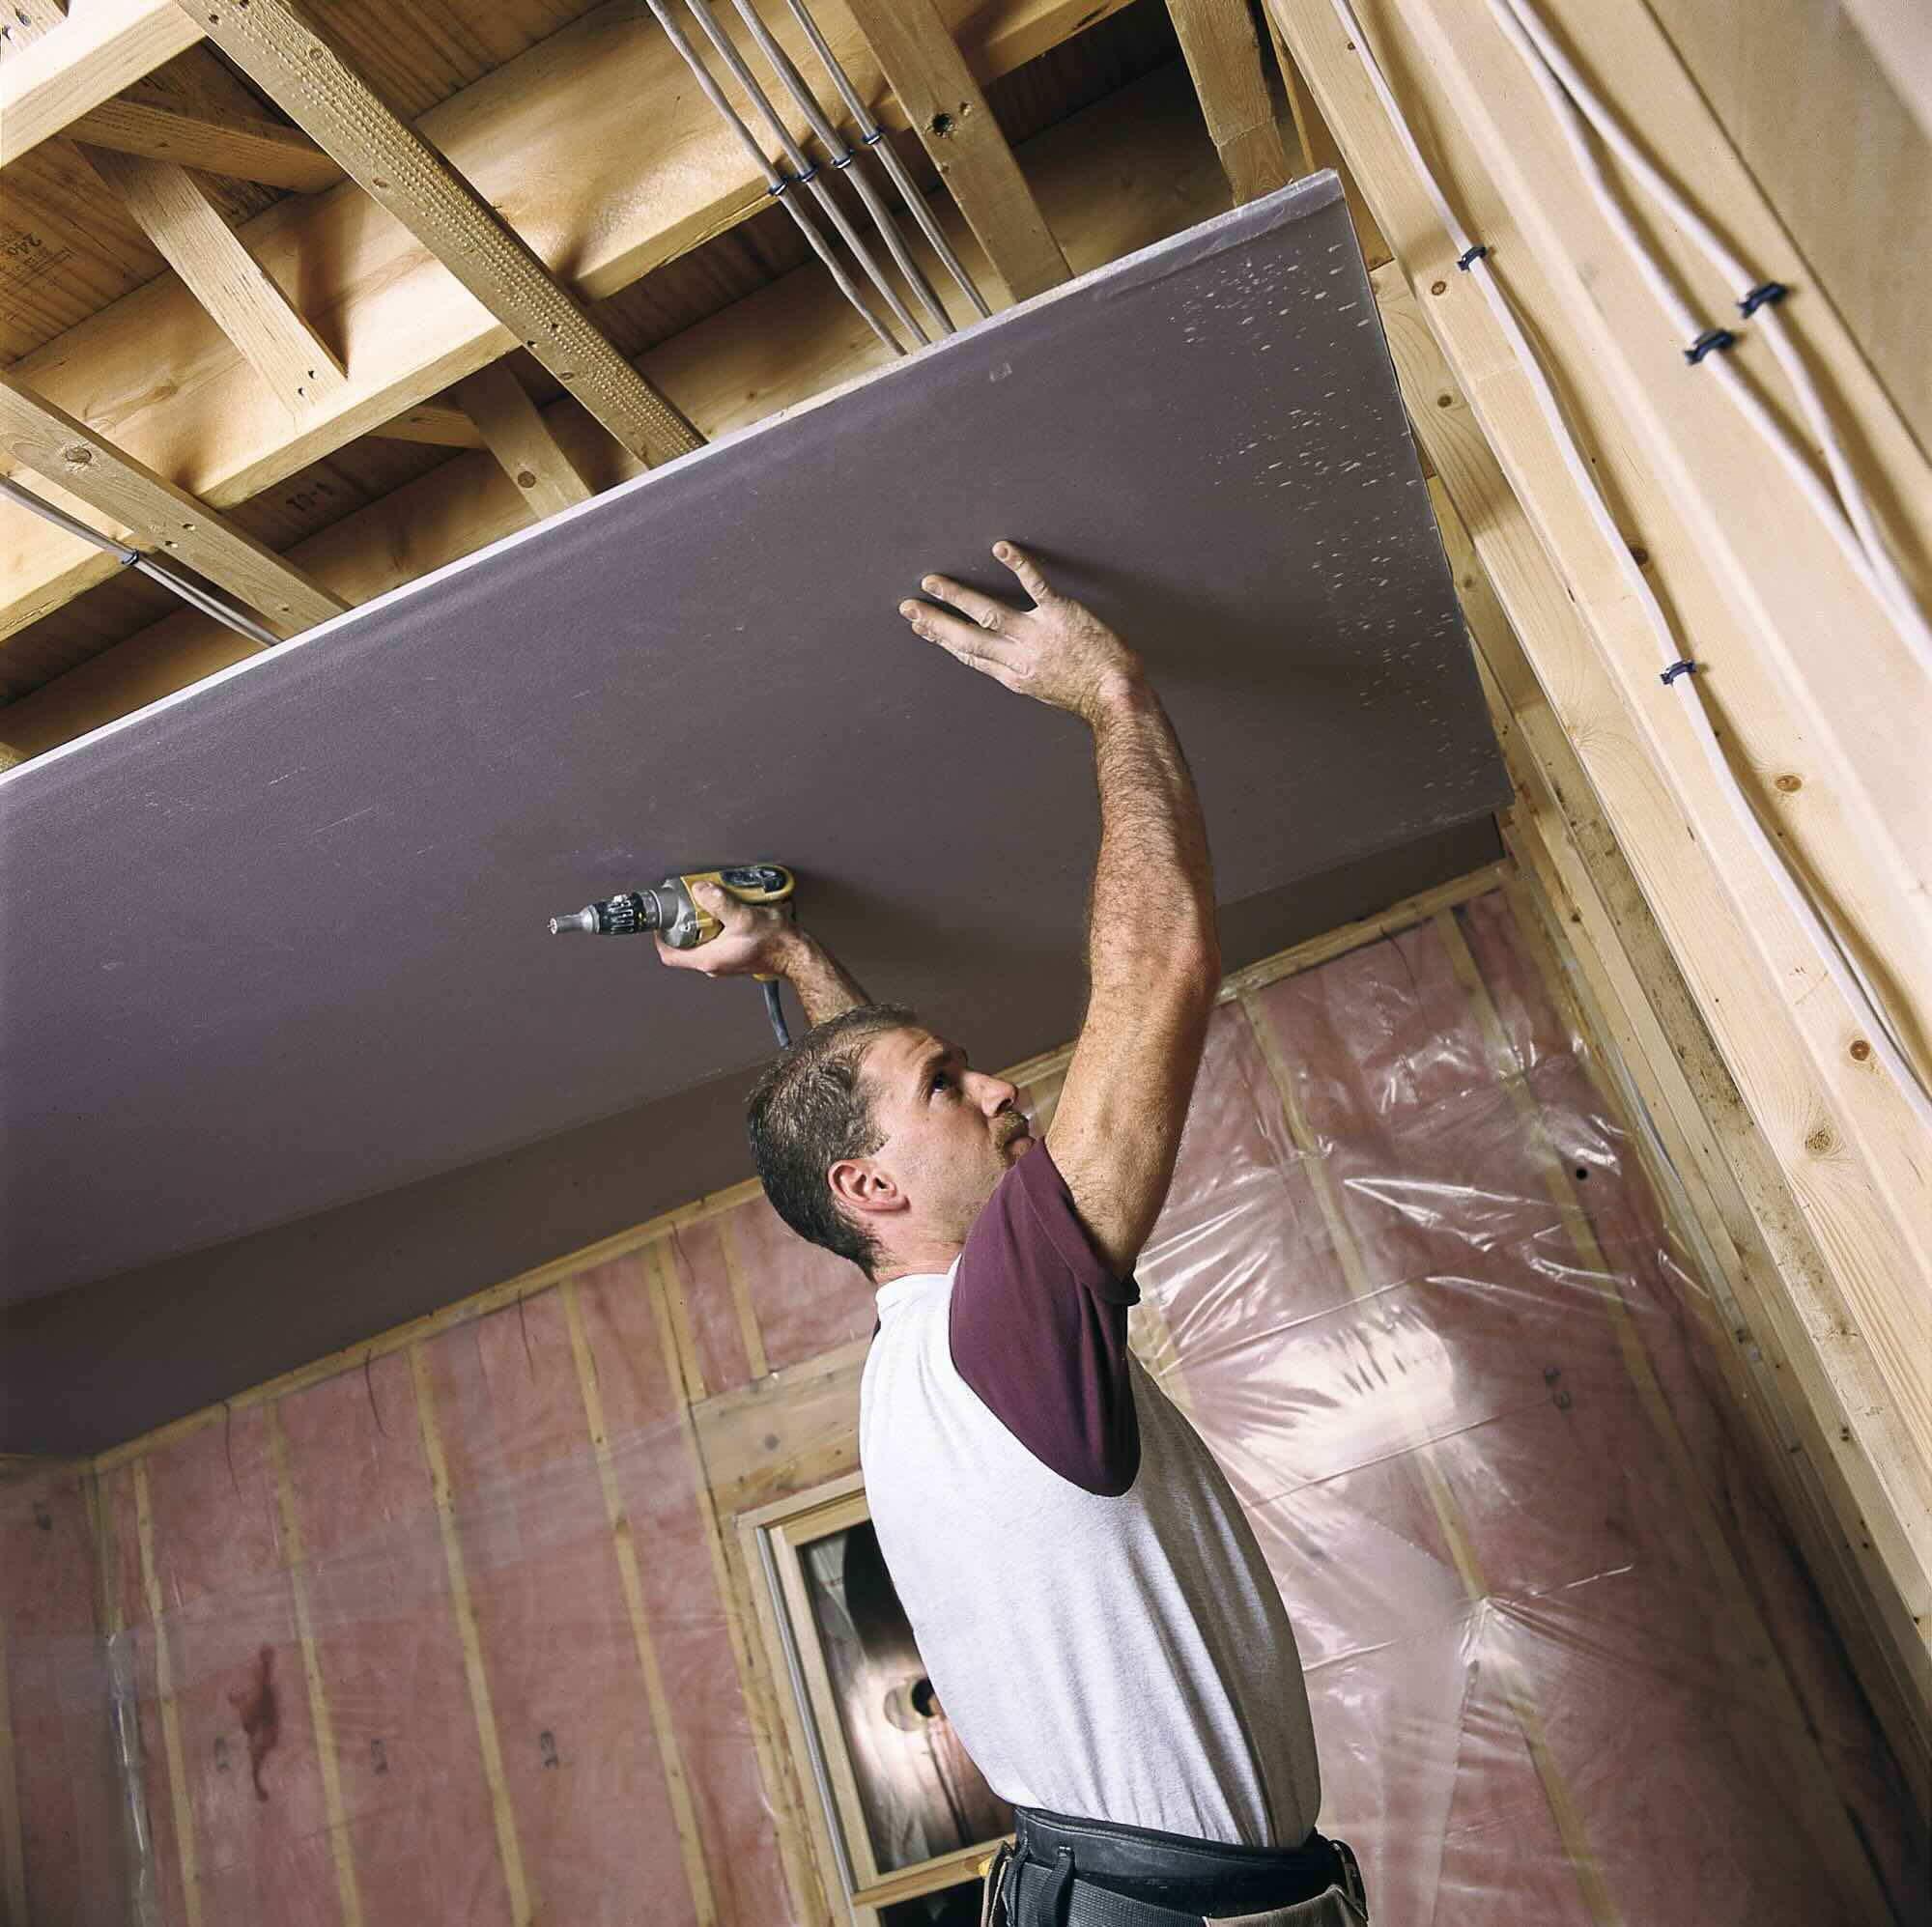
- Next, move on to the ceiling. Lift the drywall panel into place, aligning it with the walls and ensuring a tight fit. Again, use a drill and drywall screws to secure the panel to the framing joists. Follow the same spacing guidelines as with the wall installation.
- Continue installing the remaining drywall panels on the ceiling, making sure to stagger the seams and maintain a consistent and secure attachment.
- Once all the drywall panels are in place, inspect the installation to ensure there are no gaps or visible seams. If necessary, make any adjustments or add additional screws to secure the panels.
Ensure that the screws are flush with the surface of the drywall, but be careful not to over-tighten and risk damaging the panel. You want to create a secure attachment without breaking the drywall.
Once all the panels are securely attached to the walls and ceiling, you are ready to move on to the next step: securing and finishing the drywall joints.
When drywalling under stairs, use a flexible drywall knife to easily maneuver around the angled and tight spaces. This will help ensure a smooth and even finish.
Step 6: Secure and finish the drywall joints
After attaching the drywall panels to the walls and ceiling under the stairs, it’s important to secure and finish the joints for a seamless and professional look. Follow these steps to achieve a smooth and polished surface:
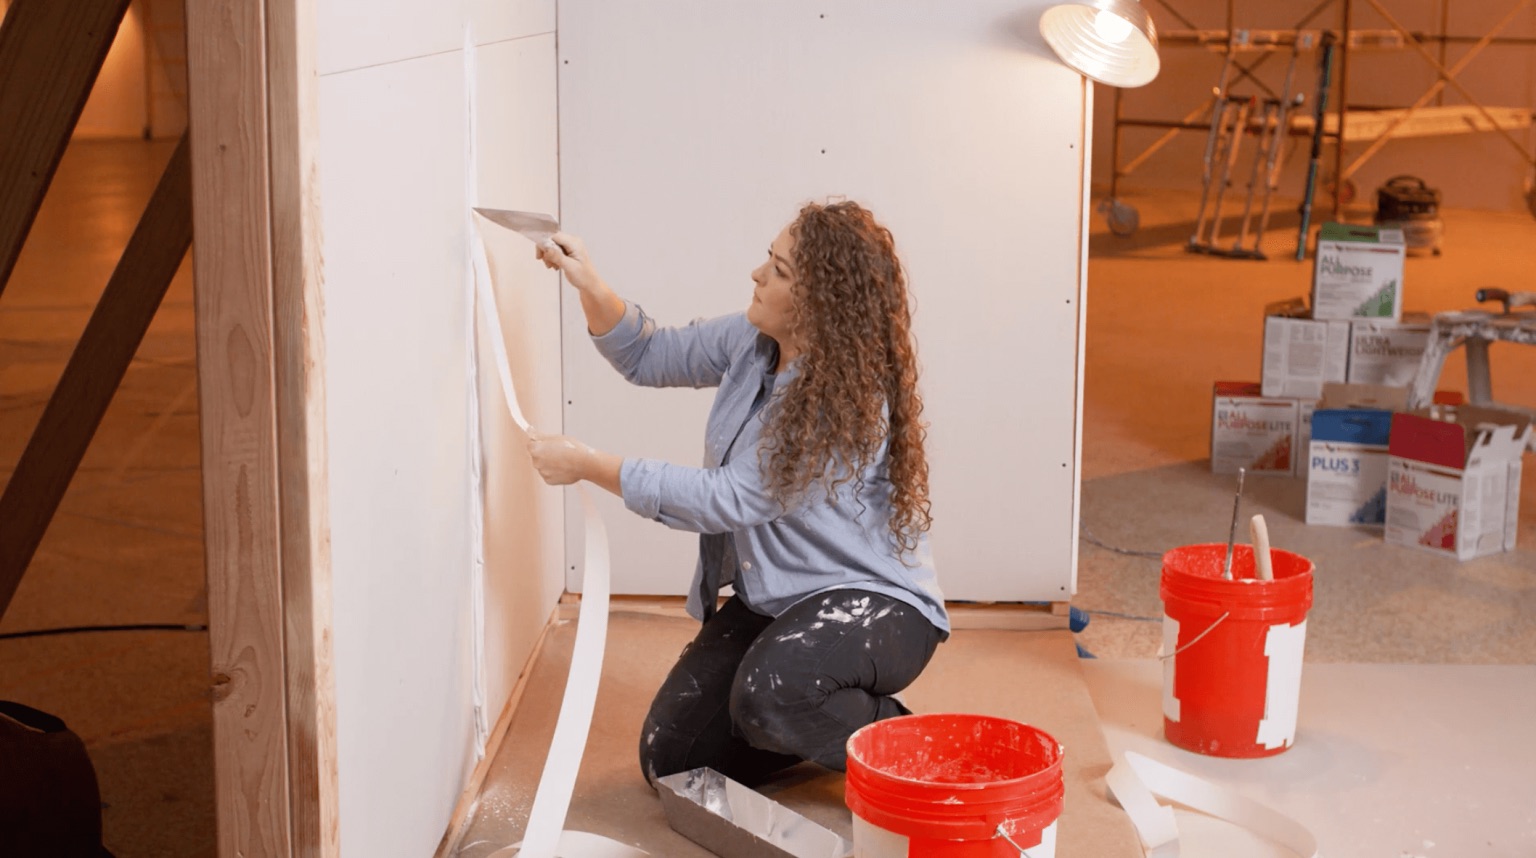
- Apply drywall joint tape to all the seams, both on the walls and the ceiling. This tape helps reinforce and hide the joints between the drywall panels.
- Using a trowel or putty knife, apply a thin layer of joint compound over the tape, completely covering it. Feather the edges of the compound to create a smooth transition with the drywall surface.
- Once the first layer of joint compound is dry, apply a second coat, making sure to widen the area of coverage. Feather the edges once again for a smooth finish.
- Repeat the process with a third coat of joint compound, if necessary. This final coat helps blend the joints seamlessly with the rest of the drywall surface.
- Allow the joint compound to dry completely according to the manufacturer’s instructions.
During the drying time, it’s important to keep the area well-ventilated to help speed up the drying process and prevent the buildup of moisture. You can use fans or open windows to promote air circulation.
Once the joint compound is fully dry, use a sanding block or sandpaper to lightly sand the surface, smoothing out any imperfections or high spots. Wipe away any dust with a damp cloth or sponge.
Now that the joints are secured and finished, you are ready to proceed to the next step: applying joint compound and sanding the surface for a final finish.
Step 7: Apply joint compound and sand the surface
After securing and finishing the drywall joints, the next step is to apply joint compound and sand the surface to achieve a smooth and flawless finish. Follow these steps to complete this important part of the drywall installation:
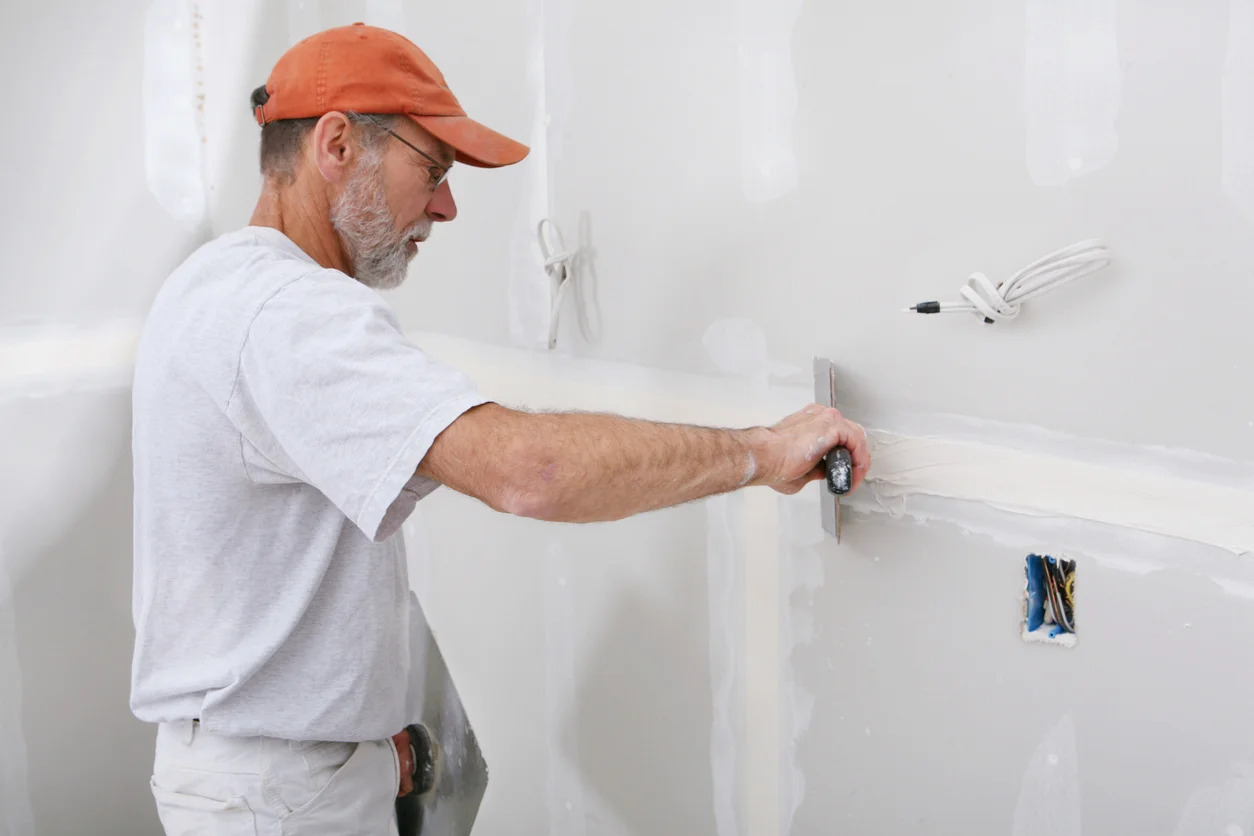
- Start by applying a thin layer of joint compound over the entire surface of the drywall, using a trowel or putty knife. Spread the compound evenly, covering any imperfections or uneven areas.
- Allow the first layer of joint compound to dry according to the manufacturer’s instructions. This usually takes around 24 to 48 hours.
- Once the first layer is dry, apply a second coat of joint compound. Use a wider trowel or putty knife to spread the compound over a larger area, feathering the edges to create a smooth transition with the rest of the drywall surface.
- Allow the second layer of joint compound to dry completely. Again, refer to the manufacturer’s instructions for drying time.
- After the second layer is dry, inspect the surface for any remaining imperfections or uneven areas. Use a sanding block or sandpaper to gently sand the surface, smoothing out any rough spots or ridges. Be careful not to sand too aggressively to avoid damaging the drywall.
- Wipe away any dust with a damp cloth or sponge, ensuring the surface is clean and ready for painting.
Applying joint compound and sanding the surface may require multiple coats and sanding sessions to achieve a perfectly smooth finish. Take your time and be patient throughout the process to ensure the best results.
With the joint compound applied and the surface sanded, you are now ready for the final steps: priming and painting the drywall under the stairs.
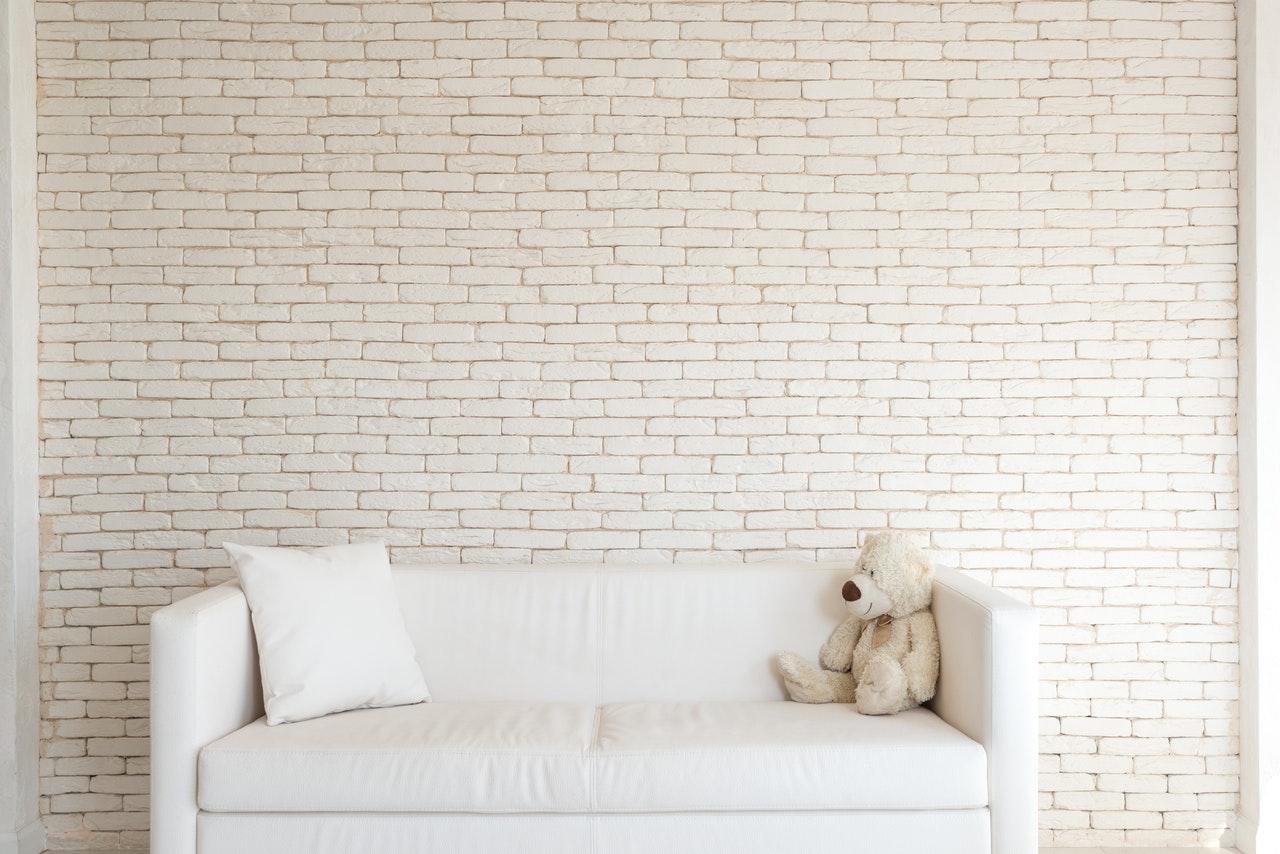
Step 8: Prime and paint the drywall
Once the drywall installation and finishing processes are complete, it’s time to prime and paint the surface for a polished and finished look. Follow these steps to achieve professional-looking results:
- Start by applying a coat of primer to the entire surface of the drywall. Use a roller or brush to evenly distribute the primer, ensuring thorough coverage.
- Allow the primer to dry completely according to the manufacturer’s instructions. This typically takes around 24 hours.
- After the primer is dry, inspect the surface for any imperfections or uneven areas. Use a sanding block or sandpaper to smooth out these spots, if necessary. Wipe away any dust with a damp cloth or sponge.
- Now it’s time to paint the drywall. Choose the paint color of your choice and pour it into a paint tray. Use a roller or brush to apply the paint evenly over the surface, following the manufacturer’s instructions for the appropriate technique.
- Apply a second coat of paint if needed. This will help ensure a vibrant and consistent color on the drywall.
- Allow the paint to dry completely before moving any furniture or objects back into place. This usually takes a few hours, but refer to the paint can for specific drying times.
Priming and painting the drywall not only enhances its appearance but also adds a protective layer to the surface. It helps to seal the drywall and provides durability, making it easier to clean and maintain in the long run.
With the drywall primed and painted, the transformation of the space under the stairs is almost complete. All that’s left is to clean up and add any final touches.
Read more: How To Organize Under Stairs Closet
Step 9: Clean up and final touches
After successfully completing the drywall installation, finishing, and painting steps, it’s time to clean up and add the final touches to complete the project. Follow these last steps to ensure a clean and polished outcome:
- Start by removing any protective coverings or plastic sheets that were used to protect floors and furniture during the installation process.
- Thoroughly clean the area under the stairs, removing any dust, debris, or leftover materials. Use a broom, vacuum, or damp cloth to ensure the space is clean and ready for use.
- Inspect the drywall surface for any touch-ups or imperfections that may need attention. Use a small brush or roller to carefully apply additional paint or make any necessary touch-ups.
- Take a step back and assess the overall appearance of the completed drywall installation under the stairs. Make note of any final adjustments or decorative enhancements that could further enhance the space.
- Consider adding baseboards, molding, or trim to create a polished and finished look. Measure, cut, and install these elements with care, ensuring they seamlessly blend with the drywall and complement the overall design.
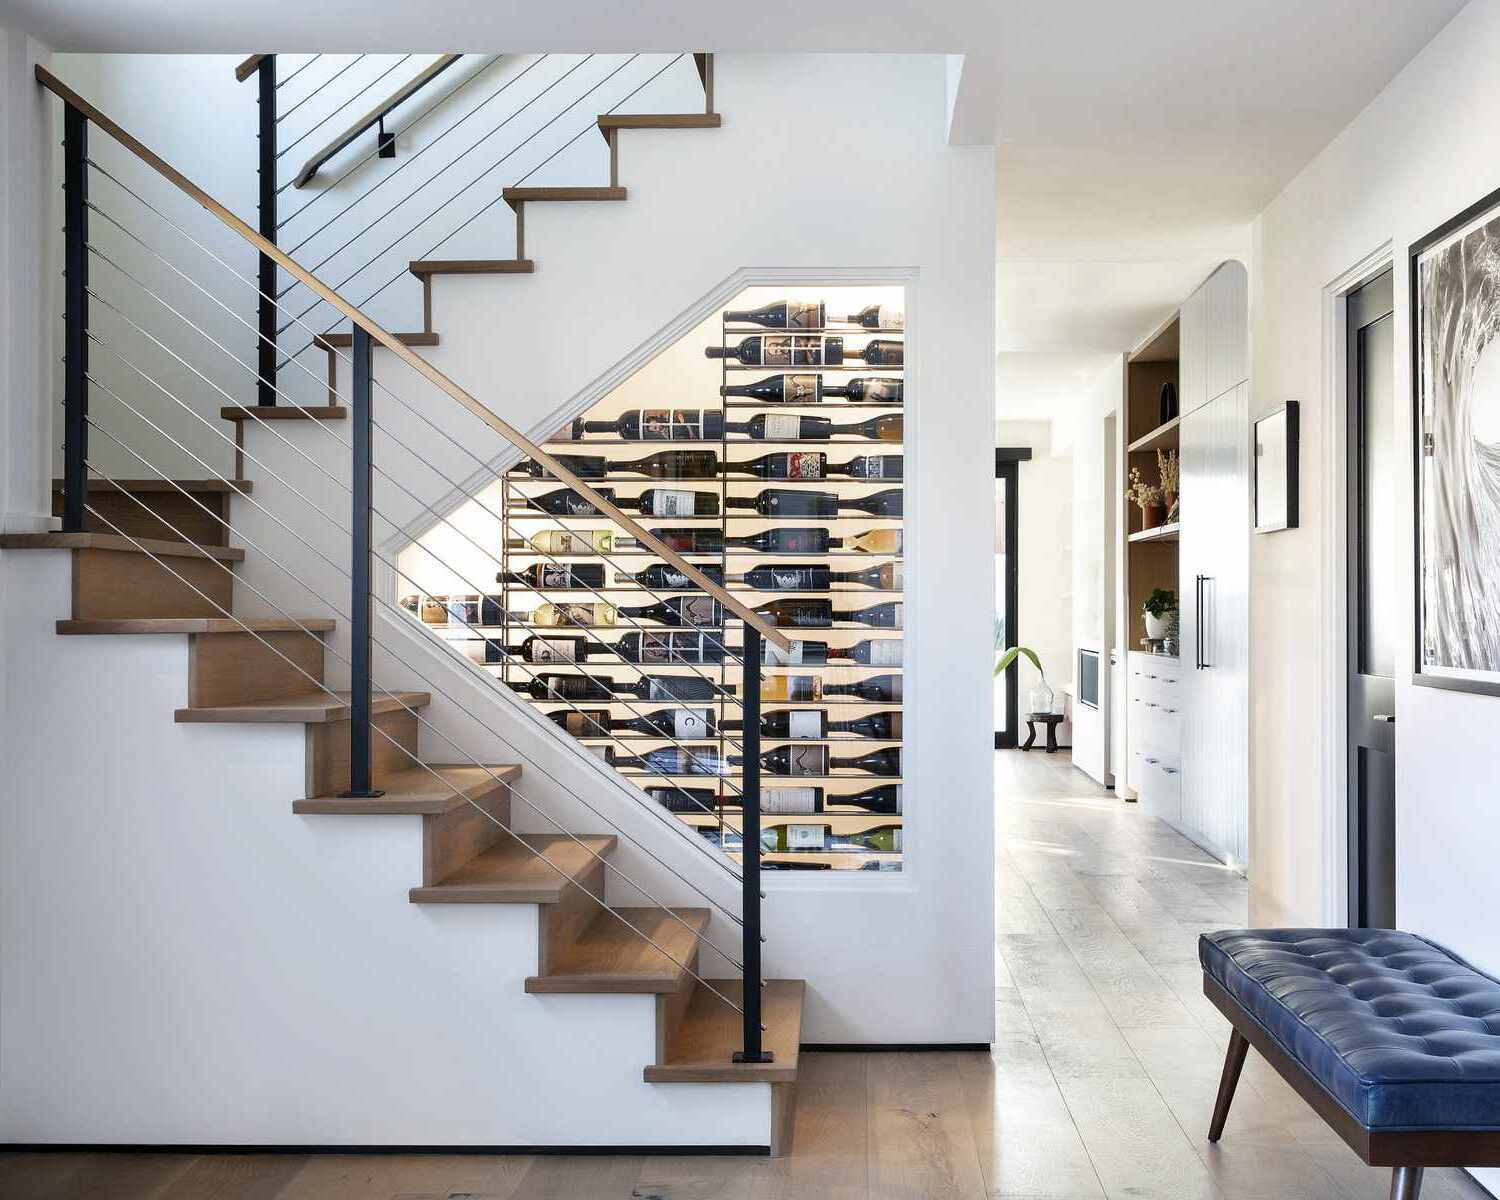
- Finally, step back and admire your finished work. Take pride in the time and effort you’ve put into drywalling under the stairs and enjoy the transformation of the space.
Cleaning up and addressing any final touches will ensure that your drywall installation is not only visually appealing but also practical and functional. By paying attention to these details, you can create a space that is not only beautiful but also suits your needs and style.
Congratulations! You have successfully completed the drywalling process under the stairs, and now it’s time to enjoy the newly transformed space.
Conclusion
Drywalling under stairs may initially seem like a daunting task, but with the right materials, tools, and techniques, it can be accomplished successfully. By following the step-by-step process outlined in this article, you can achieve a professional-looking and polished result.
Gathering the necessary materials and tools, measuring and marking the drywall panels, cutting them to size, installing proper support and blocking, attaching the panels securely, and finishing the joints are all crucial steps in the drywall installation process. Applying joint compound, sanding the surface, priming, and painting are equally important for achieving a smooth and finished look.
Throughout the process, it’s important to pay attention to detail, be patient, and take the necessary time for each step. This will ensure a high-quality installation and a space under the stairs that is not only visually appealing but also functional and durable.
Don’t forget the final touches and clean-up to add those extra flourishes and make the space truly complete. Whether you add baseboards, molding, or trim, it’s those final details that can elevate the overall appearance of the area.
Remember, drywalling under stairs can be a DIY project or may require the assistance of a professional. Consider your skill level, time constraints, and budget to decide the best approach for your specific situation.
With a little planning, preparation, and attention to detail, you can transform the area under your stairs with drywall, creating a seamless and aesthetically pleasing space that is ready for your personal touch and use.
Now that you have the knowledge and steps to drywall under stairs, get started and embark on your own drywalling project. Enjoy the process of transforming your space and revel in the satisfaction of a job well done.
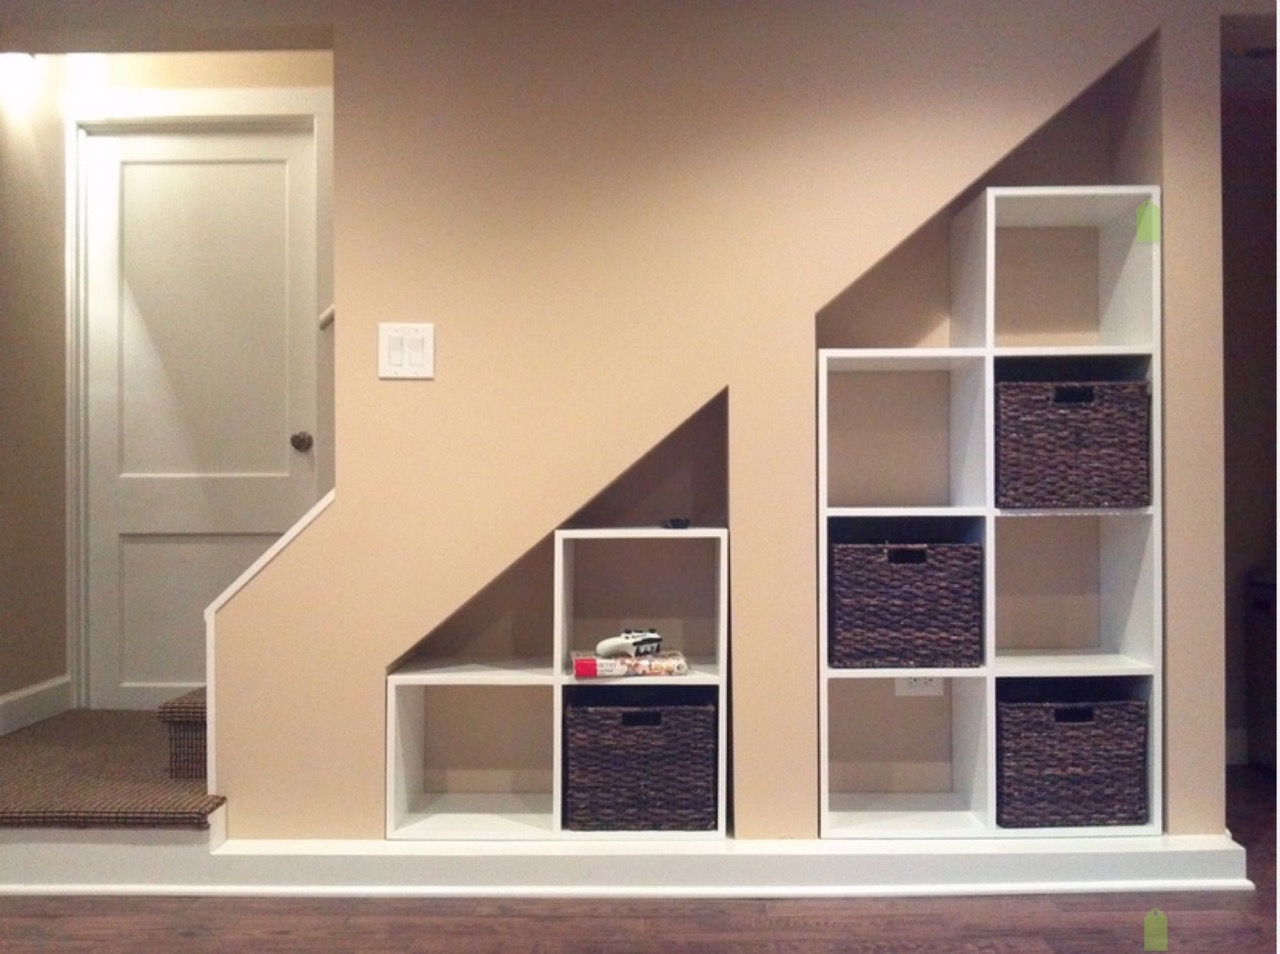
Now that you've mastered drywalling under stairs, why not maximize that newly refined space? Our next guide, "How To Build Storage Under Stairs," offers clever and practical solutions to transform underutilized areas into valuable storage spots. Perfect for keeping essentials neatly tucked away yet easily accessible, this guide will show you effective ways to optimize every inch of your stairway area. Don't miss out on turning that awkward space into a functional asset for your home.
Frequently Asked Questions about How To Drywall Under Stairs
Was this page helpful?
At Storables.com, we guarantee accurate and reliable information. Our content, validated by Expert Board Contributors, is crafted following stringent Editorial Policies. We're committed to providing you with well-researched, expert-backed insights for all your informational needs.


0 thoughts on “How To Drywall Under Stairs”