Home>Ideas and Tips>Setting Up A Year-Round Indoor Herb Garden

Ideas and Tips
Setting Up A Year-Round Indoor Herb Garden
Published: November 1, 2024
Learn how to set up a year-round indoor herb garden with tips on choosing the right herbs, containers, and optimal growing conditions for fresh herbs all year.
(Many of the links in this article redirect to a specific reviewed product. Your purchase of these products through affiliate links helps to generate commission for Storables.com, at no extra cost. Learn more)
Growing herbs indoors offers numerous benefits, including a constant supply of fresh leaves for cooking, the ability to control the environment, and the opportunity to enjoy fragrant foliage year-round. However, not all herbs are suitable for indoor cultivation, and specific conditions must be met to ensure optimal growth. In this article, we will guide you through the process of setting up a year-round indoor herb garden, covering the best herbs to grow, the necessary conditions, and practical tips for maintaining your plants.
Choosing the Right Herbs
Not all herbs are created equal when it comes to growing indoors. Some require more light, while others can thrive in low-light conditions. Here are some popular herbs that grow well indoors:
Herbs That Thrive in Bright Light
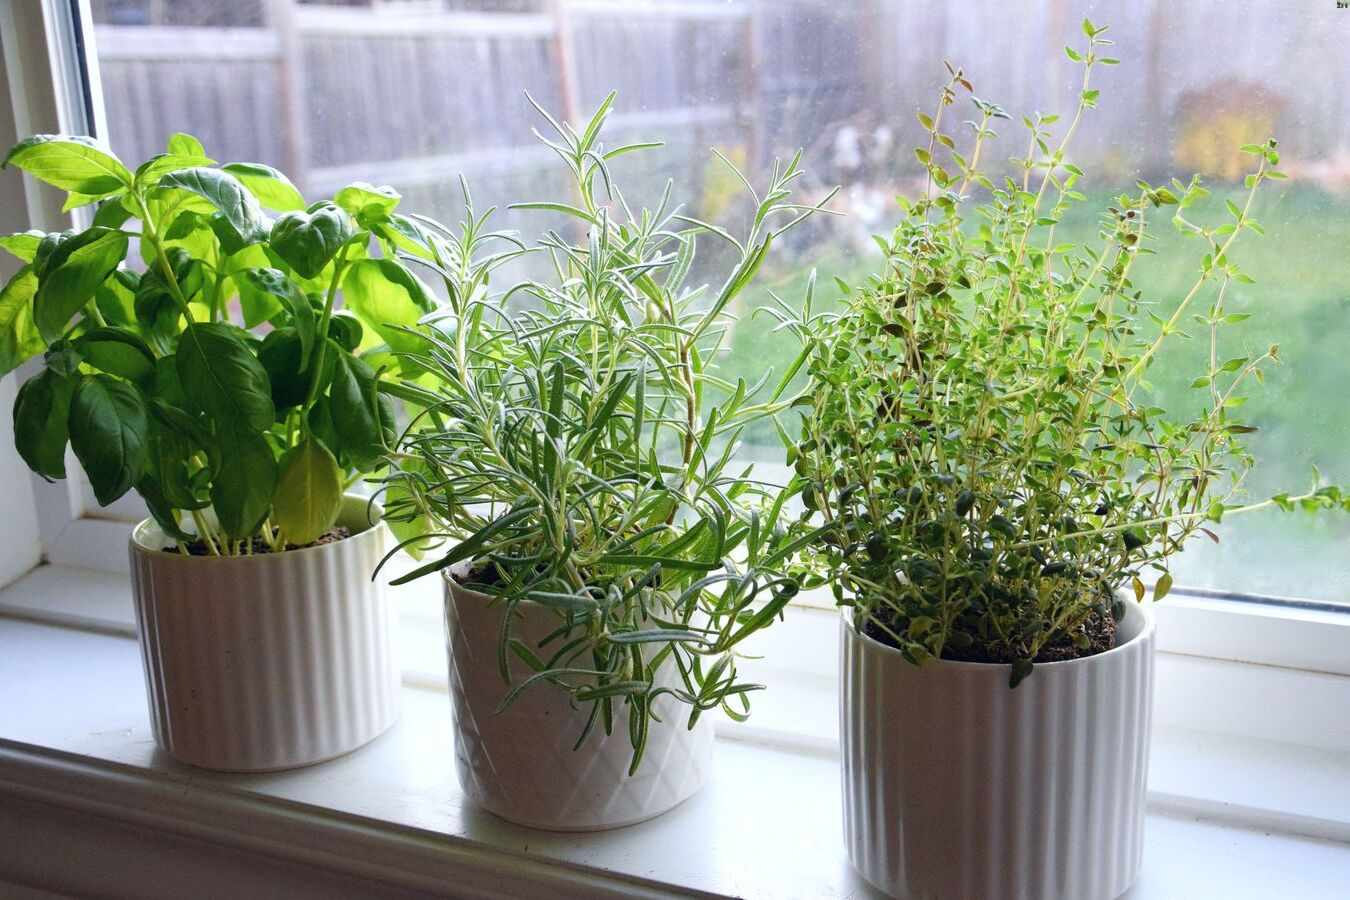
- Basil: While basil is typically associated with outdoor gardens, it can also be grown indoors. It requires at least six hours of direct sunlight or 14 to 16 hours of indirect light from fluorescent bulbs.
- Rosemary: This herb loves bright light and can tolerate temperatures between 65°F to 70°F during the day and 55°F to 60°F at night.
- Thyme: Thyme is another herb that thrives in bright light conditions. It prefers well-drained soil and consistent temperatures.
- Mint: Mint is versatile and can grow well in both bright and indirect light conditions. However, it can be invasive, so it's best to keep it contained.
Herbs That Tolerate Low Light
- Lemon Balm: This herb can grow well in very low light conditions, making it an excellent choice for kitchens with limited natural light.
- Tarragon: Tarragon also tolerates low light and can be a great option for indoor gardens with limited sunlight.
- Bay: Bay laurel is another herb that can thrive in low-light conditions, making it ideal for indoor cultivation.
Herbs That Require Special Care
- Chives: Chives are easy to grow indoors and require minimal care. They prefer well-drained soil and consistent temperatures.
- Horehound: Horehound is a perennial herb that can grow well indoors but requires specific conditions, including good air circulation and moderate temperatures.
Setting Up Your Indoor Herb Garden
Step One: Selecting the Right Container
The container you choose should be big enough to fit the root ball of the herb you're growing. Most herbs have shallow roots, so a container that is 6 inches deep is usually sufficient. However, herbs like borage and dill, which have taproots, may require deeper pots (at least 6 inches deep) to accommodate their root systems.
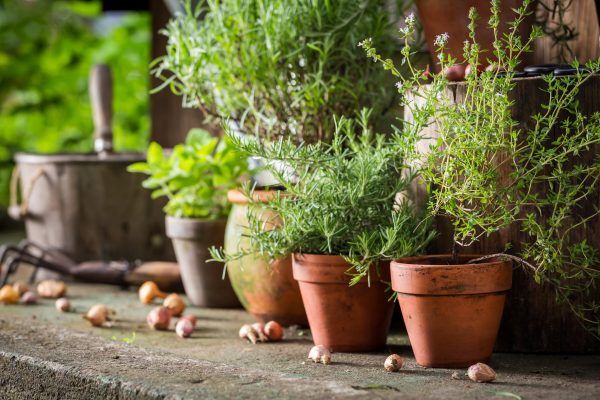
When selecting your container, choose natural materials like cedar, steel, or terra cotta clay. These materials help regulate moisture levels and come with drainage holes, which are essential for preventing root rot. Look for words like "food grade" and "untreated" to ensure you're using the most natural materials for your organic herbs.
Step Two: Adding Drainage Holes
Drainage is crucial for growing herbs indoors. Without proper drainage, herbs can quickly become waterlogged and die. If your container doesn't already have drainage holes, make sure to add some with a drill. Space holes every 3 to 4 inches to ensure water can run out easily.
Testing the drainage of your container is essential before planting. Pour water into the container and check if it drains properly. Some gardeners suggest placing rocks in the bottom of pots instead of adding drainage holes, but this method is less effective and can lead to root rot if not used sparingly.
Step Three: Preventing Messes
To prevent soil from spilling out of your container every time you water, line the bottom with landscaping cloth or burlap. This simple step will save you from the hassle of cleaning up after each watering session.
Step Four: Filling with Soil
Fill your container with a well-draining, organic soil blend. A good mix should include compost for nutrients and allow for adequate moisture retention while preventing waterlogging. Add 2 to 3 inches of compost on top of the soil to give your herbs a great start.
Read more: How To Grow Your Own Herb Garden Year-Round
Step Five: Planting Herbs
Select your favorite herbs from the list above and plant them in their respective containers. If you're using larger containers, you can grow multiple herbs together. However, if you're planting mint or lemon balm with other herbs, keep them in check as they can be invasive.
Providing Optimal Conditions
Light
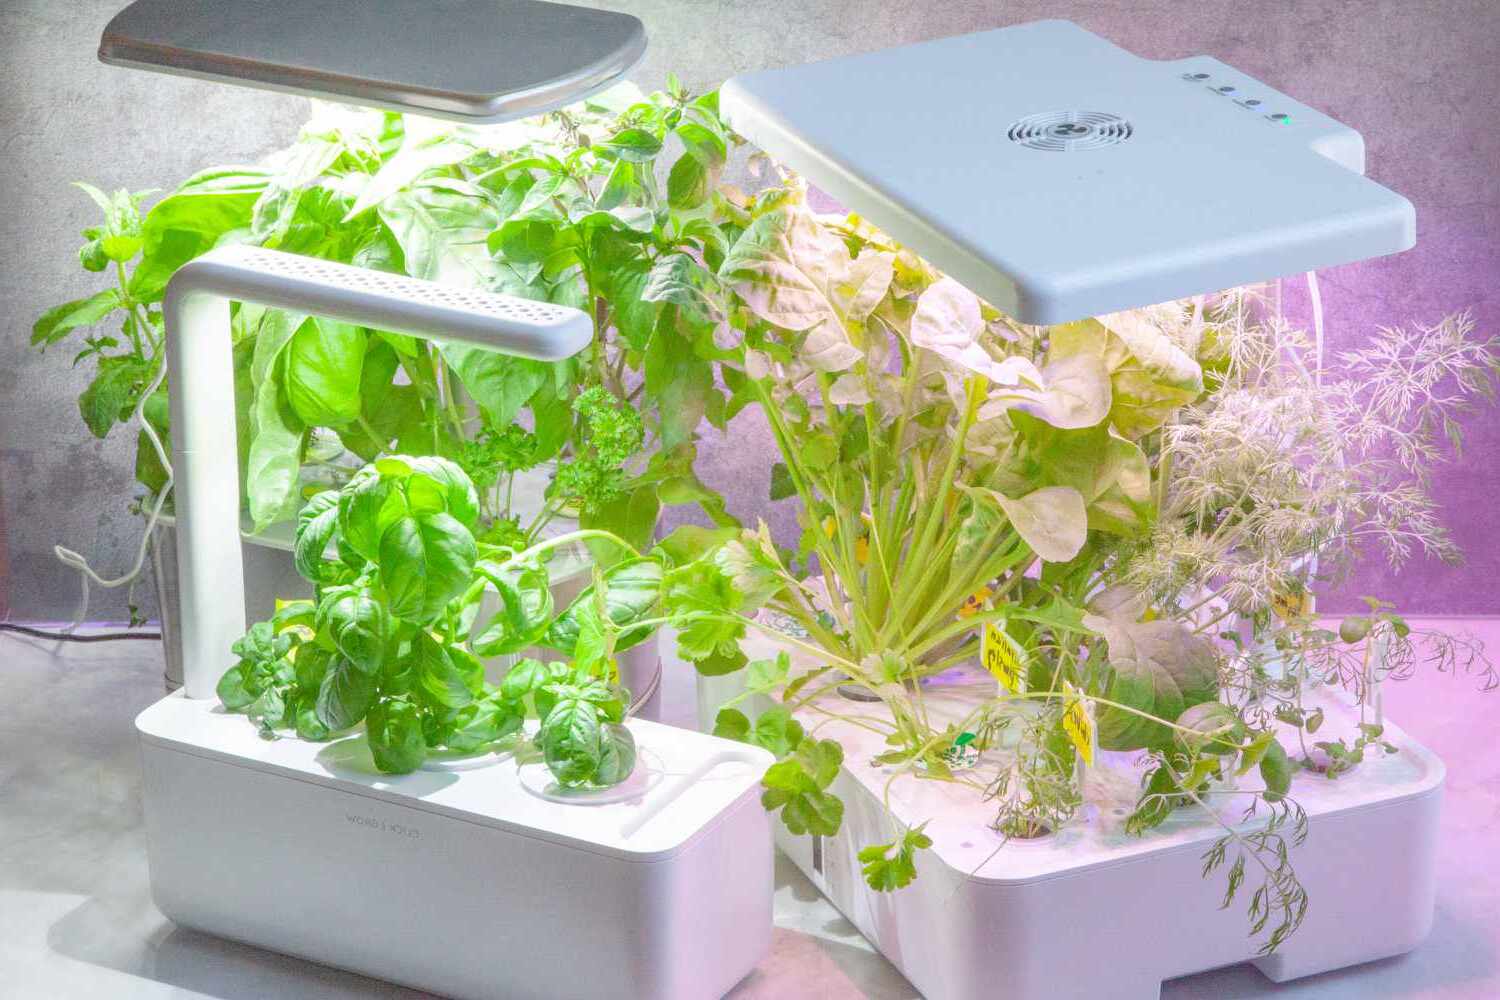
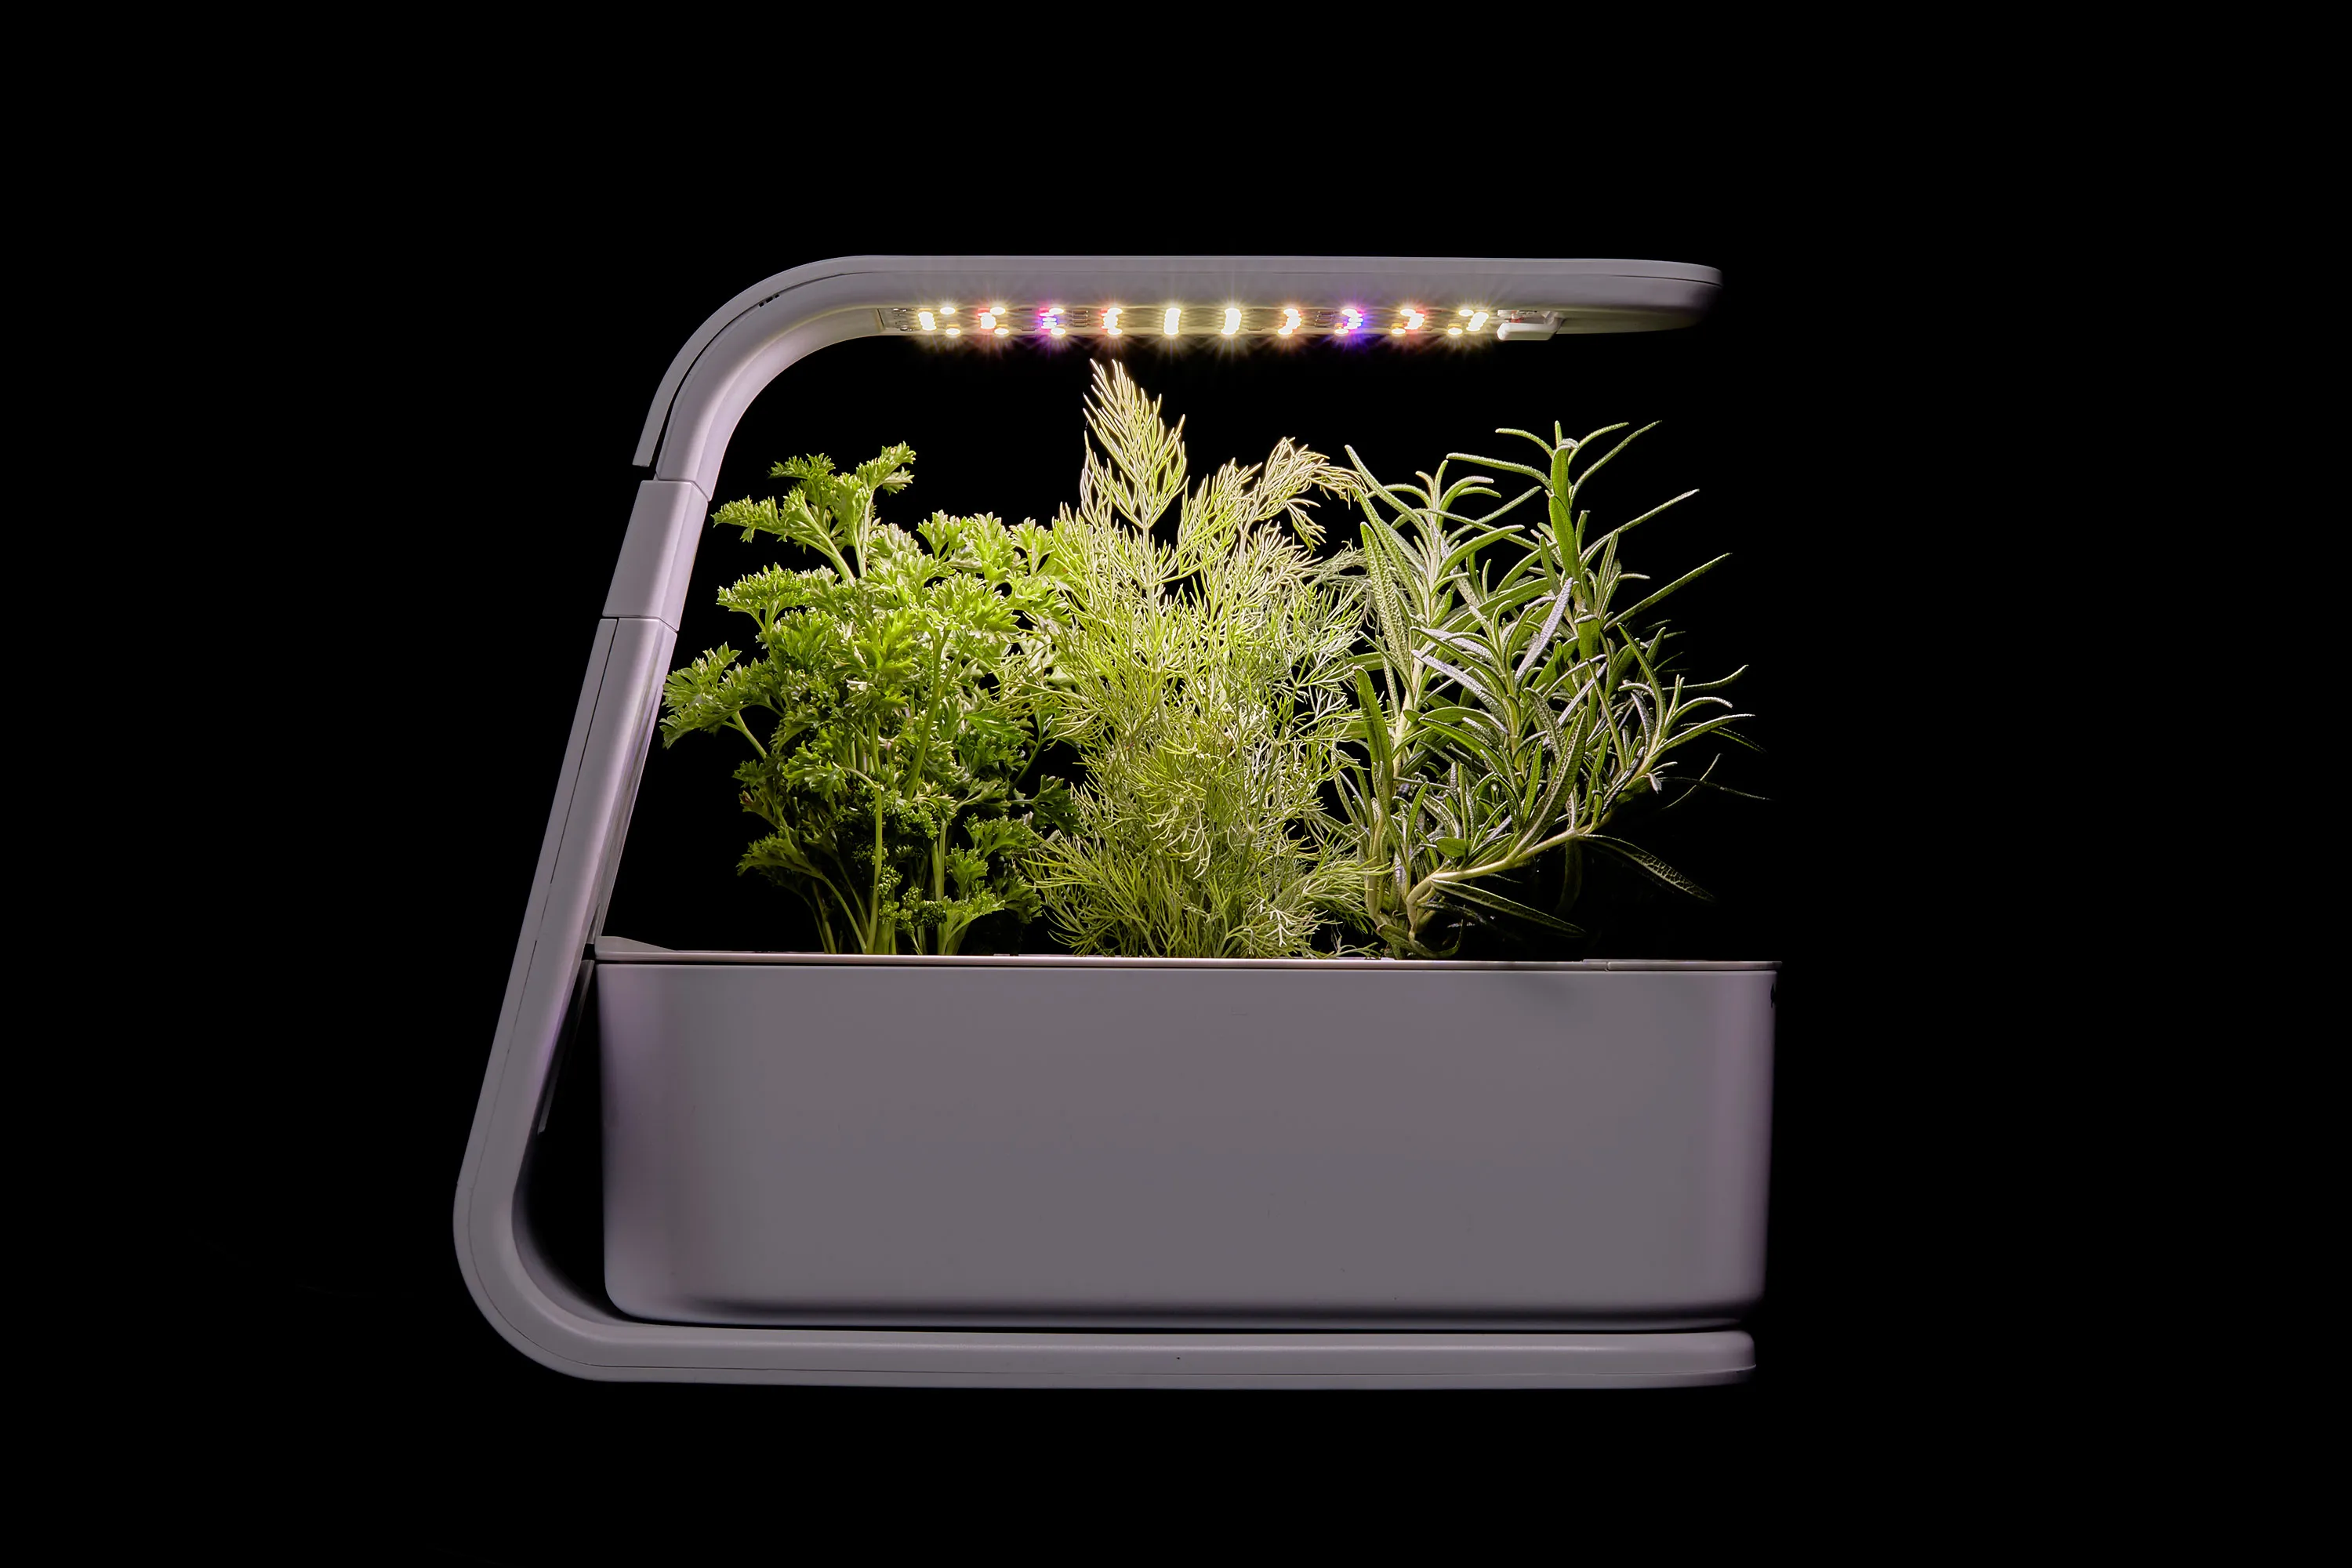
Most herbs love sunshine, but not all homes have plenty of natural light. If you don't have a sunny window, consider using grow light systems. These can be set up on shelves and provide the necessary light for your herbs without the need for direct sunlight.
When placing your herbs near a window, ensure they receive at least six hours of direct sunlight or 14 to 16 hours of indirect light from fluorescent bulbs. If your window receives too much heat, use translucent window coverings to filter the light and prevent burning.
Temperature
Herbs thrive in consistent temperatures between 65°F to 70°F during the day and 55°F to 60°F at night. Avoid placing your herbs near heating or cooling vents as these can dry out the plants and cause stress.
Read more: Creating A Year-Round Container Garden
Humidity and Air Circulation
Herbs require a balance between humidity and air circulation. Grouping containers together can create a humid environment, but ensure there is adequate air circulation to prevent fungal diseases. You can increase humidity by setting containers in a pan of moist pebbles or spraying them with a misting bottle of water.
To improve air circulation, slightly open a window in an adjoining room or use a fan during winter months. This will help prevent drafts during warmer months.
Watering
Water your herbs when the potting mix starts to dry out. Overwatering is a common mistake that can lead to root rot. Check the moisture level by sticking your finger into the soil up to the first knuckle. If it feels dry, it's time to water.
Fertilizing
Feed your herbs with a good organic fertilizer as needed. A weak fish emulsion or other organic fertilizer is recommended. Avoid over-fertilizing as this can burn your plants and kill them.
Overwintering Herbs Indoors
If you live in an area with frost or snow, you'll need to provide frost protection for cold-hardier herbs and bring less tolerant herbs indoors. Many herbs can survive mild winters, but they may not produce new leaves.
Preparing Herbs for Winter
Before the first frost, dig up your herbs from the ground or raised beds, taking care not to overly disturb the roots. Use a long, thin trowel or hori hori to dig a wide circle around the plant and go an inch deeper than the plant's roots before pulling it from its home. Keep as much of the soil as possible to minimize transplant shock.
Choosing Containers for Winter
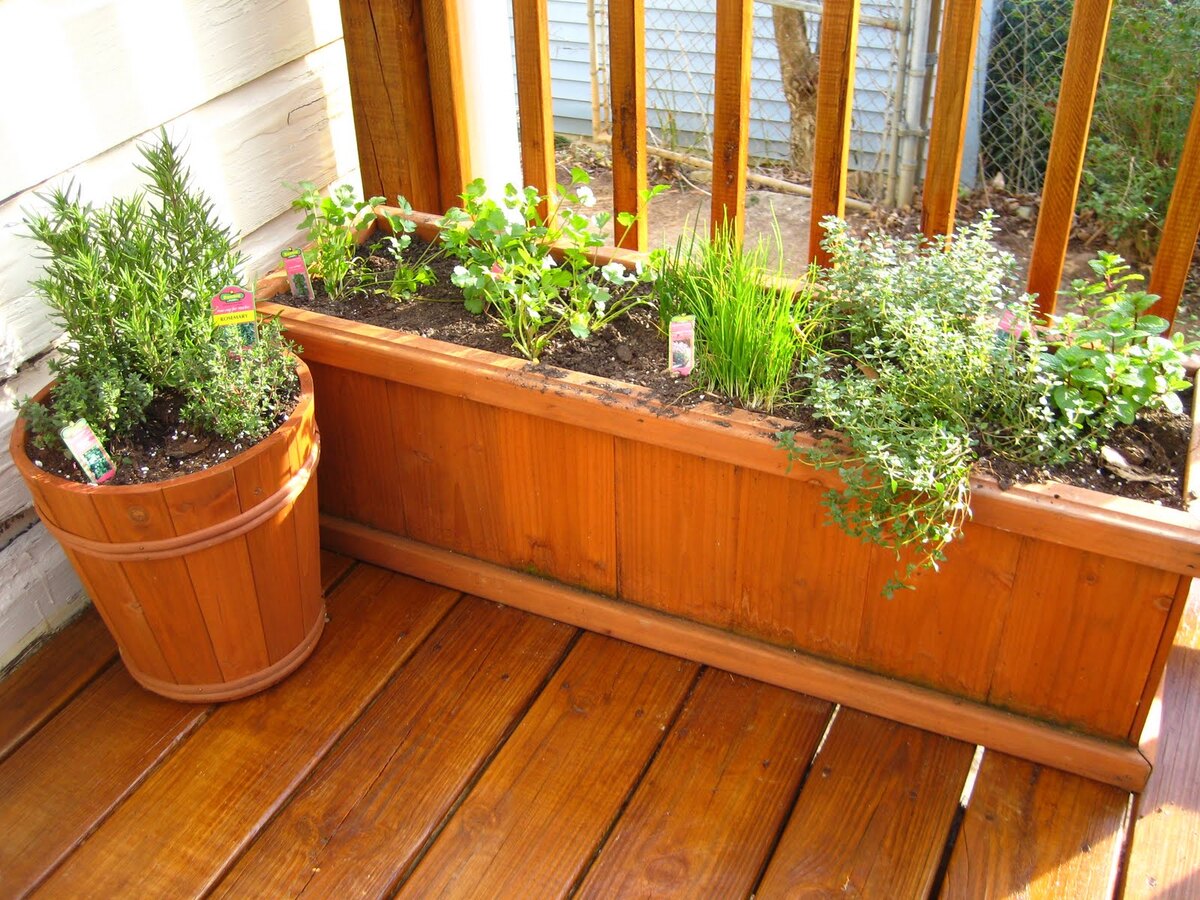
Select containers that are deep enough to accommodate the roots of your herbs (at least 6 inches deep). Terra cotta pots are ideal for moisture control, while wide metal tubs allow you to plant several herbs together.
Line the bottom of your containers with landscaping cloth or burlap to prevent soil from spilling out during watering. Fill the bottom with a mixture of potting soil, coarse sand (like paver sand), and compost.
Planting Herbs for Winter
If using small pots, plant one herb per pot. Wider containers give you more freedom to plant multiple herbs in the same space (except for mint). Fill in the space around the root ball with your soil mix and give your plants a nice watering.
Placing Herbs Indoors
Bring your herbs inside and set them somewhere that receives plenty of sun, such as a kitchen window. If older leaves wither from transplant shock, prune them. Water your plants sparingly, only when the top two inches or so of their soil feels dry.
Harvesting Your Herbs
Harvesting your herbs regularly is crucial for maintaining plant health. Pinch off flower buds to encourage leaf production, and trim back leggy stems to promote bushy growth. Harvesting herbs frequently will also help prevent them from becoming too leggy or spindly.
Conclusion
Setting up a year-round indoor herb garden requires careful planning and attention to detail. By choosing the right herbs, selecting appropriate containers, providing optimal conditions, and maintaining your plants regularly, you can enjoy fresh herbs all year long. Whether you're a seasoned gardener or just starting out, following these tips will help you create a thriving indoor herb garden that brings flavor and fragrance to your kitchen.
Additional Tips
- Propagation: Consider taking cuttings from mature plants to propagate new ones indoors. This method is especially useful for herbs like rosemary, mint, and basil.
- Pest Control: Keep an eye out for pests like spider mites, mealybugs, and aphids. Use organic pest control methods whenever possible to avoid harming your plants.
- Seasonal Changes: Be prepared to adjust your care routine as seasons change. For example, during winter months when light is scarce, reduce watering and fertilizing to prevent overgrowth.
By following these guidelines and tips, you'll be well on your way to creating a lush and productive indoor herb garden that will provide you with fresh flavors all year round. Happy gardening
Was this page helpful?
At Storables.com, we guarantee accurate and reliable information. Our content, validated by Expert Board Contributors, is crafted following stringent Editorial Policies. We're committed to providing you with well-researched, expert-backed insights for all your informational needs.

0 thoughts on “Setting Up A Year-Round Indoor Herb Garden”