Home>Furniture>Outdoor Furniture>How To Make A Patio Herb Garden
Outdoor Furniture
How To Make A Patio Herb Garden
Modified: October 28, 2024
Learn how to create a vibrant patio herb garden with our step-by-step guide. Elevate your outdoor space with beautiful outdoor furniture and enjoy fresh herbs all season long.
(Many of the links in this article redirect to a specific reviewed product. Your purchase of these products through affiliate links helps to generate commission for Storables.com, at no extra cost. Learn more)
Introduction
Welcome to the wonderful world of patio herb gardens! Whether you have a sprawling backyard or a cozy balcony, creating a herb garden on your patio is a fantastic way to enhance your outdoor space while enjoying fresh and flavorful herbs. Not only do patio herb gardens add beauty and fragrance to your surroundings, but they also provide a convenient and sustainable source of herbs for cooking, teas, and other homemade remedies.
In this comprehensive guide, we will take you through the step-by-step process of creating and maintaining your own patio herb garden. From choosing the right location to harvesting the herbs, we’ll cover everything you need to know to ensure the success of your garden.
But before we dive into the nitty-gritty details, let’s explore some of the benefits of having a patio herb garden. First and foremost, growing herbs on your patio allows you to have easy access to fresh and organic ingredients right at your fingertips. Whether you’re whipping up a delectable pasta sauce, brewing a soothing herbal tea, or adding a garnish to your dishes, having a variety of herbs just a few steps away makes cooking and flavoring your meals a breeze.
Aside from the culinary advantages, patio herb gardens also contribute to the overall aesthetics of your outdoor space. The vibrant foliage and delicate blooms of herbs can add a pop of color and texture to your patio, creating a visually appealing and inviting atmosphere.
Furthermore, creating a patio herb garden can be a therapeutic and stress-relieving activity. Gardening allows you to reconnect with nature, relax your mind, and enjoy the simple pleasure of tending to living plants. It’s a fantastic way to escape the hustle and bustle of daily life and find solace in the beauty of your own little green oasis.
Whether you’re a seasoned gardener or a complete novice, this guide will provide you with the knowledge and tips necessary to build and maintain a thriving patio herb garden. So, let’s roll up our sleeves, put on our gardening gloves, and embark on this exciting and rewarding journey!
Key Takeaways:
- Creating a patio herb garden is a fun and rewarding way to enjoy fresh herbs for cooking and relaxation. Choose the right location, containers, and herbs to ensure a thriving garden.
- By providing proper care and maintenance, you can harvest and use flavorful herbs from your patio garden. Share the joy of homegrown herbs with others and enjoy the benefits of your efforts.
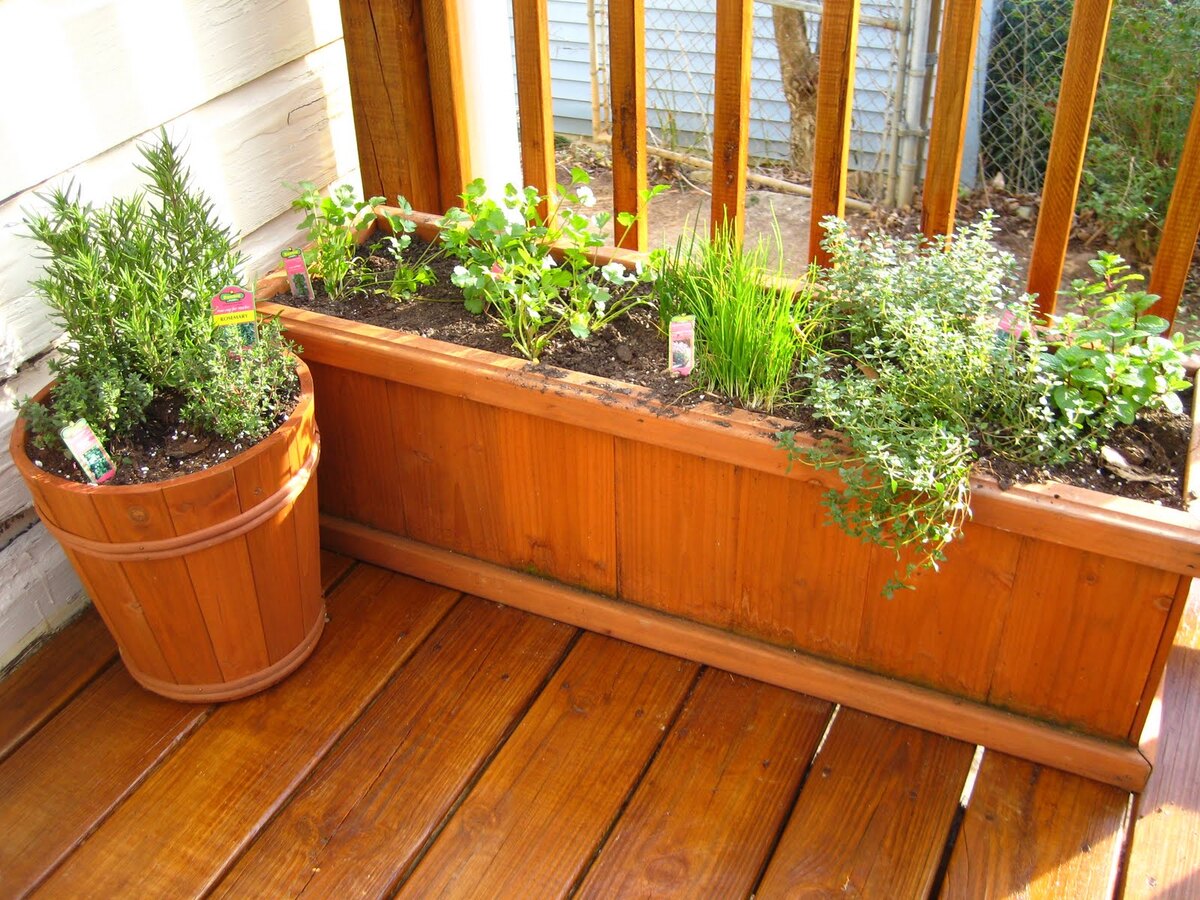
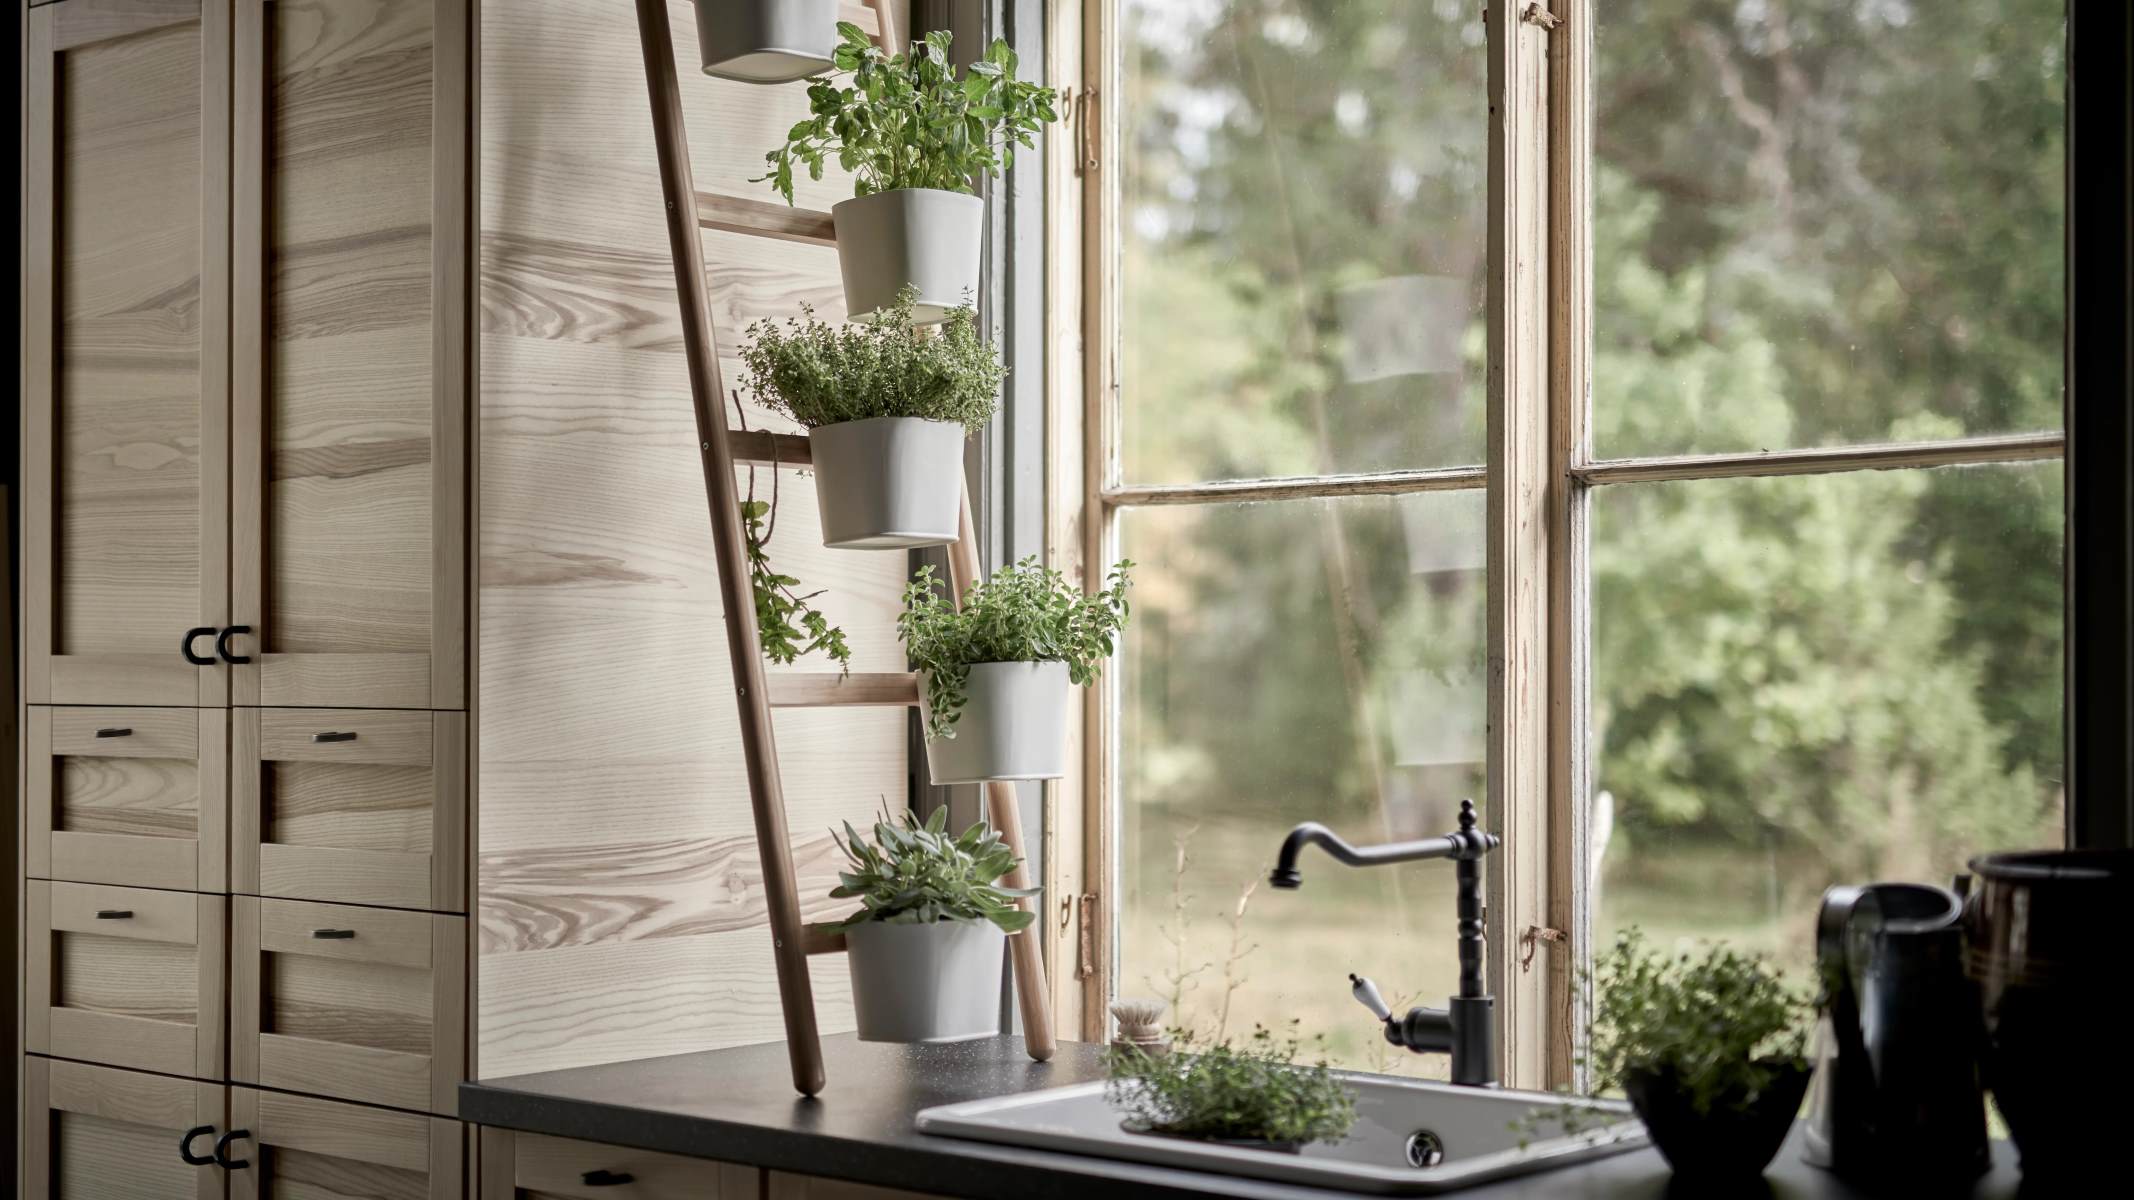
Step 1: Choosing the Right Location for Your Patio Herb Garden
The first step in creating a successful patio herb garden is selecting the right location. The ideal spot should provide the optimal conditions for your herbs to grow and thrive. Here are some factors to consider when choosing the location:
- Sunlight: Most herbs require at least 6 hours of direct sunlight per day. Choose a location on your patio that receives ample sunlight, preferably in the morning or afternoon when the sun is not too intense. Observe your patio throughout the day to determine which areas receive the most sunlight.
- Shade: On the flip side, some herbs, such as mint and parsley, prefer partial shade. If you plan to grow these herbs, look for a spot on your patio that offers a balance of sun and shade, perhaps under a tree or near a wall that provides some shade during certain parts of the day.
- Proximity to Water: Another important consideration is the proximity to a water source. You want to ensure that your herbs have easy access to water for irrigation. Ideally, your patio herb garden should be located near a hose or a water outlet. However, you can also use a watering can or a drip irrigation system to provide the necessary moisture.
- Accessibility: Think about how easily accessible your herb garden will be. You’ll want to be able to reach your herbs easily for harvesting, watering, and maintaining. Consider placing your herb containers or raised beds in a location that is convenient for you to access without obstruction.
- Aesthetics: Lastly, consider the overall aesthetics of your patio. Your herb garden should complement the design and style of your outdoor space. You can incorporate decorative pots, trellises, or planters to add visual interest and elevate the look of your patio.
Once you have evaluated these factors, take some time to experiment with different locations on your patio. Move your pots or containers around to find the perfect spot that meets the sunlight requirements and enhances the overall appeal of your patio.
Remember, the location you choose will greatly affect the growth and productivity of your herbs. By considering these factors, you can create an ideal environment that allows your herbs to flourish and provide abundant harvests throughout the growing season.
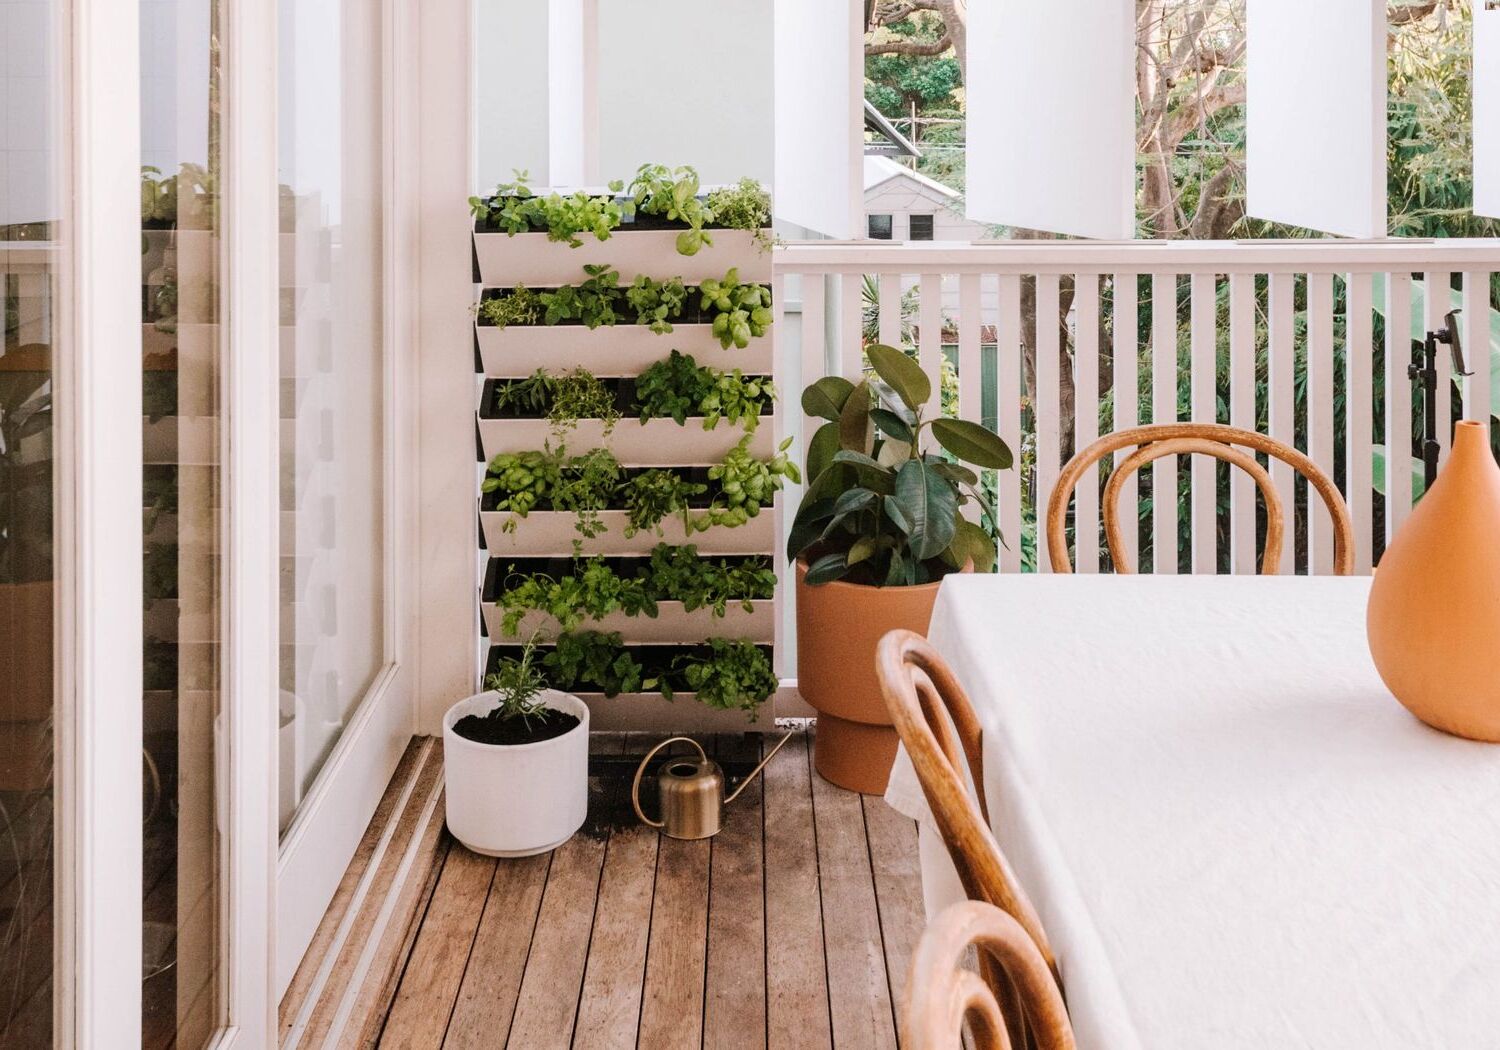
Step 2: Selecting the Appropriate Containers for Your Herbs
Now that you’ve chosen the perfect location for your patio herb garden, it’s time to select the right containers for your herbs. Choosing the appropriate containers is crucial for providing your herbs with the right growing conditions and ensuring their success. Here are some factors to consider when selecting containers:
- Size: Herbs generally don’t require large containers, but they still need enough space for their roots to grow. Choose containers that are at least 6-8 inches deep to accommodate the root system of most herbs. If you’re growing herbs that have long taproots, such as rosemary or mint, opt for deeper containers.
- Drainage: Good drainage is essential for preventing waterlogged soil and root rot. Look for pots or containers that have drainage holes at the bottom to allow excess water to escape. Additionally, you can place a layer of small rocks or gravel at the bottom of the container to further improve drainage.
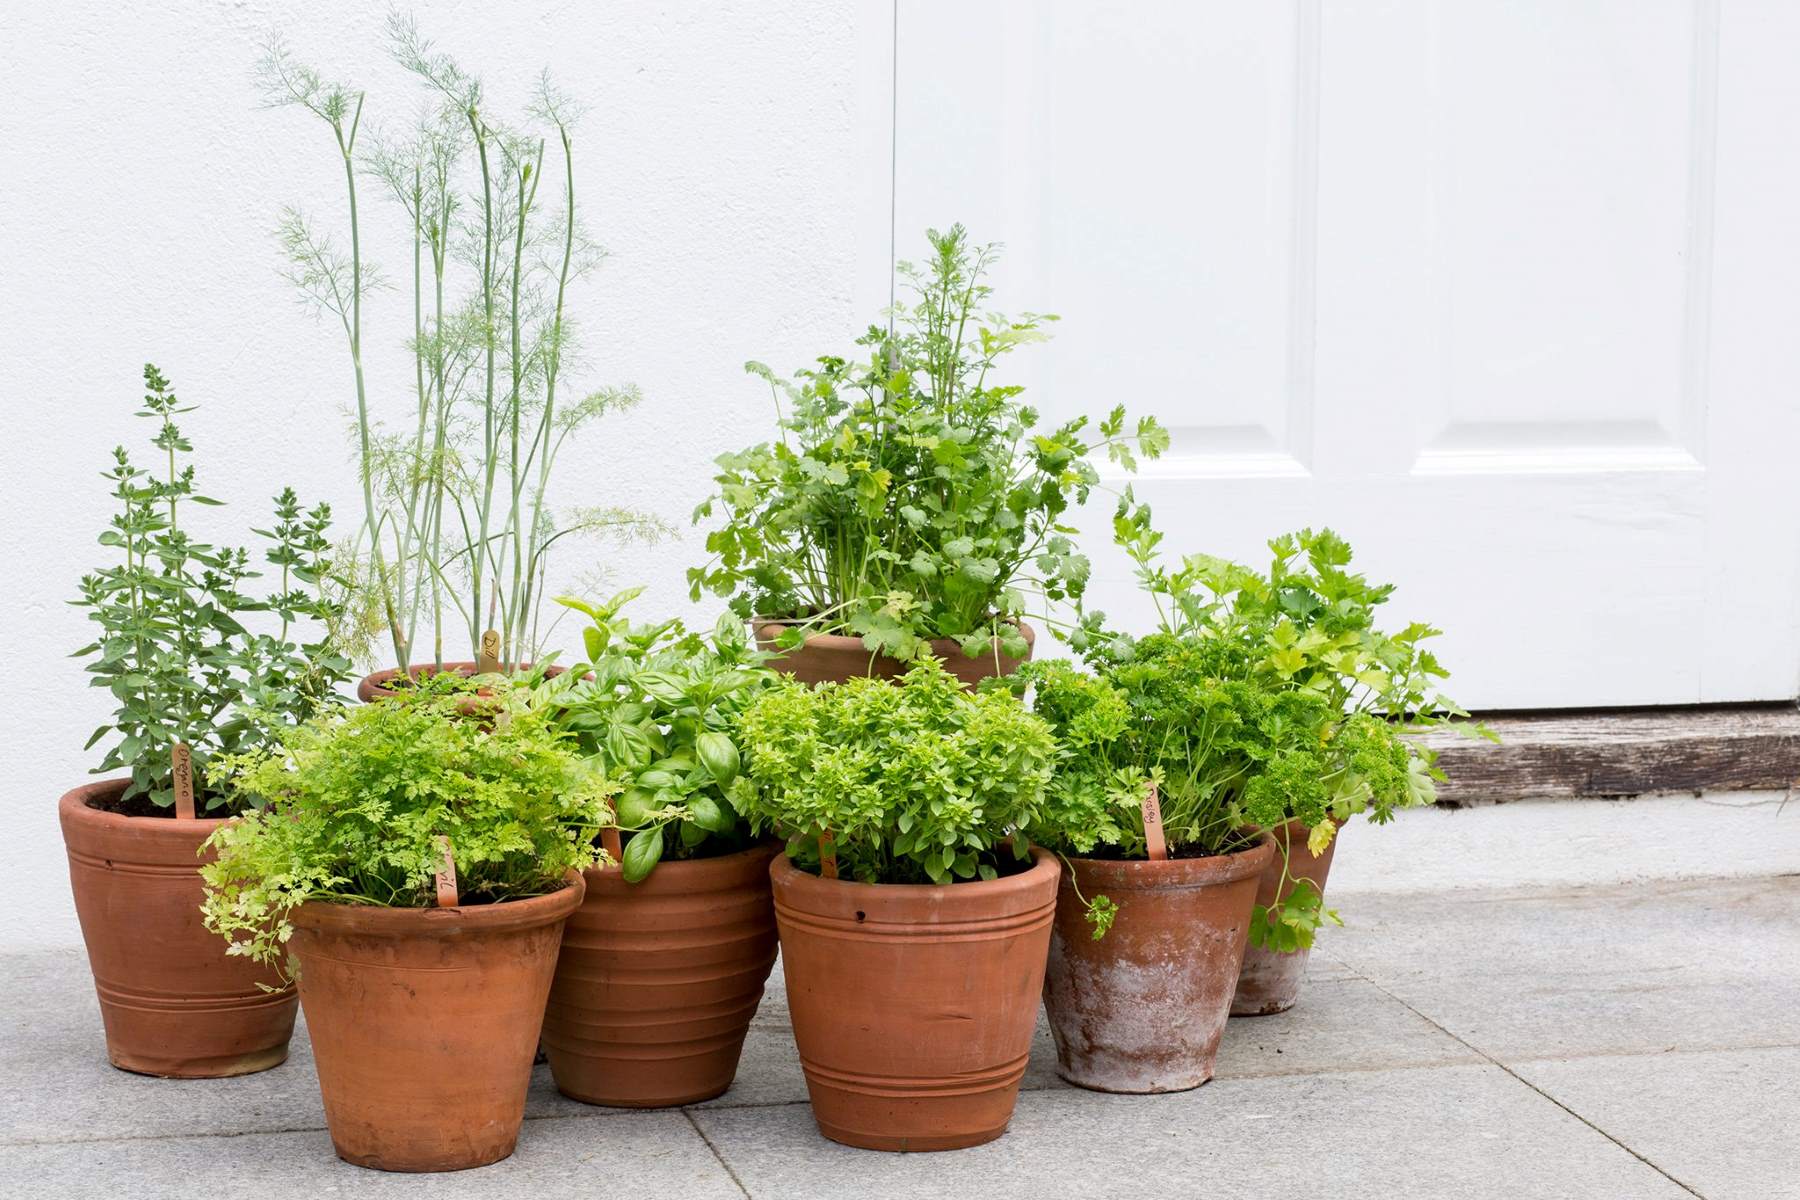
- Material: The material of the containers can affect the temperature and moisture levels. Clay or terracotta pots are porous and allow for better airflow and moisture evaporation. However, they may dry out more quickly, requiring more frequent watering. Plastic or resin containers are lightweight, retain moisture better, and can be a good option if you live in a hot and dry climate.
- Appearance: Consider the overall aesthetics of your patio when choosing containers. You can opt for a uniform look with matching containers or get creative with a mix of different sizes, shapes, and colors to add visual interest to your herb garden.
When it comes to container gardening, you’re not limited to traditional pots. Get creative and repurpose various objects as containers, such as wooden crates, buckets, hanging baskets, or even old shoes. Just ensure that whatever you choose has adequate drainage.
Additionally, keep in mind that some herbs can be invasive, spreading through underground runners or self-seeding. To prevent them from taking over your garden, it’s a good idea to grow these herbs in separate containers or use barriers like pot saucers or plastic edging to contain their growth.
Once you’ve chosen the containers, fill them with a well-draining potting mix suitable for herbs. Avoid using garden soil, as it can be too heavy and compact for container gardening. A quality potting mix will provide the right balance of nutrients and moisture retention for your herbs.
By carefully selecting the right containers, you’ll provide a stable and suitable environment for your herbs to thrive and flourish on your patio. So, let your creativity flow and choose containers that not only meet the practical needs of your herbs but also add a touch of style to your outdoor space.
Step 3: Preparing the Soil for Your Patio Herb Garden
Now that you have chosen the containers for your patio herb garden, it’s time to prepare the soil. Proper soil preparation is key to providing your herbs with the necessary nutrients and a conducive environment for healthy growth. Follow these steps to prepare the soil:
- Remove existing plants: If you’re starting your patio herb garden on a previously used container or raised bed, remove any old plants or debris. Clearing the area ensures that your new herbs won’t have to compete with weeds or other plants for resources.
- Drainage: Check the drainage holes in your containers to ensure they are not blocked or clogged. If necessary, clean them out with a small brush or poke through them using a thin stick. Proper drainage is crucial for preventing waterlogged soil, which can lead to root rot.
- Soil mixture: Mix together a potting soil specifically formulated for container gardening with organic compost to create a nutrient-rich growing medium. The compost will improve the soil’s fertility and drainage. Aim for a well-balanced blend that is loose and crumbly, providing good aeration for the roots.
- Fertilizer: Consider incorporating a slow-release organic fertilizer into the soil mixture. This will provide a steady supply of nutrients for your herbs throughout the growing season, ensuring their health and vigor. Follow the instructions on the fertilizer package for the appropriate amount to use.
- Pesticide and weed control: Before planting your herbs, it’s a good idea to take preventive measures against pests and weeds. Apply a natural or organic pesticide to ward off common herb pests, such as aphids or caterpillars. Additionally, you can spread a layer of mulch over the soil surface to suppress weed growth and retain moisture.
Once you have prepared the soil, gently fill your chosen containers with the mixture, leaving about an inch of space at the top for watering. Level the soil surface with your hand, making sure it is evenly spread throughout the container.
It’s important to note that herbs generally prefer well-draining soil, so avoid overwatering or allowing the containers to sit in water for extended periods. Regularly check the moisture level of the soil by sticking your finger about an inch deep into the soil. If it feels dry, it’s time to water your herbs.
By properly preparing the soil for your patio herb garden, you provide your herbs with a fertile and nutrient-rich environment to support their growth. Taking these steps will set the foundation for healthy and thriving herbs throughout the growing season.
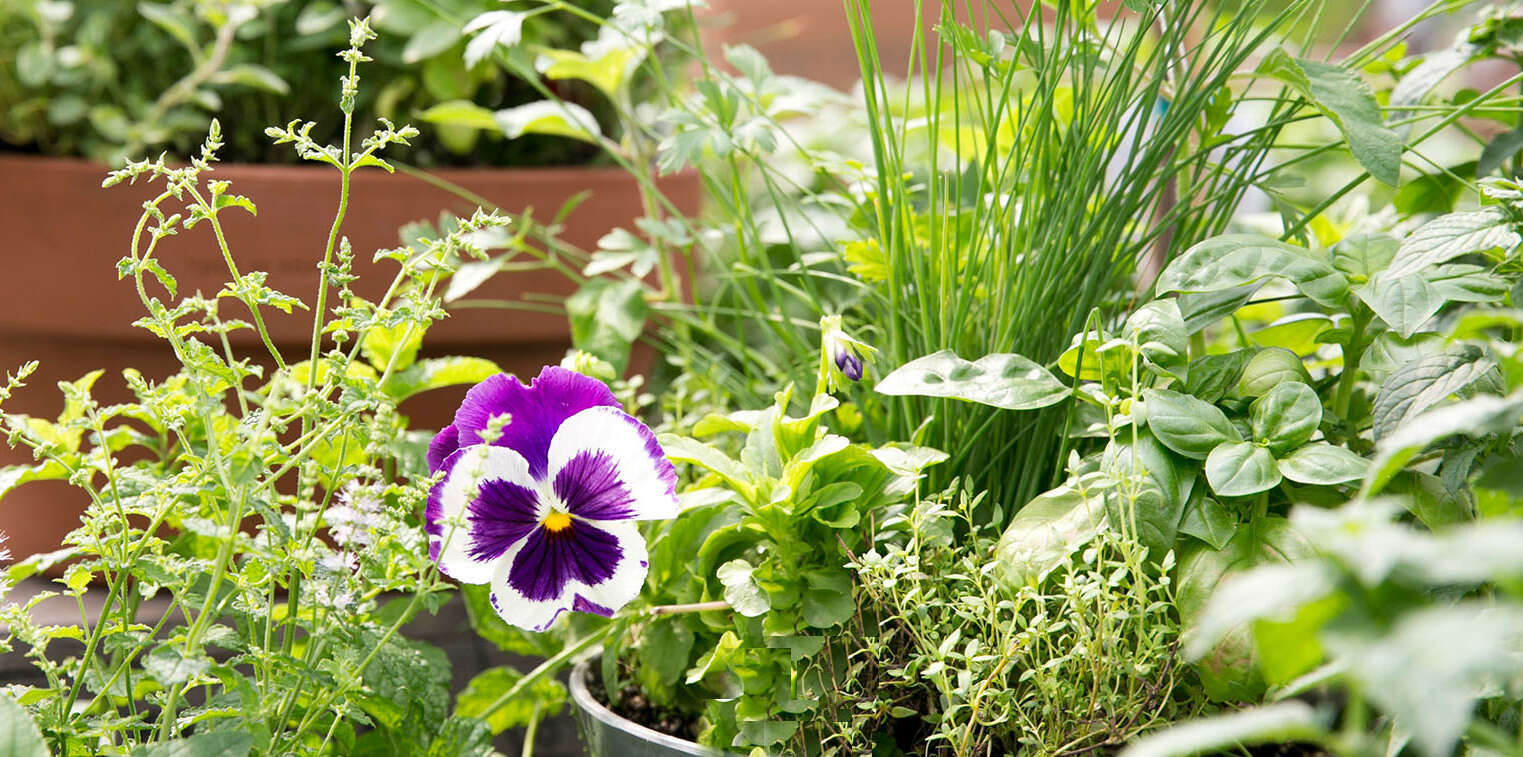
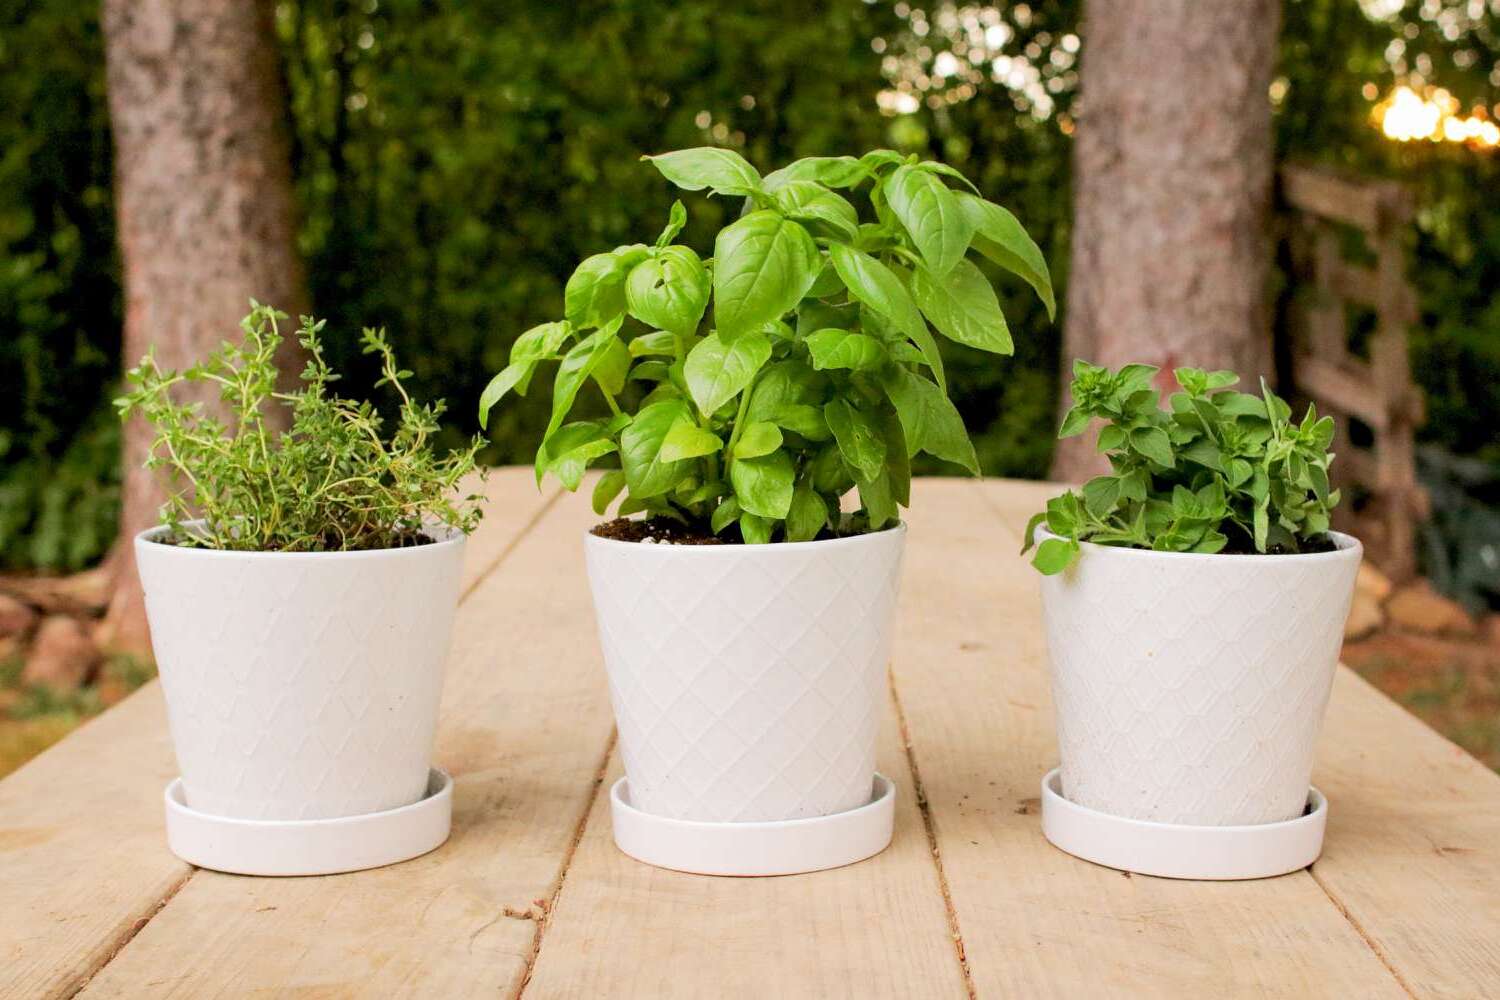
Step 4: Selecting the Right Herbs for Your Patio Garden
Choosing the right herbs for your patio garden is an exciting and crucial step in creating a successful herb garden. Consider your personal preferences, culinary needs, and the growing conditions of your patio to select the herbs that will thrive in your space. Here’s how to make the best herb choices:
- Culinary preferences: Think about the herbs you frequently use in your cooking or those that you would like to experiment with. Whether it’s the fresh aroma of basil, the zing of mint, or the savory taste of thyme, select herbs that will enhance your culinary creations and cater to your taste buds.
- Space limitations: Take into account the available space in your patio herb garden when choosing herbs. If you have limited space, opt for compact and bushy herbs like rosemary, thyme, or sage. Alternatively, if you have more room, you can consider growing taller herbs like cilantro or dill.
- Growing conditions: Consider the microclimate of your patio, including the amount of sunlight and shade it receives. Some herbs, like basil and parsley, prefer full sun, while others, like mint and lemon balm, tolerate partial shade. Make sure to choose herbs that will thrive in the lighting conditions of your patio.
- Complementary companions: Select herbs that complement each other in terms of growth habit, water requirements, and scent. For example, pairing drought-tolerant herbs like lavender and thyme together can simplify watering tasks, while grouping herbs with similar aromas, such as rosemary and sage, can create an aromatic symphony in your garden.
- Perennial vs. annual herbs: Decide whether you want to grow perennial herbs that come back year after year or annual herbs that need to be replanted each season. Perennials like lavender and oregano offer long-term growth and require less effort, while annuals like basil and cilantro provide fresh flavors but need to be replaced each year.
It’s important to thoroughly research each herb’s specific needs and characteristics before selecting them for your patio garden. Consider factors such as the herb’s growth habit, water requirements, and maintenance needs to ensure they can thrive in the conditions you can provide.
Once you’ve made your selection, it’s time to acquire the herb plants or seeds. Visit a local nursery or garden center to find a wide variety of herb plants to choose from. Alternatively, you can start your herbs from seeds, either indoors or directly in your containers, following the instructions on the seed packets.
By selecting the right herbs for your patio garden, you’ll ensure a successful and enjoyable gardening experience. The herbs you choose will not only add flavor to your dishes but also provide lush greenery and pleasant aromas to your outdoor space.
Choose the right location for your patio herb garden. Most herbs need at least 6 hours of sunlight per day, so pick a spot that gets plenty of sun.
Read more: A Beginner’s Guide To Indoor Herb Gardening
Step 5: Planting and Arranging Your Herb Garden
With your selected herbs in hand, it’s time to bring your patio herb garden to life by planting and arranging your herbs. Follow these steps to ensure proper planting and an organized layout:
- Spacing: Consider the mature size of each herb and allow enough space between plants to ensure proper airflow and avoid overcrowding. As a general guideline, space herbs that grow bushy and spread, like basil or mint, about 12-18 inches apart. For taller herbs, such as rosemary or sage, provide a spacing of around 18-24 inches.
- Container arrangement: Arrange your containers strategically, keeping in mind factors such as height, color, and companion planting. Place taller herbs towards the back or in the center of your patio herb garden to avoid shading smaller herbs. Mix and match different container sizes and colors to create an appealing visual display.
- Transplanting: If you purchased herb plants from a nursery, gently remove them from their containers and loosen the roots before planting. Dig a hole in the prepared soil that is slightly larger than the plant’s root ball. Carefully place the herb in the hole, making sure the top of the root ball is level with the soil surface. Gently tamp down the soil around the plant to secure it in place.
- Direct seeding: If you are starting your herbs from seeds, follow the instructions on the seed packets for proper planting depth and spacing. The seeds can be sown directly into the containers or raised beds, ensuring they are covered with the appropriate amount of soil. Keep the soil consistently moist until the seeds germinate and the seedlings establish themselves.
- Maintenance: After planting, give your herbs a thorough watering to help them settle into their new home. Water the plants regularly, ensuring the soil remains consistently moist but not waterlogged. As the herbs grow, monitor their progress and provide regular care, including pruning, fertilizing, and pest control as needed. Harvest herbs regularly to encourage new growth.
Consider creating themed sections within your patio herb garden, grouping herbs that are commonly used together, such as Italian herbs (basil, oregano, and thyme) or herbal teas (mint, chamomile, and lemon balm). This organization can make it easier for you to access specific herbs for your culinary or medicinal needs.
Don’t forget to label your herbs to avoid any confusion. You can use decorative plant markers or small labels that indicate the name of each herb. This way, you’ll always know which herb is where, especially if you’re growing multiple varieties.
As your herbs grow, make adjustments to the arrangement and spacing if needed. Some herbs may require pruning or thinning to keep them in check and prevent overcrowding. Regularly inspect your plants for signs of disease or pests, and take appropriate action to address any issues that arise.
By planting and arranging your herb garden thoughtfully, you’ll create an organized and visually appealing space that allows your herbs to grow and thrive. Enjoy the process of watching your patio herb garden flourish and be rewarded with an abundance of fresh flavors and fragrances.
Step 6: Providing Proper Care and Maintenance for Your Patio Herbs
Once your patio herb garden is planted and arranged, it’s essential to provide ongoing care and maintenance to ensure the health and vitality of your herbs. Follow these guidelines for proper care:
- Watering: Monitor the moisture level of the soil regularly and water your herbs as needed. As a general rule, most herbs prefer moist soil but not waterlogged conditions. Water deeply when the top inch of soil feels dry, allowing the water to reach the root zone. Avoid overhead watering, as it can promote disease. Instead, use a watering can or a drip irrigation system to water at the base of the plants.
- Fertilizing: Keep your herbs well-fed with a balanced organic fertilizer. During the growing season, apply a slow-release fertilizer according to the package instructions. This will provide a steady supply of nutrients for healthy growth and abundant harvests. Avoid over-fertilization, as this can lead to excessive foliage growth and reduced flavor intensity.
- Pruning and harvesting: Regularly trim your herbs to promote bushier growth and prevent legginess. Pinch off the tips of growing branches to encourage branching. Harvest herbs frequently to encourage continuous growth and maintain the plant’s shape. Prune out any dead, damaged, or diseased parts to keep your herb garden looking neat and healthy.
- Pest and disease management: Monitor your herbs regularly for any signs of pests or diseases. Common herb pests include aphids, mealybugs, and spider mites. If you notice any infestations, promptly take action using organic pest control methods, such as insecticidal soap or neem oil. Keep an eye out for signs of diseases like powdery mildew or fungal infections, and remove affected leaves or plants if necessary.
- Protecting from extreme weather: During extreme weather conditions, such as heatwaves or severe cold spells, it’s important to protect your herbs. Provide shade or temporary cover during scorching heat and move potted herbs indoors or to a sheltered area during frost or freeze events. This will help prevent stress and damage to the plants.
- Seasonal care: Different herbs have varying needs during different seasons. Some herbs, like basil or cilantro, are sensitive to cold temperatures and may require replanting each season. Perennial herbs, on the other hand, may benefit from winter protection or rejuvenation pruning in early spring. Research the seasonal care requirements for each herb in your patio garden and adjust your maintenance accordingly.
Regularly observe and interact with your herb garden. Get to know the unique needs and growth patterns of each herb. Pay attention to their individual responses to watering, sunlight, and environmental conditions. Developing this connection will enable you to provide personalized care and ensure the longevity and productivity of your herbs.
Lastly, don’t forget to enjoy the fruits of your labor! Harvest your herbs regularly, using them fresh in your culinary creations or drying them for future use. The more you harvest, the more productive your herbs will be, resulting in a continuous supply of fresh flavors for your kitchen.
By providing proper care and maintenance for your patio herbs, you’ll create an environment where they can flourish and thrive. With some time and attention, your herb garden will not only add beauty to your patio but also provide you with an abundant supply of fresh herbs to enhance your meals and enrich your life.
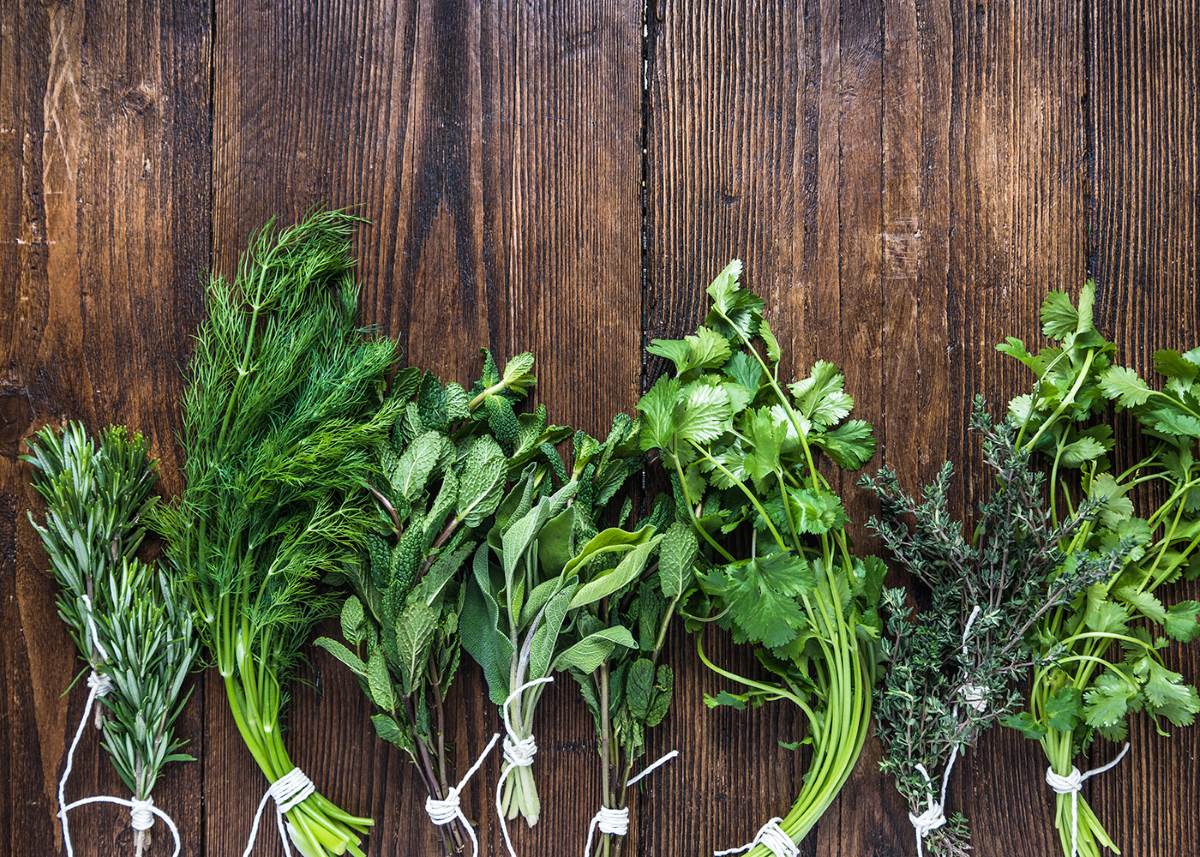
Step 7: Harvesting and Using Herbs from Your Patio Garden
Congratulations on successfully nurturing your patio herb garden! Now it’s time to reap the rewards of your hard work by harvesting and using the flavorful herbs you’ve grown. Follow these steps to ensure you harvest and utilize your herbs properly:
- Timing: Harvest herbs when they are at their peak, typically in the morning after the dew has dried. This is when the essential oils responsible for their flavors and aromas are most concentrated.
- Method: There are different methods of harvesting herbs, depending on the type of herb and its growth habit. For leafy herbs like basil or mint, pinch off individual leaves or cut stems just above a set of leaves. For woody herbs like rosemary or thyme, trim sprigs from the outer parts of the plant, avoiding cutting into the bare wood.
- Harvesting tips: When harvesting, always use clean, sharp scissors or pruning shears to ensure clean cuts and minimize damage to the plant. Avoid removing more than one-third of the plant’s foliage at a time, as this can weaken the herb and hamper its regrowth.
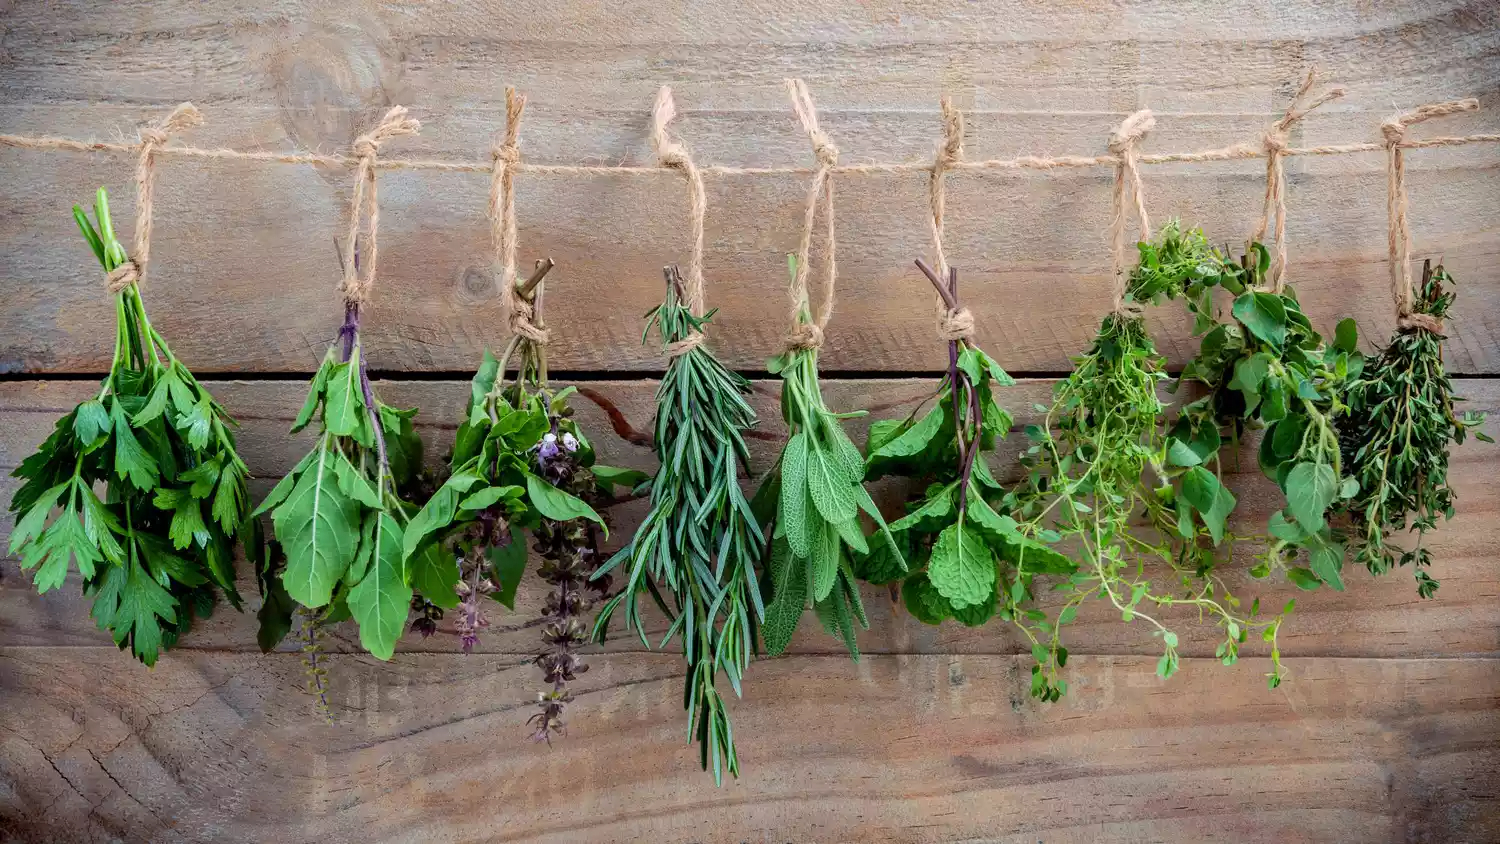
- Preservation: There are various methods to preserve herbs for later use. Air-drying is a simple and effective method for preserving herbs like basil or oregano. Hang small bunches of herbs upside down in a cool, well-ventilated area until dry. You can also freeze herbs by chopping them and placing them in ice cube trays filled with water or oil. Another option is to make herb-infused oils or vinegars to enjoy the flavors throughout the year.
- Culinary uses: Herbs can be used fresh or dried in a wide range of culinary applications. Add fresh basil to pasta sauces or use it in salads and pizzas. Sprinkle chopped cilantro on tacos or use it in salsas and guacamoles. Infuse mint leaves in water for a refreshing beverage or use them in desserts and teas. Experiment with herbs to enhance the flavors of your favorite recipes and explore new culinary possibilities.
- Medicinal uses: Many herbs have medicinal properties and can be used to make teas, tinctures, or herbal remedies. Research the specific benefits and uses of each herb in your garden to harness their healing potential. For instance, chamomile can aid in relaxation and promote sleep, while lavender can soothe skin irritations and ease stress.
- Sharing the bounty: Don’t forget to share the abundance of your herb garden with family, friends, and neighbors. Harvested herbs make thoughtful gifts, and sharing the joy of fresh flavors and aromas can inspire others to start their own herb gardens.
Remember, the more you harvest your herbs, the more they will continue to grow and produce throughout the season. Regularly prune and harvest your herbs to encourage new growth and maintain their health and vitality.
As you become more comfortable with harvesting and using your herbs, you’ll develop a familiarity with their flavors and scents. This knowledge will give you confidence in experimenting with different combinations of herbs to create unique culinary delights that reflect your personal taste.
So, roll up your sleeves, grab those gardening shears, and indulge in the pleasure of harvesting and utilizing the fresh herbs from your patio garden. Your culinary creations and wellness routines will be elevated to new heights with the addition of homegrown herbs.
Conclusion
Congratulations on completing your journey to create a thriving and productive patio herb garden! Throughout this comprehensive guide, we have covered the essential steps to help you choose the right location, select suitable containers, prepare the soil, choose the right herbs, plant and arrange your garden, provide proper care and maintenance, and finally, harvest and utilize your flavorful herbs.
By following these steps and infusing your knowledge with your passion for gardening, you have created a beautiful and functional outdoor space that not only adds aesthetic appeal to your patio but also provides a bounty of fresh and aromatic herbs for culinary and health purposes.
Remember to continue nurturing your herb garden with regular watering, proper fertilization, pruning, and pest management. As your herbs continue to grow, experiment with different combinations in your cooking, teas, or herbal remedies to unlock the full potential of their flavors and therapeutic properties.
Furthermore, don’t hesitate to share your love for herbs and the fruits of your labor with others. Whether it’s through sharing fresh herbs, homemade herbal remedies, or simply inspiring friends and family to embark on their own gardening journeys, spreading the joy of growing and utilizing herbs can be a rewarding experience.
As time goes on, your knowledge and expertise in herb gardening will expand, allowing you to tackle more advanced techniques and experiment with a wider variety of herbs. Remember to stay curious, continue to learn, and adapt your practices as you grow as a gardener.
So, take a moment to breathe in the fragrant scents of your herb garden, appreciate the beauty it adds to your patio, and savor every bite seasoned with your homegrown herbs. Enjoy the benefits of the time and effort you’ve invested, and revel in the satisfaction of knowing that you have created a sanctuary of flavors and aromas right on your doorstep.
Happy gardening and may your patio herb garden bring you an abundance of joy and culinary delights for years to come!
Frequently Asked Questions about How To Make A Patio Herb Garden
Was this page helpful?
At Storables.com, we guarantee accurate and reliable information. Our content, validated by Expert Board Contributors, is crafted following stringent Editorial Policies. We're committed to providing you with well-researched, expert-backed insights for all your informational needs.


0 thoughts on “How To Make A Patio Herb Garden”