Articles
How To Make A Skylight Shade
Modified: August 17, 2024
Discover the best articles on how to make a skylight shade and transform your space with natural light and energy-saving solutions.
(Many of the links in this article redirect to a specific reviewed product. Your purchase of these products through affiliate links helps to generate commission for Storables.com, at no extra cost. Learn more)
Introduction
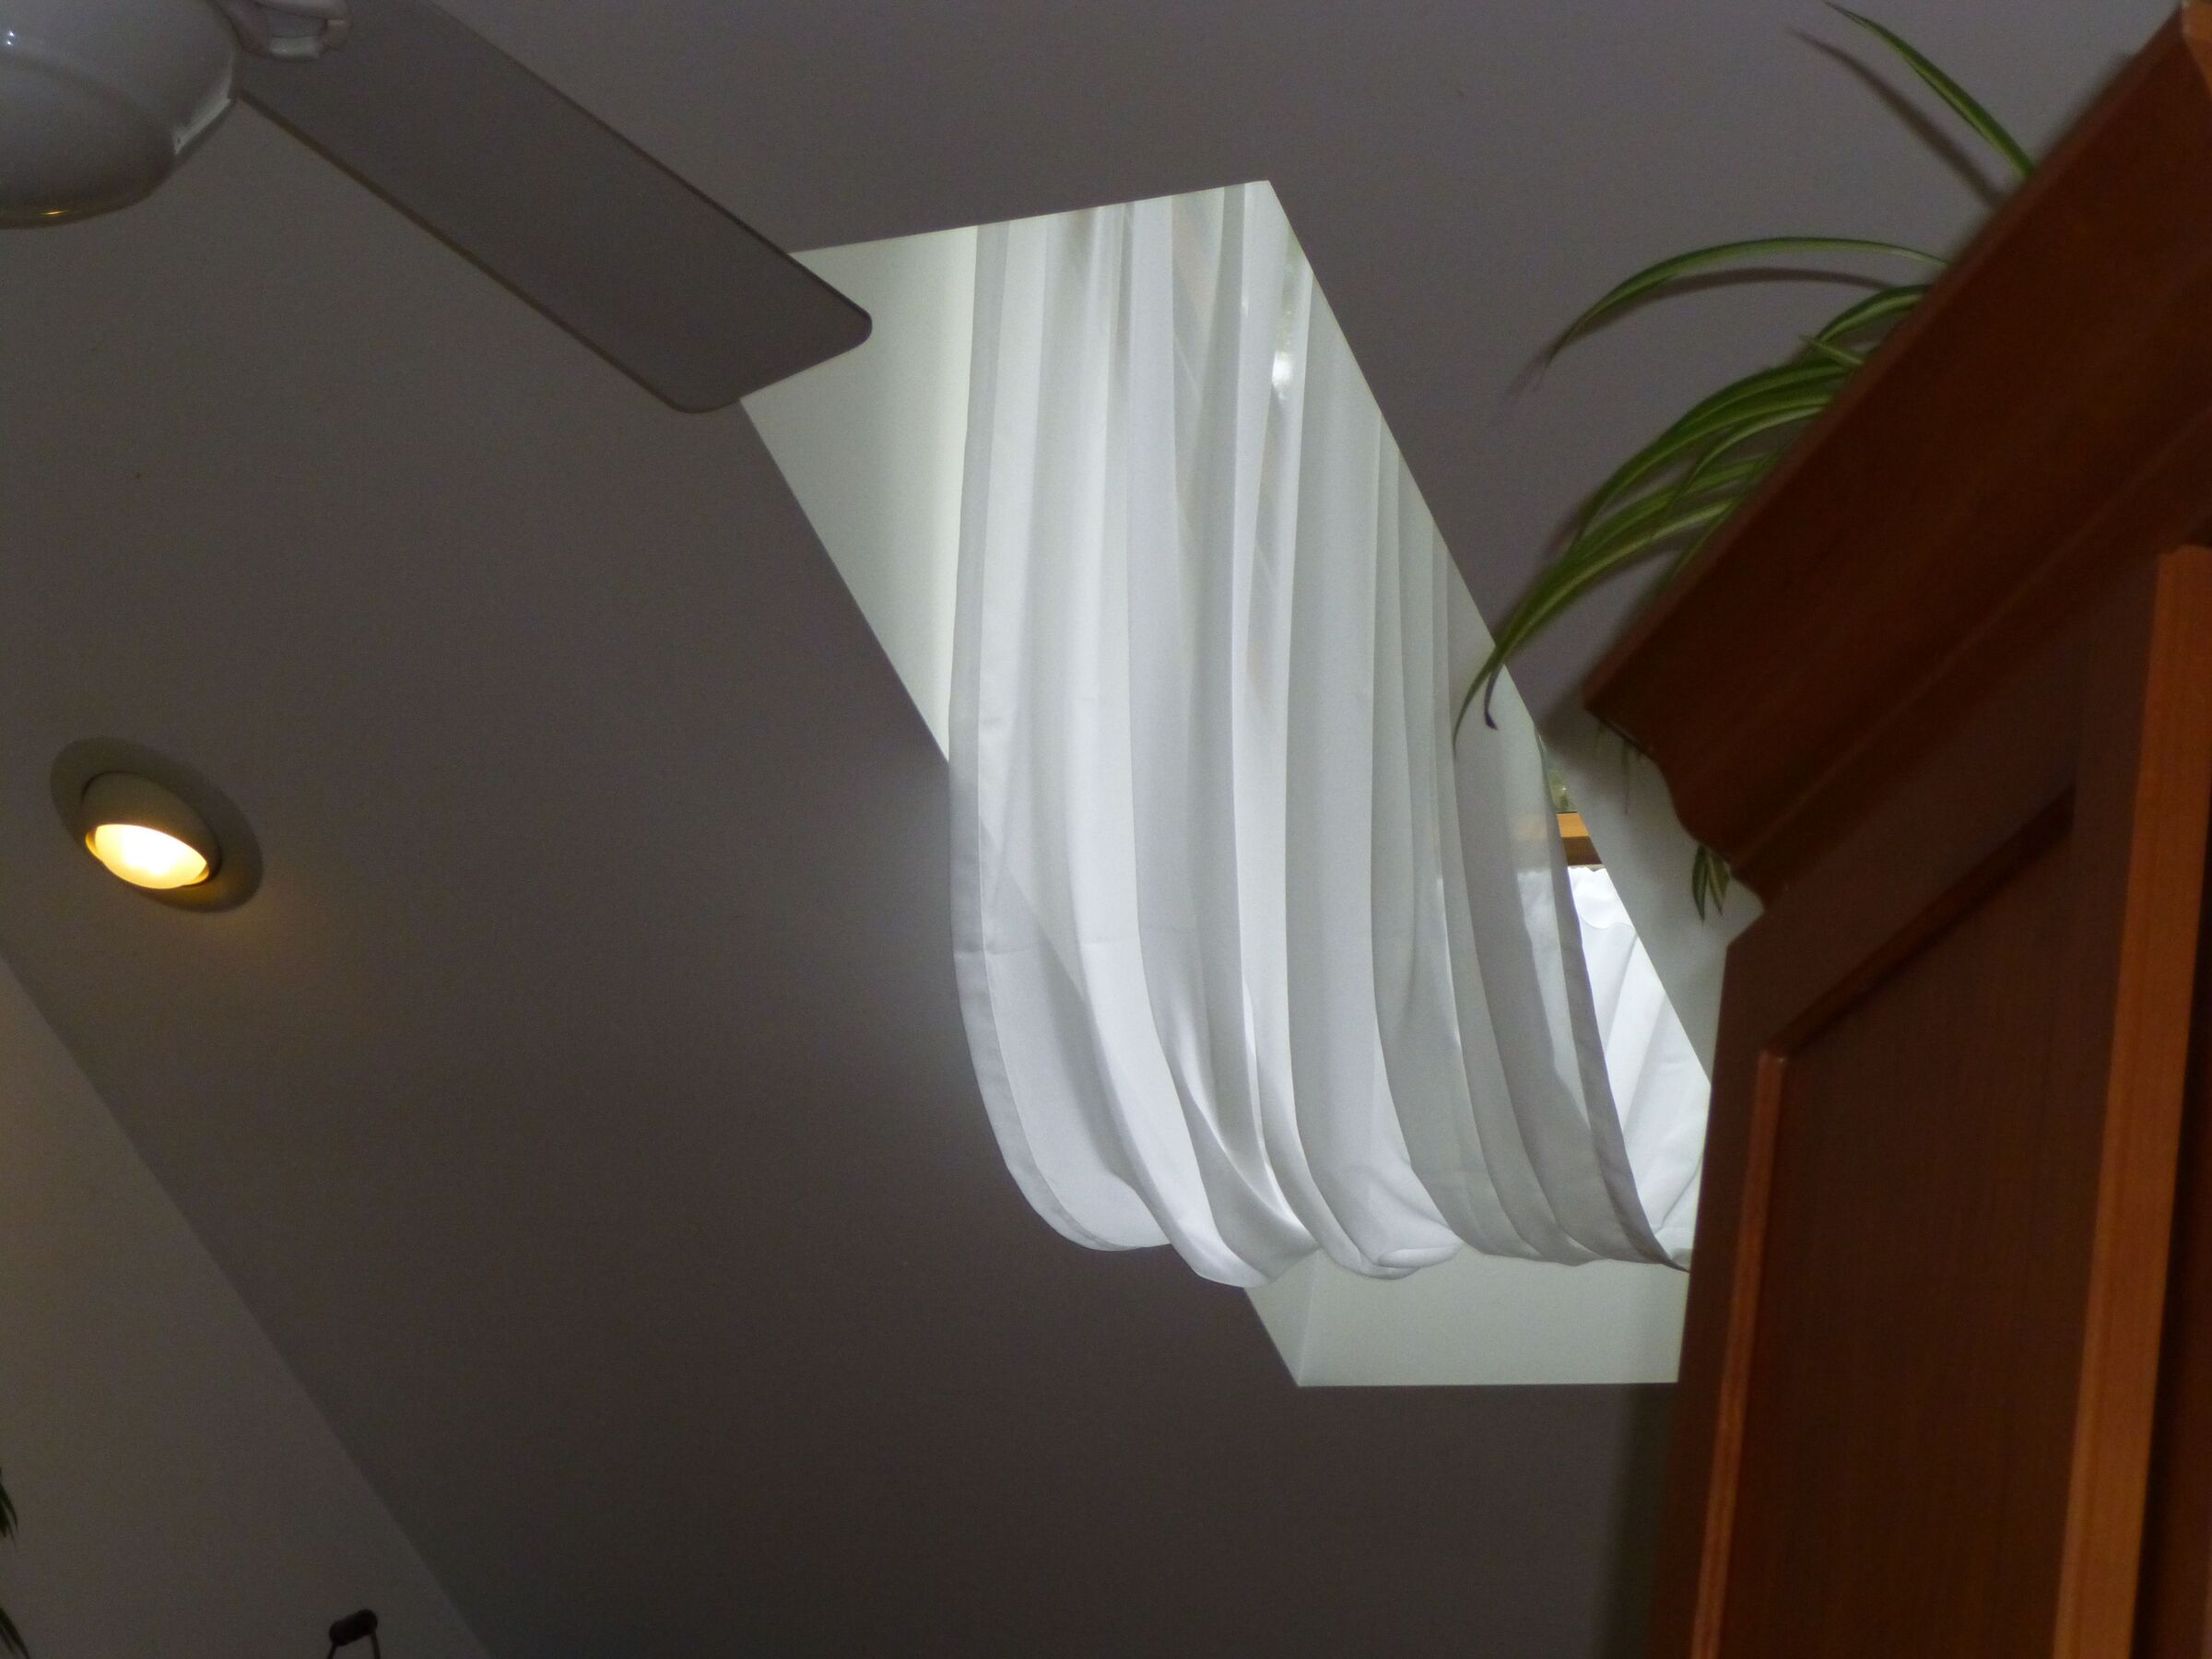
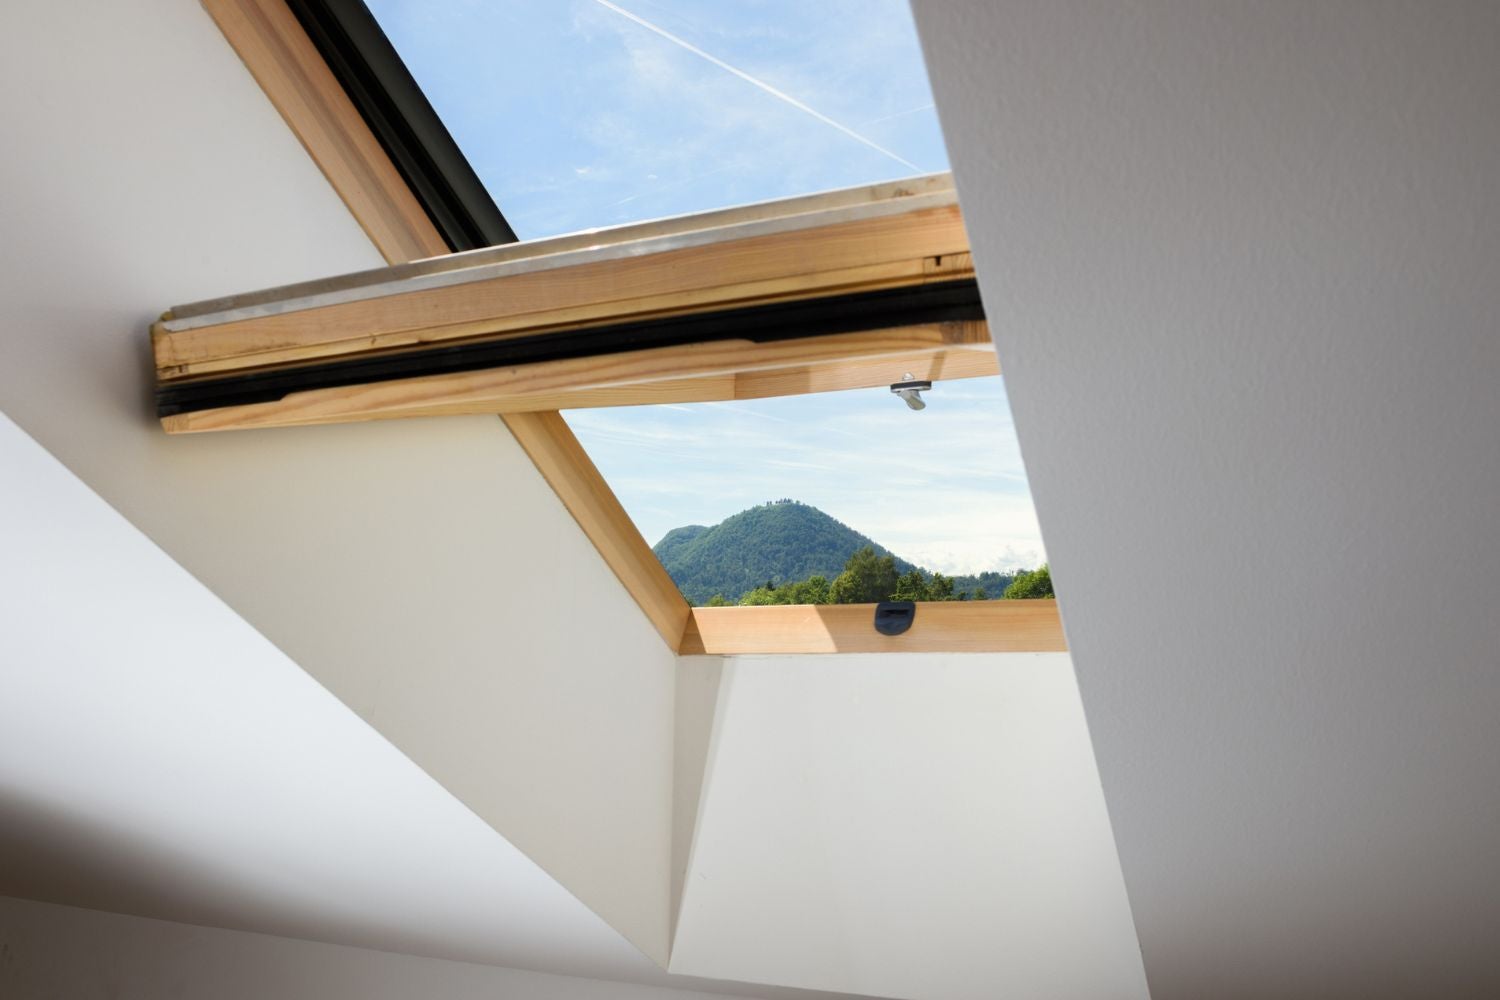
Skylights are a wonderful addition to any home, allowing natural light to flood in and brighten up any space. However, sometimes the intensity of the sunlight can become too much, leading to glare and discomfort. That’s where a skylight shade comes in handy.
A skylight shade is a simple and effective solution to control the amount of light and heat that enters through the skylight. It provides much-needed shade during the peak sun hours, making your living space more comfortable without compromising on natural lighting.
In this article, we will guide you through the process of making your own skylight shade. It’s a great DIY project that can be done with basic materials and tools, and it will save you money compared to buying a pre-made shade. So, let’s get started!
Key Takeaways:
- Create a custom skylight shade using blackout fabric or heavy-duty canvas to control sunlight and enhance comfort in your home. Add a personal touch with decorative elements for a stylish and functional DIY project.
- Save money and personalize your living space by making a DIY skylight shade. Choose the right fabric, measure accurately, and attach Velcro for easy installation. Enjoy the benefits of controlled natural light and improved comfort.
Read more: How To Make Skylight
Materials Needed
Before you begin making your skylight shade, gather the following materials:
- Fabric: Choose a fabric that is thick enough to block out the sunlight but still allow some light to pass through. Blackout fabric or heavy-duty canvas are good options.
- Measuring tape: You’ll need a measuring tape to accurately measure the size of your skylight.
- Pencil or fabric marker: This will be used to mark the measurements on the fabric.
- Scissors: A good pair of fabric scissors will make it easier to cut the fabric neatly.
- Sewing machine or needle and thread: Depending on your sewing skills, you can choose to sew the shade by hand or using a sewing machine.
- Velcro: Velcro strips will be used to attach the shade to the skylight. Make sure you have enough to cover the perimeter of the shade.
- Adhesive: You’ll need a fabric adhesive or a heavy-duty adhesive to secure the Velcro strips to the fabric.
These are the basic materials you’ll need to make a skylight shade. Optional materials include any decorative elements you may want to add, such as trim or tassels, to enhance the look of the shade.
Once you have gathered all the necessary materials, you’ll be ready to proceed to the next steps of measuring, cutting, and assembling your skylight shade.
Step 1: Measuring the Skylight
The first step in making a skylight shade is to accurately measure the dimensions of your skylight. This will ensure that your shade fits perfectly and provides effective coverage.
Start by measuring the width and length of the skylight from edge to edge. Use a measuring tape to get precise measurements and write them down for reference.
Next, measure the depth of the skylight frame. This will help you determine the size of the shade and how much fabric you’ll need.
Once you have the measurements, add an extra inch to both the width and length. This will allow for some overlap when you hang the shade, ensuring that no sunlight seeps through the gaps.
It’s important to note that if your skylight has any obstructions, such as handles or cranks, make sure to take those into account when measuring. You’ll need to adjust the size of the shade accordingly to accommodate these obstructions.
Having accurate measurements is crucial for the success of your skylight shade project. Take your time to measure carefully and double-check your numbers before moving on to the next step.
Now that you have the measurements, you’re ready to move on to choosing the fabric for your skylight shade. In the next step, we’ll explore different fabric options and considerations to keep in mind.
Step 2: Choosing the Fabric
When it comes to choosing the fabric for your skylight shade, you’ll want to consider both functionality and aesthetics.
First and foremost, select a fabric that is thick enough to block out the sunlight and provide the desired level of shade. Blackout fabric or heavy-duty canvas are popular choices due to their ability to effectively block light. However, you can also opt for other thick fabrics that have light-blocking properties.
While blocking out light is important, you may also want to consider fabrics that allow some light to filter through. This will help maintain a softer and more diffused lighting effect in your space, as opposed to complete darkness. Fabrics with a slight sheen or those labeled as light-filtering can be ideal for this purpose.
Furthermore, consider the color and pattern of the fabric. Neutral colors are common choices as they blend well with various interior styles and do not distract from the overall decor. However, if you want to make a statement or add a pop of color, feel free to choose a fabric with a vibrant hue or an eye-catching pattern.
In addition to functionality and aesthetics, make sure to select a fabric that is durable and easy to clean. Skylights are exposed to the elements, so the fabric should be able to withstand sunlight, moisture, and potential stains.
Once you’ve chosen the fabric that meets your criteria, purchase enough to cover the measurements you took earlier. It’s always a good idea to get a little extra fabric to account for any mistakes or future replacements.
With the fabric selection complete, you’re ready to proceed to the next step of cutting the fabric to size.
Step 3: Cutting the Fabric
Now that you have the fabric and measurements, it’s time to cut the fabric to the correct size for your skylight shade.
Begin by laying the fabric on a clean and flat surface. Make sure there are no wrinkles or folds that could affect the accuracy of your cuts.
Using a pencil or fabric marker, mark the measurements you took earlier on the fabric. Remember to add an extra inch to both the width and length to allow for overlap.
Double-check your measurements and markings before you start cutting. It’s essential to be precise and accurate when cutting the fabric to ensure a snug fit for your skylight shade.
Next, use a sharp pair of fabric scissors to carefully cut along the marked lines. Take your time and follow the lines as closely as possible to achieve clean and even cuts.
If you’re using a patterned fabric, make sure to align the pattern correctly when cutting, especially if there’s a specific orientation or design you want to showcase.
Once you’ve finished cutting, you should now have a fabric piece that matches the size of your skylight, with the added inch of overlap on all sides.
Before moving on to the next step, it’s a good idea to double-check the fabric piece against the skylight to ensure that it fits properly and covers the entire opening.
Now that you have the fabric cut to size, it’s time to move on to hemming the edges to give it a clean and finished look.
When making a skylight shade, be sure to measure the skylight accurately to ensure a perfect fit. Use blackout fabric to block out light and insulate the room. Consider adding a motorized option for easy operation.
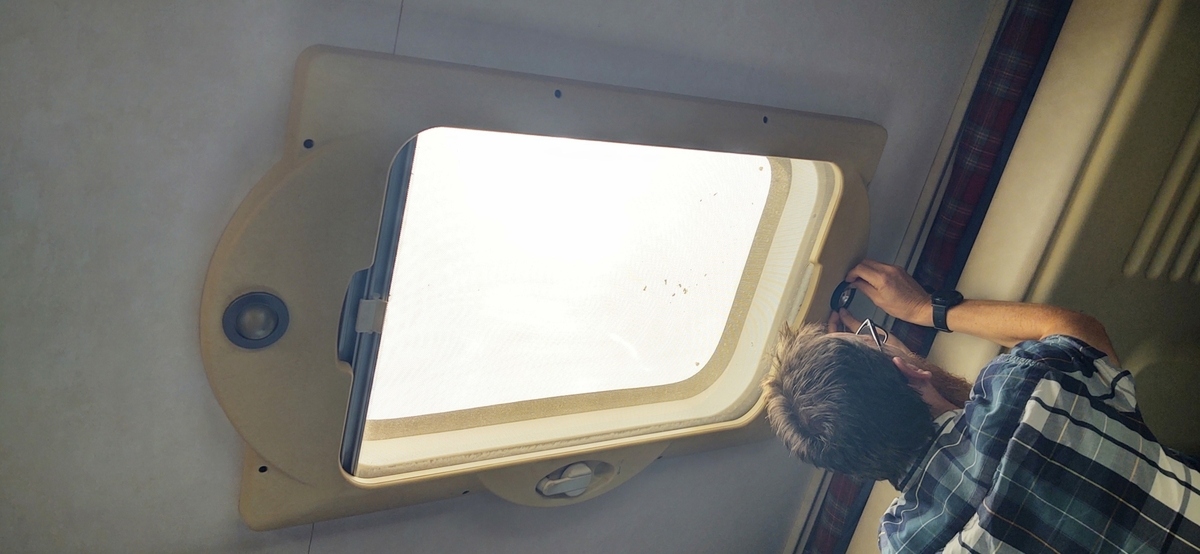
Read also: 9 Amazing RV Skylight Shade For 2025
Step 4: Hemming the Edges
With the fabric cut to the correct size for your skylight shade, it’s time to hem the edges. Hemming will not only give the shade a polished appearance but will also prevent fraying and ensure durability.
Start by folding over the raw edge of the fabric by about half an inch. Use your fingers to press down on the fold, creating a crisp edge.
Next, fold the edge over again by another half an inch to create a double-fold hem. This will enclose the raw edge within the folded fabric, providing a neat and secure finish.
Pin the folded hem in place using sewing pins to keep it secure while you work on the other edges.
Repeat this process for all four edges of the fabric, making sure the hems are consistent in width and neatly folded.
Now it’s time to sew the hems in place. If you have a sewing machine, set it to a straight stitch and sew along the folded edge, removing the pins as you go. Sew as close to the edge of the hem as possible for a clean and professional finish.
If you don’t have access to a sewing machine, you can hand sew the hems using a needle and thread. Choose a thread color that matches the fabric for a seamless look.
Secure the thread with a knot and start stitching along the folded edge, using small, even stitches. Make sure to go through both the layers of fabric to secure the hem tightly.
Continue sewing until you reach the end of the hem, then tie off the thread with a knot to secure it in place.
Once you have sewn all four edges, trim any excess threads and inspect the hems to ensure they are even and securely stitched.
With the edges hemmed, your skylight shade is starting to take shape. In the next step, we’ll explore how to attach the Velcro strips to the shade for easy installation and removal.
Step 5: Attaching the Velcro
Attaching Velcro strips to your skylight shade will allow for easy installation and removal whenever you want to use or remove the shade. This step will ensure that the shade stays securely in place without any gaps.
Start by measuring the length of each side of your skylight shade. Cut the Velcro strips to match the length of each side.
Once the Velcro strips are cut, take one side of the Velcro (hook or loop) and position it along the edge of the fabric, making sure it aligns with the hemmed edge.
Secure the Velcro strip to the fabric using a fabric adhesive or a heavy-duty adhesive suitable for the material of your fabric. Apply a thin and even layer of adhesive to the back of the Velcro strip and press it firmly onto the fabric.
Repeat this process for all four sides of the skylight shade, attaching the corresponding Velcro strip to each edge.
Make sure to leave a small amount of space between each section of Velcro to allow for flexibility and movement when installing the shade.
Press down firmly on the Velcro strips to ensure that they are securely attached to the fabric. Allow the adhesive to dry completely before moving on to the next step.
It’s important to note that if your skylight has an aluminum or plastic frame, you may need to use an adhesive specifically designed for those materials. Consult with a hardware store professional to ensure you choose the right adhesive for your skylight frame.
With the Velcro strips attached, your skylight shade is almost ready to be hung. In the next and final step, we’ll cover how to hang the shade and enjoy the benefits of your DIY creation.
Step 6: Hanging the Shade
Now that you have your skylight shade complete with hemmed edges and Velcro strips, it’s time to hang it up and enjoy the benefits of your DIY creation.
Start by cleaning the surface of your skylight frame to ensure that it’s free from any dust or debris. This will help the Velcro strips adhere properly and keep the shade securely in place.
Take the shade and align it with the skylight frame, ensuring that the Velcro strips are facing the frame. Carefully press the shade onto the frame, allowing the Velcro strips to make contact and securely attach.
Work your way around the skylight, pressing down firmly on each section of the shade to ensure a tight and secure fit. Ensure that the shade covers the entire skylight opening, leaving no gaps for unwanted sunlight to enter.
For skylights with obstructions such as handles or cranks, make sure to position the shade in a way that allows for easy access and operation of these elements.
Once the shade is in place, step back and admire your work. The skylight shade will provide shade and relief from the harsh sunlight, creating a more comfortable and enjoyable living space.
If you ever want to remove the shade, simply detach the Velcro strips by carefully pulling them apart. Store the shade in a safe place until you’re ready to use it again.
It’s important to periodically clean the skylight shade to remove any dust or debris. Follow the cleaning instructions provided for the specific fabric you chose.
With your skylight shade successfully hung and ready to use, you can now enjoy the benefits of controlled natural light and improved comfort in your home.
Congratulations on completing your DIY skylight shade! It’s a project that not only saves you money but also adds a functional and stylish touch to your living space.
We hope this step-by-step guide has been helpful in guiding you through the process. Enjoy the shade and the beautiful lighting in your home!
Will you try making a skylight shade? Let us know in the comments below!
Conclusion
Making your own skylight shade is a rewarding and cost-effective DIY project that allows you to control the amount of sunlight and heat that enters your living space. With just a few materials and some basic sewing skills, you can create a shade that perfectly fits your skylight and enhances your comfort.
Throughout this guide, we’ve walked you through the step-by-step process of measuring the skylight, choosing the right fabric, cutting and hemming the edges, attaching Velcro strips, and finally hanging the shade. Each step contributes to the overall success of your skylight shade, ensuring optimal functionality and a polished look.
Not only does a skylight shade provide relief from intense sunlight and reduce glare, but it also adds an element of style to your space. With numerous fabric choices and the ability to customize the design, you can create a shade that complements your interior decor and personal taste.
Remember to periodically clean your skylight shade to maintain its appearance and functionality, and always follow the fabric cleaning instructions provided.
By making your own skylight shade, you not only save money compared to purchasing a pre-made shade but also gain the satisfaction of completing a DIY project that enhances the comfort and aesthetics of your home.
We hope this guide has provided you with the knowledge and inspiration to create your own skylight shade. Enjoy the benefits of controlled natural light and the cozy ambiance it brings to your living space.
Now, it’s time to grab your materials and get started on making your own skylight shade. Embrace your creativity and enjoy the process of transforming your skylight into a stylish and functional feature of your home!
Frequently Asked Questions about How To Make A Skylight Shade
Was this page helpful?
At Storables.com, we guarantee accurate and reliable information. Our content, validated by Expert Board Contributors, is crafted following stringent Editorial Policies. We're committed to providing you with well-researched, expert-backed insights for all your informational needs.


0 thoughts on “How To Make A Skylight Shade”