Home>Ideas and Tips>Upgrading Your Home’s Attic With DIY Foam Board Insulation
Ideas and Tips
Upgrading Your Home’s Attic With DIY Foam Board Insulation
Published: September 20, 2024
Upgrade your home's attic with DIY foam board insulation to boost energy efficiency, comfort, and storage space. Follow our step-by-step guide for a successful project.
(Many of the links in this article redirect to a specific reviewed product. Your purchase of these products through affiliate links helps to generate commission for Storables.com, at no extra cost. Learn more)
Introduction
As homeowners, we're always on the lookout for ways to make our homes more energy-efficient and comfortable. One of the best ways to do this is by upgrading the insulation in your attic. So, why should you consider upgrading your attic with DIY foam board insulation? Let's dive in and find out.
Benefits of Attic Insulation
Upgrading your attic insulation isn't just about keeping your home warm in the winter and cool in the summer. It's about creating a more comfortable living environment and saving money on energy bills. Here are some key benefits:
- Energy Efficiency: Properly insulated attics help reduce heat loss in the winter and heat gain in the summer. This means your heating and cooling systems don't have to work as hard, leading to lower energy bills.
- Comfort: Insulated attics ensure that your living space remains comfortable year-round. No more drafts or hot spots!
- Structural Integrity: Insulation helps prevent moisture buildup, which can lead to structural damage and costly repairs.
- Increased Storage Space: By creating a more stable and accessible attic space, you can use it for storage or even convert it into a loft.
Choosing the Right Insulation
When it comes to attic insulation, there are several types available, each with its own pros and cons. Here's a quick rundown:
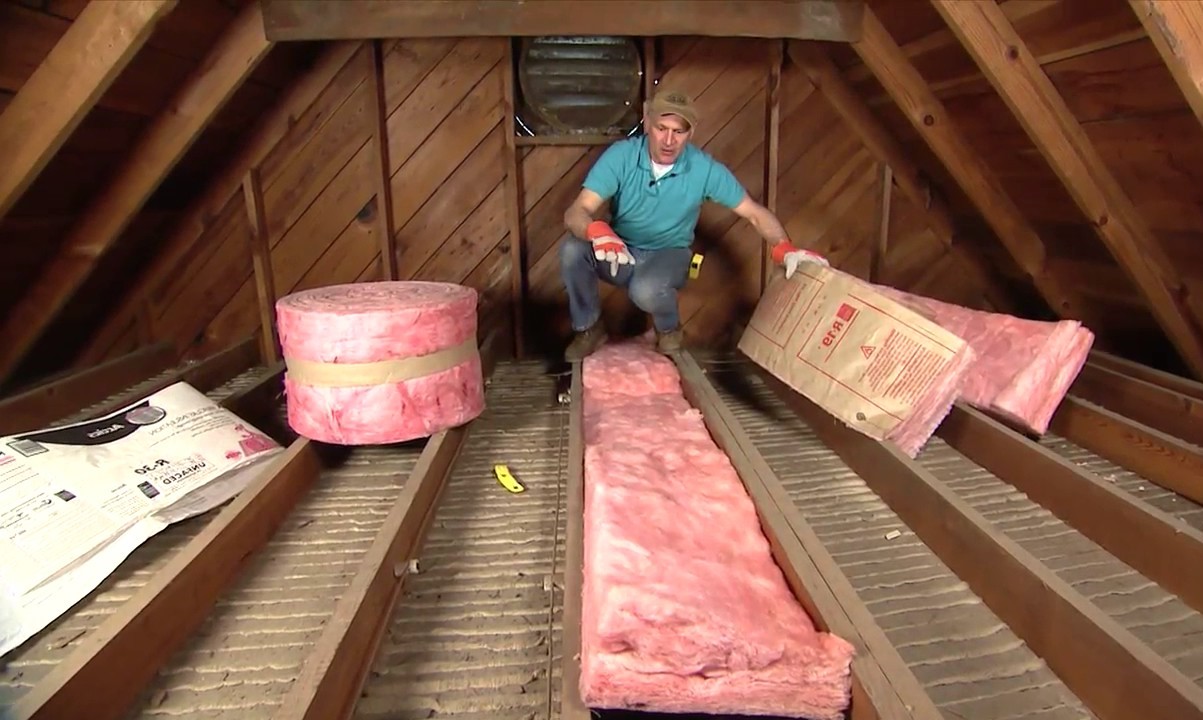
- Fiberglass Batts: These are the most common type of insulation but can be less effective if not installed correctly.
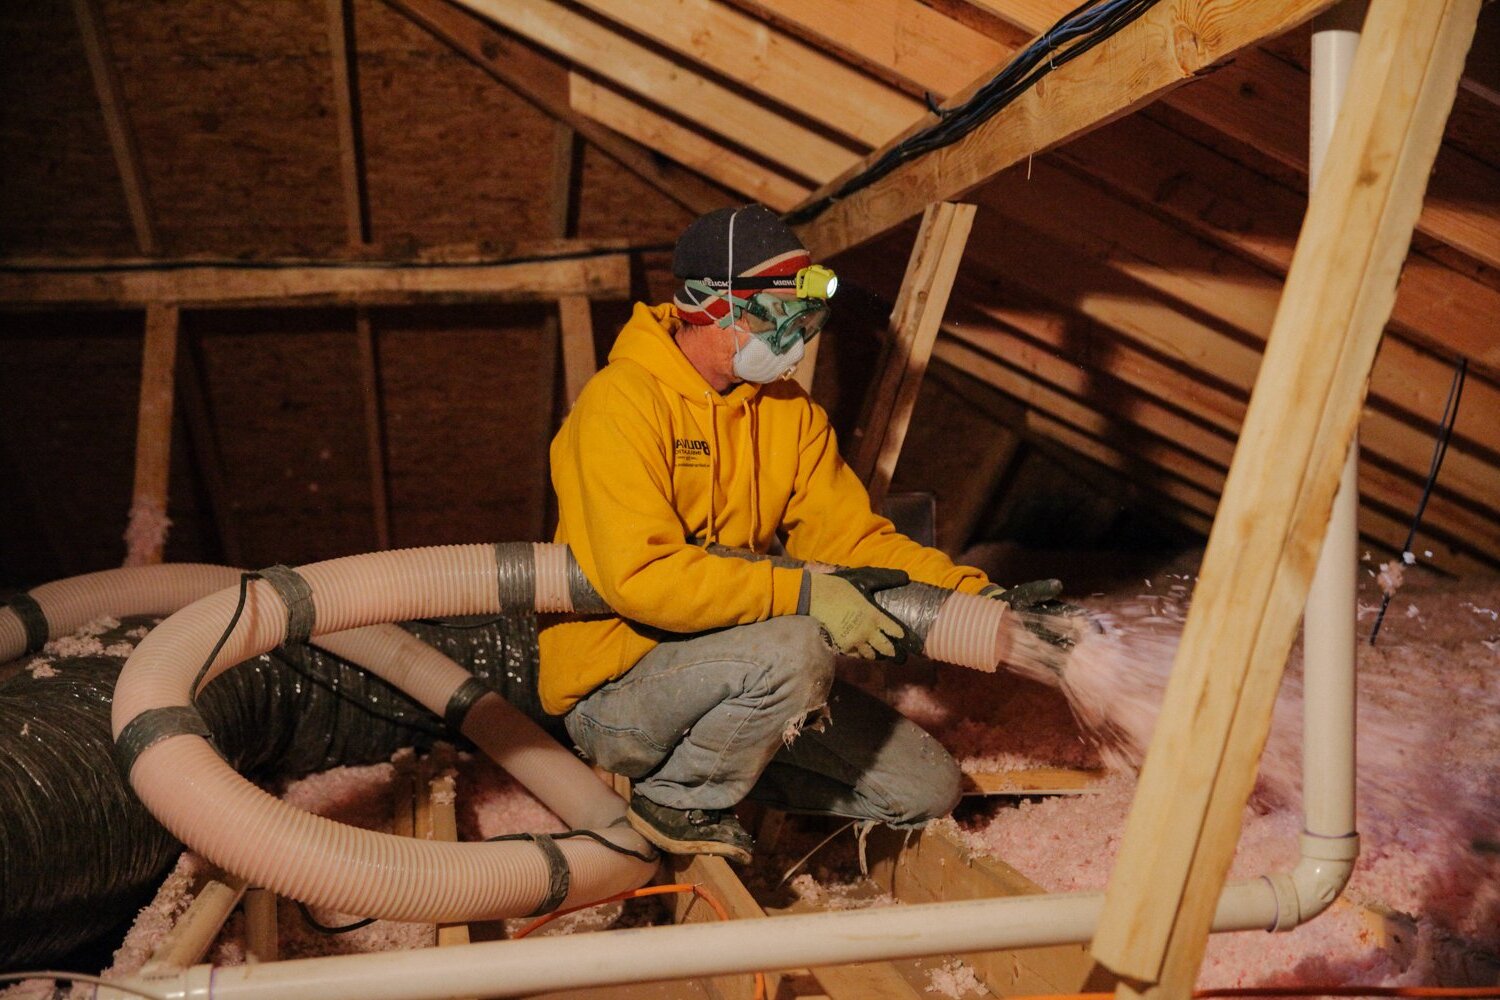
- Blown-In Insulation: This type provides better coverage but can be more expensive.
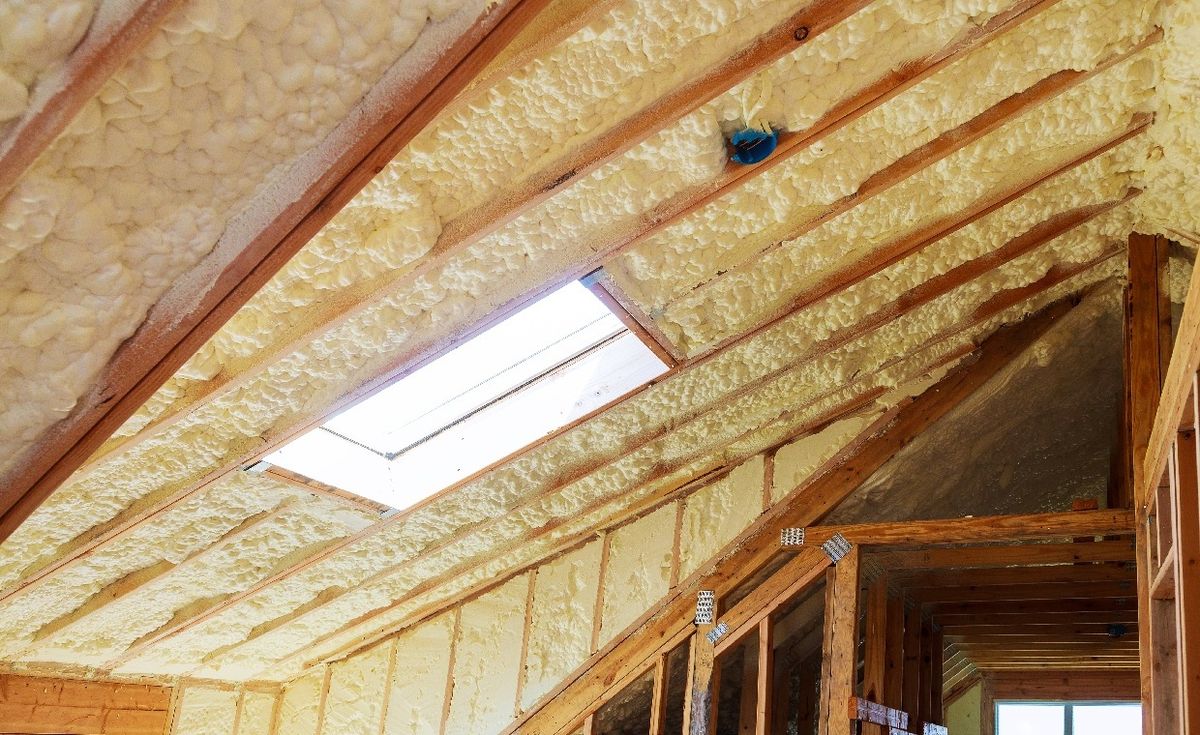
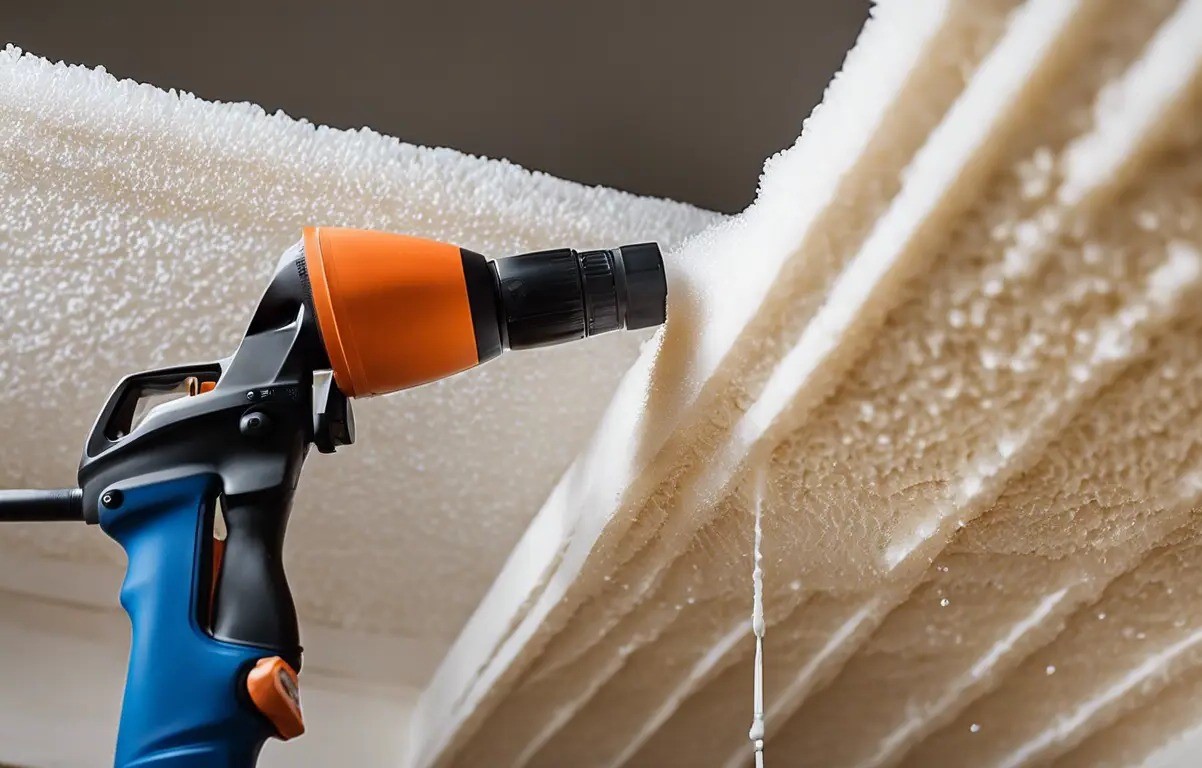
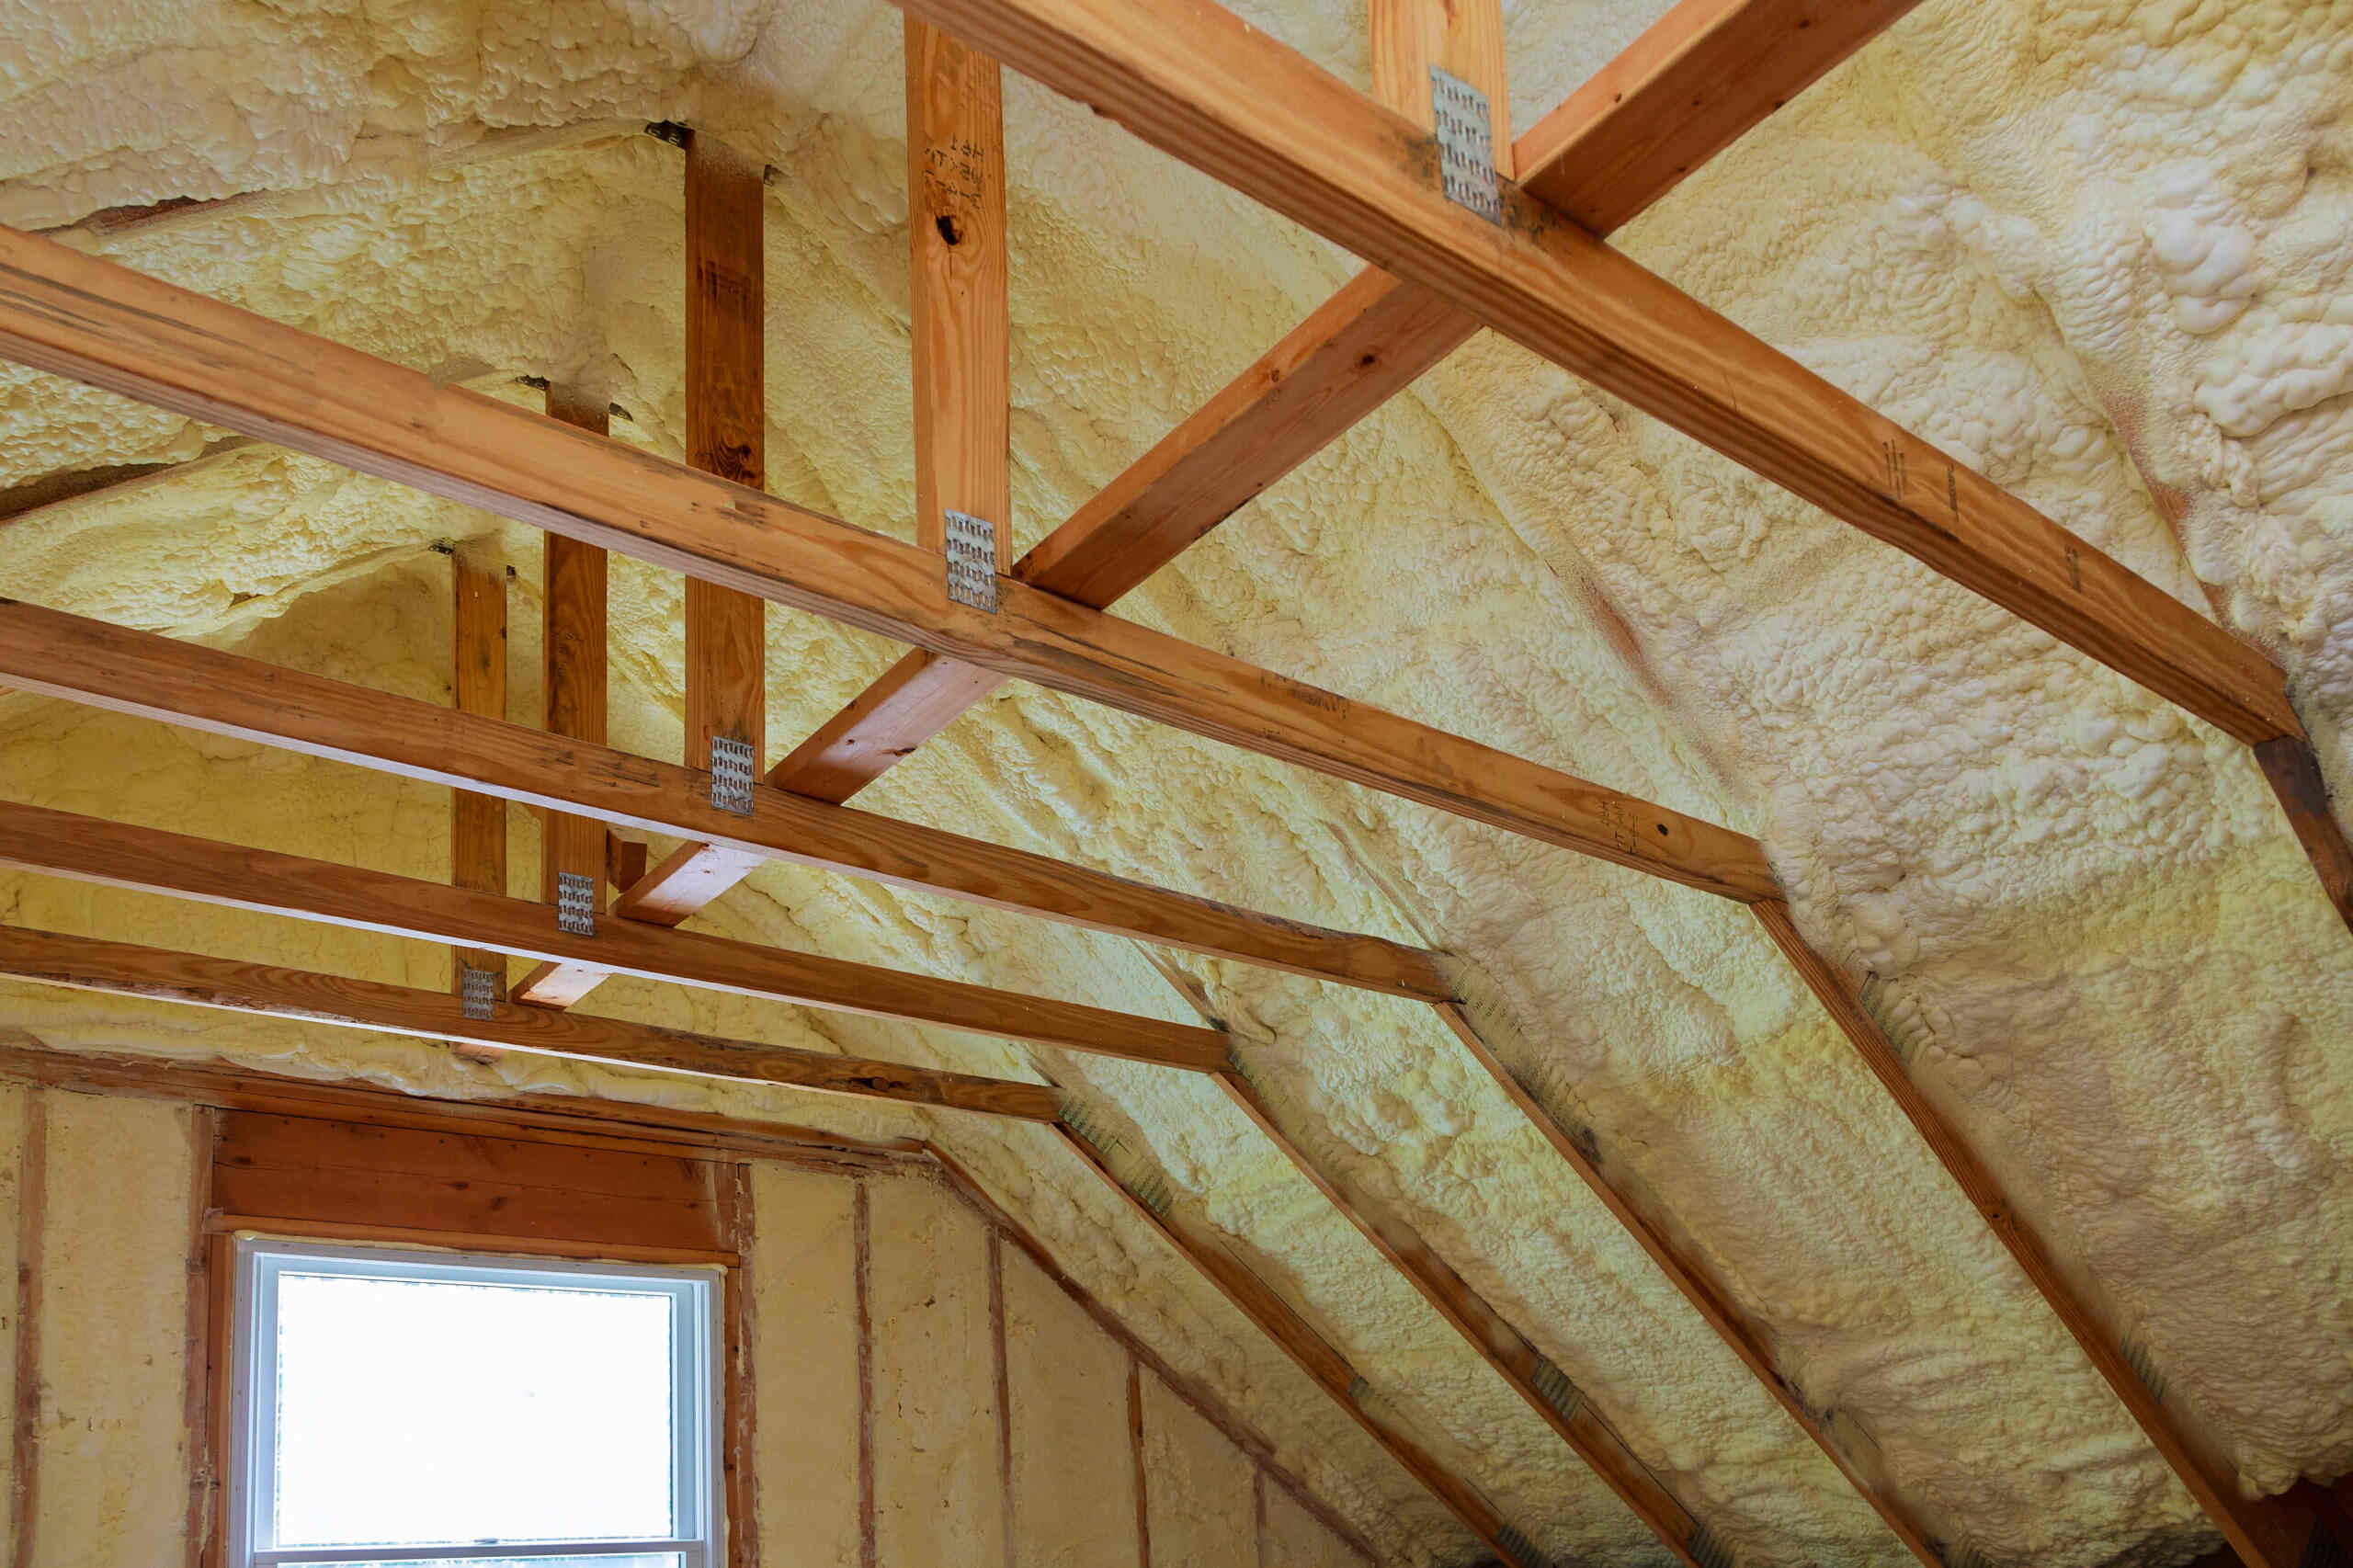
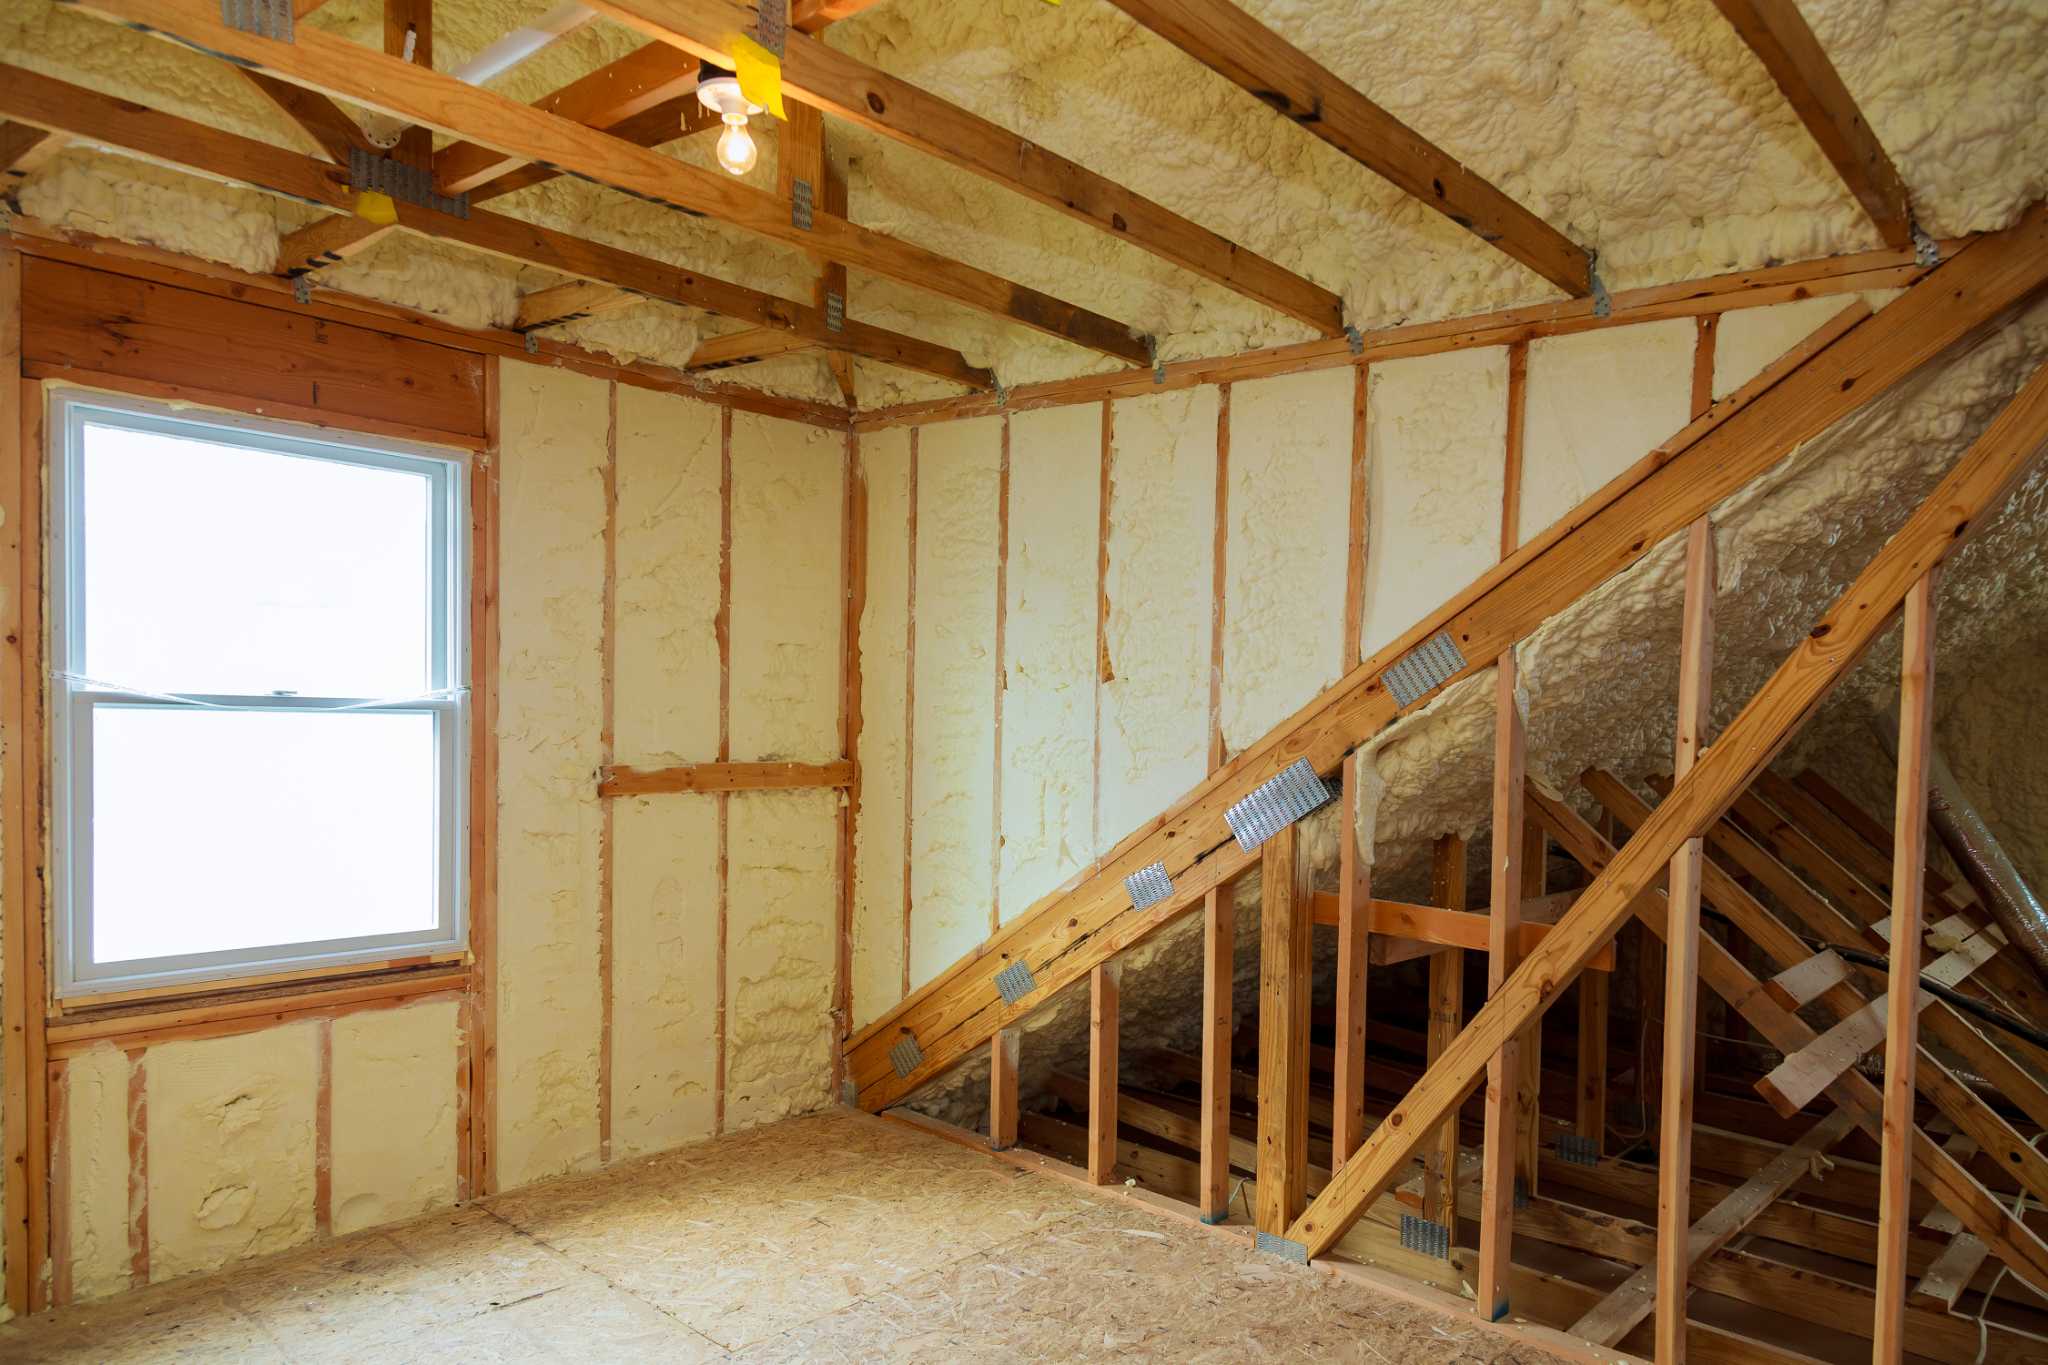
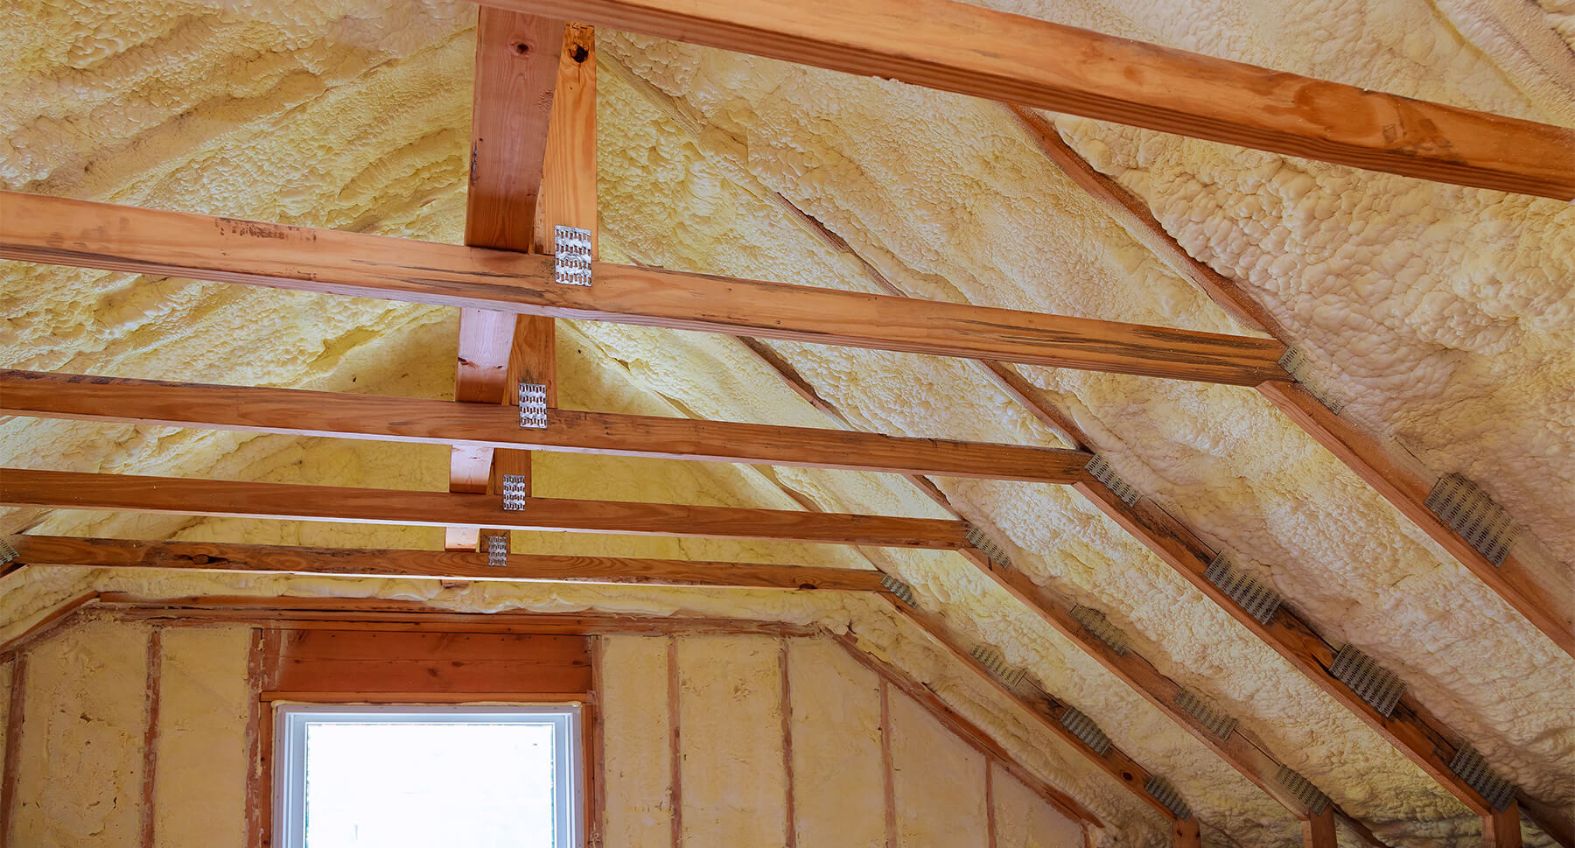
- Spray Foam: Highly effective but also the most expensive option.
- Foam Board Insulation: A cost-effective and DIY-friendly option that offers good thermal performance.
Foam Board Insulation: The DIY Option
Foam board insulation is a popular choice for DIY projects due to its ease of installation and cost-effectiveness. Here's what you need to know:
Types of Foam Board Insulation
- Rigid Foam Board: This is the most common type used in attics. It comes in various thicknesses (e.g., R-10, R-19, R-38) and is available in different materials like XPS (extruded polystyrene) or EPS (expanded polystyrene).
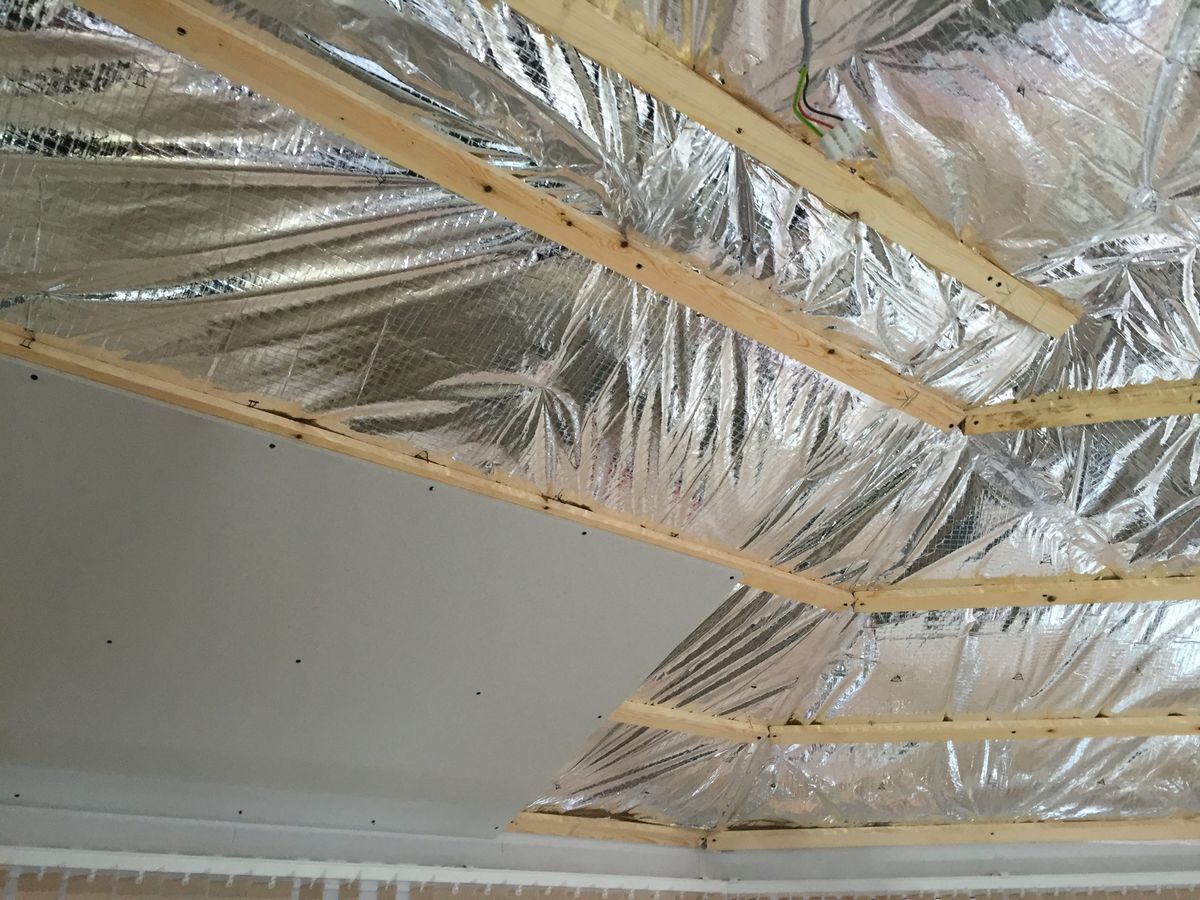
- Reflective Insulation: This type is designed to reflect radiant heat rather than absorb it, making it ideal for hot climates.
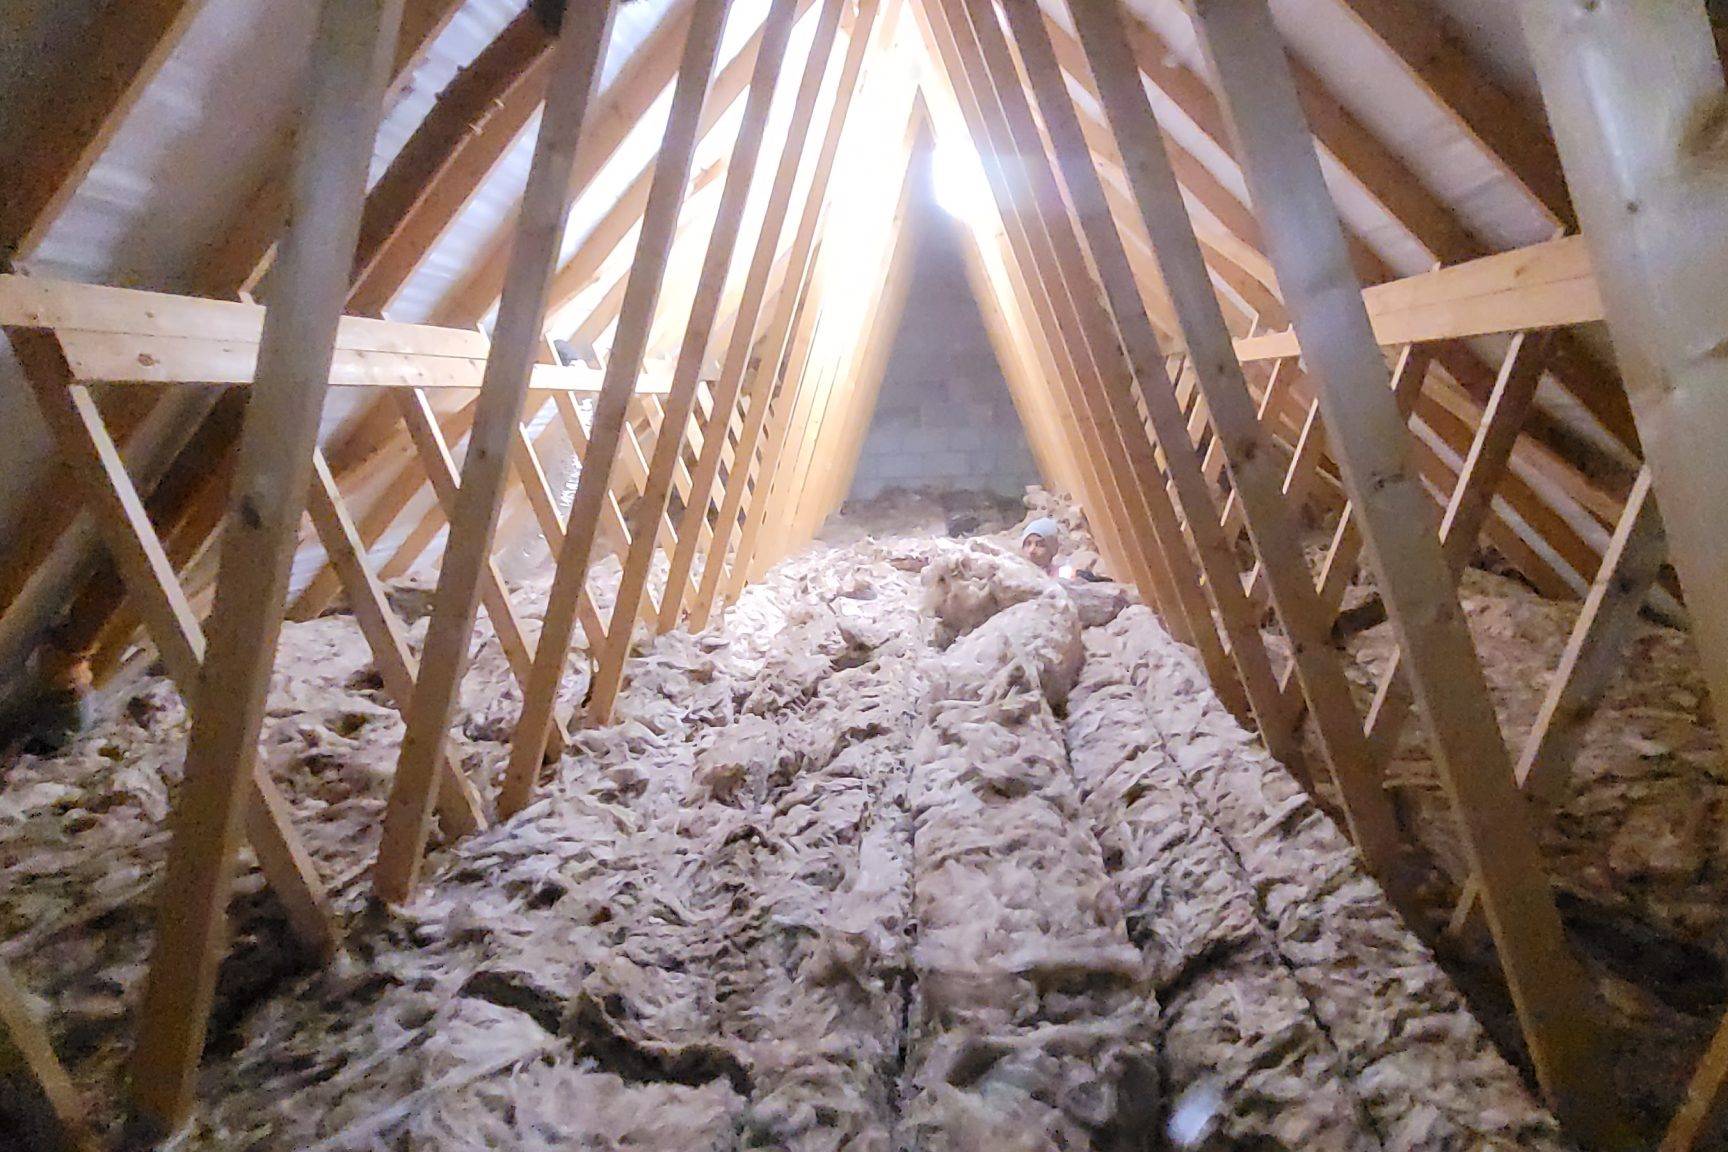
Preparing Your Attic
Before installing foam board insulation, it's crucial to prepare your attic space:
- Clear the Area: Remove any debris, old insulation, or obstructions from the attic floor.
- Seal Gaps and Leaks: Use caulk or spray foam to seal any gaps around vents, chimneys, and electrical outlets.
- Check for Moisture: Ensure there are no signs of moisture or water damage in the attic.
Installing Foam Board Insulation
Now that your attic is prepared, it's time to install the foam board insulation:
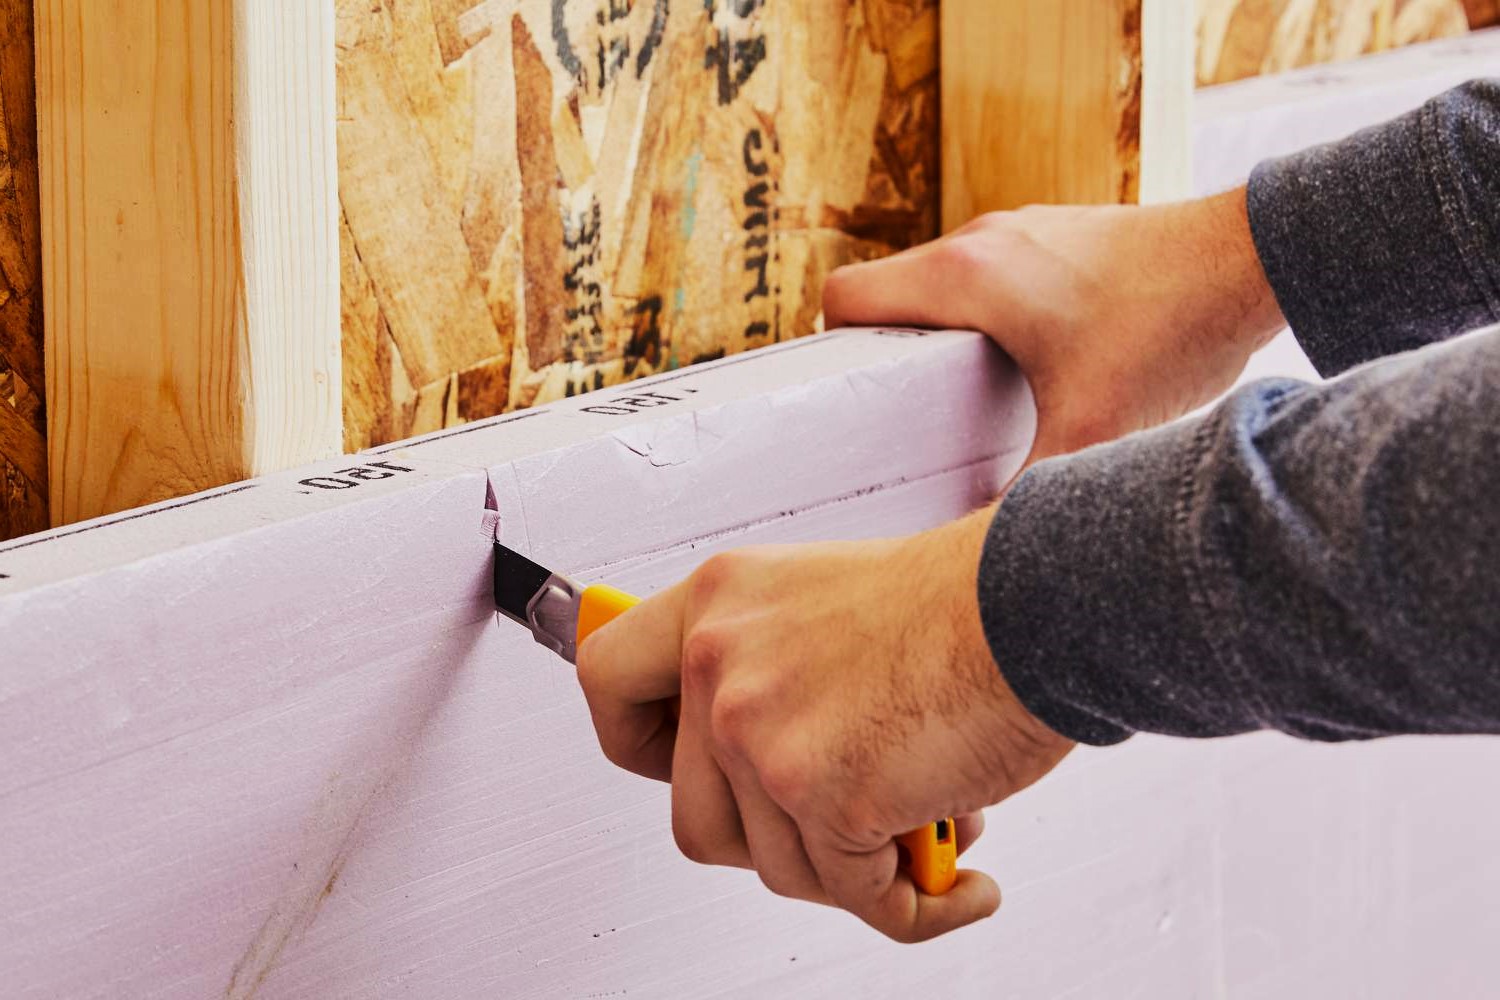
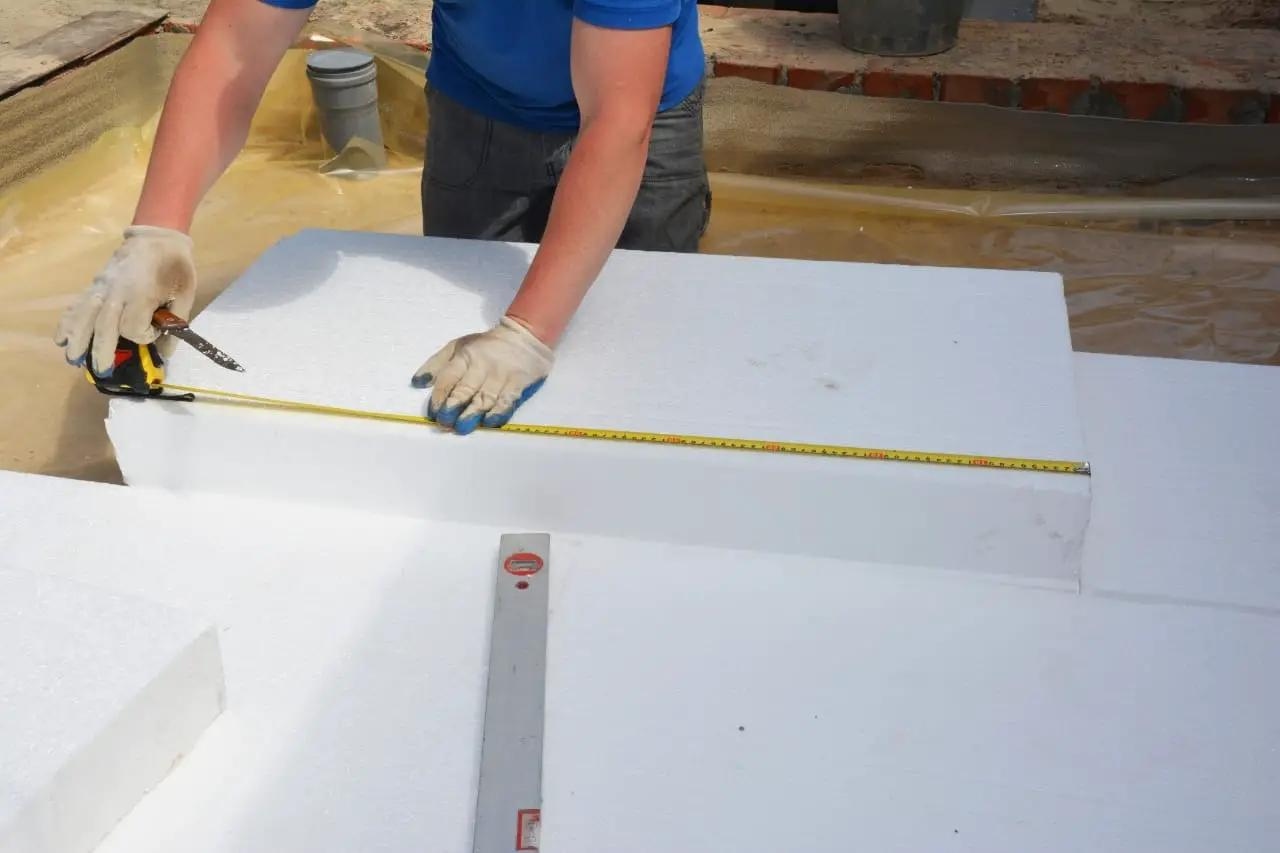
- Measure Your Space: Determine how much foam board you need based on the size of your attic floor.
- Cut the Foam Boards: Use a utility knife or saw to cut the foam boards into the required size.
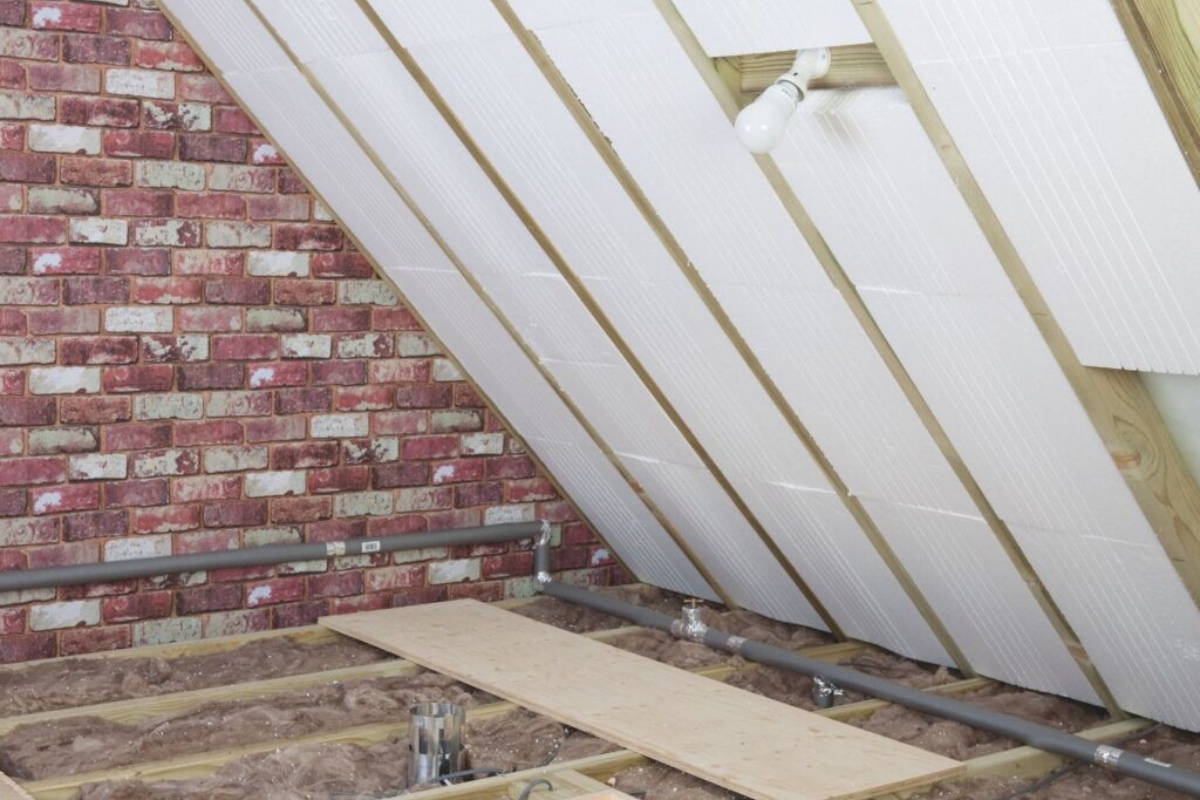
- Lay Down the First Layer: Start by laying down a layer of foam board over the existing insulation or directly on the attic floor.
- Seal Gaps with Tape: Use plumbers tape to seal any gaps between the foam boards and the rafters.
- Install Baffles (Optional): If you have rafter baffles, ensure they are properly sealed with tape before adding more insulation.
- Add Additional Layers: Continue adding layers of foam board, ensuring each layer overlaps the previous one by about 6 inches.
- Secure with Hooks or Nails: Use insulation hooks or nails to secure the foam boards to the rafters.
Tips and Considerations
- Air Sealing: Proper air sealing is crucial to prevent heat from escaping through gaps and cracks.
- Ventilation: Ensure good ventilation in your attic by installing vents or fans to prevent moisture buildup.
- Moisture Control: Be cautious when working with foam board insulation as it can act as a vapor barrier if not installed correctly.
- Weight Distribution: Ensure that the weight of the foam boards is evenly distributed to avoid compressing the existing insulation.
Case Studies and Real-Life Experiences
Let's look at some real-life scenarios where homeowners have successfully upgraded their attics with DIY foam board insulation:
Scenario 1: Compacting Existing Insulation
A homeowner in Phoenix, Arizona, noticed that part of their upstairs was extremely hot even with the A/C running all afternoon. They considered adding R-10 foam board insulation over the existing rock wool insulation but were warned against compacting the existing insulation as it would reduce its effectiveness and create downward pressure on the ceiling.
Scenario 2: Improving Ventilation
Another homeowner in Calgary, Alberta, realized that their attic was poorly ventilated and decided to upgrade their insulation by installing baffles and laying a block of rigid foam on the ceiling. They also ensured proper air sealing around fixtures and vents.
Conclusion
Upgrading your home's attic with DIY foam board insulation is a cost-effective and efficient way to improve energy efficiency and comfort. By following these steps and considering the tips and considerations outlined above, you can successfully transform your attic into a well-insulated space that enhances your home's overall value.
Additional Resources
If you're unsure about any part of the process or need further guidance, consider consulting with a professional or using resources from reputable organizations like the Department of Energy or local home improvement stores.
By taking control of your attic insulation, you're not only saving money on energy bills but also creating a more comfortable living environment for yourself and your family. Happy DIY-ing!
Was this page helpful?
At Storables.com, we guarantee accurate and reliable information. Our content, validated by Expert Board Contributors, is crafted following stringent Editorial Policies. We're committed to providing you with well-researched, expert-backed insights for all your informational needs.


0 thoughts on “Upgrading Your Home’s Attic With DIY Foam Board Insulation”