Articles
How To Cut Insulation Foam Board
Modified: August 17, 2024
Learn how to cut insulation foam board with our informative articles. Discover useful tips and techniques for achieving precise cuts and improving your insulation installation.
(Many of the links in this article redirect to a specific reviewed product. Your purchase of these products through affiliate links helps to generate commission for Storables.com, at no extra cost. Learn more)
Introduction
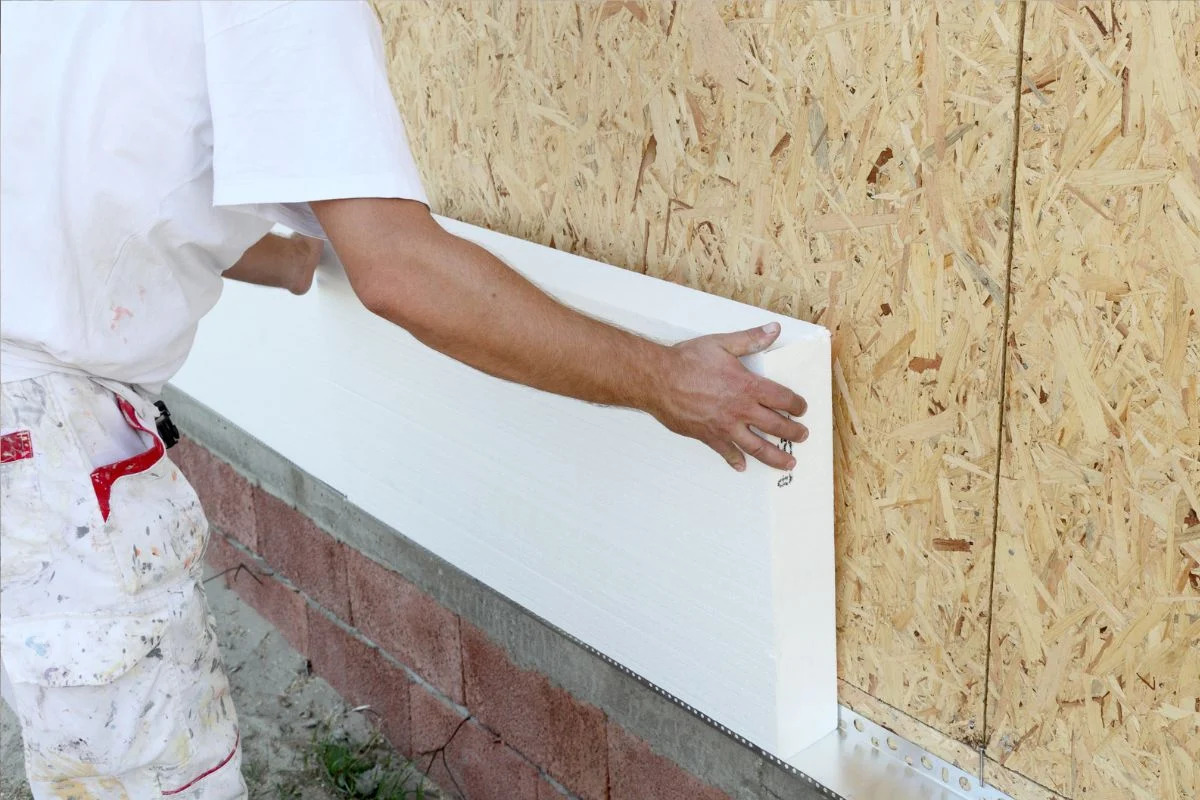
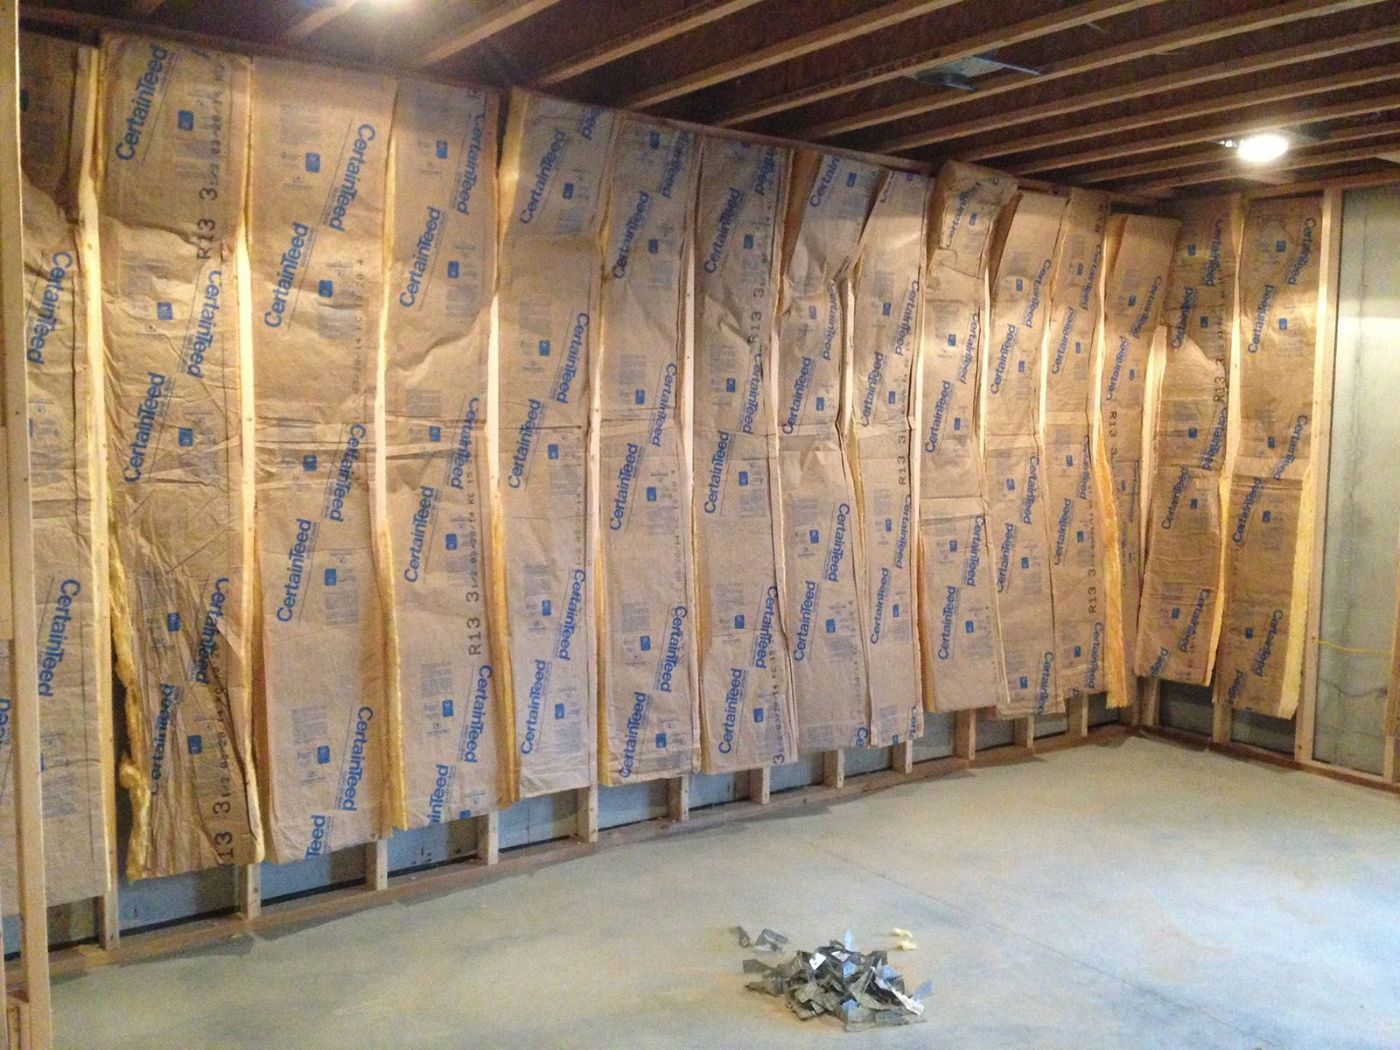
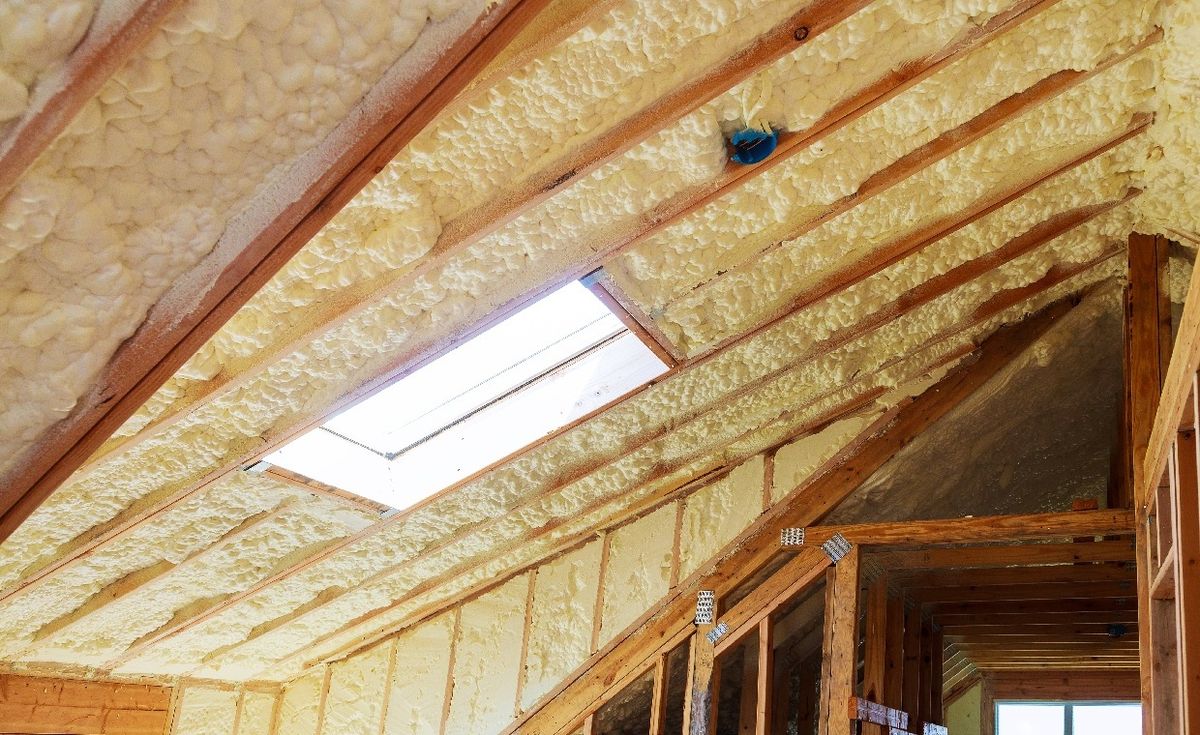
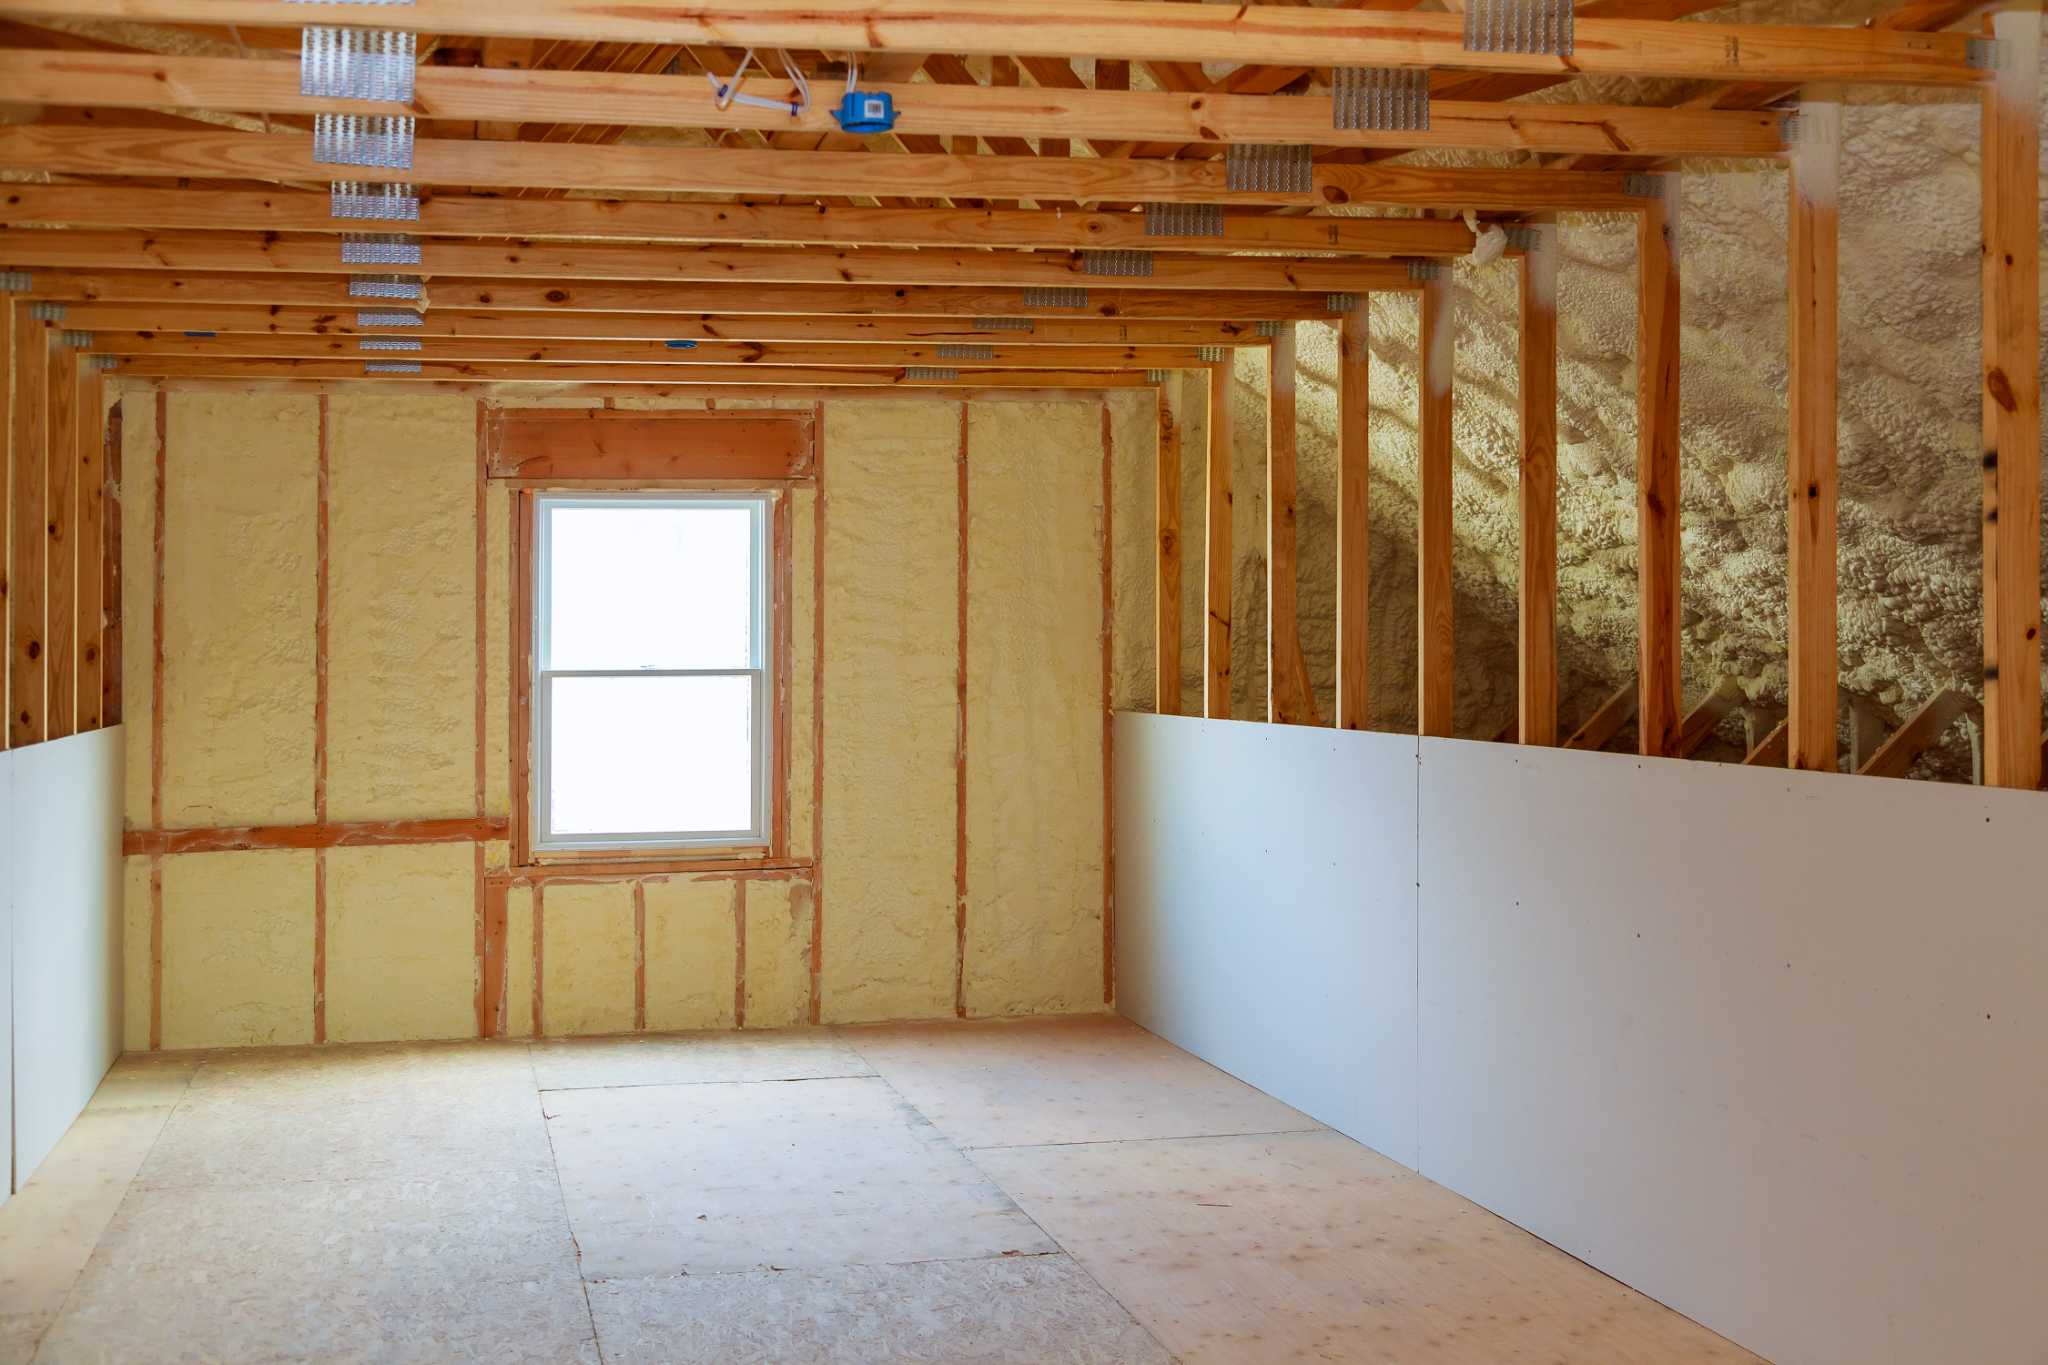
Insulation foam boards are commonly used in a variety of applications, such as insulating walls, roofs, and foundations. These boards are made of polystyrene or polyurethane and offer excellent thermal resistance, making them an ideal choice for energy-efficient construction. However, to properly install insulation foam boards, it is often necessary to cut them to the desired size and shape.
In this article, we will explore the process of cutting insulation foam boards effectively and safely. We will provide step-by-step instructions for measuring, marking, and cutting foam boards using different methods. Additionally, we will discuss important safety precautions to follow to avoid any accidents or injuries during the cutting process.
Before we dive into the cutting techniques, it’s important to note that insulation foam boards can release harmful fumes when heated or burned. Therefore, it is essential to work in a well-ventilated area or wear appropriate personal protective equipment (PPE), like a respirator and safety goggles, to prevent inhaling any harmful substances.
Now, let’s gather our tools and materials and get started with cutting insulation foam boards!
Key Takeaways:
- Prioritize safety by wearing protective gear, working in a well-ventilated area, and securing the foam board to prevent accidents or injuries while cutting insulation foam boards.
- Choose the right cutting method, whether a utility knife for straight cuts or a hot wire cutter for complex shapes, to achieve precise and professional results when cutting insulation foam boards.
Read more: Where To Buy Insulation Foam Board
Safety Precautions
When working with insulation foam boards, it is crucial to prioritize safety to prevent accidents and injuries. Here are some important safety precautions to keep in mind:
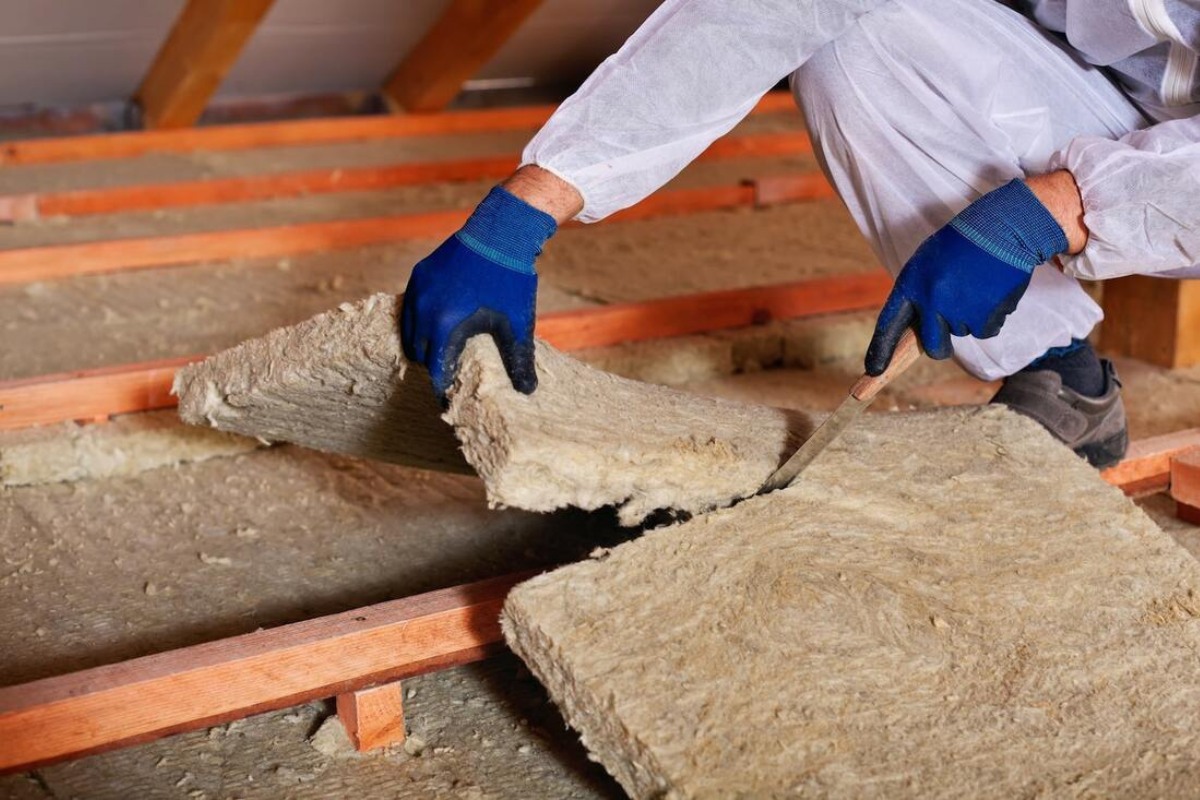
- Wear protective gear: Always wear safety goggles to protect your eyes from flying debris and a respirator to avoid inhaling any harmful dust or fumes.
- Work in a well-ventilated area: If you are using a hot wire cutter or any method that involves heat, make sure you are working in a well-ventilated area. This will help prevent the accumulation of fumes and maintain good air quality.
- Secure the foam board: Before cutting, ensure that the foam board is securely placed on a stable surface. This will prevent it from slipping or moving during the cutting process, reducing the risk of accidents.
- Use proper tools: Always use the appropriate tools for cutting insulation foam boards. A sharp utility knife or a hot wire cutter specifically designed for this purpose will ensure clean and precise cuts, reducing the risk of accidents.
- Take breaks: Cutting foam boards can be a repetitive task, so it’s important to take regular breaks to avoid strain or fatigue. This will help you maintain focus and precision throughout the cutting process.
- Store foam boards properly: When not in use, store insulation foam boards in a dry and secure area away from heat sources and direct sunlight. This will prevent them from warping or degrading, ensuring their usability for future projects.
- Dispose of waste properly: Properly dispose of any waste, including offcuts and small foam pieces. Check local regulations and guidelines for proper disposal methods, as some foam boards may require special handling.
By following these safety precautions, you can create a safe working environment and minimize the risk of accidents or injuries while cutting insulation foam boards.
Tools and Materials
Before you can start cutting insulation foam boards, it’s important to gather the necessary tools and materials. Here are the items you will need:
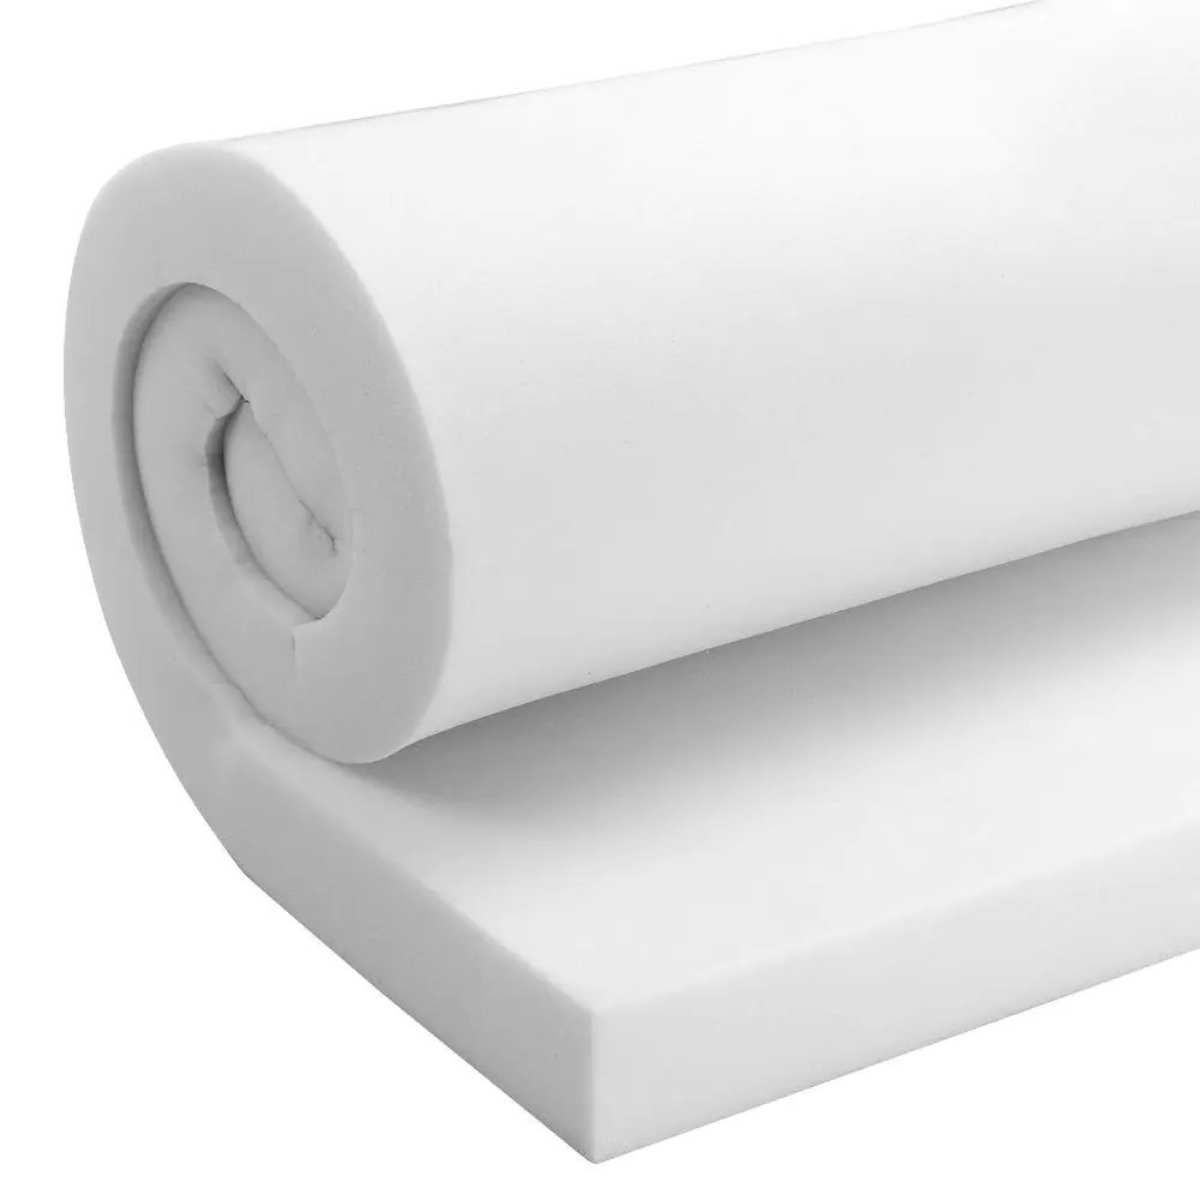
- Insulation foam board: Choose a high-quality foam board with the appropriate thickness for your specific project. Insulation foam boards are available in various thicknesses, typically ranging from 1/2 inch to several inches.
- Measuring tape: Use a measuring tape to accurately measure the dimensions for cutting the foam board. This will ensure that you achieve precise and symmetrical cuts.
- Permanent marker or pencil: A permanent marker or pencil will be used to mark the foam board before cutting. Make sure to use a marker or pencil that will leave visible marks on the foam board.
- Utility knife: A sharp utility knife with a retractable blade is commonly used for cutting insulation foam boards. Make sure the blade is sharp to achieve clean cuts.
- Hot wire cutter (optional): A hot wire cutter is a specialized tool designed for cutting foam boards. It uses a heated wire to melt through the foam, producing precise and smooth cuts. If you plan to cut a large amount of foam or need to create complex shapes, a hot wire cutter can be a valuable tool.
- Sanding block (optional): If you want to smooth out the edges of the cut foam board, a sanding block can be used to gently sand away any roughness. This step is optional and mainly depends on your desired finish.
- Personal Protective Equipment (PPE): As mentioned earlier, it is crucial to prioritize safety when working with insulation foam boards. Make sure to wear safety goggles and a respirator to protect yourself from potential hazards.
With these tools and materials at hand, you are ready to begin cutting insulation foam boards. Keep in mind the specific cutting method you plan to use and ensure you have the necessary tools available.
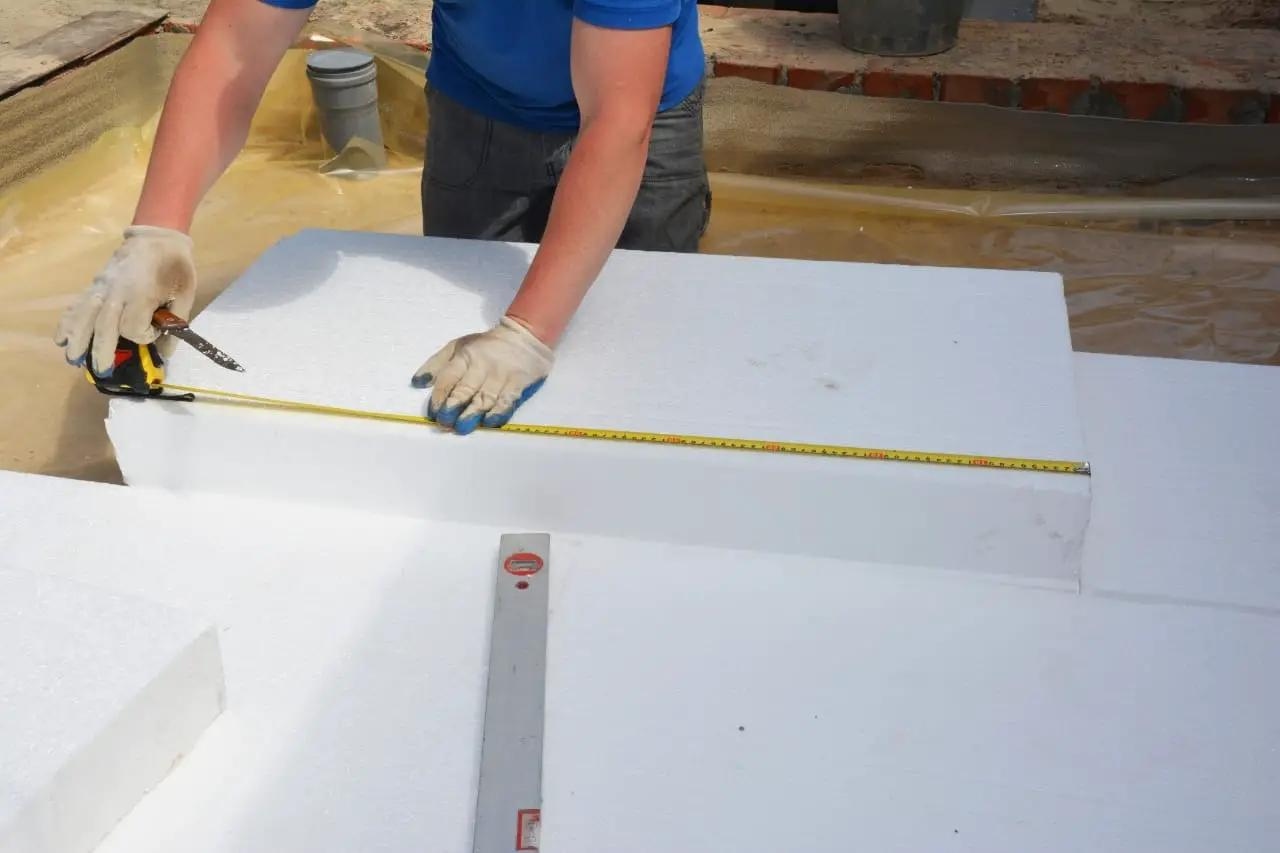
Step 1: Measuring and Marking the Foam Board
Before you start cutting the insulation foam board, it’s essential to accurately measure and mark the dimensions you want to cut. This step will ensure that your cuts are precise and aligned with your project requirements. Follow these steps:
- Gather your tools: Make sure you have your measuring tape, permanent marker or pencil, and a stable surface to work on.
- Determine the dimensions: Measure and determine the specific dimensions you want to cut on the foam board. Take into account both the length and width.
- Transfer the measurements: Use the measuring tape to mark the measurements on the foam board. Use the permanent marker or pencil to make visible marks on the board.
- Double-check the measurements: Before proceeding to cut the foam board, double-check the measurements to ensure accuracy. It’s better to be cautious and confirm the measurements rather than rushing into cutting.
- Consider any additional cuts: If you need to make multiple cuts on the foam board, mark those measurements as well. Take into account any angles or complex shapes that need to be cut.
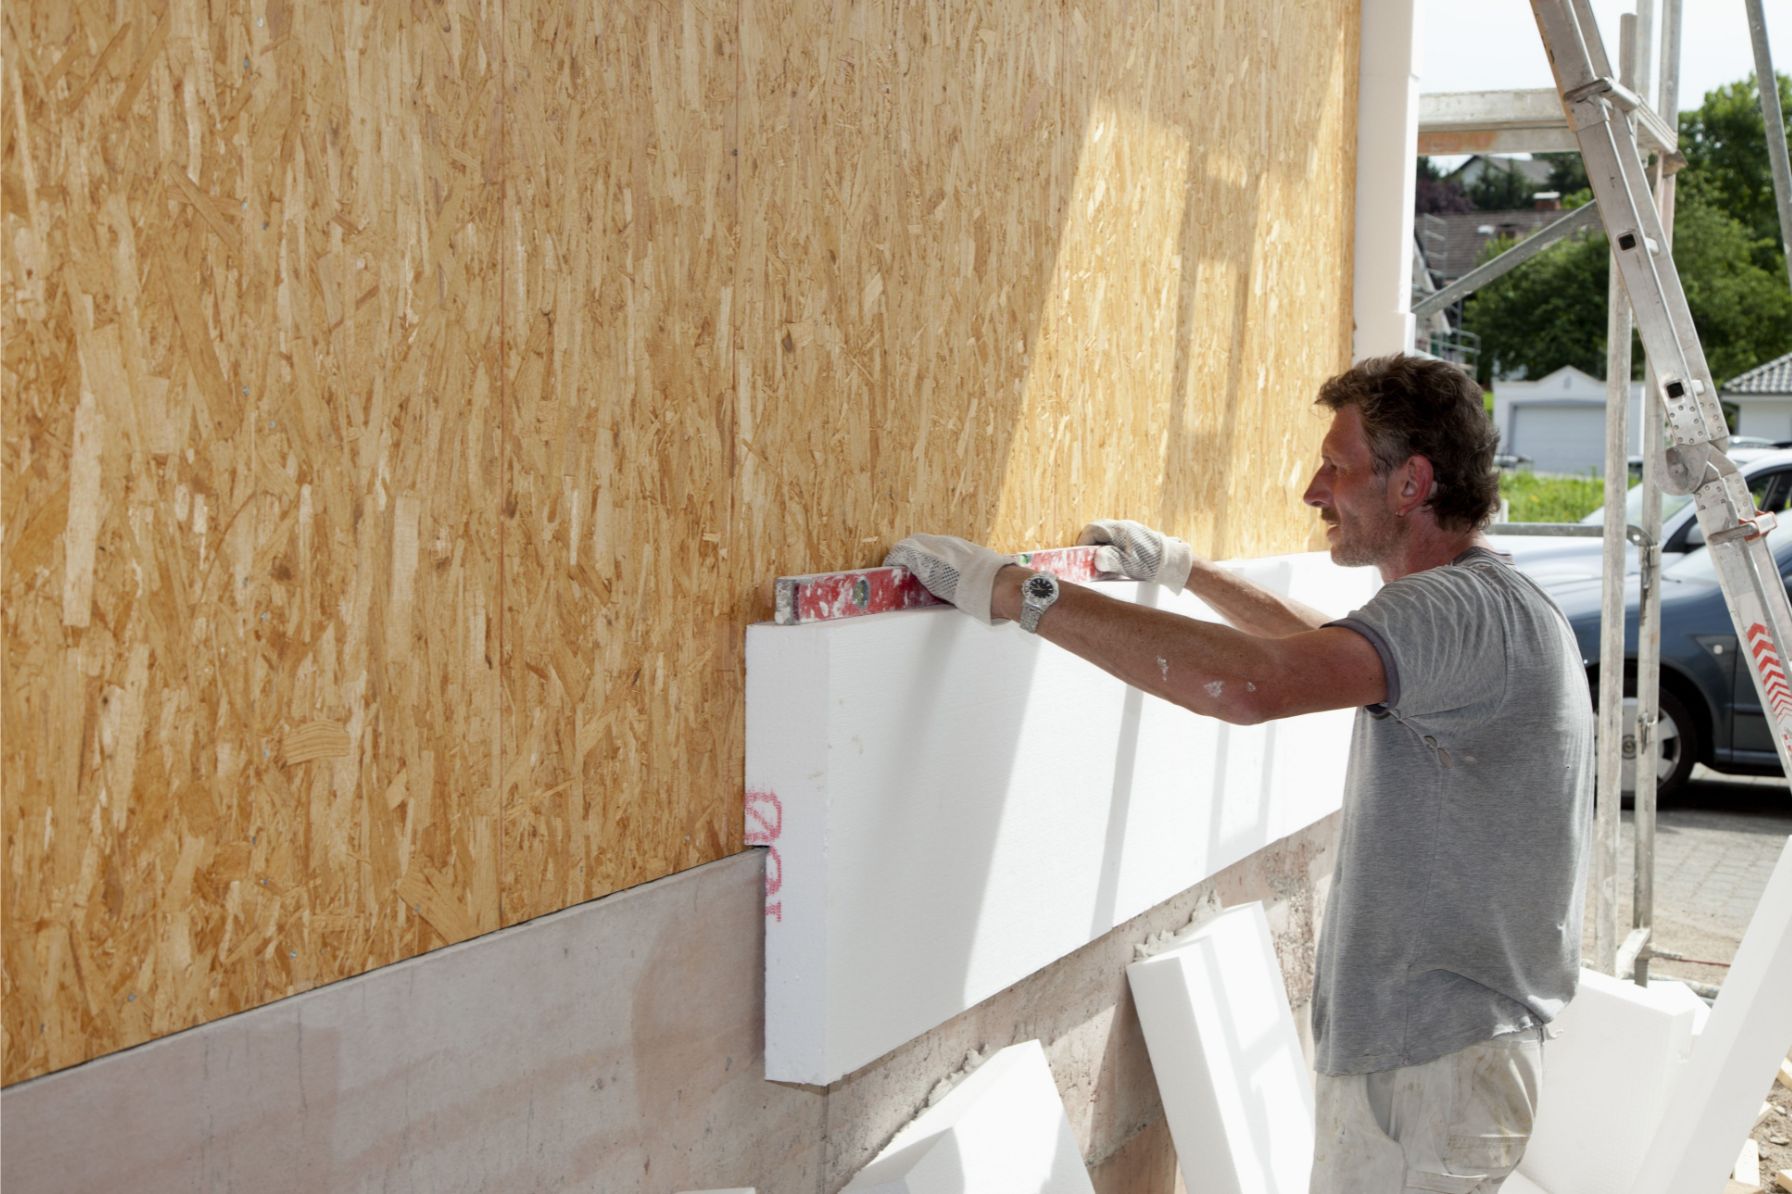
- Use straightedges for straight lines: For straight cuts, it’s helpful to use a straightedge, such as a ruler or a level, to guide your cutting. This will ensure that your cuts are straight and aligned.
By carefully measuring and marking the foam board, you will have a clear guide for cutting and can proceed with confidence in the accuracy of your cuts. Take your time in this step to ensure precision, as any inaccuracies in measurement or marking will be carried over to the final cuts.
Step 2: Choosing the Right Cutting Method
When it comes to cutting insulation foam boards, there are a few different methods you can choose from. Each method has its own advantages and is suitable for different types of cuts and projects. Consider the following options to determine which cutting method is best suited for your needs:
- Utility Knife: The utility knife is a versatile tool commonly used for cutting insulation foam boards. It is ideal for straight cuts and can easily slice through the foam with a sharp retractable blade. This method is simple, affordable, and suitable for smaller projects or cuts that don’t require intricate shapes or angles.
- Hot Wire Cutter: A hot wire cutter is a specialized tool designed specifically for cutting foam boards. It uses a heated wire to melt through the foam, resulting in clean and precise cuts. This method is perfect for cutting complex shapes, curves, and angles. It is especially useful when working on larger projects or when you need to make intricate cuts.
Consider your project requirements, the complexity of the cuts needed, and the tools you have available before choosing a cutting method. If you are unsure, it may be helpful to start with a utility knife for simple cuts and then proceed to a hot wire cutter if more intricate cuts are required.
Remember, safety is paramount when using any cutting method. Take the time to familiarize yourself with the chosen tool and read the manufacturer’s instructions before use. Always wear the necessary personal protective equipment to prevent any potential hazards.
Once you have chosen the cutting method that is best suited for your project, you can proceed to the next step of cutting the insulation foam board.
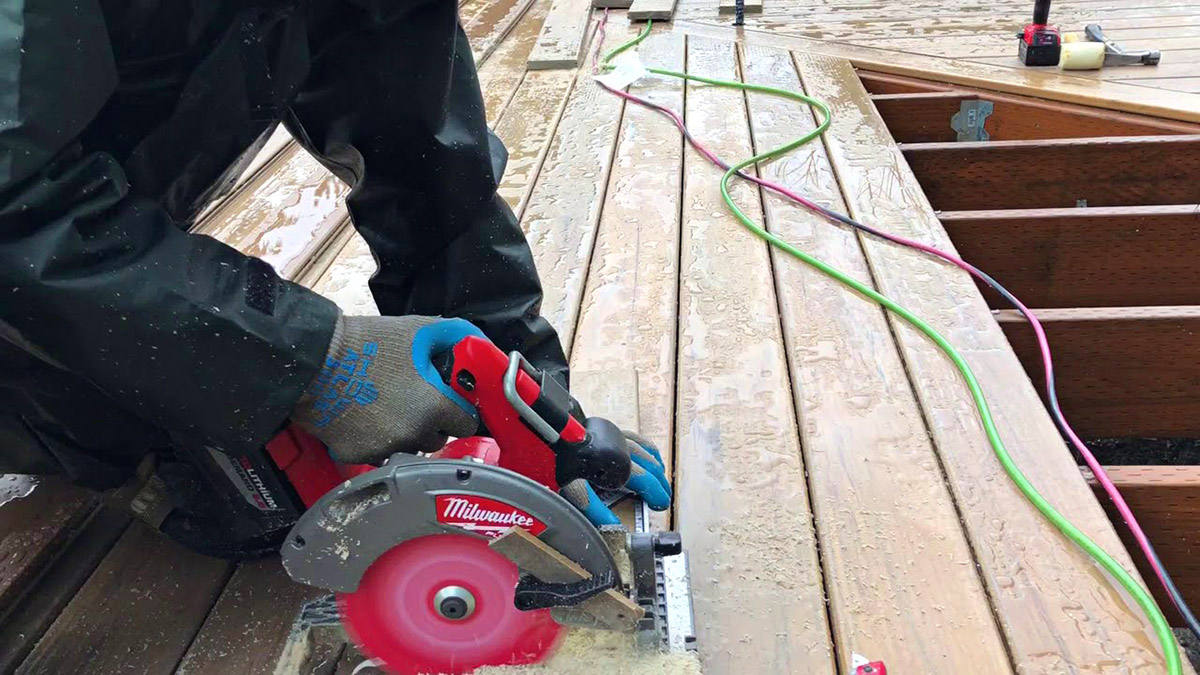
When cutting insulation foam board, use a sharp utility knife or a hot wire foam cutter for clean and precise cuts. Make sure to measure and mark the board before cutting to ensure accuracy.
Read more: How Thick Should Foam Board Insulation Be
Step 3: Cutting the Foam Board with a Utility Knife
If you’ve decided to use a utility knife for cutting the insulation foam board, follow these steps for a clean and precise cut:
- Prepare your work area: Choose a flat and stable surface to work on. Make sure you have enough space to maneuver the foam board and maintain stability during the cutting process.
- Secure the foam board: Place the foam board on the work surface and ensure it is securely held in place. You can use clamps or weights to prevent any movement while cutting.
- Mark the cutting line: Use the measurements and marks you made earlier to identify the cutting line on the foam board. Make sure the line is clearly visible.
- Hold the utility knife properly: Hold the utility knife firmly and maintain a steady grip. Ensure that the blade is sharp and securely locked in place.
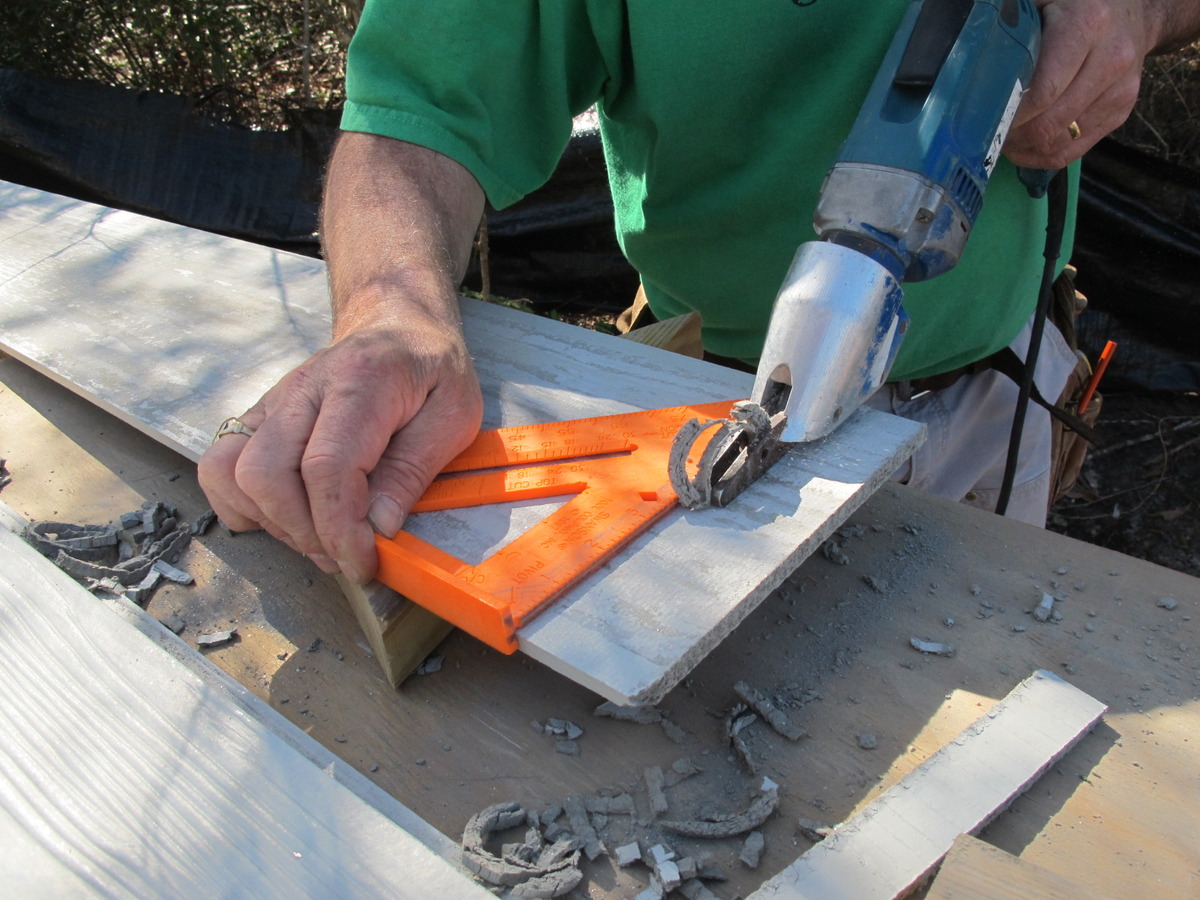
- Start the cutting process: Position the utility knife blade alongside the cutting line you marked earlier. Apply gentle pressure and begin cutting through the foam board. Use a straightedge, such as a ruler or a level, as a guide to ensure a straight cut.
- Continue the cut: Keep the utility knife blade aligned with the cutting line and apply consistent pressure as you progress along the line. Take your time to maintain accuracy and avoid rushing the cutting process.
- Complete the cut: When you have reached the end of the cutting line, carefully remove the utility knife from the foam board. Ensure that the cut is clean and straight. If needed, go over the cut again to ensure a smooth finish.
After completing the cut, inspect the foam board to ensure the cut is to your desired specifications. If you need to make additional cuts or trim the board further, repeat the process as necessary.
Remember to work slowly and securely to maintain control over the utility knife. Always prioritize safety by wearing the necessary personal protective equipment and keeping your fingers away from the path of the blade.
With the utility knife, you can achieve accurate and straight cuts on the insulation foam board for a professional finish.
Step 4: Cutting the Foam Board with a Hot Wire Cutter
If you have chosen to use a hot wire cutter for cutting the insulation foam board, follow these steps for precise and clean cuts:
- Set up the hot wire cutter: Read the manufacturer’s instructions to properly set up and prepare the hot wire cutter for use. Ensure that the wire is heated to the appropriate temperature for cutting foam.
- Prepare your work area: Select a well-ventilated area to work in, as using a hot wire cutter can produce fumes. Also, ensure that you have a stable work surface and enough space to maneuver the foam board.
- Secure the foam board: Place the foam board on the work surface and make sure it is securely held in place. You can use clamps or weights to prevent any movement during the cutting process.
- Mark the cutting line: Use the measurements and marks you made earlier to indicate the precise cutting line on the foam board. Make sure the line is clearly visible.
- Position the hot wire cutter: Position the hot wire cutter so that the heated wire aligns with the cutting line on the foam board.
- Begin cutting: Slowly and steadily guide the hot wire cutter along the cutting line. The heated wire will melt through the foam board, producing a clean and precise cut. Ensure smooth and even movement throughout the cutting process.
- Complete the cut: Once you have reached the end of the cutting line, carefully remove the hot wire cutter from the foam board. Ensure that the cut is smooth and free from any debris.
After completing the cut, inspect the foam board to ensure the cut is to your desired specifications. If you need to make additional cuts or trim the board further, repeat the process as necessary.
Remember to exercise caution when using a hot wire cutter as the wire can become extremely hot. Always wear the appropriate personal protective equipment, such as safety goggles and gloves, and follow the manufacturer’s instructions for safe and proper usage.
A hot wire cutter is an excellent choice for cutting complex shapes, curves, and angles in insulation foam boards. It provides precise cuts and allows for greater creative flexibility in your projects.
Step 5: Cutting Complex Shapes and Angles
When it comes to cutting insulation foam boards into complex shapes and angles, there are a few techniques you can employ to ensure precise and clean cuts:
- Template method: Create a template of the desired shape or angle using a sturdy material like cardboard or plywood. Place the template over the foam board and trace around it with a marker or pencil. Then use a utility knife or hot wire cutter to carefully cut along the traced lines, following the shape or angle of the template.
- Scribe and snap method: For straight lines and angles, you can use a sharp utility knife to scribe a line on the foam board. Apply firm pressure along the scribed line, then gently bend the board along the line to create a clean break. This method is useful for achieving precise 90-degree angles.
- Bevel cuts: Bevel cuts are angled cuts made on the foam board. Using a utility knife or hot wire cutter, carefully cut along the desired angle, ensuring a sharp and clean cut. Bevel cuts are commonly used in applications where two foam boards need to fit together at an angle, such as creating corner joints or angled edges.
- Compound cuts: Compound cuts involve cutting foam boards into complex shapes with multiple angles and curves. These cuts usually require a combination of techniques, such as marking the shape with a template, making bevel cuts, and using a hot wire cutter for precise curves. Take your time and plan out the cuts before proceeding to ensure accuracy and precision.
When cutting complex shapes and angles, it’s essential to have patience and take your time to achieve the desired results. It may be beneficial to practice on scrap foam boards first to refine your technique before making cuts on the actual project materials.
Remember to use the appropriate cutting method, whether a utility knife or hot wire cutter, based on the complexity and requirements of the shape or angle you are working with. Always prioritize safety by wearing the necessary personal protective equipment and taking precautions to avoid accidents or injuries.
By utilizing these techniques, you can confidently cut insulation foam boards into complex shapes and angles, allowing for greater customization in your projects.
Step 6: Sanding the Edges (Optional)
After cutting the insulation foam board, you may find that the edges are not as smooth as you would like. To achieve a polished finish, you can choose to sand the edges. Here’s how:
- Gather the materials: Get a sanding block or sandpaper with a fine-grit, preferably around 220-320 grit. This will help smoothen the rough edges without causing damage to the foam board.
- Secure the foam board: Place the foam board on a stable surface, ensuring it is securely held in place. You can use clamps or weights to prevent any movement during the sanding process.
- Sand the edges: Take the sanding block or sandpaper and gently rub it against the rough edges of the foam board. Use smooth and even strokes, applying light pressure. Move in a back-and-forth or circular motion to gradually smoothen the edges.
- Check your progress: Periodically check the edges to see how much progress you have made. Continue sanding until the edges are smooth to your satisfaction.
- Clean up: Once you have finished sanding, use a soft brush or cloth to remove any dust or debris that may have accumulated during the process.
Sanding the edges is an optional step that mainly depends on your desired finished look and feel. It can be particularly helpful if you plan to paint or apply a finish to the foam board. The smooth edges will provide a neater and more professional appearance.
Keep in mind that sanding may produce fine particles, so it’s advisable to work in a well-ventilated area or wear a dust mask to avoid inhaling any dust. Additionally, be mindful not to apply excessive pressure or sand too aggressively, as this may cause damage to the foam board.
By sanding the edges of the insulation foam board, you can achieve a polished finish and enhance the overall appearance of your project.
Conclusion
Cutting insulation foam boards to the desired size and shape is a crucial step in any insulation project. Whether you are insulating walls, roofs, or foundations, using the right cutting techniques can ensure a precise and professional finish. Throughout this article, we have explored step-by-step instructions for cutting insulation foam boards effectively and safely.
We started by emphasizing the importance of safety precautions when working with insulation foam boards. Wearing the appropriate personal protective equipment, working in a well-ventilated area, and securely placing the foam board are essential for preventing accidents and injuries.
Next, we discussed the tools and materials needed for the cutting process. From measuring tapes and utility knives to hot wire cutters and sanding blocks, having the right tools ensures accurate and clean cuts.
We then delved into the step-by-step instructions for measuring and marking the foam board accurately. Taking the time to measure precisely and mark the cutting lines ensures that your cuts align with your project requirements.
Choosing the right cutting method is vital, and we explored two popular options – the utility knife and the hot wire cutter. Each method has its own advantages, with the utility knife being ideal for straight cuts and the hot wire cutter for complex shapes and angles.
For intricate cuts, we discussed how to cut foam boards into complex shapes and angles. Using templates, scribe and snap methods, bevel cuts, and compound cuts, you can achieve precise and customized shapes.
Finally, we touched on the optional step of sanding the edges for a polished finish. Sanding smoothes out rough edges and enhances the overall appearance of the foam board.
Remember, regardless of the cutting method you choose, always prioritize safety, follow the manufacturer’s instructions, and exercise caution to prevent accidents or injuries.
By following these guidelines, you can confidently cut insulation foam boards for your various projects. Enjoy the process, and may your insulation endeavors be successful!
Frequently Asked Questions about How To Cut Insulation Foam Board
Was this page helpful?
At Storables.com, we guarantee accurate and reliable information. Our content, validated by Expert Board Contributors, is crafted following stringent Editorial Policies. We're committed to providing you with well-researched, expert-backed insights for all your informational needs.


0 thoughts on “How To Cut Insulation Foam Board”