Home>Articles>How To Install Foam Board Insulation On Basement Walls
Articles
How To Install Foam Board Insulation On Basement Walls
Modified: May 6, 2024
Learn how to install foam board insulation on basement walls with our informative articles. Improve energy efficiency and reduce moisture in your home.
(Many of the links in this article redirect to a specific reviewed product. Your purchase of these products through affiliate links helps to generate commission for Storables.com, at no extra cost. Learn more)
Introduction
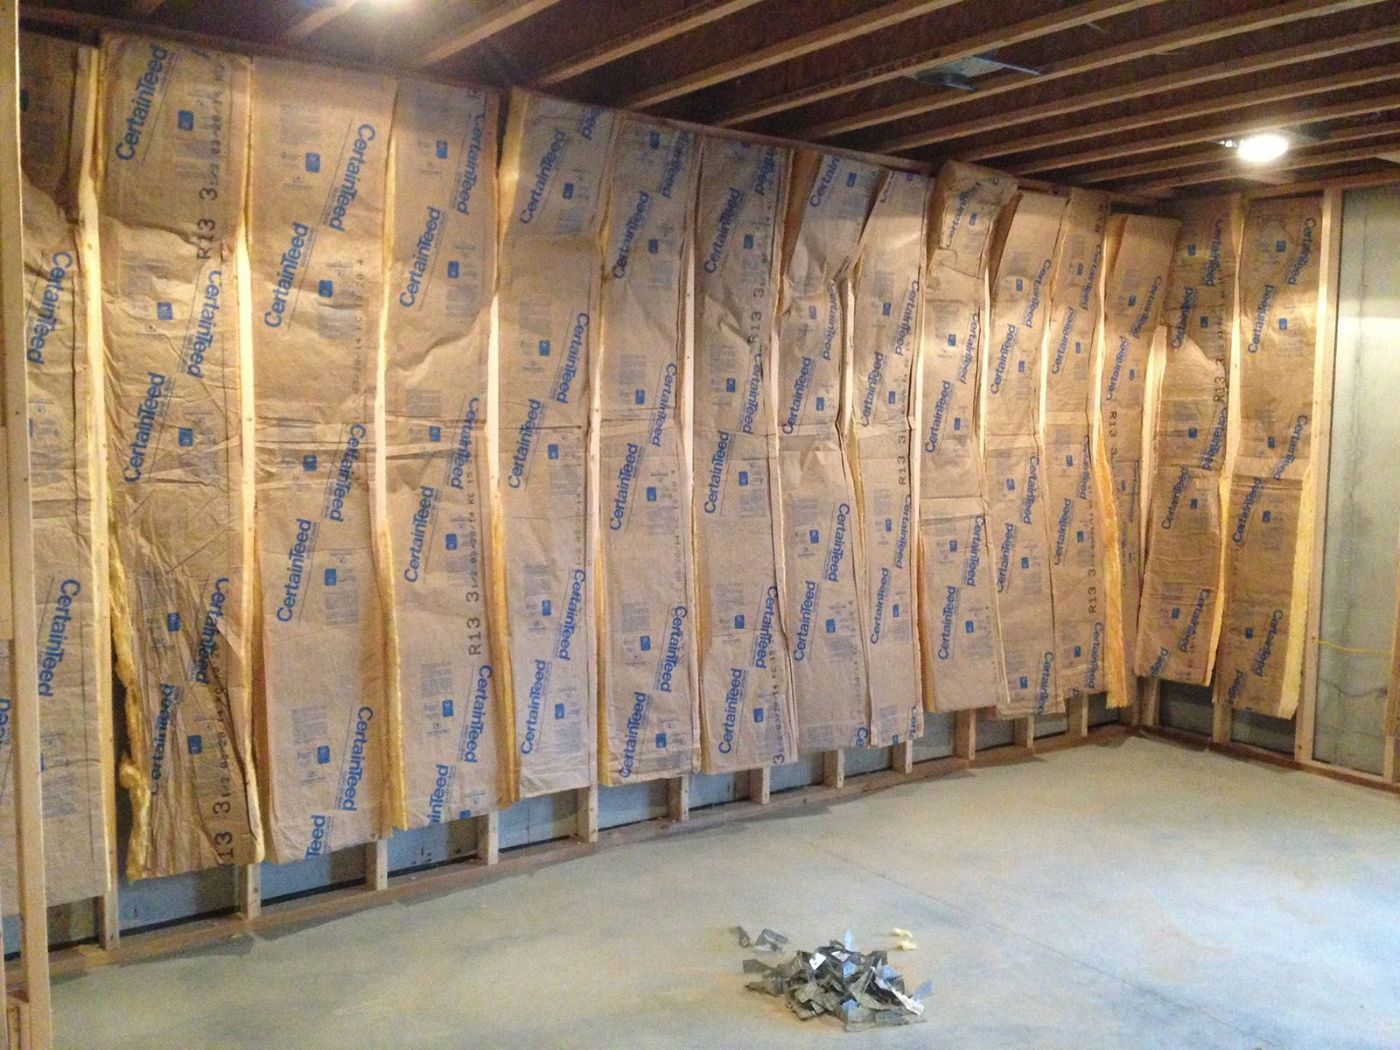
Installing foam board insulation on basement walls is an excellent way to improve energy efficiency and create a more comfortable living space. Basement walls are notorious for allowing heat to escape and cold air to enter the home, leading to higher energy bills and discomfort. However, with the right materials and a bit of know-how, you can easily tackle this project and reap the benefits of a well-insulated basement.
In this article, we will guide you through the step-by-step process of installing foam board insulation on your basement walls. We will cover everything from gathering materials to finishing the installation, ensuring that you have all the information you need to successfully complete the project.
By insulating your basement walls, you can not only reduce heat loss but also prevent condensation and moisture buildup, which can lead to mold and mildew. Additionally, a properly insulated basement can make the space more comfortable, especially if you plan to use it as a living area or workspace.
Before we dive into the installation process, let’s go over the materials you will need for this project.
Key Takeaways:
- Properly insulating your basement walls with foam board can lead to lower energy bills, improved climate control, and reduced moisture-related issues, creating a more comfortable and functional living space.
- Following the step-by-step installation process, including gathering materials, preparing walls, and sealing joints, ensures optimal insulation and maximum energy efficiency, leading to long-term benefits and increased property value.
Step 1: Gather Materials
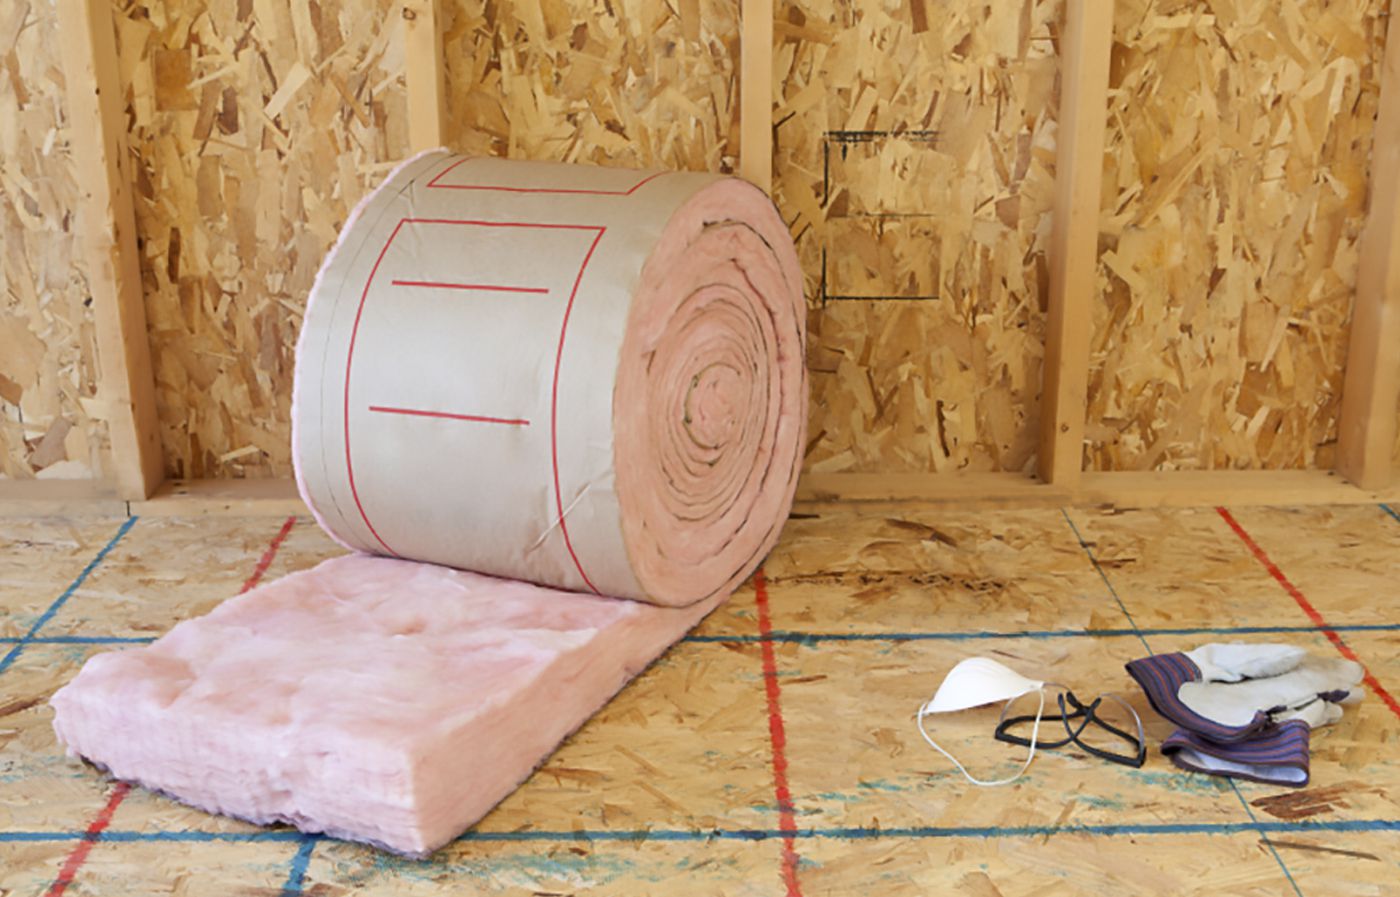
Before you start the installation process, it’s essential to gather all the necessary materials. Having everything prepared beforehand will save you time and ensure a smooth installation. Here’s a list of materials you will need:
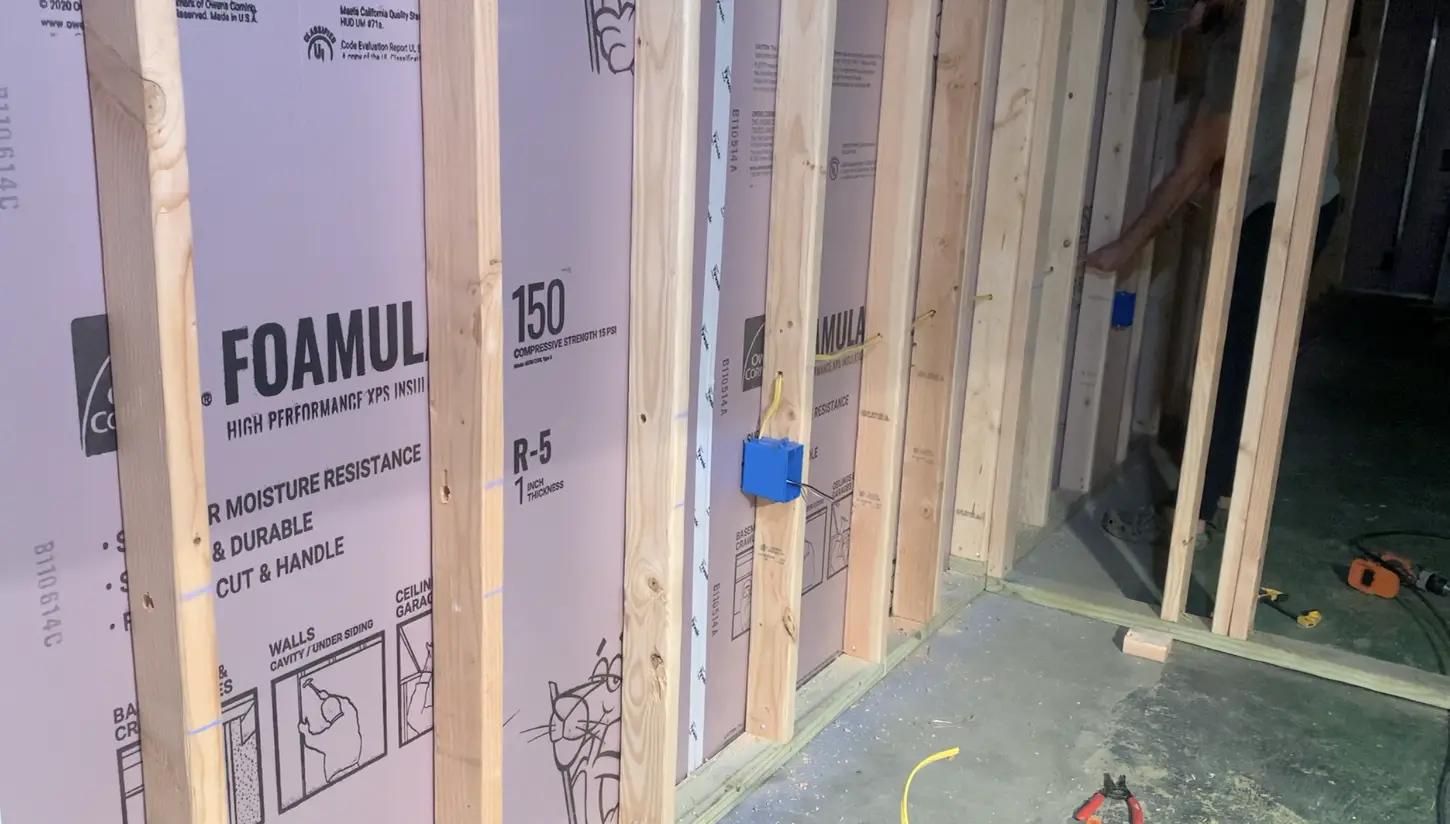
- Foam board insulation panels: Choose panels with a high R-value for maximum insulation effectiveness. Measure your basement walls to determine the quantity of panels needed.
- Construction adhesive: Look for adhesive specifically designed for foam board insulation. This will provide a strong bond between the panels and the wall.
- Tape measure: Used for measuring the dimensions of the basement walls and cutting the foam board panels to size.
- Straight edge: A ruler or level can serve as a straight edge for accurate cuts.
- Utility knife: This will be used to cut the foam board panels to the desired size.
- Caulk gun: Necessary for applying construction adhesive to the foam board panels.
- Sealant: Choose a sealant that is compatible with foam board insulation to seal the joints and prevent air leakage.
- Furring strips: These are used to create a space between the foam board panels and the finished wall, allowing for the installation of drywall or other wall coverings.
- Screws or nails: Required for attaching the furring strips to the foam board and the basement wall.
- Hammer or drill: Depending on the type of fasteners you choose, you will need either a hammer or a drill to secure the furring strips.
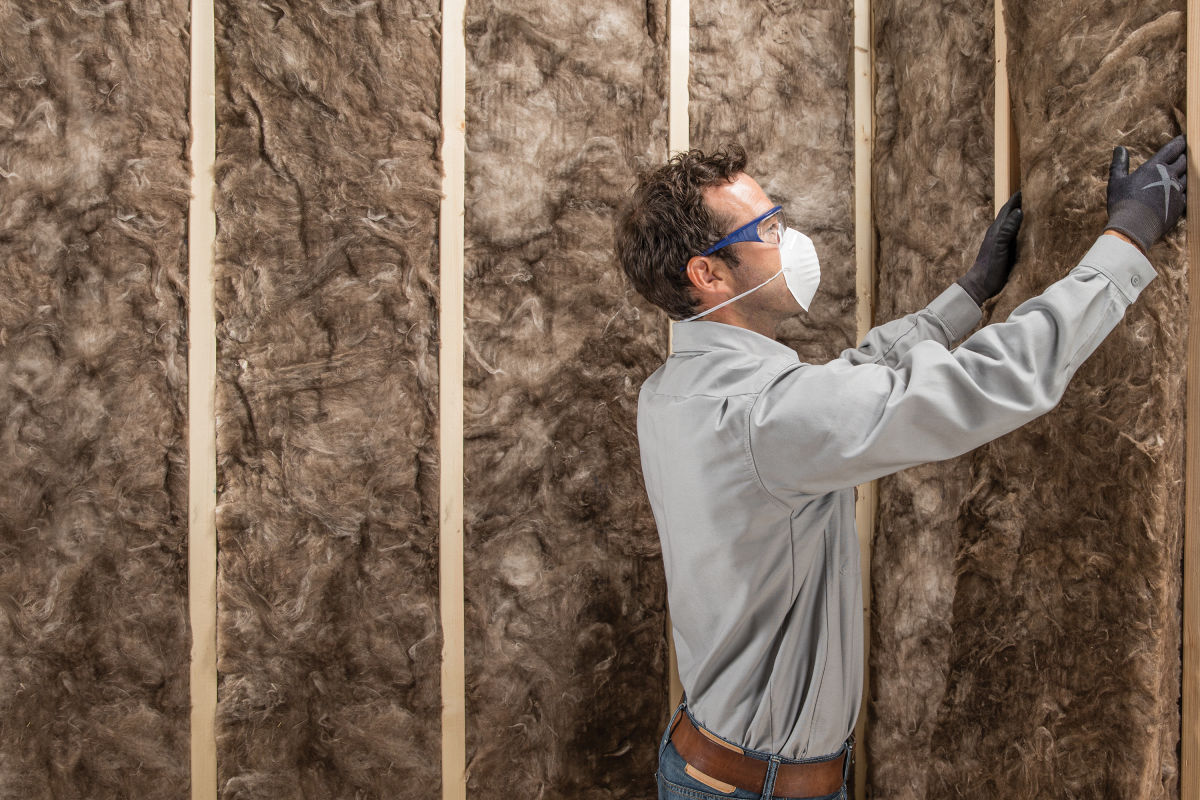
- Protective gear: Don’t forget to wear gloves and safety glasses when handling insulation materials and using tools.
Ensure that you have all the materials on hand before starting the installation process. This will prevent any delays or interruptions during the project. Once you have gathered all the necessary materials, you can proceed to the next step: preparing the basement walls.
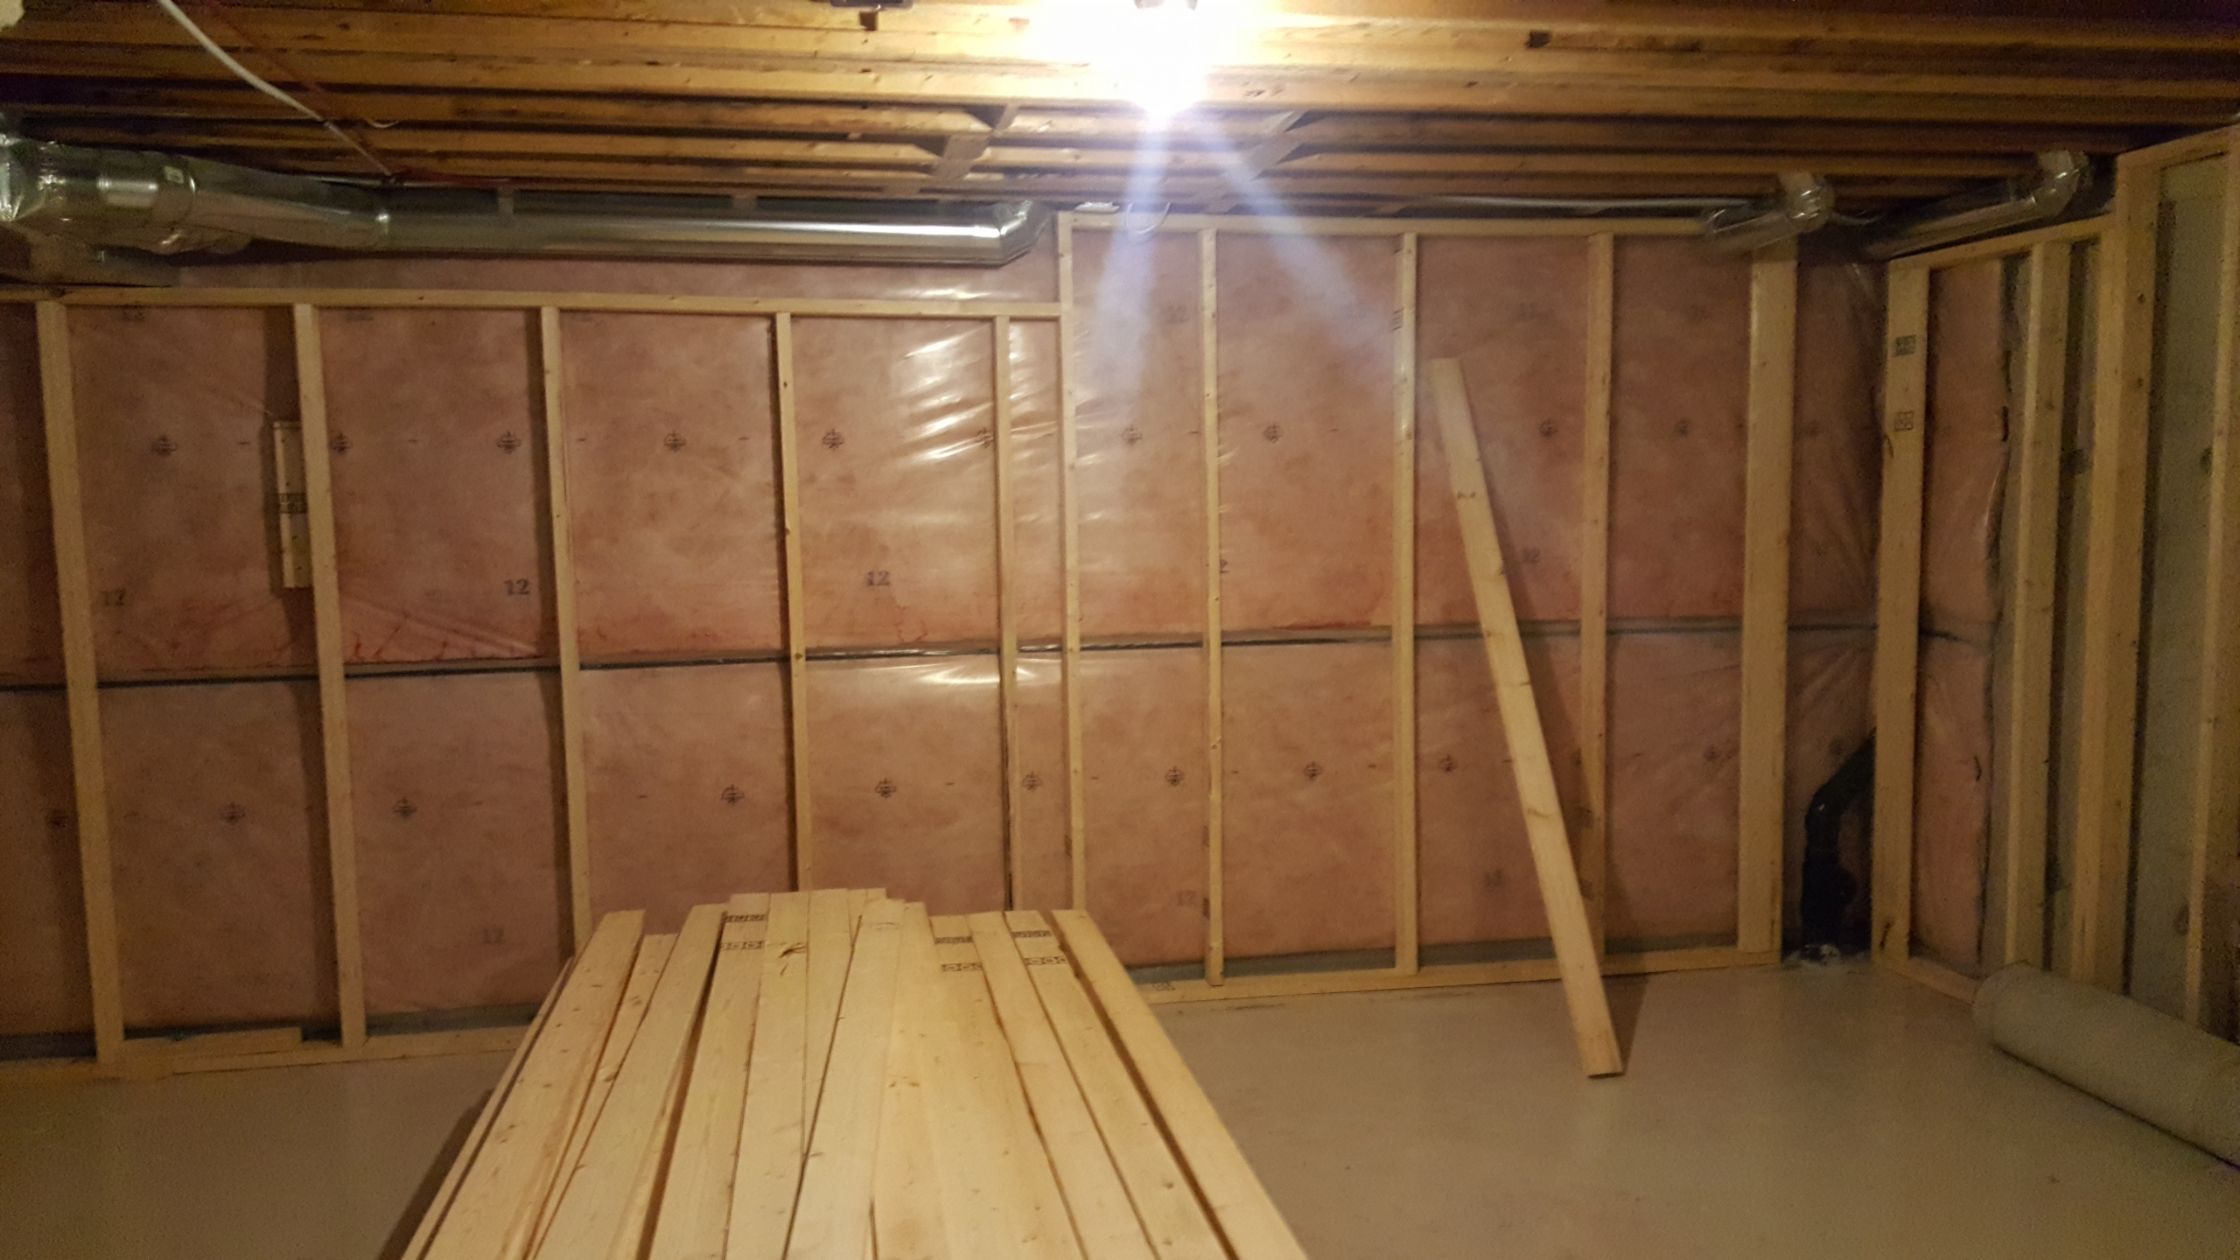
Step 2: Prepare the Basement Walls
Properly preparing the basement walls before installing the foam board insulation is crucial for a successful installation. Here are the steps to follow:
- Clear the area: Remove any debris or obstructions from the basement walls. This includes removing old insulation, wallpaper, or any other materials that might impede the bonding of the foam board panels.
- Repair any damage: Inspect the walls for any cracks, holes, or moisture-related issues. Repair any damages using appropriate materials, such as patching compound for cracks or waterproofing products for moisture issues. It’s important to have a structurally sound and dry surface before proceeding with the installation.
- Clean the walls: Dust, dirt, and grease can prevent the adhesive from bonding properly. Use a broom or vacuum cleaner to remove any loose debris, and then wipe the walls down with a damp cloth or sponge to ensure they are clean and free from any contaminants.
- Allow the walls to dry: If you used any water or cleaning solutions to clean the walls, give them enough time to dry completely. Moisture can interfere with the adhesive’s effectiveness, so make sure the walls are dry before moving on to the next step.
By preparing the basement walls thoroughly, you are creating a clean and stable surface for the foam board insulation to adhere to. This will ensure optimal performance and longevity of the insulation. Once the walls are prepped and ready, you can proceed to the next step: measuring and cutting the foam board panels.
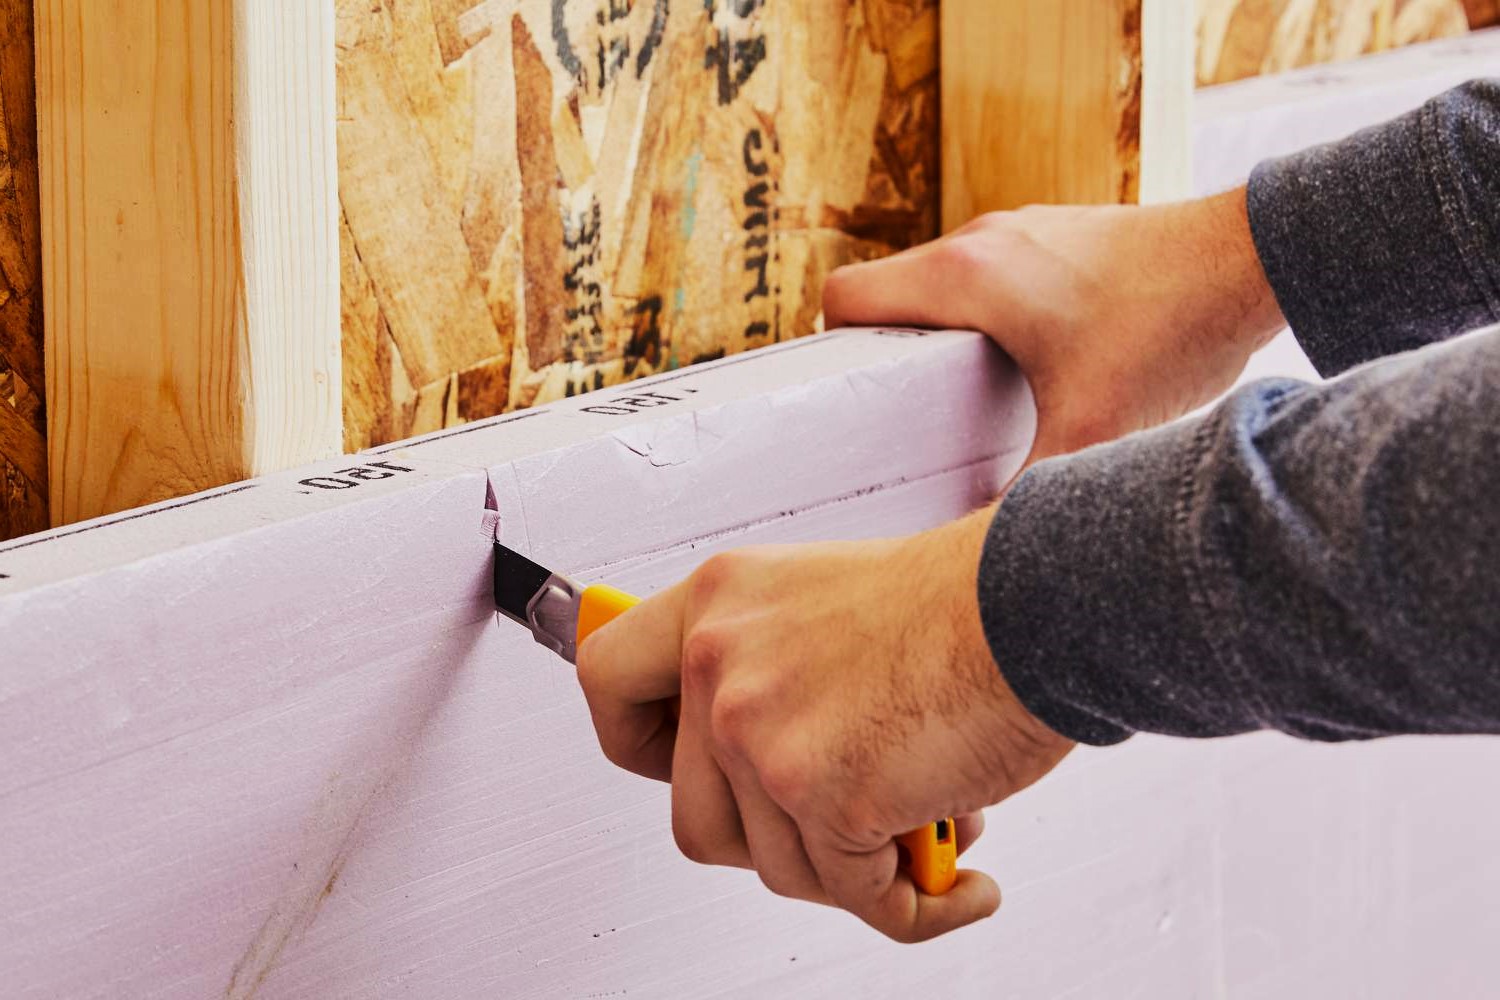
Step 3: Measure and Cut the Foam Board Panels
Accurate measurements and precise cuts are essential for a proper fit and effective insulation. Here’s how to measure and cut the foam board panels:
- Start by measuring the height and width of the basement walls. Use a tape measure to get precise measurements from floor to ceiling and from one side to the other. Take note of these measurements as they will determine the size of the foam board panels you need.
- With the measurements in hand, transfer them to the foam board panels. Use a straight edge, such as a ruler or level, to draw straight lines across the panels according to the desired dimensions.
- Using a utility knife, carefully cut along the marked lines to obtain the desired size of foam board panels. Apply firm and even pressure as you cut, ensuring a clean and straight edge.
- Repeat the measuring and cutting process for all the foam board panels needed to cover the basement walls. Double-check the measurements before making any cuts to avoid any mistakes.
- It’s important to note that the foam board panels should be cut slightly smaller than the measurements to allow for a small gap between the panels and the walls. This gap will later be filled with sealant to prevent air leakage.
Take your time when measuring and cutting the foam board panels to ensure accuracy. It’s better to double-check your measurements and make precise cuts, as this will result in a proper fit and better insulation performance. Once you have all the foam board panels cut to size, you’re ready to move on to the next step: applying construction adhesive.
Step 4: Apply Construction Adhesive
Applying construction adhesive is crucial for securely attaching the foam board panels to the basement walls. Follow these steps to ensure proper application:
- Read the instructions: Before using the construction adhesive, carefully read and follow the manufacturer’s instructions. Different adhesive products may have specific instructions and precautions.
- Prepare the adhesive: Use a caulking gun to load the construction adhesive. Cut the nozzle of the adhesive tube at a 45-degree angle for easier application.
- Apply the adhesive: Starting at the top of the first foam board panel, apply a generous bead of adhesive vertically along the back of the panel. Make sure to apply adhesive to the edges and corners as well. Repeat this process for each panel.
- Spread the adhesive: Once you have applied the adhesive, use a notched trowel or a putty knife to spread the adhesive evenly across the back of each foam board panel. This will ensure a consistent bond and help eliminate any voids or air pockets.
- Press the panels onto the wall: Firmly press each foam board panel onto the prepared basement wall. Apply even pressure across the entire panel to ensure proper adhesion. Make sure the panel is level and straight as you press it onto the wall. Repeat this step for each panel.
- Allow the adhesive to cure: Follow the manufacturer’s instructions to determine the curing time of the construction adhesive. It is important to let the adhesive fully cure before proceeding to the next step.
Applying construction adhesive will create a strong bond between the foam board panels and the basement walls. This will ensure that the insulation stays securely in place and provides effective insulation for your basement. Once the adhesive has cured, you can move on to the next step: installing the foam board panels on the basement walls.
When installing foam board insulation on basement walls, be sure to properly seal all seams and edges with tape or caulk to prevent air leakage and maximize the insulation’s effectiveness.
Step 5: Install Foam Board Panels on Basement Walls
With the construction adhesive applied and cured, it’s time to install the foam board panels onto the basement walls. Follow these steps for a successful installation:
- Start at one corner: Begin installing the foam board panels at one corner of the basement wall. This will serve as your starting point and guide for the rest of the installation.
- Align the panels: Ensure that the foam board panels are aligned properly, both horizontally and vertically. Use a level to check for straightness and adjust if necessary. This will ensure a professional and neat-looking installation.
- Press the panels onto the adhesive: With the panels aligned, firmly press them onto the construction adhesive, ensuring a strong bond. Apply even pressure across the entire panel to ensure proper adhesion to the wall.
- Repeat the process: Continue installing the foam board panels along the basement walls, working from one corner to the next. Make sure to maintain proper alignment and apply adhesive to each panel before installation.
- Trim the panels if needed: During the installation process, you may encounter obstacles such as electrical outlets or pipes. Use a utility knife to carefully cut and trim the foam board panels to fit around these obstacles. Ensure a snug and secure fit to maintain the integrity of the insulation.
- Double-check the installation: Once all the foam board panels are installed, double-check the entire installation for any gaps or loose panels. Secure any loose panels with additional adhesive and fill any gaps with foam board insulation or sealant. A well-installed insulation system should be tight and secure.
Properly installing the foam board panels on the basement walls is essential for effective insulation and energy efficiency. The panels should fit snugly and securely, providing a continuous barrier against heat loss. Once all the panels are installed, you can move on to the next step: sealing the joints.
Step 6: Seal the Joints
Sealing the joints between foam board panels is a crucial step to prevent air leakage and ensure optimal insulation performance. Follow these steps to properly seal the joints:
- Inspect the joints: Carefully examine the joints between the foam board panels. Look for any gaps or areas where the panels may not be tightly aligned. These gaps can allow air to pass through, reducing the effectiveness of the insulation.
- Choose the right sealant: Select a high-quality sealant that is compatible with foam board insulation. There are various options available, including foam board adhesive or foam sealant. Ensure that the sealant is appropriate for your specific insulation material.
- Fill the gaps: Apply the sealant along the joints, filling any gaps or spaces between the foam board panels. Use a caulking gun or an applicator tube to apply a steady and even flow of sealant. Make sure to cover the entire length of each joint.
- Smooth the sealant: Use a putty knife or a caulking tool to smooth out the applied sealant. This will create a neat and uniform seal and ensure proper adhesion to the foam board panels.
- Allow the sealant to dry: Follow the manufacturer’s instructions on the sealant container to determine the drying time. It’s crucial to let the sealant fully dry before moving on to the next step.
Sealing the joints between foam board panels is essential to prevent air infiltration and ensure the insulation’s integrity. The sealant creates a barrier that enhances the overall insulation effectiveness and helps maintain a consistent temperature within the basement. Once the sealant is fully dry, you can proceed to the next step: installing furring strips.
Step 7: Install Furring Strips
Installing furring strips is an important step in the foam board insulation process as they create a space between the insulated walls and the finished wall covering. This allows for proper ventilation behind the walls and provides a secure attachment point for drywall or other wall coverings. Follow these steps to install furring strips:
- Measure and mark the locations: Use a tape measure to determine the spacing for the furring strips. Typically, they are placed every 16 inches on center. Mark the positions on the foam board panels using a pencil or marker.
- Cut the furring strips: Use a saw to cut the furring strips to the desired length. Make sure they are slightly shorter than the height of the walls to allow for a gap at the top and bottom for expansion.
- Attach the furring strips: Use screws or nails to secure the furring strips to the foam board panels and the basement walls. Start at one end and work your way across, ensuring that each strip is level and securely fastened.
- Space the furring strips: Place spacers between the furring strips to ensure they are evenly spaced and aligned. This will help maintain consistency when installing the wall covering.
- Double-check the installation: After all the furring strips are in place, double-check for any loose or improperly secured strips. Make any necessary adjustments or reinforcements to ensure a secure and solid foundation for the finished wall covering.
Installing furring strips provides a sturdy framework for the final wall covering and allows for proper air circulation behind the walls. The furring strips create a gap that helps prevent moisture buildup and allows any potential condensation to dry out. Once the furring strips are securely in place, you are ready for the final step: finishing the installation.
Step 8: Finish the Installation
Finishing the installation of foam board insulation on your basement walls involves adding the final touches to create a seamless and functional space. Here are the steps to complete the installation:
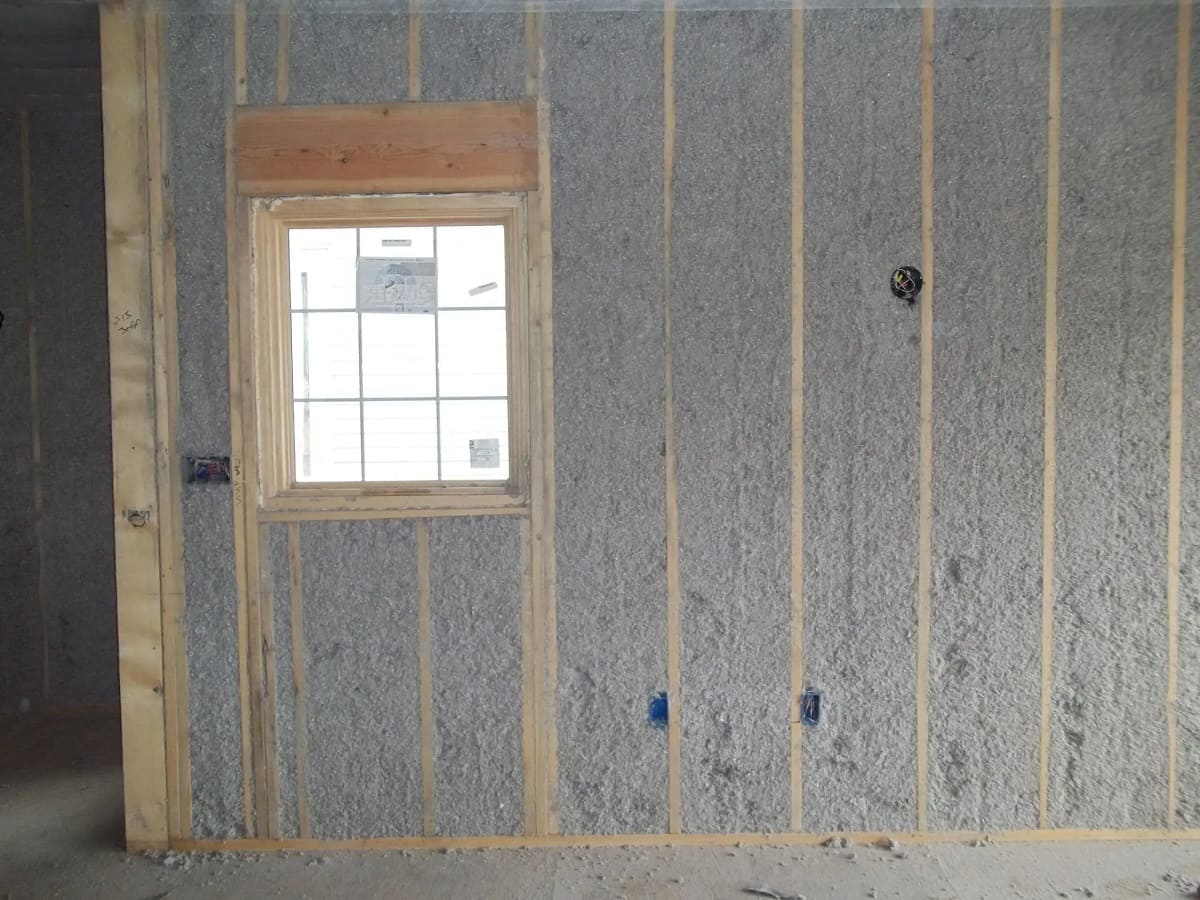
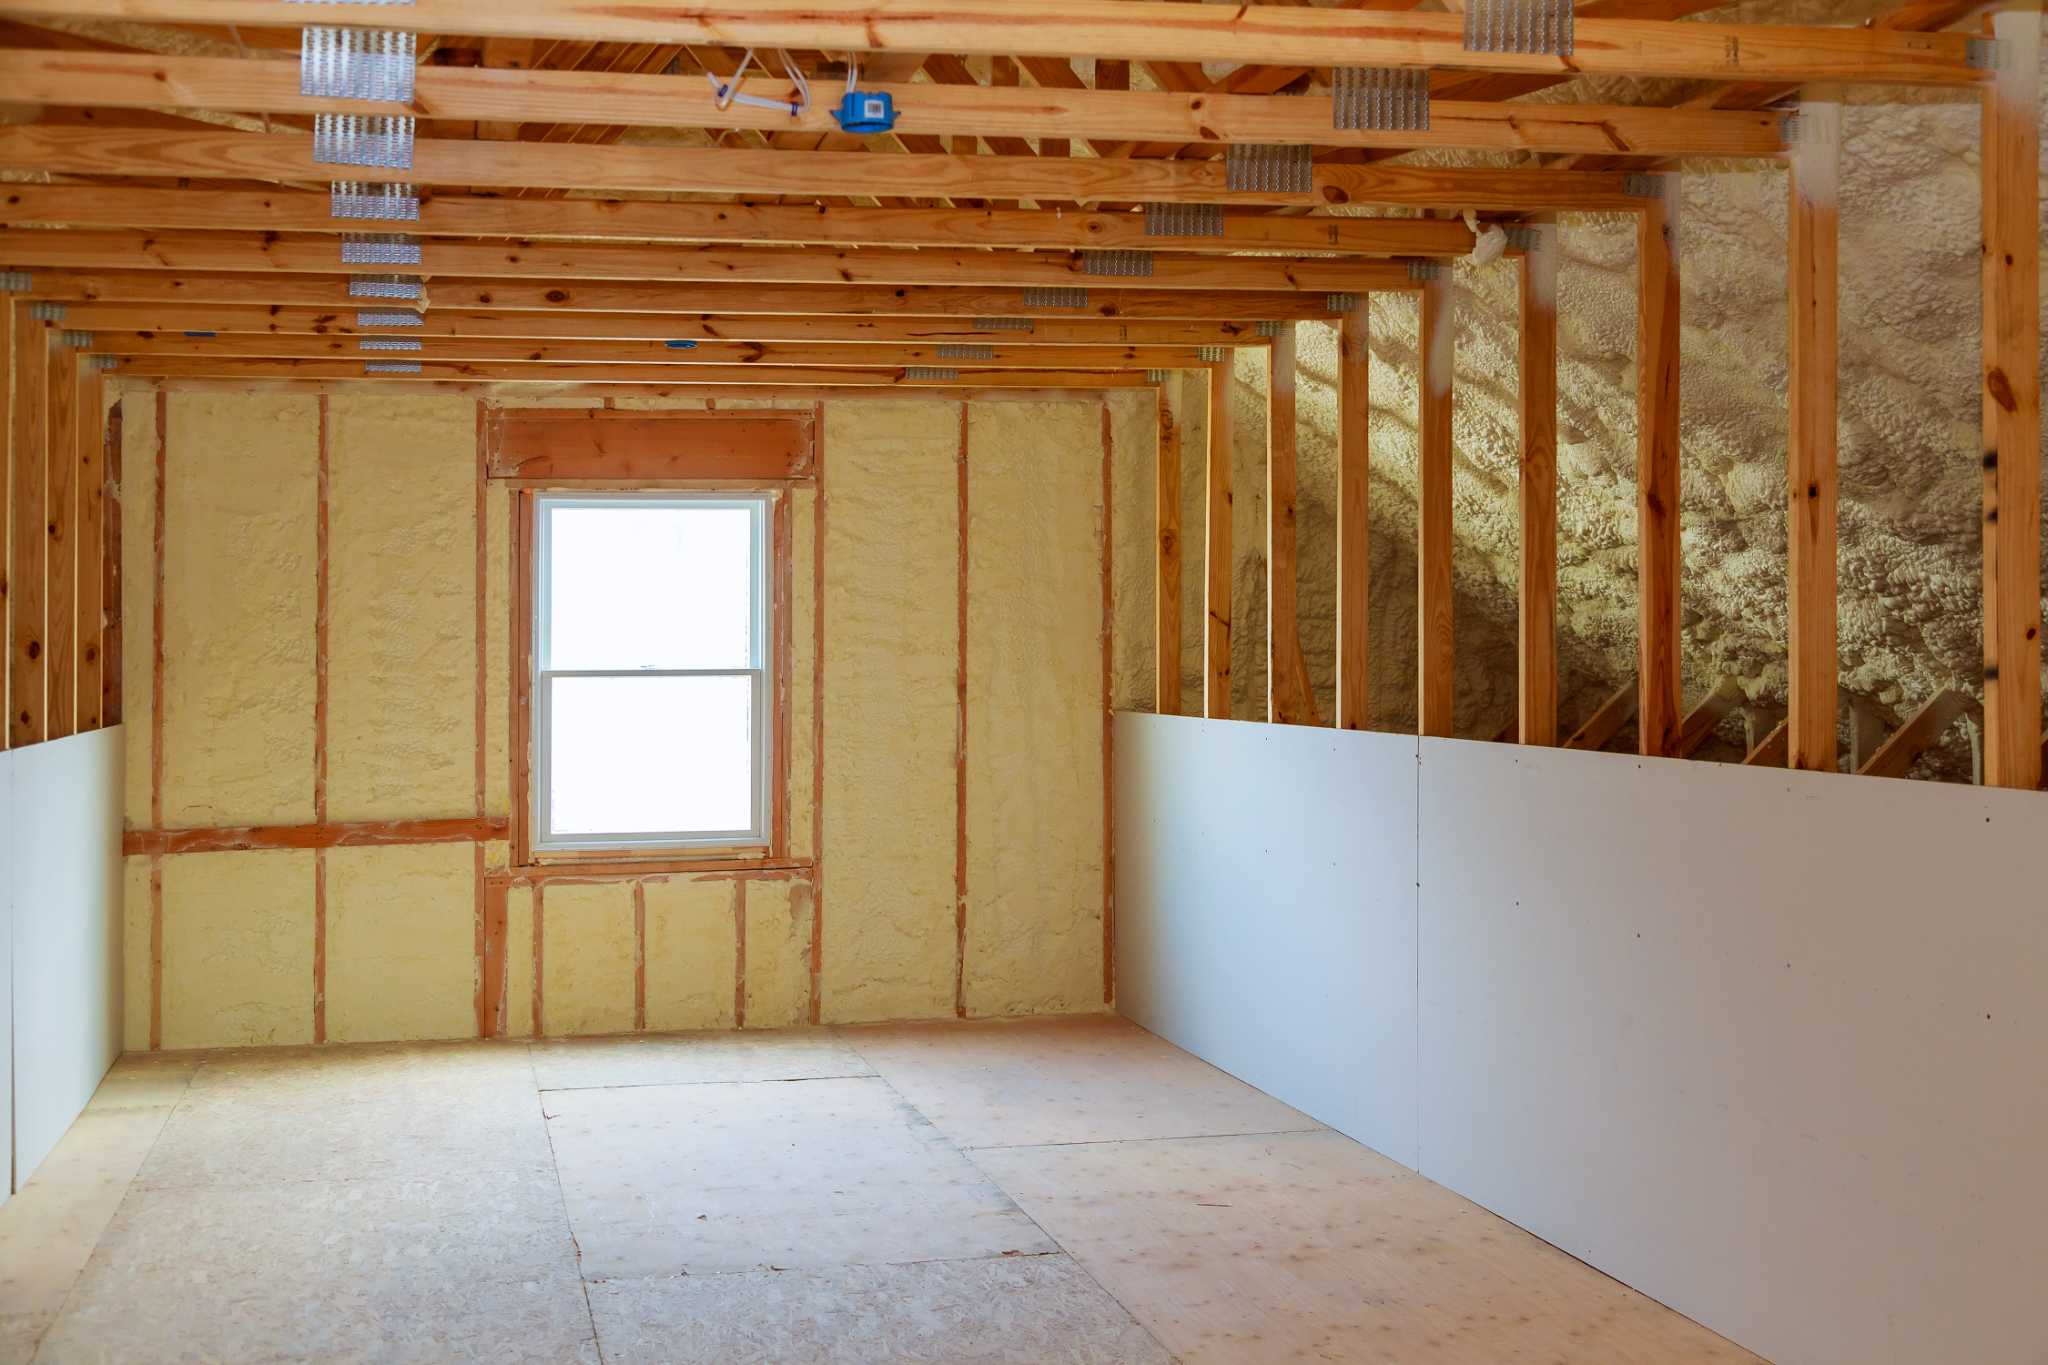
- Insulate around openings: Take extra care to insulate around any openings, such as windows, doors, or electrical outlets. Use foam board insulation or expanding foam sealant to fill any gaps and ensure a tight seal.
- Install a vapor barrier (optional): Depending on your climate and local building codes, you may need to install a vapor barrier over the foam board insulation. The vapor barrier helps prevent moisture from penetrating the walls and causing damage. Consult local regulations or a building professional to determine if this step is necessary.
- Install the desired wall covering: With the foam board insulation and furring strips in place, you can now install the final wall covering of your choice. This can be drywall, paneling, or any other material that matches your design preferences. Follow the manufacturer’s instructions for proper installation.
- Finish the walls: Once the wall covering is installed, you can proceed with finishing touches such as painting, wallpapering, or any other decorative treatment to complete the look of your basement walls. Follow standard procedures for these finishing techniques.
- Clean up: Remove any debris or excess materials from the installation process. Take the time to clean the workspace and ensure it is safe and ready for use.
Completing the installation of foam board insulation on your basement walls not only improves energy efficiency but also provides a more comfortable and functional living space. With a well-insulated basement, you can enjoy lower energy costs, enhanced climate control, and reduced moisture-related issues.
Remember to follow all safety guidelines and consult local building codes or professionals for specific requirements and recommendations during your installation process. With proper planning and execution, your basement walls will be well-insulated and ready for years of improved comfort and energy savings.
Congratulations on completing the installation of foam board insulation on your basement walls!
Read more: How To Cut Insulation Foam Board
Conclusion
Installing foam board insulation on your basement walls is a worthwhile investment that brings numerous benefits. It improves energy efficiency, creates a more comfortable living space, and reduces moisture-related issues. By following the step-by-step guide provided in this article, you can successfully complete the installation process and enjoy the advantages of a well-insulated basement.
Throughout the installation process, you learned how to gather the necessary materials, prepare the basement walls, measure and cut the foam board panels, apply construction adhesive, install the panels, seal the joints, install furring strips, and finish the installation with the desired wall covering. Each step is crucial in ensuring proper insulation and maximum energy efficiency.
Remember to prioritize safety while working with tools and materials. Wear protective gear, such as gloves and safety glasses, and follow the manufacturer’s instructions for all products used. Additionally, be mindful of local building codes and regulations to ensure compliance with the standards in your area.
With a well-insulated basement, you’ll experience lower energy bills, improved climate control, and increased overall comfort. The foam board insulation acts as a thermal barrier, preventing heat loss in the winter and heat gain in the summer. It also helps to control moisture, preventing the growth of mold and mildew.
Don’t forget about the long-term benefits of insulating your basement. The initial investment will pay off over time through energy savings and increased property value. Plus, you’ll enjoy a more enjoyable and usable space for various activities, whether it’s a home office, gym, or additional living area.
Congratulations on completing the installation of foam board insulation on your basement walls! Take pride in your accomplishment and relish in the improved comfort and energy efficiency that await you.
Ready to tackle more home projects? Dive into our comprehensive guide on DIY Home Improvement, perfect for those itching to take control of their home upgrades. Next, don't miss out on our latest insights with Wall Insulation, where you'll find the most effective techniques to keep your home cozy and energy-efficient as we head into 2024.
Frequently Asked Questions about How To Install Foam Board Insulation On Basement Walls
Was this page helpful?
At Storables.com, we guarantee accurate and reliable information. Our content, validated by Expert Board Contributors, is crafted following stringent Editorial Policies. We're committed to providing you with well-researched, expert-backed insights for all your informational needs.


0 thoughts on “How To Install Foam Board Insulation On Basement Walls”